i have done some small project using the NOMAD but today i am attempting to do my first real project. i mainly played with the Carbide Create and got some fun things done, but now i am attempting to use the MeshCAM.
Note: I am far from a pro and just a beginner, so i am kinda lost.
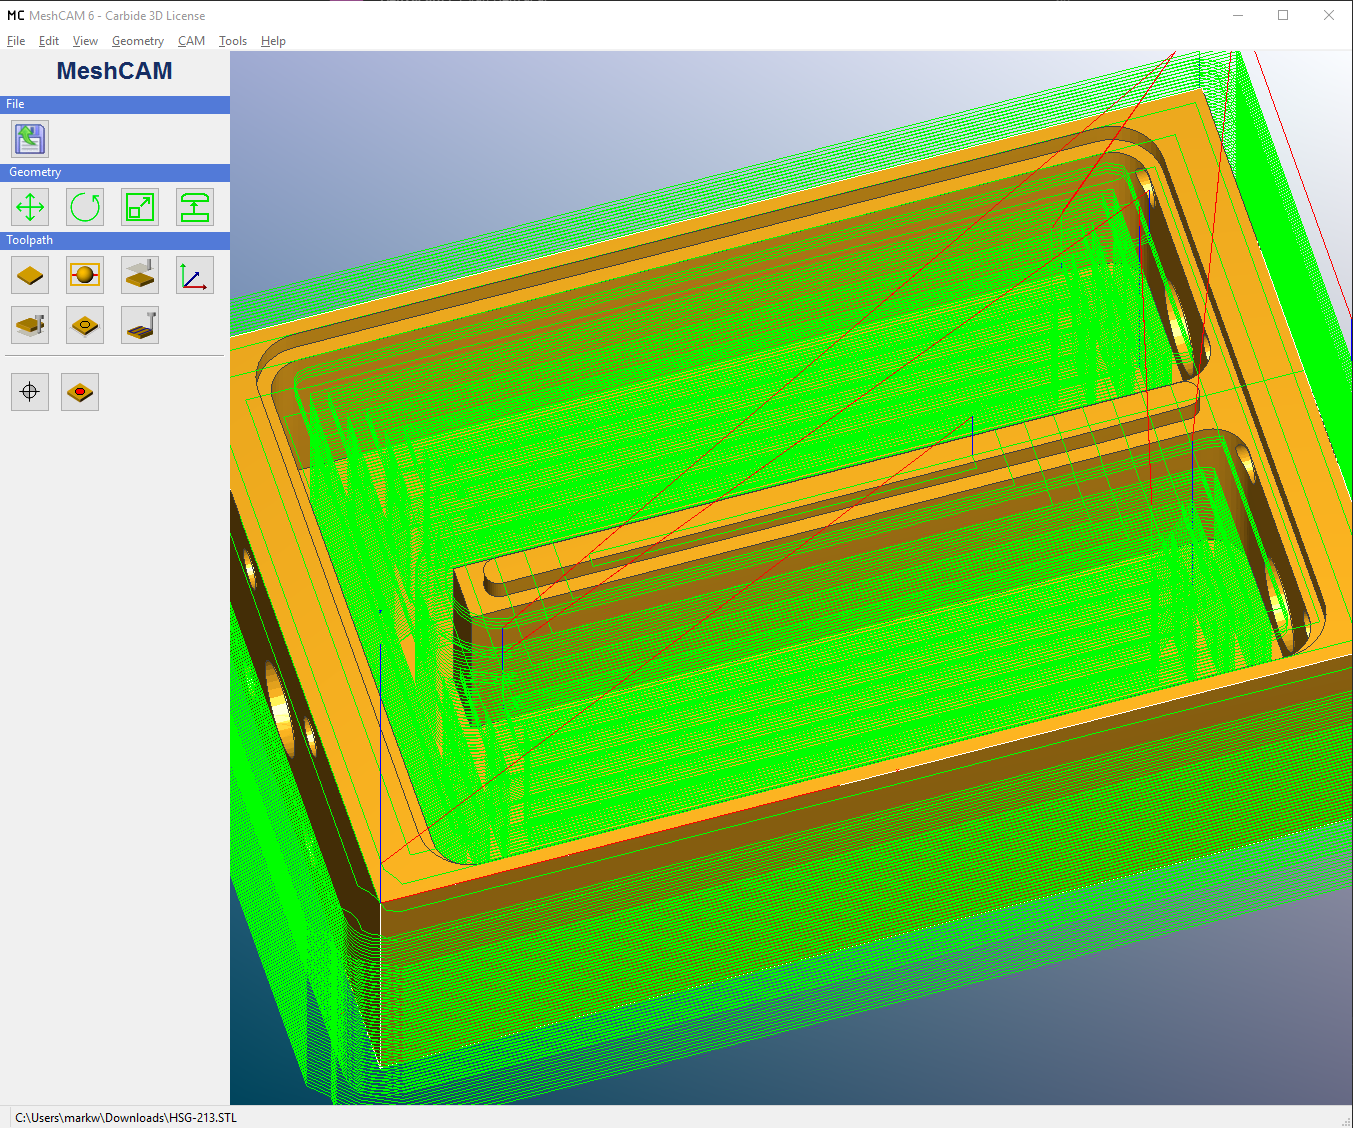
Attached is a STL file and PDF of the work i am trying to get done but when i put all the details in MeshCam it is not recognizing the inside depth cut outs.
Can someone help me, i do understand i need to read a little more but as i am learning someone might have a simple solution I am doing wrong or missing.
This one is tricky. It’s a small part with deep cuts and wants to be machined at least three sides and probably four since drilling the holes on the bottom from the top might be a challenge. Also how big is your stock relative to the part? IE do you need to also mill it out from something and what is your work holding strategy going to be.
But on to your question. When you say inside depth cuts, do you mean carving out the cavity from that side? And what trouble are you having? It isn’t trying to mill them at all? What tool do you intend to use to carve out the cavity?
But for a real job I’d need to do something based on workholding strategy. For example, if using the low profile vise and stock already correctly sized, I could put exclusion regions on the ends where the vise will be.
Also, one thing you might be hitting is that the default depth of cut is about half way through the stock. This is probably on the expectation that you’re going to flip and mill from the other side. I set the max depth to the bottom of the stock.
Thank you mark for the great detailed notes on your end. I’ve noticed a few flaws in my set up on meshCAM which I have not corrected and I have something similar to wha you are showing me.
Again thanks for that.
As for my stock material I plan to use a stock material that will be bolted right to the base material to reduce the height. The only thing I’ll be doing is lengthen it slightly so I can bolt the stock down.
The cut depth inside each cavity is only about 1/2 down so I’m hoping this will not have issues cutting it, as you noted we are close to the machines max ability.
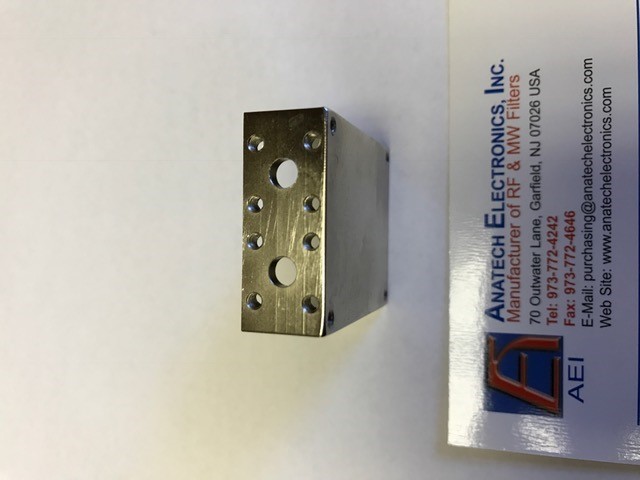
As for the sides with the 5 hole pattern this will be done manually with marking and drilling the holes then using a Tapmatic on the drill press.
When I’m back in the office tomorrow I’m going to prepare to set up my material and steps, I’ll post my pictures and set up as I go along. Hopefully it all works out.
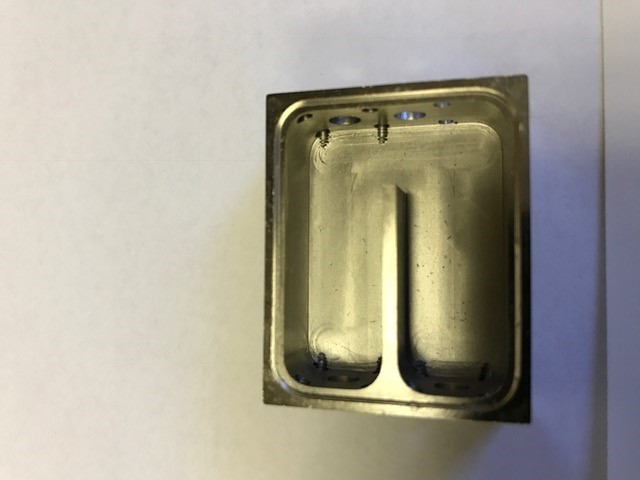
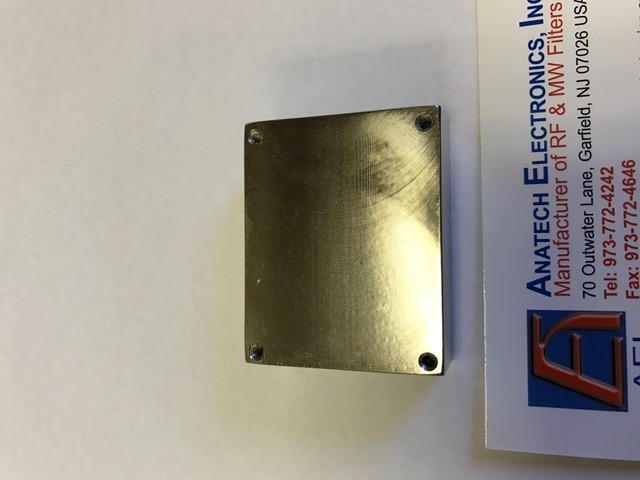
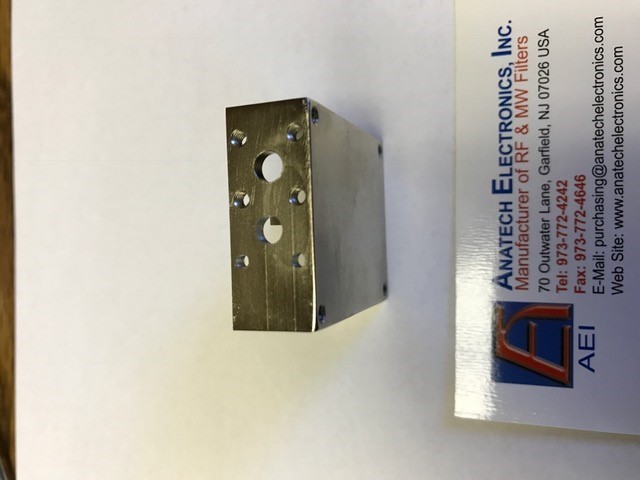
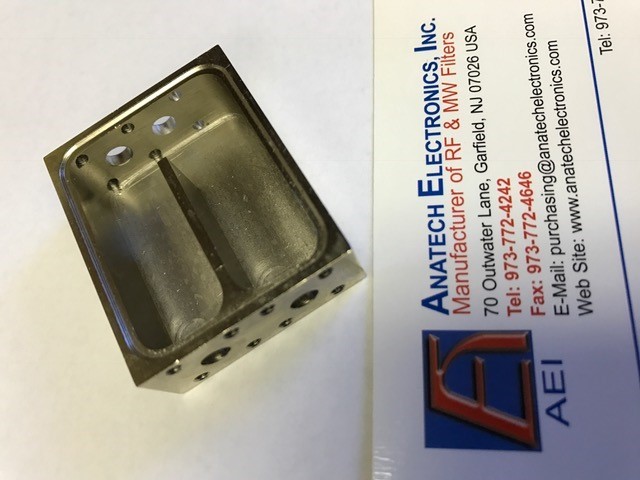
as i said below are some pictures of the finished product, now it took me alot of trial and error before i got this completed, i used MeshCAM and the Carbide Create.
The side and bottom hole pattern was complete using the Carbide Create software, as for the overall inside cavity i used MeshCAM.
Note: i had to finish off some details using a manual drill press with a X and Y vise to clean off some work using a larger end mill. i believe i could have done everything with the machine but i was having some issues with the step i needed and the inside wall.
on the next project i will take pictures of the in process work. i didn’t think of that until i completed the task, this did take me much longer then it would of but was well worth it.
this is my very first real project for my company.
Material used: 6061 AL
Finish: Flashed Copper / Nickel over plate.