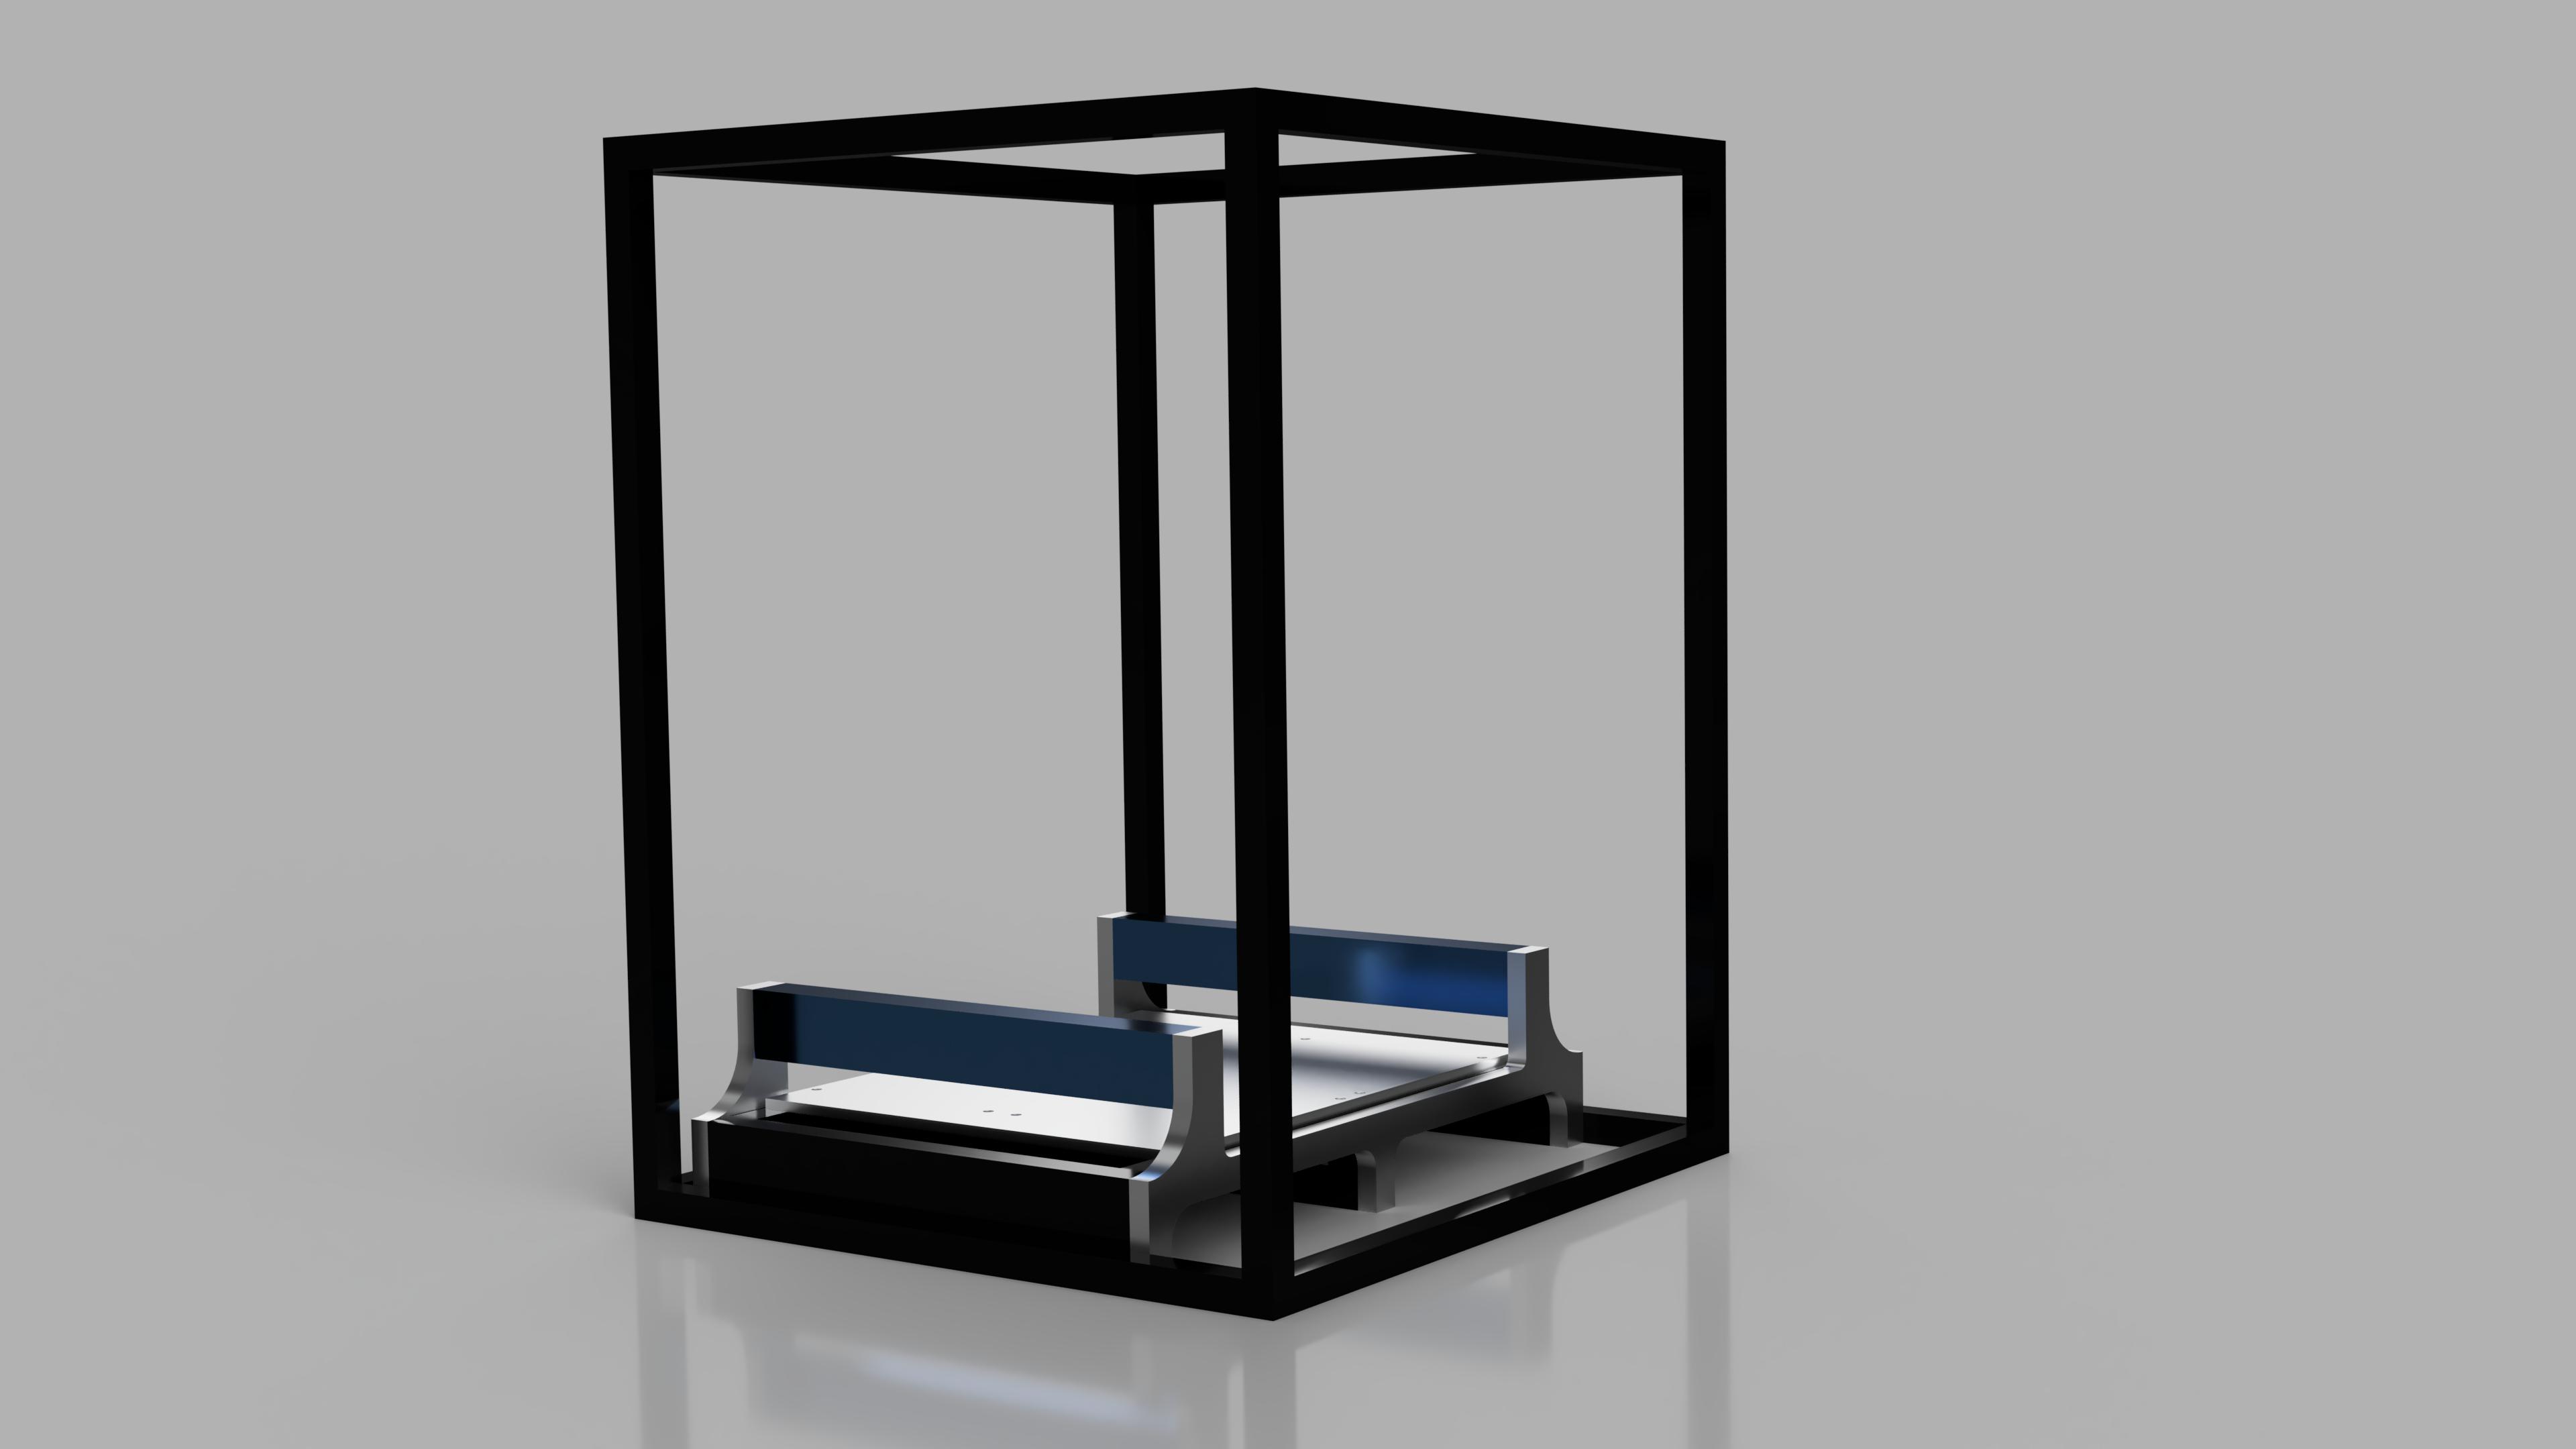
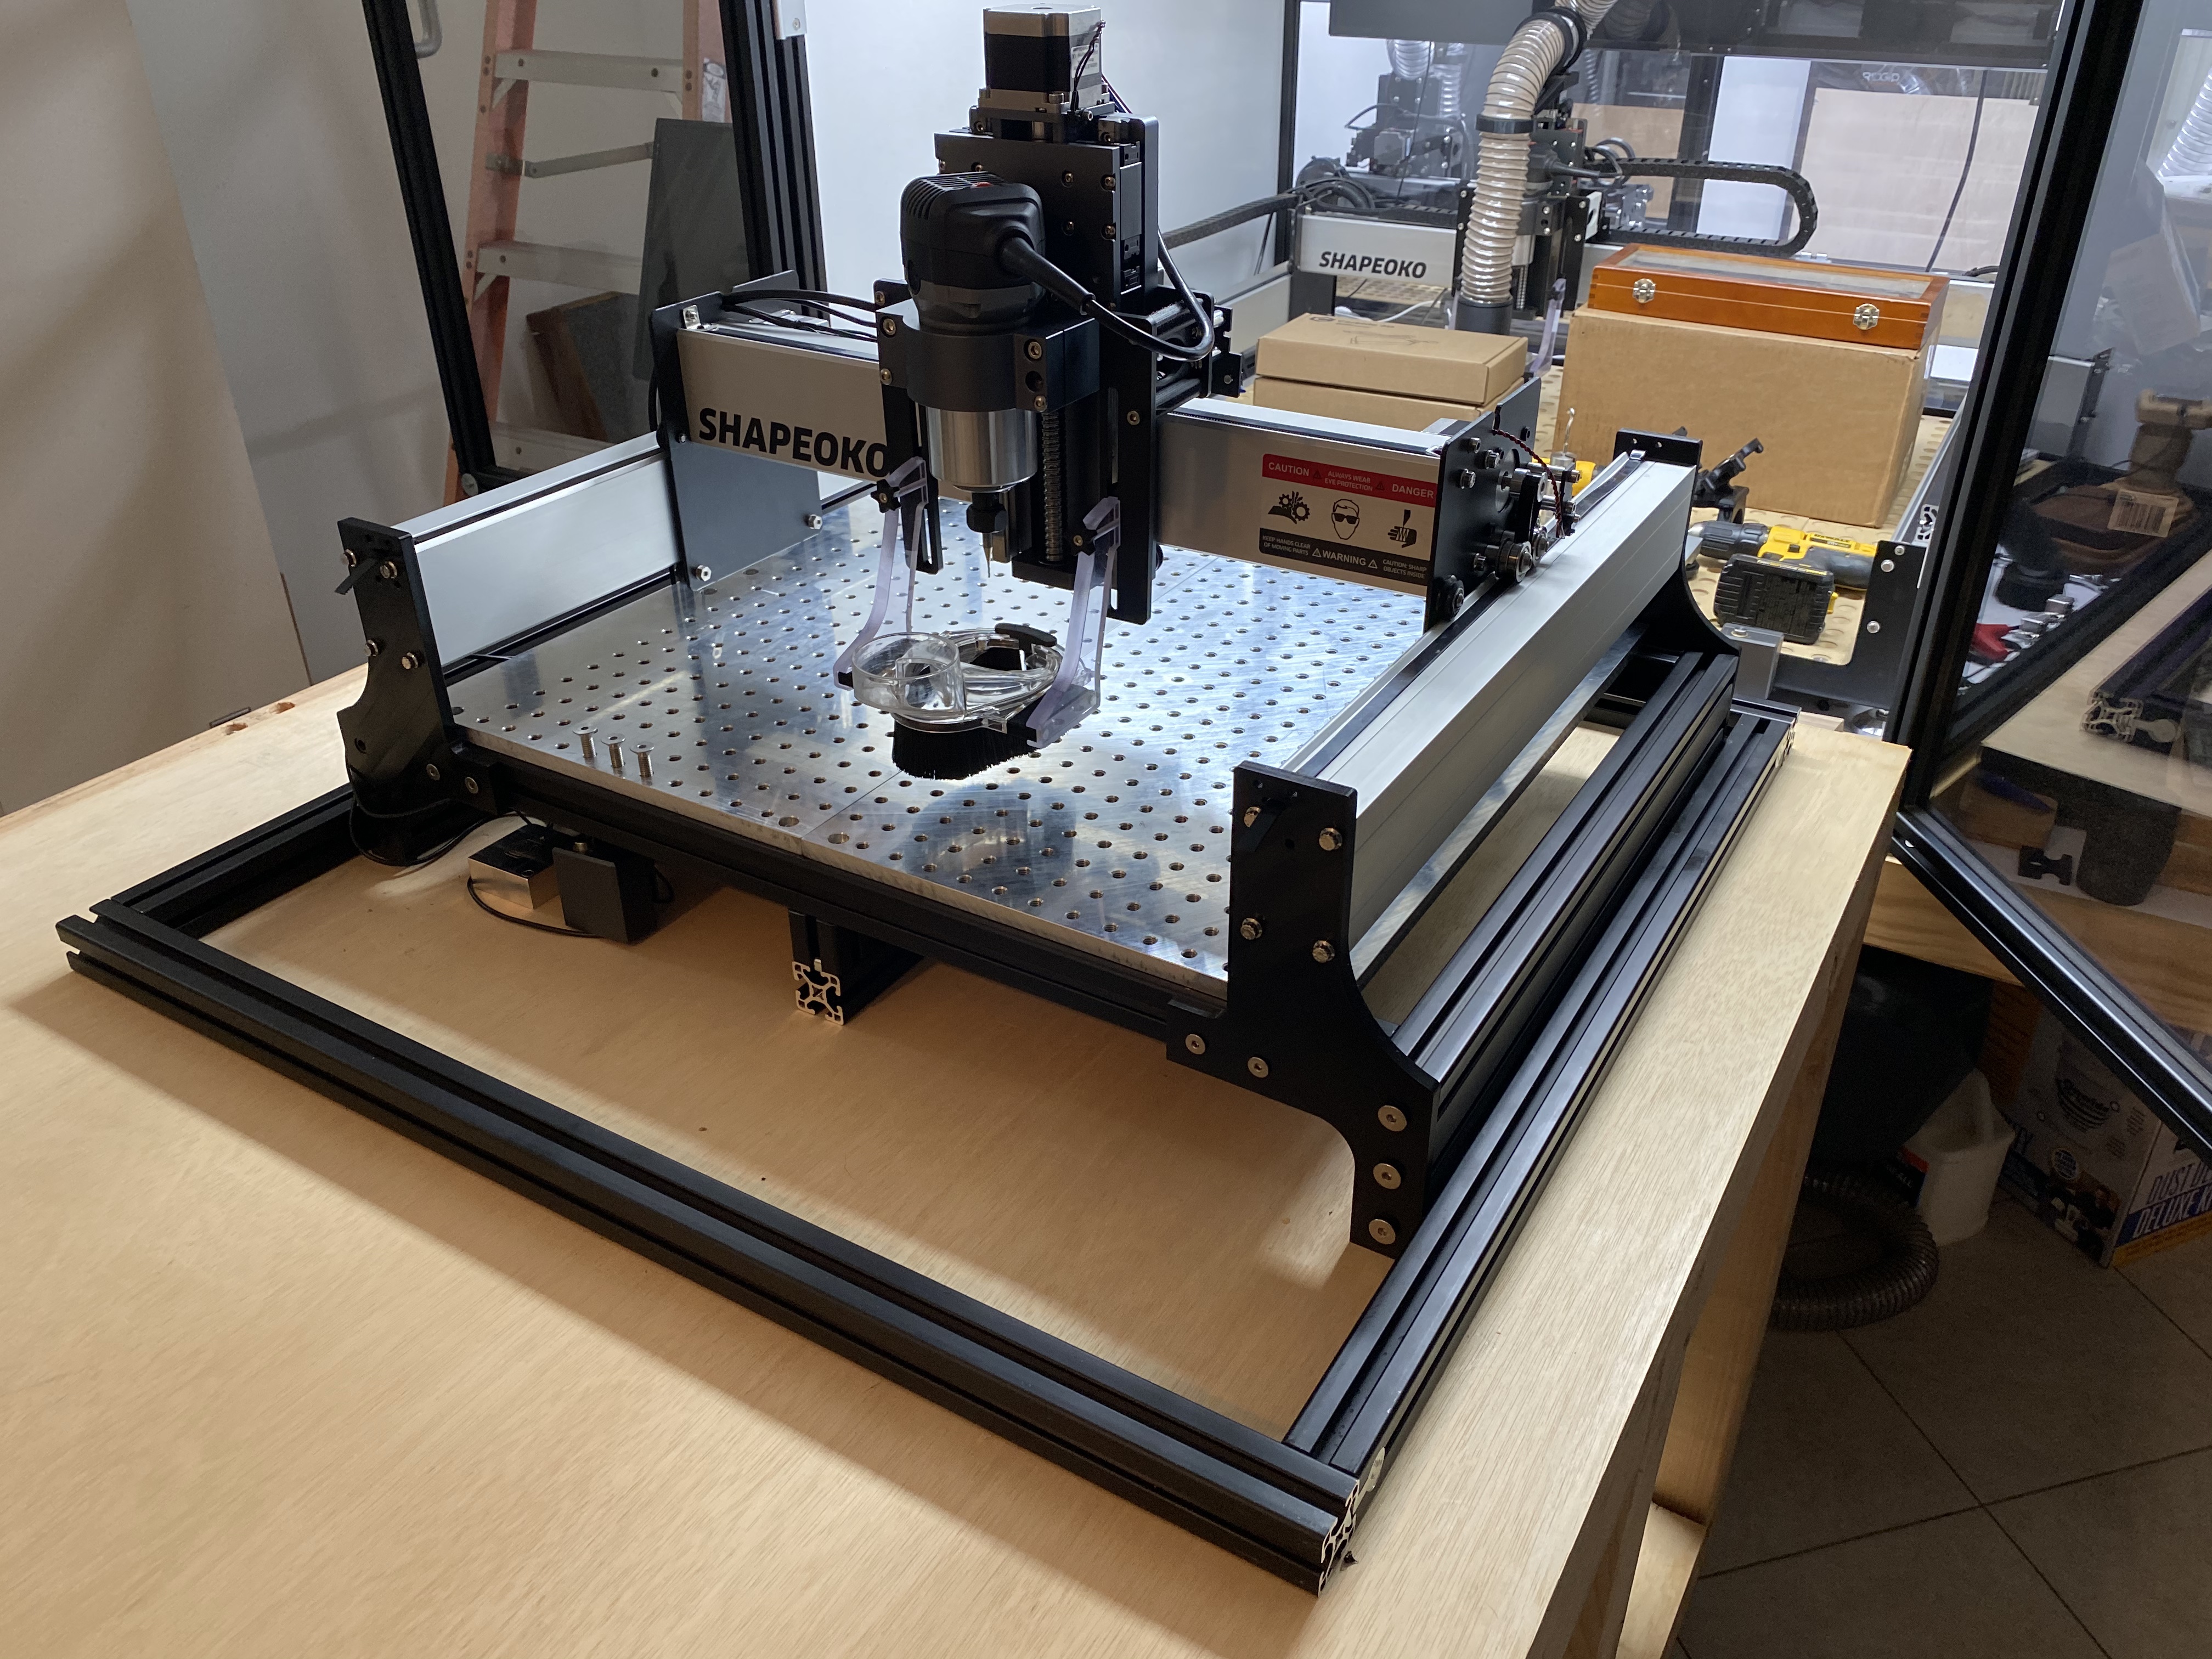
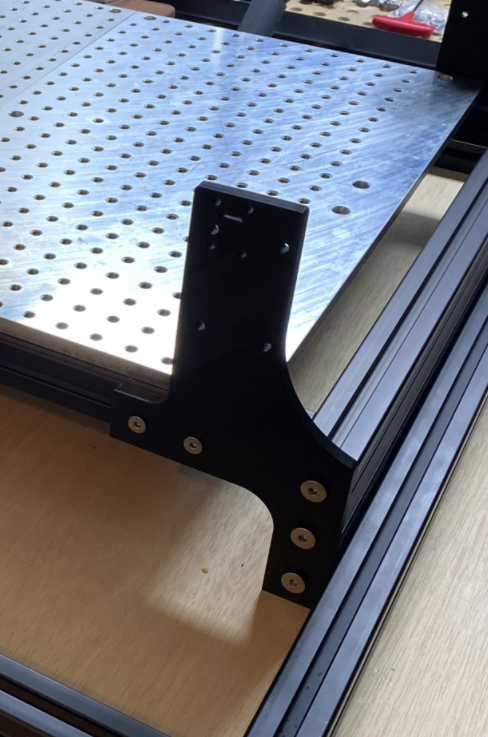
Old thread got locked long ago… A recap, I designed a 80/20 frame for the Standard S3, ordered everything, made a few minor mistakes, had to reorder some parts, and finally got the first one together a few days ago. Have been 3D printing rail caps to test before I start milling them out of aluminum.
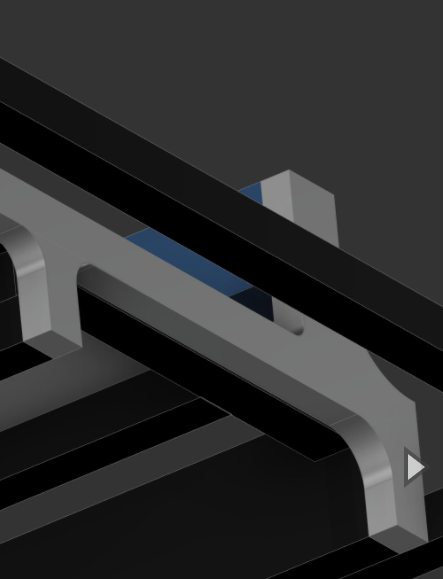
Also designing some belt tighteners and tension gauges as well.
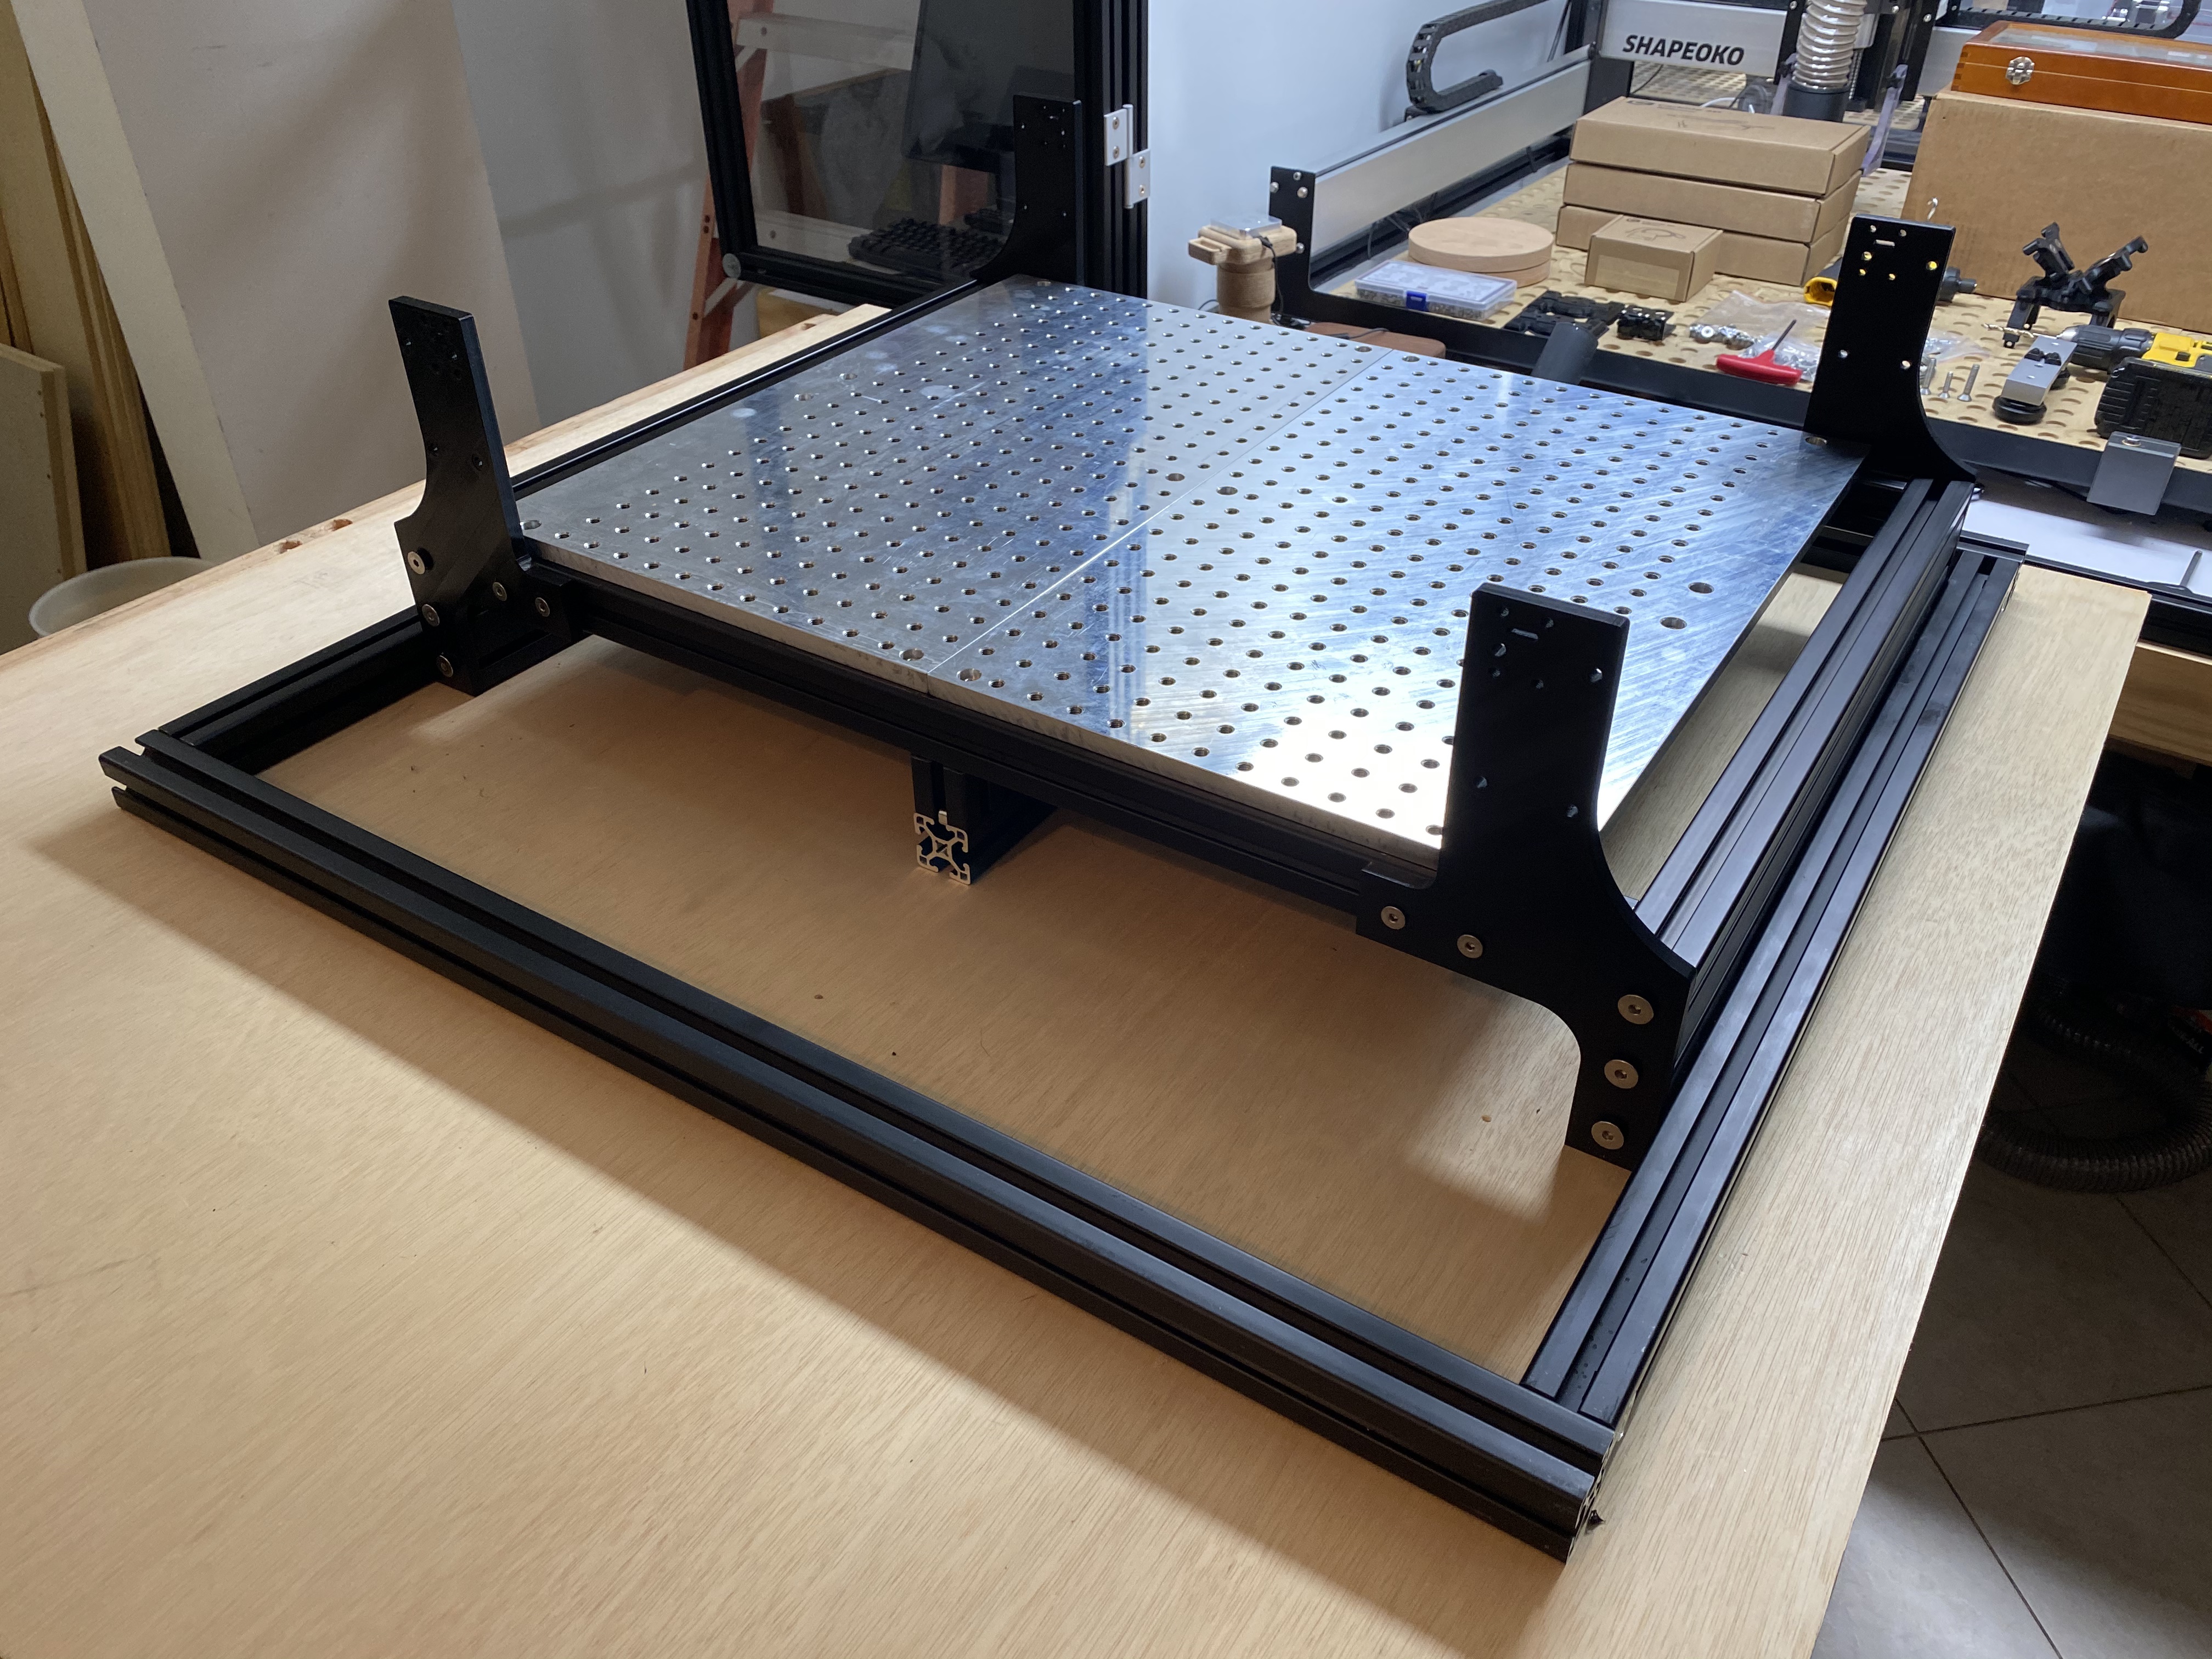
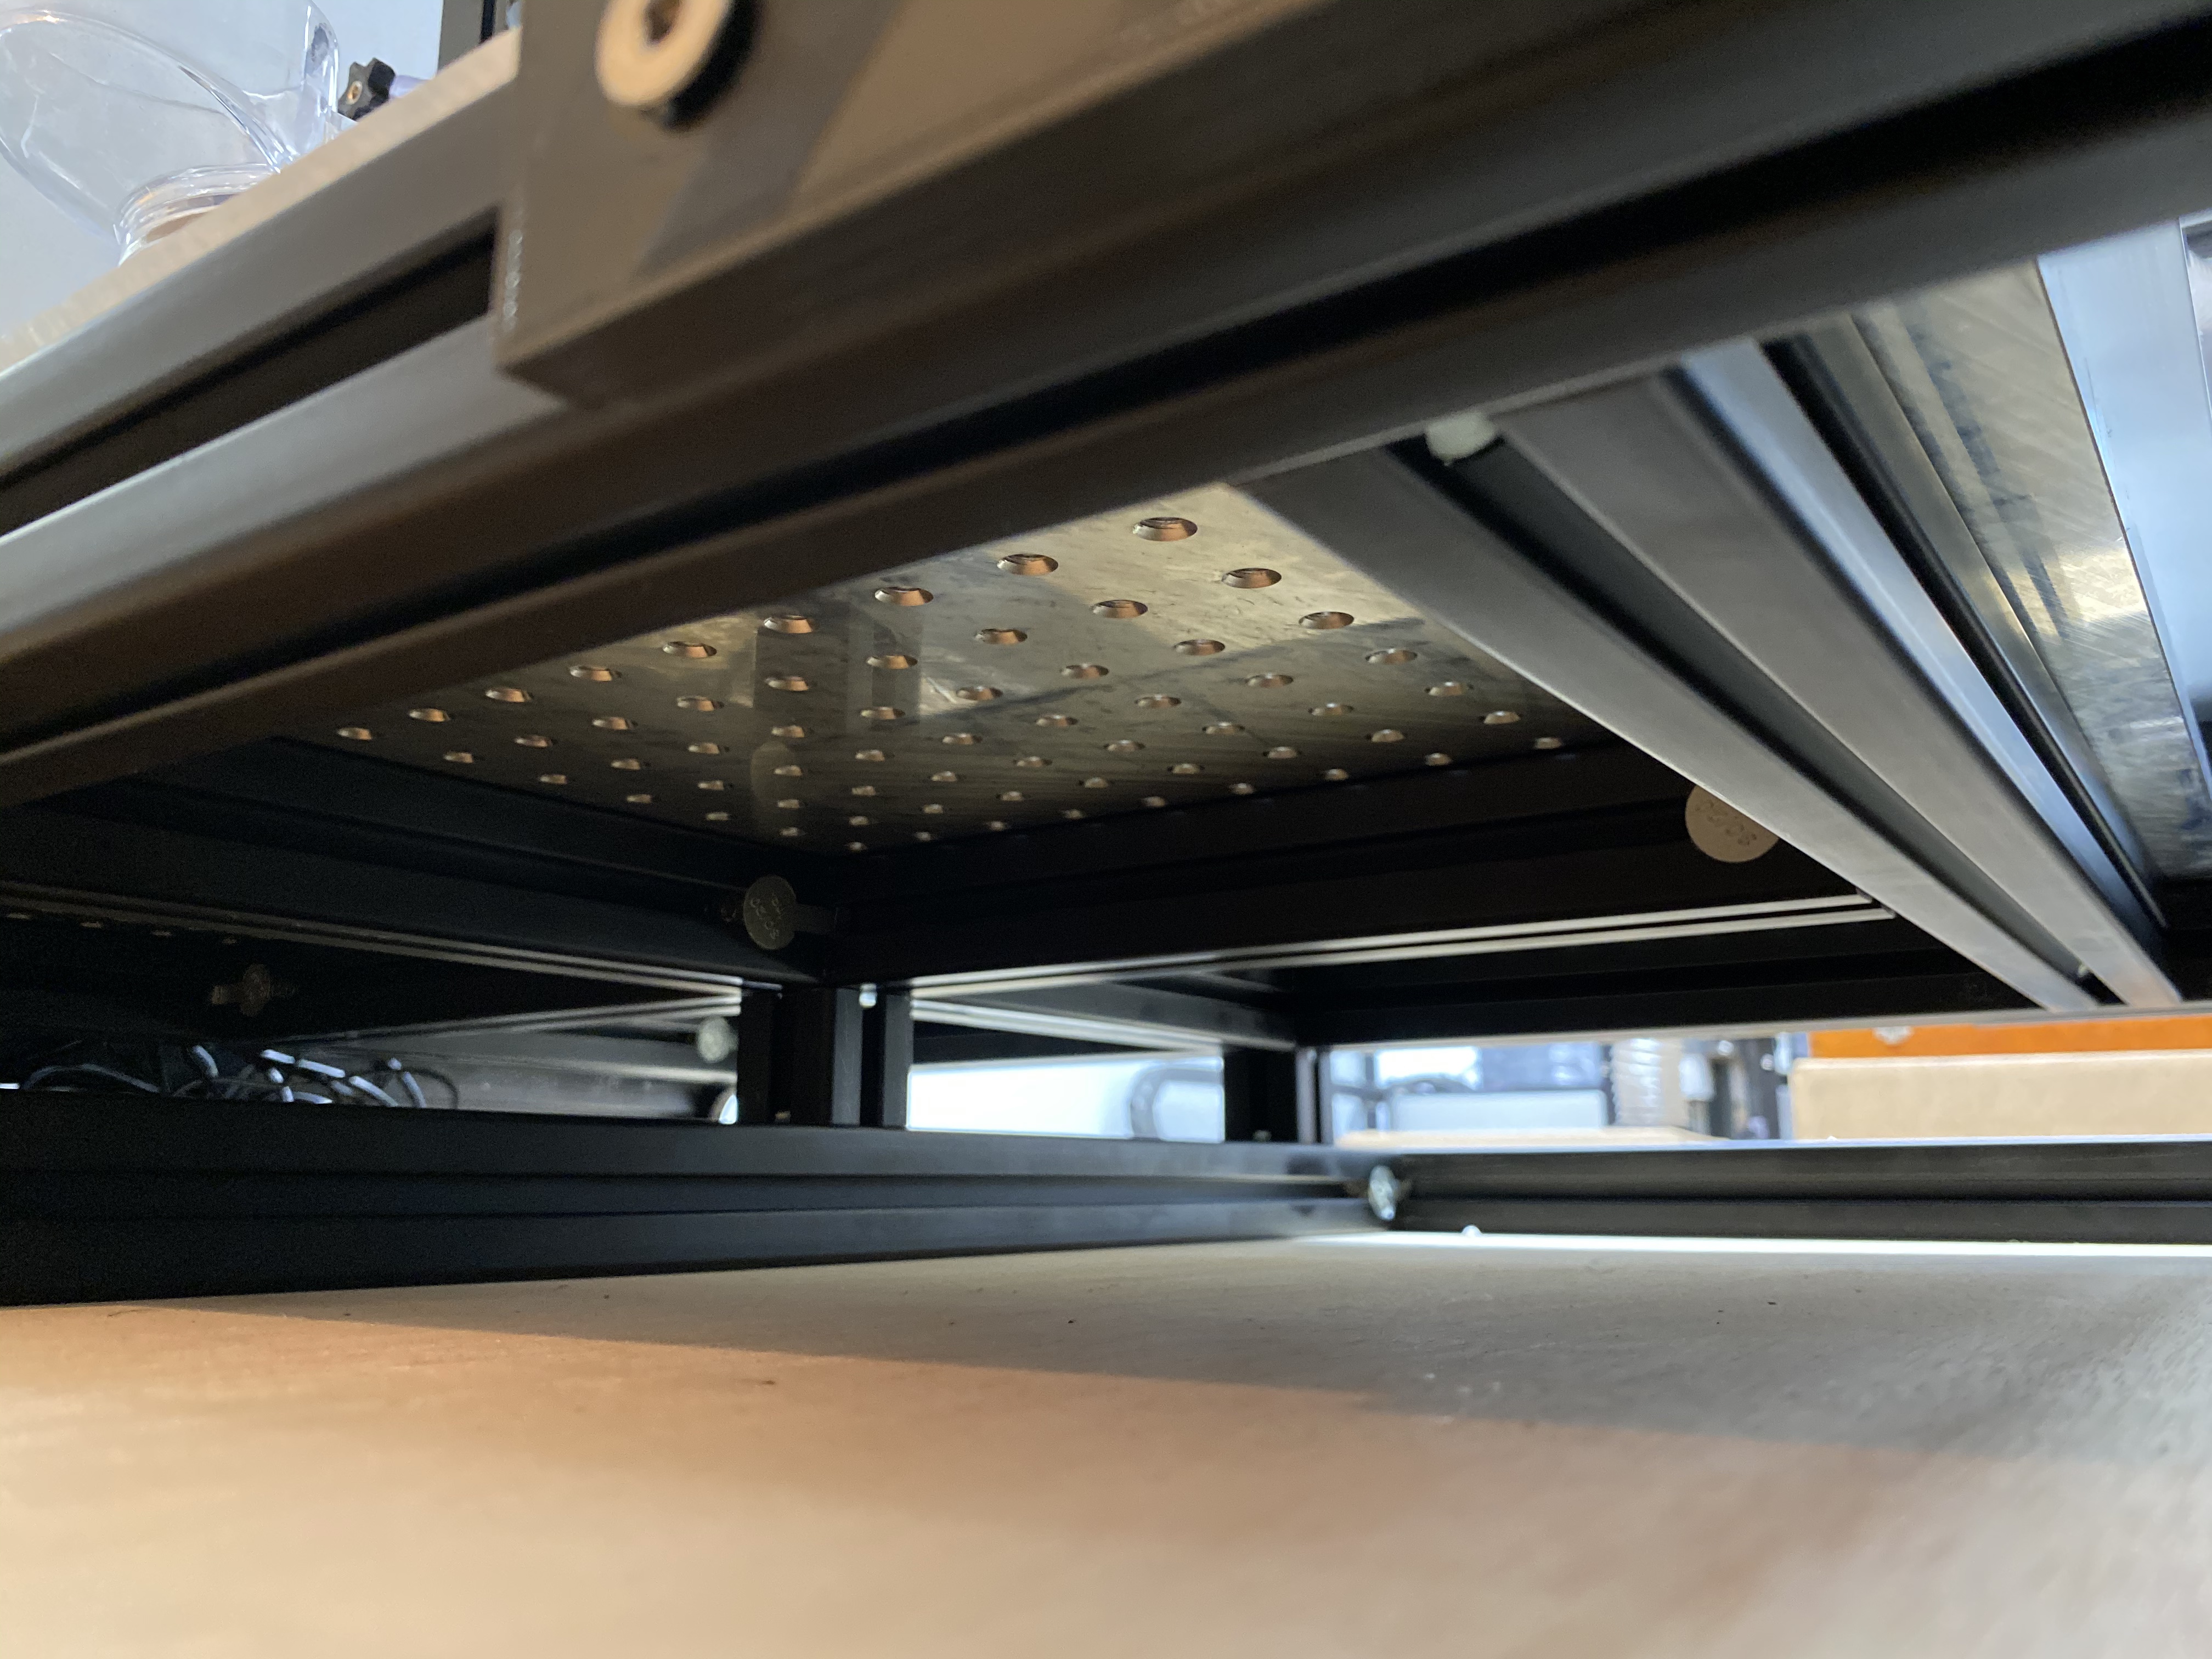
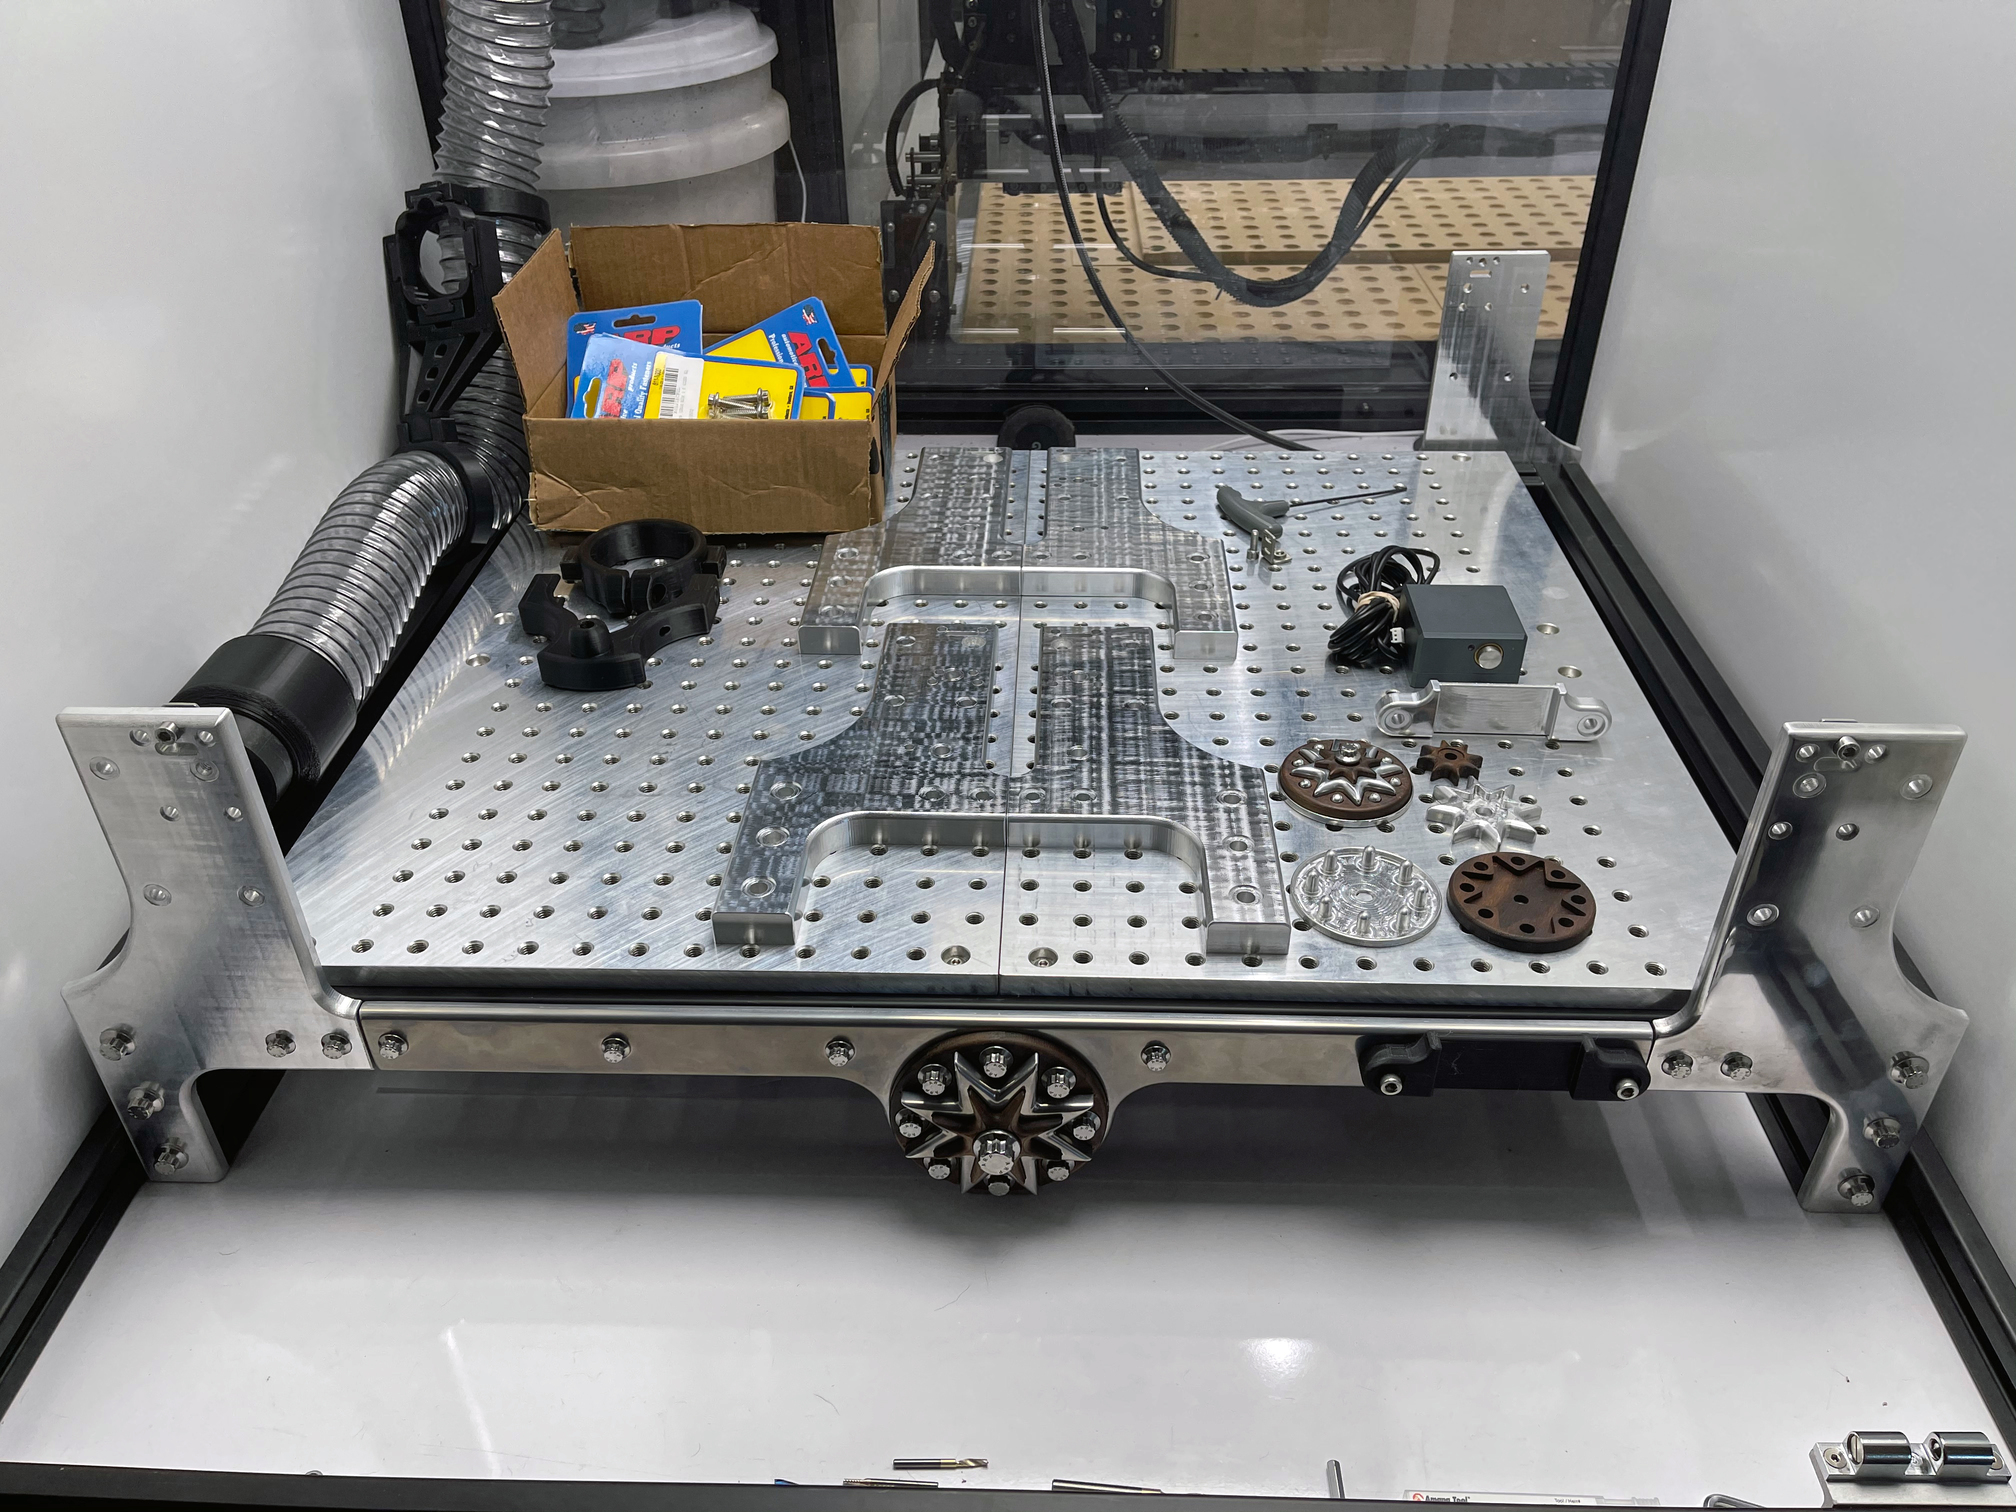
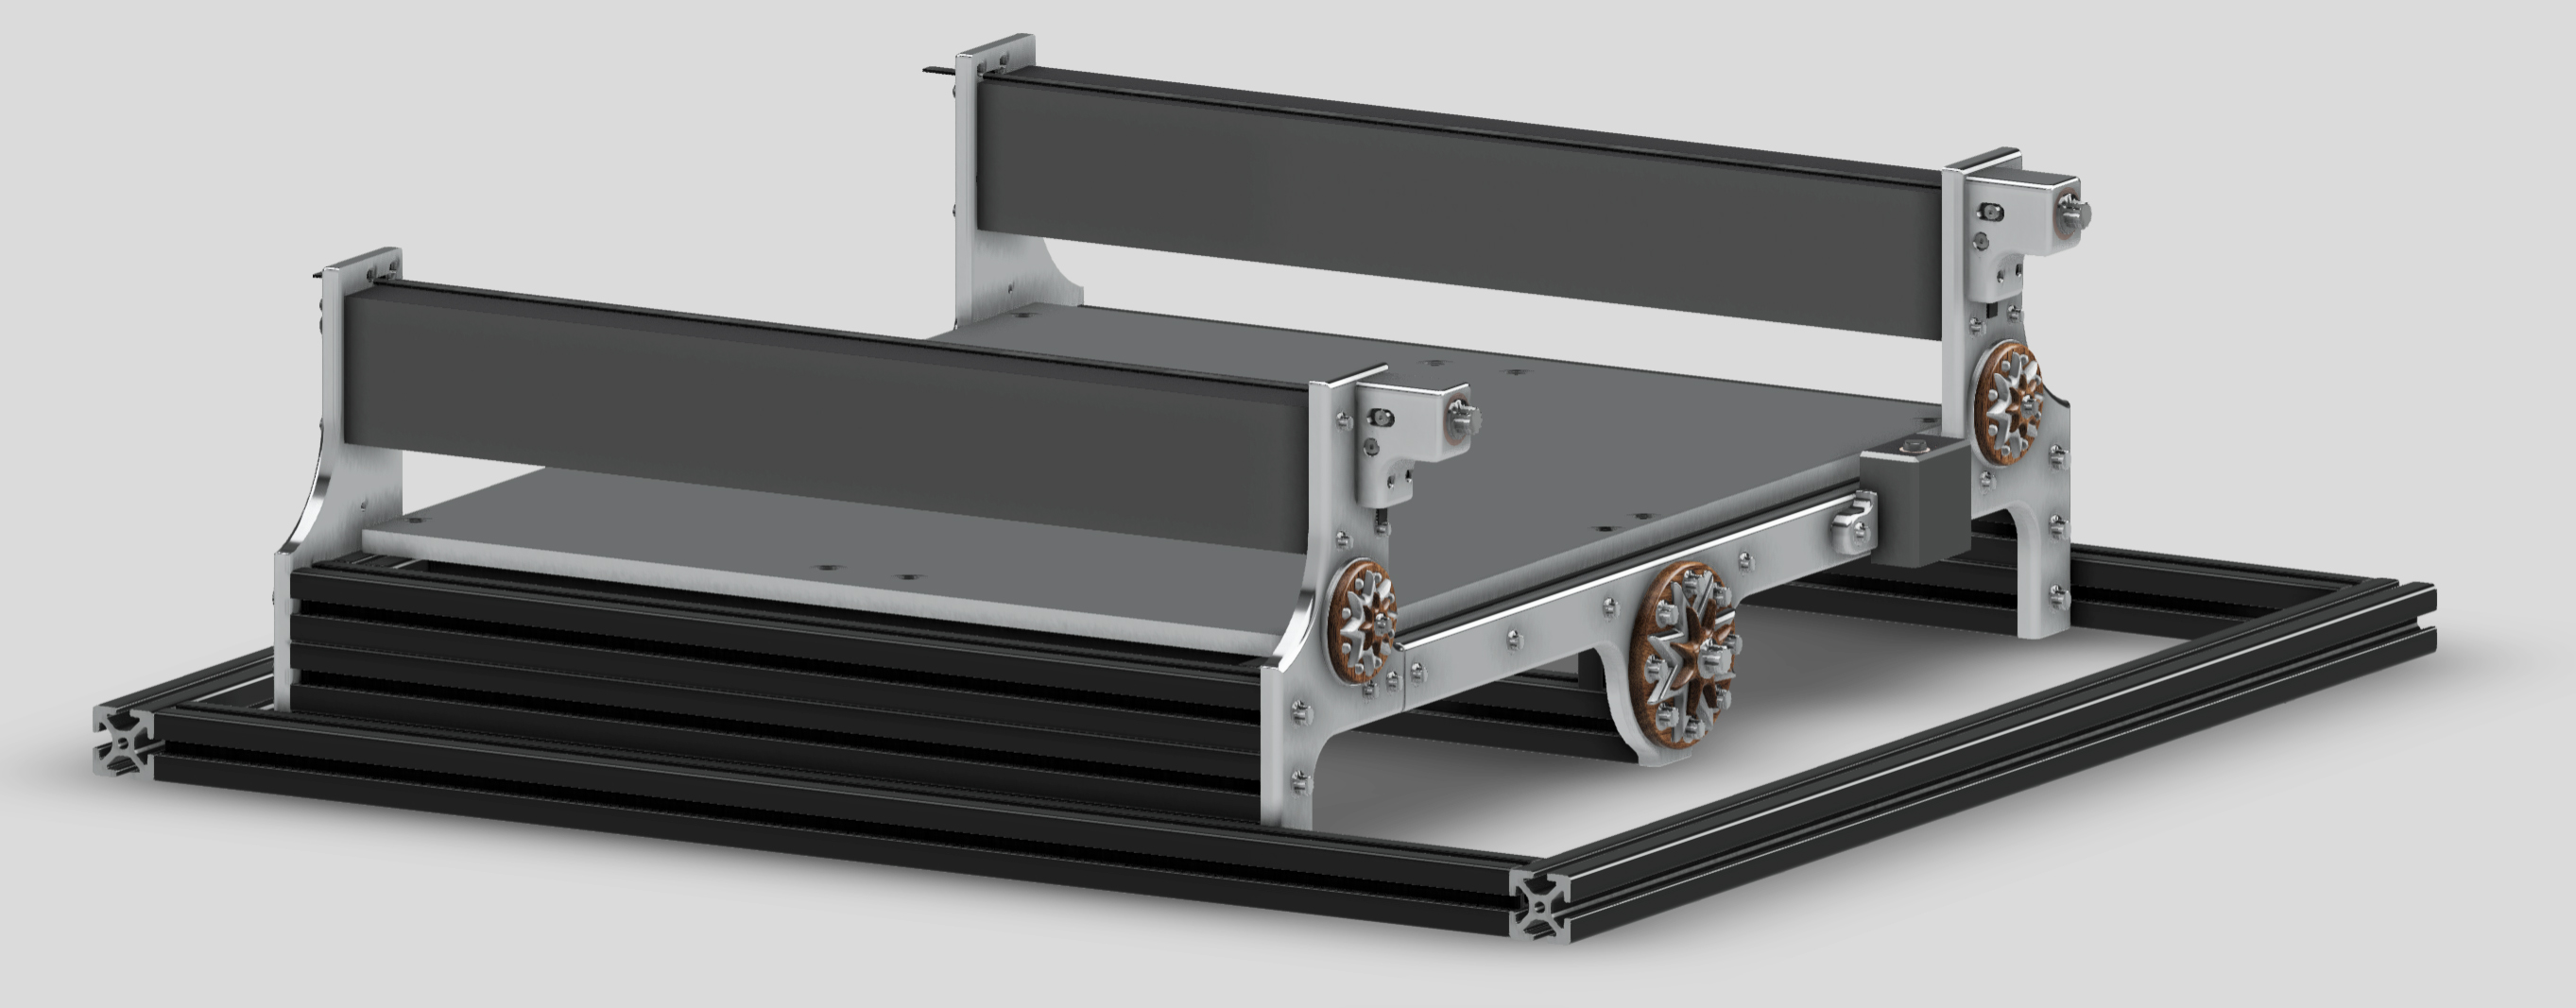
This frame is solid and heavy, I have absolute full confidence in it. The Ohio Diesel spoil board now has 14 attachment points instead of 8 and has full support from all sides into the middle. The outside frame base in the photos is the same as my double enclosure I built, so it bolts right to the inside of the frame of the enclosure.
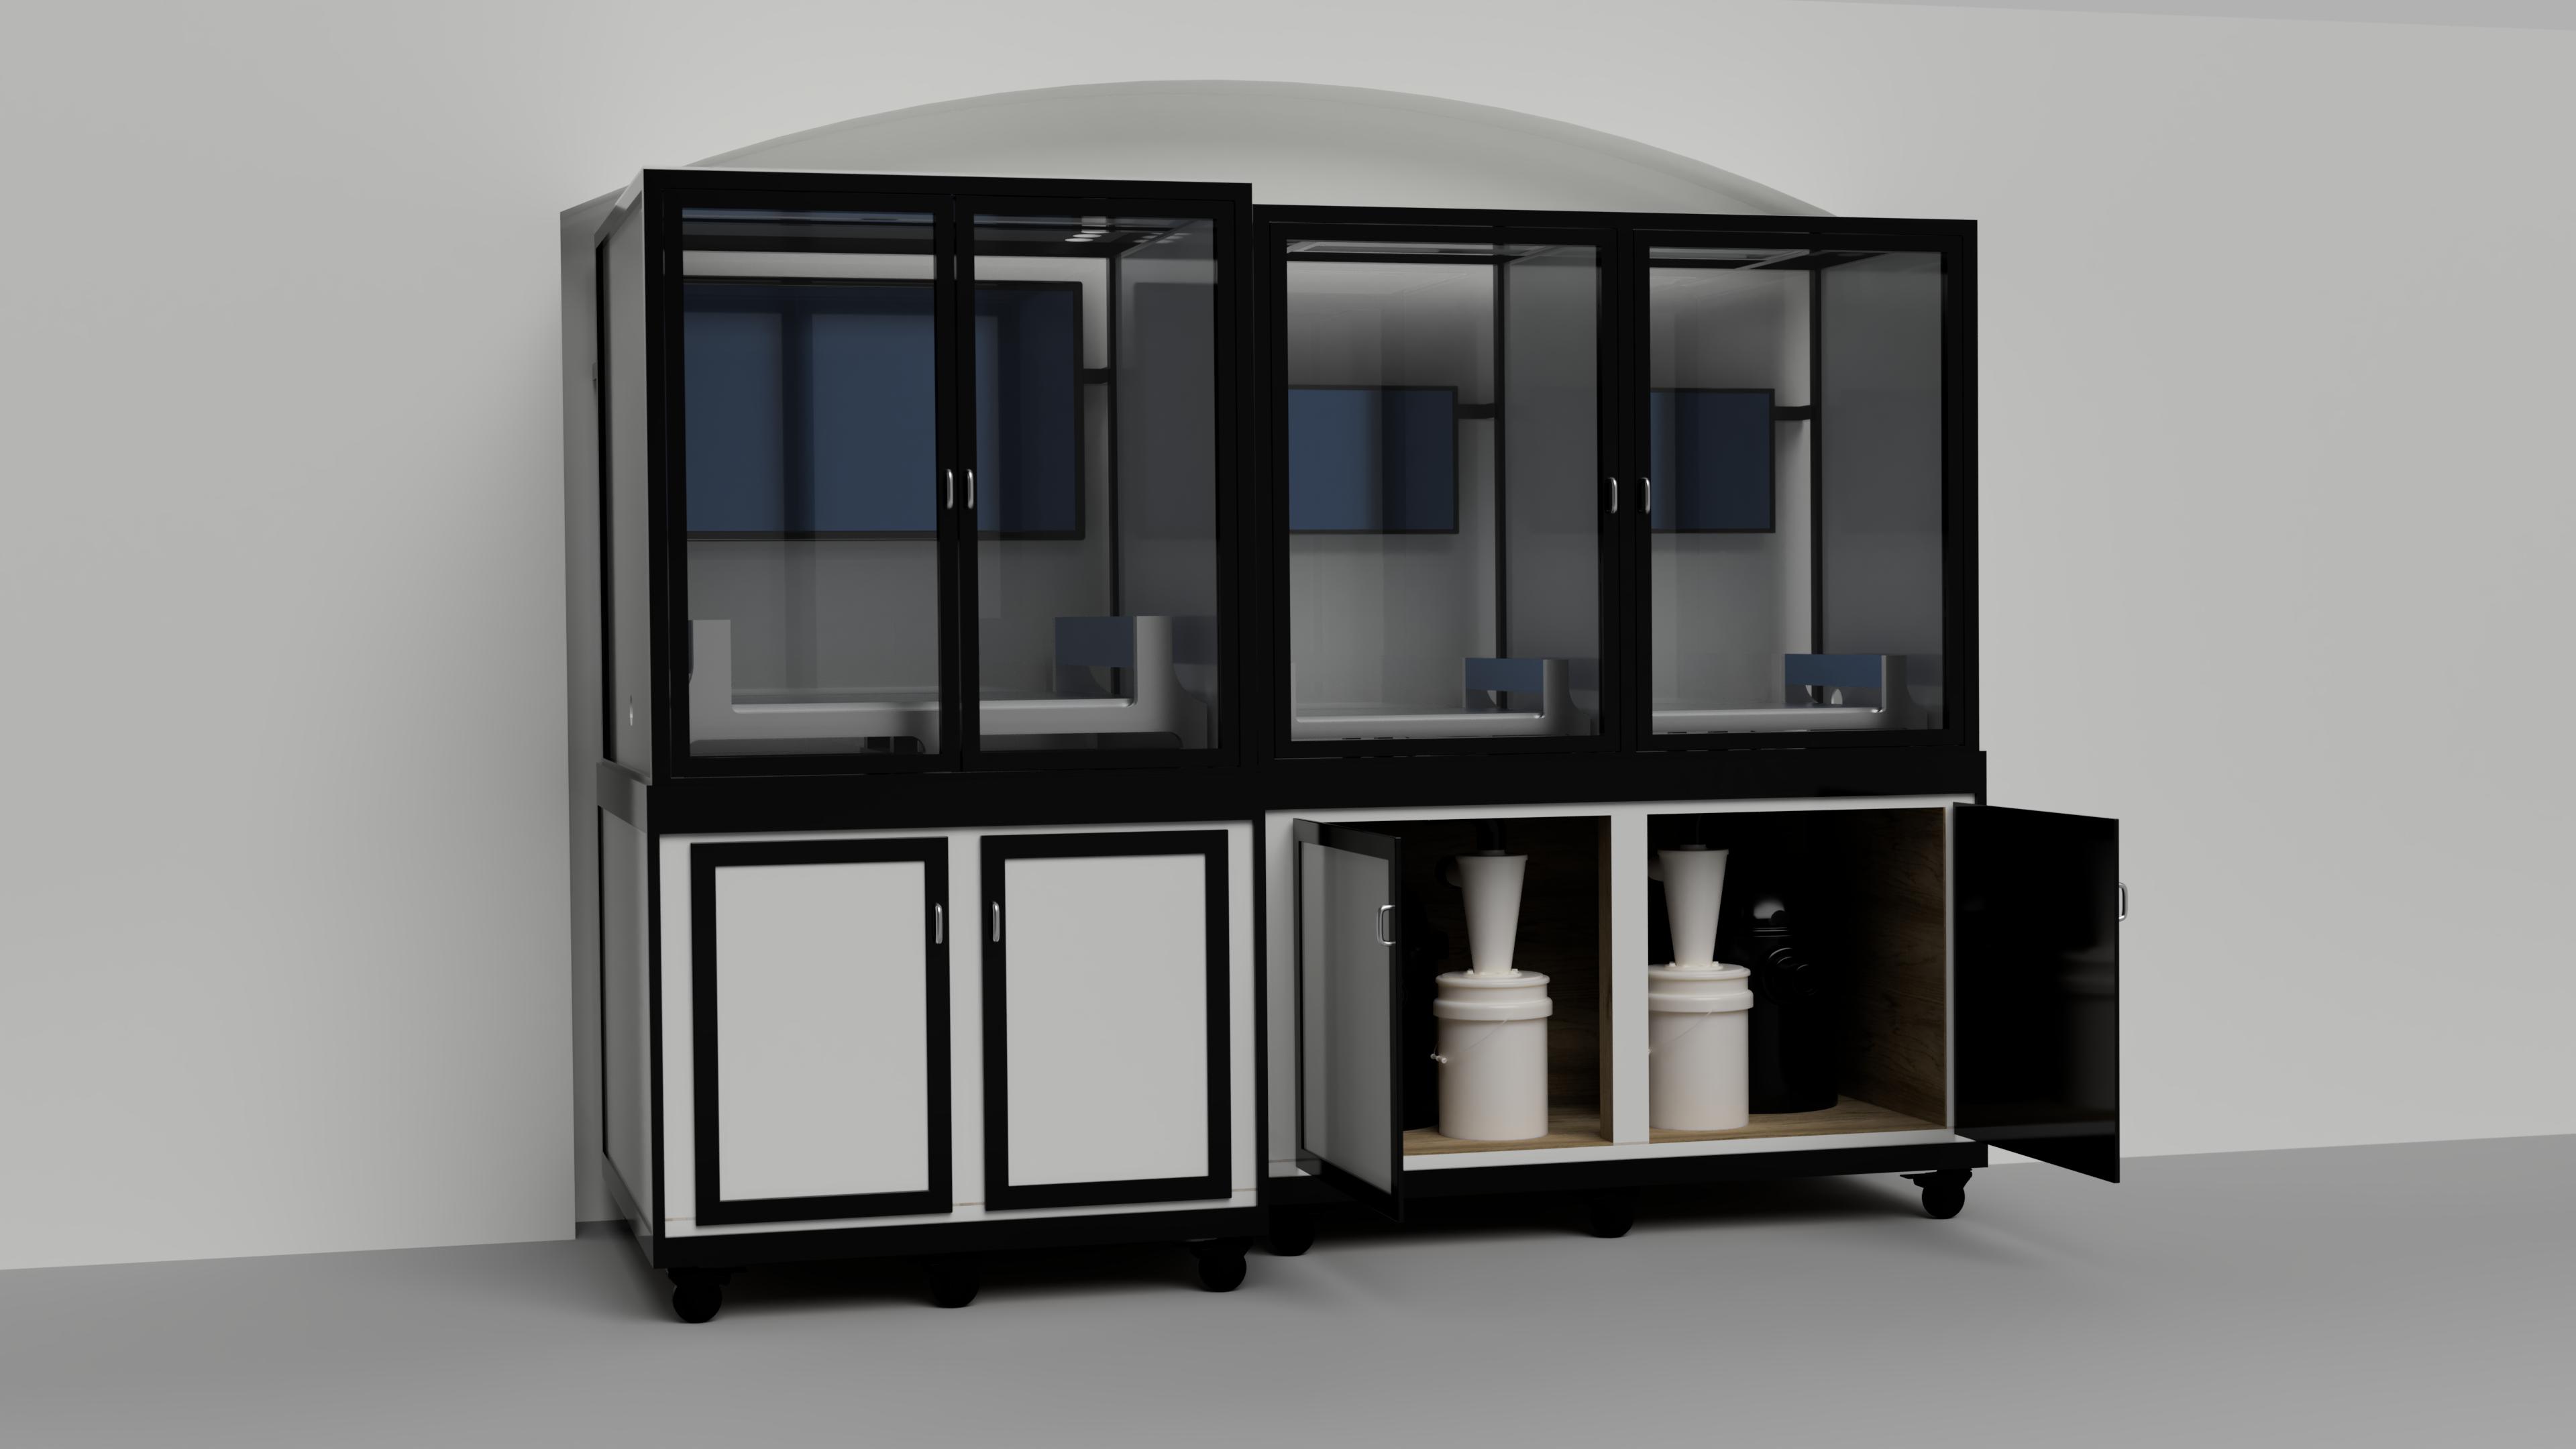
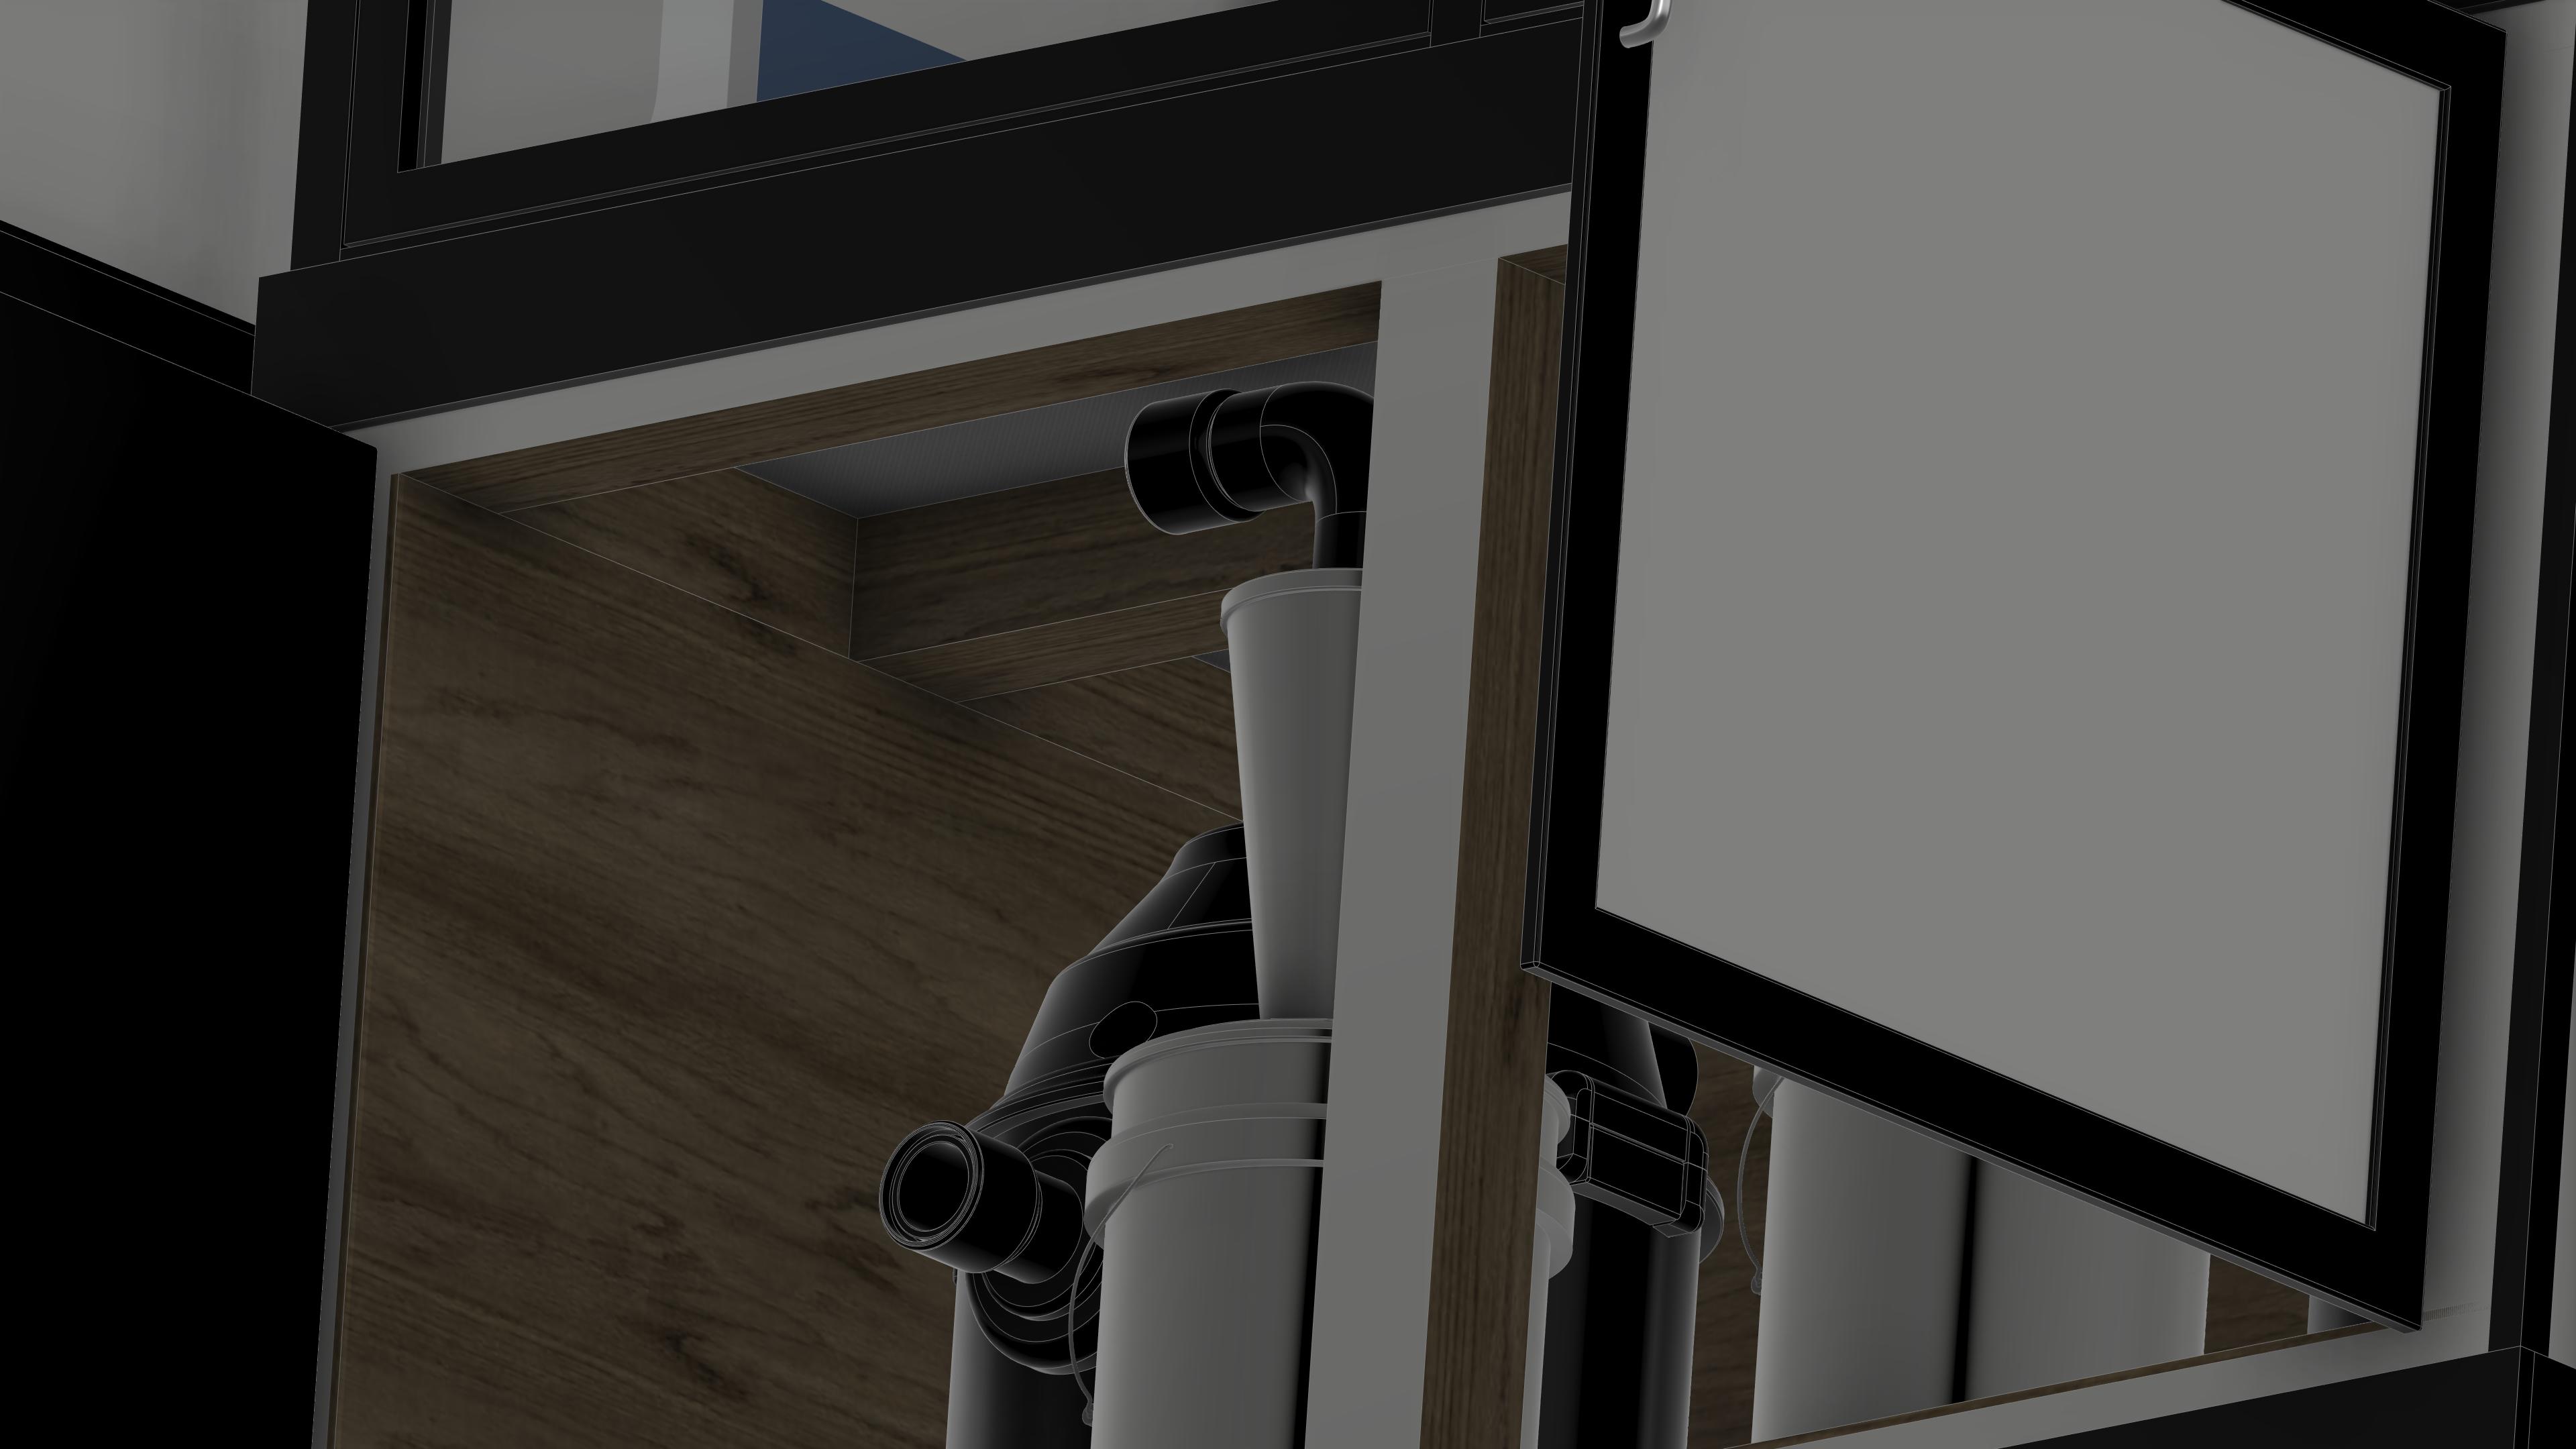
Also spent way too much time modelling my enclosures and some cabinets I am making, they will be insulated/sound proofed and will have separate chambers holding the shop vac, Spindle chiller, PC and all will be on sliding drawers for easy access.
Looking forward to installing Dan Story’s Linear Rail kit and the 2.2K spindle!
I like this a lot, especially the aluminium base, end plates and extrusion. I’m assuming the 3D printed brackets are just a test and you’ll eventually cut aluminium plates that run the full width?
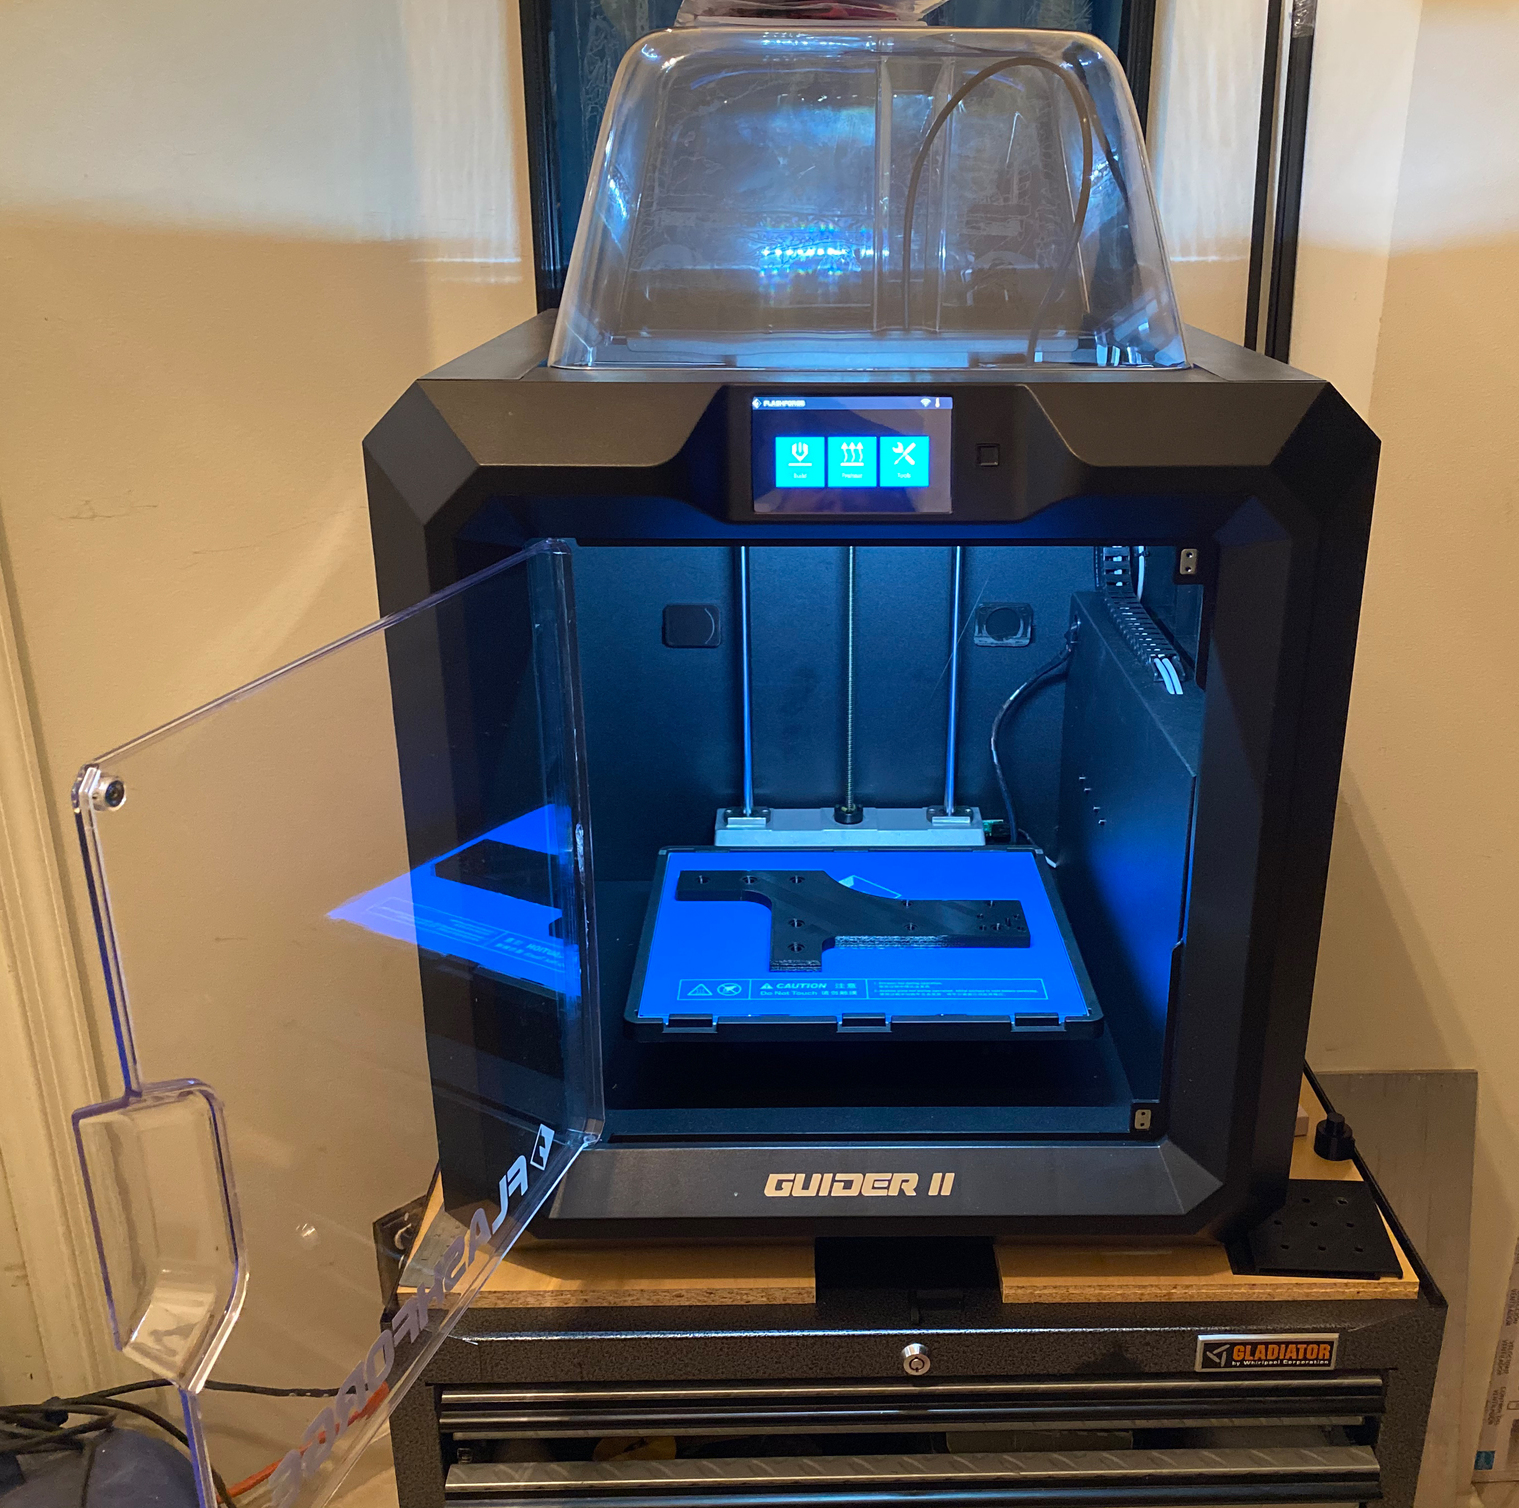
The Guider 2 is a very nice looking machine. Print quality is not the best. High detail is not as good as my smaller much cheaper Adventurer 3’s. Makes a lot of noise and has a grinding sound when moving around sometimes. I am sure I will dial it in better, only had it for a short time. I purchased it for the large build size and operating on the same system as my smaller machines.
I would not recommend buying it.
Check out the Quidi X-MAX on Amazon, a very nice large 50 micron printer. The Quidi has twin ball-screws on opposing sides of the bed, way better then the guider and other companies 1 ball-screw shelf system. I should have bought the Quidi, but new tech should be coming out any day so many top of the line printers are going on 3 years old designs. The Creality CR-6 SE for $399 is a new design with auto bed leveling and removable magnetic bed. Very promising but has no Wifi, or Ethernet and has had some new product QC problems I am sure they will get straightened out asap.
Makerbot has stopped USA production, has ended the current line up and is moving manufacturing to China and creating new models. Not sure where this will lead.
Also the Modix brand of printers is just insane. The new one coming out is a 1800x600x600mm build size! I was thinking about getting a Modex for making car body parts etc.
I plan to cut the 1 inch thick aluminum front and rear plate for the 80/20 frame as soon as I get the design finalized. Waiting on some hardware and parts for the belt tension system I am working on.
I considered trying a permanent interlocking 3D printed front and rear frame , I think if I printed 1 inch thick PLA+ plates, they would be as rigid as the stock S3 frame. The 50% infill ones I printed are 3/8 thick and barely flex and took 15 hours each. 1 inch thick would take 35+ hours each to print though (x4) plus 2KG of filament. Possibly worth the experiment as the aluminum will be around 400 dollars.
I think 3D printing and CNC compliment each other extremely well. I wish C3D would make a line of 3D printers!
As usual, great design. I’d be interested in this for XXL. No particular need for an aluminum plate, but a more rigid frame would be a welcome improvement.
I’ve just started playing with a 3D printer. Useful and very enjoyable. Those Modix printers look very cool.
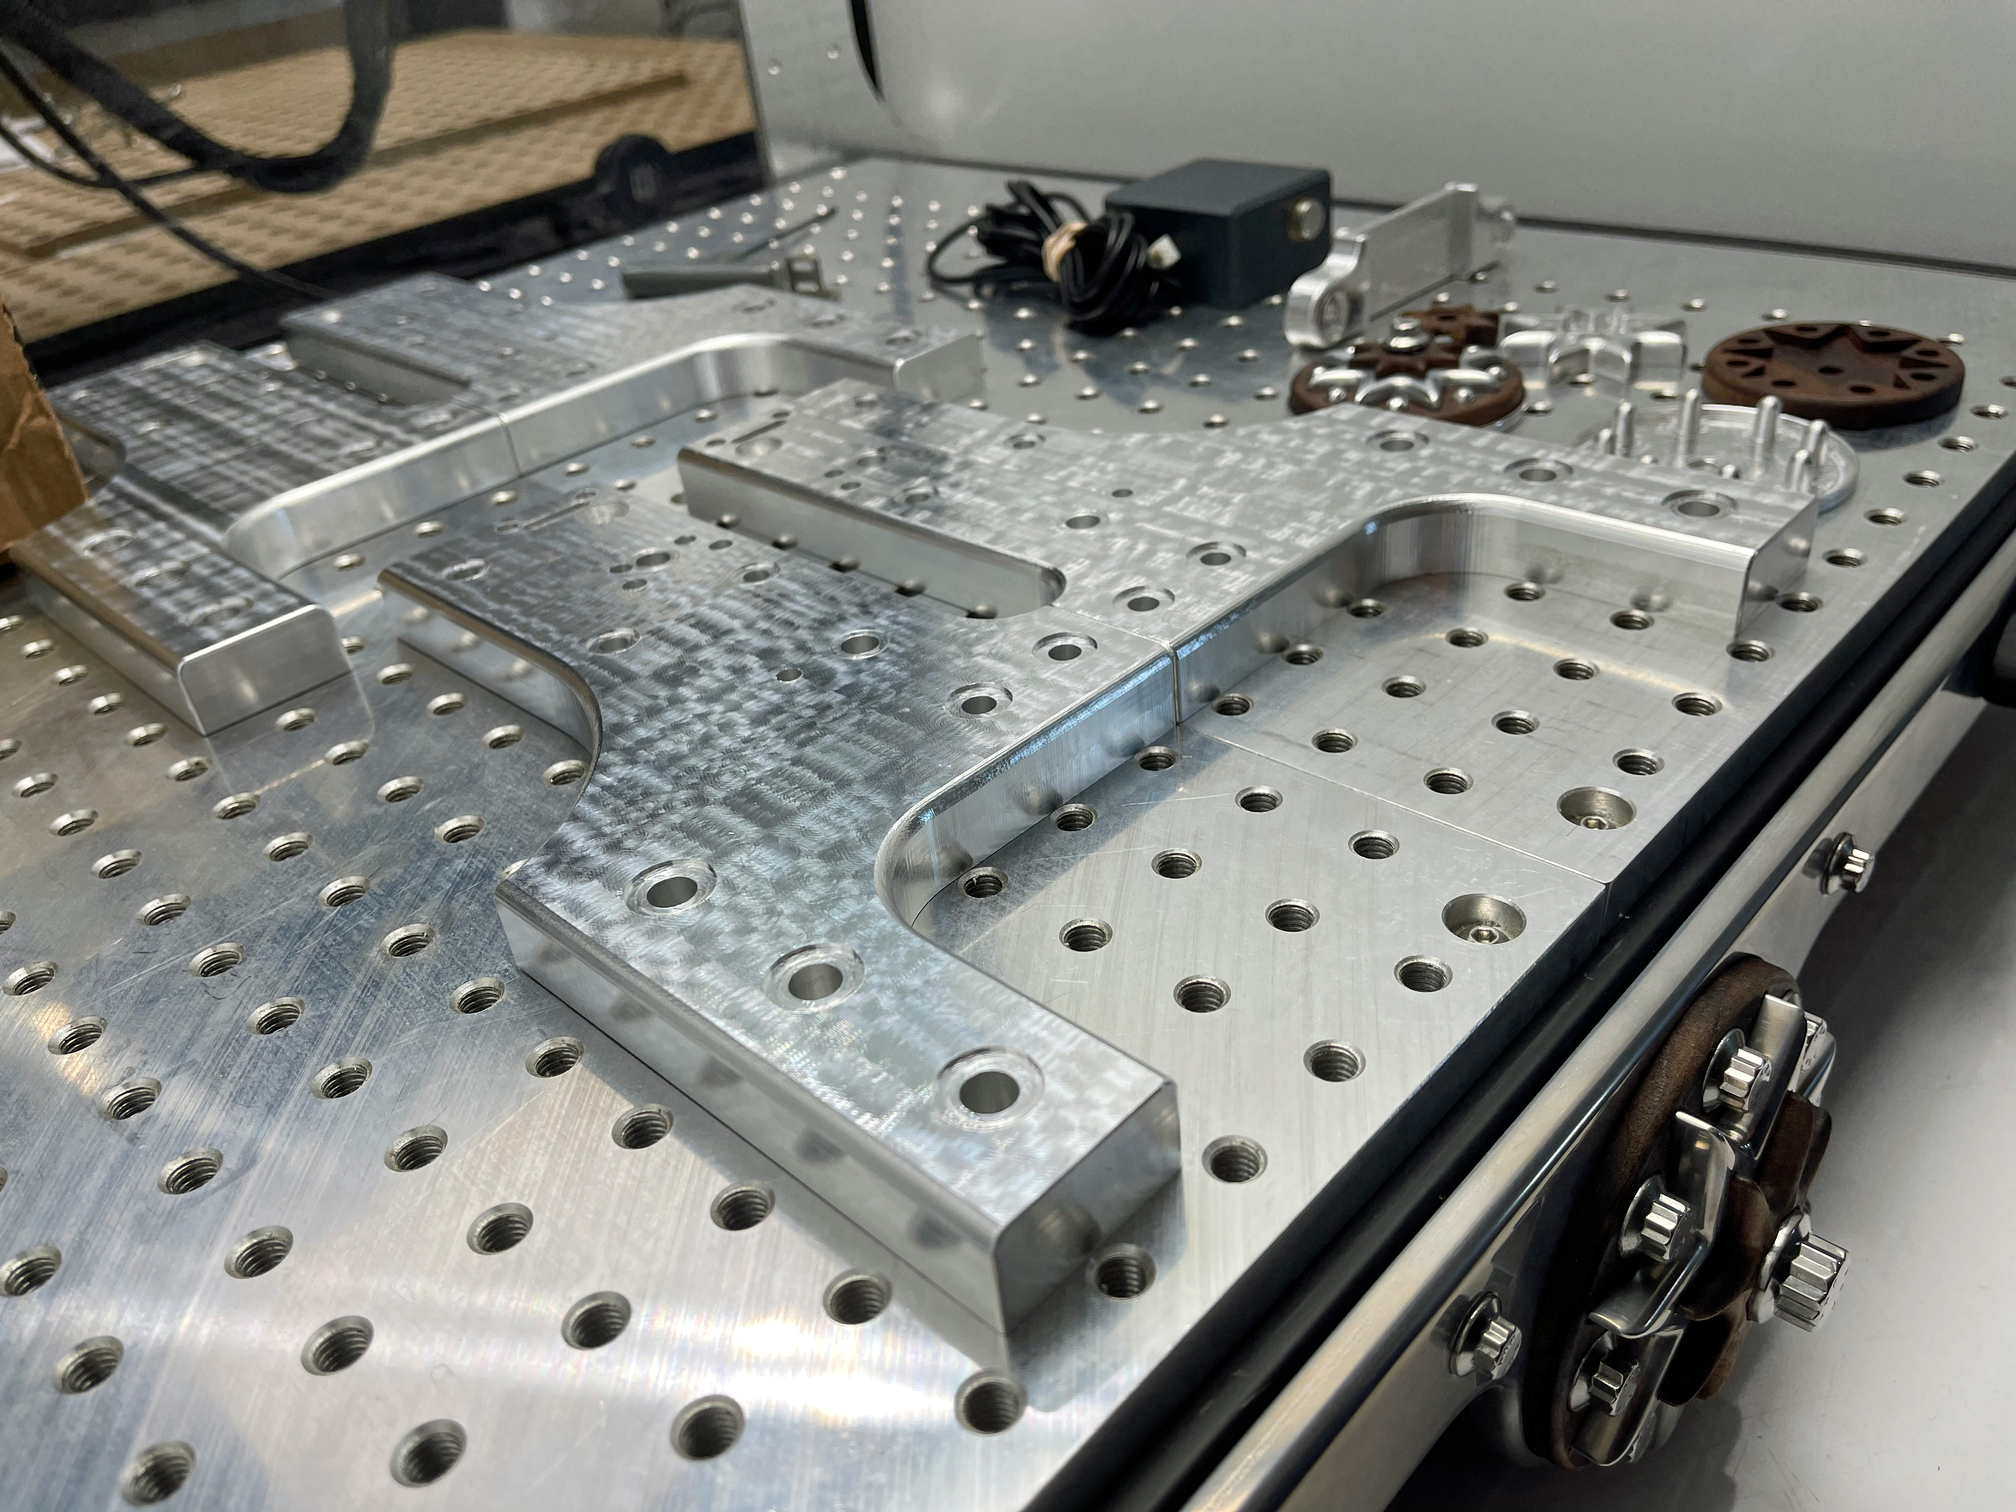
Making progress, I started out with some 3/8" I had sitting around, it seemed too thin. settled on 3/4" x 6" plate, surfaced it .015 so I could use these 3/4" cut height 1/8" end mills and still cut through the bottom.
Will update in a couple days with assembled photos. I have some polishing to do!
Surfaced with a #201 parallel @.015, Used a .01 stock to leave on sides, the beveled edges are contoured with a .001 step over .001 step down with a 1/16 ball mill. It is so smooth. The entire top feels like silk.
The parts look great and I’m glad to see I’m not alone when it comes to getting weird looking top finish from micro V-wheel deviations. If I surface in the X axis I get almost perfect lines but at a 45 it looks wavy but is smooth. I see variations across the part and I believe I have tiny flat spots on my V wheels somewhere.
I have some MGN15 rails on the way for my X axis and I am contemplating 2 40 x 120 extrusions clamped together for the X axis beam and side plates similar to the pro.
Just a suggestion
I would add drawer slides to your lower side extrusions so you can easily pull your machine out of the enclosure and get to the back.
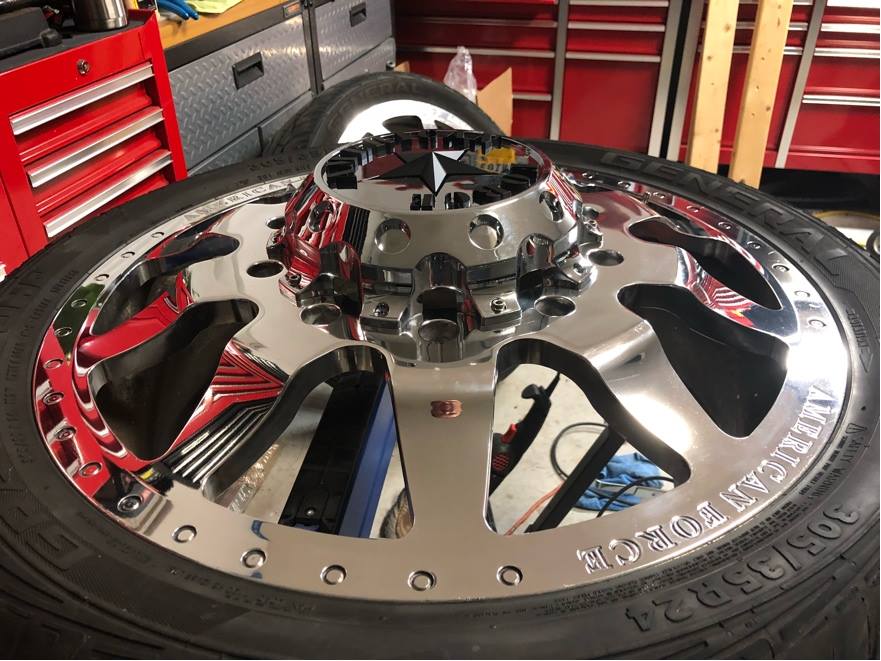
I bought some a few years back and applied it to American Force wheels. It lasted a long time. There are a million different kinds out there, I assume they all work. Some have UV dye and glow under a black light.
I polished my boat trailer and used ceramic coating on it and it lasted 4 years before it started looking like it needed another sanding, and I dipped it in salt 100 times.
Wheels lasted 3 or 4 years also.
Back in my Mini truck building days I used mothers aluminum polish after wet sanding and got a great finish but that was before ceramic coating products were out.
Nice setup…Now I have to dig through my shoe box from my past to fish out pictures of a truck I helped bag and body drop while I cry in the corner about being stuck driving a 24k wheelchair and 65K handicap accessible mini van. For that kind of money I could have built some sexy vehicles.
But at least I can still get around and do some projects solo and for a quadriplegic thats living like a rock star and I am grateful for having what I do.
Very sorry to hear about that.
I think those patterns might also have to do with the grain of the aluminum. The tops of these parts are smooth as glass. I will see how my parts look when surfacing with the Shapeoko Pro when I get it, if I get the same patterns with linear rails.
I don’t plan on removing the frame from the enclosure, if I had to remove something I can easily reach the 8 rail bolts on each side and just remove the top of the machine with rails attached. But it is attached to the enclosure with 6 bolts that are accessable so If I need to, I can yank it up out of there fairly easily.
Also I prefer the frame bolted to the enclosure, no unwanted vibrations that might occur with slides.