That’s a nice build. I don’t have room for a 4" hose so I needed the higher pressure produced by a shop vac to get enough flow rate through the hose. Your solution is great if you can run a 4" hose to the dust shoe. With the higher flow rate and larger container you can use it for your other shop tools too, which is nice. Thanks for sharing it.
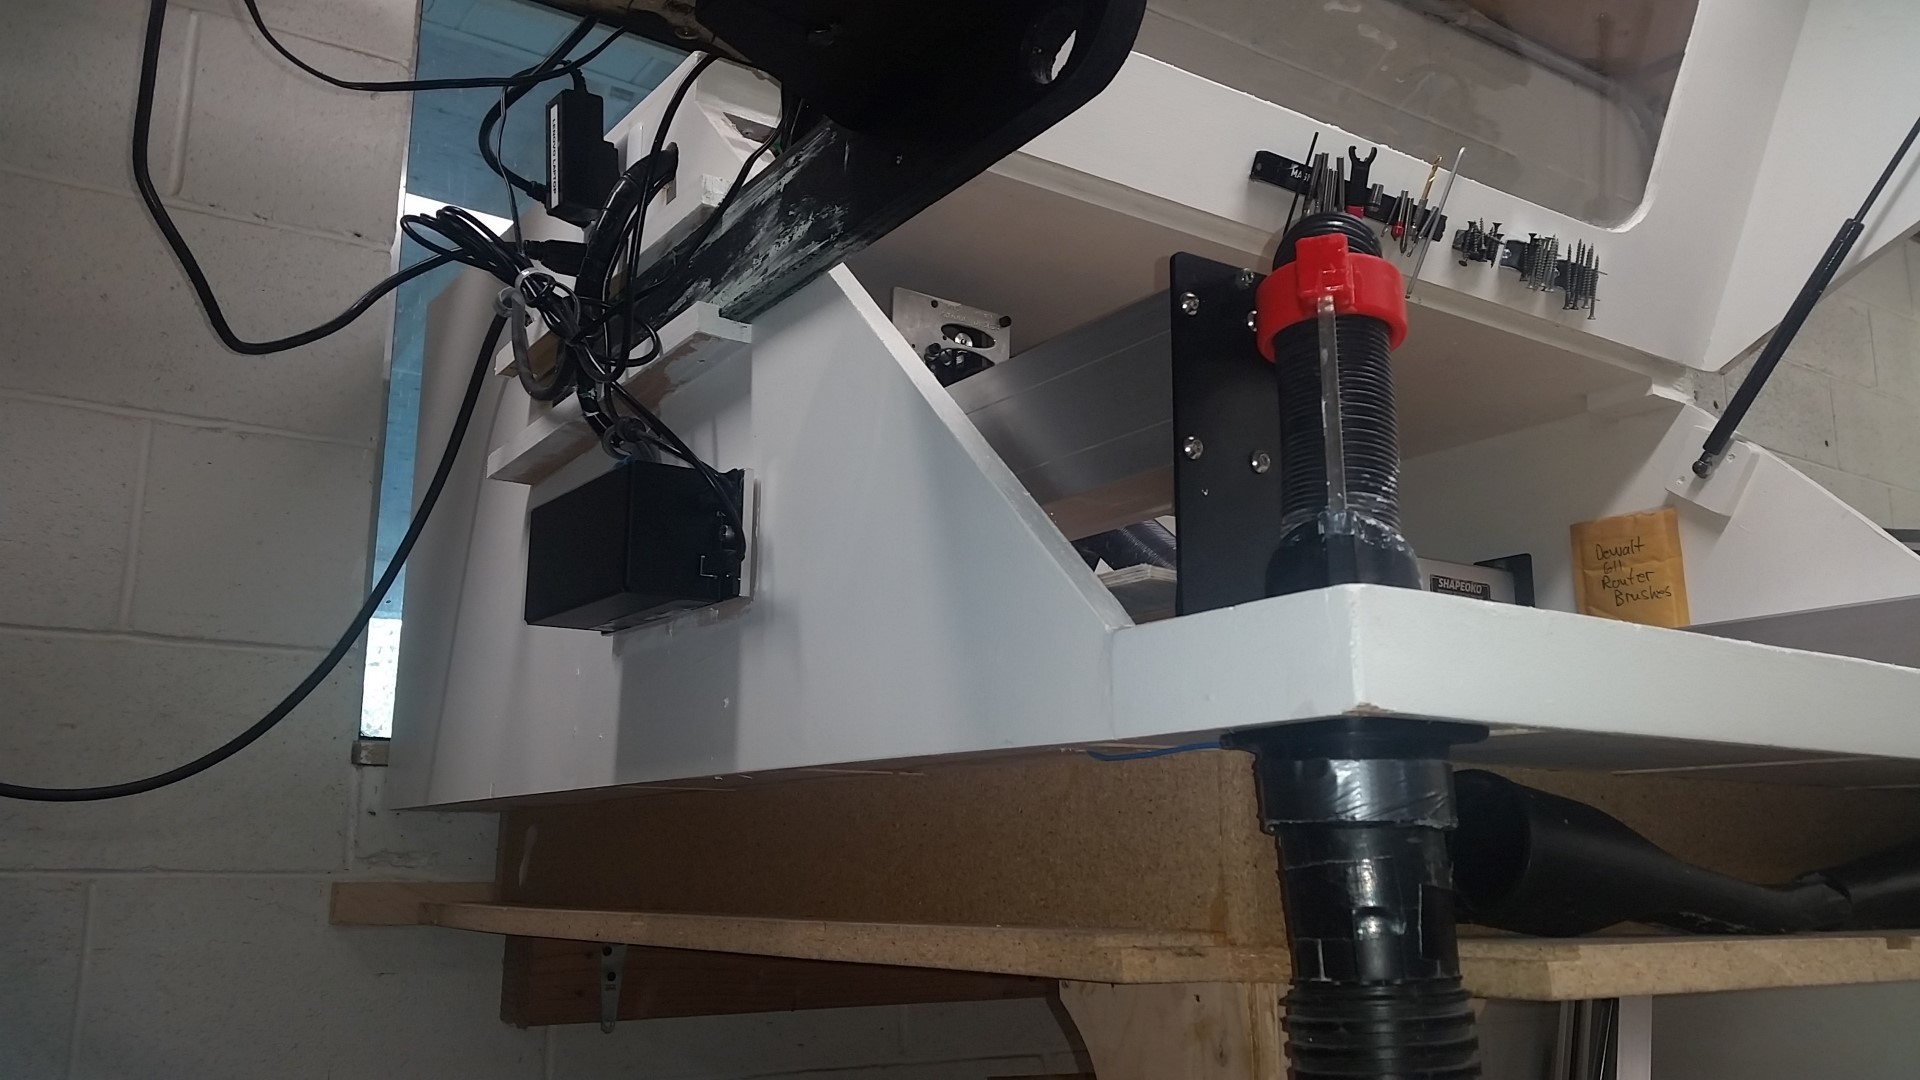
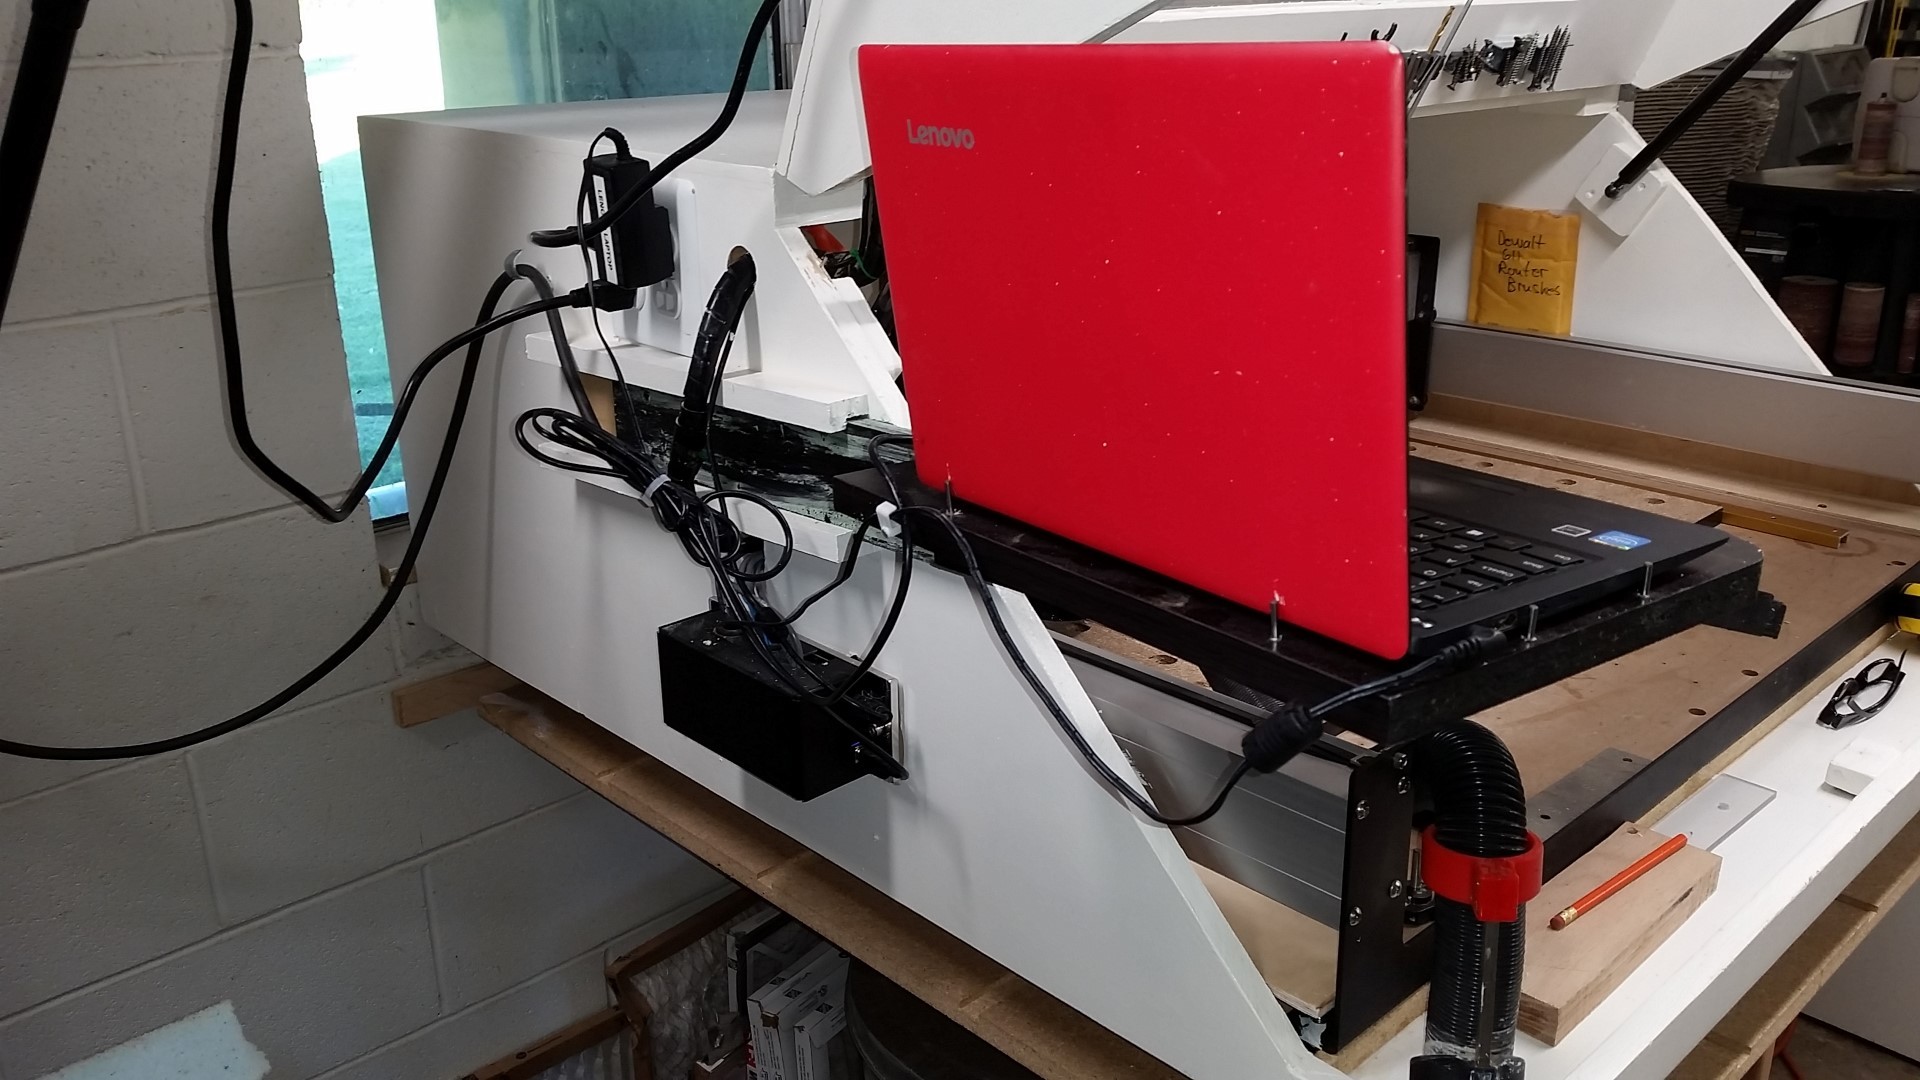
Nice, what is that around your wires?
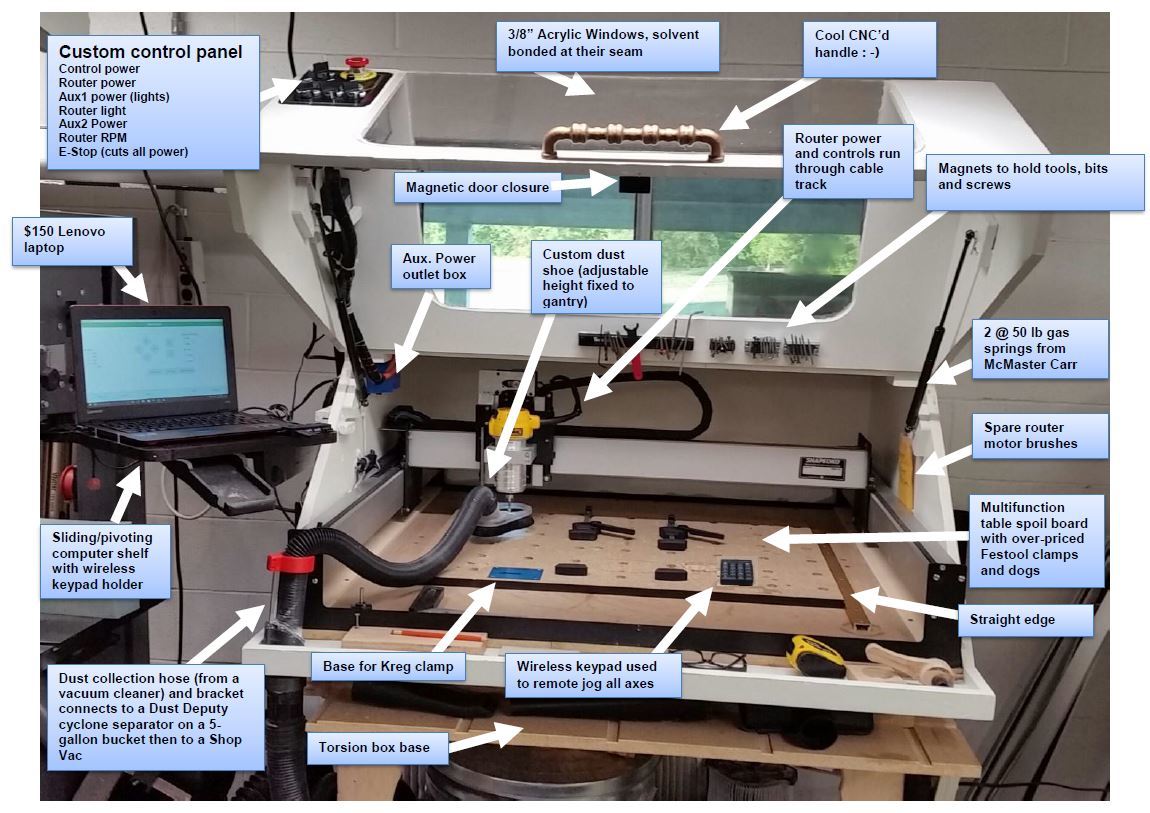
It’s a plastic spiral wrap that you just coil around your cable bundle. It protects the wires, makes for a neat look and is easy to install.
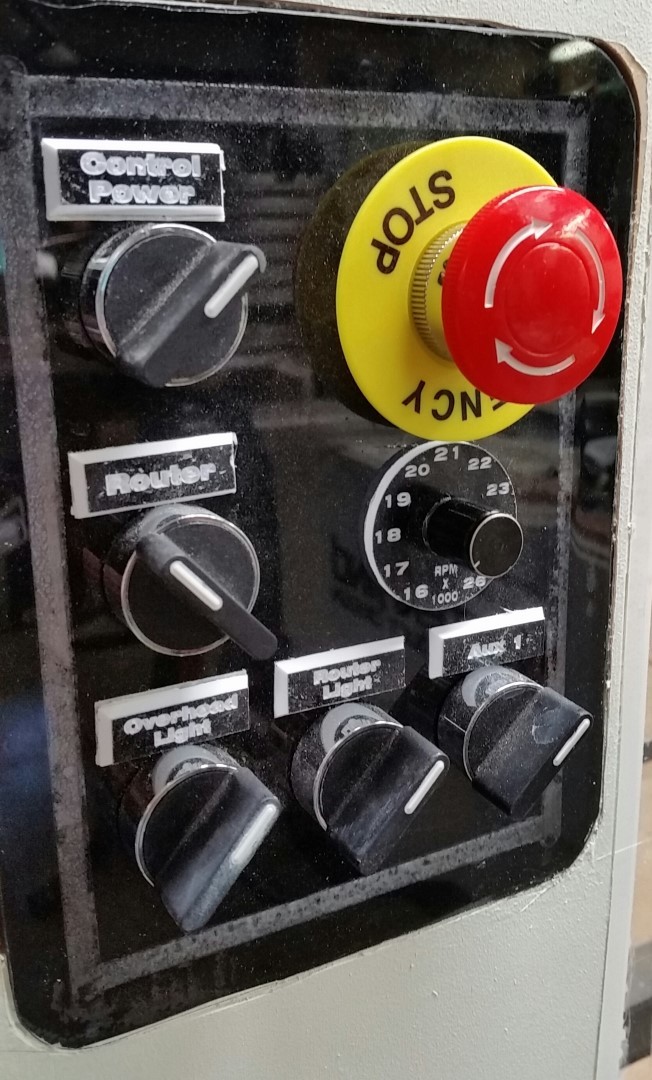
I have a really similar setup to yours and I was wondering what connector and wires you got to connect to the E stop pins and where you got them. I already picked up the same E stop button.
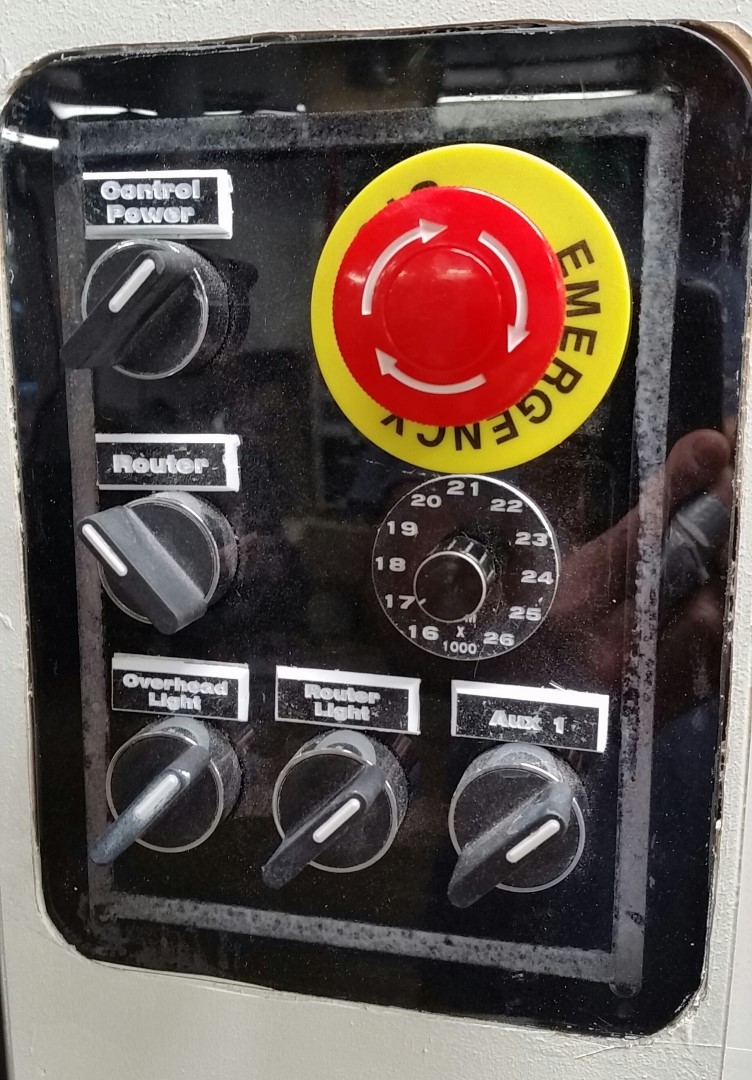
I wired my EStop to cut power to everything. That didn’t require any special connectors. I wanted the control system and router to turn off when I hit the EStop.
1 Like
13 Likes
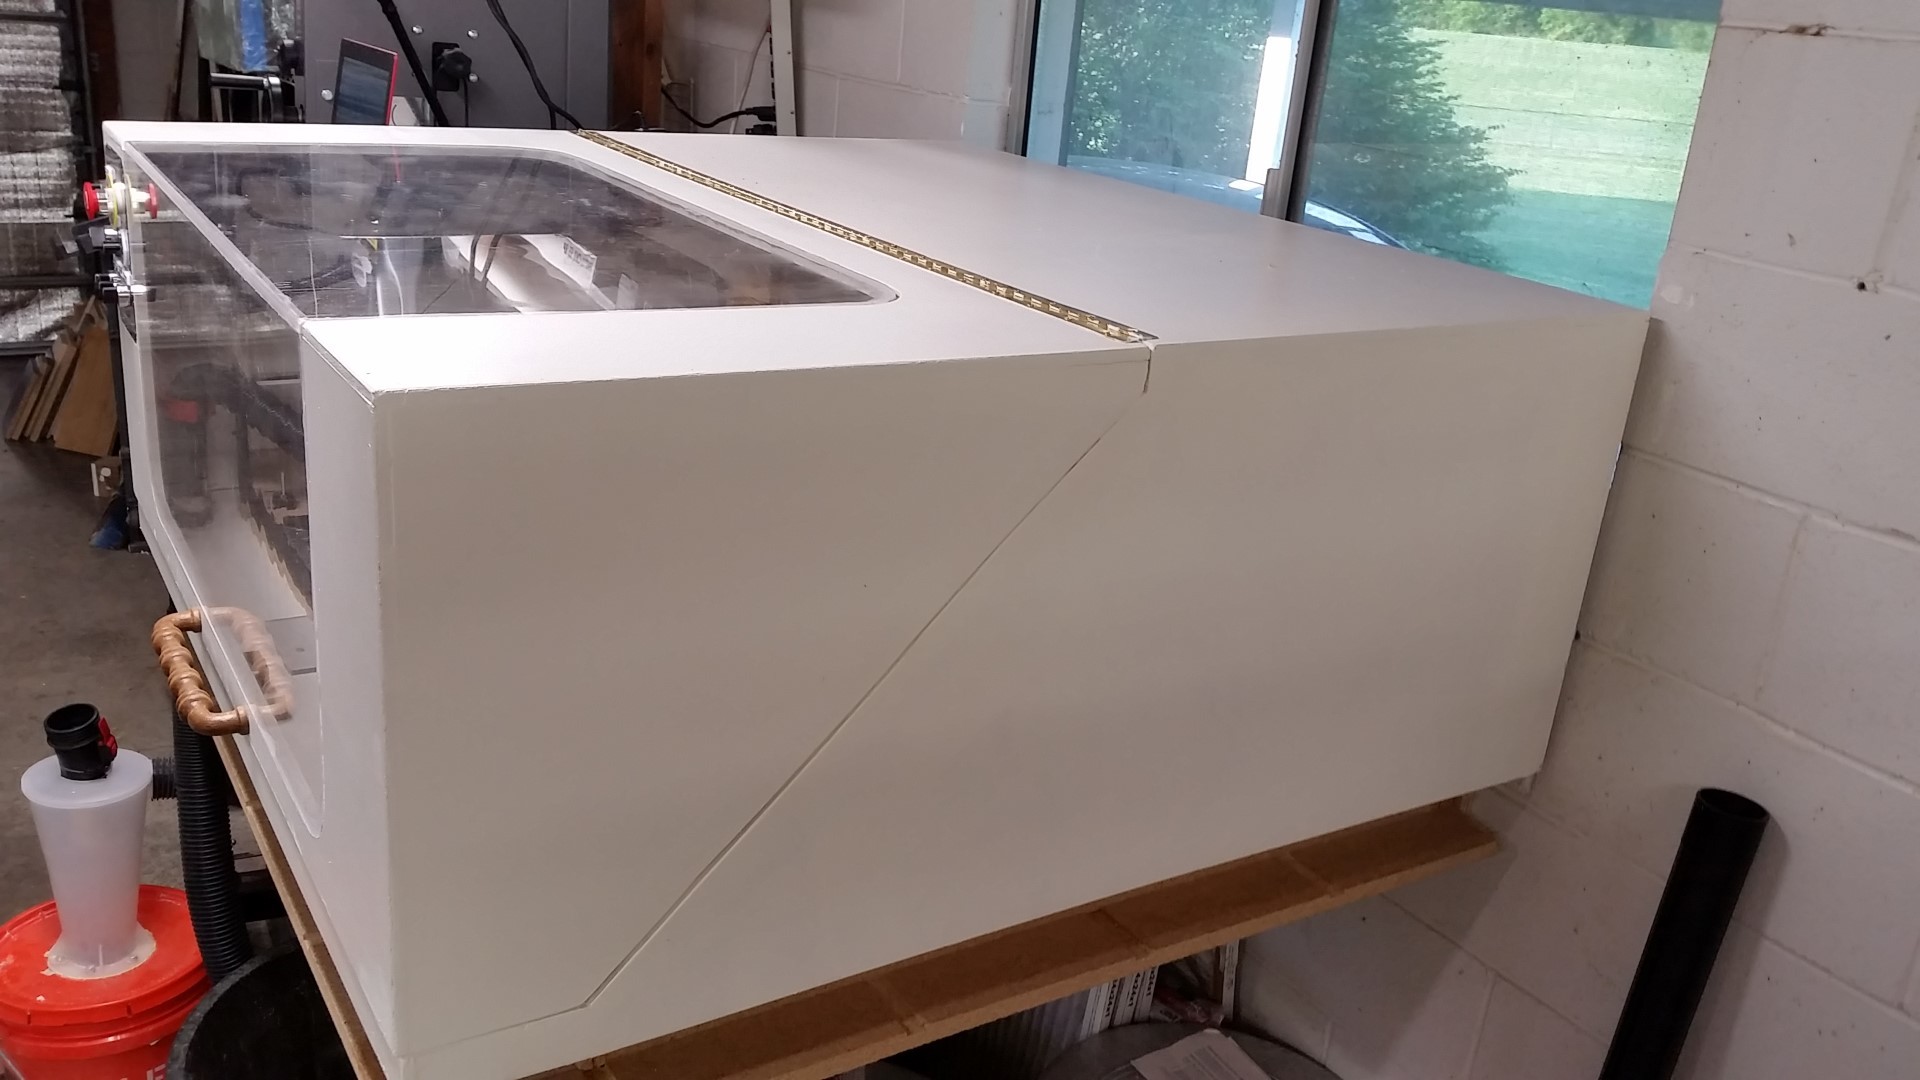
Ive been in the process of sealing mine up and hoping to paint myself.Did the white help reflect the light? thats my main reason for wanting to do it.
Almost forgot…Looks great btw,I really like it  also in the pic looks like you made cam clamps? care to discuss?
1 Like
yeah im subbed to his channel thx
1 Like
He’s one of my favorite YouTubers.
1 Like
I made some eccentric clamps but they raise the part slightly off the wasteboard so I didn’t end up using them.
2 Likes
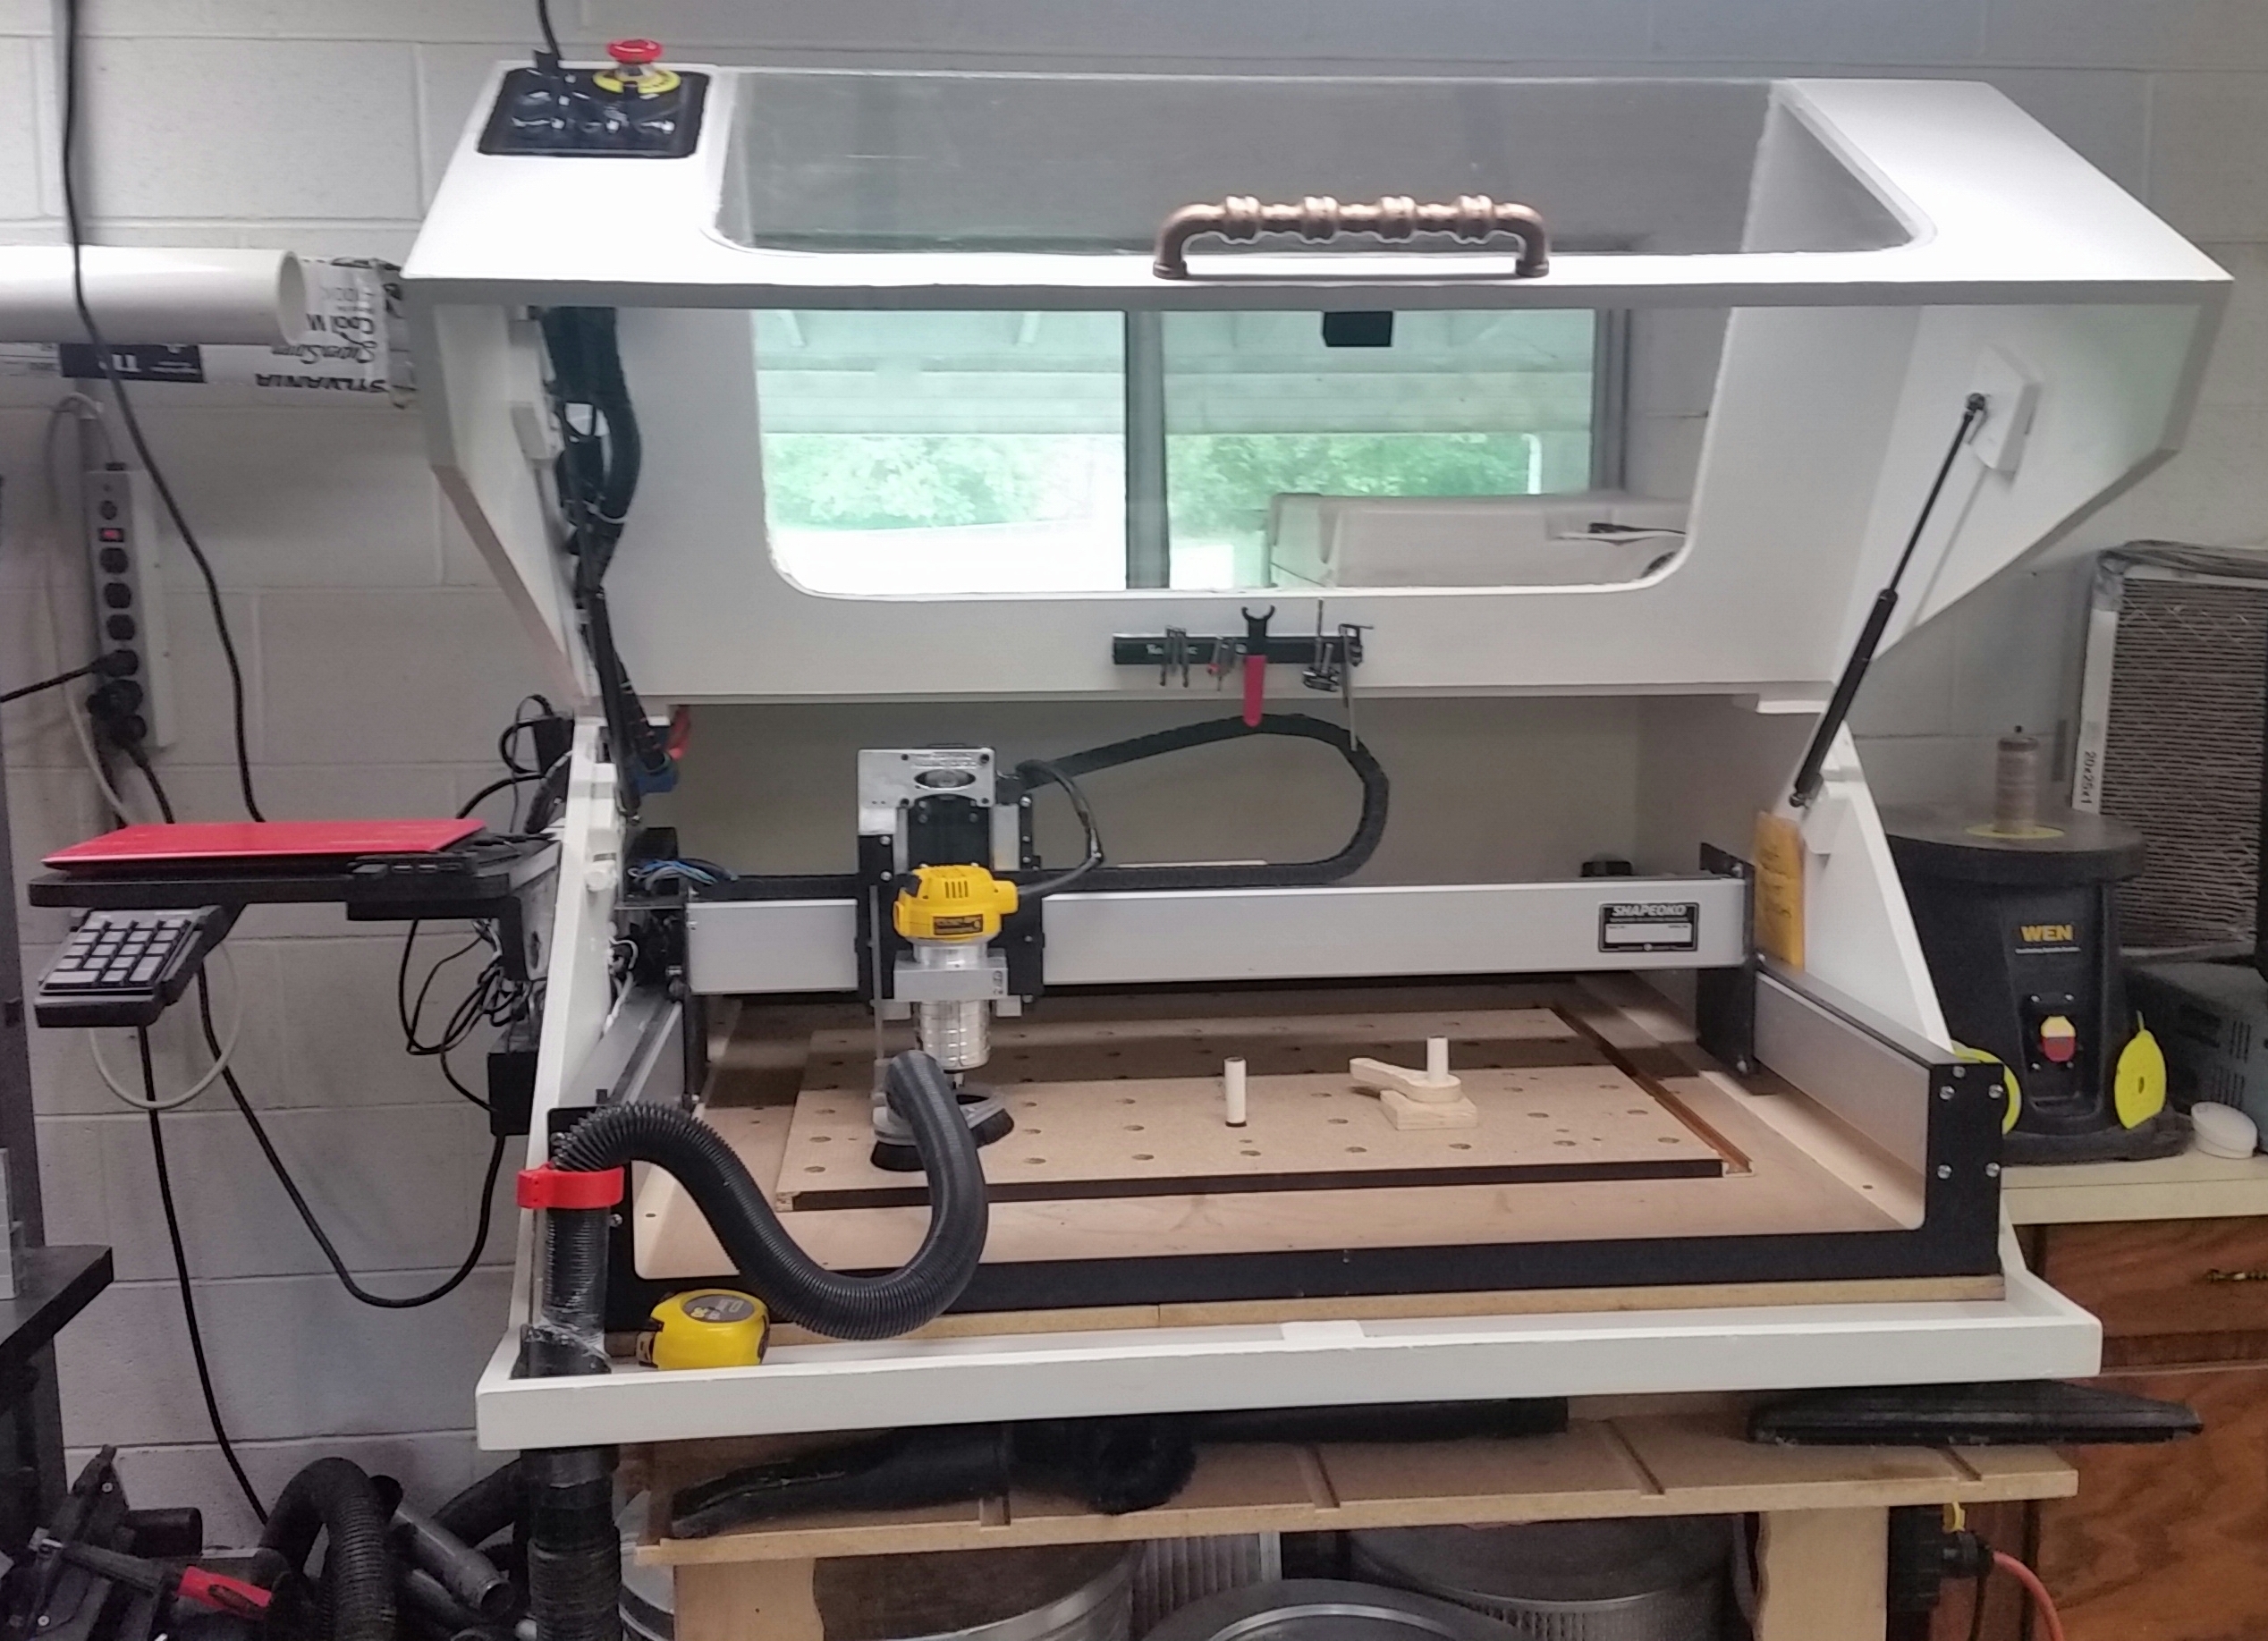
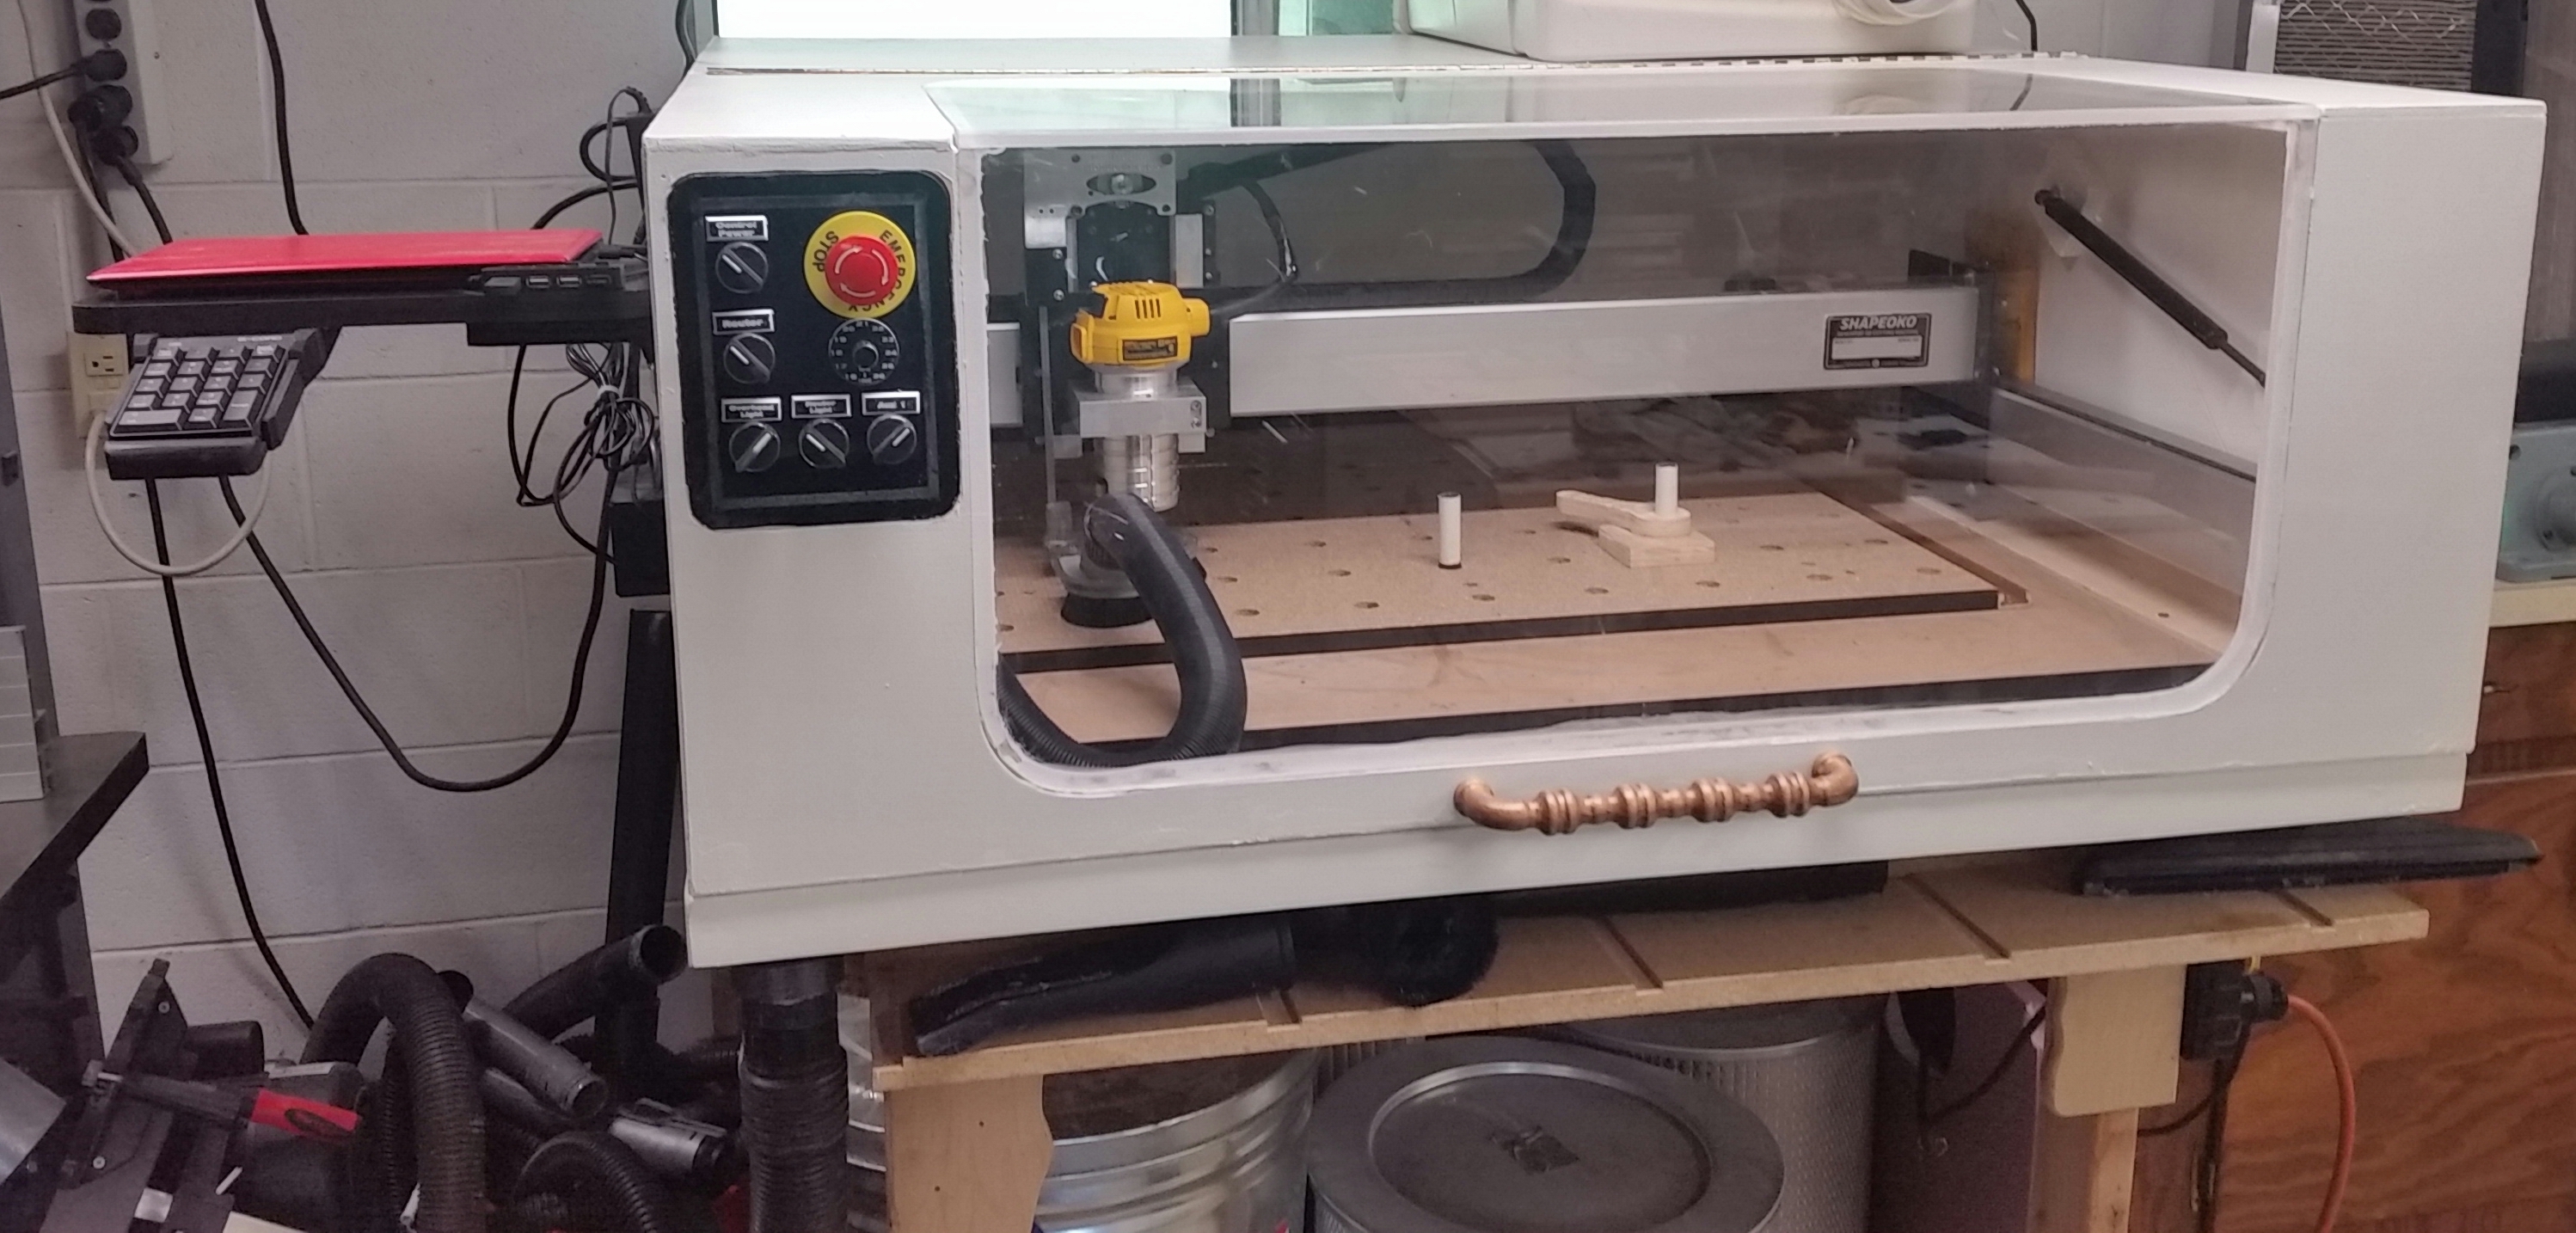
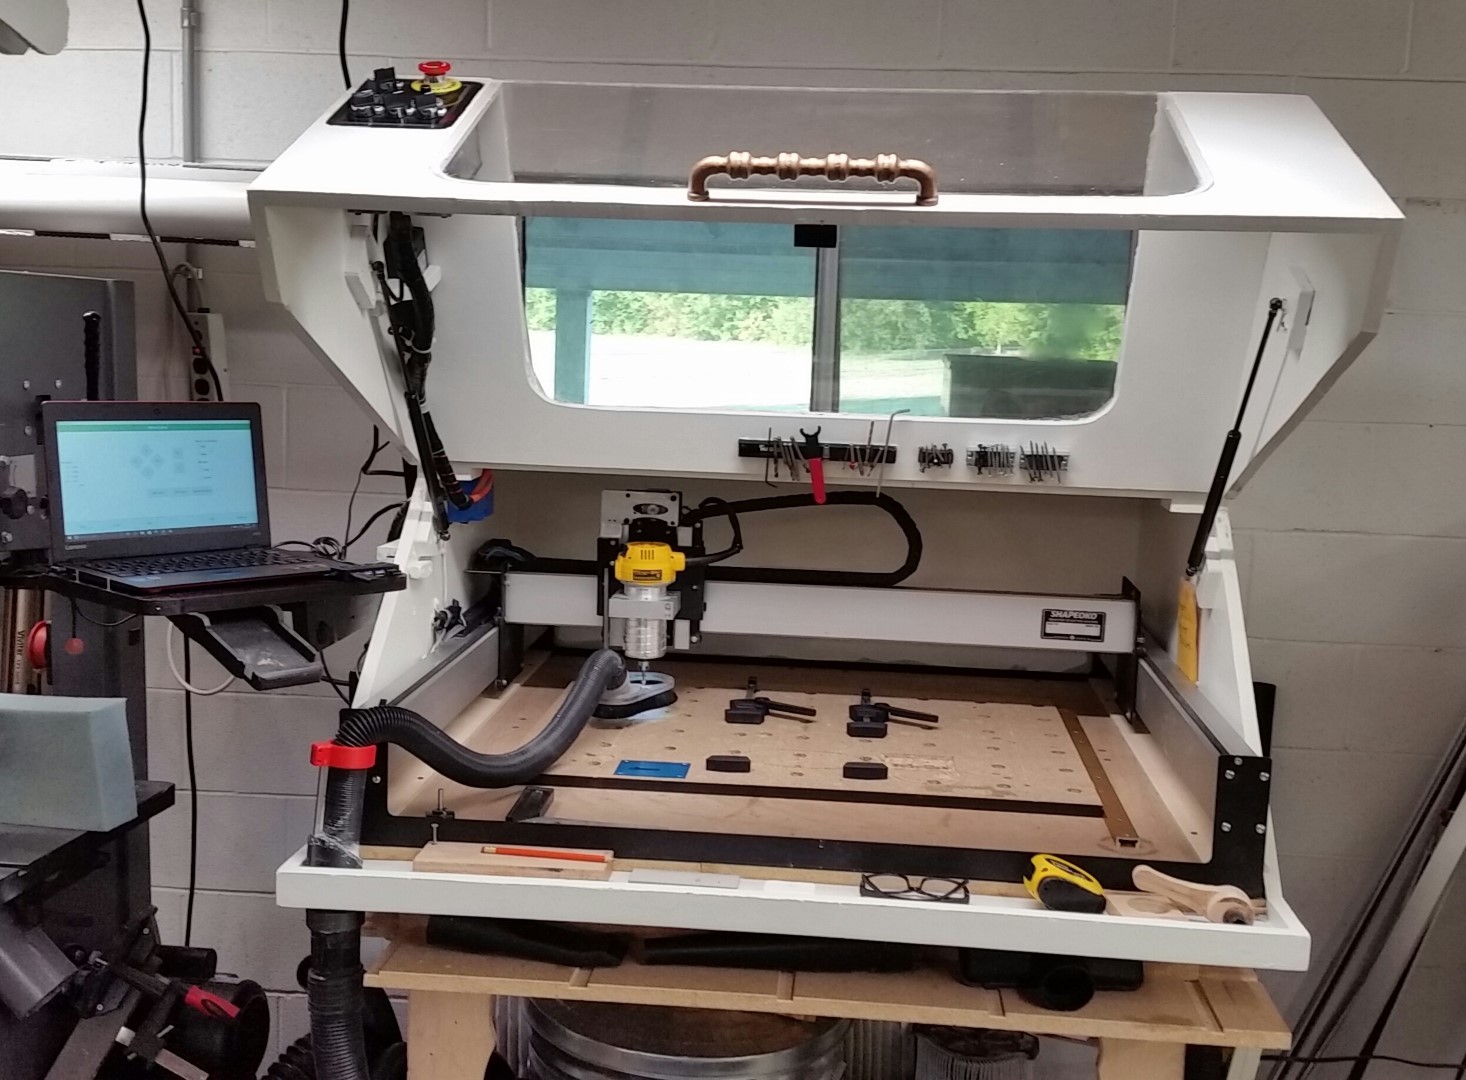
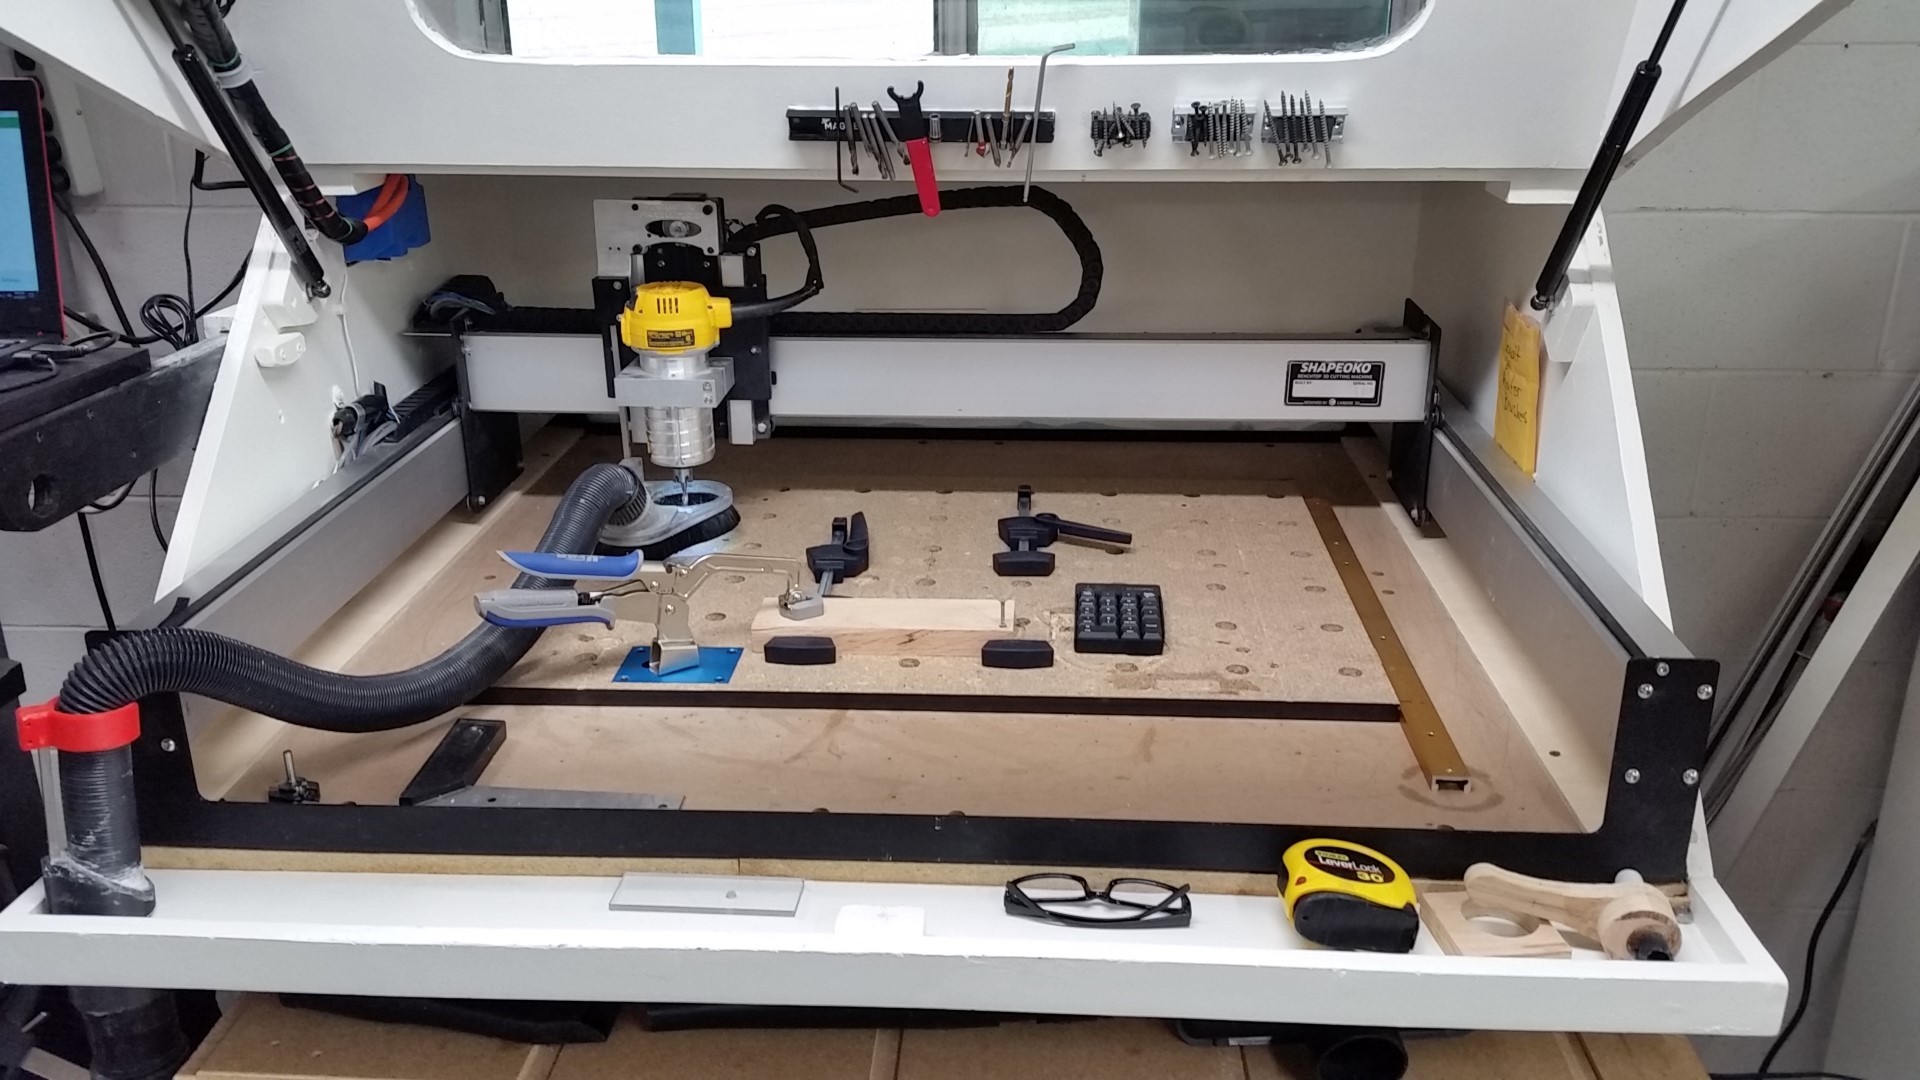
I think I finally have my enclosure “finished”. I’ve made a few upgrades since the last time I posted anything. You can find some of the details about the build here SO3: XXL Mega-Enclosure and Dust Collection.
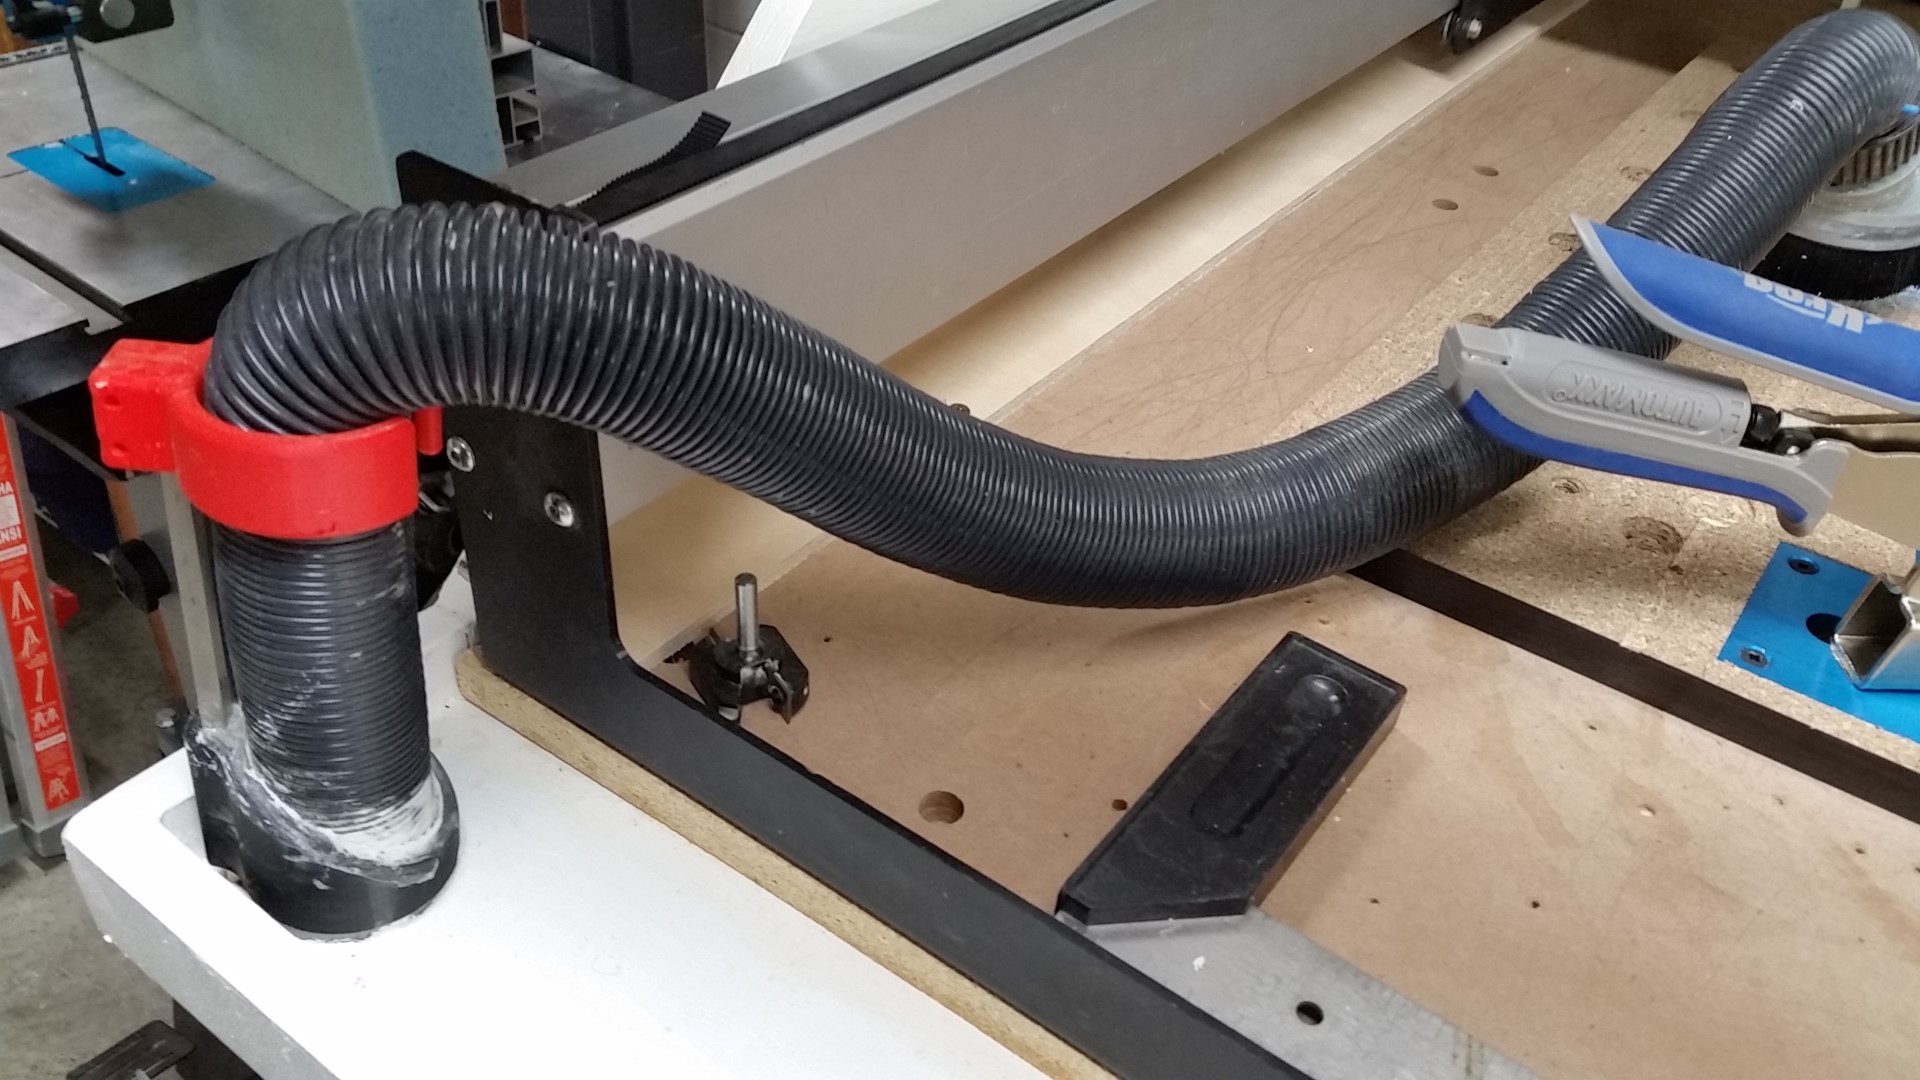
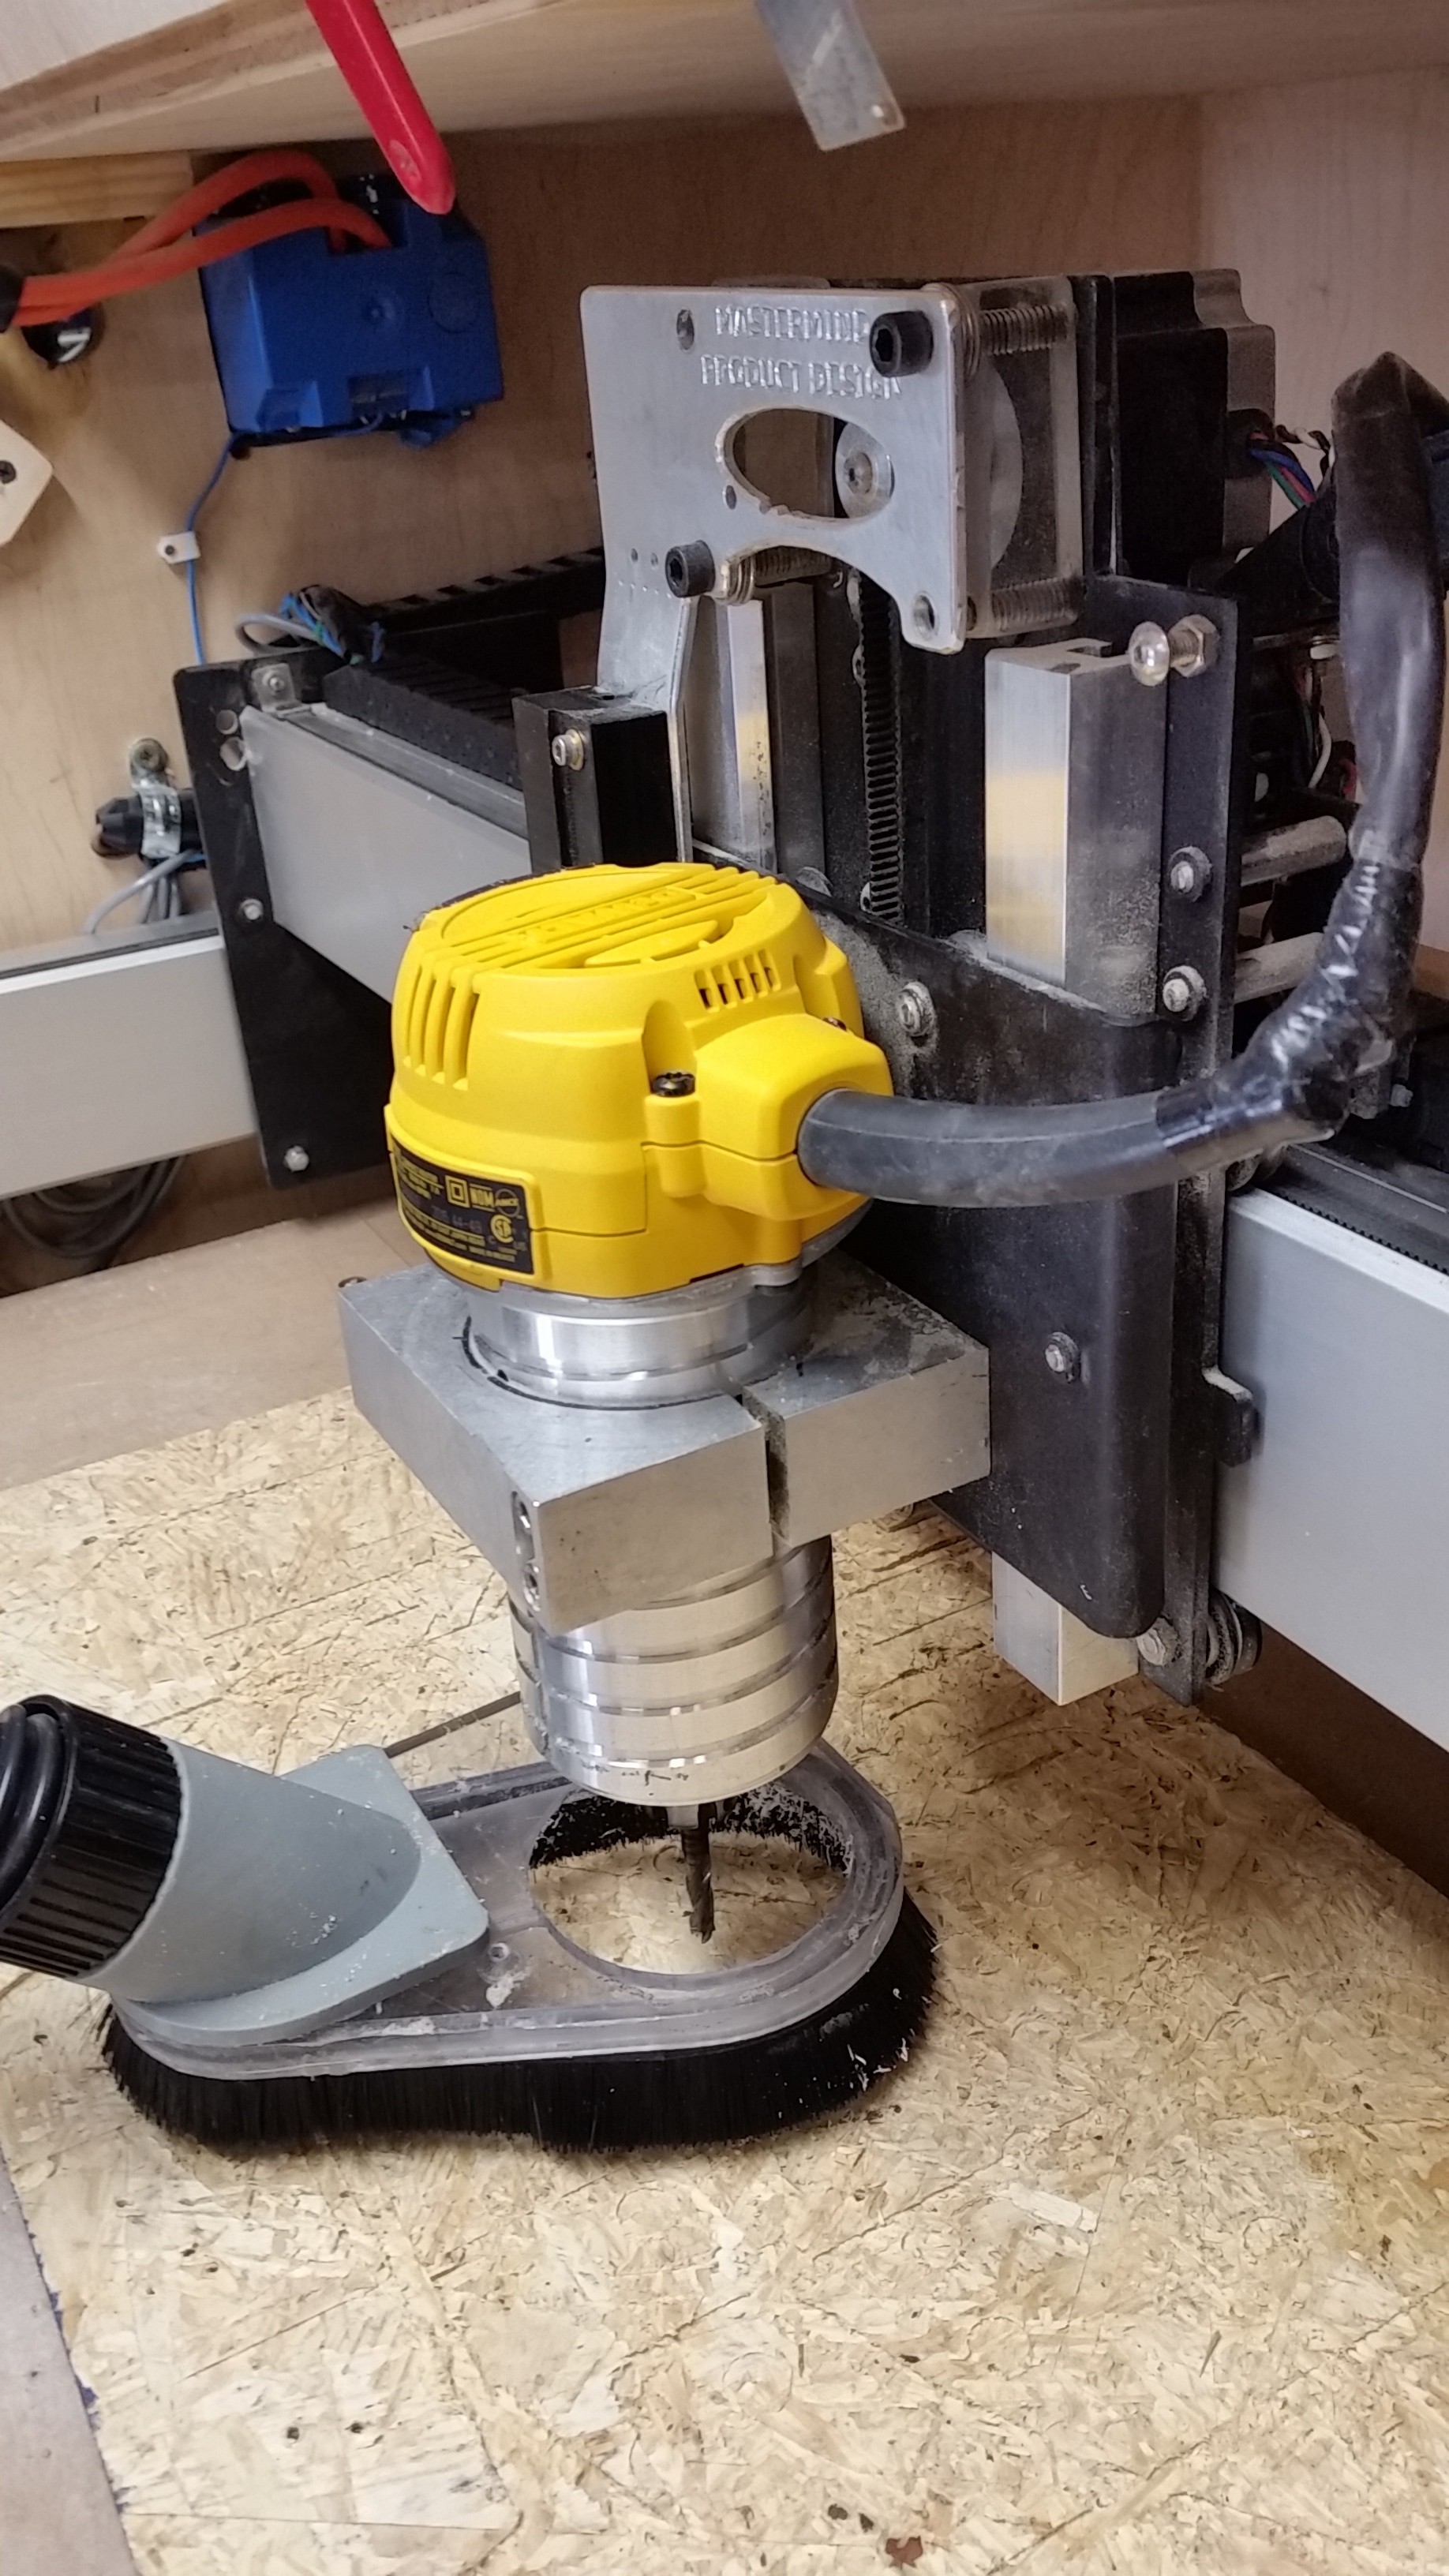
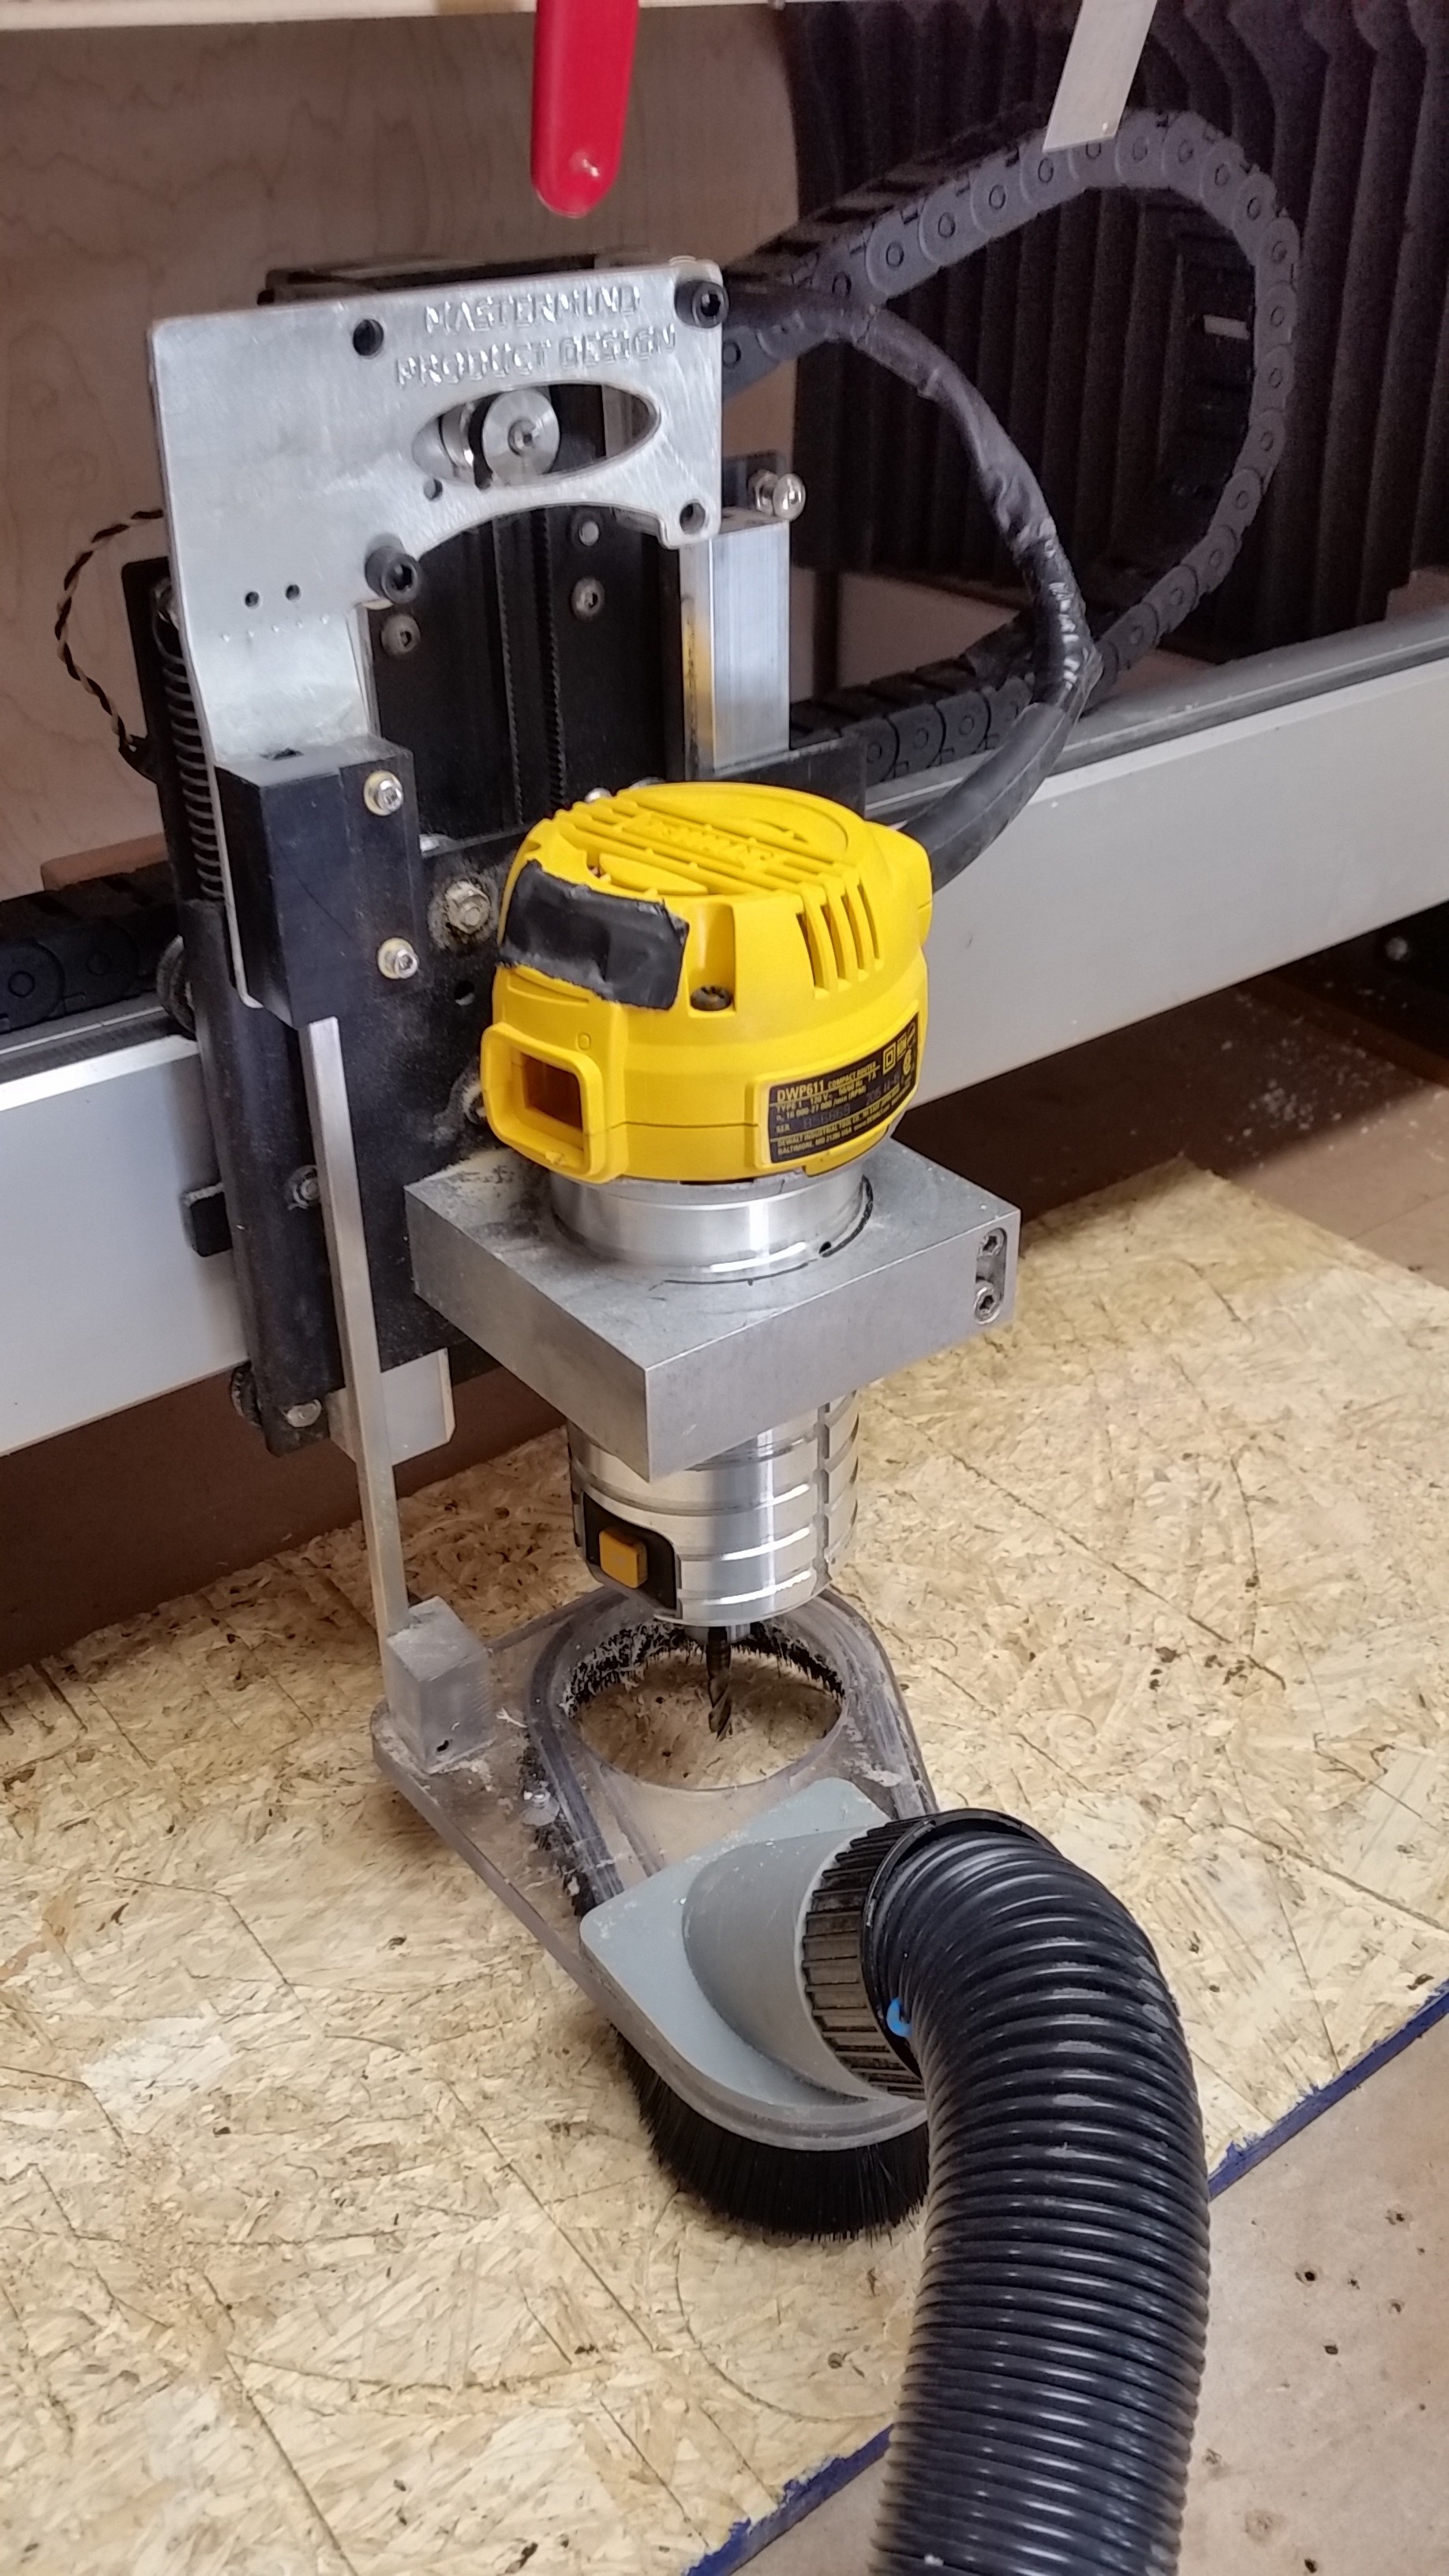
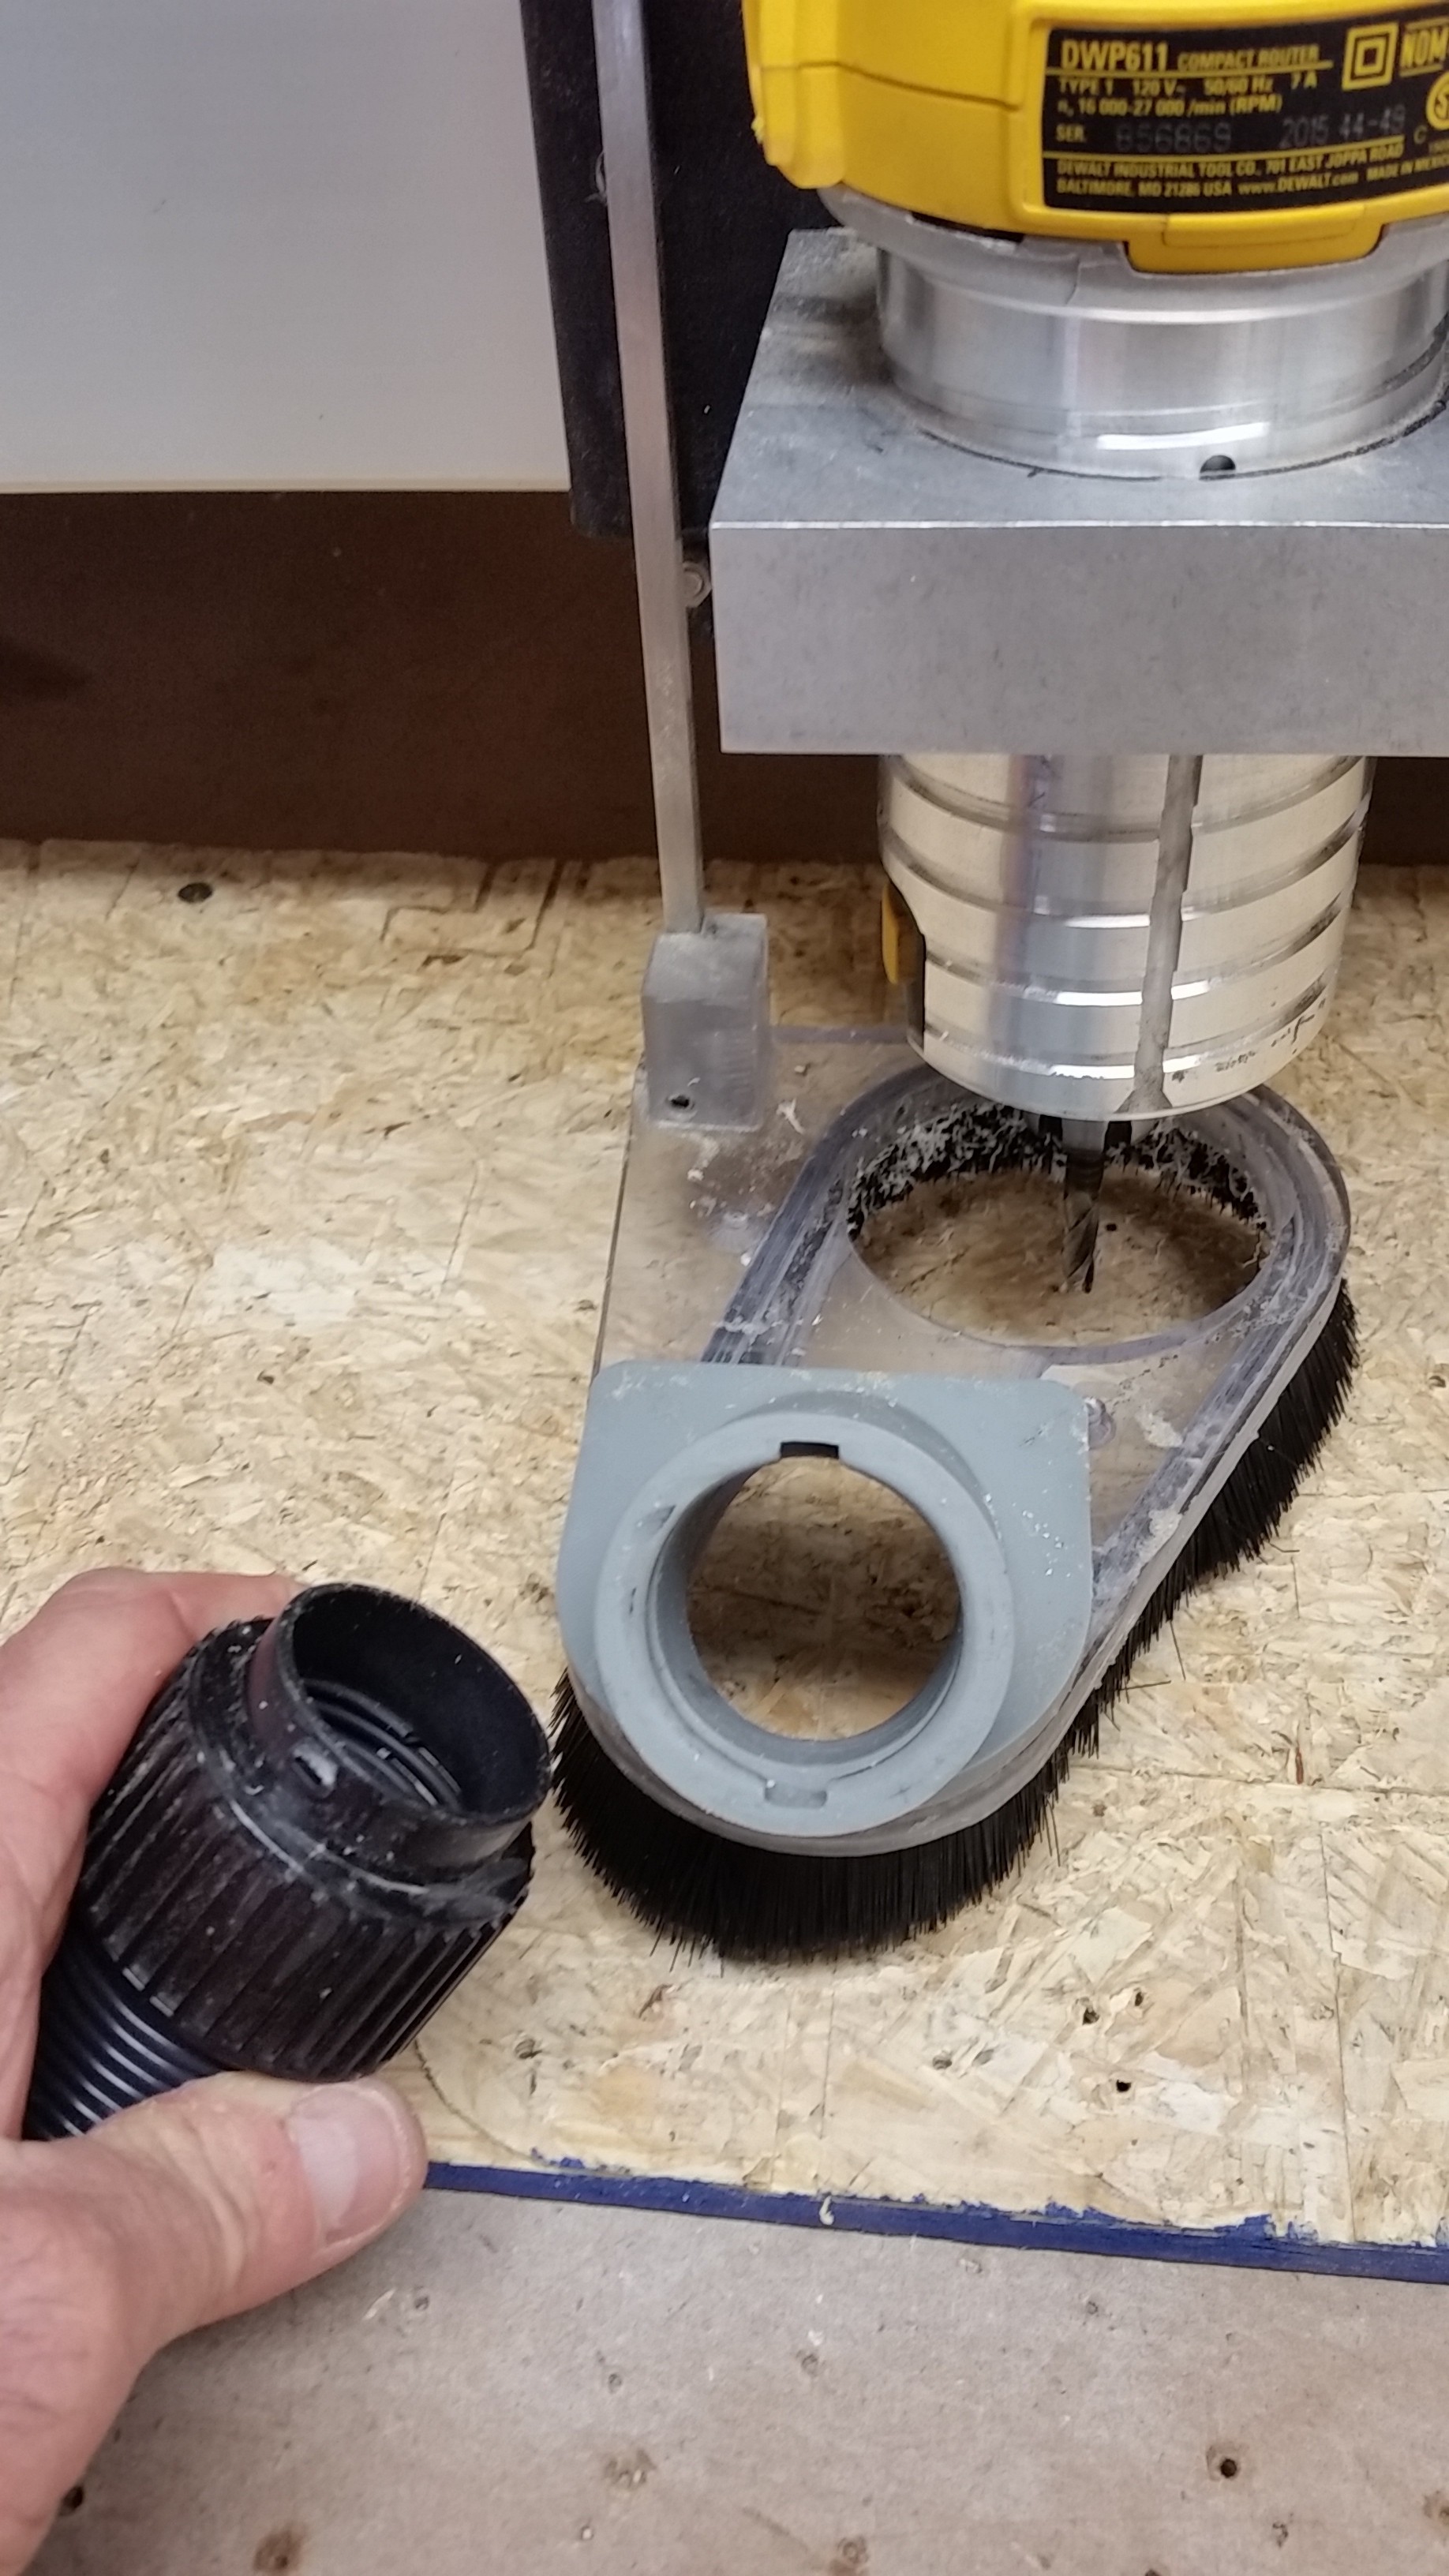
Here’s a link to a video showing how well the dust boot captures fine dust and how much noise is attenuated by the enclosure… https://www.youtube.com/watch?v=mmNA96REfB8&index=3&list=PLg_lAmARK3Q6Ji23NYPpbC0FTWbLZ4gsF

17 Likes
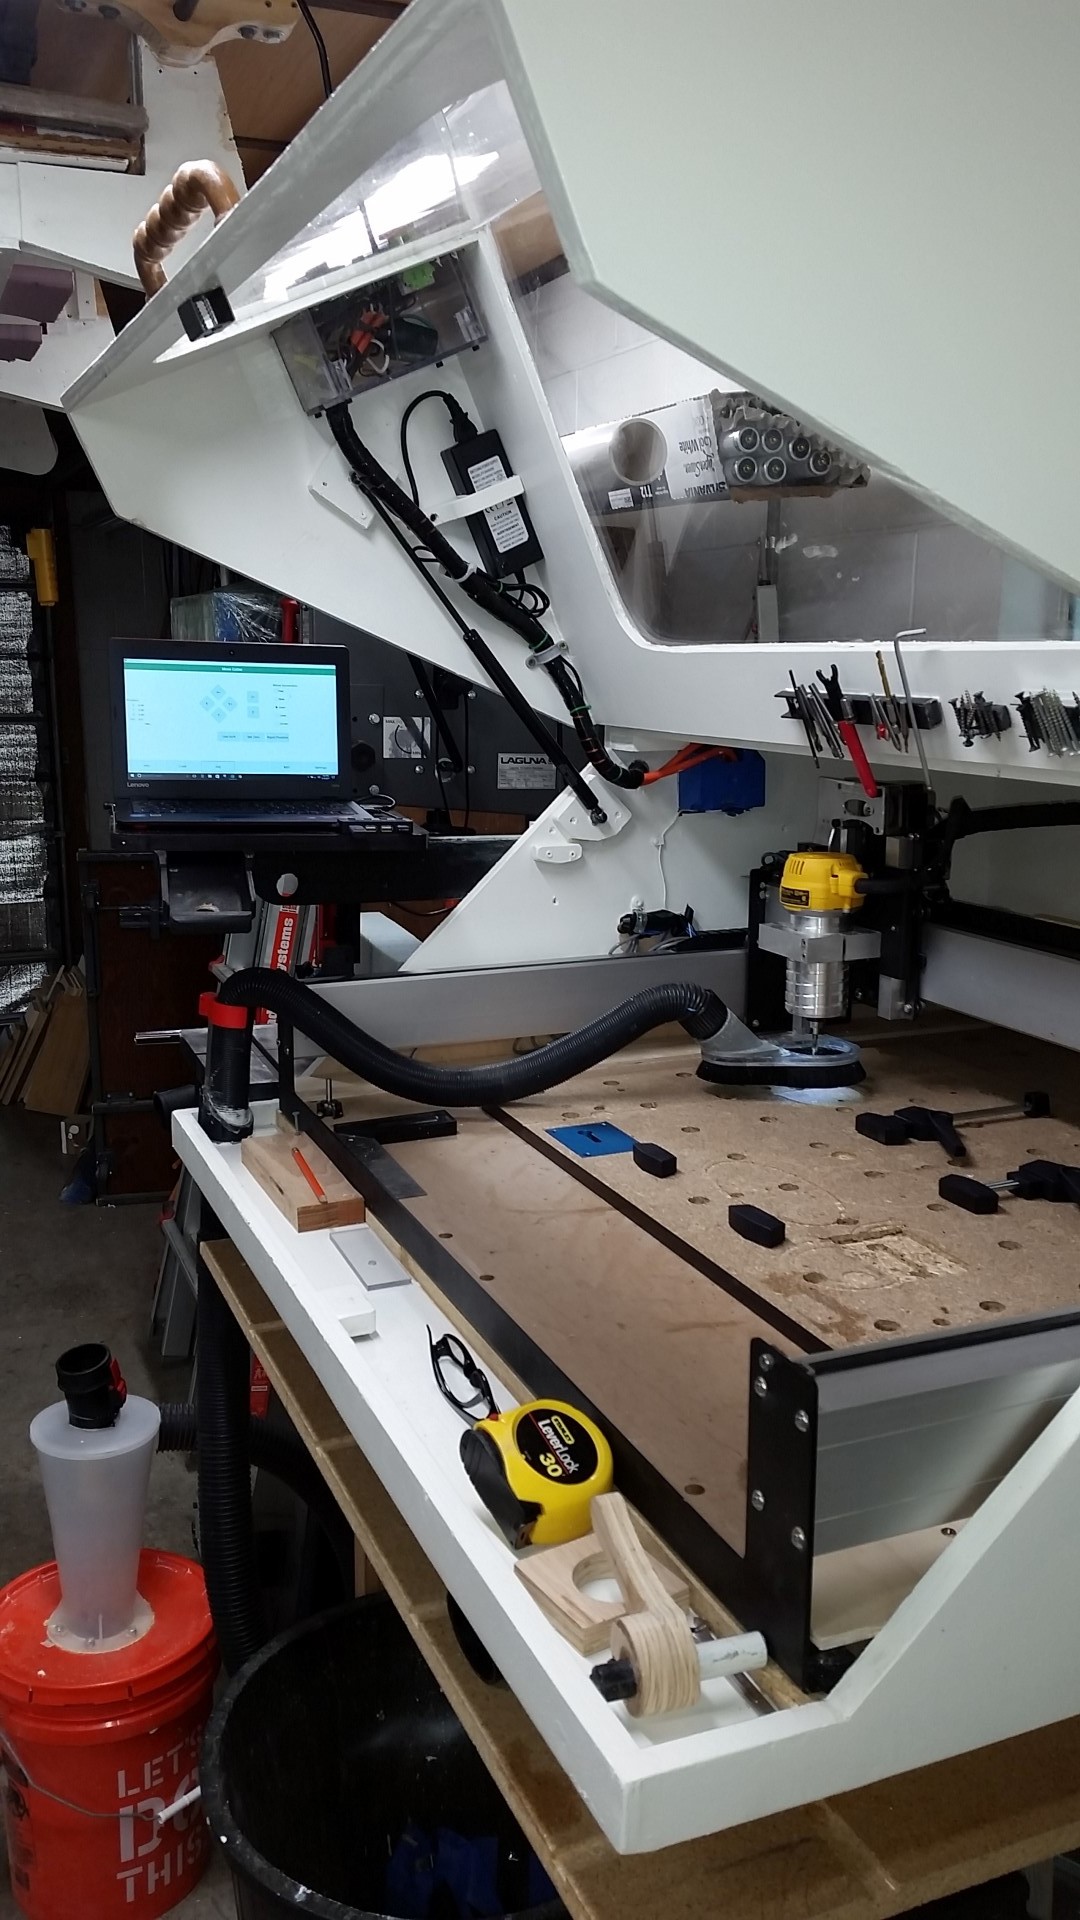
I think all you’re missing is a knob that goes to 11! I really like the ideas of the computer arm on the side and the straight edge on the wasteboard.
2 Likes
Thanks, Mike.
The straight edge isn’t attached to anything. I just keep it there for drawing layout lines. I use the dogs and holes in the spoil board to align stock material edges and to clamp stock in place.
Hey this looks amazing. One of the best I’ve seen on the web. I have yet to assembe my XXL, but wanted to make a dedicated station for it. I have a small shop, so space is pretty important, so I’m making a hybrid workbench and semi enclosure. Workbench will be mostly for storage, and tablesaw outfeed, nothing to strenuous, so I think the Shapeoko will be fine on the bottom.
After building the enclosure, was there anything that you would change about it.?
I’ve attached an image of what I plan to build, but would love any input. If the picture doesn’t read right, I made the top in 2 parts, so if I need better access, I lift up the front.
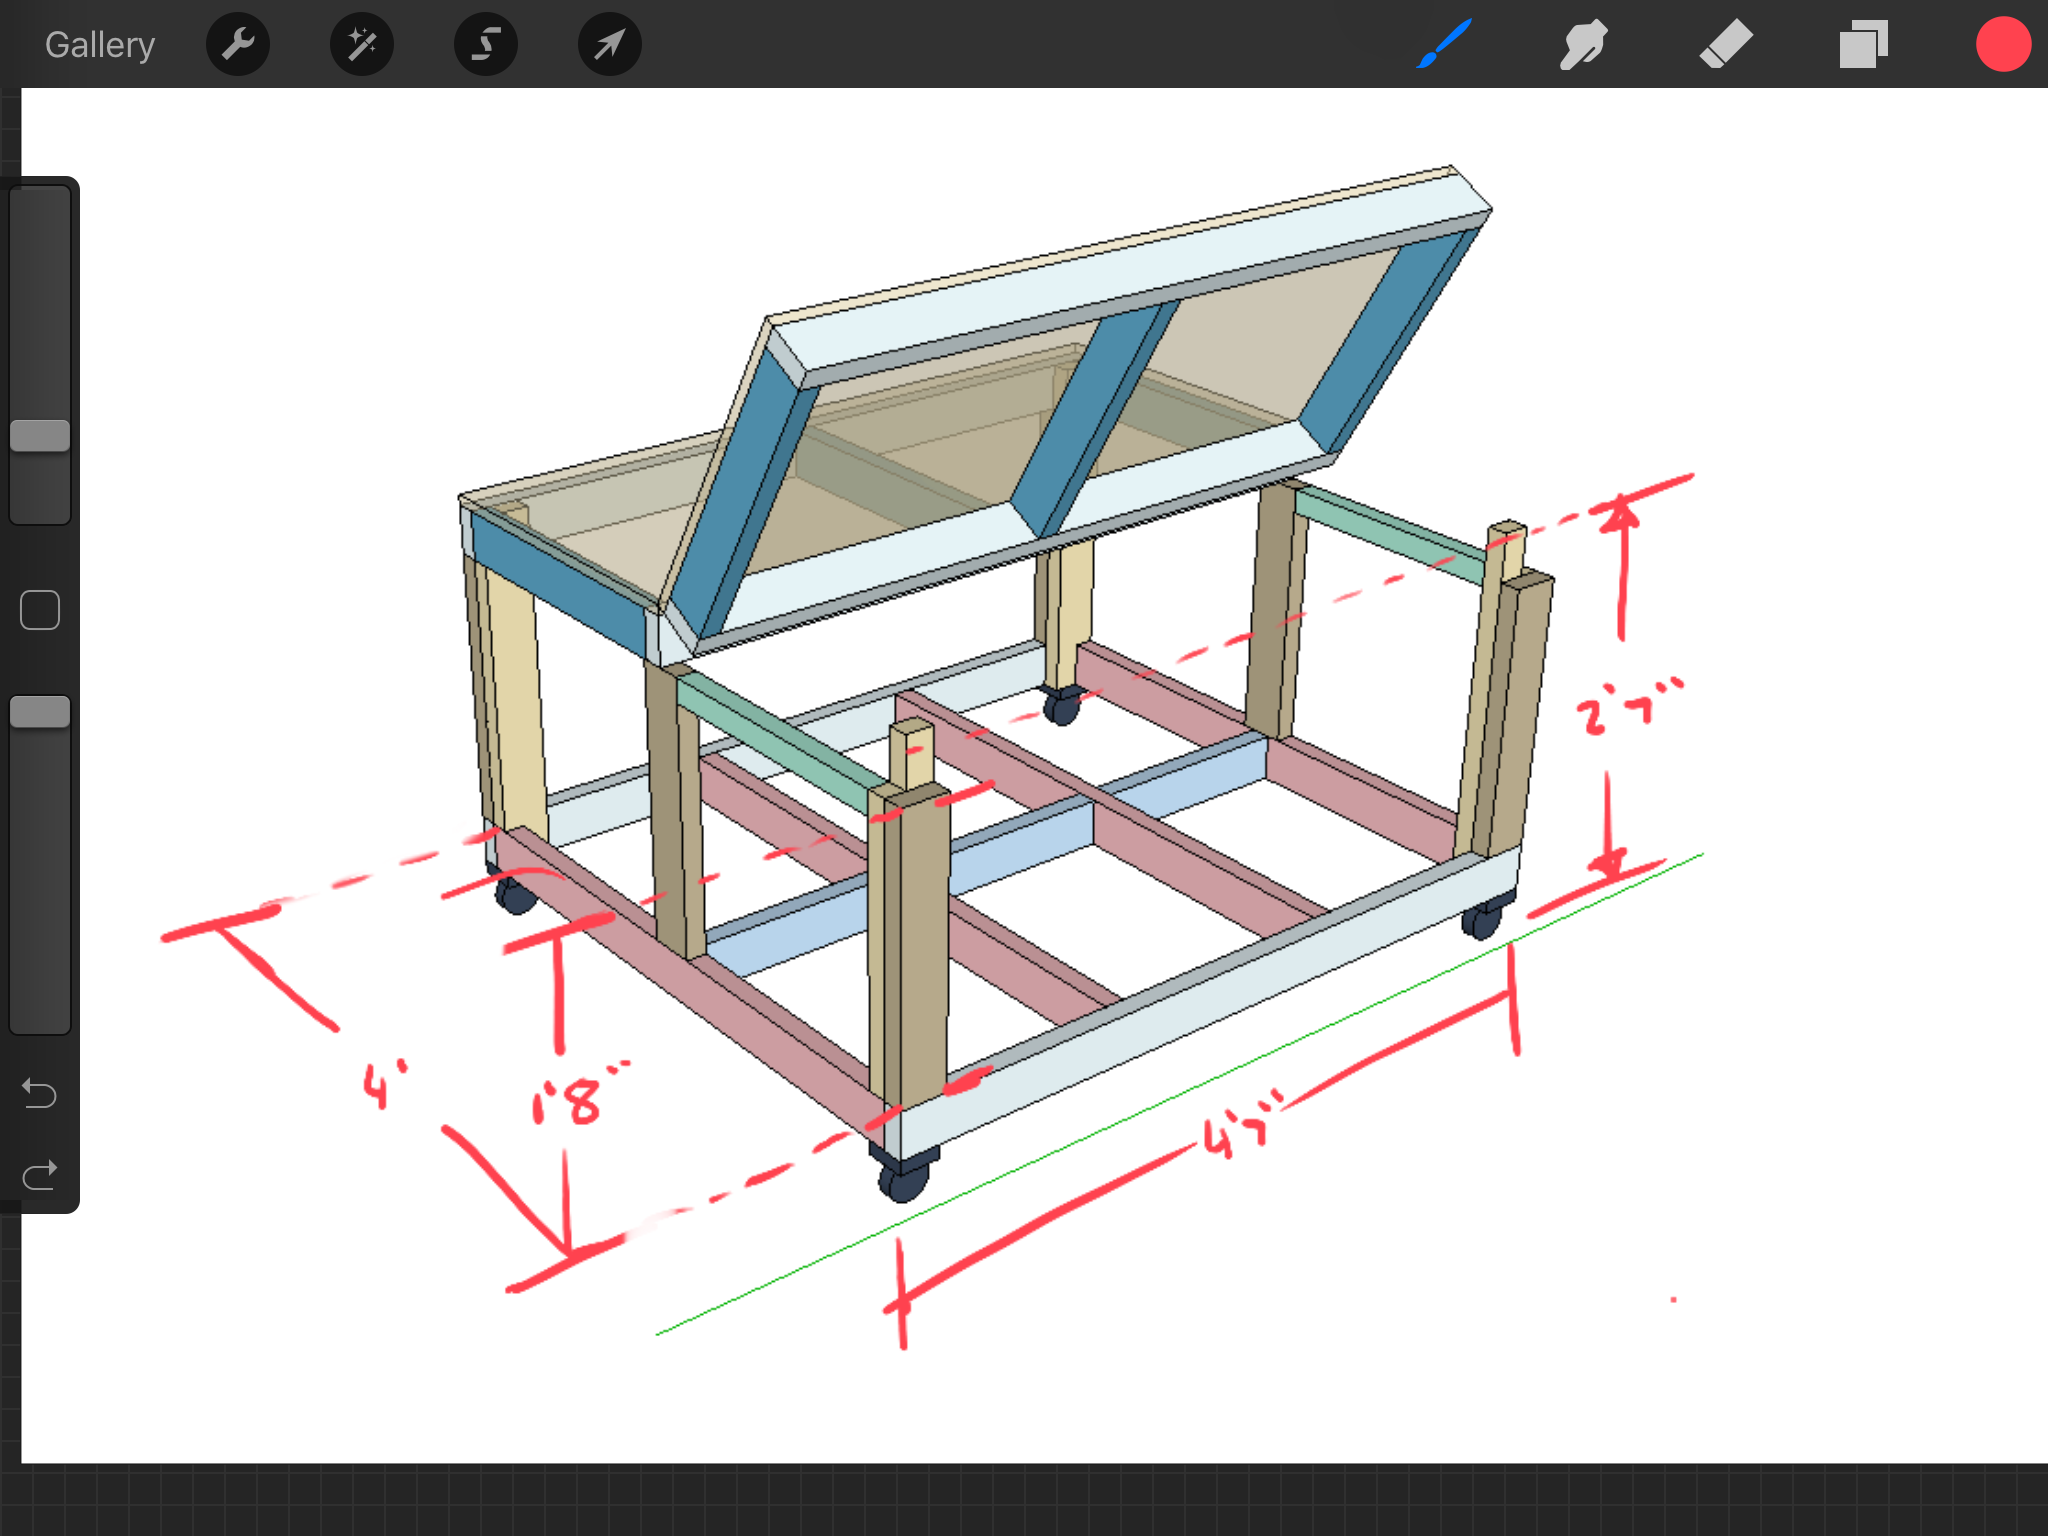
A concern I have is my uneven floor and how it might effect the flatness. Debating whether, I should go with a full out torsion box.
I think I will add panels to make it enclosed afterwards. I just want to make the thing so I can assemble the Shapeoko.
2 Likes
Definitely go with the torsion box — also suggest designing it to accommodate through bolts which would mate with the PEM nuts which are used for the levelling feet.
1 Like
You have a link to what you are referencing (through bolts with PEM nuts)? Googling them didn’t help. So you would advise against the casters, or can I use both?
I accidentally deleted my last post…
The end plates have PEM nuts in them (actually, I think all the metal bits save for the extrusions do).
My suggestion is to take advantage of these so as to bolt the machine to the structure — put in extra long bolts from the top, then use nuts and suitable washers at the bottom so as to fasten things (and preclude the PEM nuts tearing out.
1 Like
Check out Edward Ford’s Shapeoko 3D model I think on the wiki page. Everything is dimensioned perfectly. It may or may not be the S03 but the pem nuts are on the bottom of the 2 support rails front and back.

I knew Will would like that. All “likes” go to Will when the polls open. I forgot where Will directed me to find this 3d image.
3 Likes