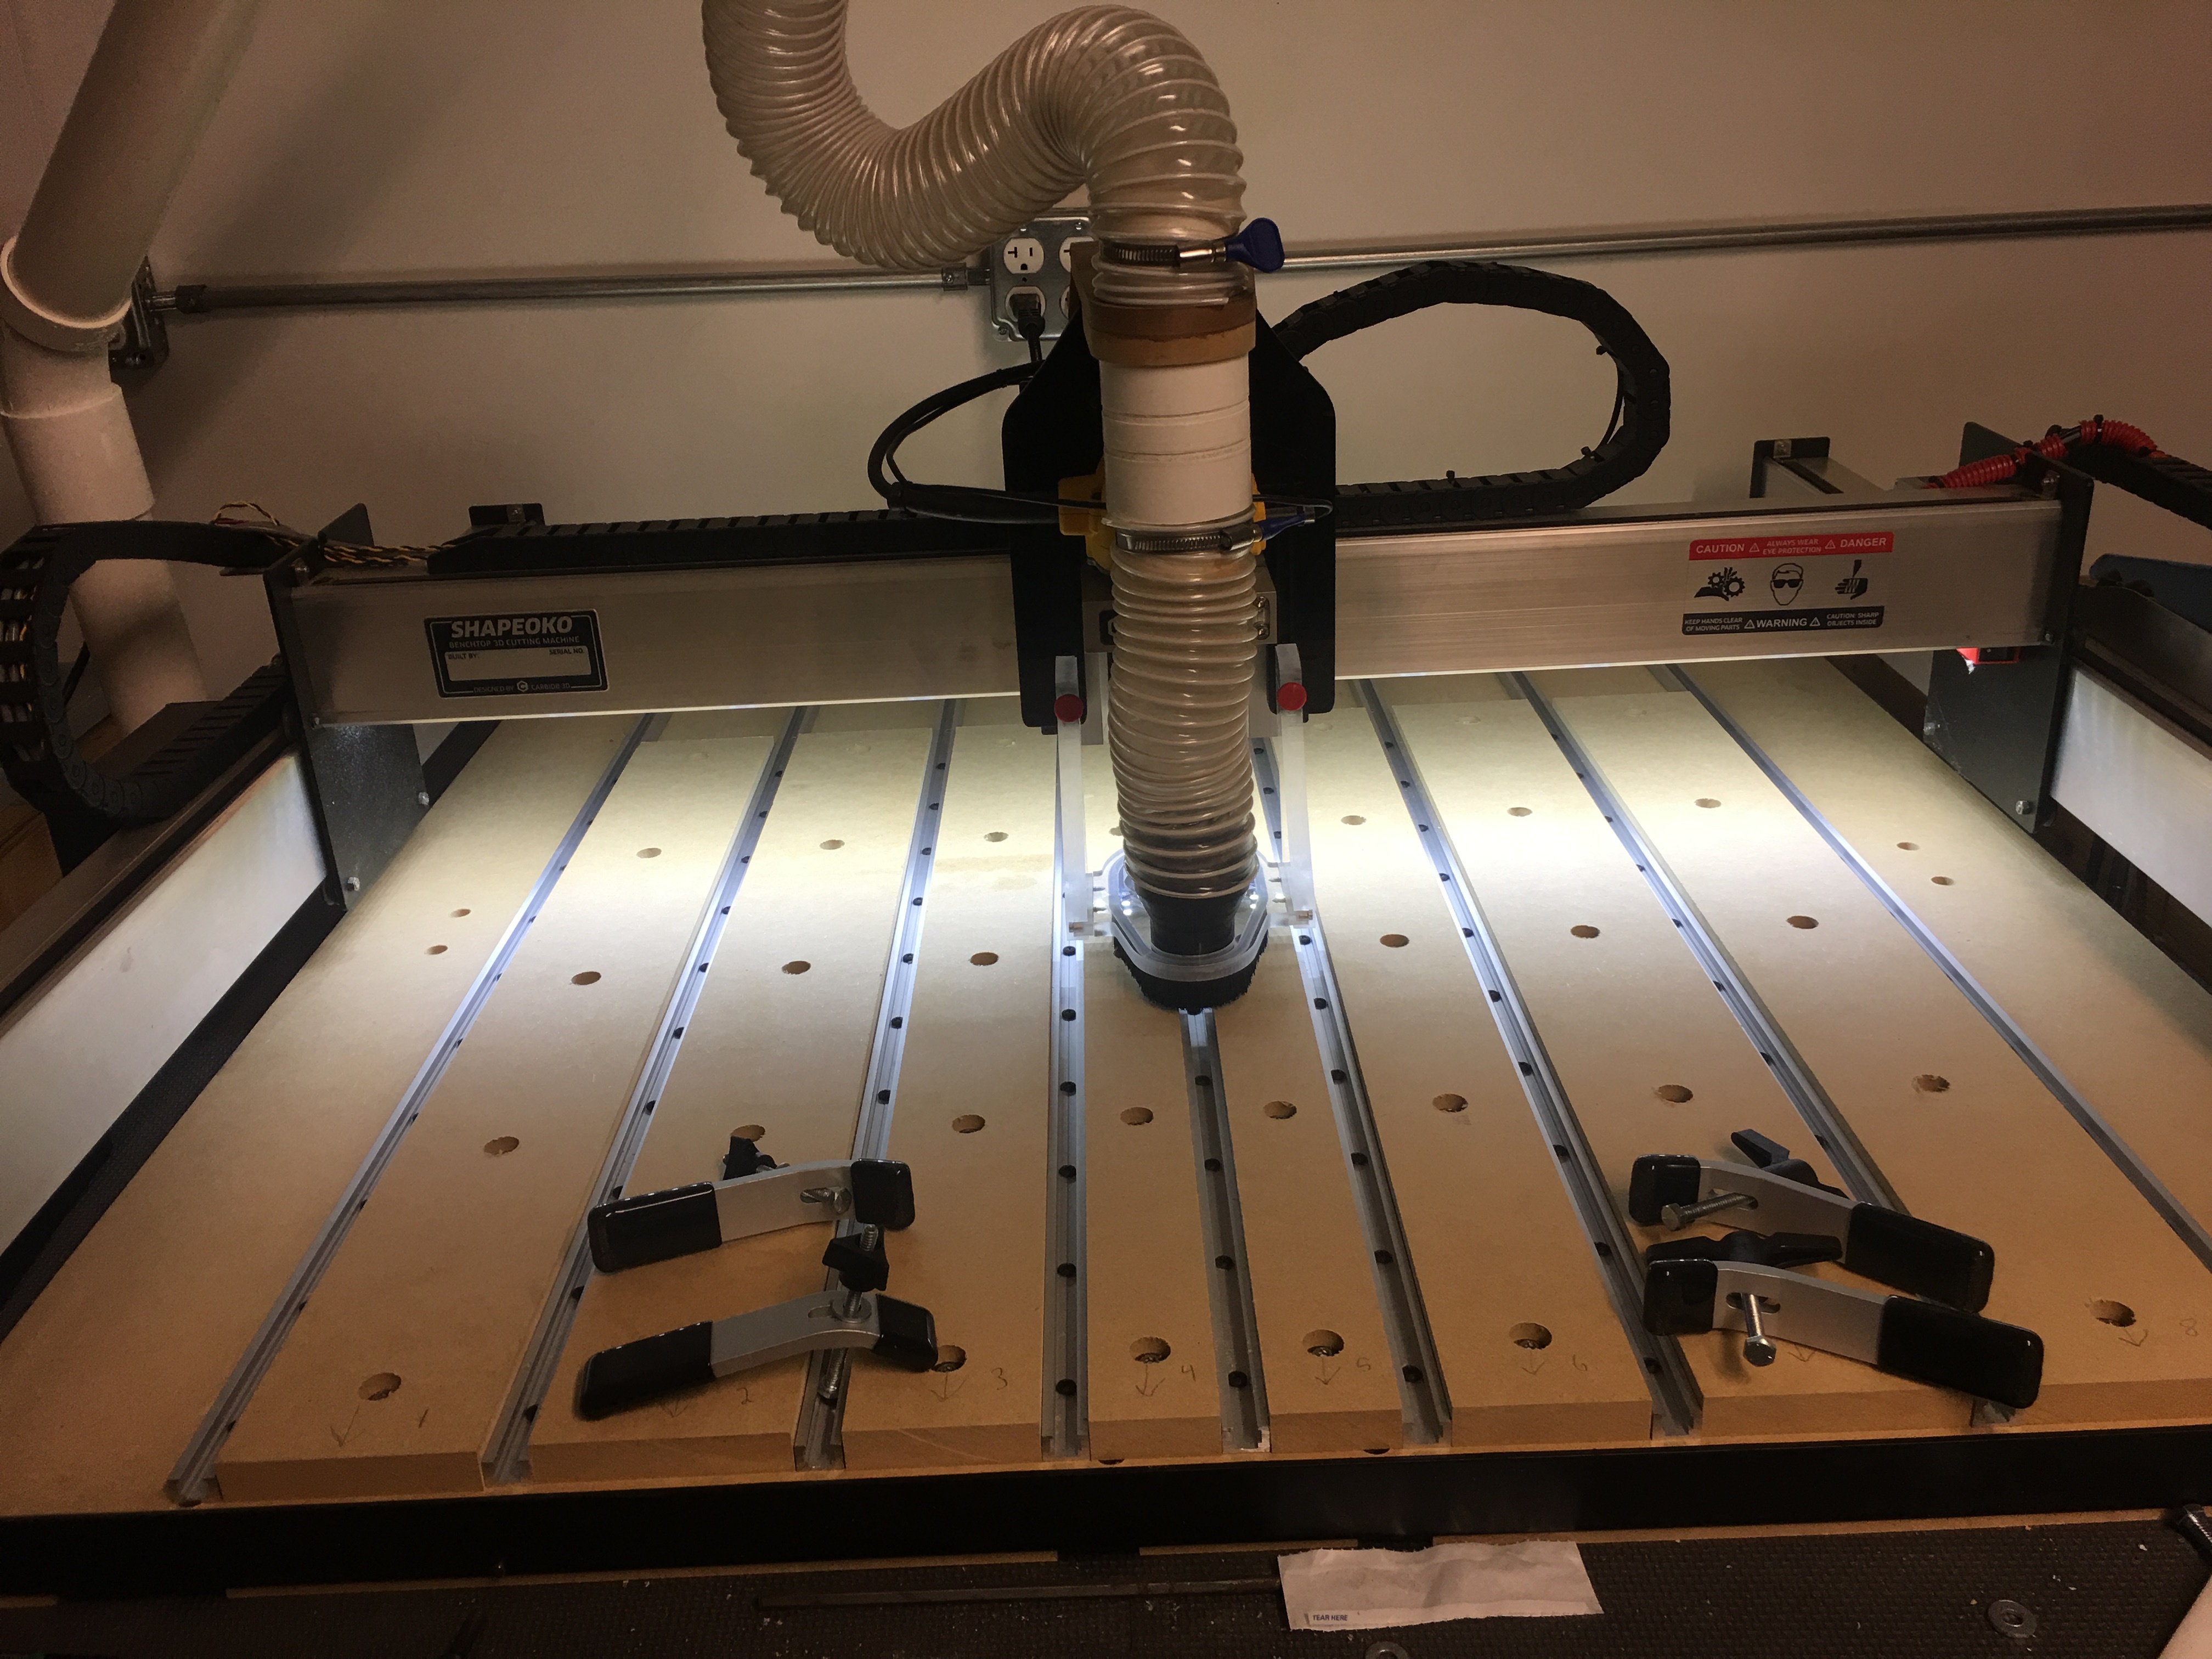
I like your setup, and your vacuum boom gives me ideas! I hadn’t thought about shimming as you show, and now I’m gonna have more experimentation as I explore accuracy and calibration stuff.
Keep up the great work and pics!
I like your setup, and your vacuum boom gives me ideas! I hadn’t thought about shimming as you show, and now I’m gonna have more experimentation as I explore accuracy and calibration stuff.
Keep up the great work and pics!
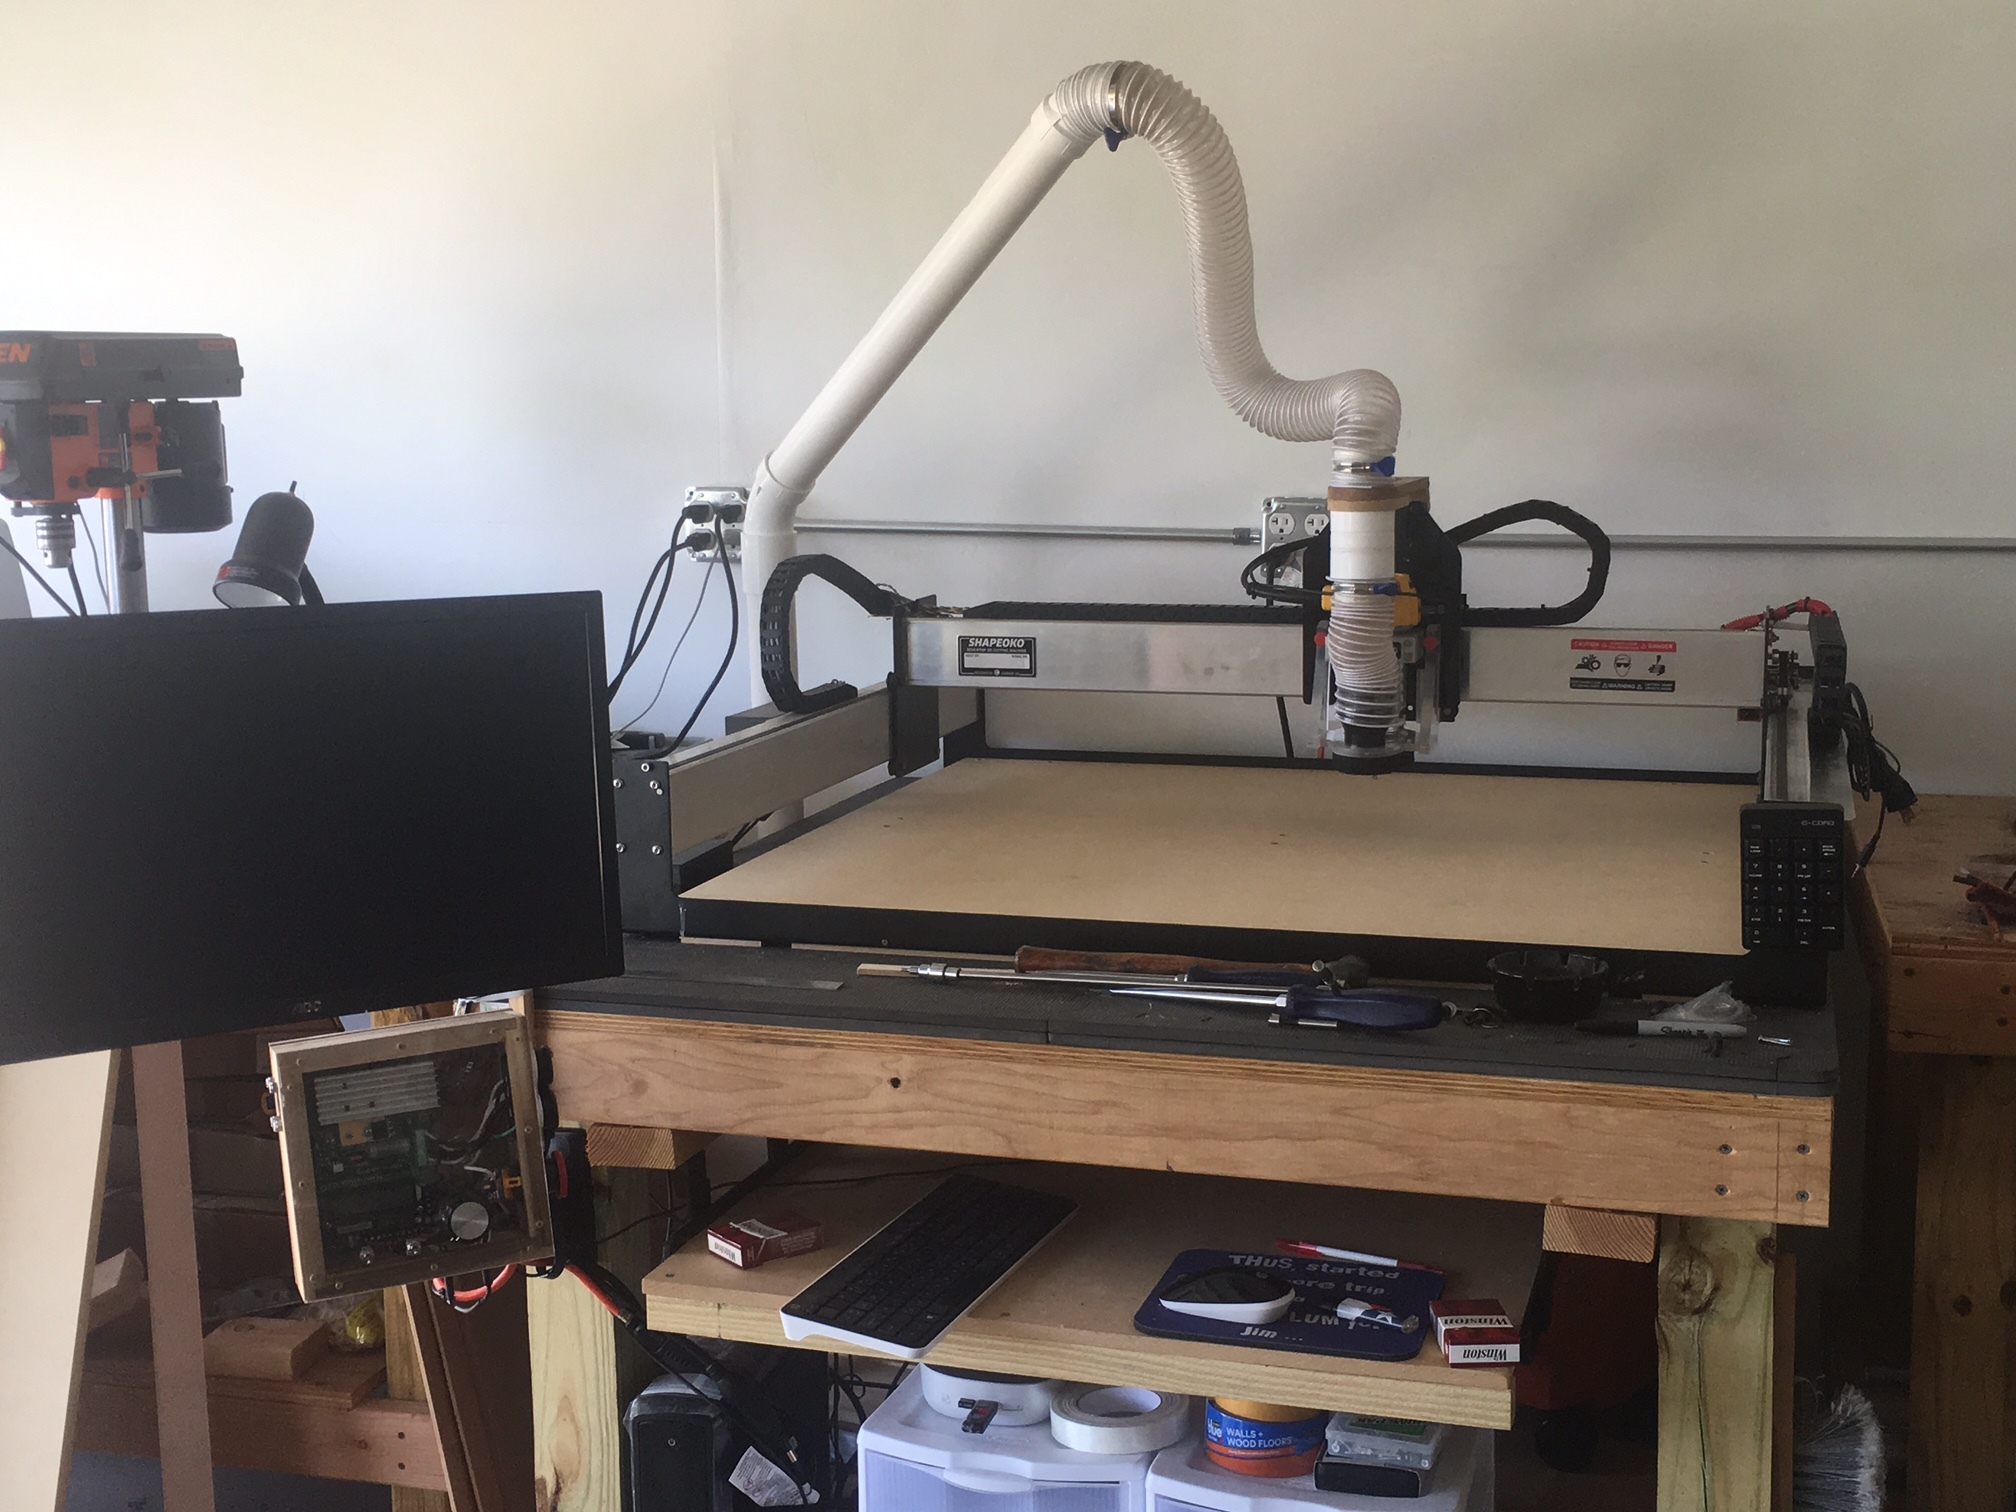
Here’s the files. I used a C3D 1/4" flat bit for all of it. 1/2" nominal MDF, although I used scrap pieces and some measured slightly different from one to the next (all were slightly under around 0.490"), so you’ll have to set your tool path depth according to your material. I think I ran my Dewalt around 18,000 RPM+/-, and adjusted a bit on the fly with the SuperPID. The hole for the hose was cut for 2" PVC, and isn’t directly above the Suckit hole because I wanted to make sure my flex hose had some clearance from the router mount as it moves. The two pieces hose_holder_mount.c2d are slightly different, I cut a small pocket out of the top one to clear the PEM nuts on the Z axis plate.
hose_holder_arm_doubler.c2d (76.4 KB)
hose_holder_arm.c2d (103.6 KB)
hose_holder_mount.c2d (184.0 KB)
Hopefully you will find them of some use!
Dan
I have, but I cut so many small parts out of a panel that I can’t see it working for me. I don’t use onion skin cus I have 40 or more parts to edge clean. I am experimenting with a “perforated” tabs experiment which I think will experimentally work. When it does, I’ll explain (with Pictures). Jude
Thanks for sharing,ill see what I can come up with 
I didn’t notice the vacuum hose boom (of course if I look at the picture AND read it is obvious). I like that a lot. Great addition! Thanks Dan
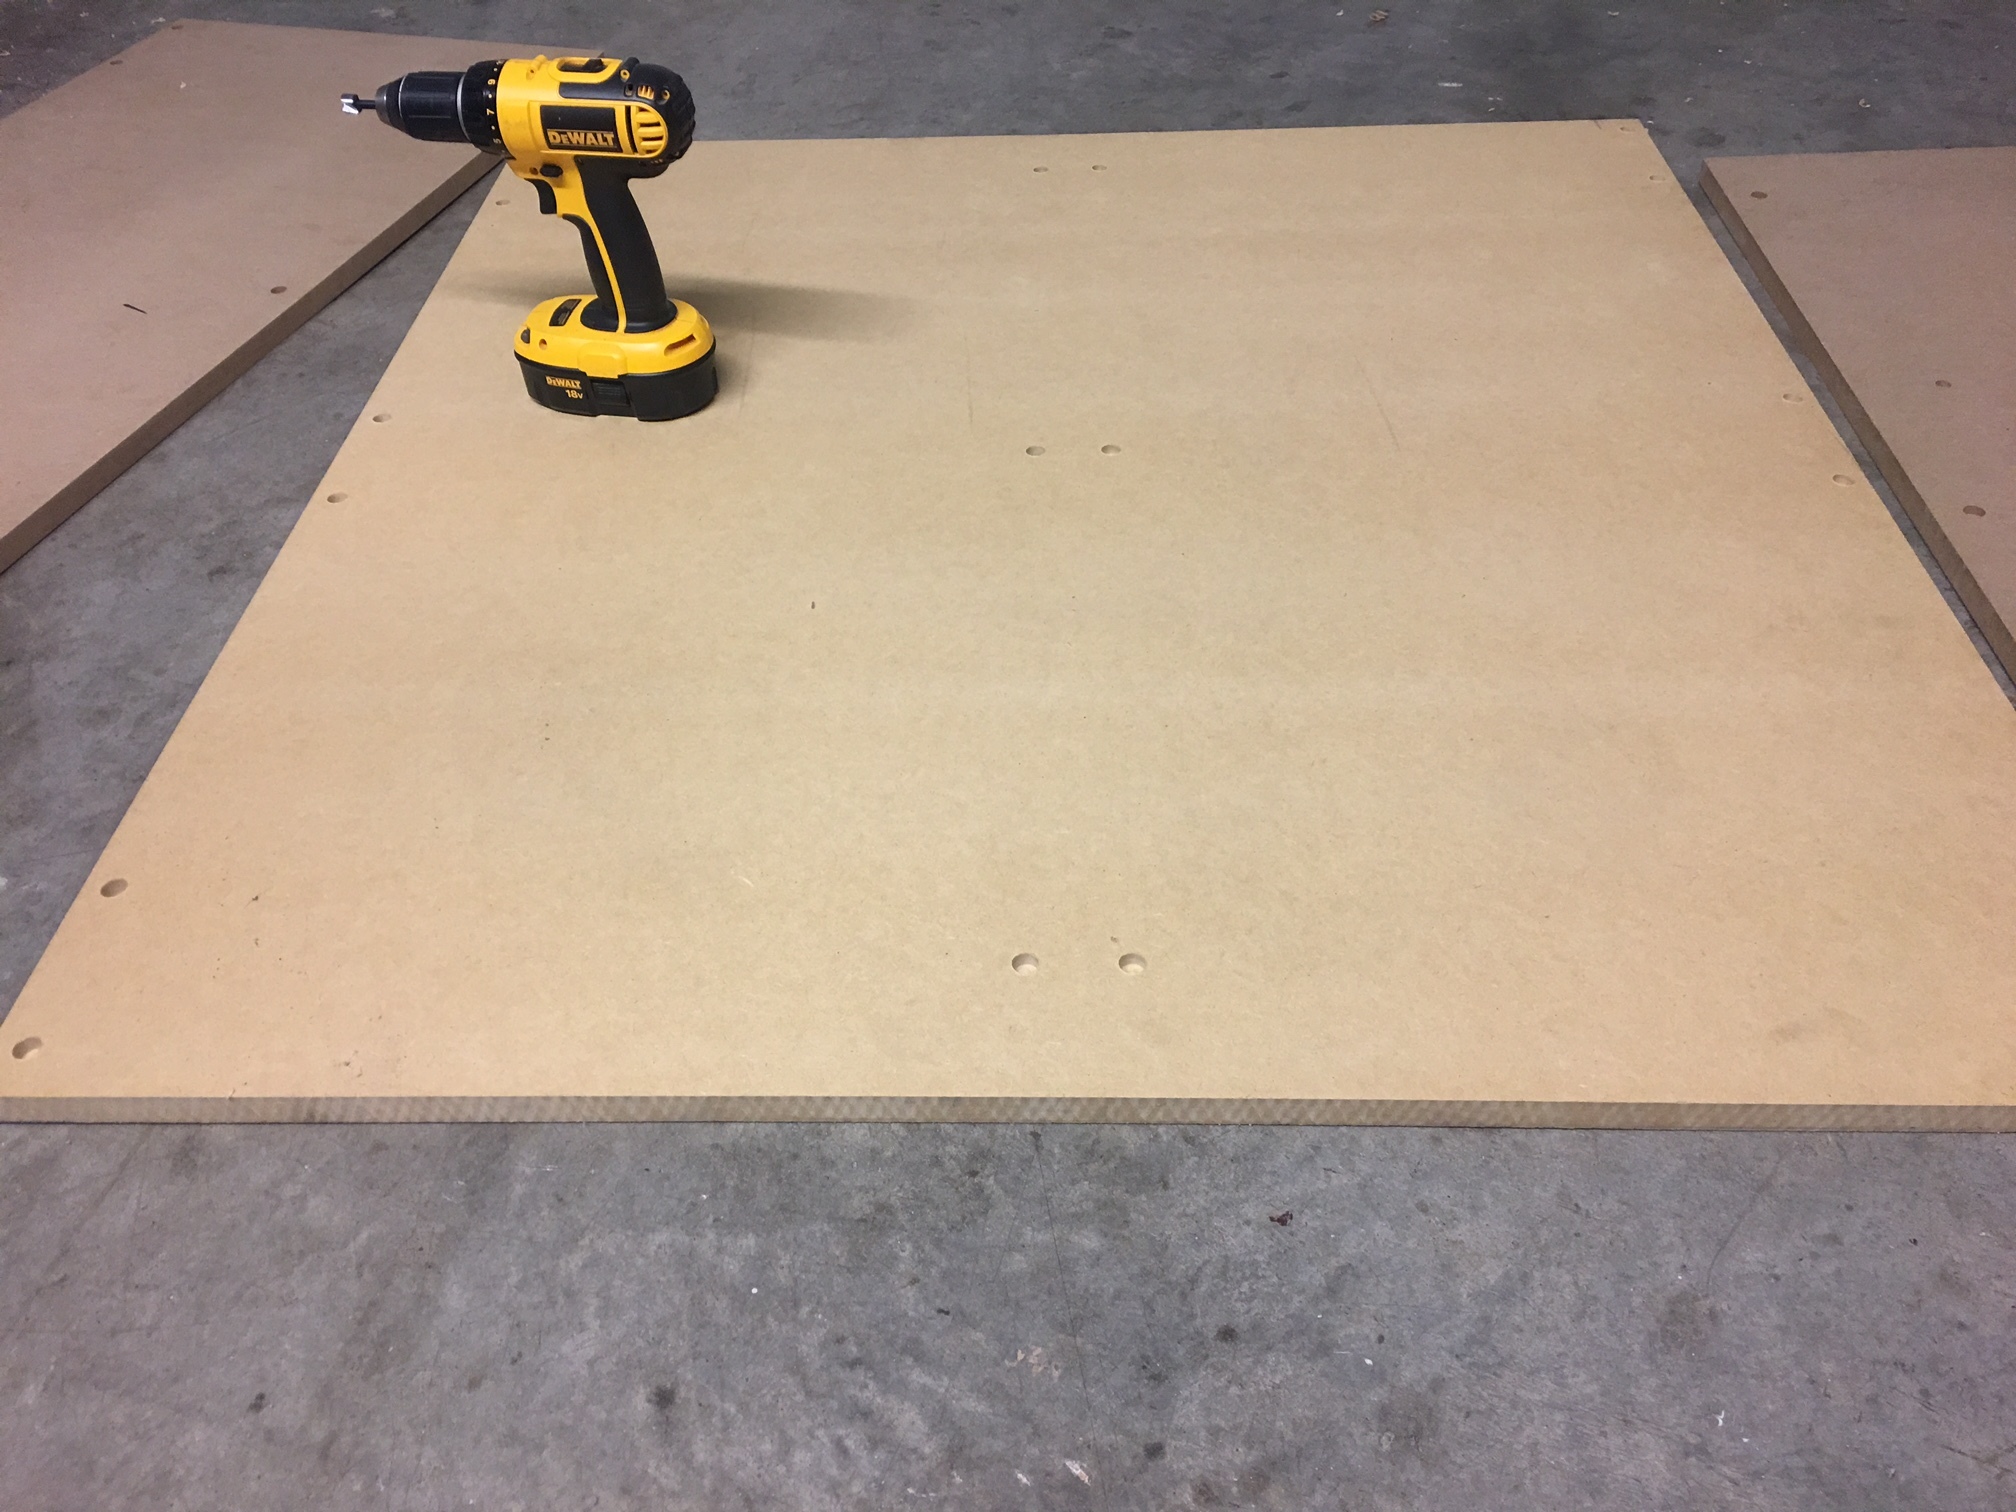
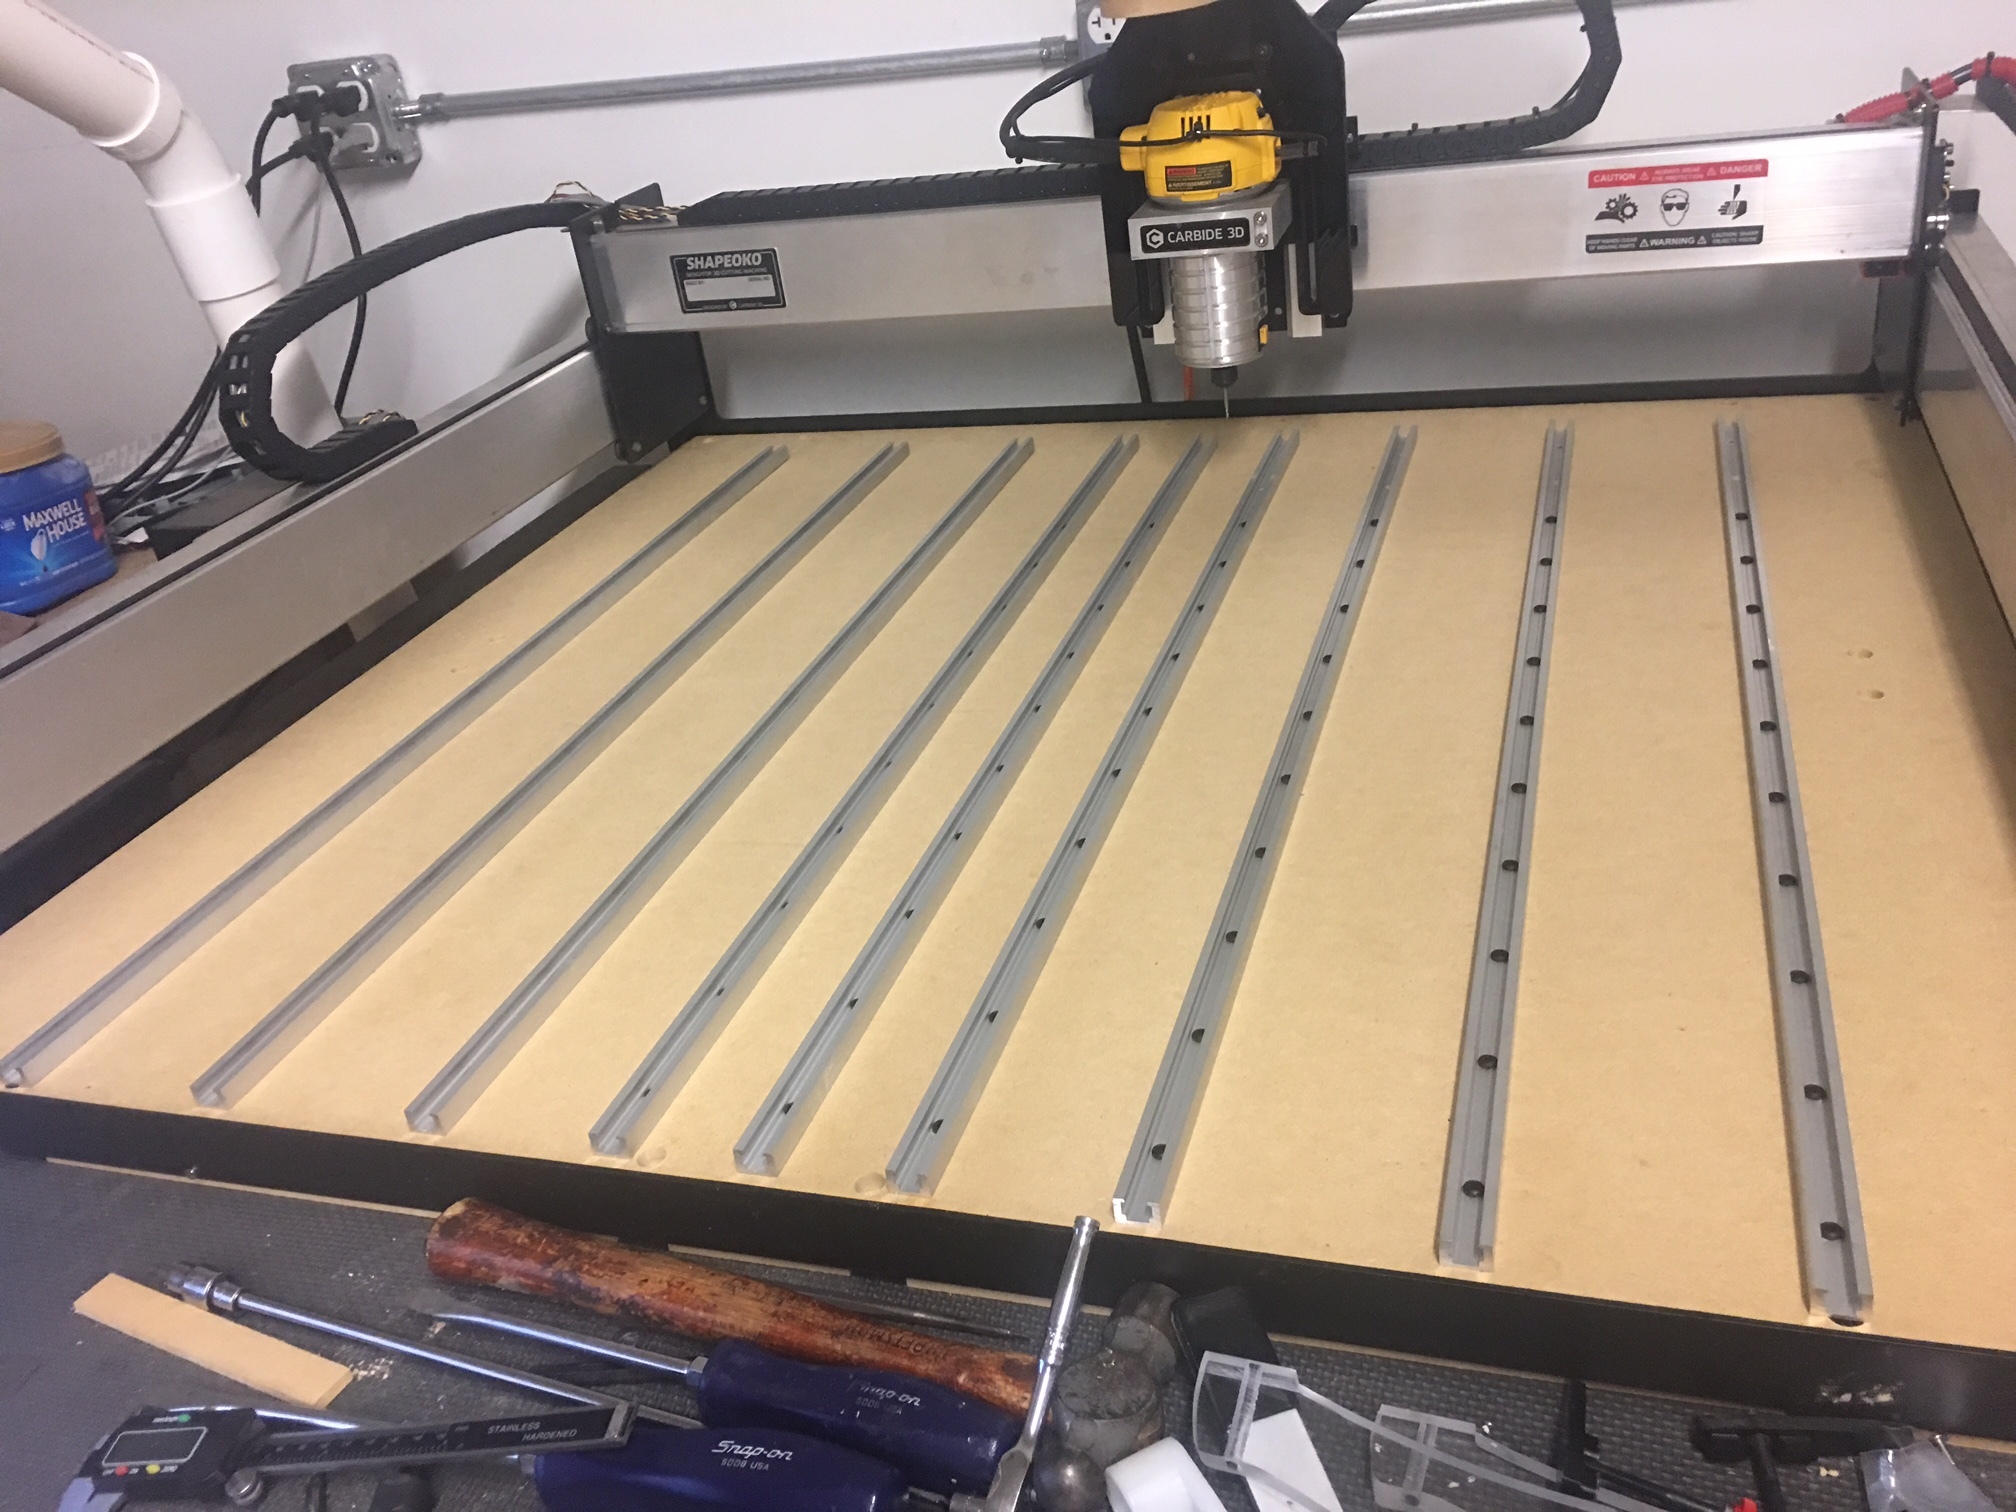
New wasteboard ala transfer punch,1/2" Forstner bit and can’t remember think #9 drill bit. Mounted, then drilled using the XXL for 2", 3" and 4" T-track spacing. Mounted T-track using #8x3/4" Phillips pan head screws. The T-track came from www.orangealuminum.com the cheapest I’ve seen and pre-drilled at 3" spacing, easy to work with. Yes, 1/4"x20 bolts slide over the pan head screws just fine, I didn’t need to countersink them. Yes I left space at the front of the machine to get 1/4"x20 bolts into the T-track, about 3/4" from the from plate. Next step is to cut MDF strips to go in between, then tramflat. To answer earlier questions, I didn’t put a DI on my Z-axis as planned (got lazy and didn’t want to disassemble the machine), but laying all of the T-track out I saw little to no gap under the 36" spans, it’s pretty flat, unless of course my T-track has a VERY consistent warp that matches the bed warp. Drilled the holes using the XXL with a 0.0625" end mill at 1/4" deep. I used CC and set my hole radius at 0.032" and did pockets, worked great!
Dan
Very nice Dan,Im in the process of relocating my machine from the tuna can i call shop to my maker space with a/c.Im losing some space but well worth it.Im trying to come up with a new monitor fixture and noticed yours kinda…what did you do there to mount it?
North Bayou F120 Full Motion Gas Spring Articulating Swivel TV Wall Mount for 17"-27" Flat Panel LCD LED Plasma Screens with VESA Mount Amazon.com
I used some odd scraps of wood to get it to the right height. I actually have two, one for my monitor and one for the SuperPID enclosure just below it.
Dan
Thanks Dan :)…
Looking pretty slick there also Dan, T track-o -matic !!!
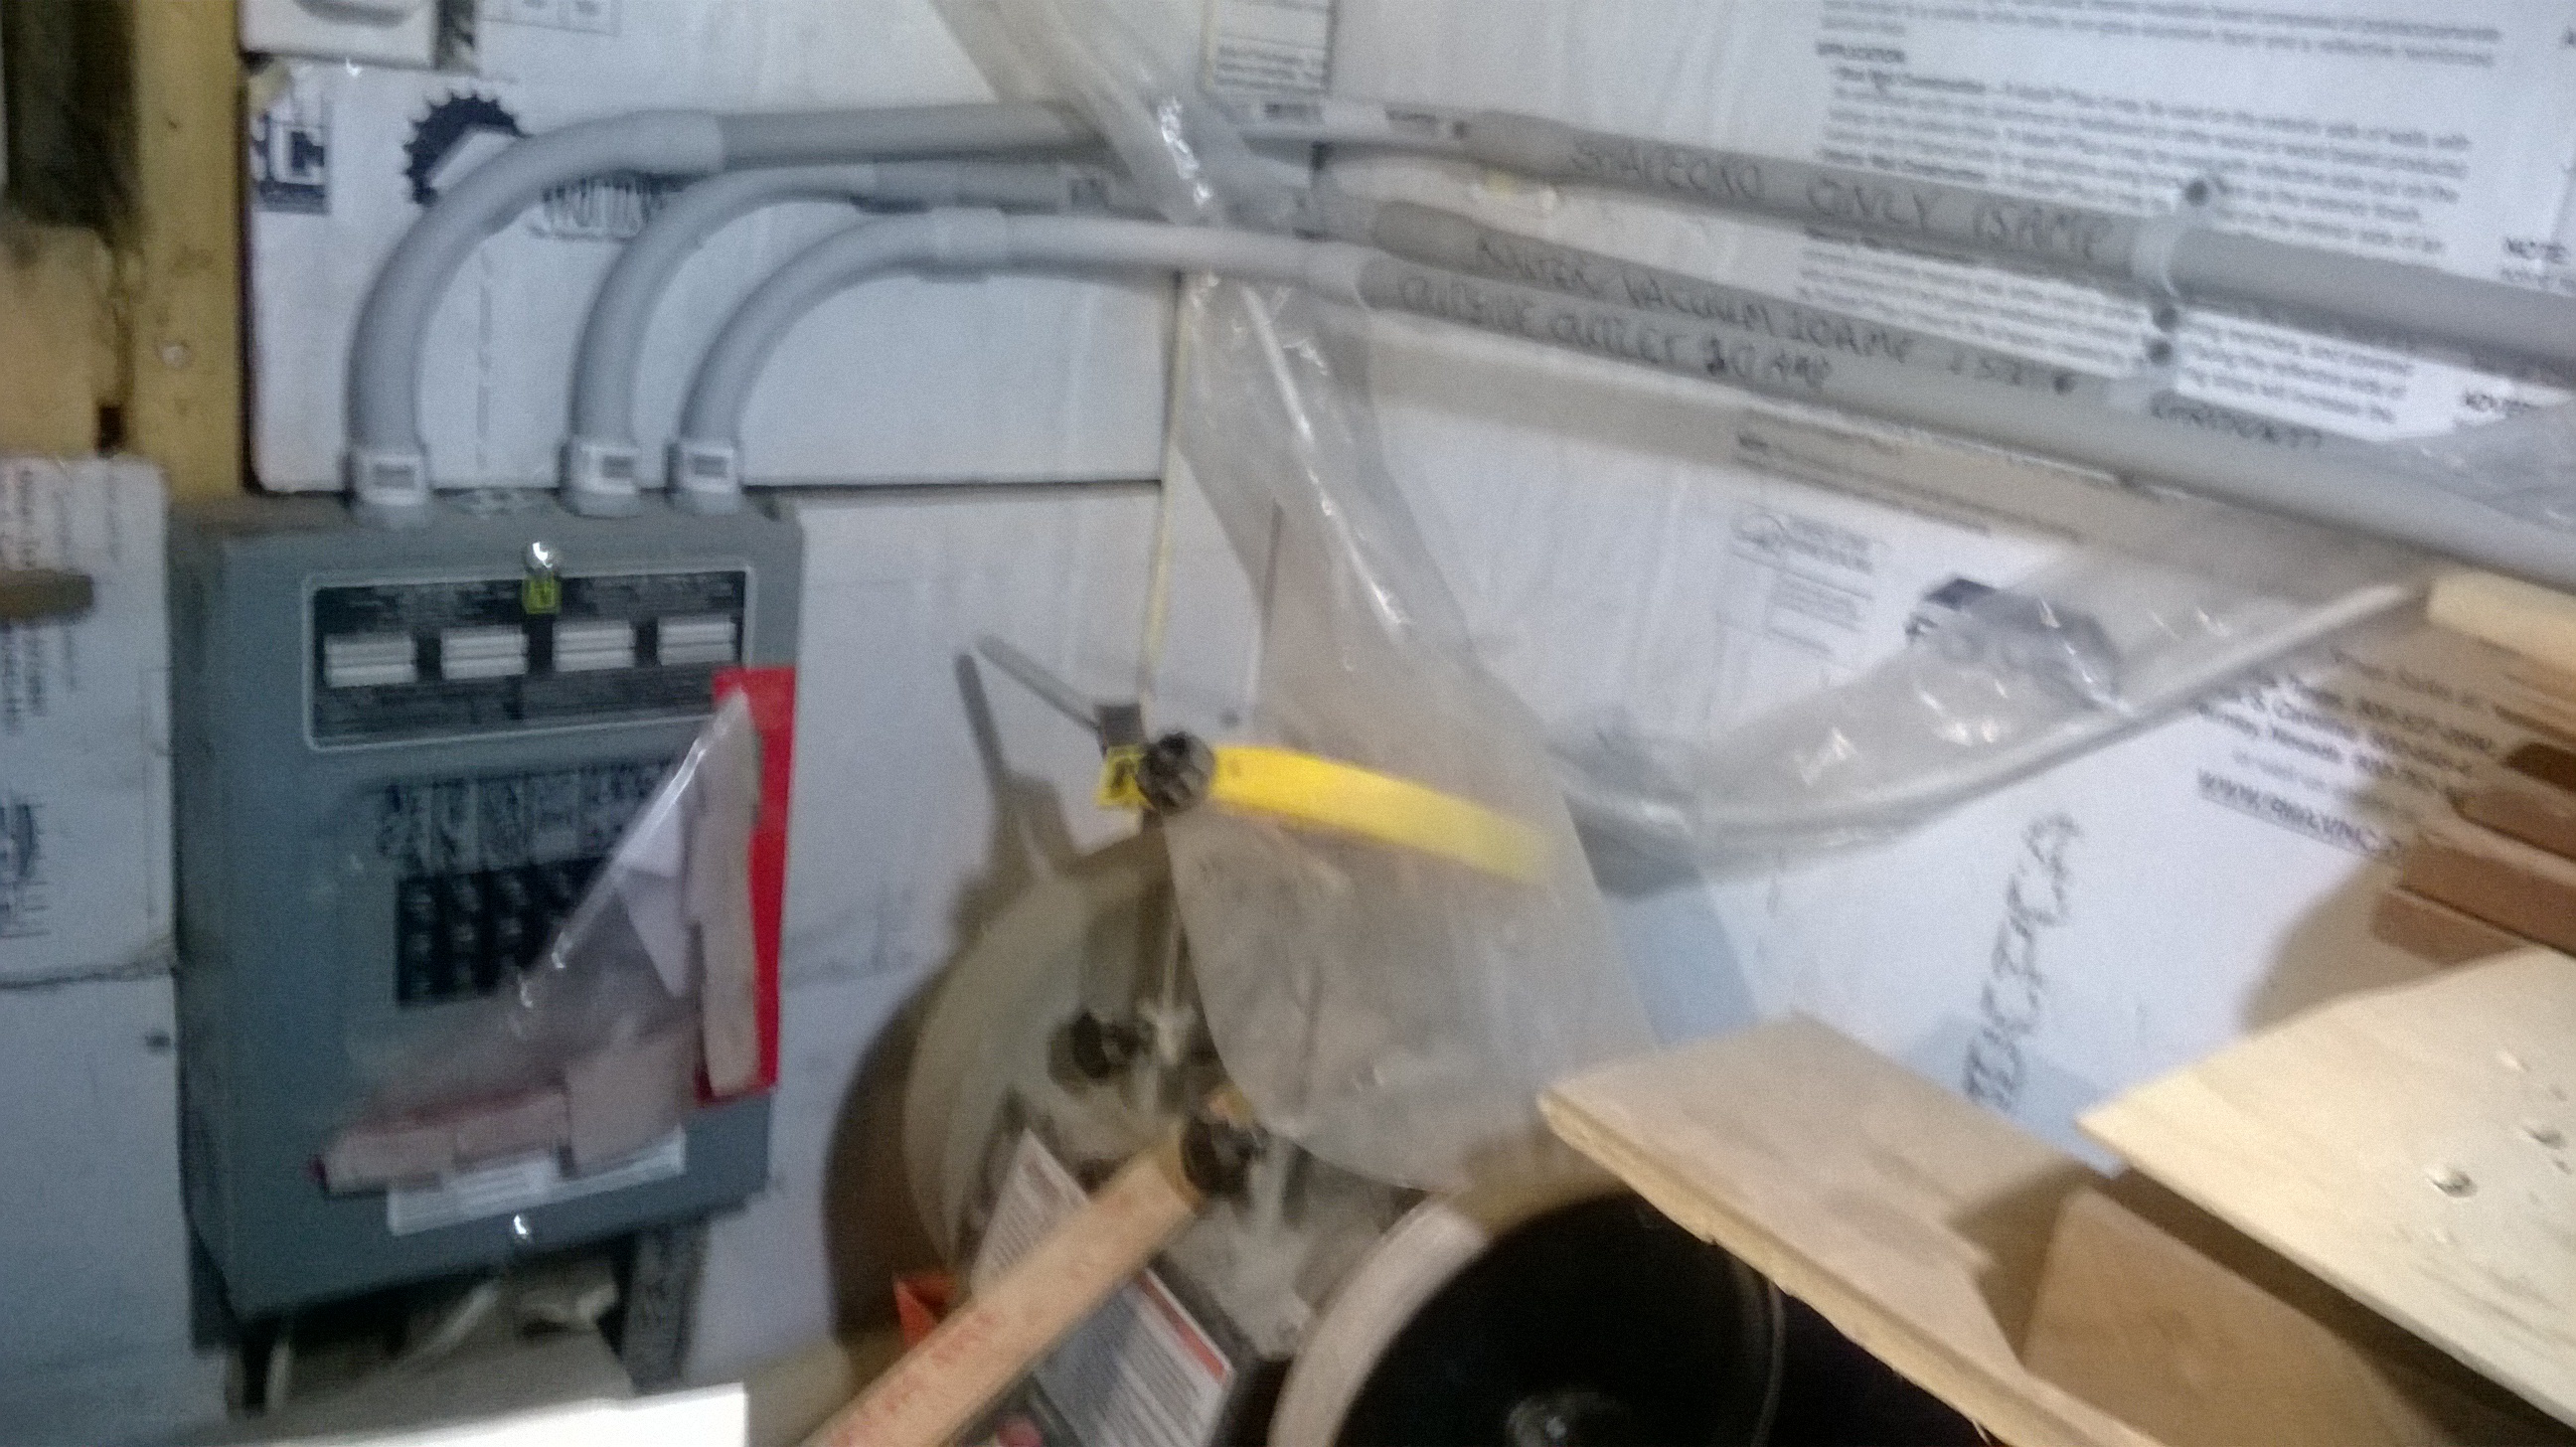
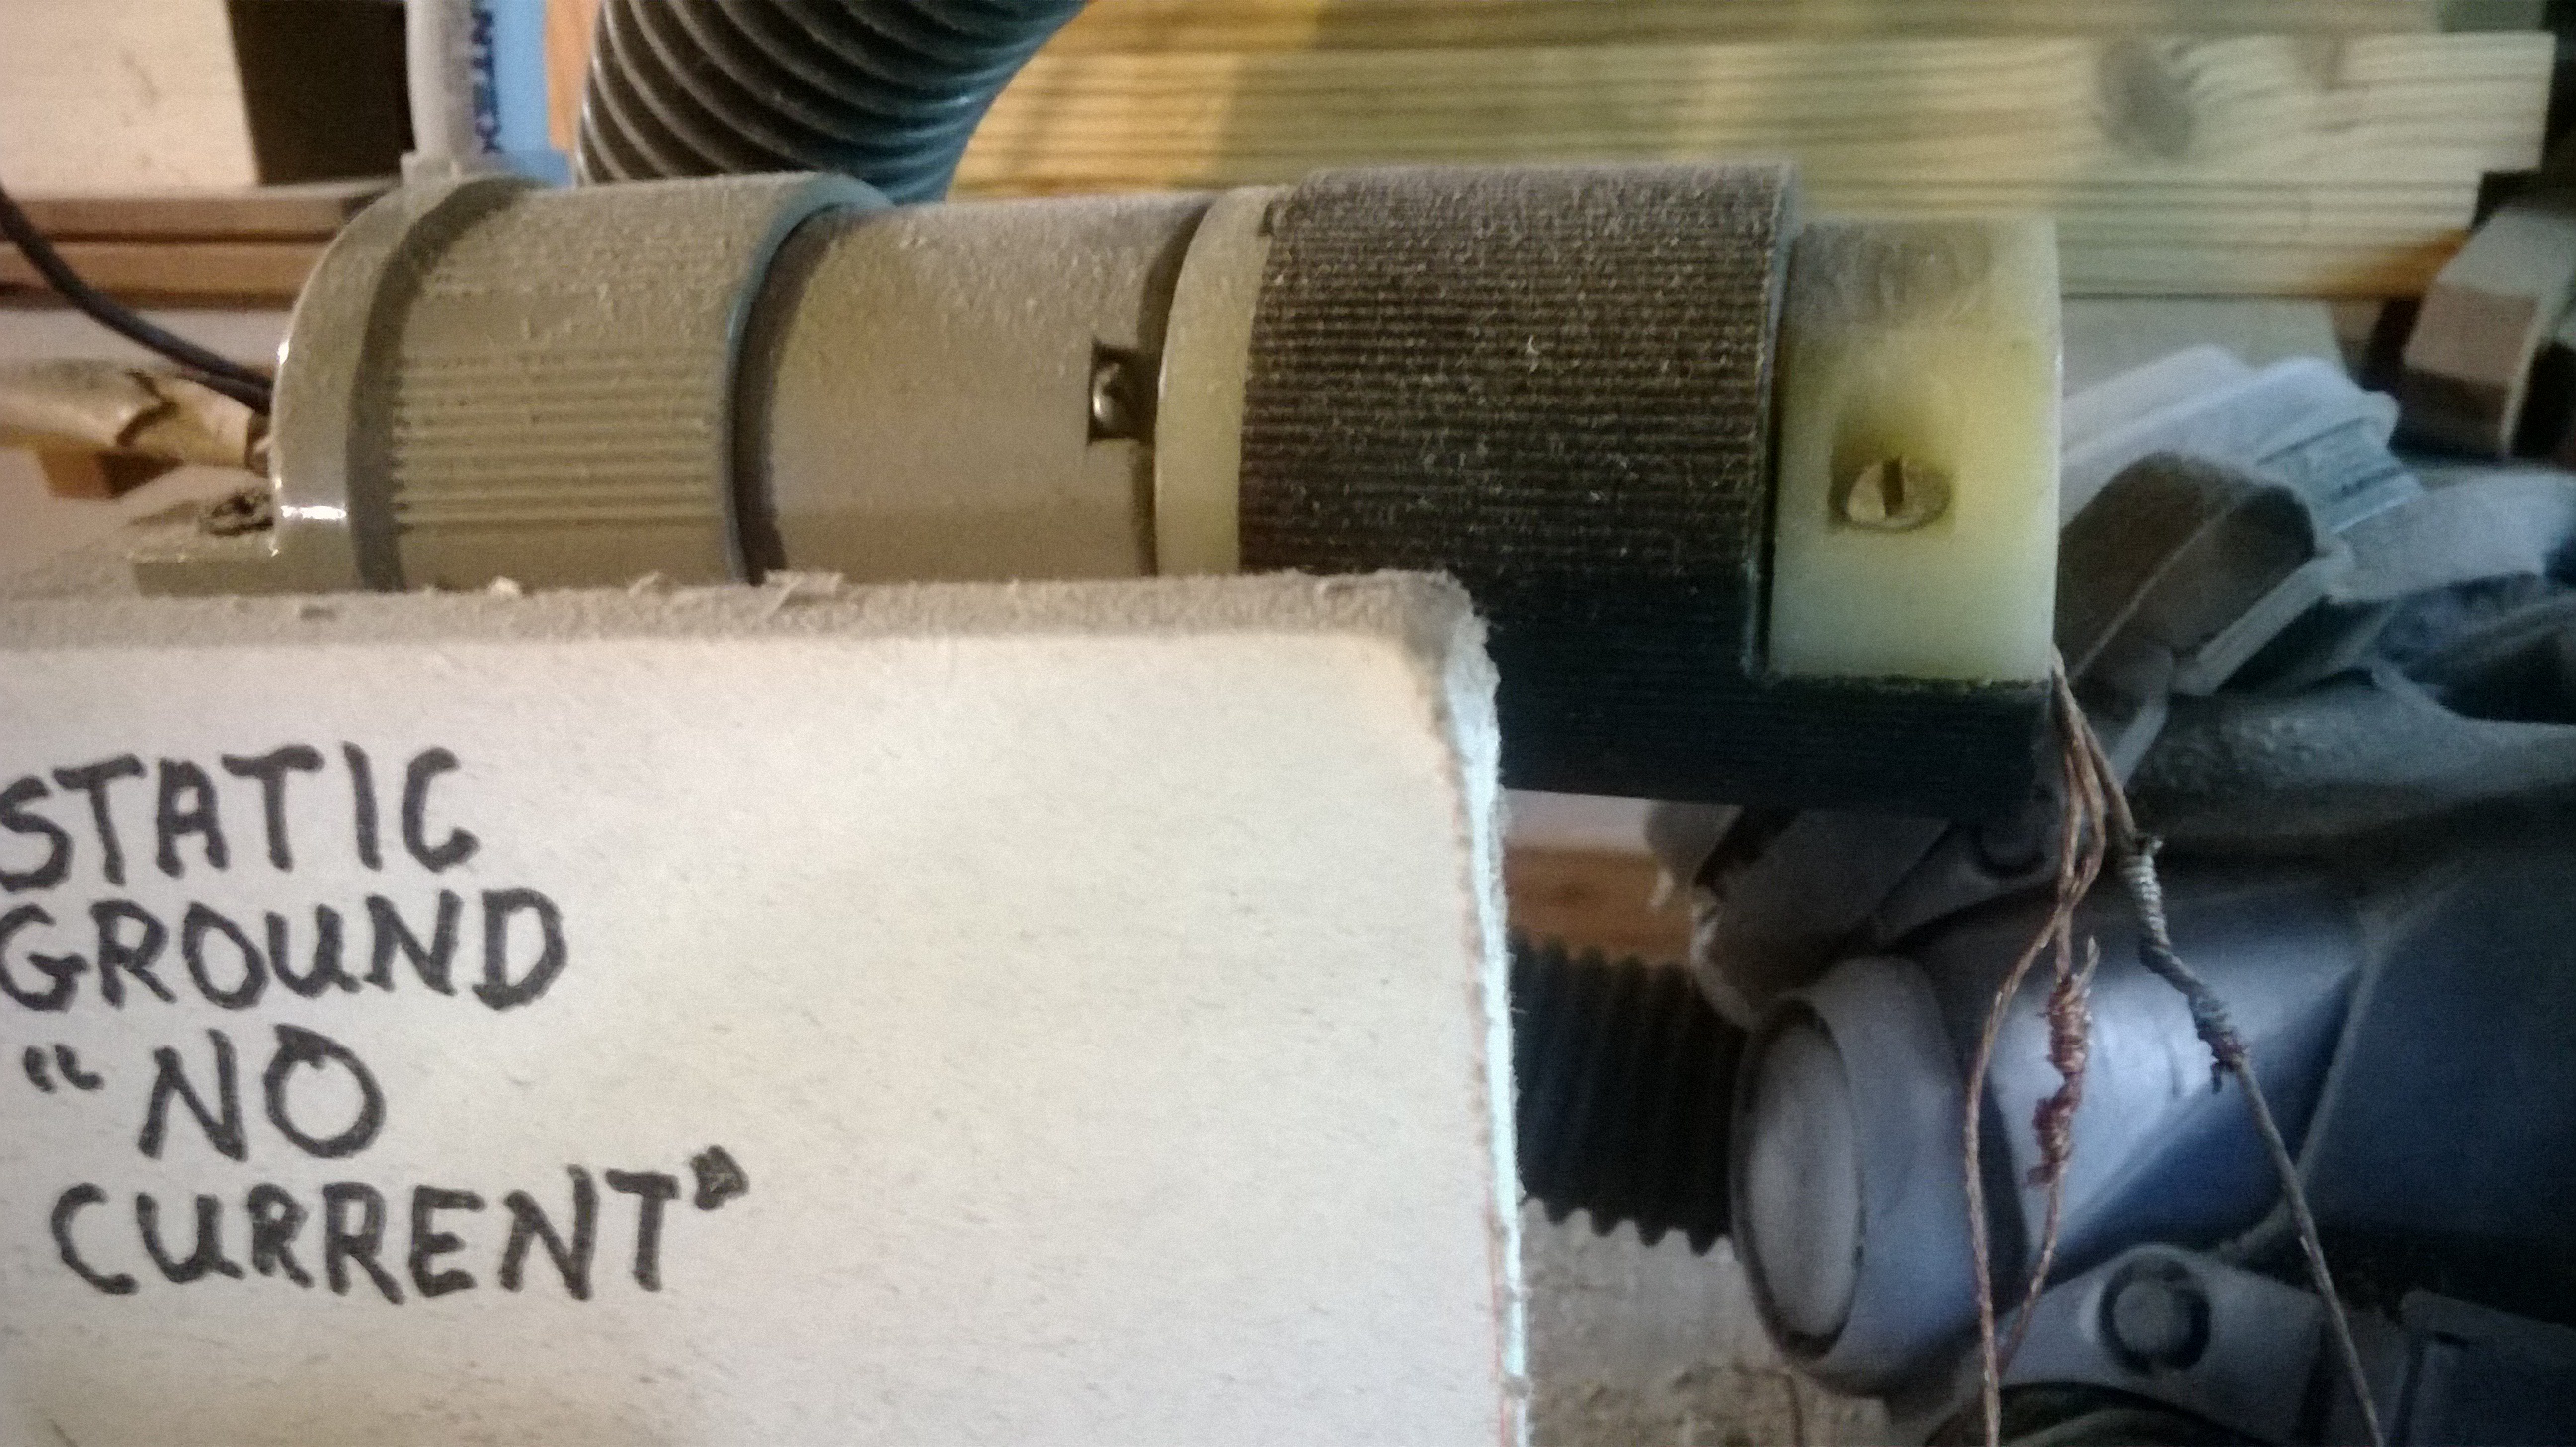
I see your electrical conduit in the back, I ran separate conduits , 1 for the Shapeoko and another one for the router and vacuum, I have the computer plugged into the normal shop circuit. Also a pic of my dedicated ground circuit with a 220 dryer plug so I can’t plug it into a live circuit.
I have two 20 amp shop circuits, one for the north wall and ceiling and one for the south wall. For my XXL I only use two outlets, one for the vacuum and one for my power conditioner/UPS. Everything besides the vacuum plugs into the UPS. I ran 3 conductor loose wire through the conduit even though some said I could use the conduit itself(I didn’t want something as stupid as a loose screw killing my ground).
Dan
Update! T-track installed, installed threaded inserts in waste board, cut 3/4" MDF filler boards, drilled and counterbored via XXL, and got everything bolted together with 1/4-20 bolts. Pretty sure it could survive re-entry from low Earth orbit! Musing on if I want to install more 1/4-20 inserts on the filler boards, I’ve got tons of them? Want to do that before tramming flat if I go that way.
Thoughts, ideas, musings?
Dan
I obviously need more T-Track for my BIG wasteboard. Nice work. And you know I am stealing your vac boom idea.
I’m ready to start the first production run and now I want a new stand, vacuum system and of course a vacuum table, all is working fine or good enough for now but now I want a new stand, a new… guess I’ll wait til after this run and than I’ll see if I still want it, but of course I will… This forum is so encouraging and there are so many good and available ideas , oh wait…here’s an idea (i thought of towards myself ) how about I use this machine to make some money that I can use to make the machine better… how much better it would be to just switch off the vacuum and remove and replace it with the next panel no clamping and unclamping and cut cut cut… now that is progress or will be progress. Thanks for the musing’abilities, Jude
I used to be really into air guns, not “BB guns”, air guns, like the kind you charge with a SCUBA tank. After collecting some 20-30 guns, and looking for the next “keeper” a friend of mine told me,“Just keep buying until I tell you to stop!”. It was pretty sound advice, haha!!! About the time I had turned my 20-30 lower end guns into 6-8 really high end ($1000-$3000 range) “keepers” I realized how much money I had into that hobby, not including the ones I bought high and sold low. Thing is there wasn’t anything I hadn’t already owned, or didn’t want to own, and I could only stare at them for so long, but I enjoyed collecting them. Somewhere in there “life happened” and I was lucky enough to sell everything off pretty quick, at a loss of course, but I really enjoyed what I had as long as I had it. I’ve had my XXL for almost a year now. I don’t even want to guess what I’ve spent on endmills, materials, doodads and rinkydinks, and I’ve yet to make anything that I could sell for profit, but I have enjoyed the time spent piecing it all together, watching the motors spin, the “occasional” mistake that causes the whole works to burp and bellow. As I’m sitting here I’ve been watching my machine resurface the new waste board for an hour or so and I’m pretty dumb happy just listening to it whirl away, making tiny 0.4mm deep cuts as it goes, bliss!!! Pretty soon I hope to make my very first real finished product, a sign for my shop in curly maple. It’s only taken a year, a dwindling bank account, and hours of putting it together, pretty cool in my book:)
Dan
Thanks Dan, I really needed that, sanity and reality are not the same thing nor do they go hand in hand. Happiness is the best medicine and sometimes you just need to think about the journey instead of the finish line. I for one don’t want to finish, I’d rather keep peddling along looking for the next hill top. Guess I was trying to hard to make sense of the whole deal… I mean I didn’t buy it just to make money, I bought it for the challange, well I got I challange and I should be happy. Tomorrow morning I think I will tram the surface again just for the fun of it. A nice shiny surface is quite an accomplishment after all. Jude
Back before my current desk job I was the Prototyping Shop Supervisor and my fondest memory of being in that shop was when everyone else would go home, I’d usually save myself a small lathe project. I would set that thing up for a nice long cut, making as perfect a curlyQ string as I could without breaking it, and just watch it turn and and make chip(s). That was several years ago when home life wasn’t real good, my commute home meant sitting in 2-3MPH traffic for an hour, and just watching that thing go was probably the only thing that kept my head somewhat in tact. I could call the now ex-wife, say I was working a little late, watch that thing spin, clear my head, and avoid most of the slow traffic. It was like watching old war movies on TV, except it took a little concentration to make sure nothing went out of whack, engaged, but relaxed. Enjoy the surfacing, mine just finished but I think I need to take off about 0.1mm more because the machine missed a low spot in one corner about as big as my hand, that will be for tomorrow;-)
Sanity and reality are absolutely two different things, I like to dabble around somewhere in the middle;-)
Dan
Resurfacing went wonderful this morning, nice and relaxing… I don’t remember what I did last time but the back corner was off by almost 1/2 mm, no wonder the depths never seemed right. Not the Z axis, it’s the surface. Nice practice engraving was a result. Thanks Dan, Jude
Got the mount in today,ill try to post a pic later.