I have an opportunity to get into a local shop. The owner asked me for samples, and I suggested making some custom items for the shop. So, to shorten the story…She gave me her pre-existing sign on the outside of the store, and asked me to make her a new one with her new logo using the old sign. How do I hold this down? I’m going to take the vertical boards off of the back, the screws holding them on will be in my tool path. The design I came up with, and that has been approved by the owner, has a 1/2" border around the new sign. I’m thinking about nailing the boards down to my wasteboard along the edge, where the boarder will be, and sinking the finish nails deep enough so I can run a surfacing pass over the whole thing before I get started. Does this sound like a good solution to you guys. I thought about the painters tape and CA solution but I don’t feel the boards are smooth or flat enough for that. Any suggestions?
I would start with a piece of MDF larger than the sign and thicker than the backing boards, mill out pockets on the back to receive the vertical boards which hold it together, and use 1" washers and bolts and cauls to make up the thickness of the sign to hold it around the edges.
I did think about cauls and bolts around the edge, but I think I’m out of room on my spill board to bolt around the edge. I’ll have to double check when I get home, but I’m pretty sure about this. I’m going to have to remove the backer boards, because the screws that hold them on are long enough that they will stick through into my pocket I’ll be cutting into the sign. I wish I could leave them on, and I like the pocket idea. Maybe I should put some temporary shorter screws in and remove the original screws just for the machining. Hmmm…
What about glue + shorter screws to replace the longer screws? or even timber dowels?
That would work fine, and I’m really leaning this way. But as far as holding it down? 
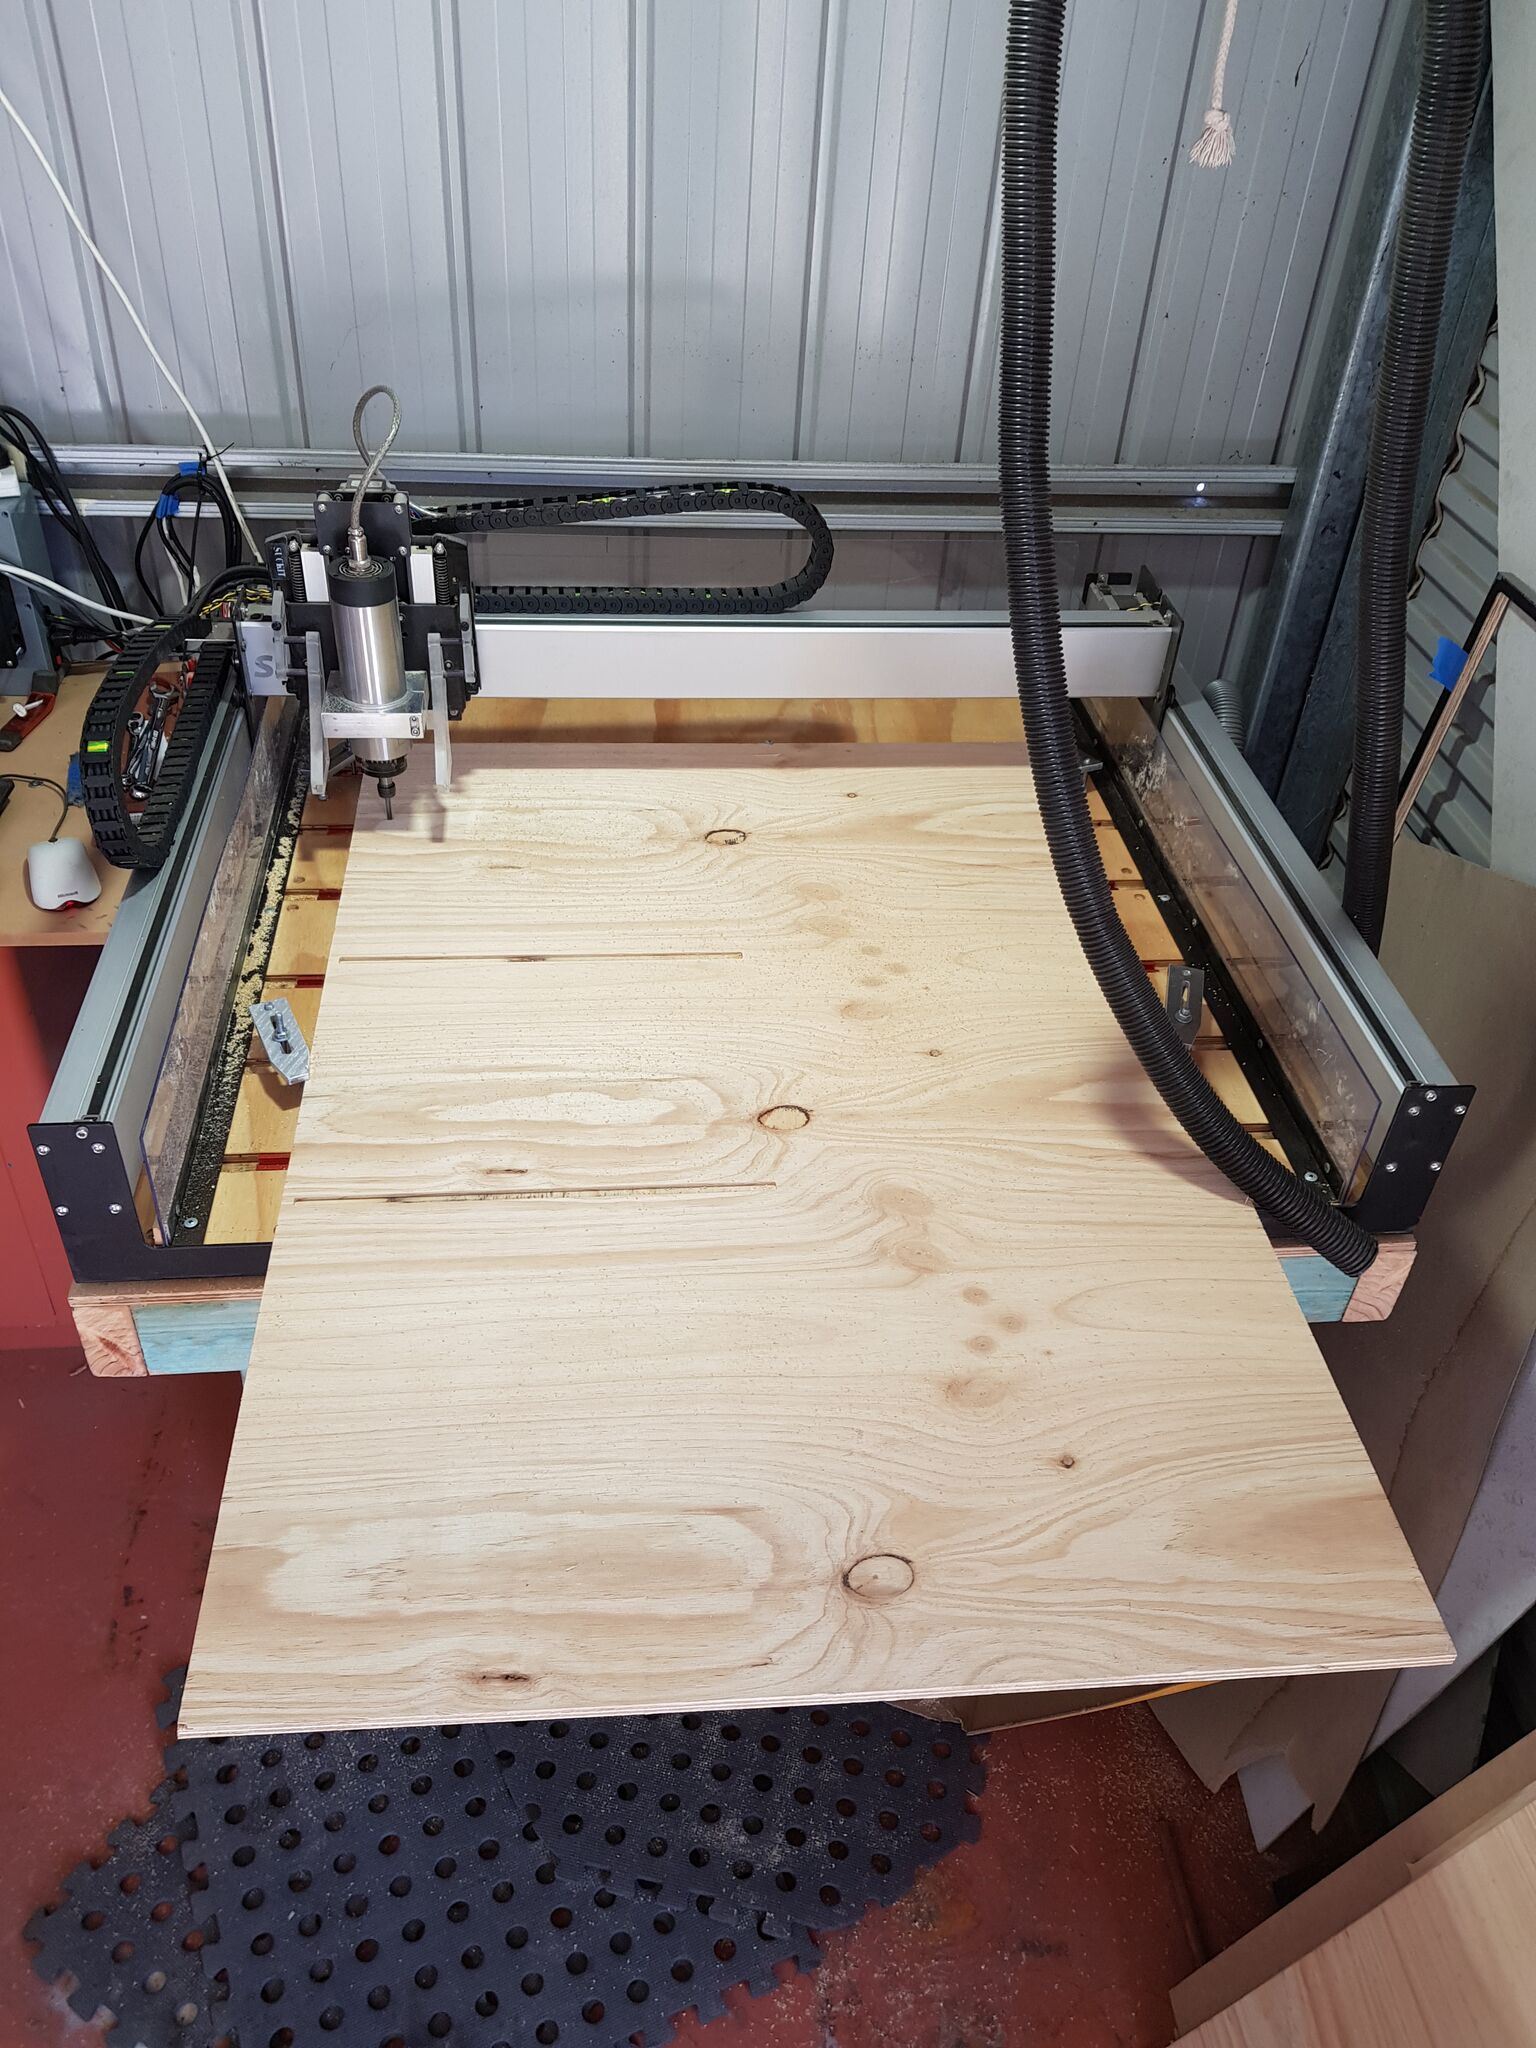
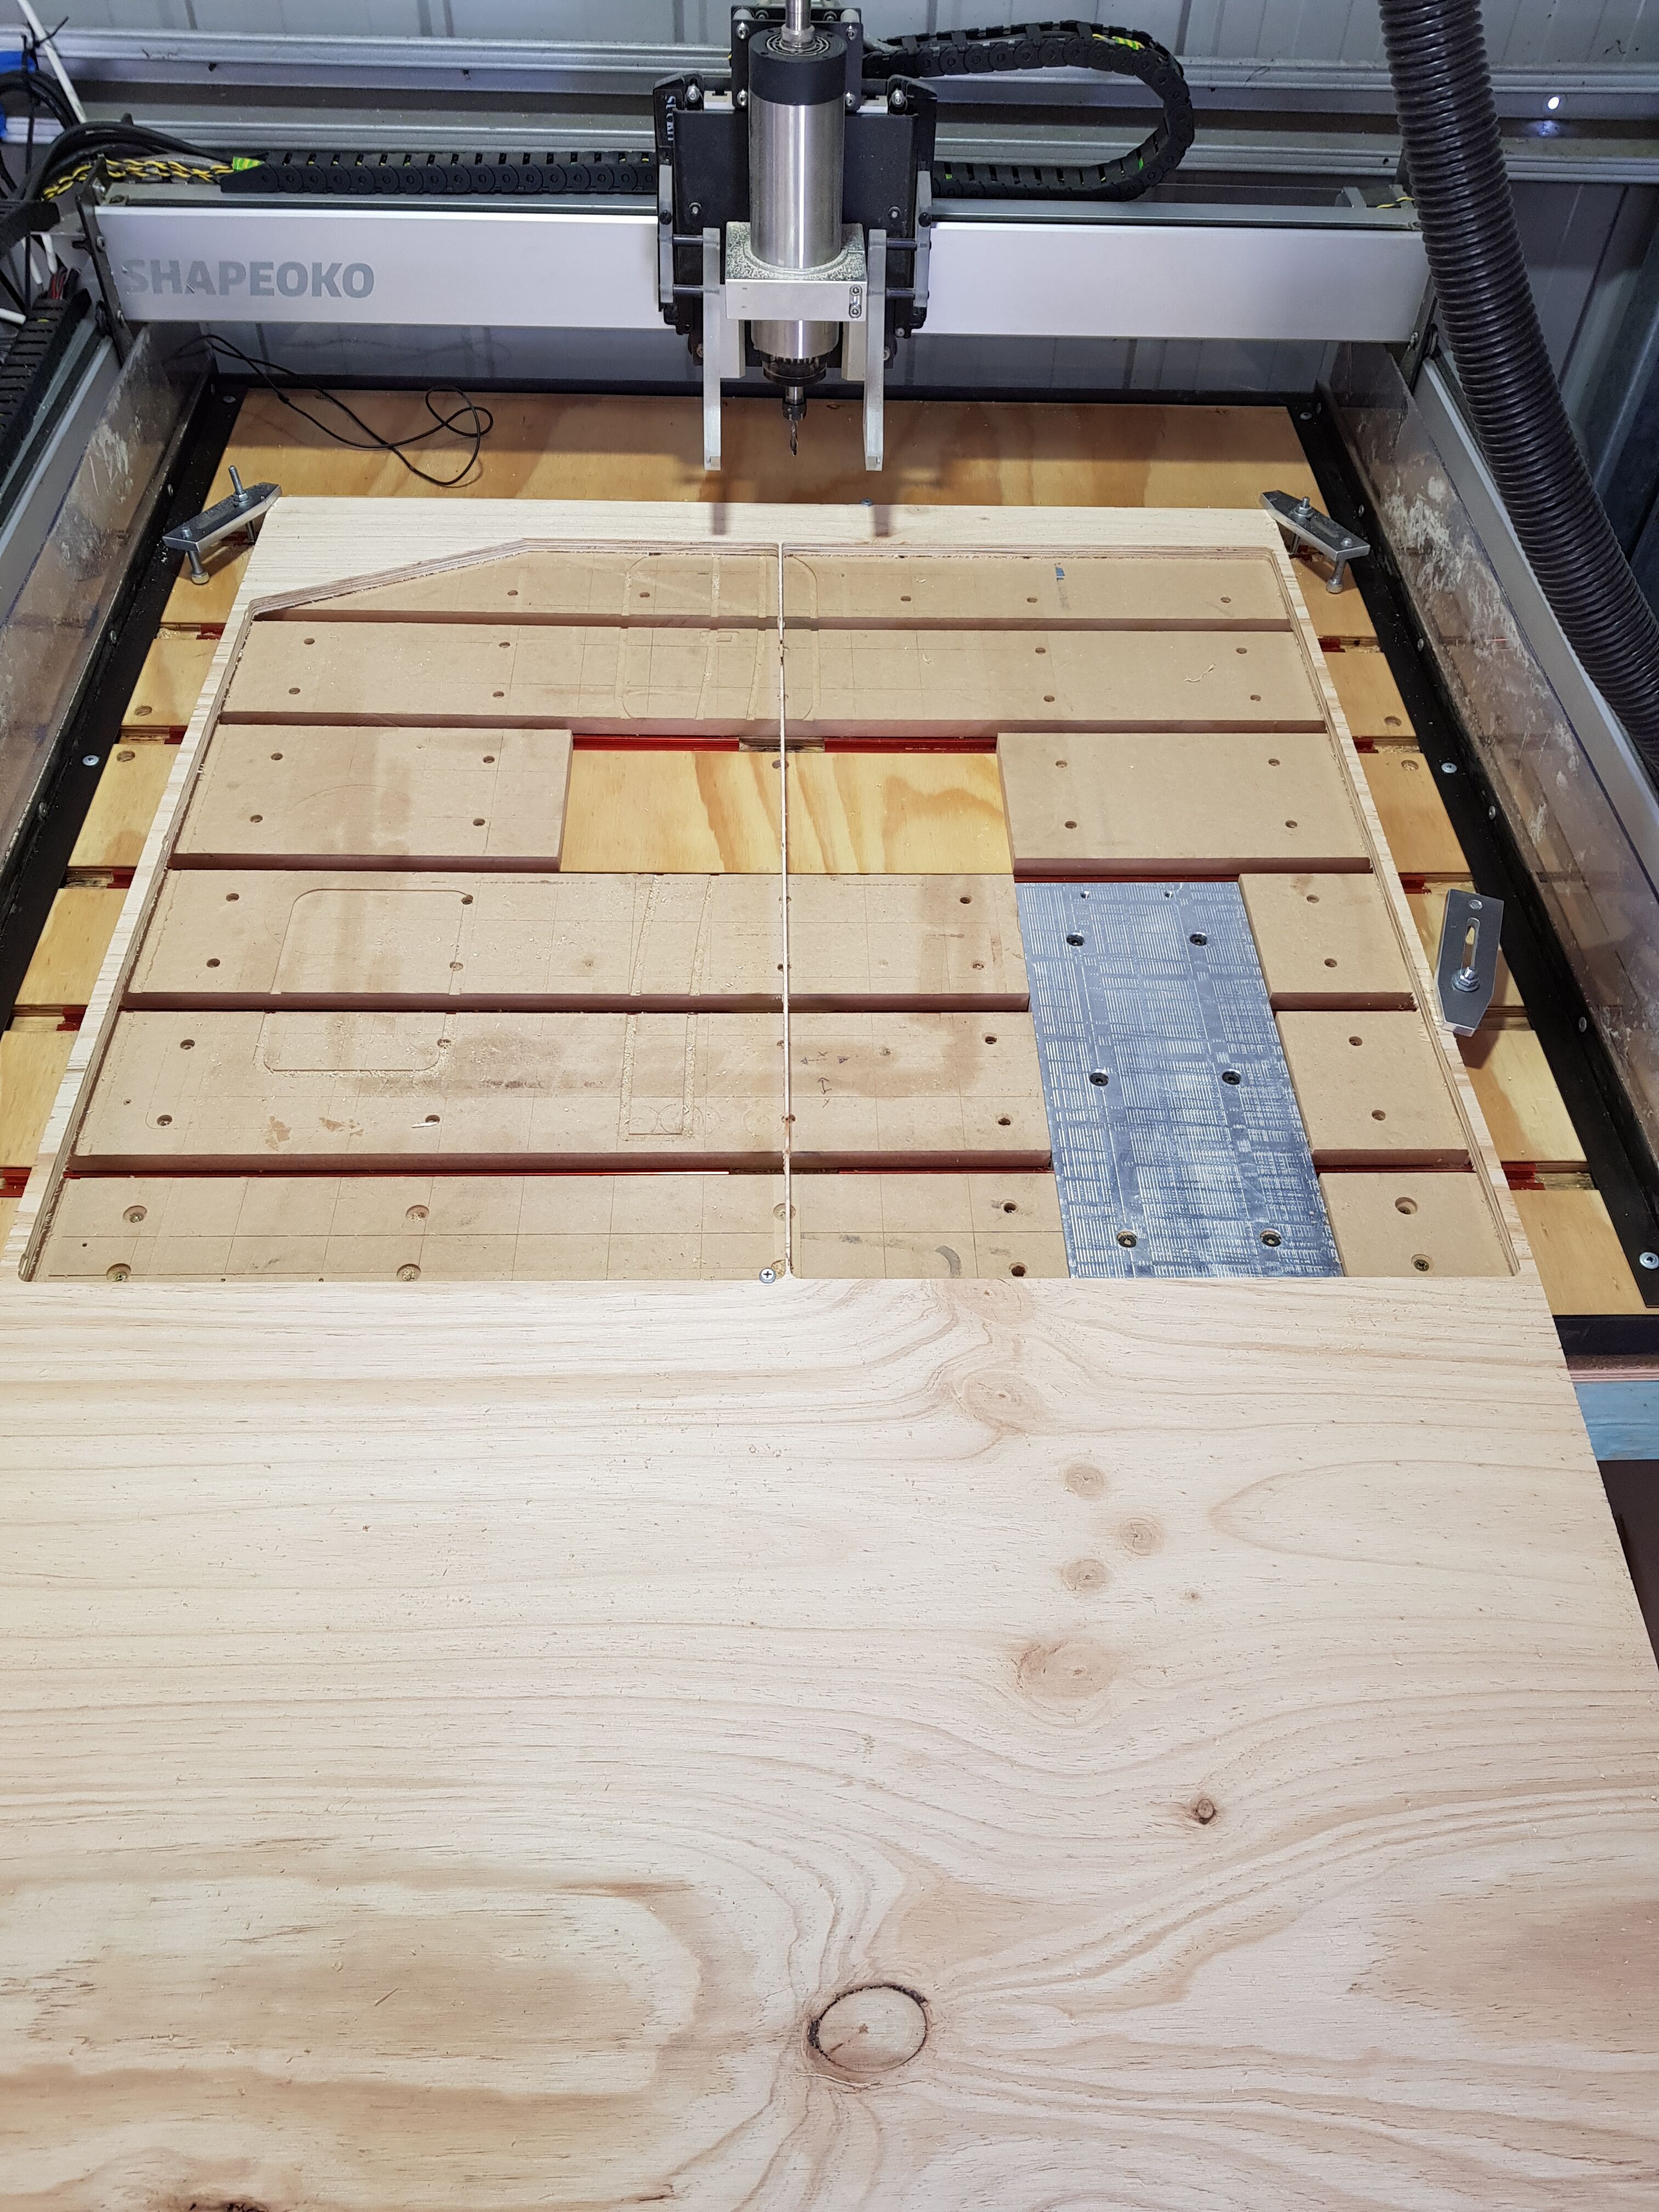
My setup is a little different to yours, I have t-tracks in the bottom board, with strips of mdf on top as my wasteboard. Maybe you could try using screws on the edges as in the third photo below (sorry its the only photo I’ve got of it), screwed into the base board or the wasteboard if you can, and just catching the edge of the timber? I find it works quite well
Using @WillAdams method, when you prepare your MDF, drill a number of holes for bolts with a recessed head that matches the holding of your spoilboard. Add holes to the MDF on the outside for T nuts around the area of your workpiece so you can have larger holding area. Due to the size, you may have to use two pieces of MDF instead of one as it would be hard to mill the holes on the outside. Bolt the MDF to your existing spoilboard under the workpiece. Use bolts on the outside to hold your work piece.
OK, I think I have my battle plan in order. I’m going to screw down the edges as you suggested, and remove and replace the screws as my toolpath for the facing operation gets to the screws. I can plan this out ahead when making my toolpath. I would just make the sign a little smaller, but I like the raw edges of the planks, and I need to surface the top before I start pocketing.
@luc.onthego chimed in with something that I think I can work with. I’m just trying to think simple since this is a onetime deal. But it also has to work the first time.
This would work!
I was just going to use some plywood I already have to fill in around the backing boards. I Could attach them to the spoilboard first then drill holes along the perimeter to use regular nuts and bolts to hold down the sign. This is a one and done project, and I think this would work well.
At least I have a few options now.
I would use a brad nailer and nail it to the waist board. Using brads if you should hit one with the cutter wont do any damage. The brads are very thin and shave off easy. Bill Myers uses that method and has suggested it in his videos. I’ve used it without a problem.
That is similar to my idea, except I was going to use small finish nails and sink them down to get below my surfacing pass.
I still may do this, but also attaching some ply to the wasteboard (between the vertical backing boards), then nailing the workpiece to the plywood.
So many choices!
The concern I have with using finishing , brad or pin nails it that if the workpiece is not sitting completely flat on a cradle, any vertical movement while surfacing or if VCarving is aggressive, it could move the workpiece and ruin it.
I don’t disagree. The whole thing is going to be pocketed 1/8", leaving raised lettering. Some of the lettering is fairly thin, so I don’t want any chatter either. I would rather spend a little extra time using bolts to clamp it all down, than to loose the piece altogether.
Thanks!

I would use a piece of MDF thicker then the back slats. Cut a piece eqial to the gap between them and two more for the ends. Use a pin nailer to nail tht MDF down in the center and a gap for the two slats then pon nail both pieces down. Put the sign on it and pin nail the sign to the MDF.
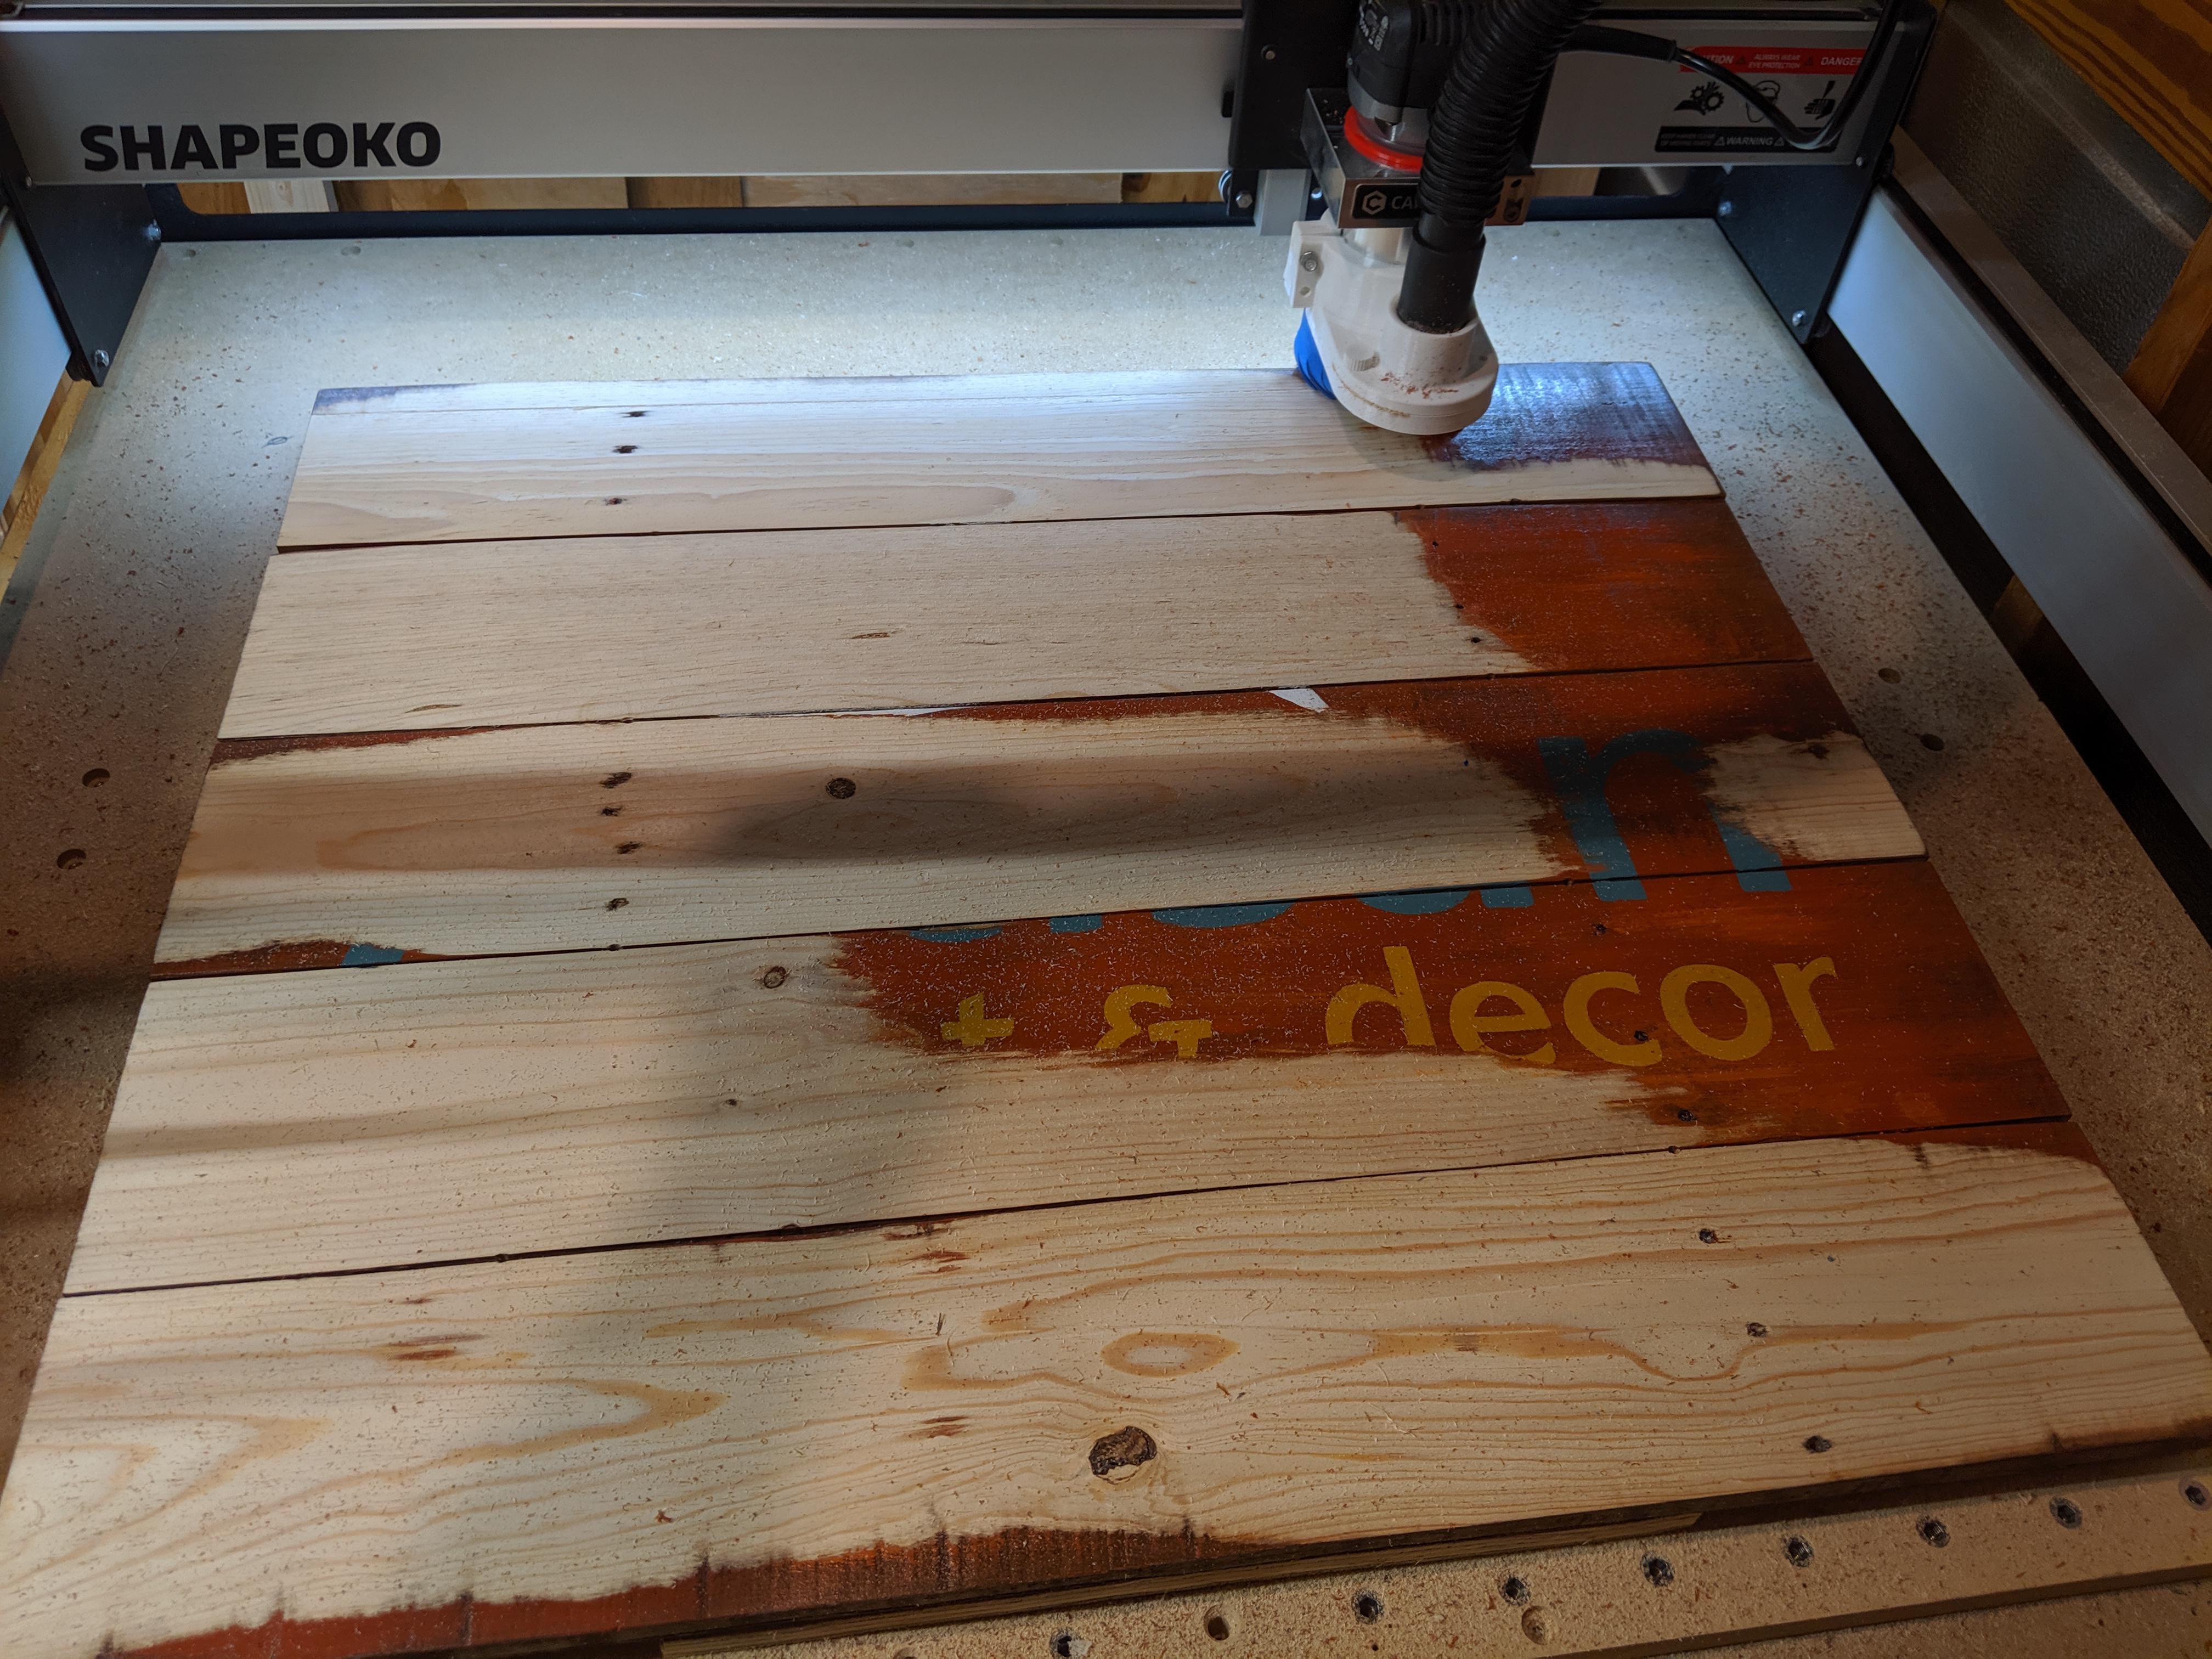
It has begun…
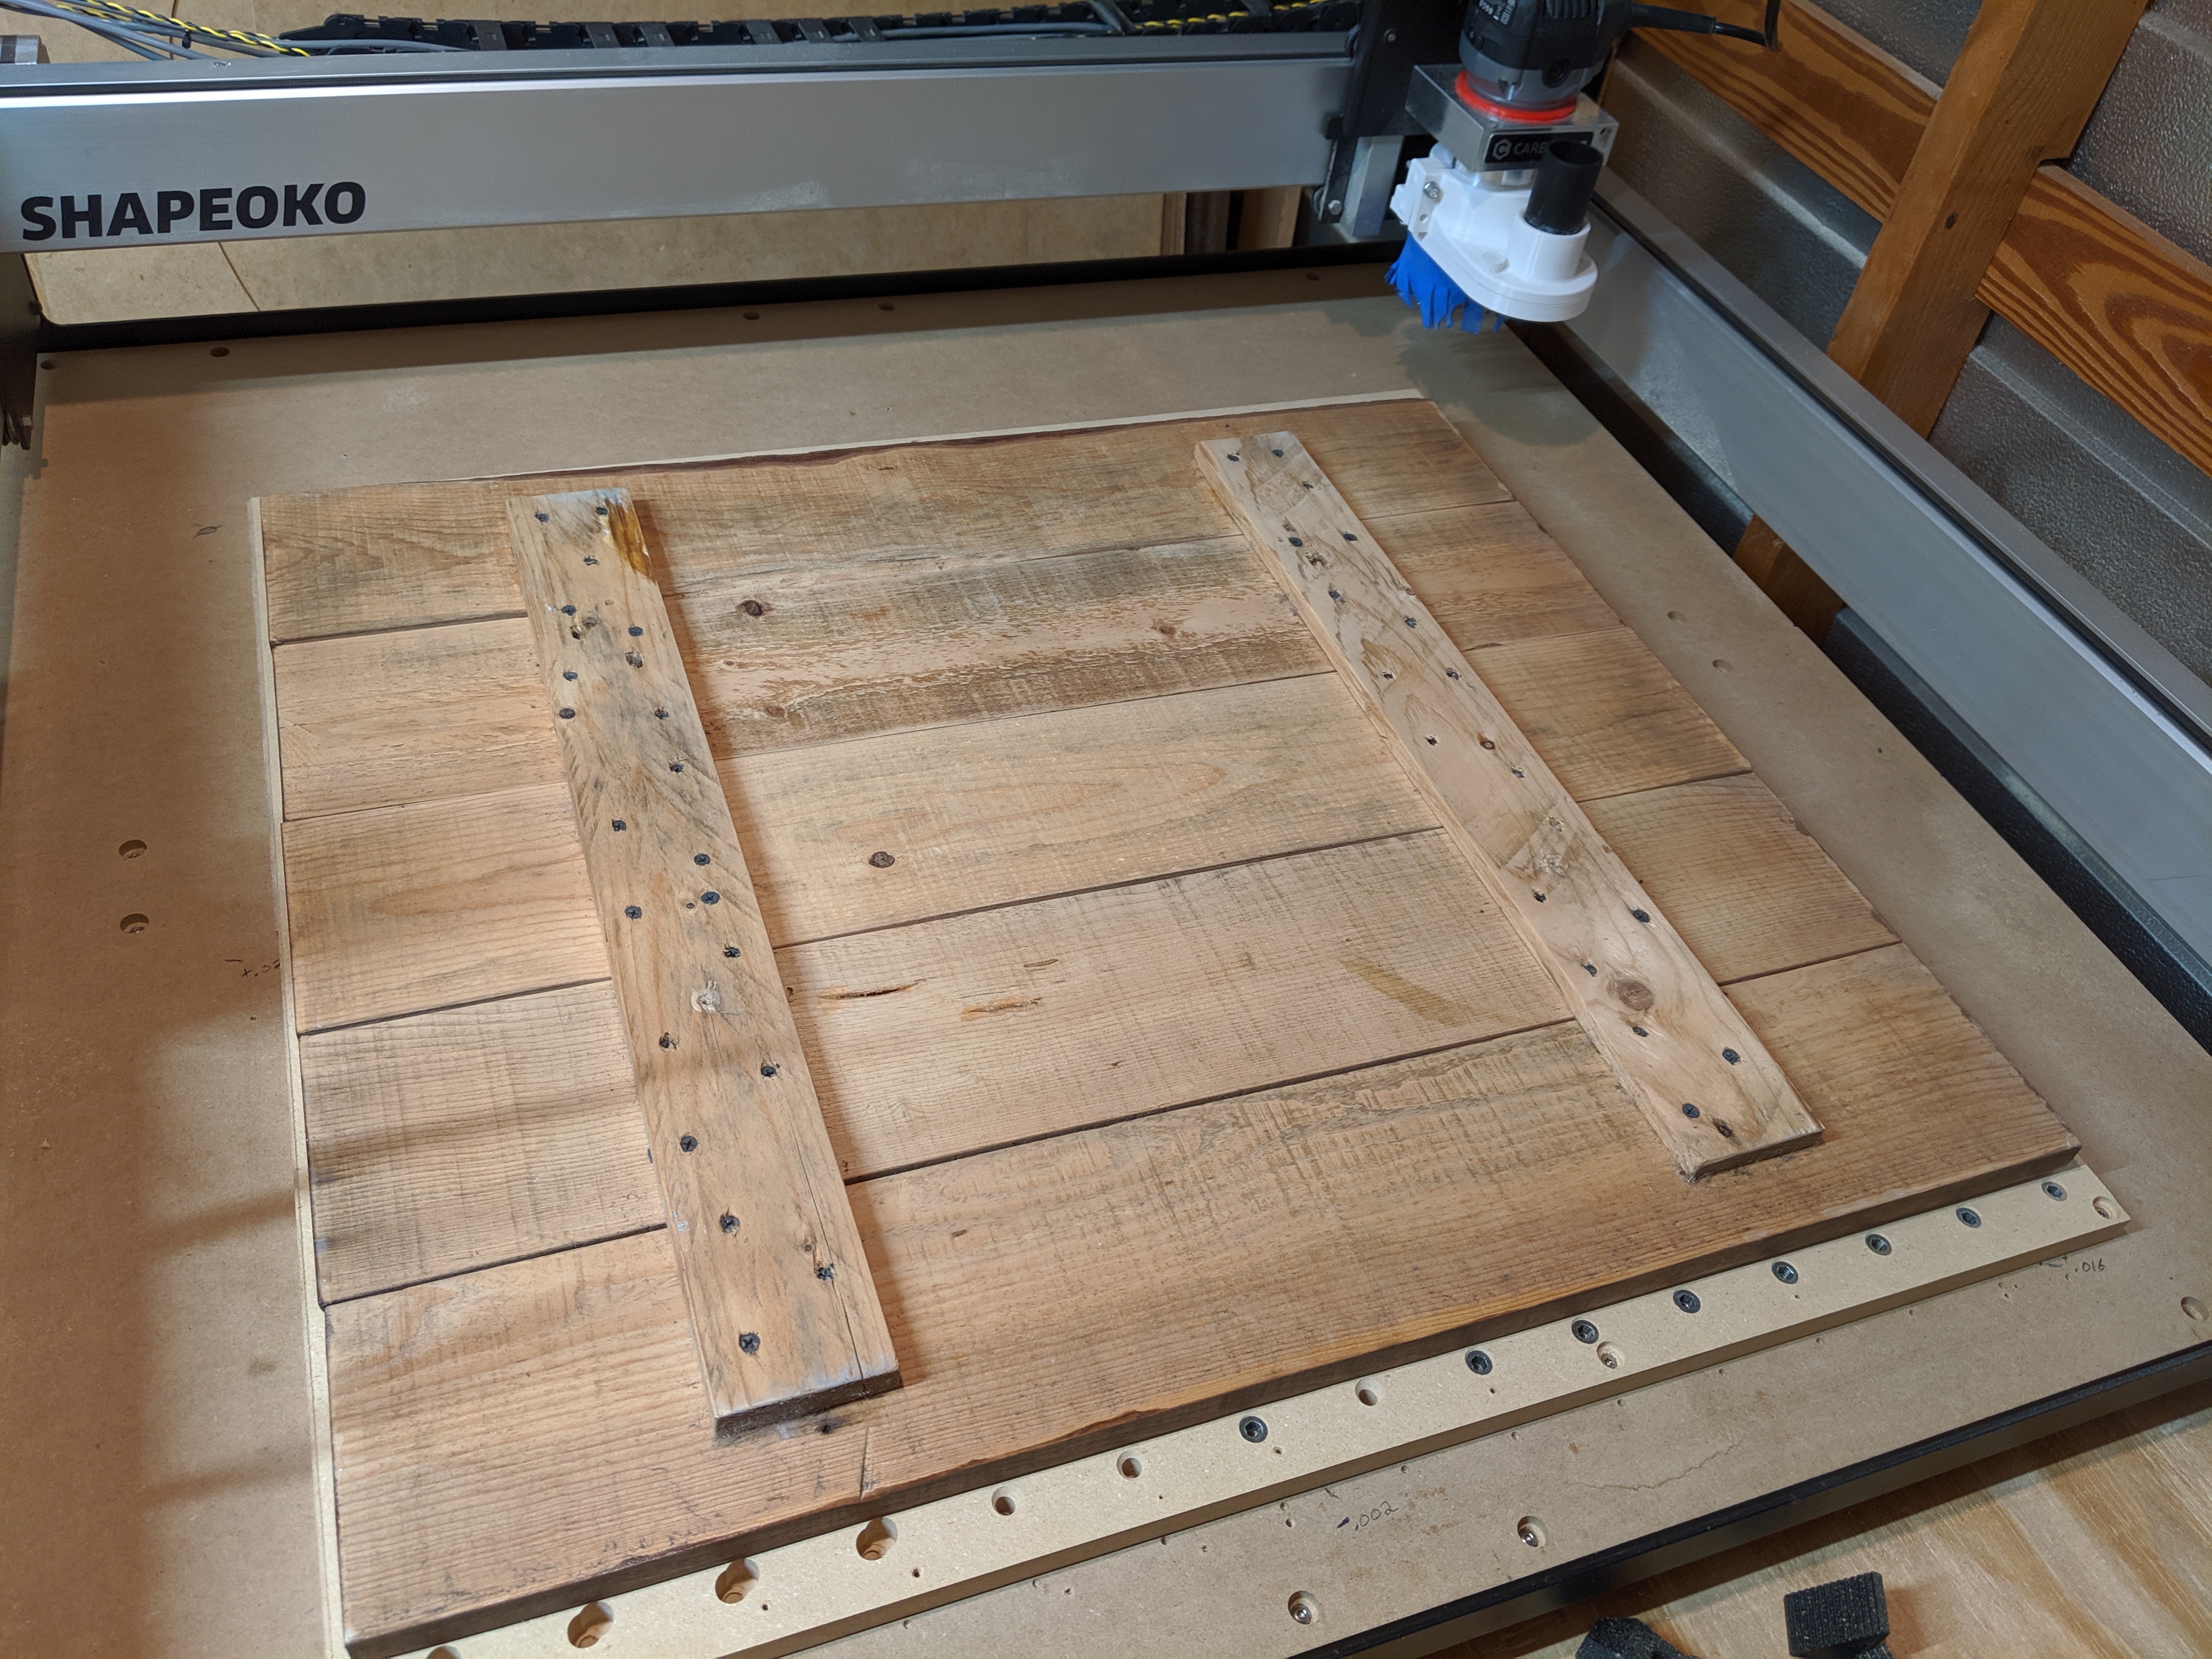
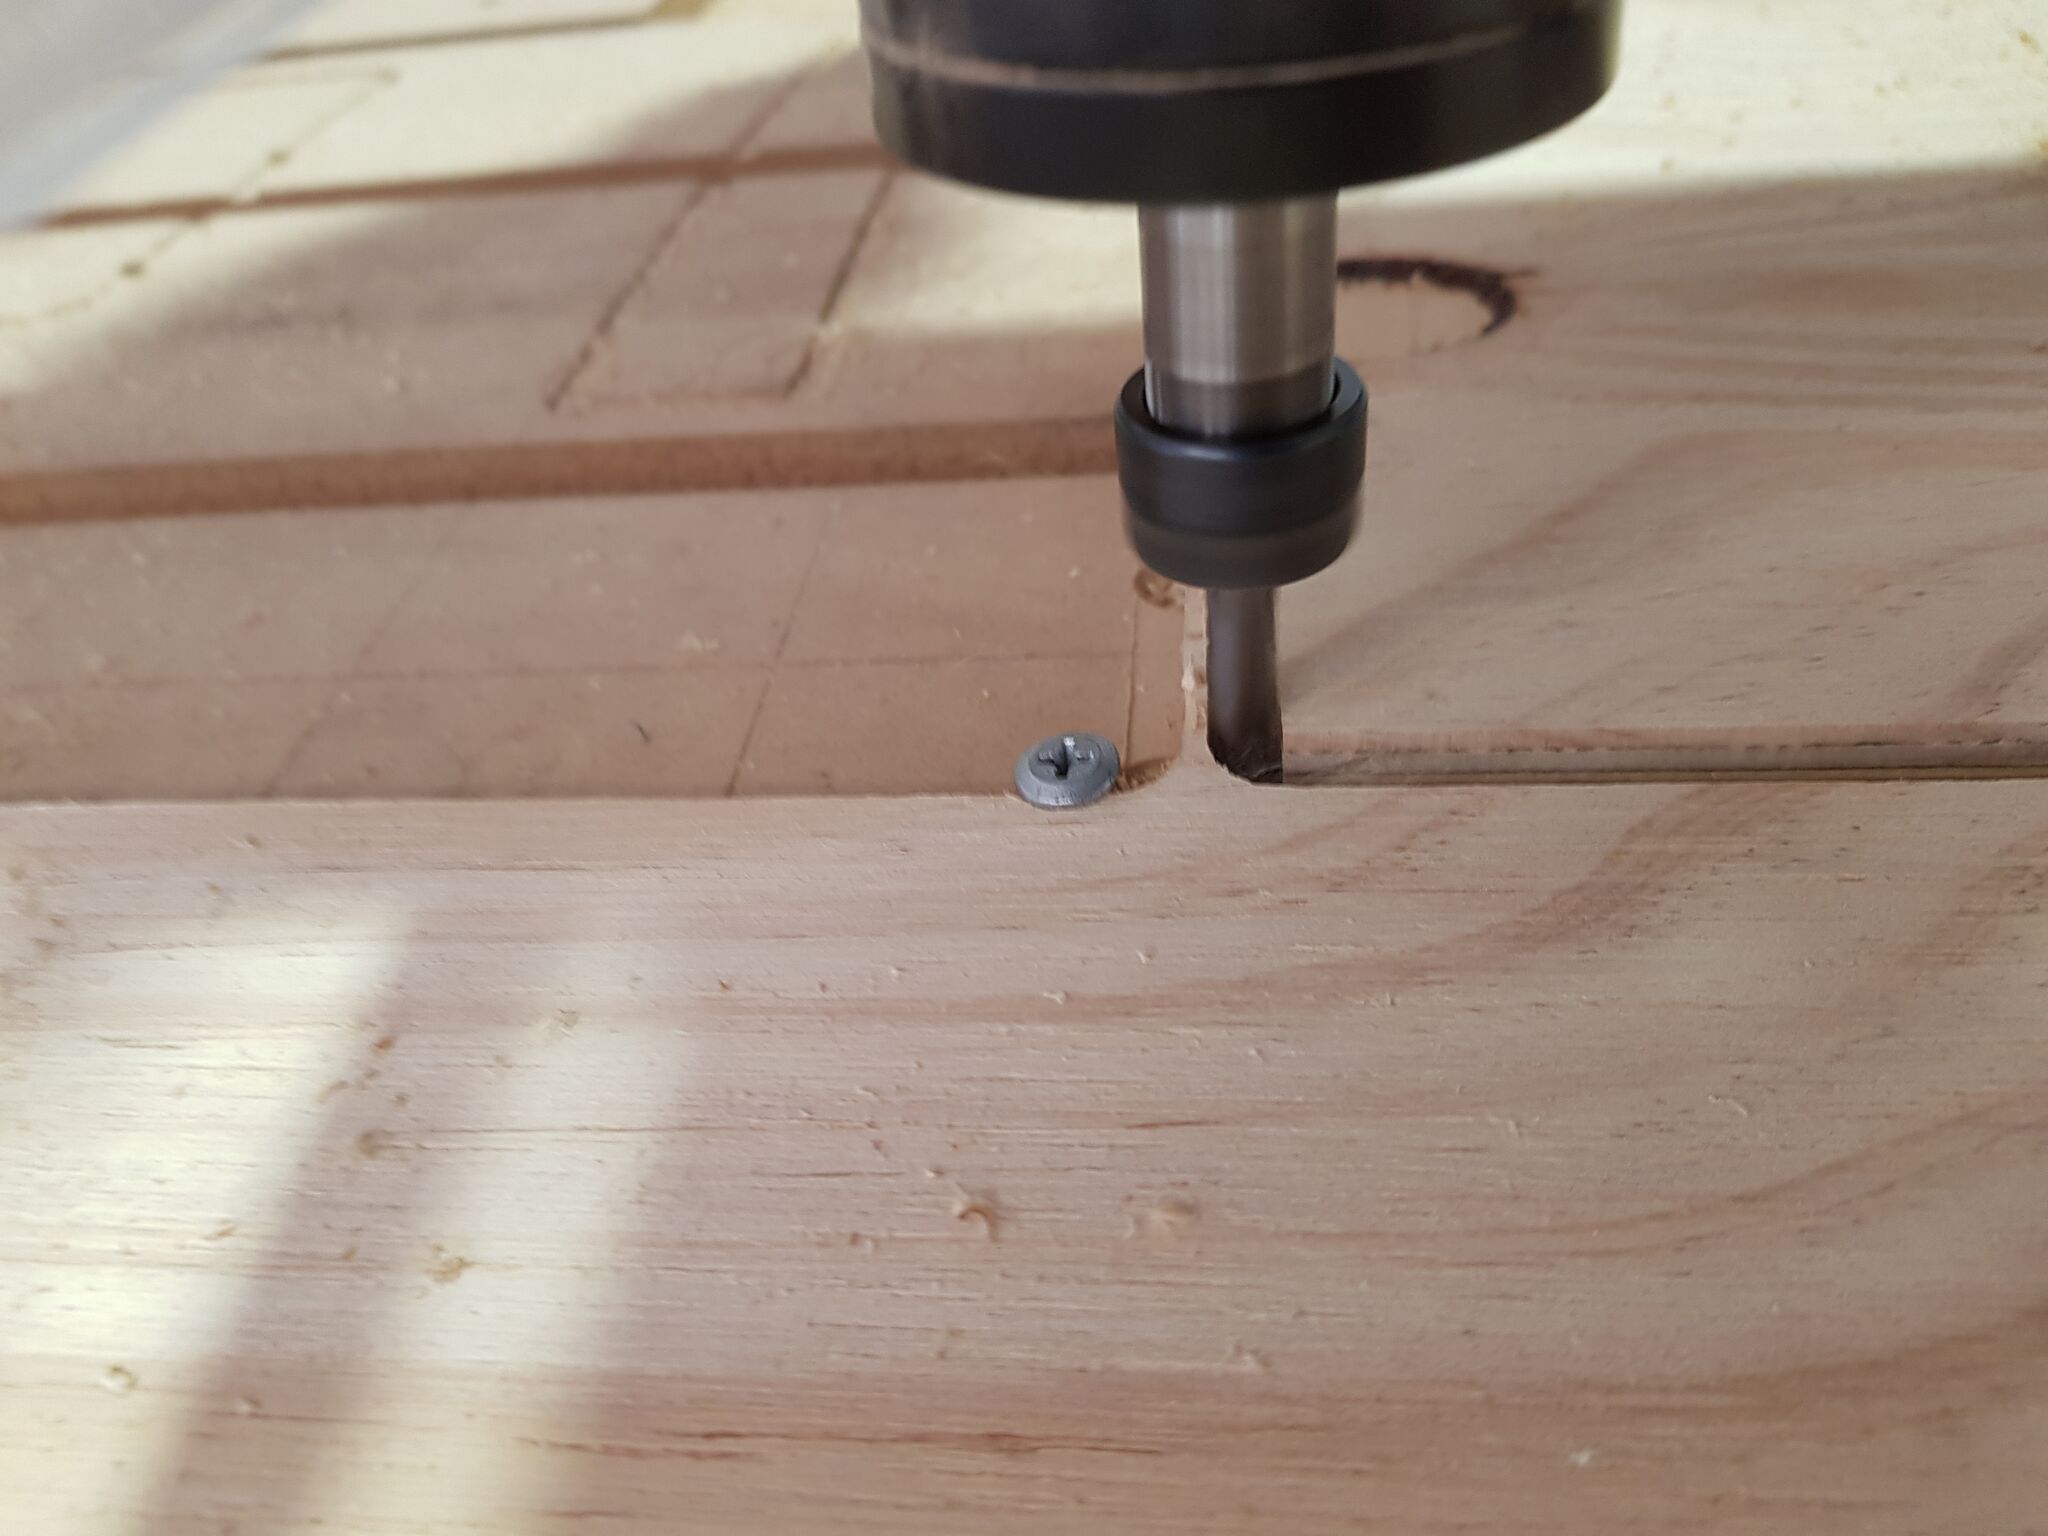
I ended up cutting some plywood that I had left over for making some bunky boards, to go between the backing boards of the sign and act as parallels. To hold it all down I opted for 6D finish nails.  I know, I know… I sunk those puppies in between the slats of the sign all the way down to the backing boards using a nail set. I put a nail at each gap, and I do not believe this sign is going anywhere.
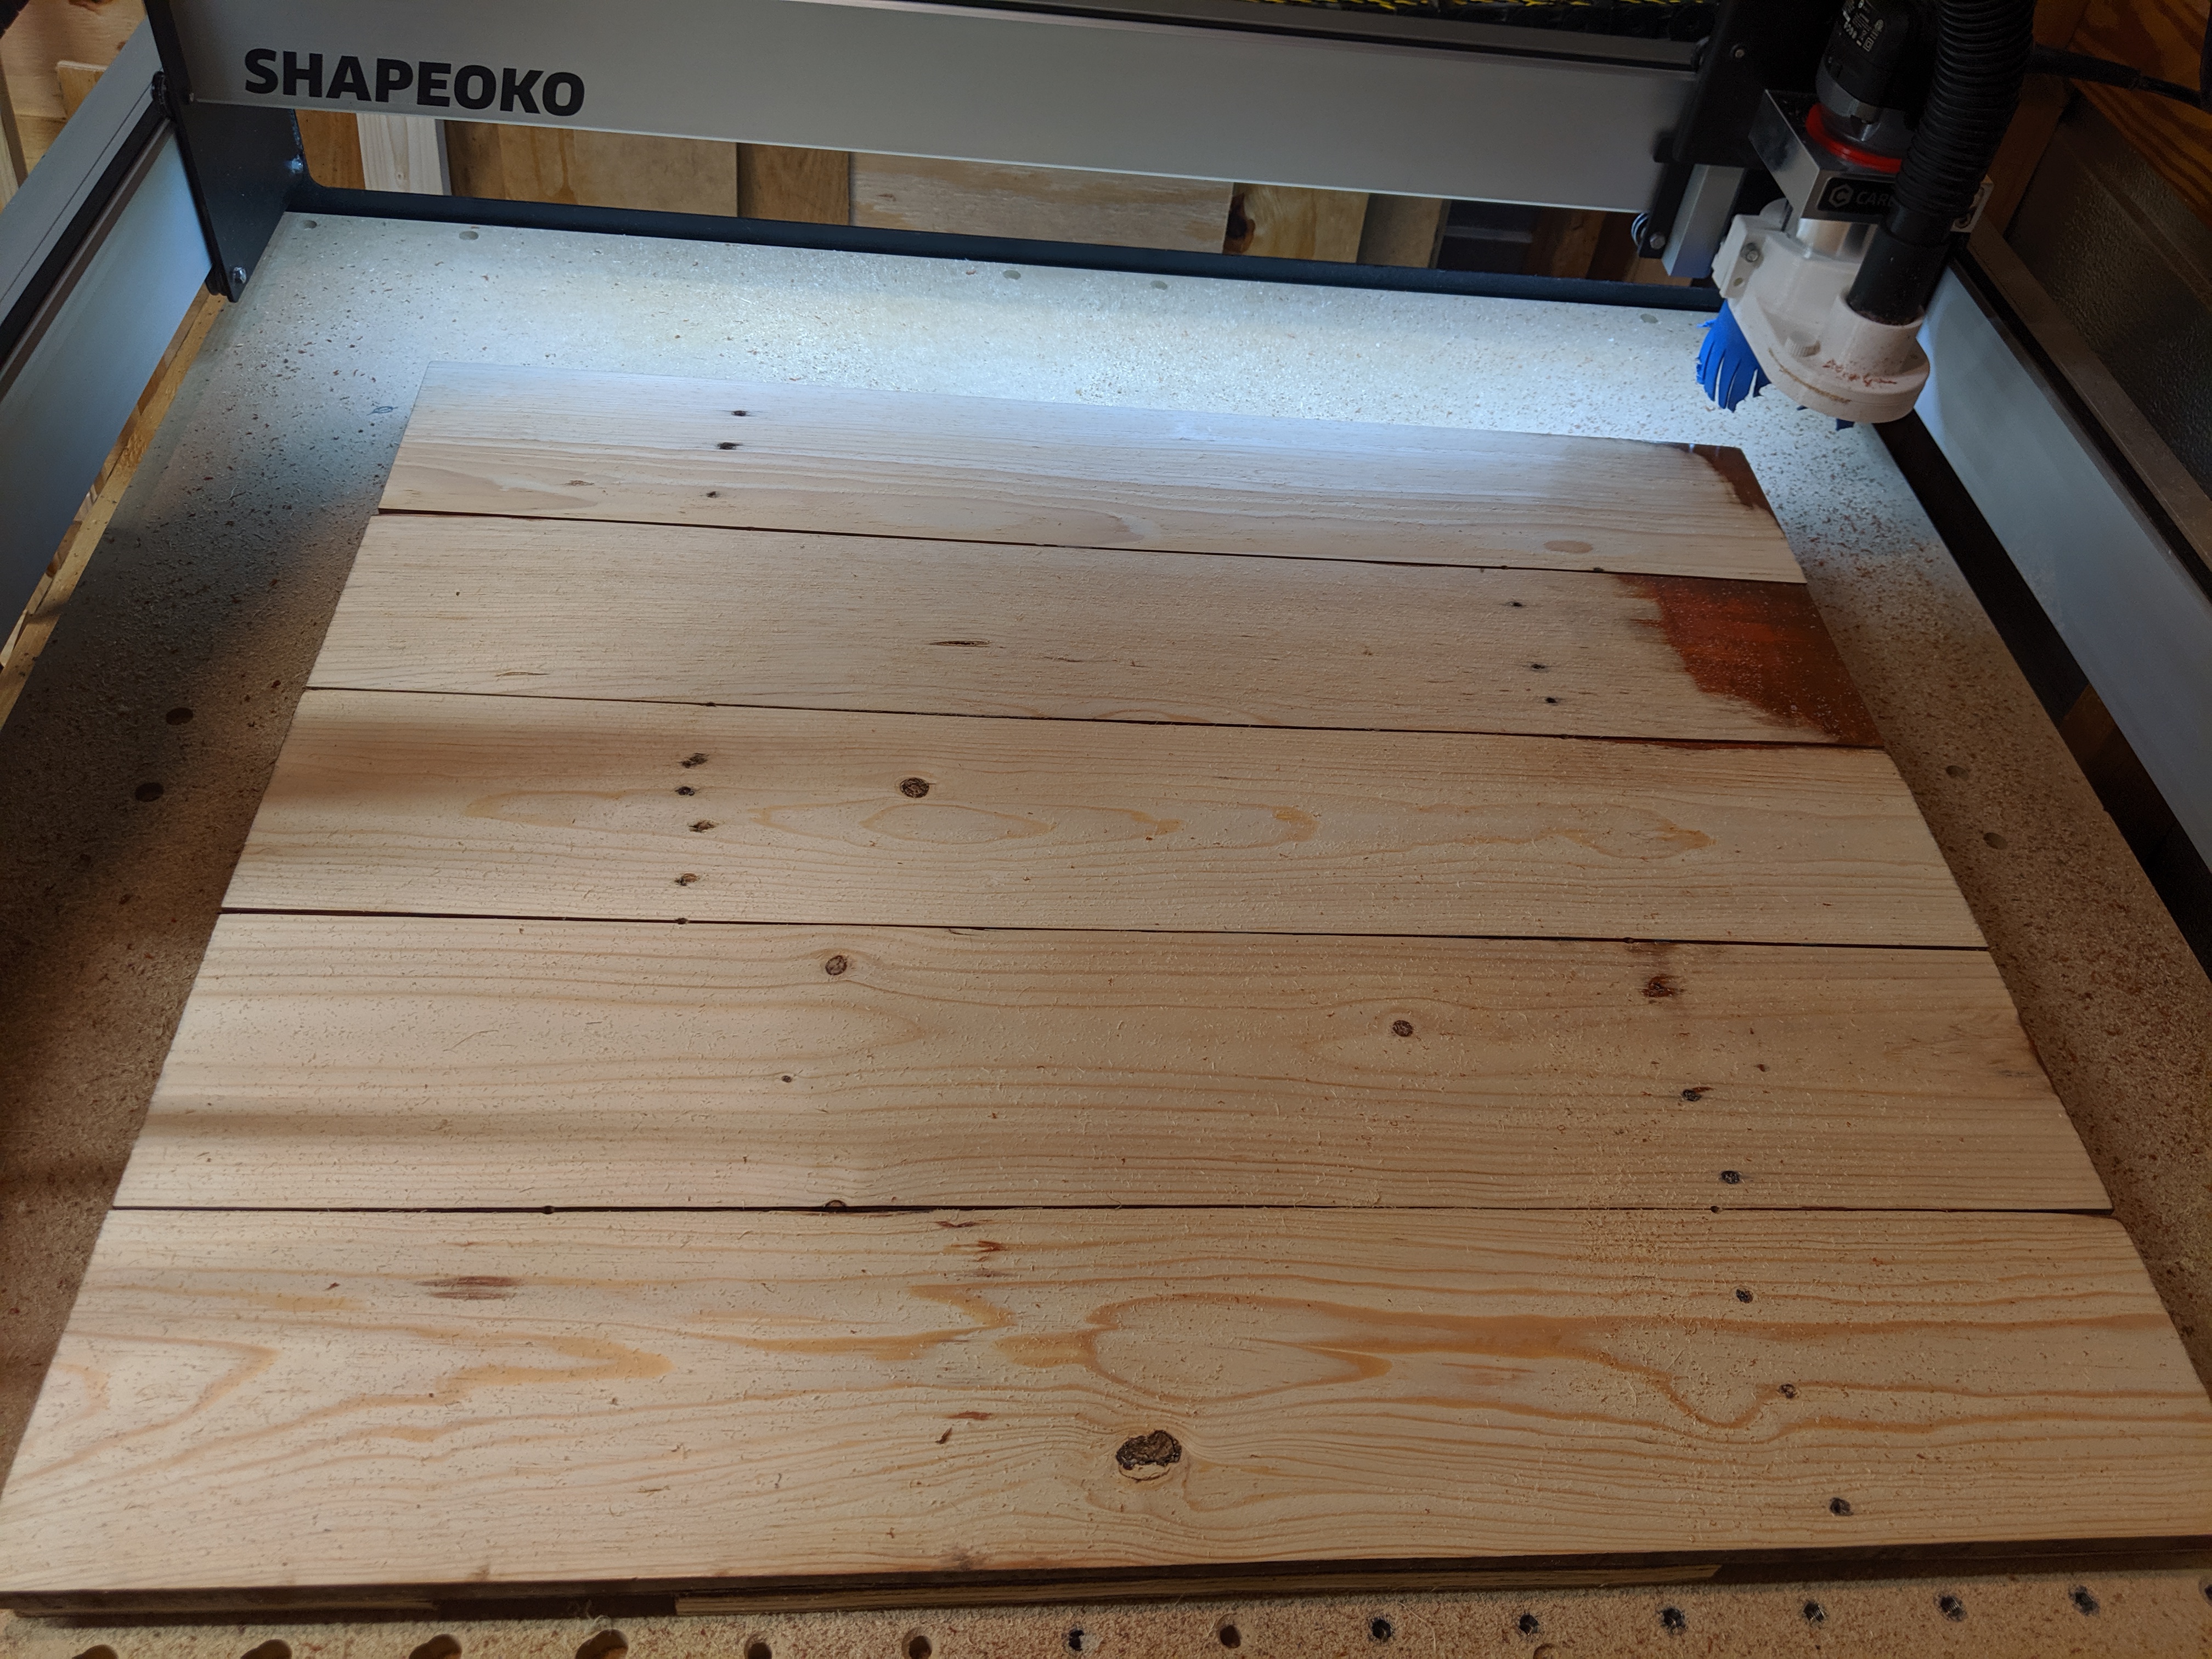
I’m taking it slow. The surfacing op is 99% done, probably 1 more 0.010" pass should finish it up. I’ve taken 0.120" off so far!
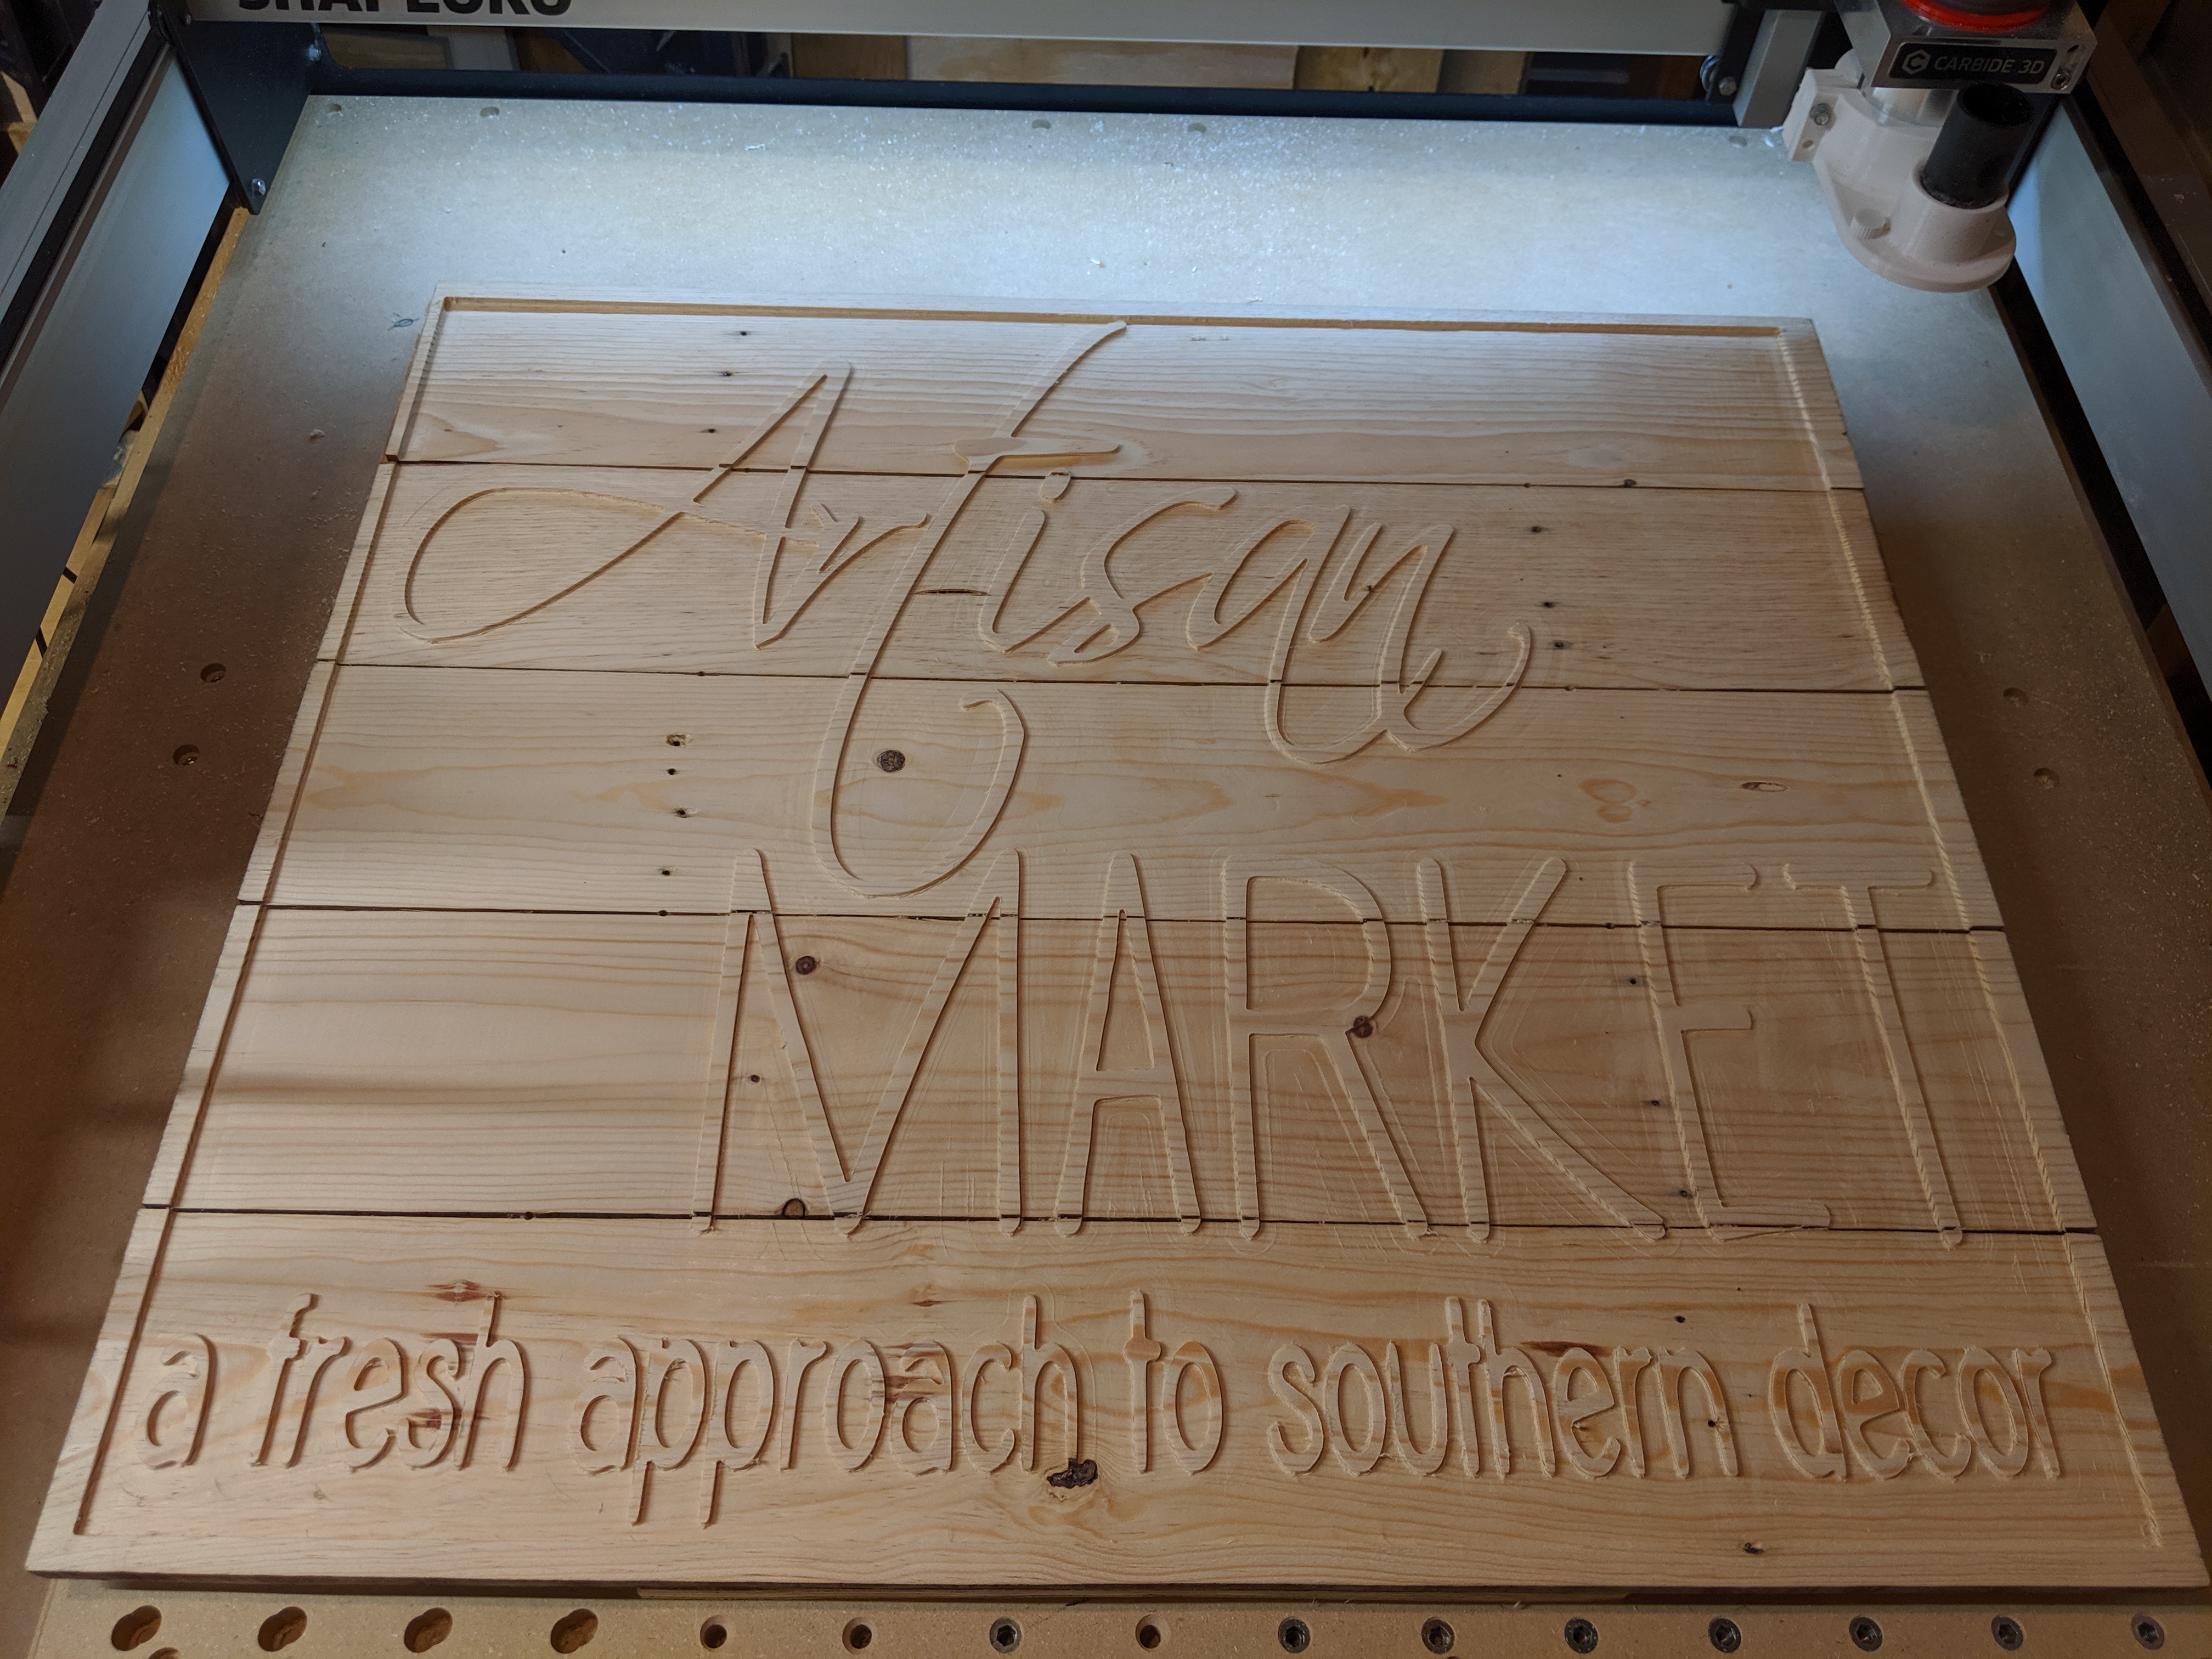
it looks great ! would you mind sharing all your cutting parameters (endmill diameter, nb of flutes, upcut or downcut, RPM, stepover, DOC, feedrate) and what kind of wood this is ? As always I like to consolidate my feeds and speeds guidelines, based on as many (successful) cuts as I can find out here.
That came out great! Will you paint it or does the customer want to do it?
Well done, what software did you design it with? I can’t quite pick it from the preview.
I’d like to hear the bits, feeds and speeds you went with too, please!
The wood was supplied by the customer and was cheap pine, definitely not select.
I use Fusion 360 for everything. I’m used to industrial CAD, and I love the CAM. For me it’s intuitive, with really nice control over the toolpaths, feeds, speeds, etc.
I started by decking the whole sign down with a 1" surfacing bit. 60IPM, 11K, .020 DOC
Then made my first path with a downcut 1/4 endmill. 60IPM, 18K, .060 DOC, with a finishing DOC at . 010, .237 max stepover. This pass did everything that the 1/4 endmill could reach.
My second pass was a rest machining pass with an upcut 1/8 endmill. 40IPM, 18K, same DOC settings as the 1/4, stepover was not applicable.
Third pass to finish it up was a rest machining pass with a downcut 1/16 endmill. 30IPM, 18K .030 DOC
Because of the material, there were some fuzzies to sand off, and I did that before the 1/8 pass.
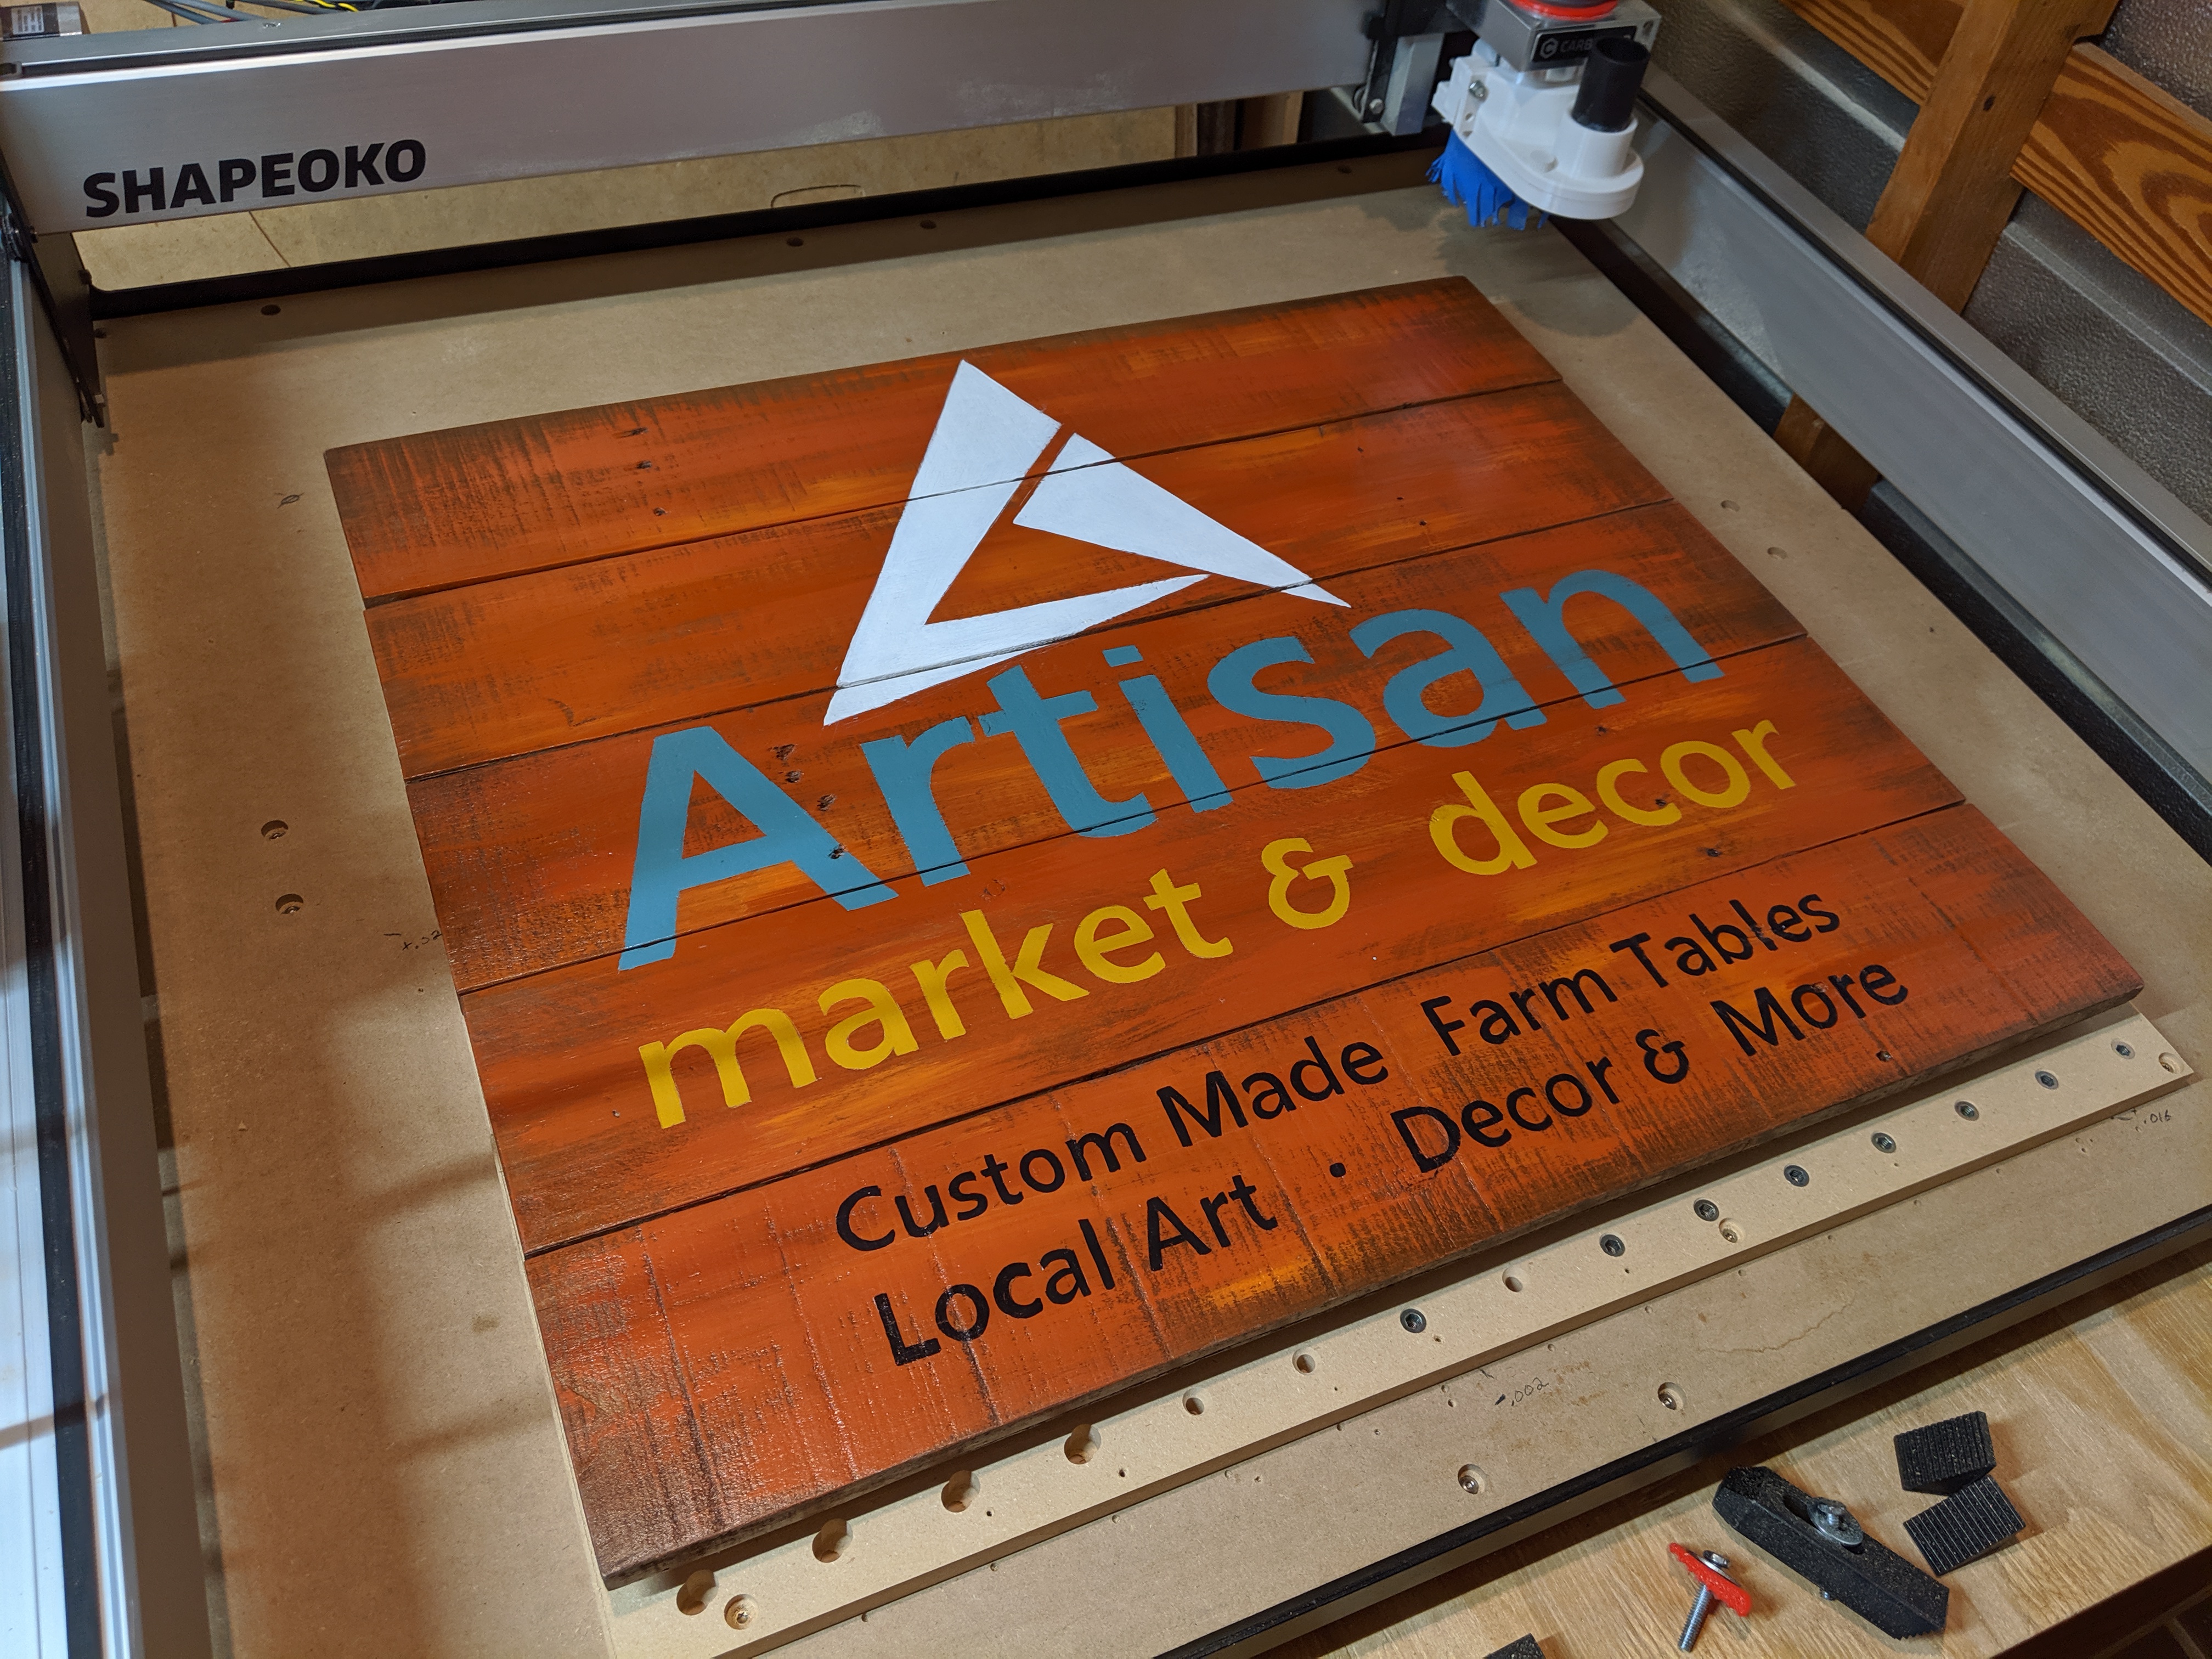
The customer wants to paint it. The store I’m trying to get into sells art from local Craftsman, and they make their on products also. There is a studio in the rear of the shop where they do painting.
I hope this answered all of the questions.
Thanks again! Wish me luck with this. 
thanks for the info. how many flutes on these endmills ? I guess 2 flutes on the 1/8’’ and 1/16’’, what about the 1/4’’ one ?