Ordered a SuperPID back in September when they had their sale but I only got around to building a case and installing it in late January. Well started in January, but I’m finally finished.
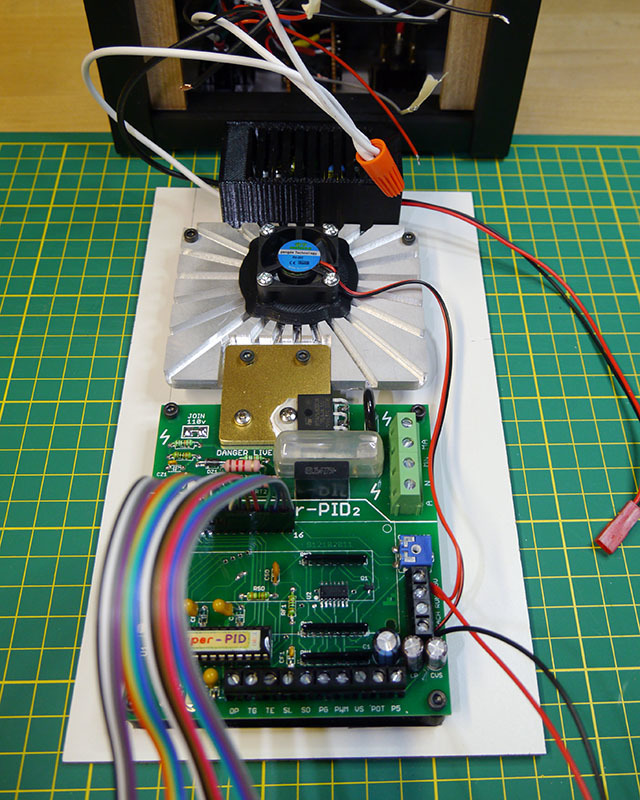
I started by cutting a heatsink out of some 0.25" aluminum and then added some air slots and a small 5V fan. You can see the heatsink and fan below before I stuffed the SuperPid, heatsink, power supply and a rats nest of wires into the case I made.
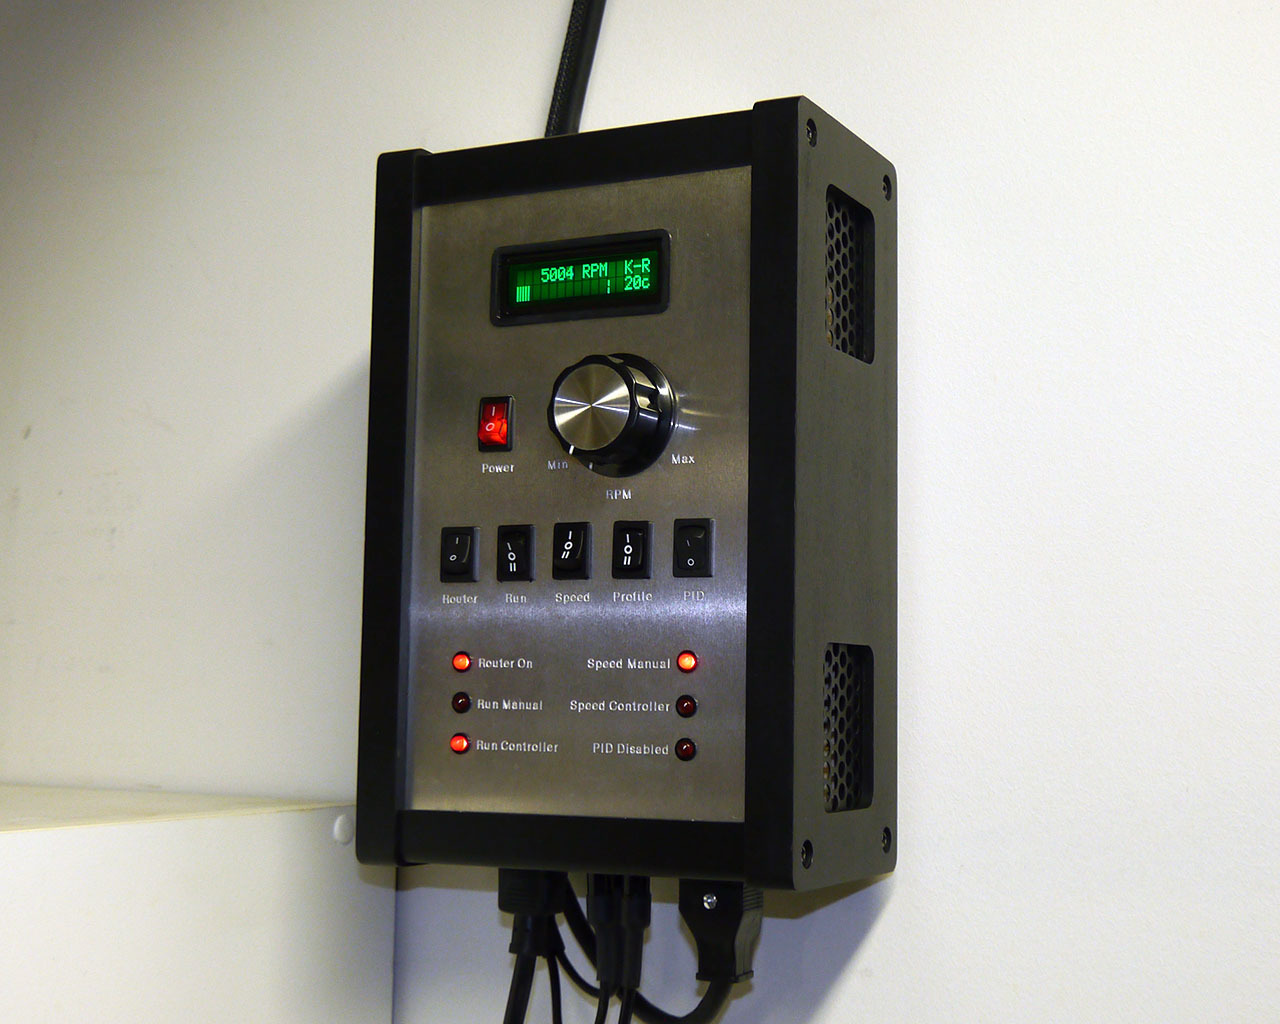
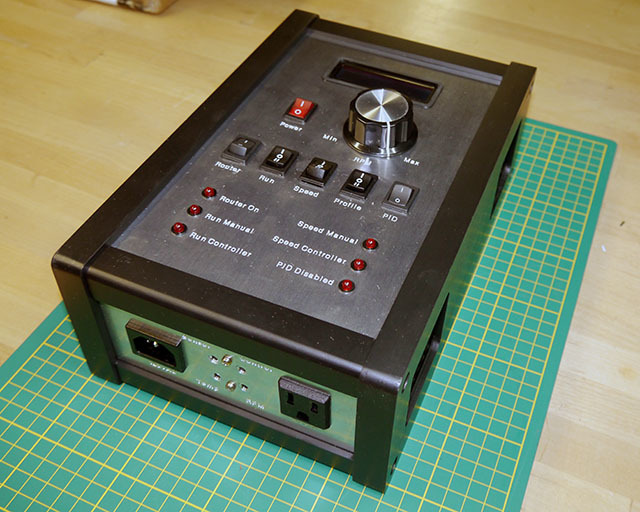
The case is made out of ash, painted black, with aluminum panels, all cut on my SO3. The aluminum panels are from 0.08" sheet. The top panel has all the controls. I set it up so I could start out using the manual controls and speed POT and then later on add auto-start and PWM.
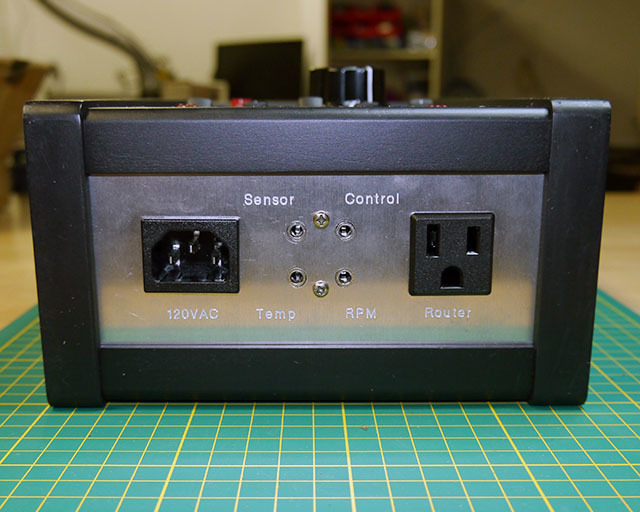
The bottom panel has all the inputs for power, the router and I used 0.125" audio jacks for the optical sensor, temperature sensor, PWM/Run control and output for the RPM Tach (probably never use this).
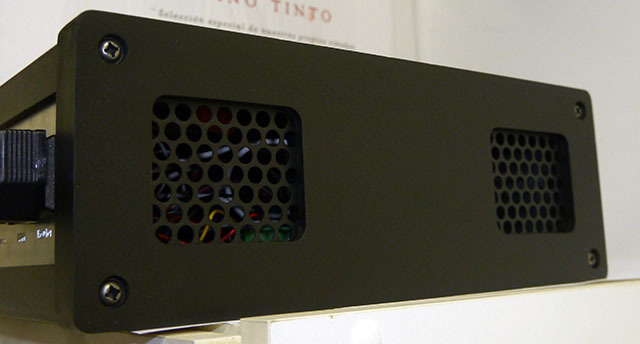
Also added some air vents on the side and cut the grills using my SO3. They’re sheet aluminum painted black.
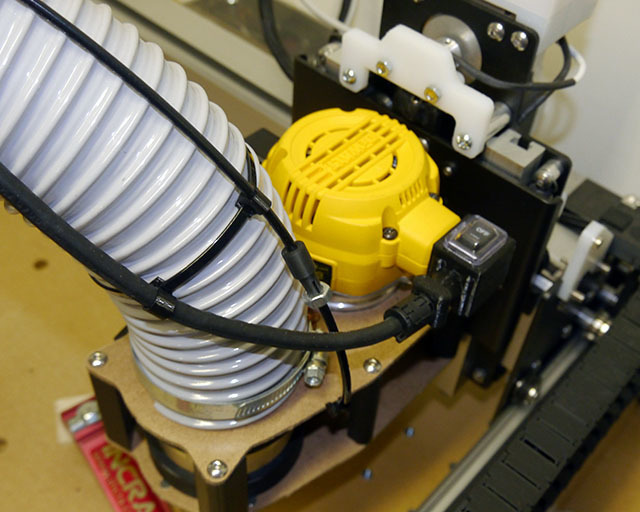
When I installed the SuperPID optical sensor and temperature sensor I went in through the switch opening and printed an exit port for the wiring to make it look a little more finished. I decided to take the sensor wires and router power up along my dust collection hose.
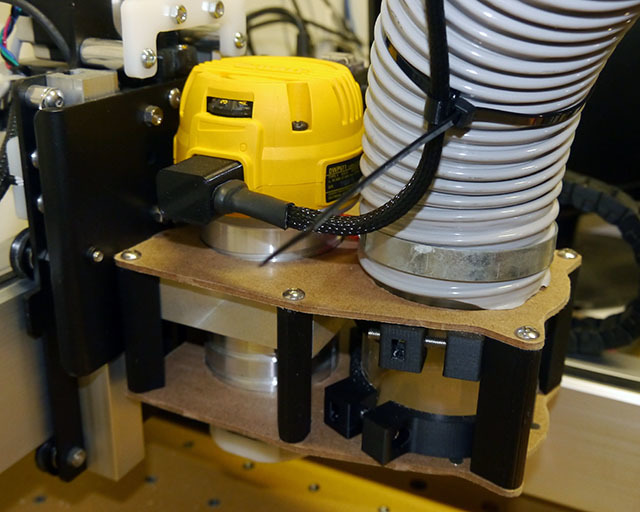
I wanted to keep a power switch on the router but since I had taken the sensor wires through the switch hole I needed a new place to put it. I replaced the stock power cord and strain relied with a new 3D printed combination switch mount and power cord strain relief piece.
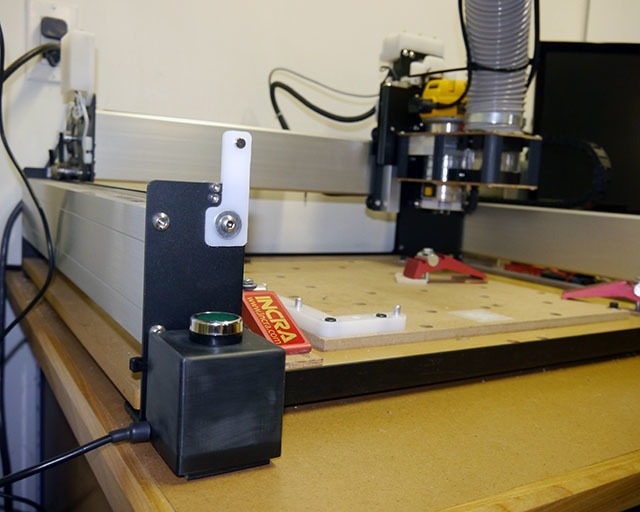
While I get around to setting up the automatic run and PWM connections I decided to add a simple RUN button on the front of the SO3 so I can easily start and stop the router. It plugs into the ‘Control’ port on the bottom of the case.
I’ve only done some quick tests to make sure I wired everything up correctly. Seems to work well with speed control from 5K up using the knob control. Next I need to mount the SuperPID on the wall behind my SO3 and move onto a new project.