- Make a list of all the projects you want to do first
- Check the order info page
- Refresh email and see if there’s a shipping notification yet
- Clean out the garage/shop
- Recheck email
- Do a dump run
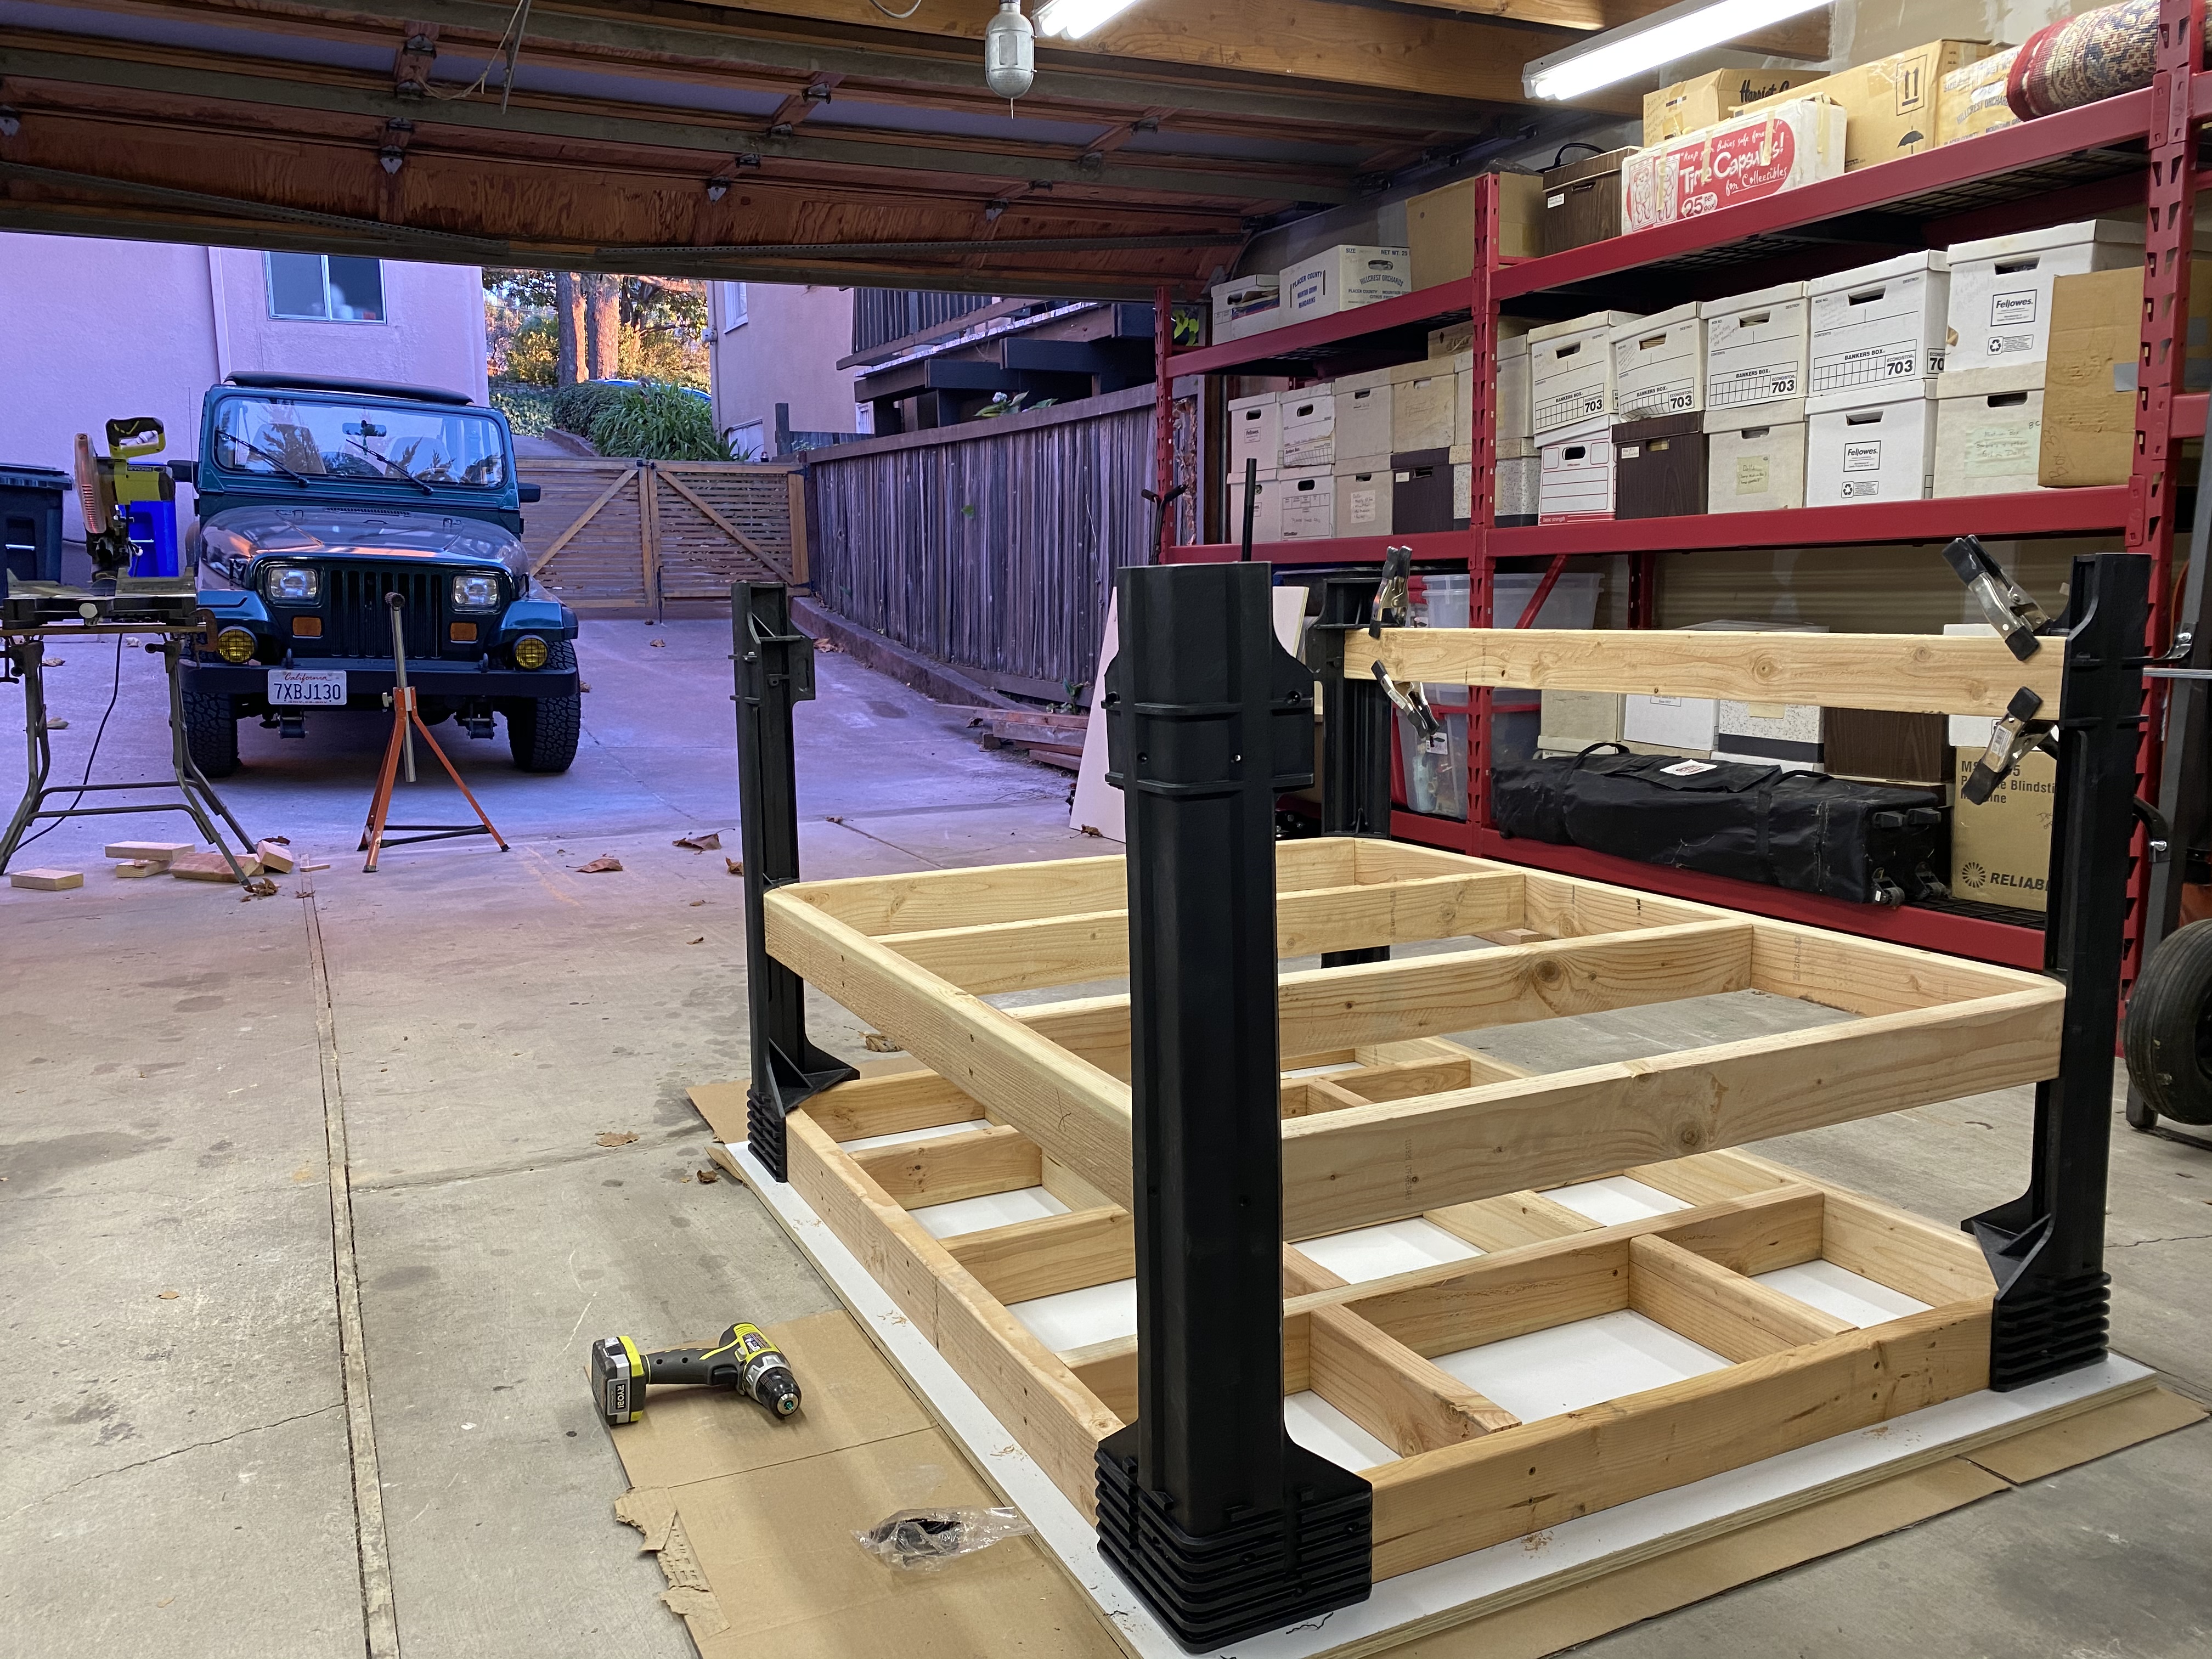
- Build a workbench for it!
- Check email again
9 Likes
Very nice bench! I bought a set of those molded corner legs, they are very nice but I was a little concerned if there was too much flex for a machine. I ended up using 4x4’s for the corners. Please let me know how it turns out.
I’m still in Delay status lol. Let me check again… Yep… wait let me… yeah…
2 Likes
I’ve had my (non-pro) XXL on a set of these same legs for over a year, and they work great. In addition to the machine, I have a heavy enclosure built around for noise control. Not sure on total weight, but I haven’t seen any flexure issues.
1 Like
I can twist it in my hands and it flexes considerably, is what made me skeptical.
Same, but once I finished the bench it seems solid enough to support a 175lb machine. It easily supported me climbing around on it and wasn’t wobbly.
I actually went with this kit after searching here and on Reddit to see what others have used for their Shapeokos, and saw this kit mentioned a few times.
I’m happy with this and think it’ll work for my purposes.
1 Like
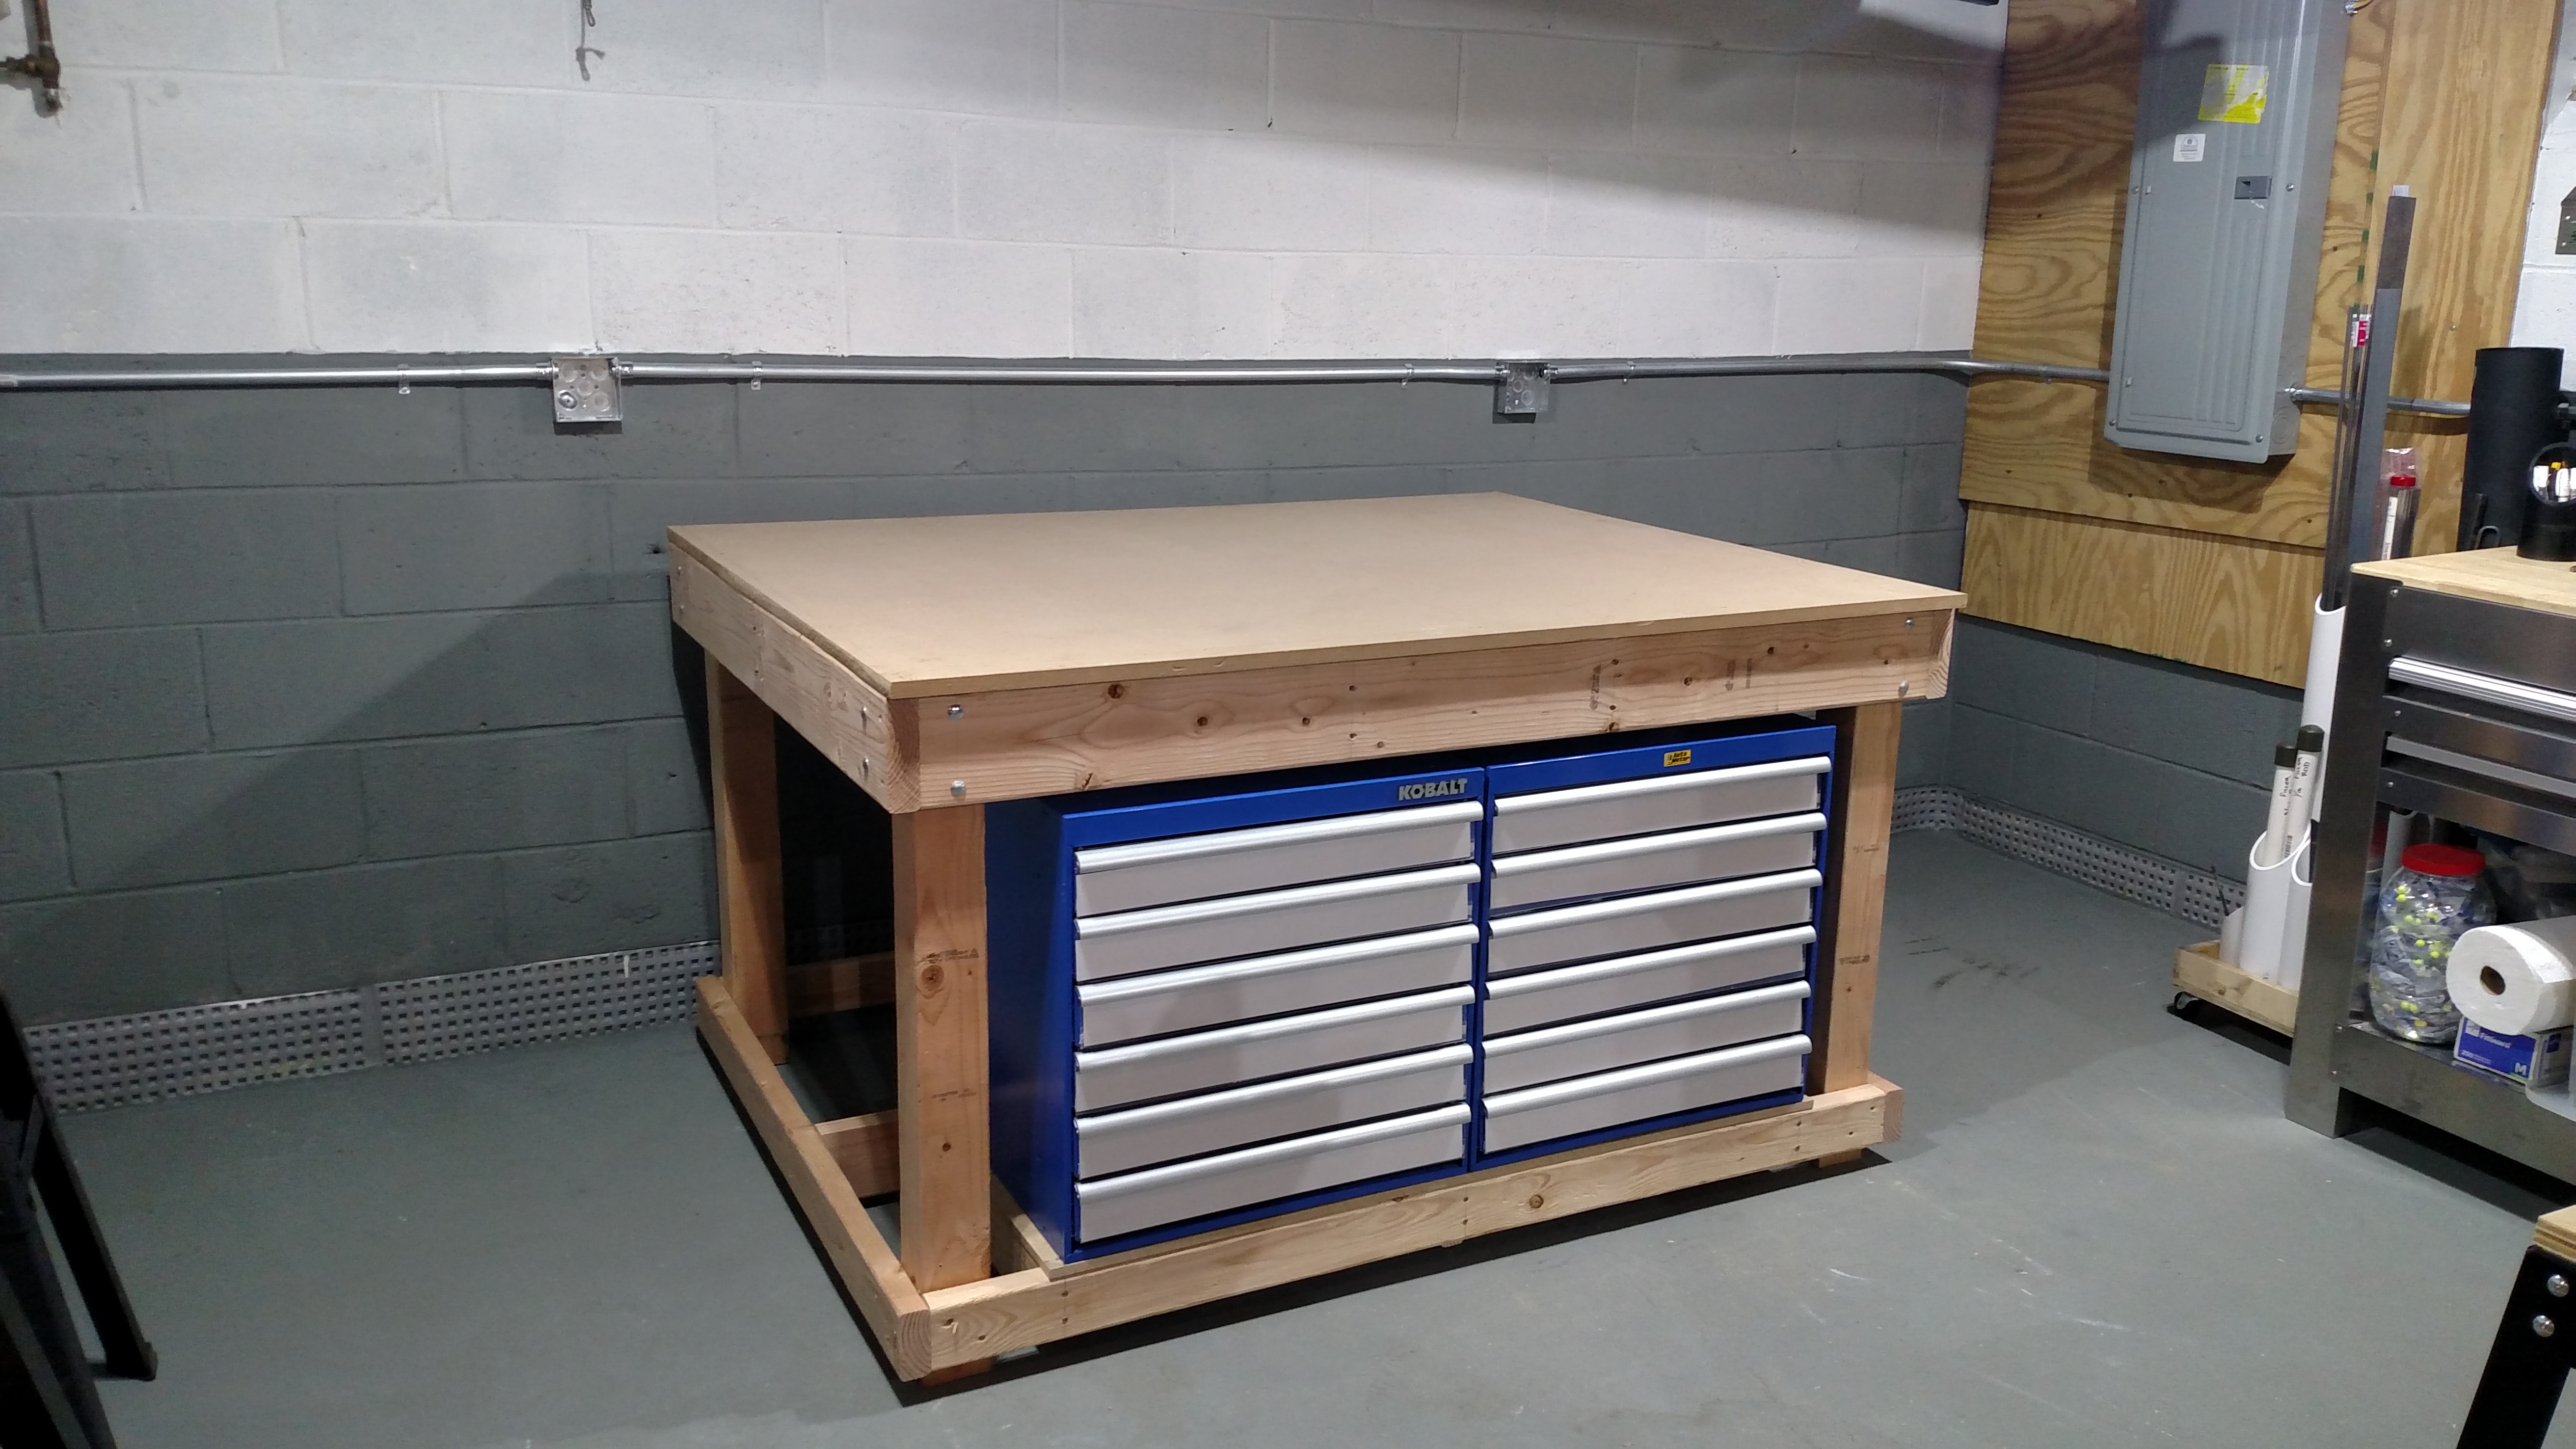
Your bench top construction looks very sturdy. I am sure it will work excellent. No twisting forces in play, so should not be an issue.
1 Like
6 Likes
You need to include four more bullets
9. Watch you tube videos of what others are doing
10. Agonize as you try and determine which bits you should buy and convince yourself that those $20 Amazon will not actually work and you need to spend more money
11. Download Carbide Create and built a few models that you hope one day to be able to mill
12. What enough of Winston’s videos to figure out, you probably need to build in Fusion360 and then sit there for hours trying to figuring out how on earth to use Fusion360 (FYI - One of Lars latest videos https://youtu.be/ym5TZDzqKVU is absolutely fantastic for gaining an understanding on how to use Fusion)
FYI - In my agonizing wait, I am trying to develop plans in Fusion360 for a full enclosure for the Shapeoko Pro which I would actually mill on it. This is obviously challenging as you only have a 33" cutting area, but your spans need to be >50" and thus you have to make a series of joins. (Plan to share my design prior to cutting for feedback and availability to the Shapeoko community)
In light of this, I was wondering if anyone knows the following: The max cutting area is 33" x33", but what is the max work holding area? And also, why did they choose 33" as a max?
4 Likes
Simple explanation, see the first Shapeoko Pro was 33" so… They used it to make another one, and another one, and… Ok I have no idea.
1 Like
Okay, time for a story.
Once upon a time there was a guy who designed a small CNC machine, launched it on Kickstarter, and sold it — one of the constraints was that the parts fit in a flat rate USPS box – the original Shapeoko 1 from Kickstarter had an 8" x 8" working area.
When the Shapeoko 2 was launched, it was still using MakerSlide, and keeping costs down was a consideration, so it had a 12" x 12" working area, and longer lengths were available, and eventually the 500mm extrusions were doubled to make up to 1Mx1M machines (1.2M Makerslide was briefly available and I’ve always regretted not getting any)
The Shapeoko 3 was a clean slate design, but was designed to fit on a standard 24" workbench, hence the 16" work area — the original extrusions are 600mm.
There was a survey on the original forums which amounted to baseless speculation, which is interesting though: https://forum.shapeoko.com/viewtopic.php?f=11&t=5652
Doubling and doubling again the work area was a pretty obvious decision — falling short of the 48" working span which many folks wanted (and which the extrusion was designed for) is a consequence of a number of factors — you’d have to get @edwardrford (who hopefully will correct anything I got wrong above) or @Luke to speak to such things. I’d also dearly love for @robgrz and @Jorge to speak about the early development of the Nomad — there wasn’t as much on that in the Kickstarter for it as one might hope. Hopefully there will eventually be a book like to Jerry Kaplan’s StartUp.
8 Likes
Sitting here reading through the thread and an email arrives saying that my pro has shipped. Made me chuckle. Looking forward to getting started.
Ironically, I have the same workbench kit ready to go as @Cher_Guevara although I’m waiting for the pro to arrive before I start building.
As for what else to do while waiting, I’m taking a couple of days off to start learning Fusion 360. While I know it’s not a requirement to use the pro, it seems like a worthy endeavor. Very similar to learning adobe illustrator for the laser cutter.
Another thing that has been on my mind is dust collection. I’ll likely end up going with a cyclone of some sort and a harbor freight dust collector. I plan to vent outside as I already have the ductwork there and it’ll reduce the overall footprint.
Perhaps item 9 should be to check UPS for a delivery date with item 10 being check that the doorbell works.
3 Likes
Just because the doorbell works today…doesn’t mean it will work on the day UPS arrives. Best to set up a couch on the front lawn. Something orange floral. Good luck.
4 Likes
I am doing your list as I am waiting for my Nomad.
Currently at point 7  and have a question some of you might be able to answer.
Can anyone tell me how much clearance I would need above the desk surface for a Nomad with the lid fully opened?
1 Like
Still waiting on my machine, but when I checked was told ~30" — I’d give it a bit more to account for the sweep and to afford clearance to hold it.
1 Like
You don’t need top tier end mills to make great cuts and in fact if you are new to CNC start with low cost mills. That way when you break them and YOU WILL it’s not as costly of a lesson. After you have things dialed then step up to name brand and bump your feeds.
I cut aluminum with zero issues using china carbide single flutes from ebay. My online carbide $10.00 mills do great on wood and I had such good results with my uncoated budget mills I just sent a batch to get ZrN coated as it’s surprisingly affordable. Once I get them back and do some testing I’ll post a new topic about it.
3 Likes
Thank you. 30 inches would fit in the space I have in mind.
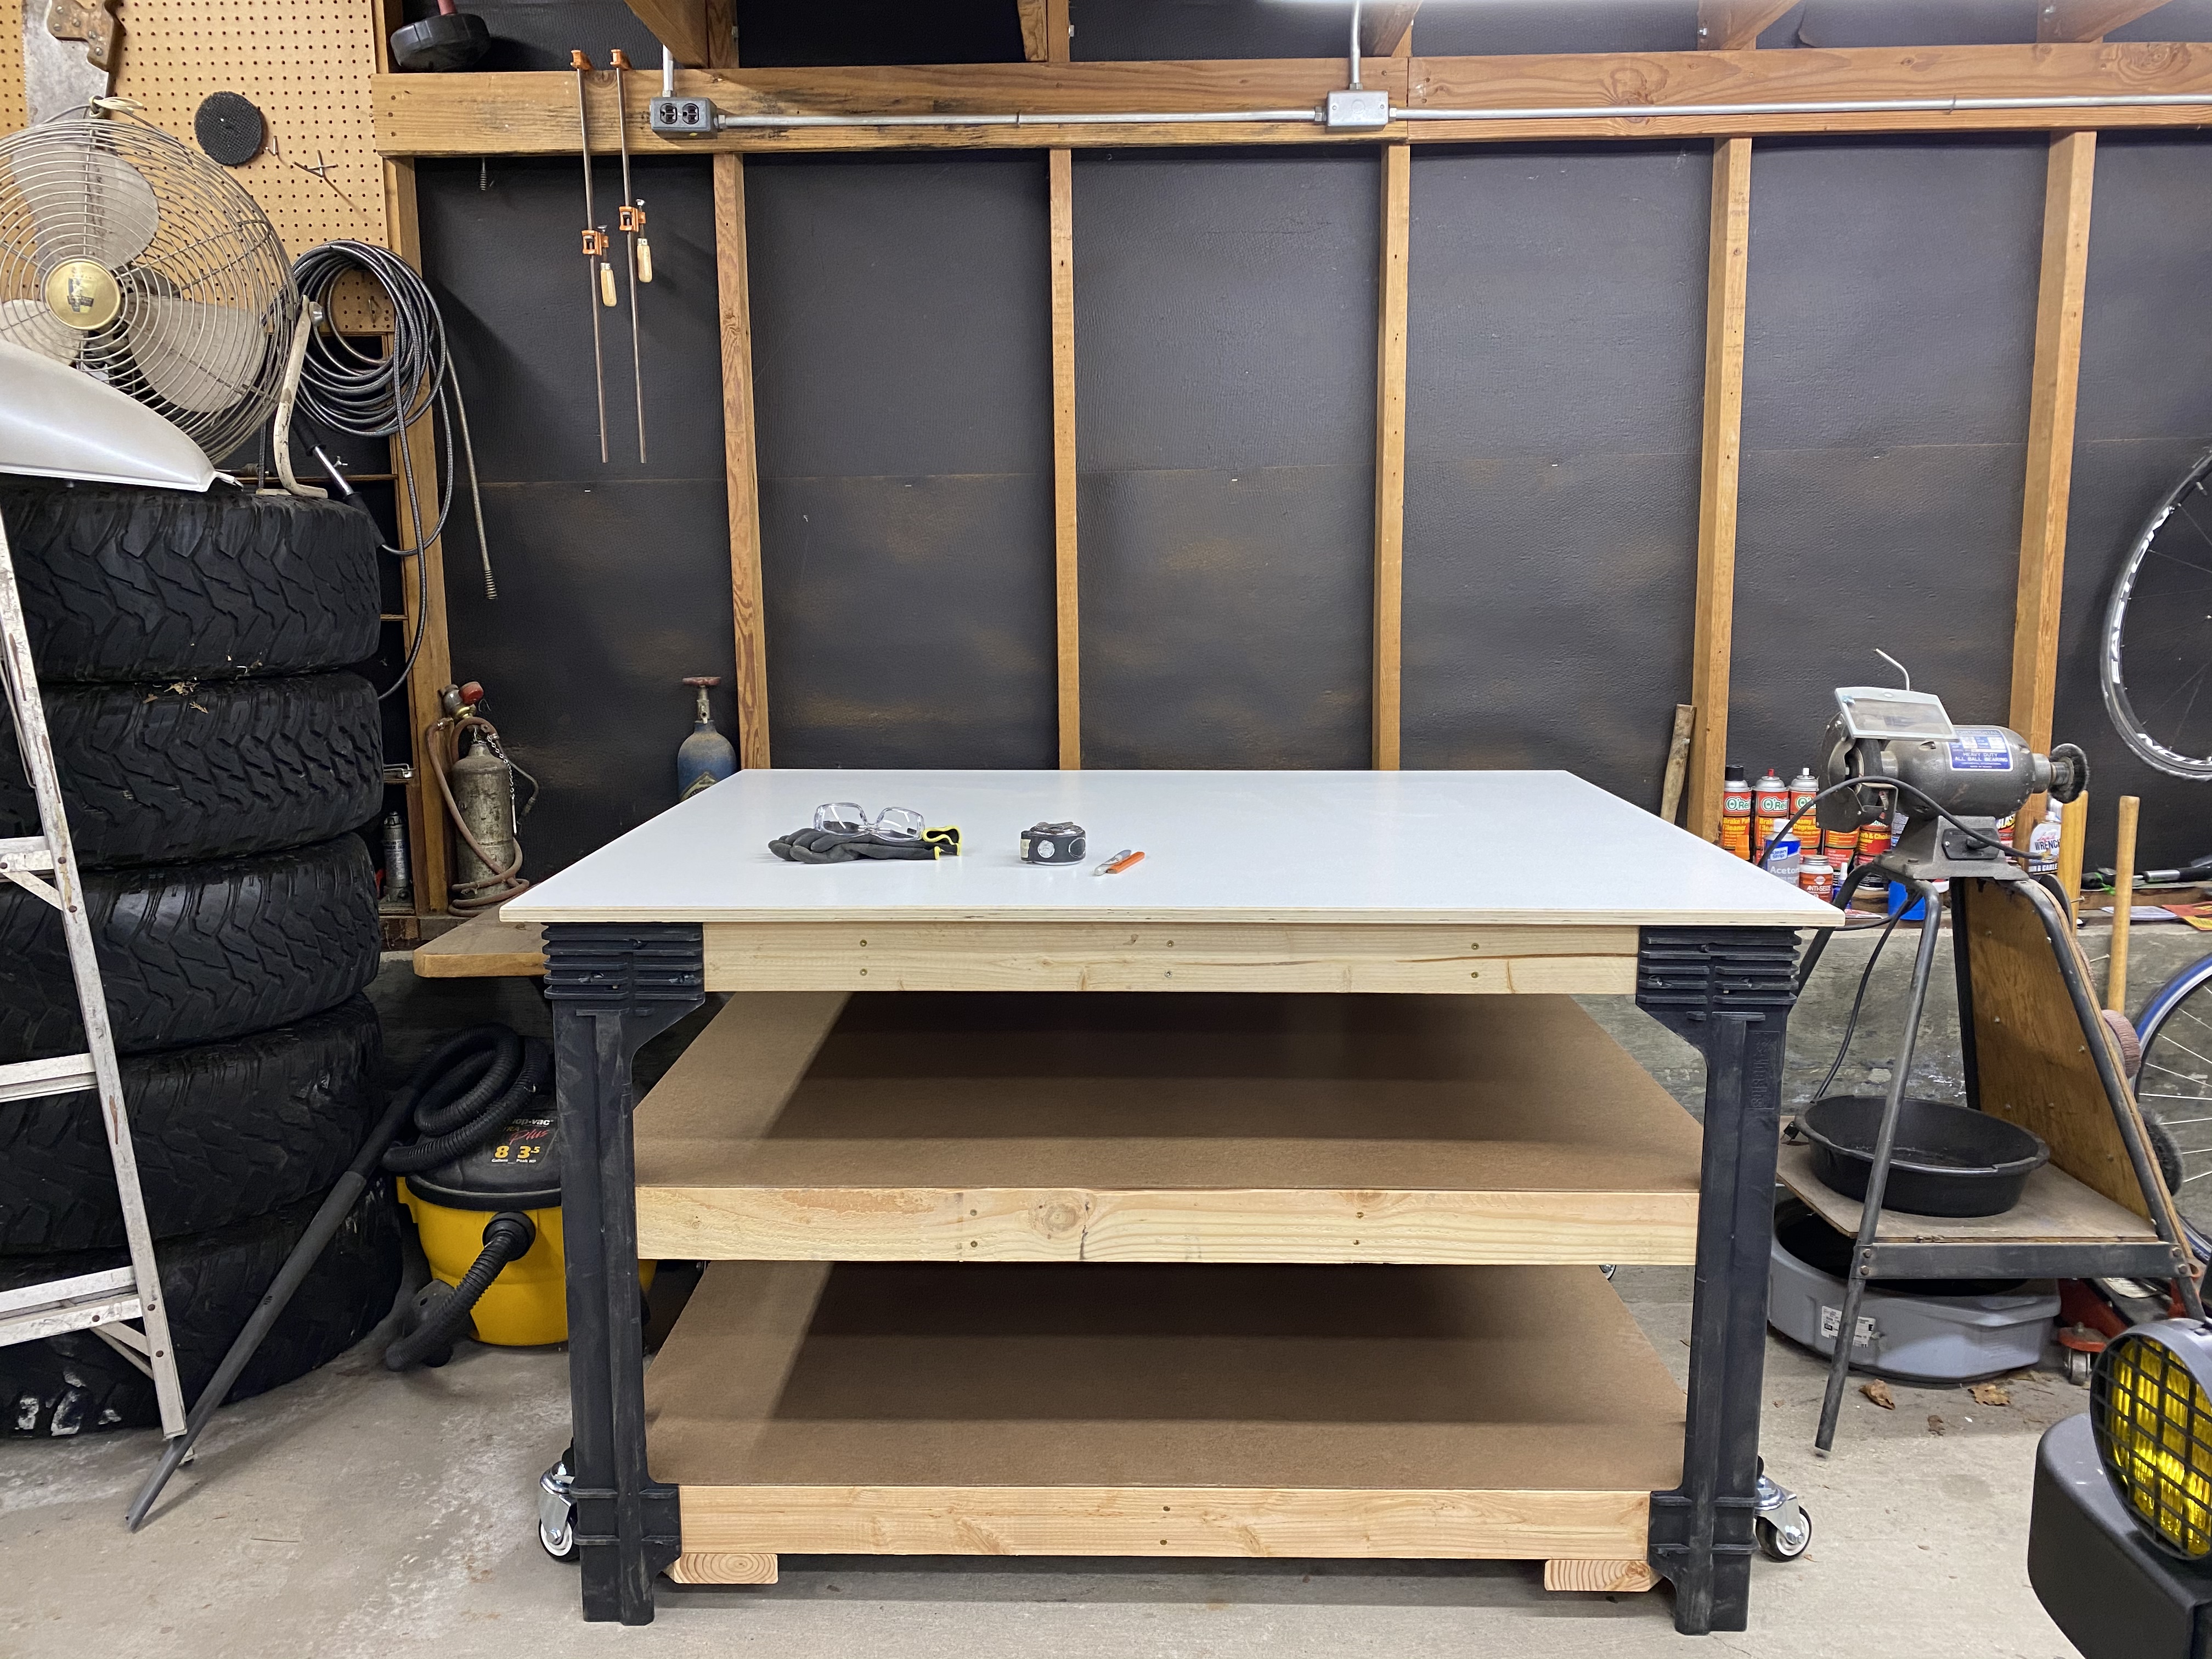
In case anyone is curious to see how the finished bench using the kit turned out, I’m pretty happy with it!
Added some retractable casters so I can scoot it around if needed, otherwise it rests on the legs and is dead level in its current spot in the shop. I also love all the flat storage I have now!
Finished dimensions of the bench top are 48” x 60” and I’m happy with the setup. Eager to get the Pro onto it!
3 Likes
very nice table!
one thing I really liked about the table I built (not nearly as nice as yours)… I made a round hole in it near the back (but inside the frame underneath) through which I routed all power and USB cables/etc. Allowed for much nicer cable management (under the table surface etc).
3 Likes
While you’re waiting for your Pros to arrive, I’ll just hide in a corner, slowly turning green with envy 

3 Likes
What casters did you go with? It’s hard to tell from the photo, but it looks like the ones you installed are more compact than what I was looking to get.