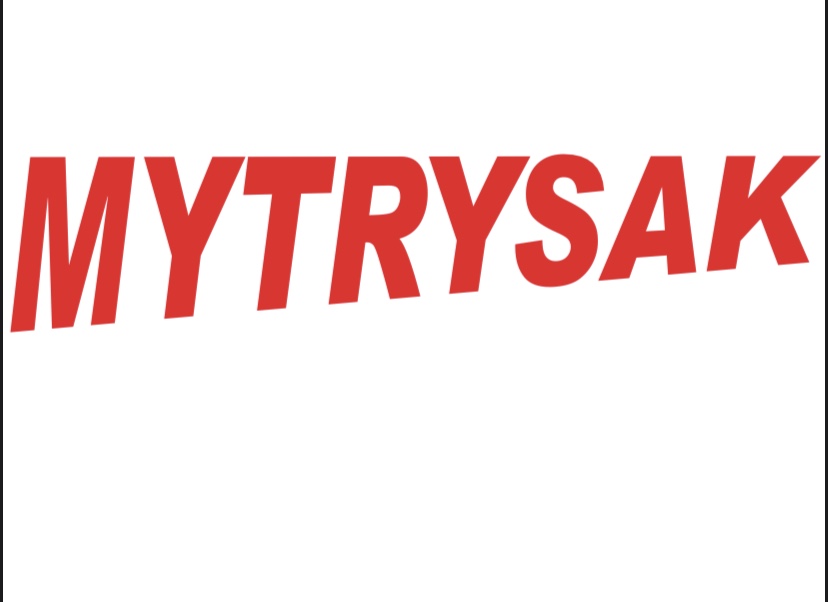
For that, you’ll need to likely duplicate the letter blob and cut it where the seam is. That way you pocket in the first area, then pocket in the second area.
I’m not looking to pocket. I need to cutout.
Added cut letter blob to the file. You should be able to select them (though they look overlapped with the letters by design.
If you are looking to cutout, then just change the operation?
MYTRYSAK-00.c2d (488.4 KB)
I can’t figure out how to get it tiled though.
To make it 2 files or operations
We can’t run the machine for you. Have you watched/read any of the docs/videos?
But going to the first file I posted, you’ll need to put holes in your wasteboard, those holes will be used to provide alignment to the stock for the second operation. Then you put stock on top of the holes, rezero your machine to the new height and run first pass. First pass should include making holes in the stock that are the same size as the holes made in wasteboard. Move the new holes to the existing holes in the wasteboard and use a dowel to keep the stock and the wasteboard aligned, then run the second batch of letters.
Yes I understand that. The file you just added would work but it’s cutting the straight lines through the R. That’s the same problem I’m having. getting those lines out of the R so it continues to the S without straight lines down through it.
The video for the Baltimore Ravens cutout is complete different software than what I’m using. There is nothing in that that CC can do from what I see.
You’ll need to setup tabs so that the letters are still attached to the stock. But this should be what you are looking for. Last 2 operations added to the file are doing an inside contour for the new object.
MYTRYSAK-00 (1).c2d (490.8 KB)
Hey again everyone. Still issues with getting this figured out. I’m not experienced with Inkscape.
The “M” is 9.35” from top left corner to bottom left corner. The “K” is 6.25” from top right corner to bottom right corner. Total length is 47.677”. I need to cutout each letter individually, but need a backer that is slightly larger and NOT cut individually, meaning it’s gonna need to be 47.677” long and the shapeoko xxl only carves 32”. Is this going to be possible?
Please, any insight or help figuring this out to an SVG would be greatly appreciated. Thank you.
If you have free access to either the sides of the back of your machine, you can use the “tiling” technique to cut arbitrarily long stock pieces. Check out the wiki : https://wiki.shapeoko.com/index.php/Fabrication_Techniques_%26_Hardware#Tiling
I have heard about tiling. How do I go about getting the “M” (and all the other letters) shorter on one side? And how do I get the 9.35” in carbide create? So it’s cutting the size I need.
Here’s the letters in an SVG with each letter a separate vector so you can cut them individually or as a pocket for the back. I think you can right-click and “save as” to get the SVG itself.
EDIT: Maybe not right click… I’ll try a zip.
Mytrysak.zip (5.5 KB)
While @Gerry has done the graphics work this would be done in a graphics program which allows asymmetrical distortion — Carbide Create doesn’t have a feature which would allow this to be done — Inkscape or Adobe Illustrator or Serif’s Affinity Designer should be able to do this.
Thank you very much. It’s very appreciated. I’ll give it a try. I’d like to learn how to do this. Or is this not something for a beginner such as myself?
Ok, thank you. I was very confused as to how I would do this in Carbide Create and it was getting frustrating. I wasn’t sure if I was missing something… Inkscape is on my list of programs to learn, seems very technical.
For this sort of operation it’s not very difficult at all and should take only a few seconds.
In short:
- Start Inkscape
- Drag the image from Explorer/Finder onto Inkscape
- Select the image and then choose the menu option Path/Trace Bitmap, click OK on the dialog, and then close the dialog.
You should now have both an image and a vector tracing of the image in your workspace. You need to delete the image, which will probably be right under the vectors so drag the black vector version over to one side and click the red (in your example) image version and hit delete. Then, save the file as an SVG.
Do you have experience with tiling in carbide create?
Unfortunately I don’t.
I think I understand the principle, though.
Perhaps create one CC project for “MYTR” and a separate one for “YSAK”. Then, put a length of masking tape on the stock and mark two points that are calculated to match the home position for each project. Then run each file in turn, moving the stock between runs, making sure it’s still squared between each run.
Ok. Thank you. So far, that’s the easiest way I’ve heard to try it. But how would I calculate the 2 points? That’s a confusing step to me.
