Hey guys, I just upgraded to a 2.2kw spindle, and after setting up I noticed my y axis is pretty far out of whack (about .11” difference, 5 inches out.) I just can’t seem to find enough play in the y-axis screws to work it out, and I am very hesitant to drill those out. Would you suggest aluminum foil shims for something like this? If so, where exactly do I put them?
Thanks for any suggestions, this tramming issue seems way more severe than I would expect!
(Assuming I got this right and your tramming issue is front/back tramming)
You may not need to actually drill them, sometimes just removing the powder coat inside the Y plates holes is enough to grant just a little more play/adjustment. I used a drill bit, turning it and sliding it gently (and manually) inside the holes, and the powder coat came off easily.
That’s my go to method. I use aluminium foil, folder over a few times, I cut a strip about 1/2" wide and as long as the router mount’s width, unlock the 80mm mount screws, push the spindle to rotate the mount slightly (it’s heavy!), insert folded foil strip between the bottom part of mount and the HDZ, fasten everything again, then recheck tramming. If it’s not right, start over and fold the aluminium foil more times or less times, to adjust thickness of the strip. Of course, I mentioned inserting the strip under the bottom of the mount, but if your tramming is off in the other direction, the strip needs to be inserted at the top of the mount instead.
Depending on your level of OCD this can become a maddening game of try & check & repeat until it’s [somewhere between good enough and perfect]
Question: if I use foil shims to get the tramming right, does this have an effect on how clean the “walls” come out after a deep pocket? I ask because it seems like the angle of the endmill, and the angle of the actual z retraction, are going to be slightly different due to the shims. But maybe the difference is so negligible that it isn’t noticeable in the final product?
More than anything, I’m hoping that getting the tramming just right will help me eliminate the very subtle tool marks that are left after my .015” finishing passes. I can’t feel any ridges at all, so I know I had the tramming pretty close previously. I can only see the tool marks from certain angles, it seems to be a result of the fibers being laid down differently due to the endmill’s alternating raster path. Really difficult to sand out, for some reason!
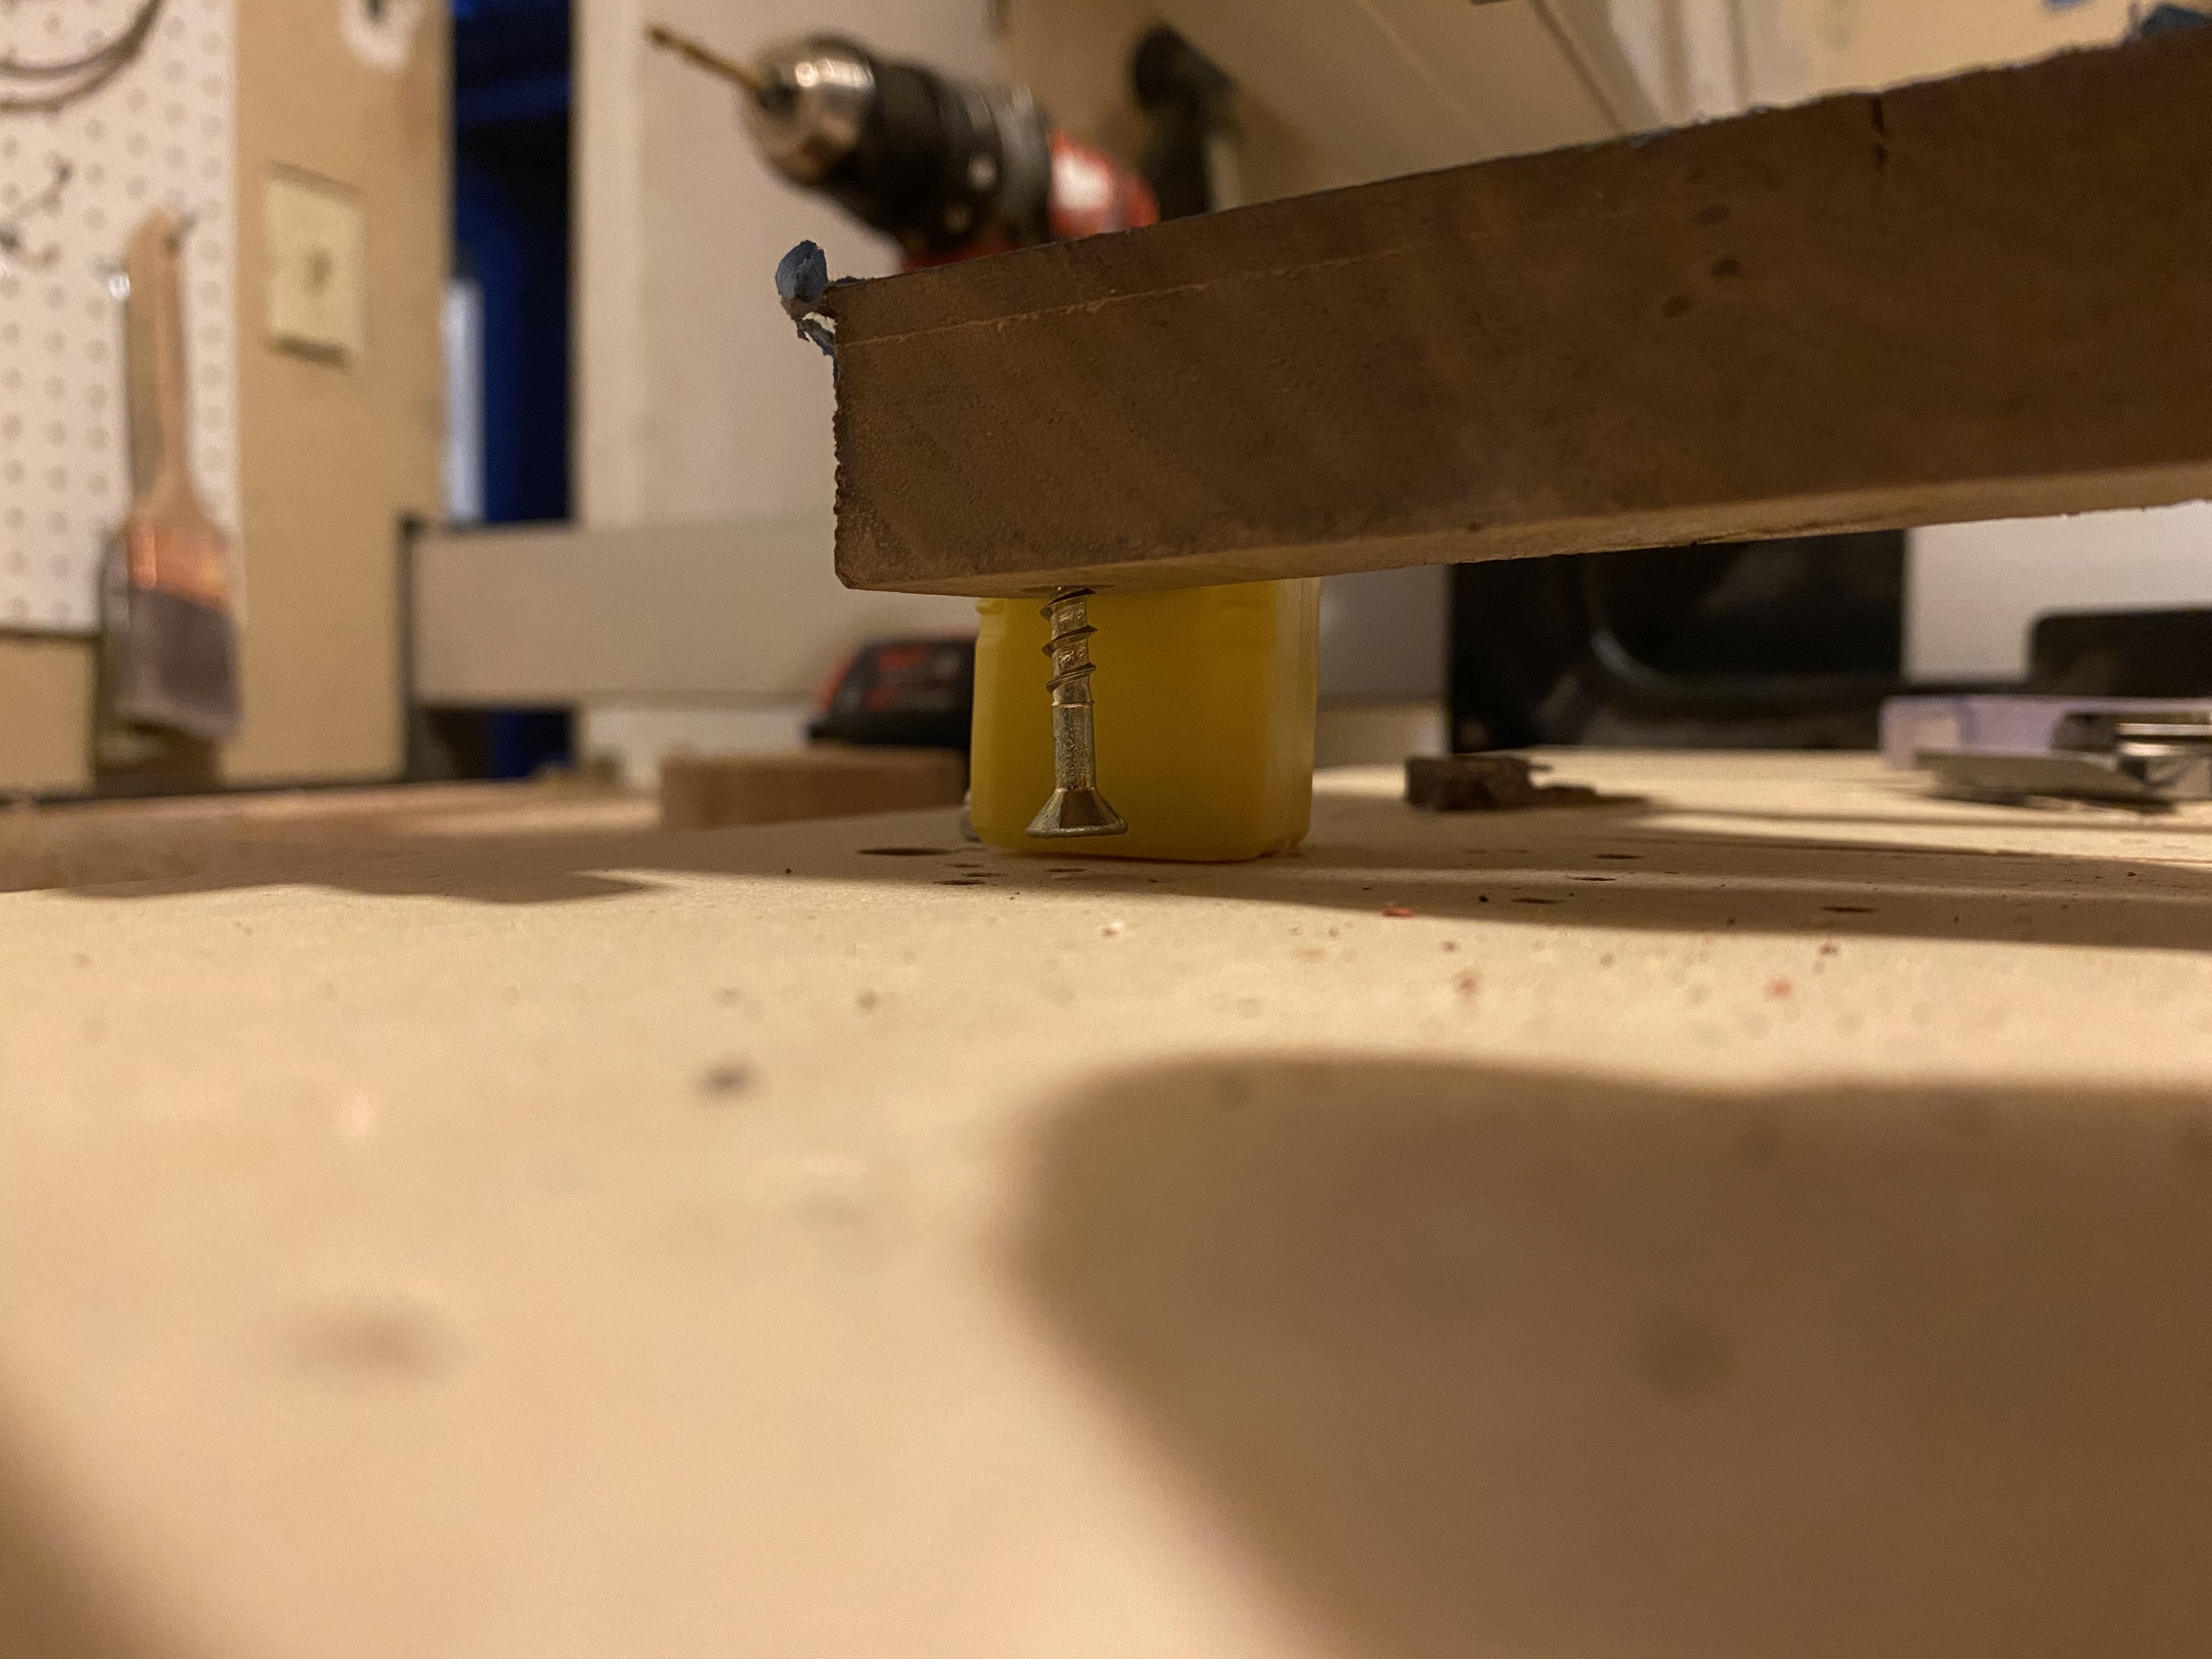
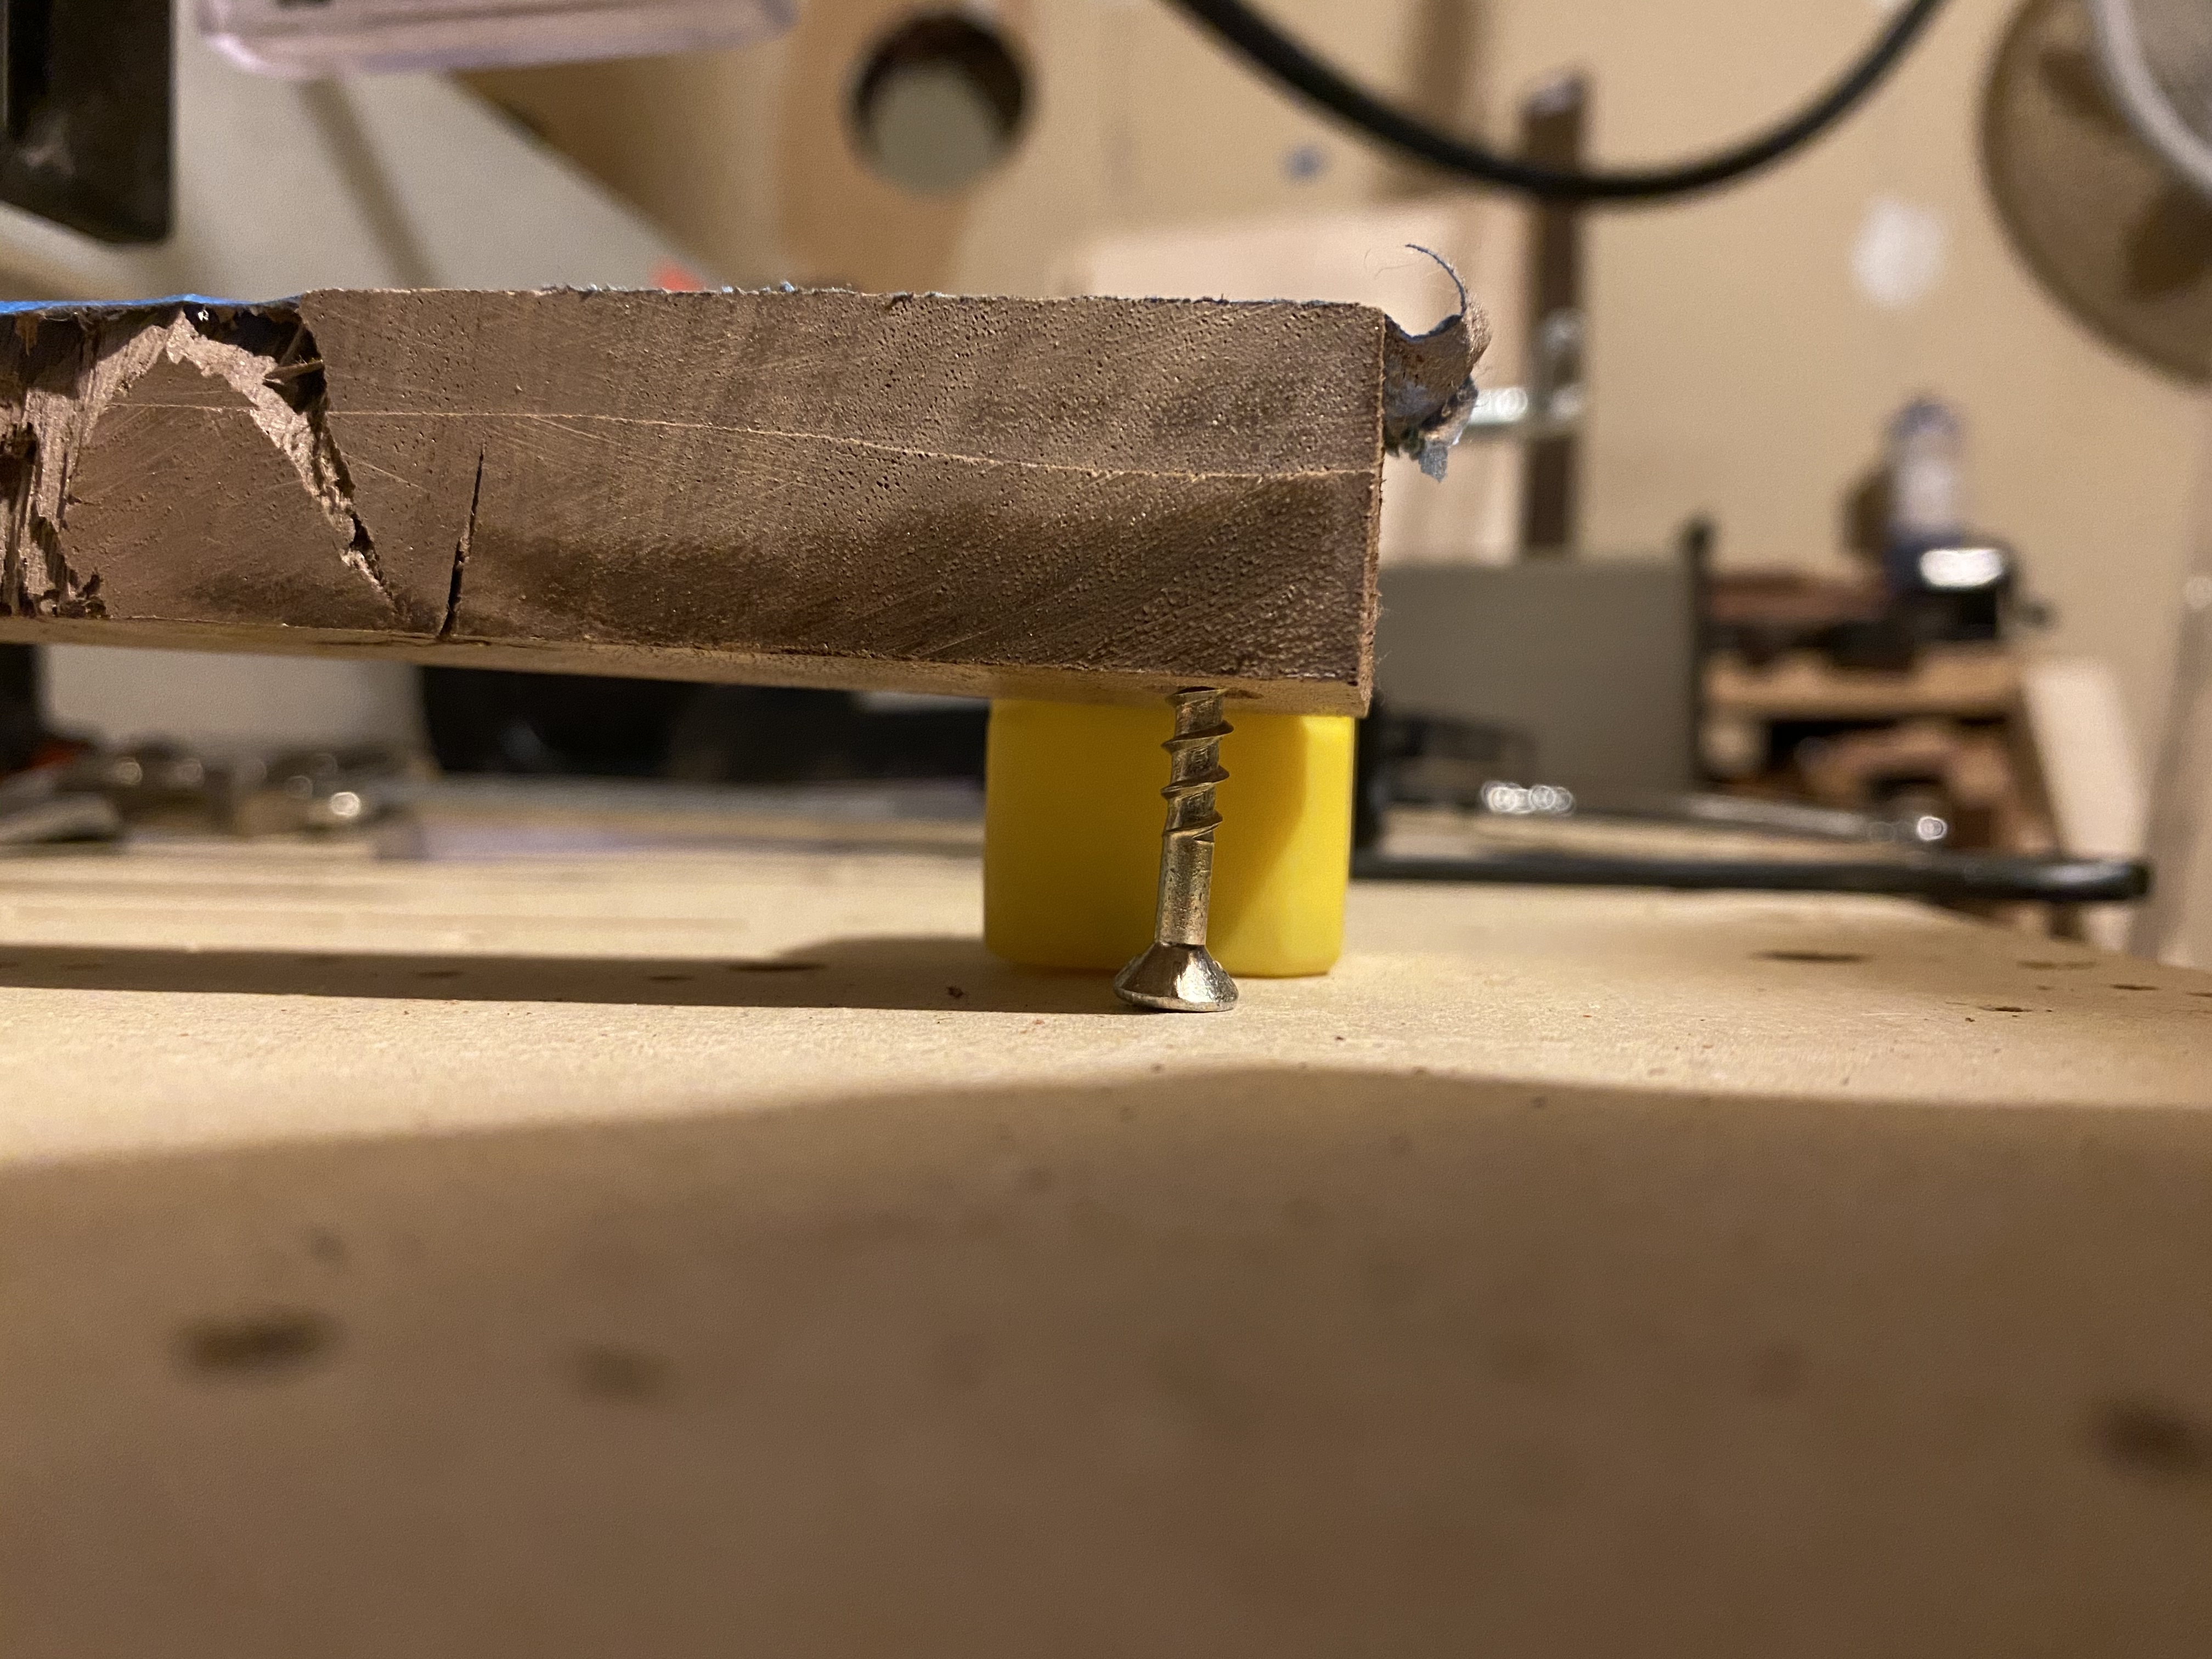
I put my shims on the lower V wheels where the HDZ attaches to the X rail so that the Z axis movement and spindle were aligned for exactly this reason.
I bought some shim stock in 0.1, 0.2, 0.3mm sheets off eBay then cut and drilled little squares to put on the bolts between the V wheel and the HDZ, stick them between two pieces of wood to drill through them.
Oh that’s interesting. I wonder if simply adding a second washer between the bottom wheel and the HDZ would have the same effect? (My tramming is currently tilted toward the front, so the bottom wheels would be the way to go.)
@WillAdams or @Julien are additional washers a good idea here, or very terribly bad?
Adding a second washer is probably going to be difficult (it would need to be a super thin one), but carefully selecting the thickness of the washer to pick a slightly thicker or slightly thinner one is a trick that some have used successfully. I can’t remember who, but they said they just went to the hardware store with their caliper, and spent some time picking washers of various thicknesses (due to natural tolerance of the cheap washers) from the box, to then used them as shims.
If you get tramming right (be it with foil shims or washers or enlarging the Y plate holes or a combination of those), it should definitely help to get clean walls, but the easier more expedient way I found to get clean walls is “just” to do a final contour pass at full depth shaving off a thin layer of material off the walls, using the full length of cut of an endmill.
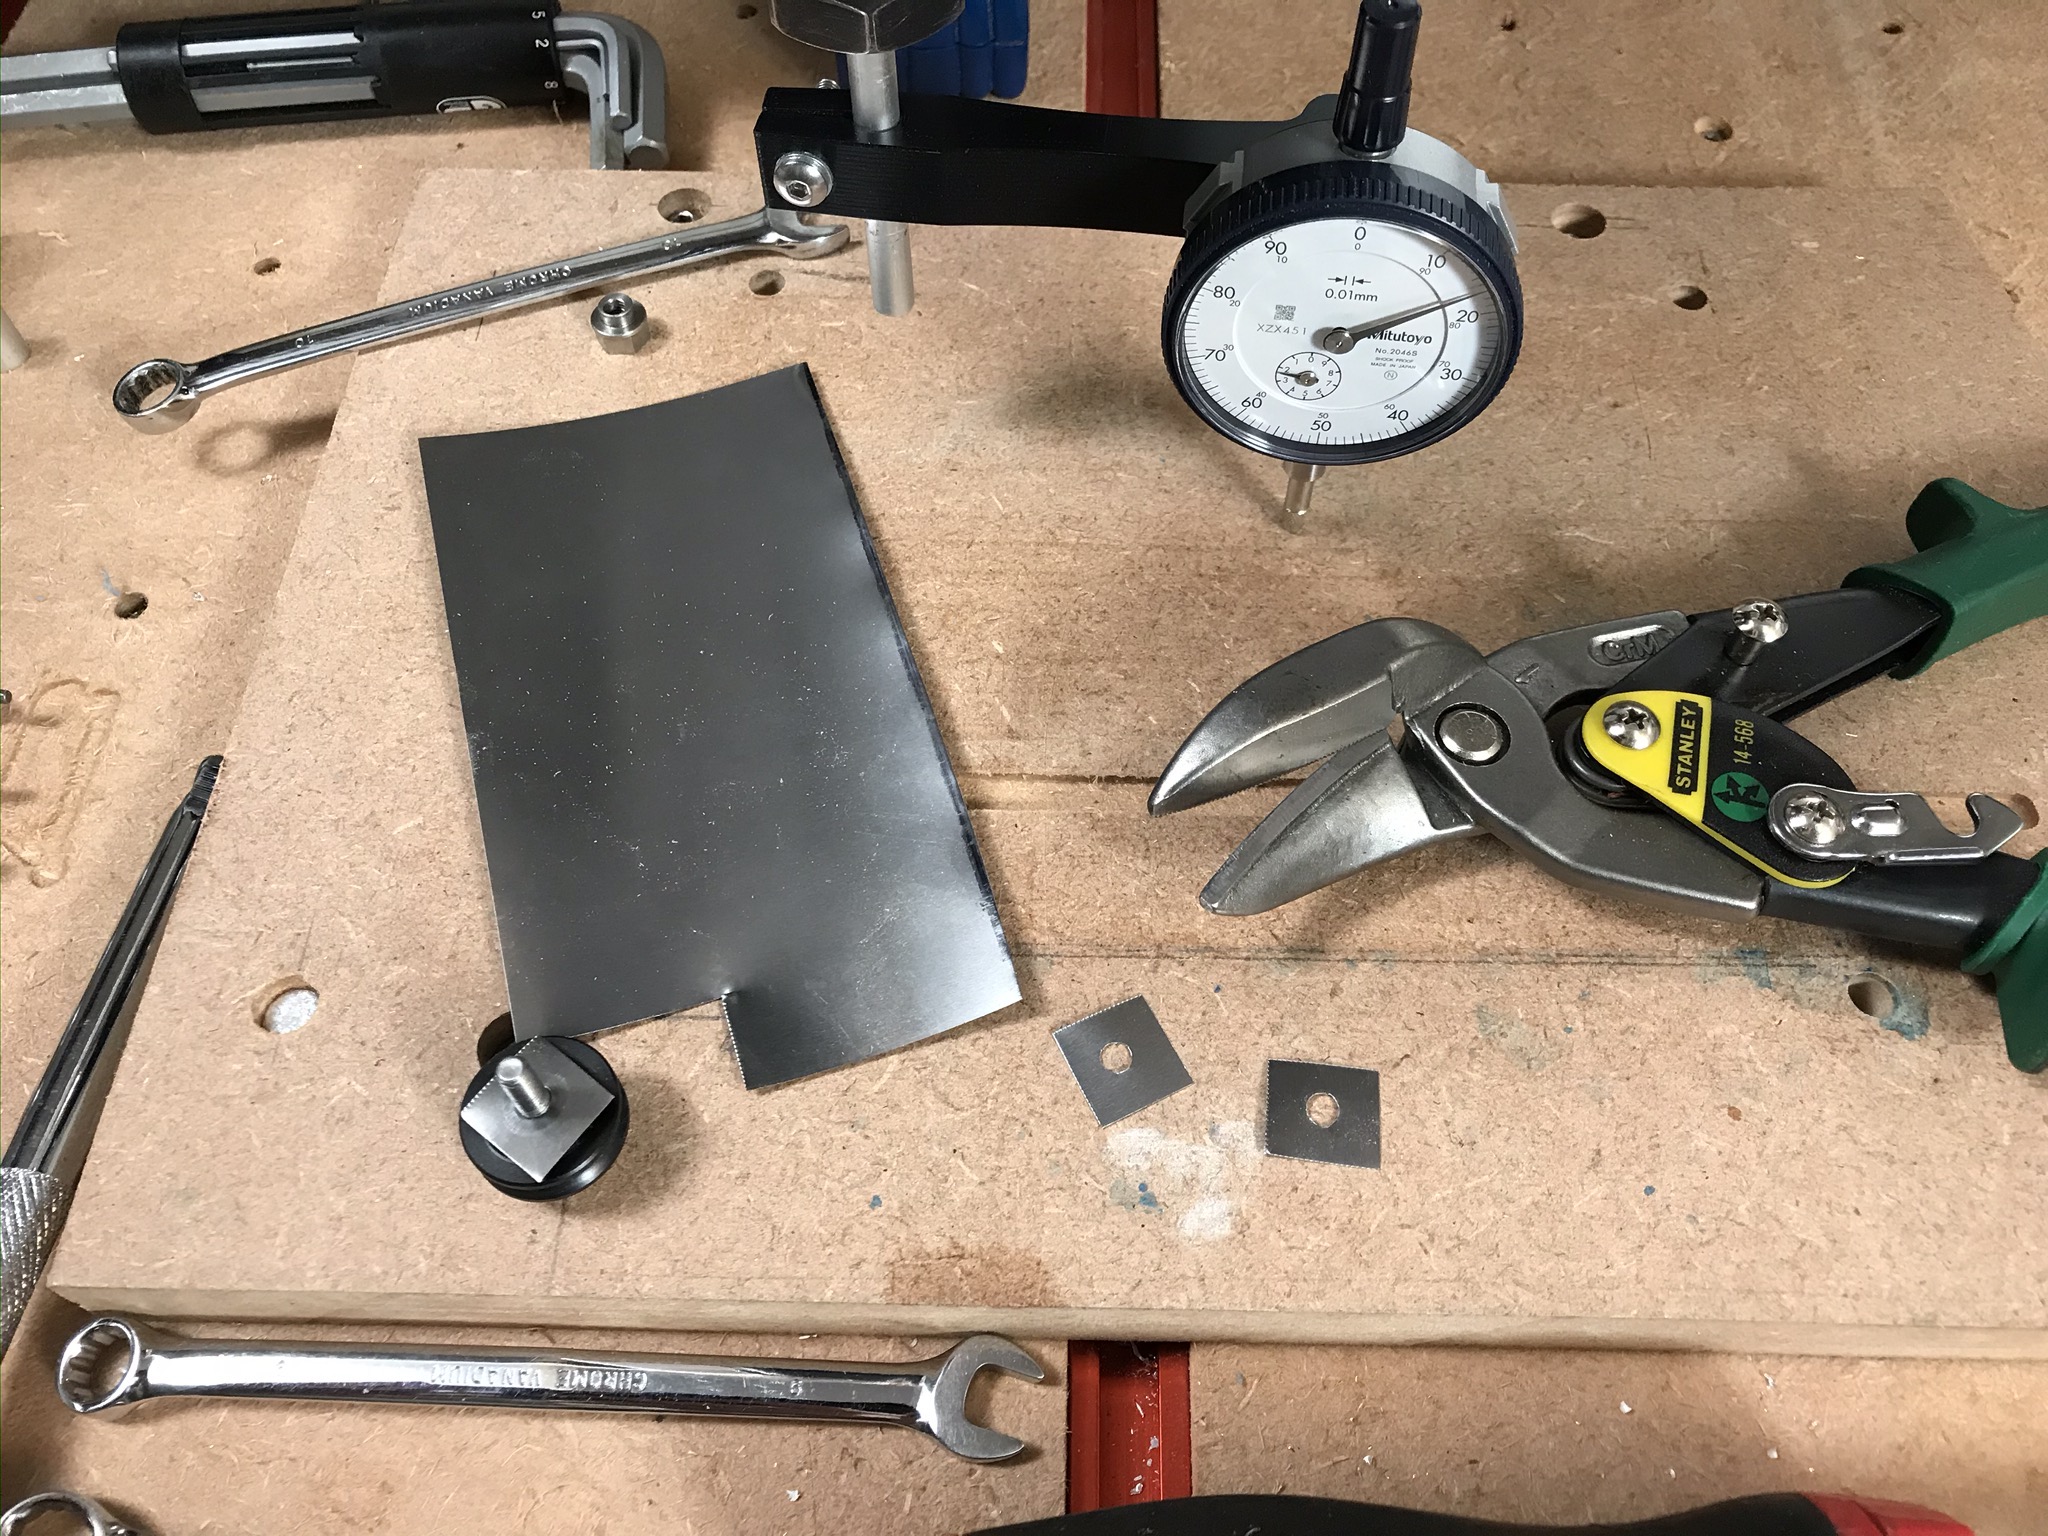
Here is a shot of me committing my sacrelige, sheets of shim metals are pretty cheap on eBay, choose 0.1 or 0.2 and stack them up. You can try it out with Alu foil but the folded layers will likely compact over time, it is very, very thin.
Put some machine oil on the shim stock to avoid it rusting once you’re not looking at it. I didn’t, but I will be discarding the V Wheels soon enough that it doesn’t matter.
In the spindle is my 3D printed cheap tramming device, which is not quite as effectively frugal as yours