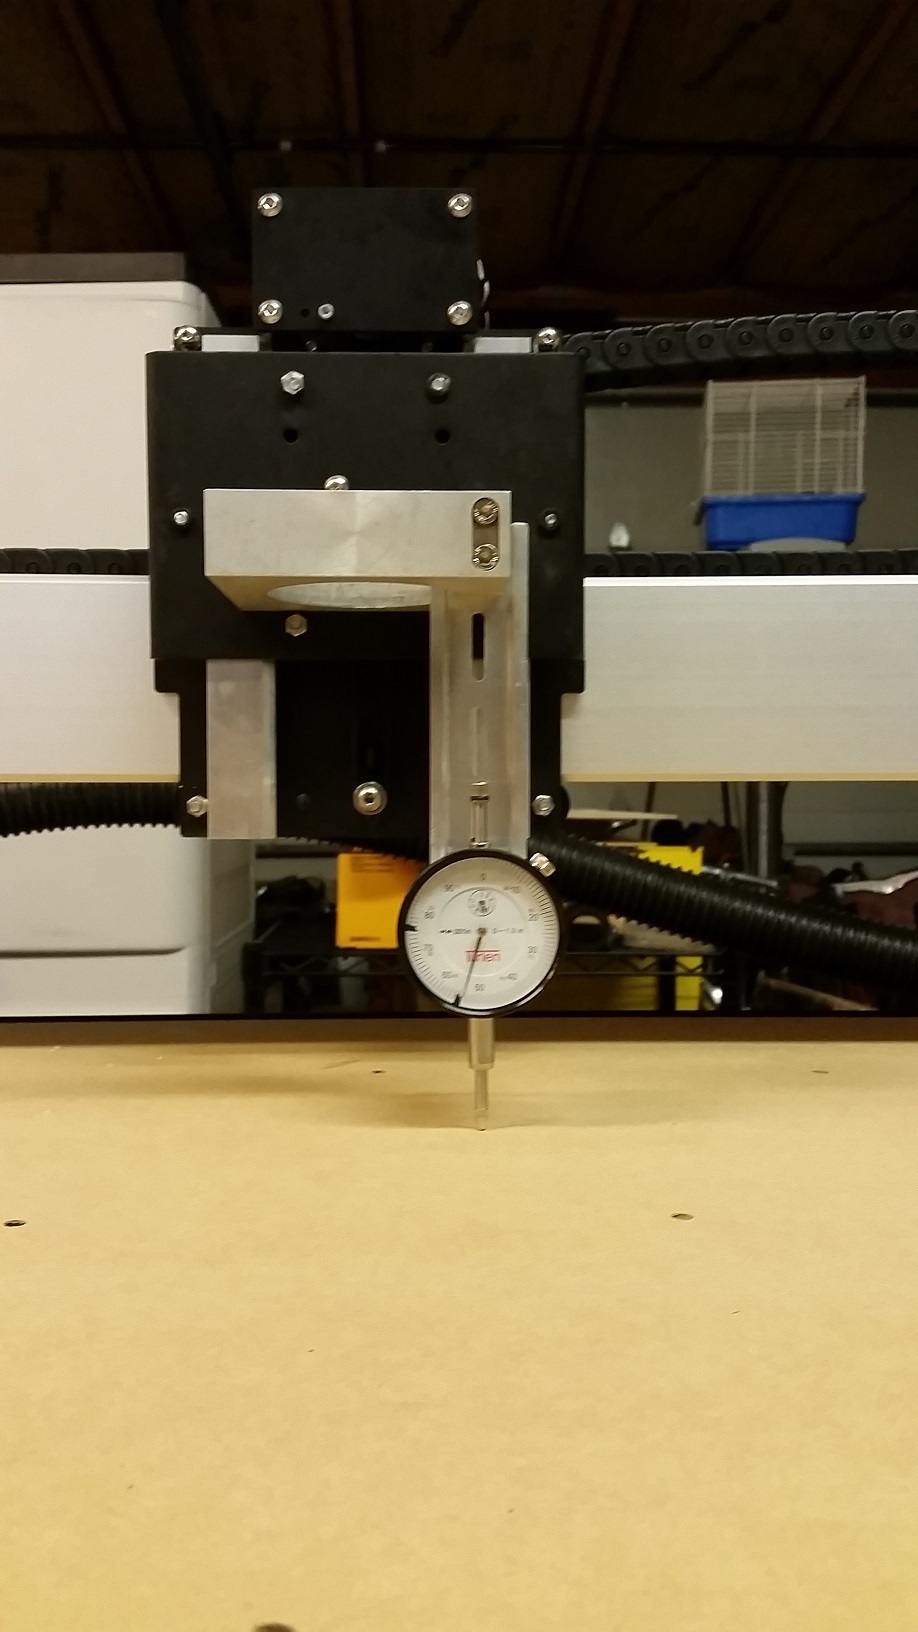
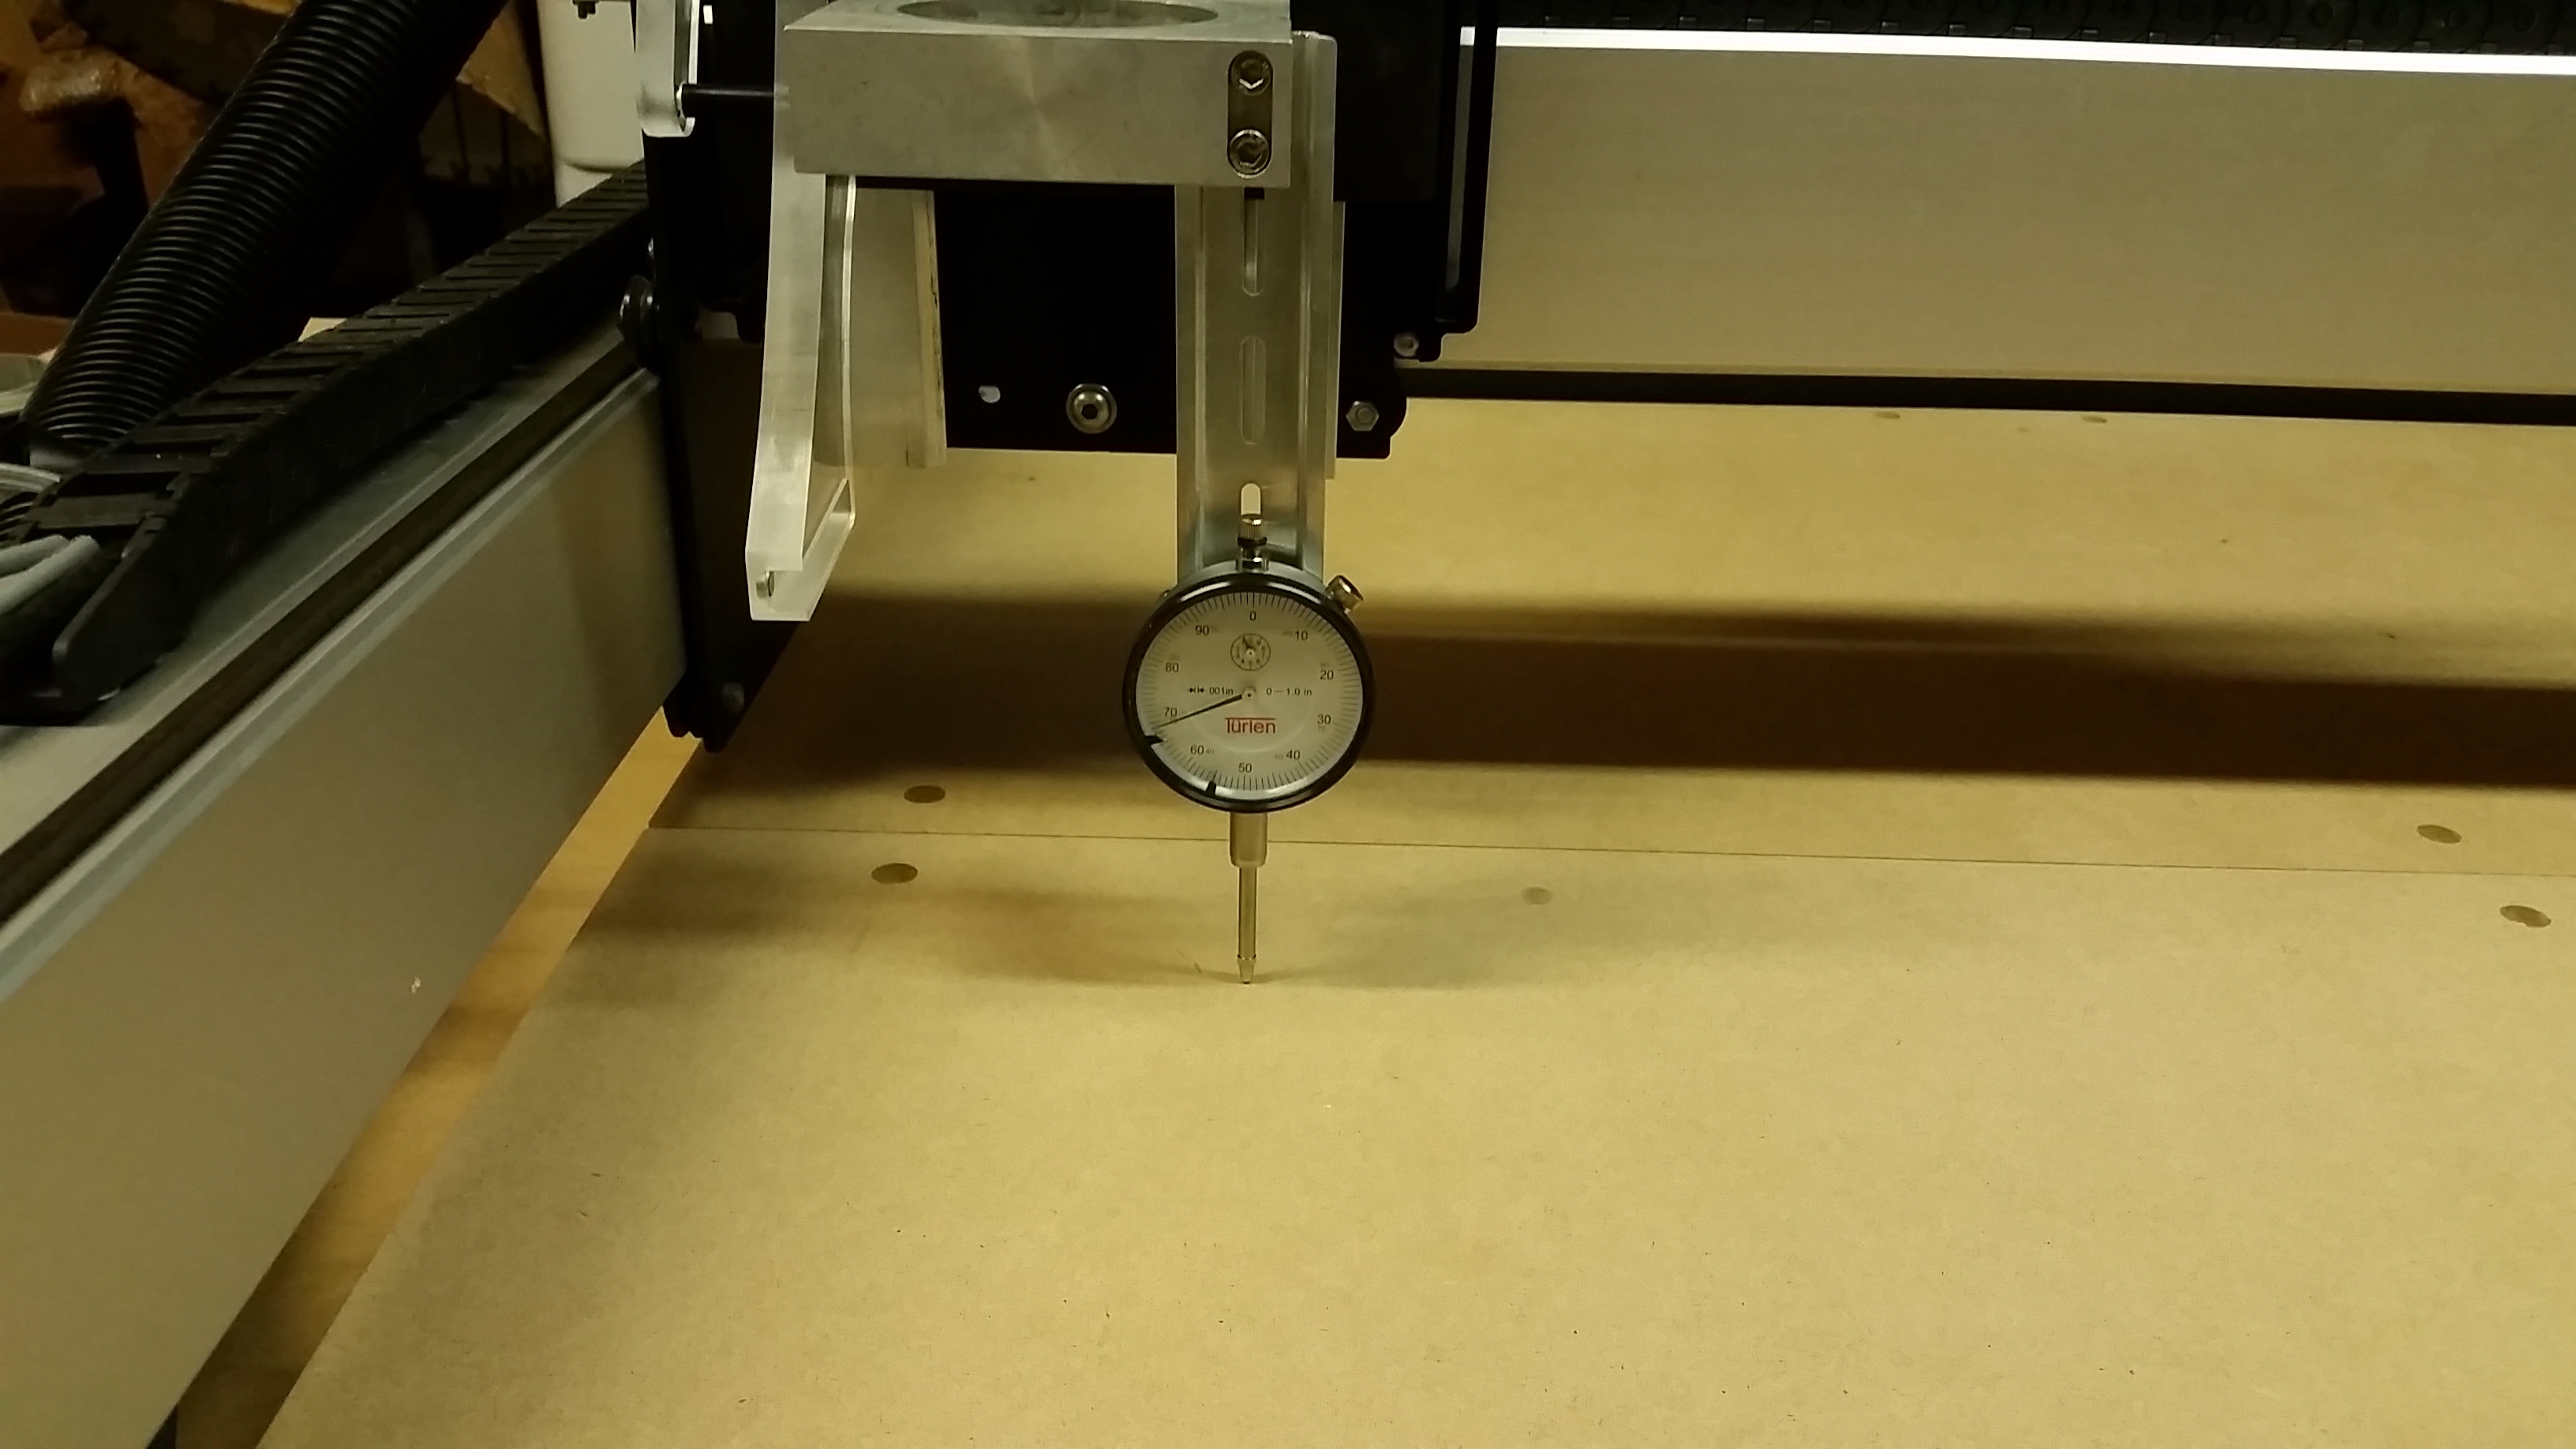
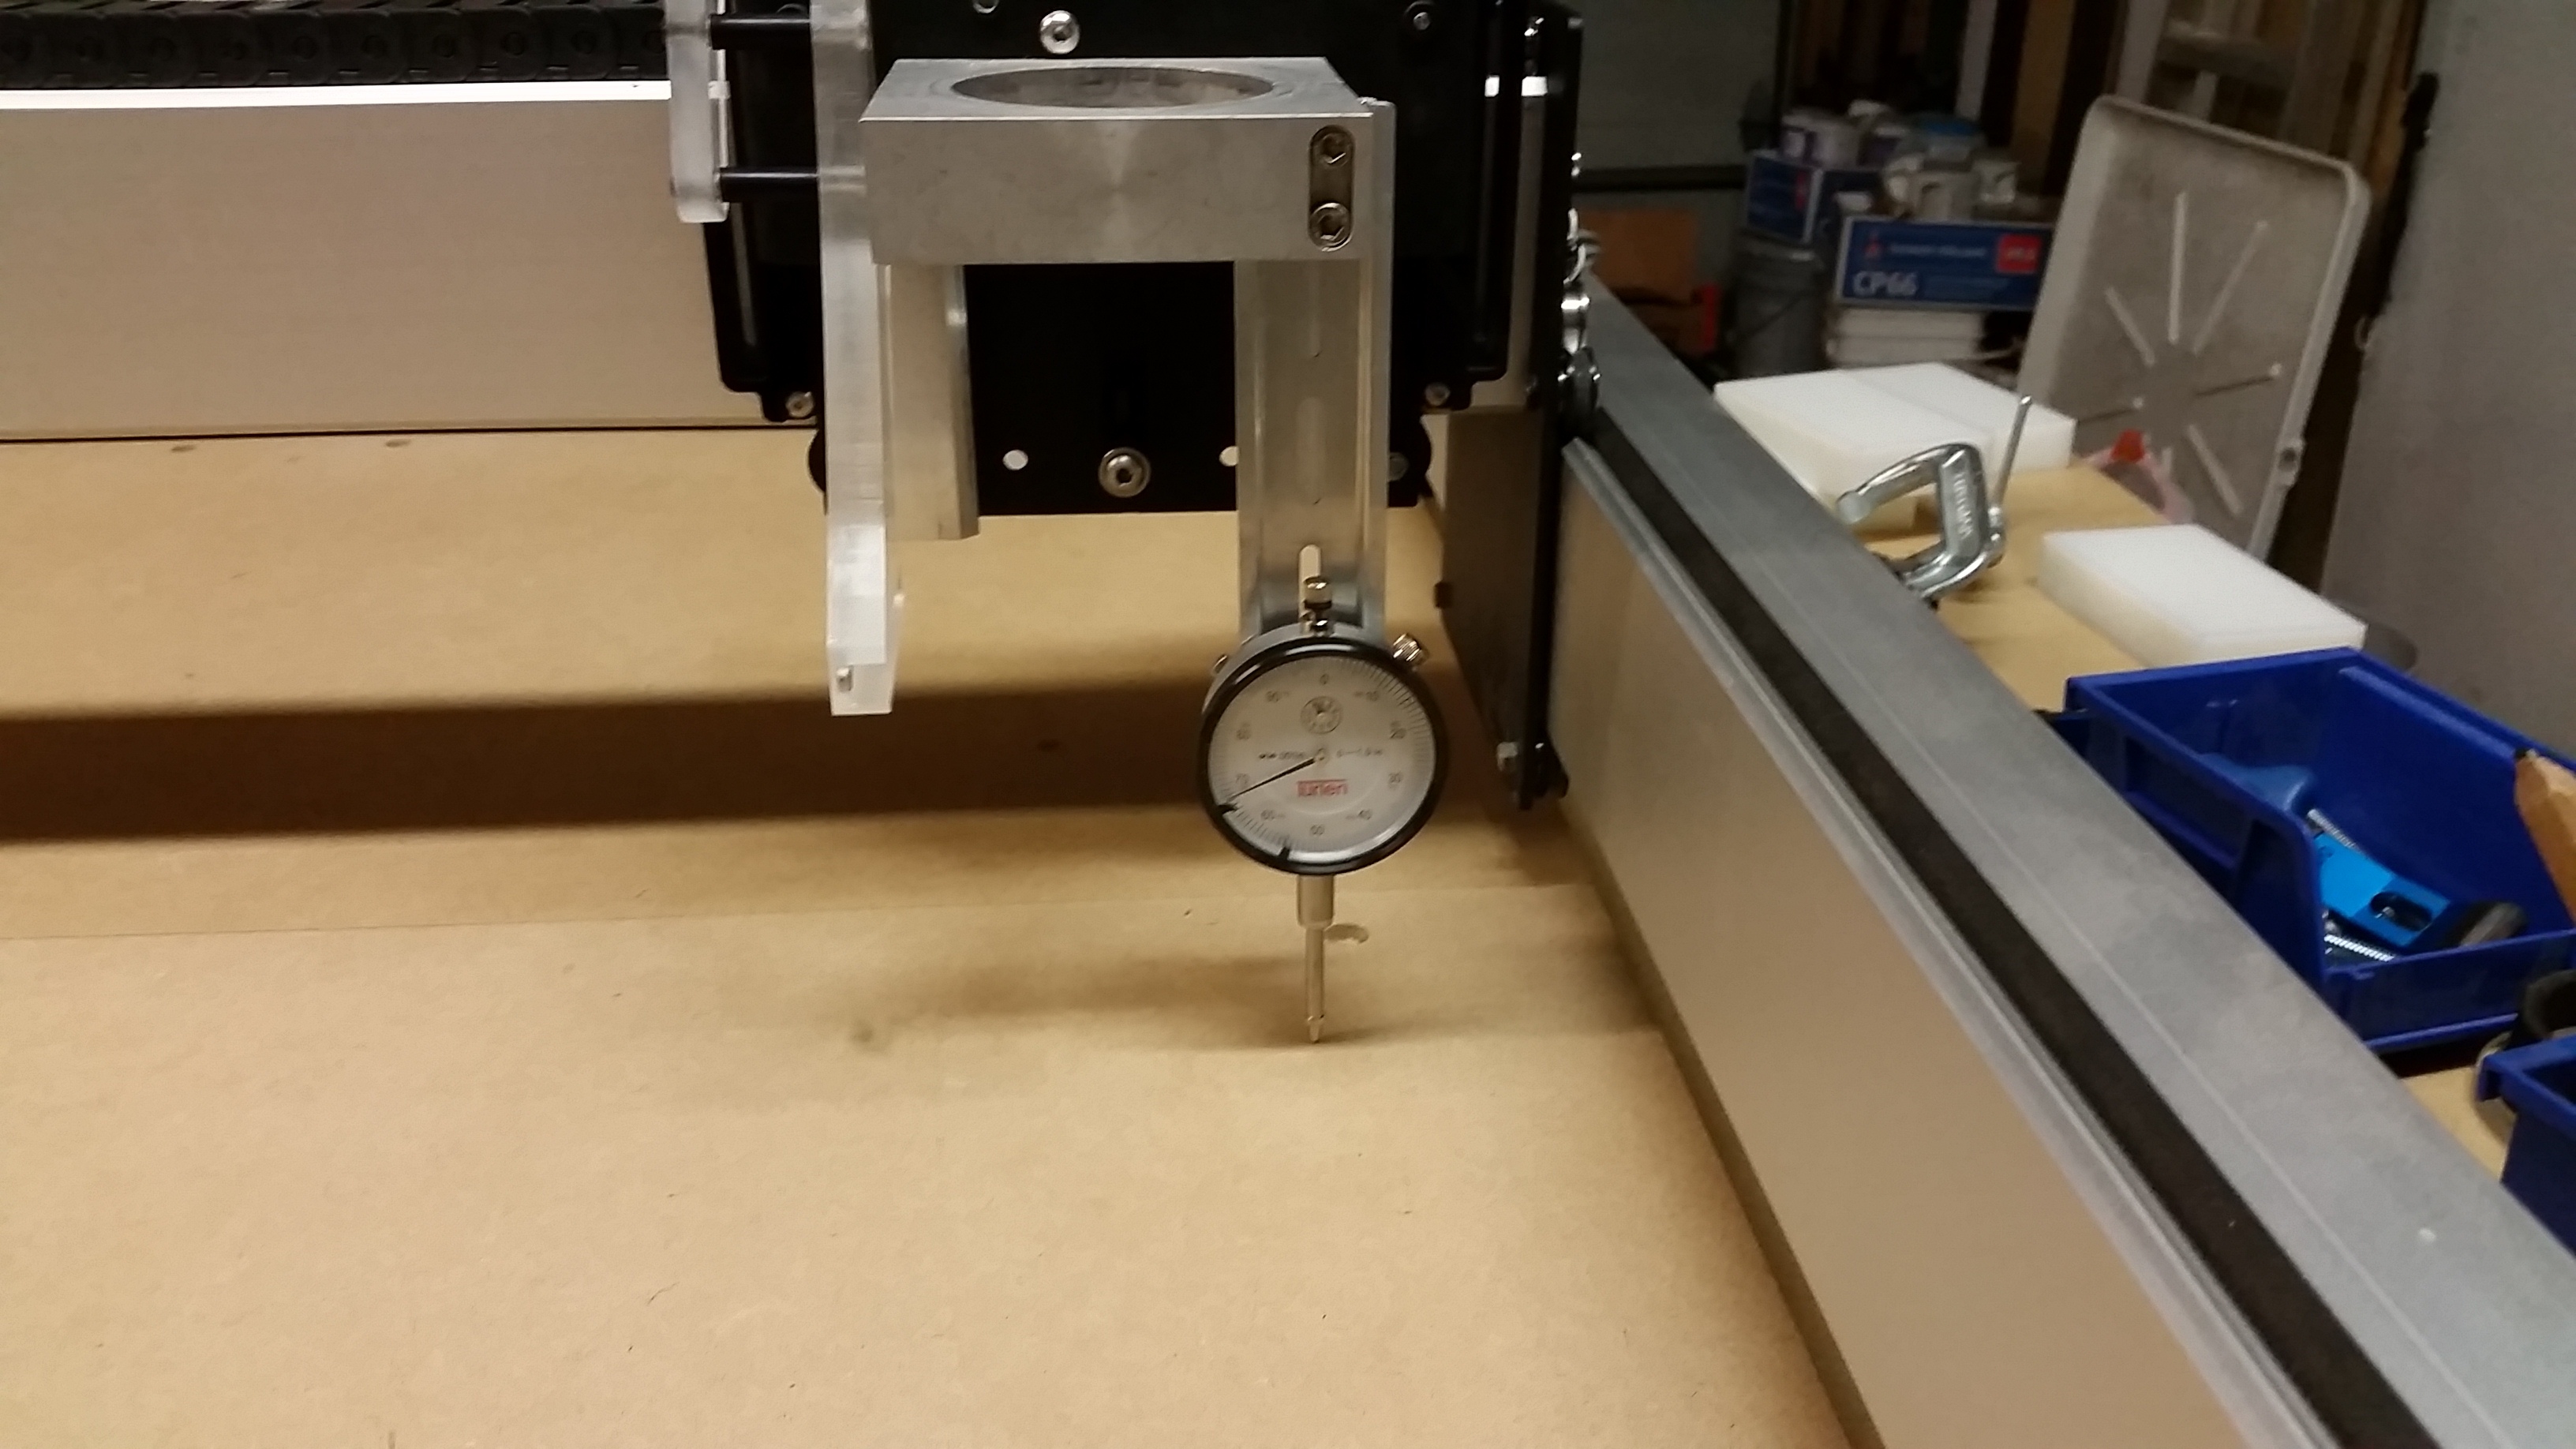
So I jigged up my Turlen dial indicator to get a rough idea how flat my T-Nut’d wastedboard sits relational to the spindle. After adjusting my X/Y extents so I could rapid position without smacking my left-Y rail, I made some measurements at each of the 9 rapid position locations.
There’s a definite “sag” in the middle of the machine and a “rise” toward the front of the machine at the frame. I suspect the “rise " would be mirrored at the back of the machine if the spindle got that far back, but it travels ~8.5” away from the back edge when at it’s max +Y extent.
I’m seeing about ~0.015" difference from edge to center as I run the machine across the X-extents. From back to front along the Y extents I’m measuring about 0.010" difference.
Pressing slightly on the wasteboard or even placing a stock piece on the table will influence the overall bed level. While I’ve seen lot’s of tramming dialog, my thoughts instead move toward underside trussing? My 3/4" MDF tabletop is easily modified for T-Nut underside “adjustable” truss points which could compensate for sag and help true up the bed.
I think most of them are coming in with the middle sagging. I put a piece of 1/2 inch MDF under the bottom rails to make sure they were all level with my table top. I think put a 3/4 inch MDF sheet on top of the stock spoilboard and surfaced it flat. Mine is now perfectly square to the rail.
A bit of necromancy here, so my apologies in advance.
Now that our weather is out of the deep freeze here in CO, I was able to spend some long overdue machine time in my garage. I tried several combinations of HDPE blocks underneath the bed and frame to no avail.
Then it dawned on me to try removing the “adjustable leveling feet” and let the machine rest on the table top via the frame only. I have a 3/4" MDF surface on a custom table frame and the results were excellent. All the droop in the middle is virtually gone, but there’s still some rise at the very front of the machine.
I also measured the stock wasteboard this go round vs. measuring the 1/2" T-Nutted MDF that I was measuring previously. I’m finally making motions to finalize a wasteboard and clamping system, and this improved foundation will minimize any tramming operations with my final products.
I’ve thought about this a bunch as well. At work we have a large format 3D printer (meter by meter by half meter) with a glass bed(borsilite). There’s no such thing as “leveling the wasteboard” by trimming the top off the glass. The way it works is you have leveling screws around the perimeter with lock down screws, then for the center there’s a knob at the rear of the machine that applies upward pressure to the middle. I made a dial indicator mount for the print head and run it around the glass top in various locations, adjusting till flat. I was thinking about the sag on my XXL and thinking of designing in the same sort of thing. Could be as simple as some threaded insets below the surface of the waste board with Allen head screws you could loosen/tighten from the top that press downward into small pads on the bench. The only issue I have for my machine specifically is that I’ve added threaded vibration absorbers between my frame and leveling feet, so I’d pretty much lose that feature. I guess I could ditch the absorbers and put the machine on top of a wood+rubber+bench “mat”, but I don’t know if the vibration would be as isolated?
That’s how I have my machine sort of — it’s directly against an old rubber yoga mat (the balance of that is under my Nomad) and that’s on top of a piece of Baltic Birch plywood which is on a table which is flat / level enough that I haven’t investigated shimming it (if memory serves it was out of whack in one orientation, but essentially perfectly level rotated 180 on our basement floor).