I initially posted this in the “what did you cut today” thread, but I keep posting updates so I thought I would recreate a separate thread (mostly for me to find it more easily later)
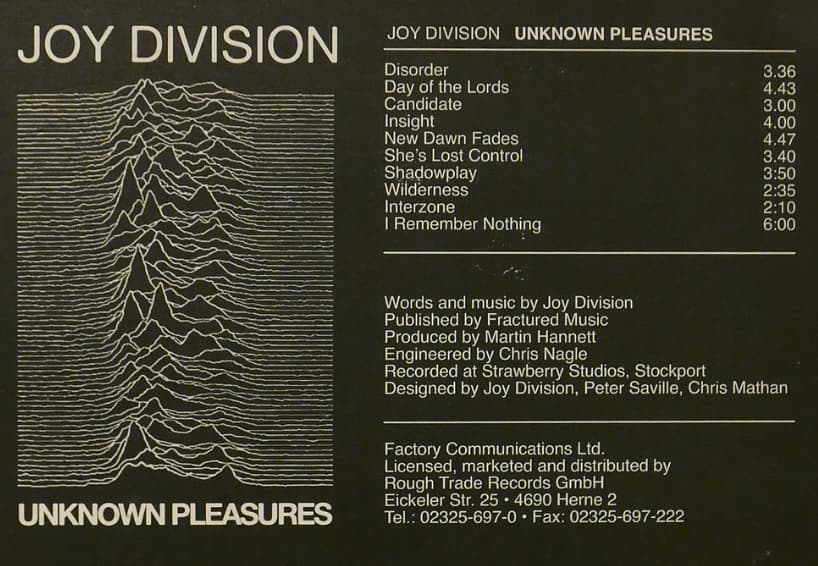
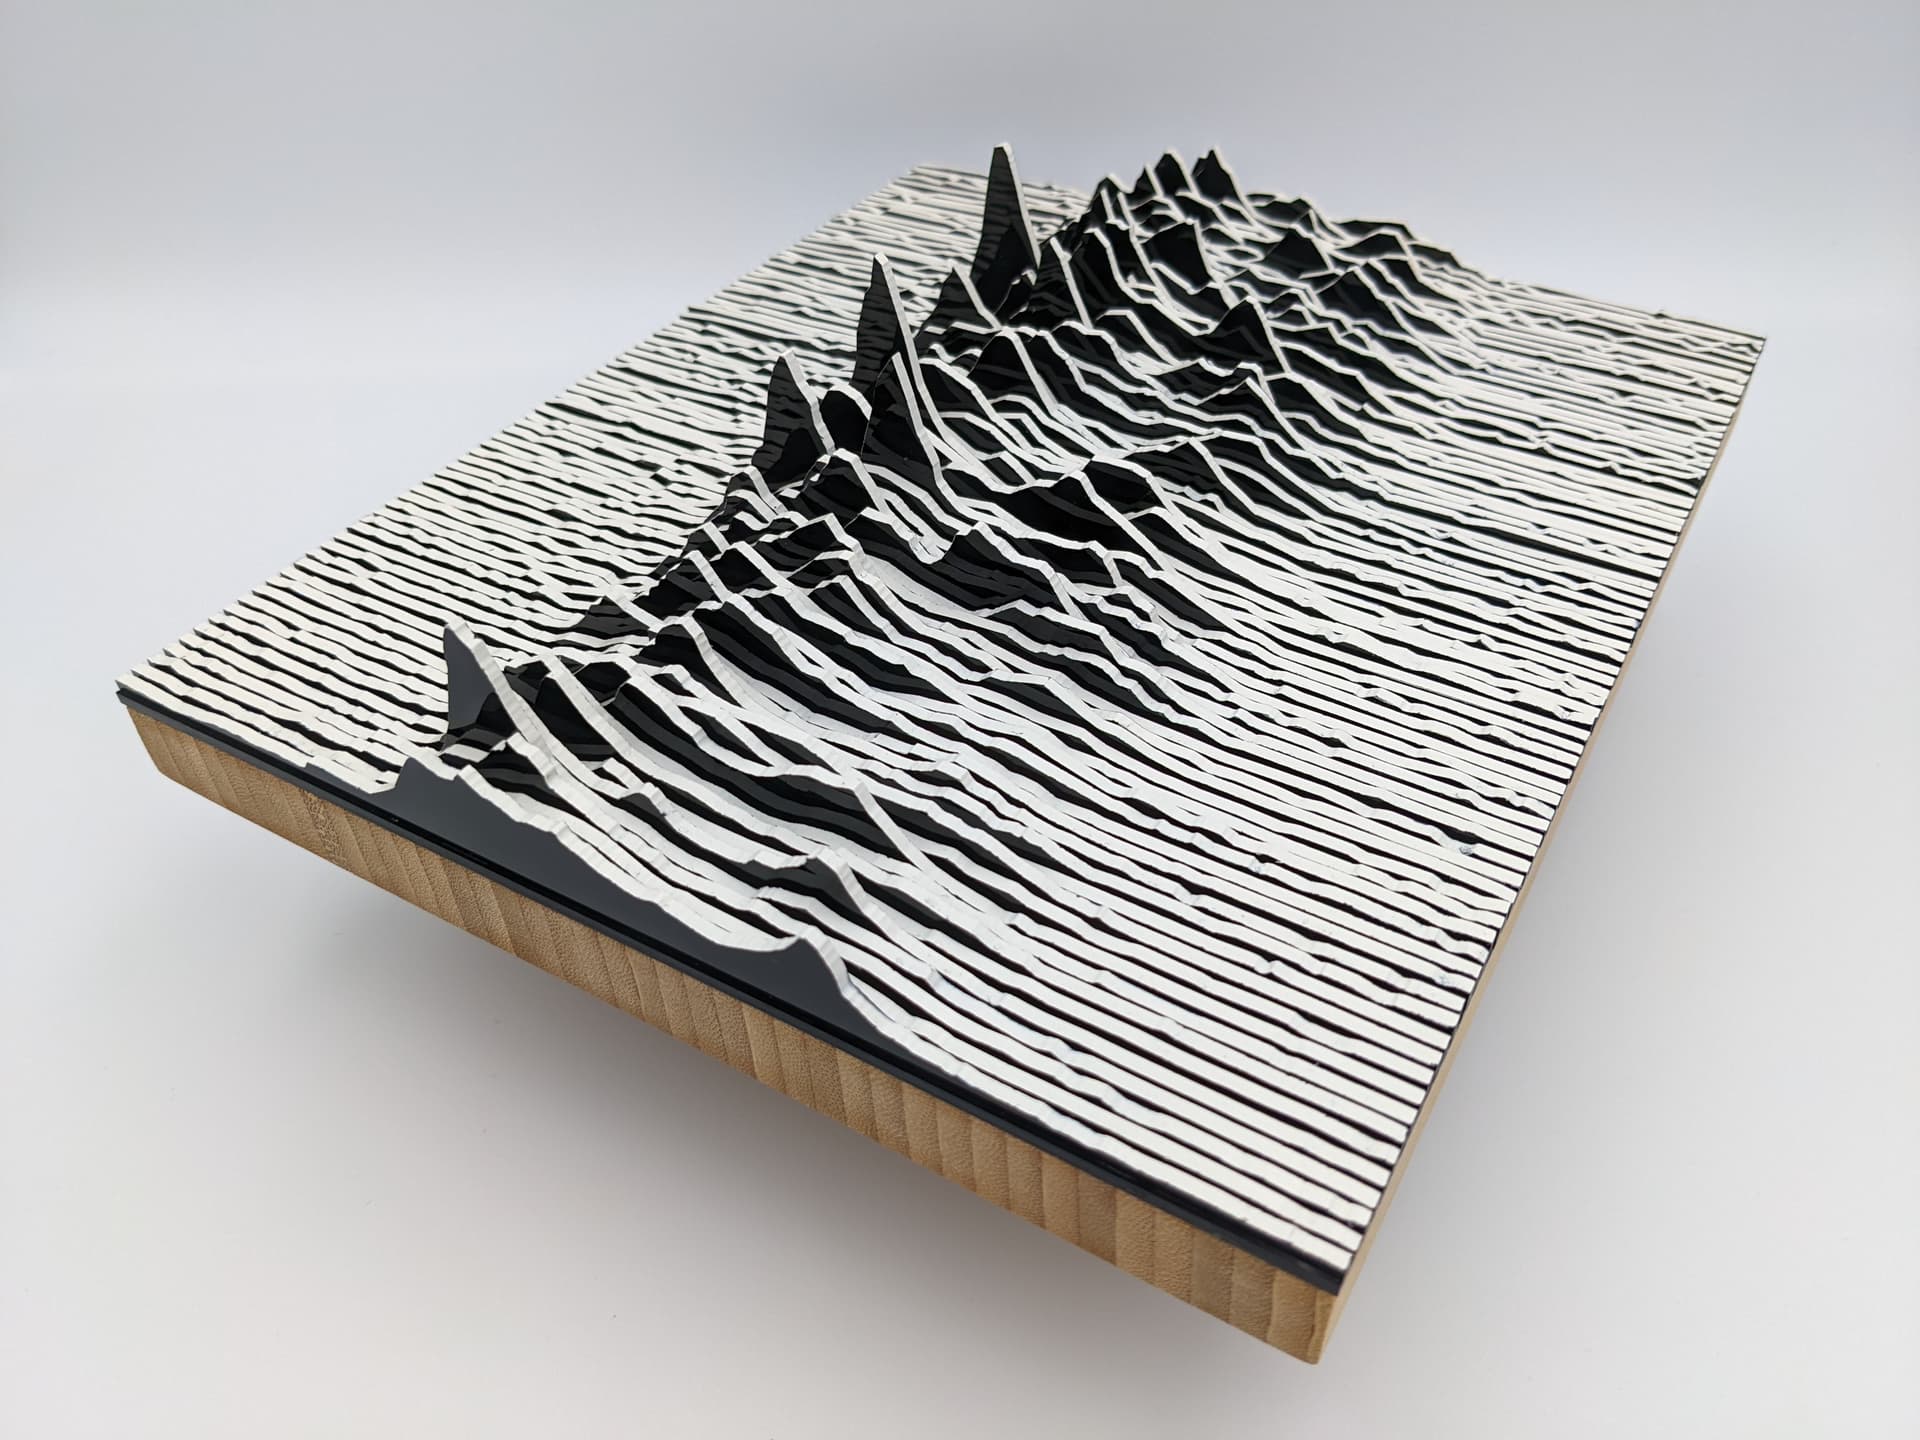
As I mentioned, a friend of mine asked if I could make something based on the cover of that album he likes:
This album cover represents radio signal pulses from the first pulsar discovered, CP 1919.
The raw data is available, and luckily for me someone had already used that data to generate SVG vectors corresponding to each of those lines.
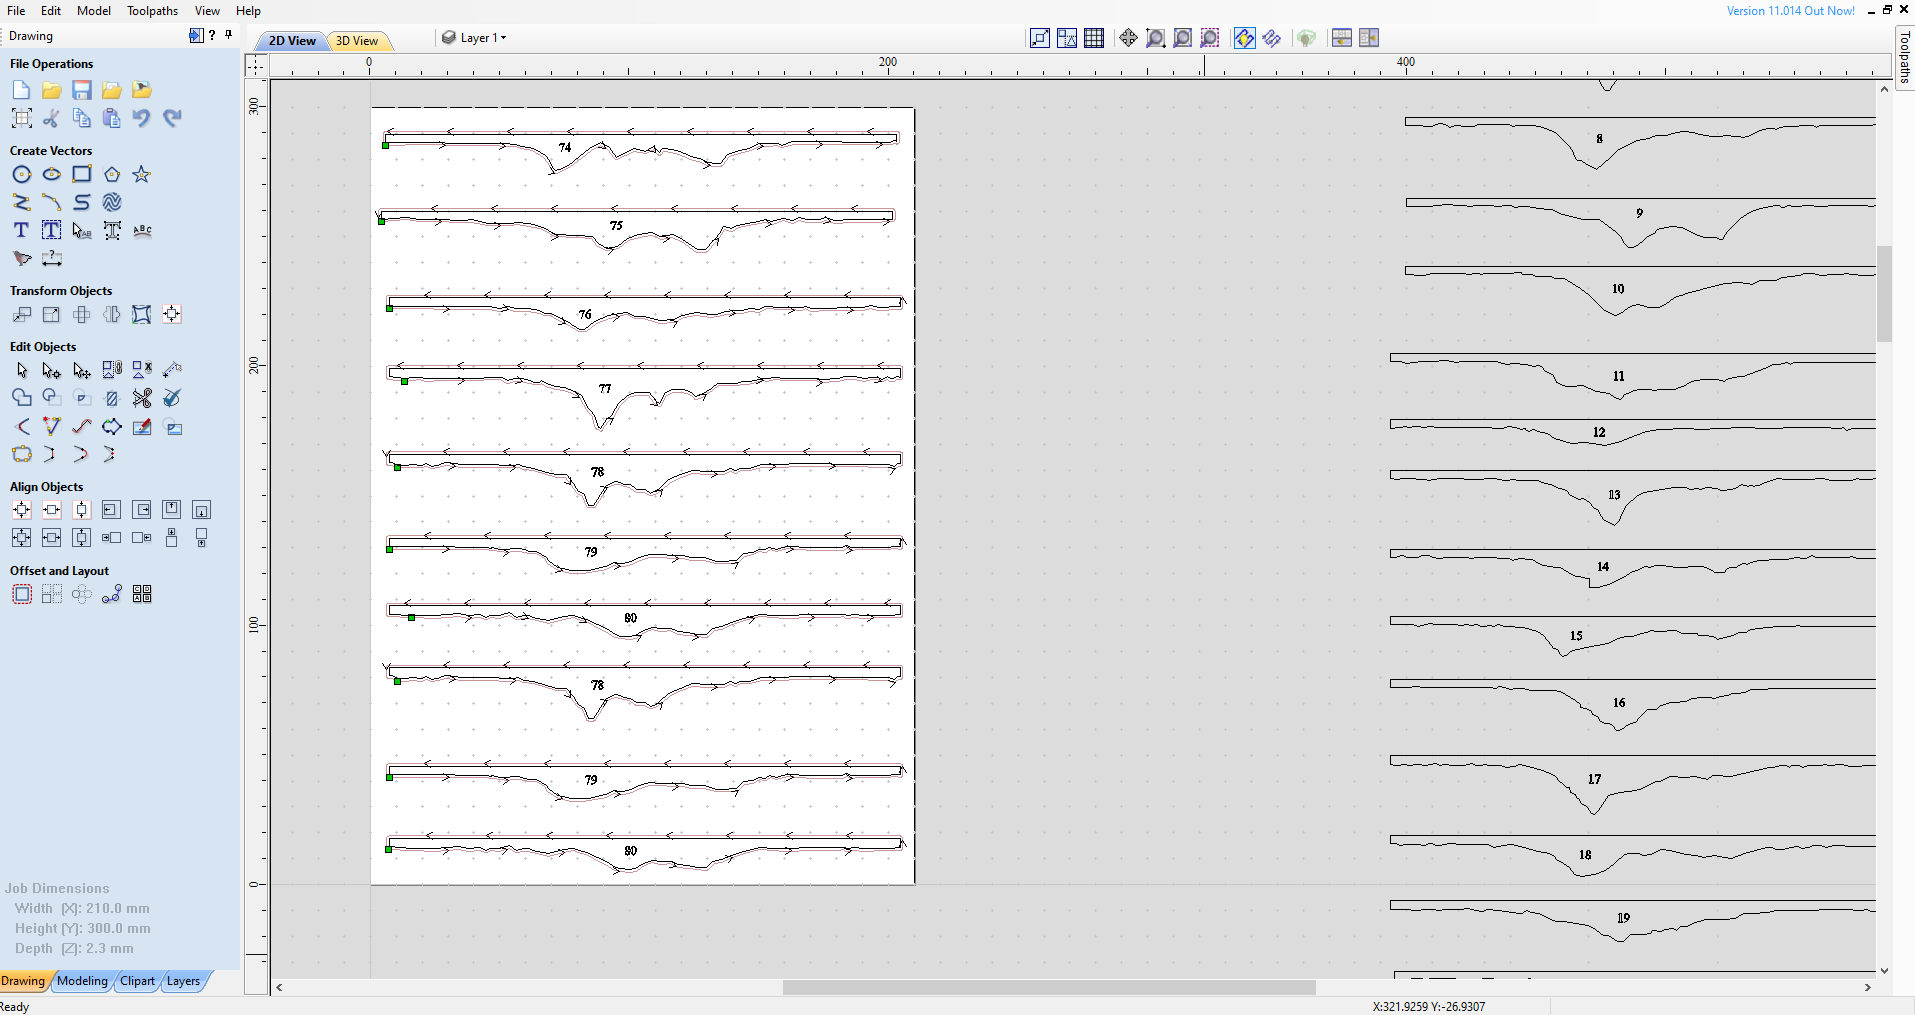
I ordered 10 A4-format 2mm thick black acrylic sheets from Amazon, imported the 80 (!) SVG slices and laid them out, and created contour toolpaths
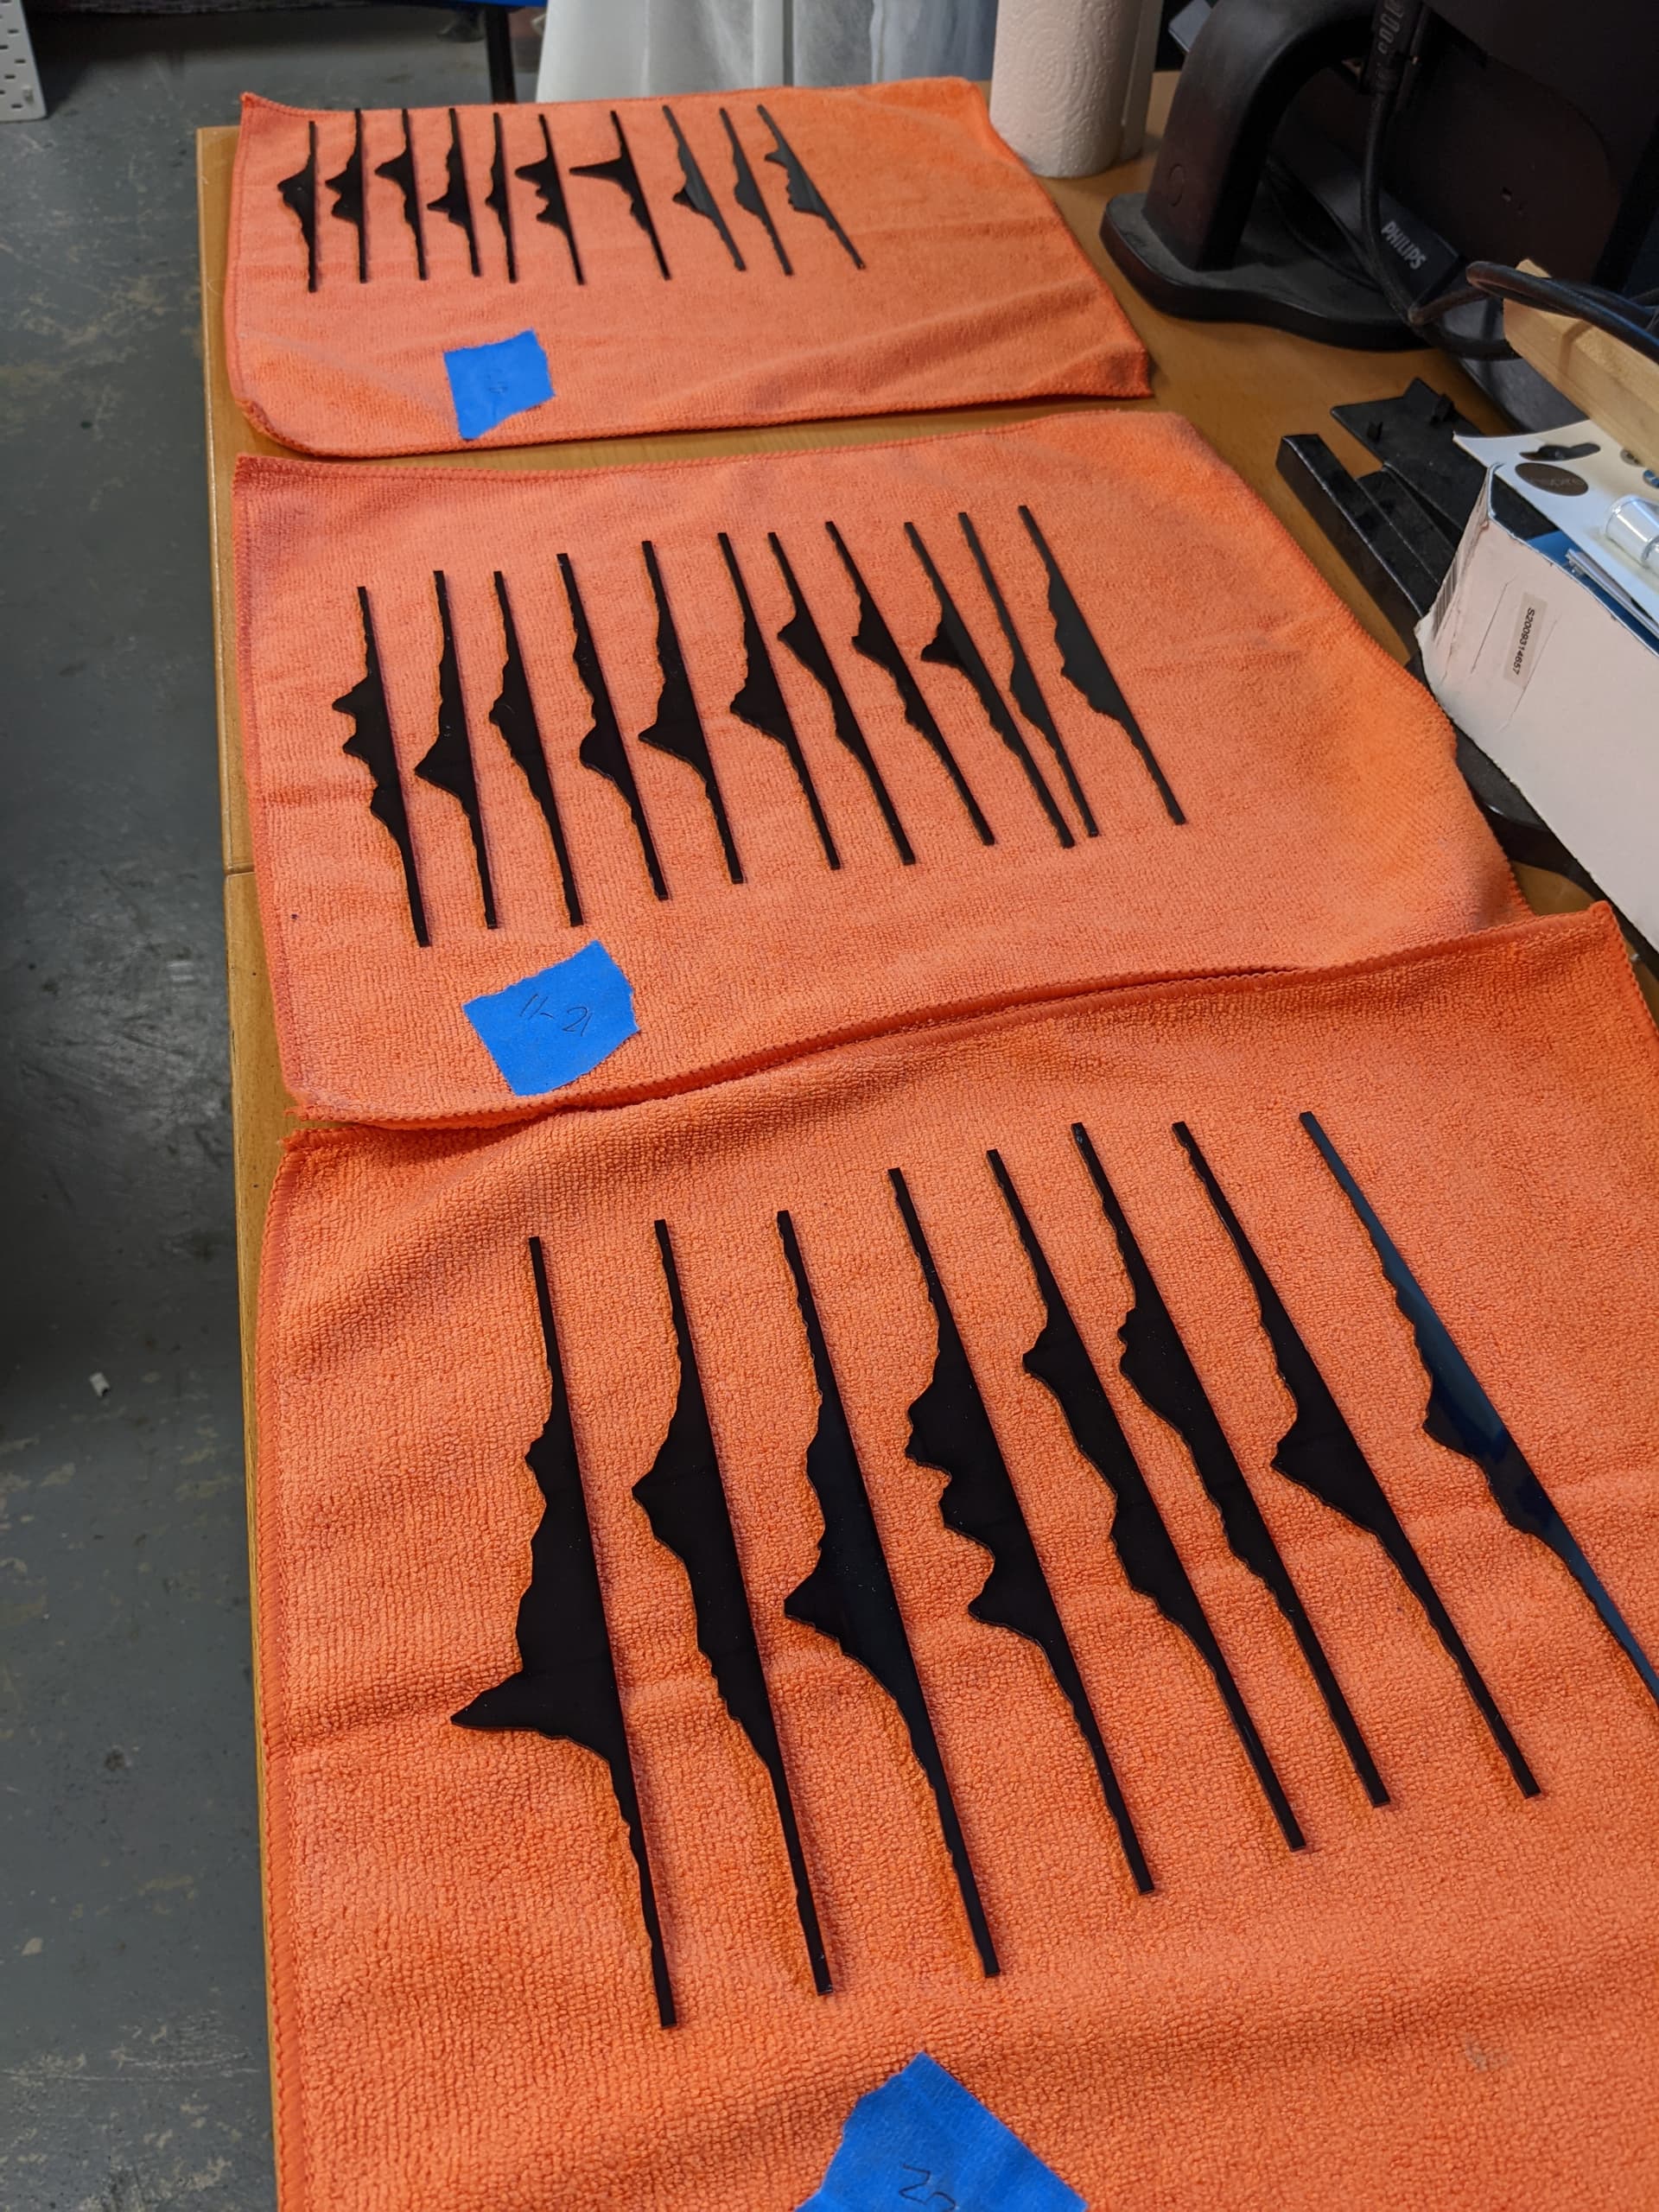
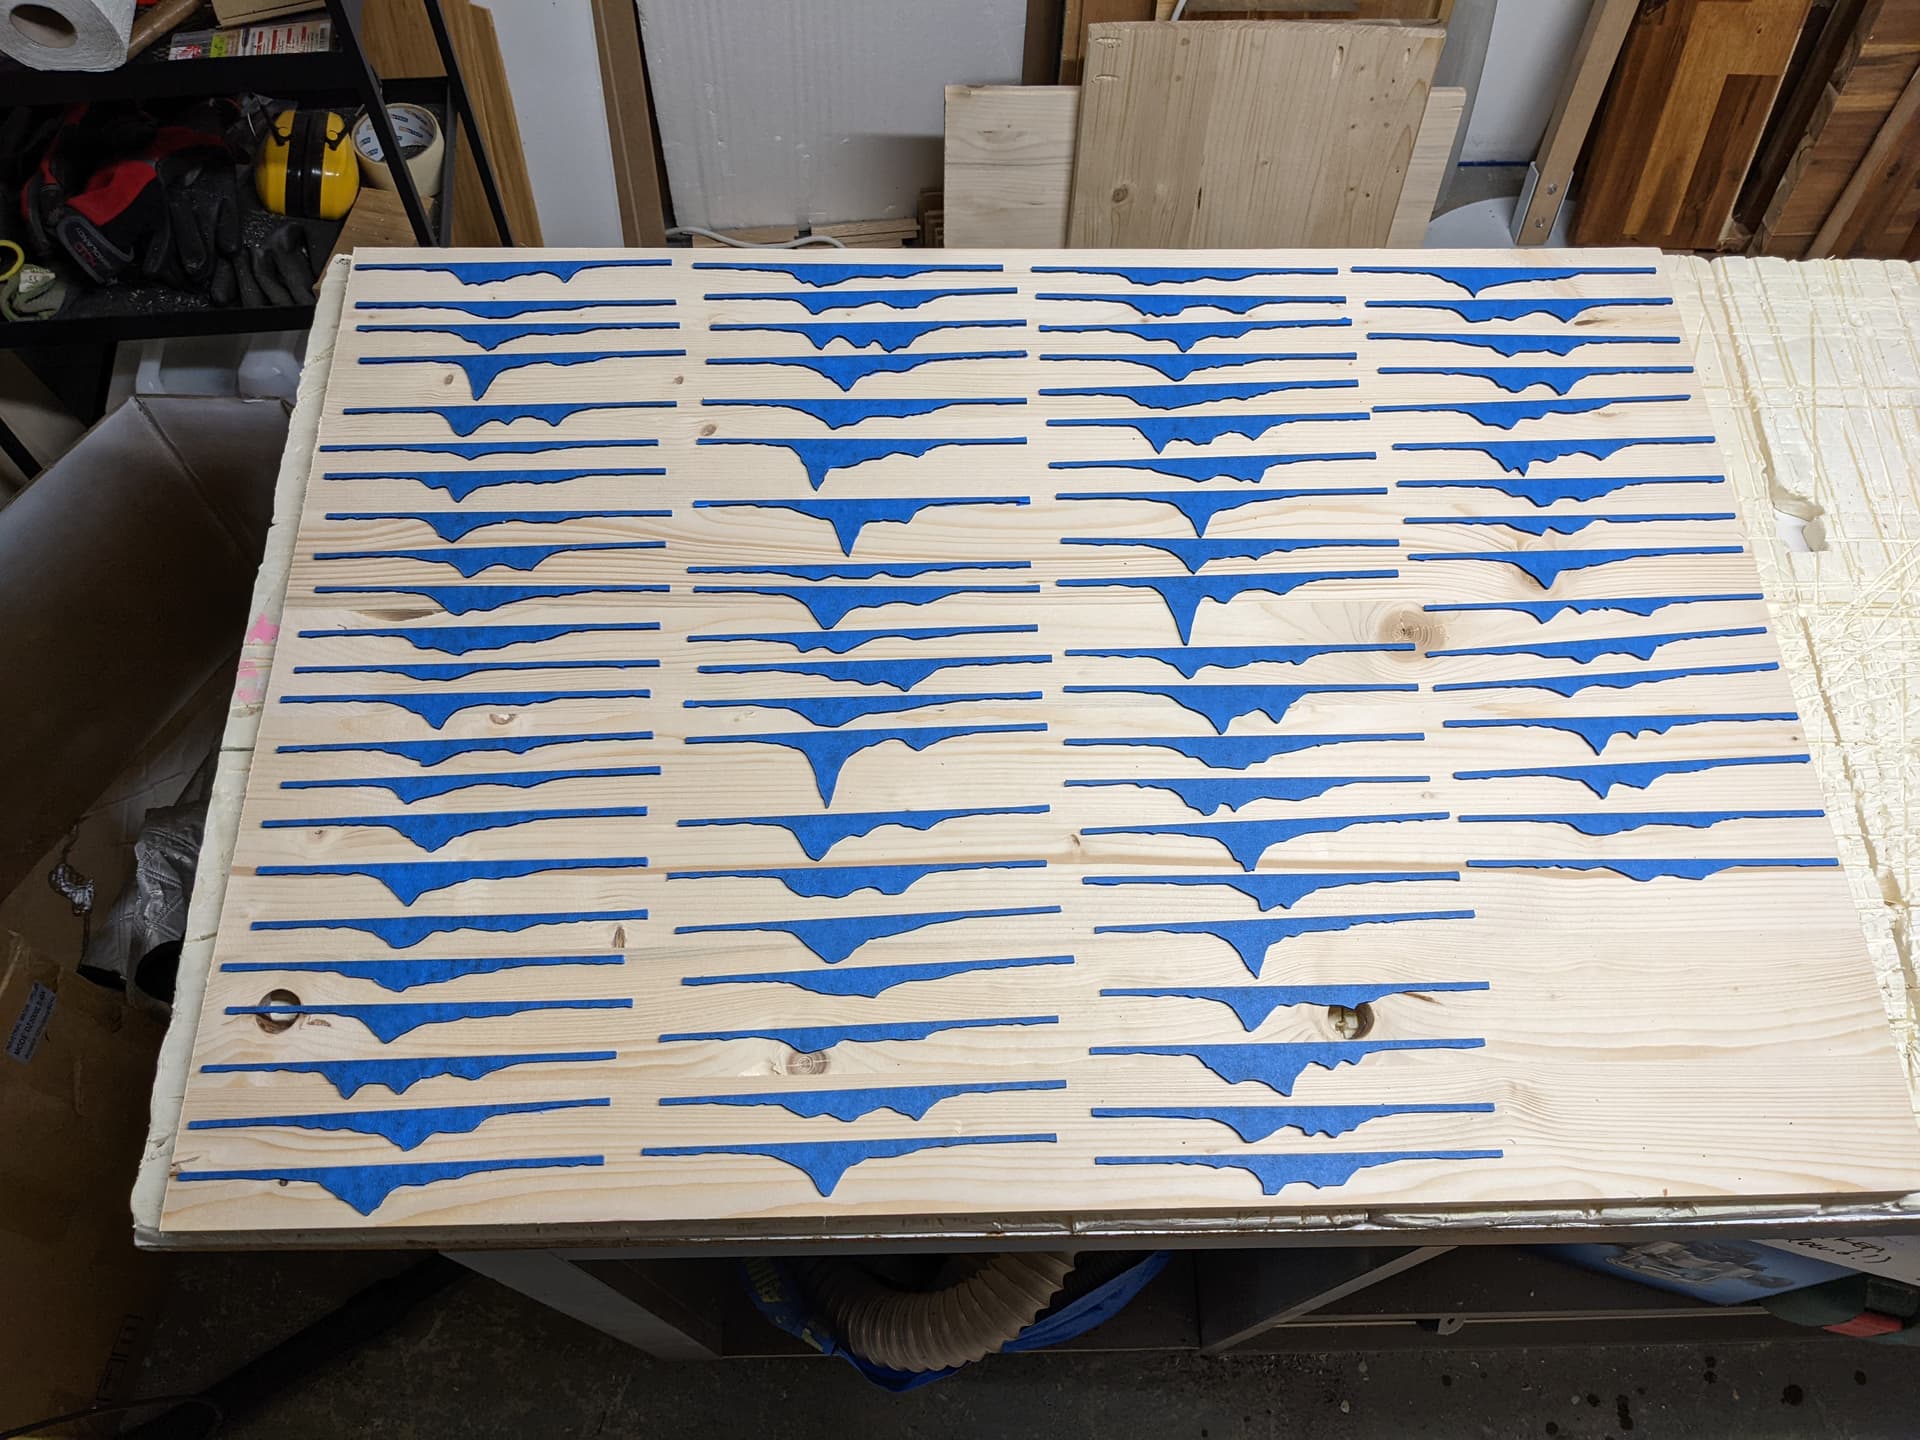
To reproduce the look of the original album, I want to paint the top of each slide white, so I used blue tape and painstakingly cut the profiles of each slice manually:
Now I need to design a base/stand.
I know I want a black base since the focus should be on the white edges, but I can’t decide whether the slices look better with no gap between then or with a 2mm gap as in the jig pic.
Also wondering what material to use, I’m afraid a full acrylic design will look/feel a little cheap. Maybe some black valcromat or something.
Anyway, I’m running out of week-end right now.
I agree that there should be space between each slice, because that will retain the gaps the album cover image has, but not sure on the base.
I don’t agree with the oak though, because to me, it seems too organic for something that is a technical concept. If you aren’t doing contrasting elements artwork, make the base blend with the slices.
How are you thinking of mounting them and how do you think your friend might display this?
If you are thinking wall art, you may want to try angled slots to create a 3D replica of the album art that can hang on the wall. The sharper the angle you can do, the more compact and accurate it will look. Use acrylic, PVC, or maybe even MDF and paint it flat black, so it doesn’t compete with the slices and the white edges will really pop against that background.
You may also want to do the band name and album title letters to assemble on the base or above and below it completely.
Sorry - I got a little carried away with ideas for your project LOL.
I think what you’ve done so far is fantastic! Anxious to see what you do with it.
One question on when you cut out the slices. Could you have applied tape or adhesive film to the acrylic sheets before cutting them out, so you could have skipped the painters tape afterwards before painting?
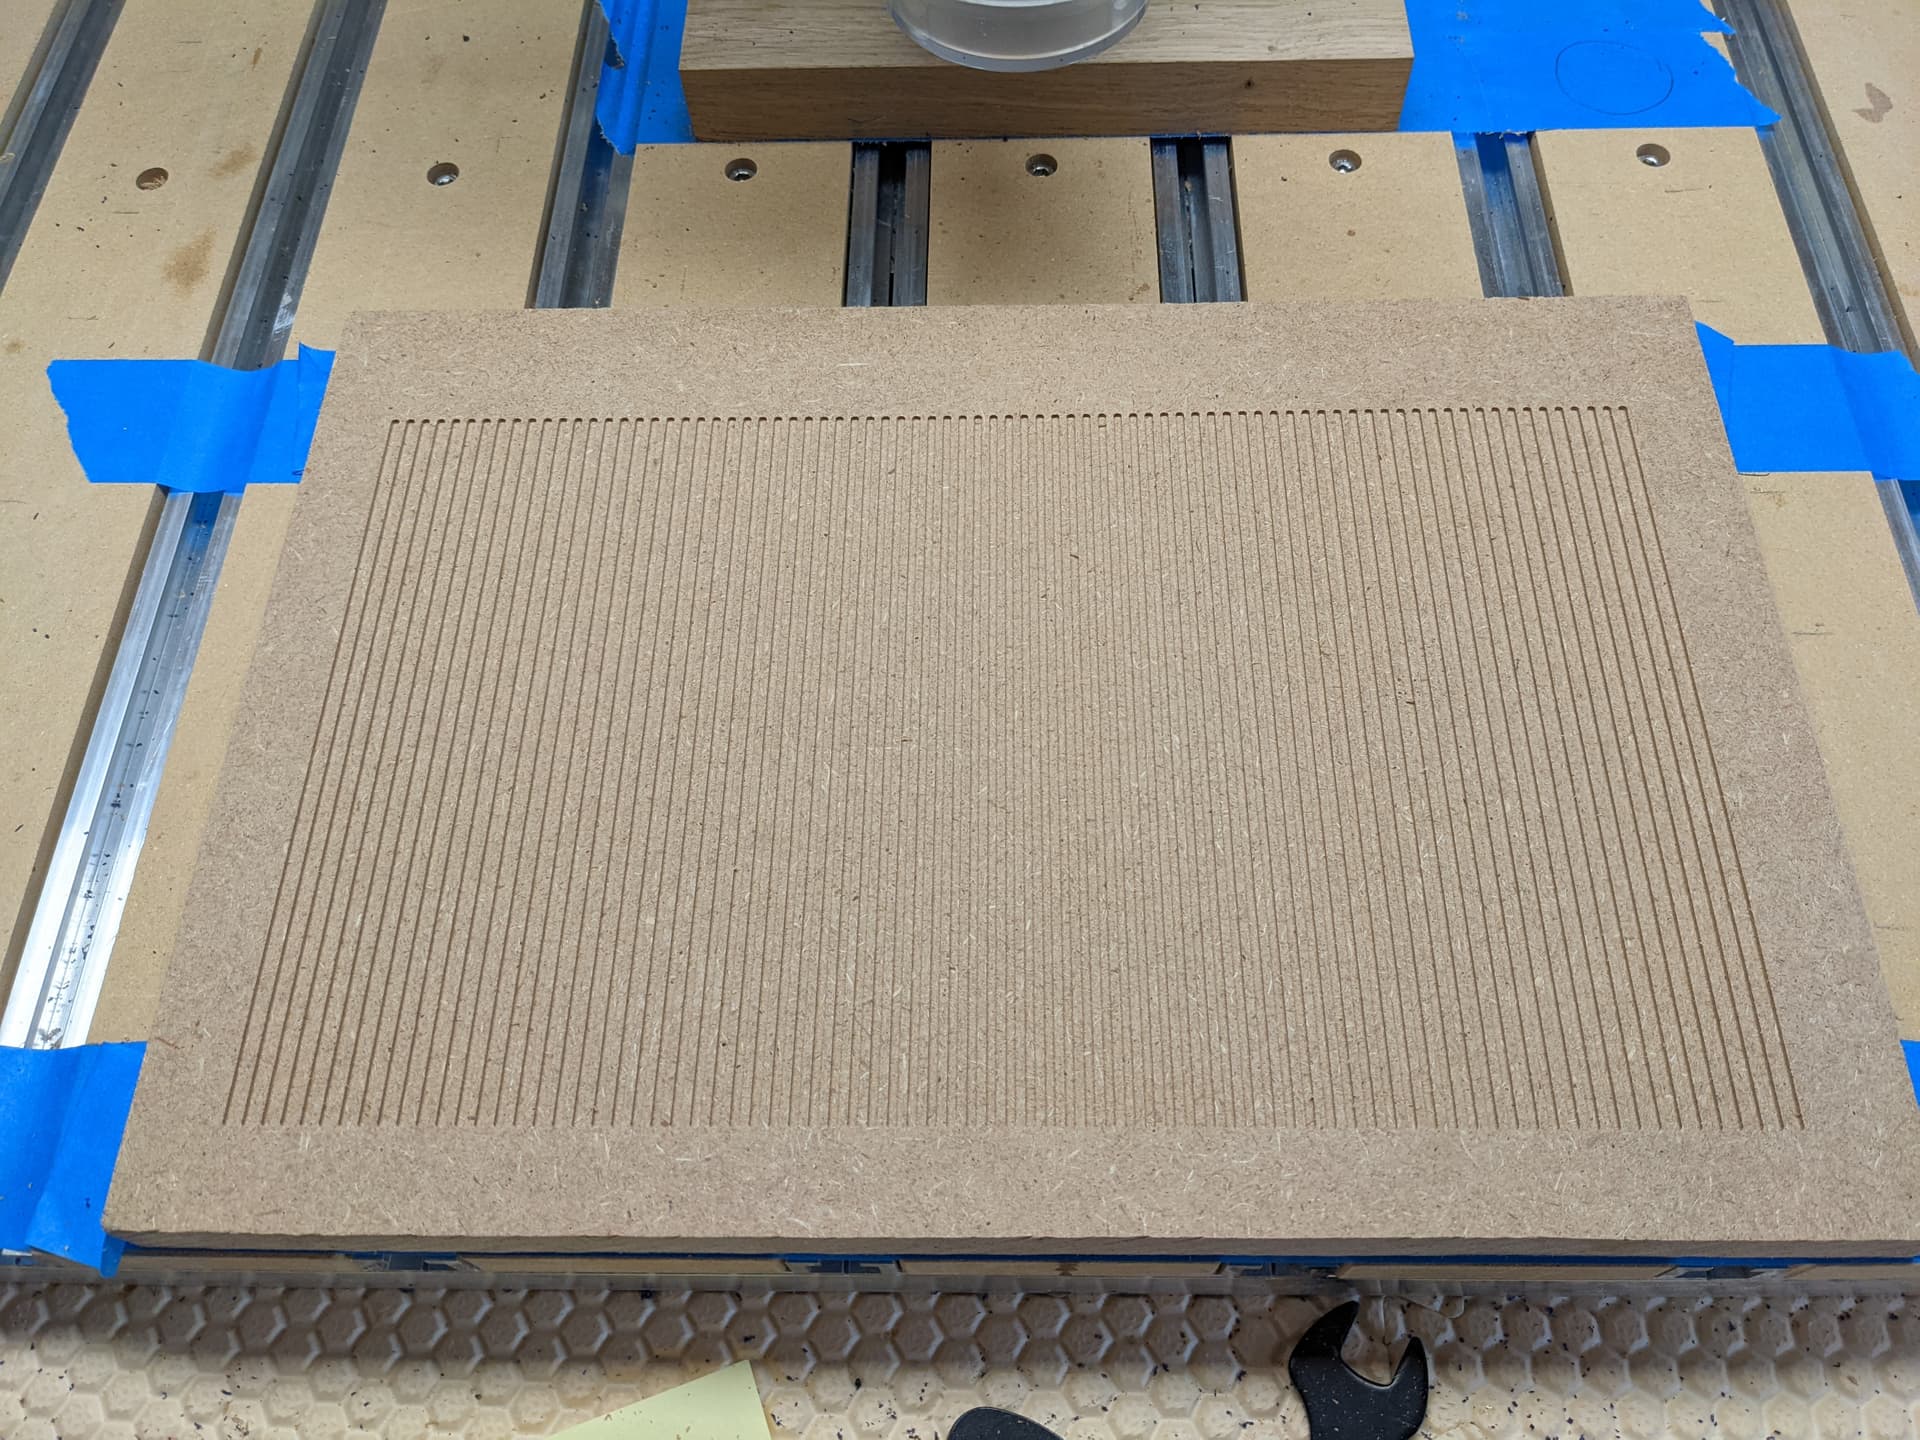
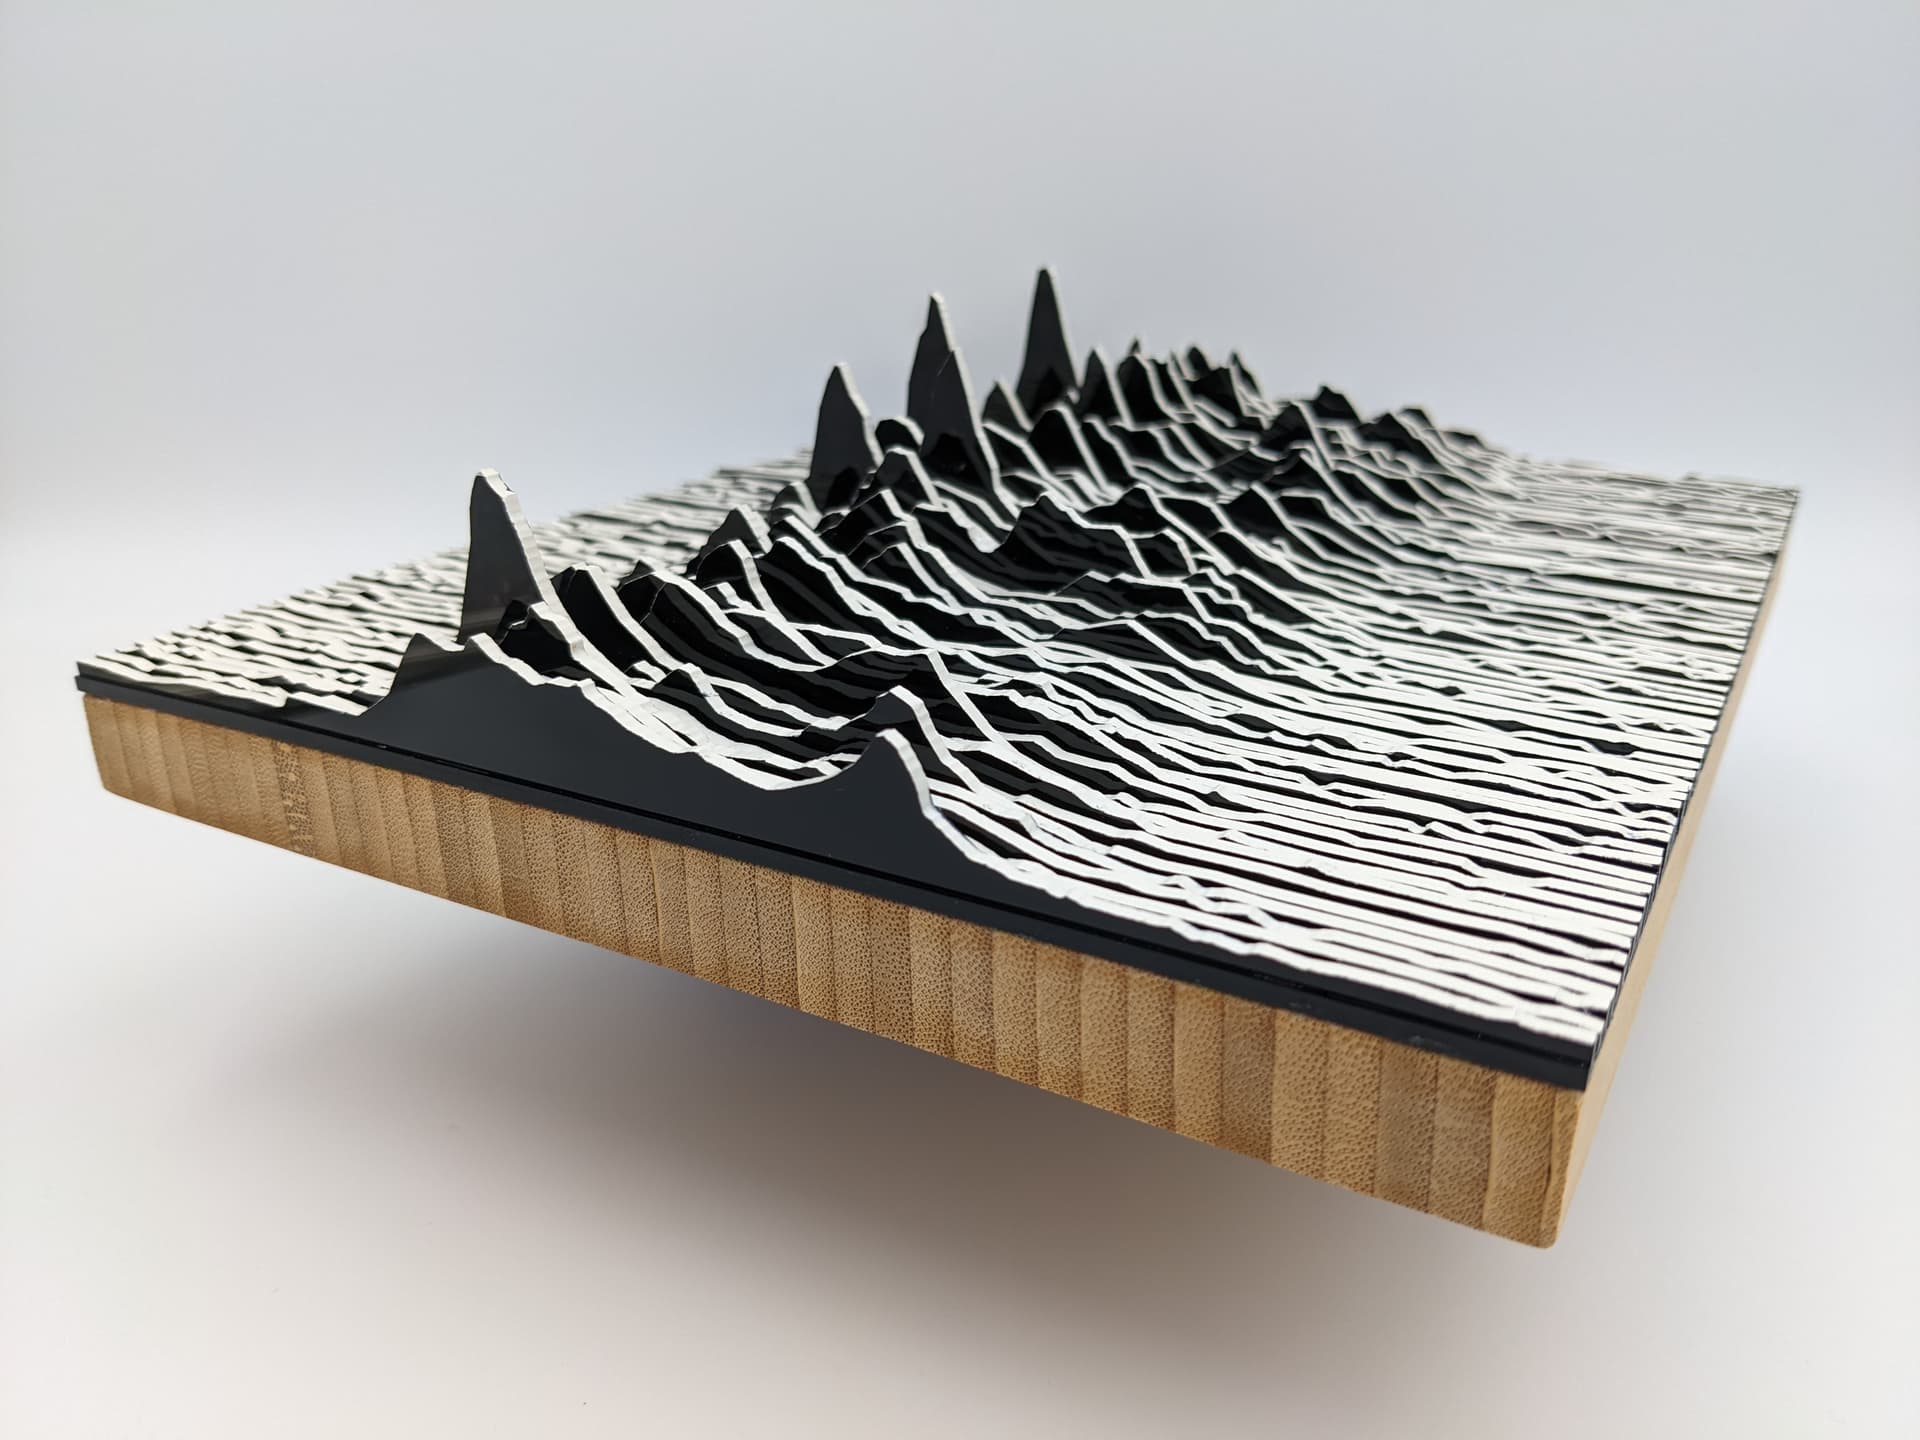
I agree on the “too organic” part but actually I may end up doing a bit of both. Yesterday evening I milled a base from the same 2.2mm black acrylic I made the slices from, I carved 80 slots 1.3mm deep, spaced by 0.7mm (to achieve the overall target dimensions I want), and after seeing it I’m now convinced this is the way to go. BUT, that base is not thick enough as it is, especially after cutting all the slots, so I intend to add a wooden base underneath that: it should both rigidify the thin acrylic base, make the thing heavier (to avoid to “light as a plastic toy” feel), and still not ruin the “black and white” look of the top part.
I did consider wall art, but the piece really only looks good when seen from a horizontal angle, so it will rather go on a shelf.
That’s actually the first question I asked my friend, and he said “well, not everyone knows that band and album cover, so having both “joy” and “unknown pleasures” written on it could be misinterpreted, so let’s not.”
Definitely. In hindsight, using Oramask or similar on both faces of the acrylic sheet before doing the profile cuts would have helped. Come to think of it, the acrylic sheet did come with a protective backing on both sides, which I removed since it would not cut nicely, but I could maybe have used a sharp vbit or downcut endmill. Live and learn…
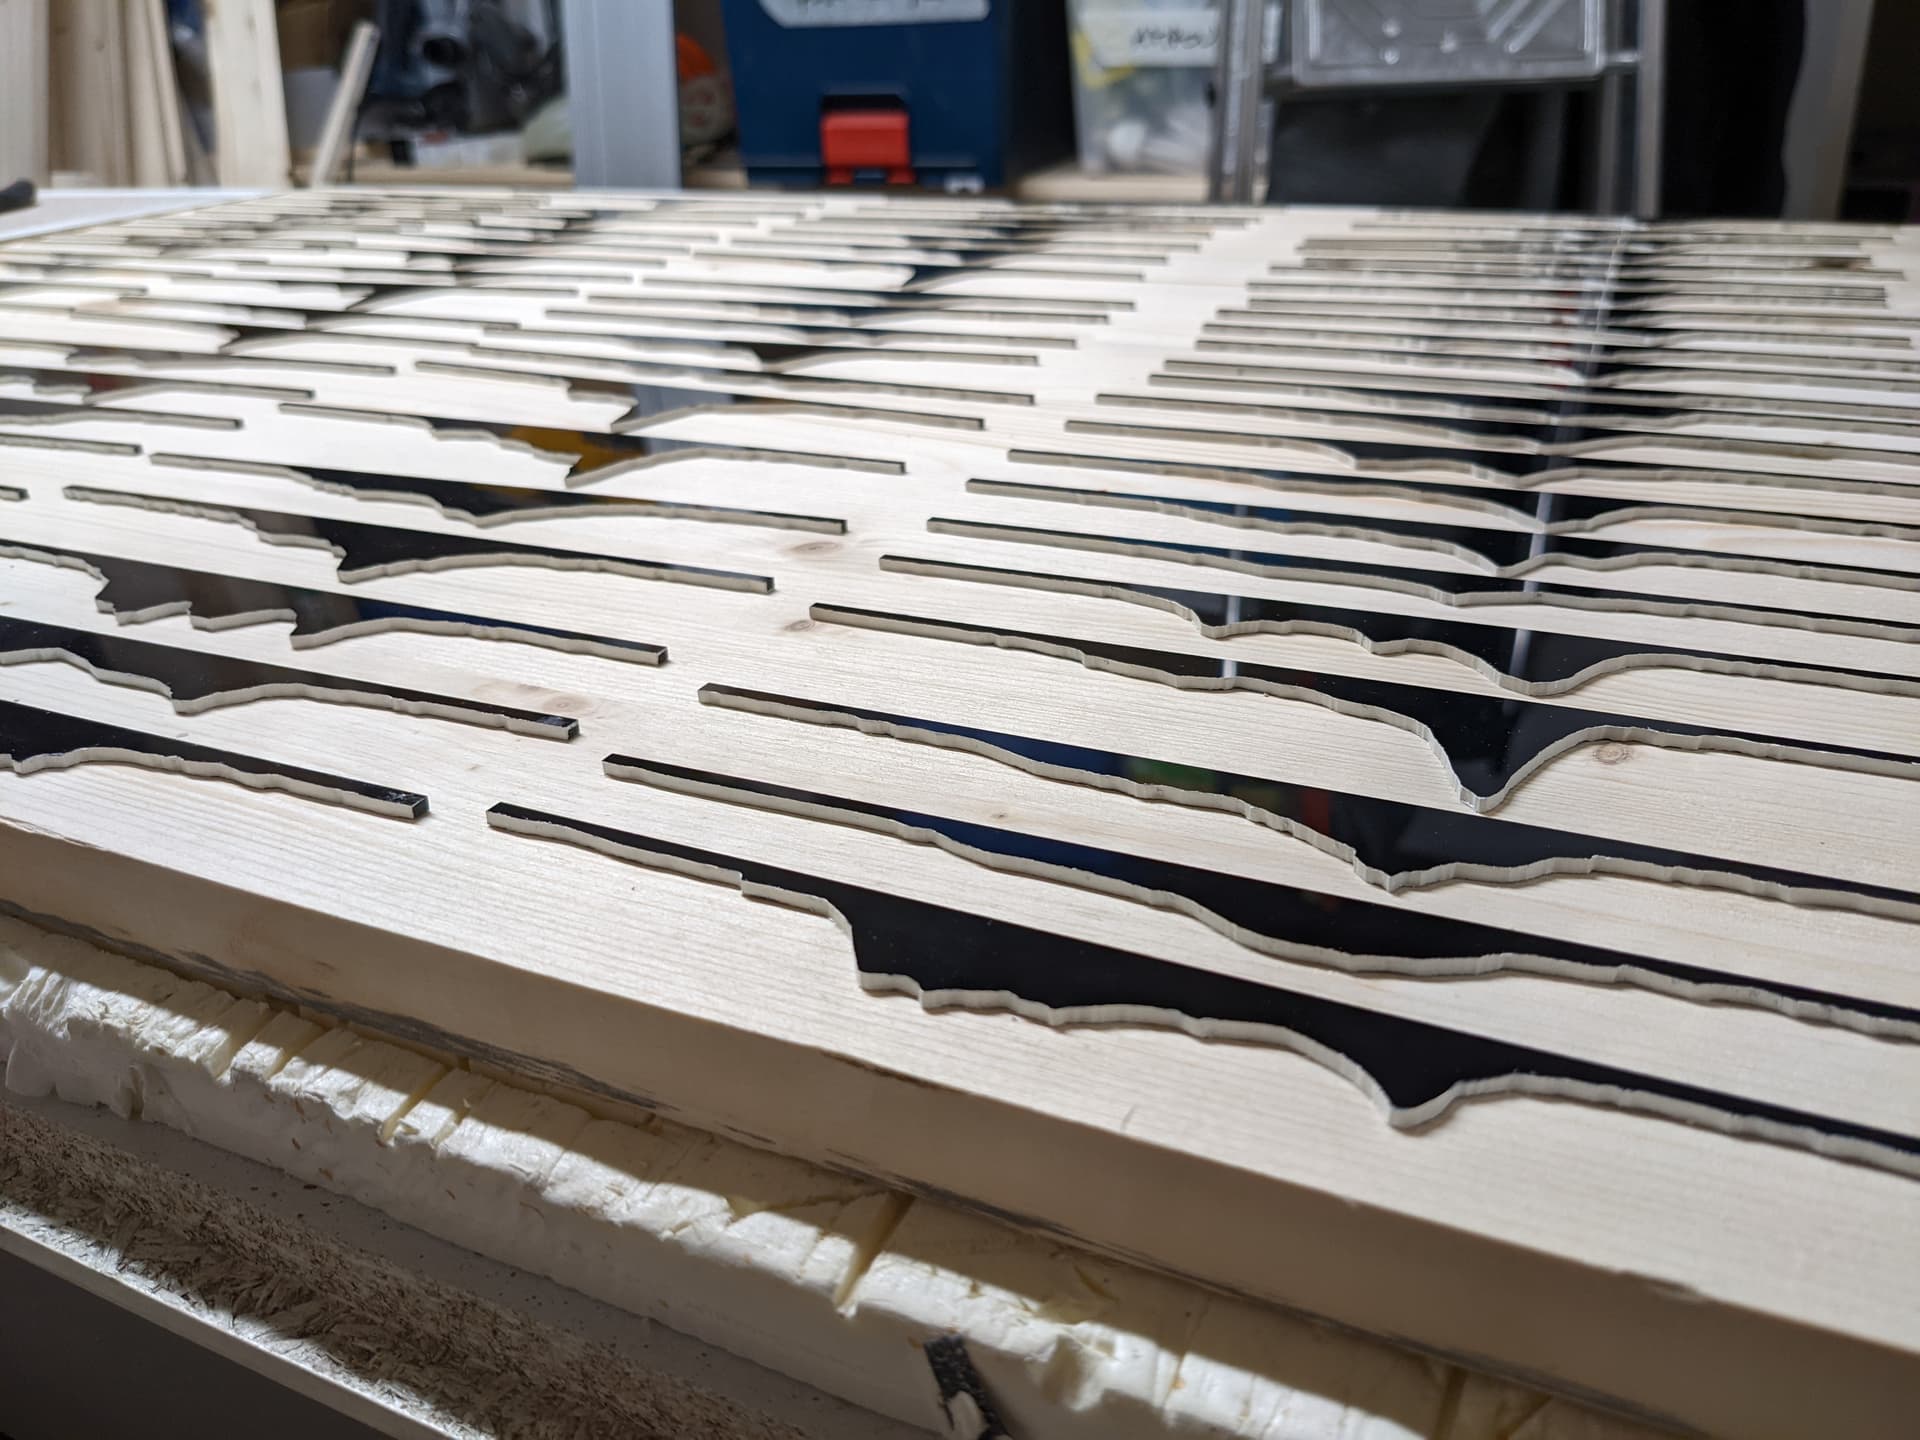
It was supposed to be downhill from there right ? So I sent a message to my friend that I was almost finished and I could come by the next day to deliver it. And then, halfway through assembly I got bitten hard by…tolerances. The first 20 slices or so went perfectly, but then the next ones would not fit. I had assumed (beginner’s mistake…) that all my slices were the same thickness, having been cut from a batch of acrylic sheets from the same supplier. Well it turned out they varied from 2.13mm to 2.22mm, and that 0.09mm difference was enough to make it impossible to insert some of the thicker slices in the 2.2mm slots.
Sooooo I grabbed my caliper, measured each of the 80 slices individually, and then modified the CAD file such that each slot was exactly the thickness of its corresponding slice. I had a lot of fun manually modifying the size of each of the 80 rectangles in the CAD
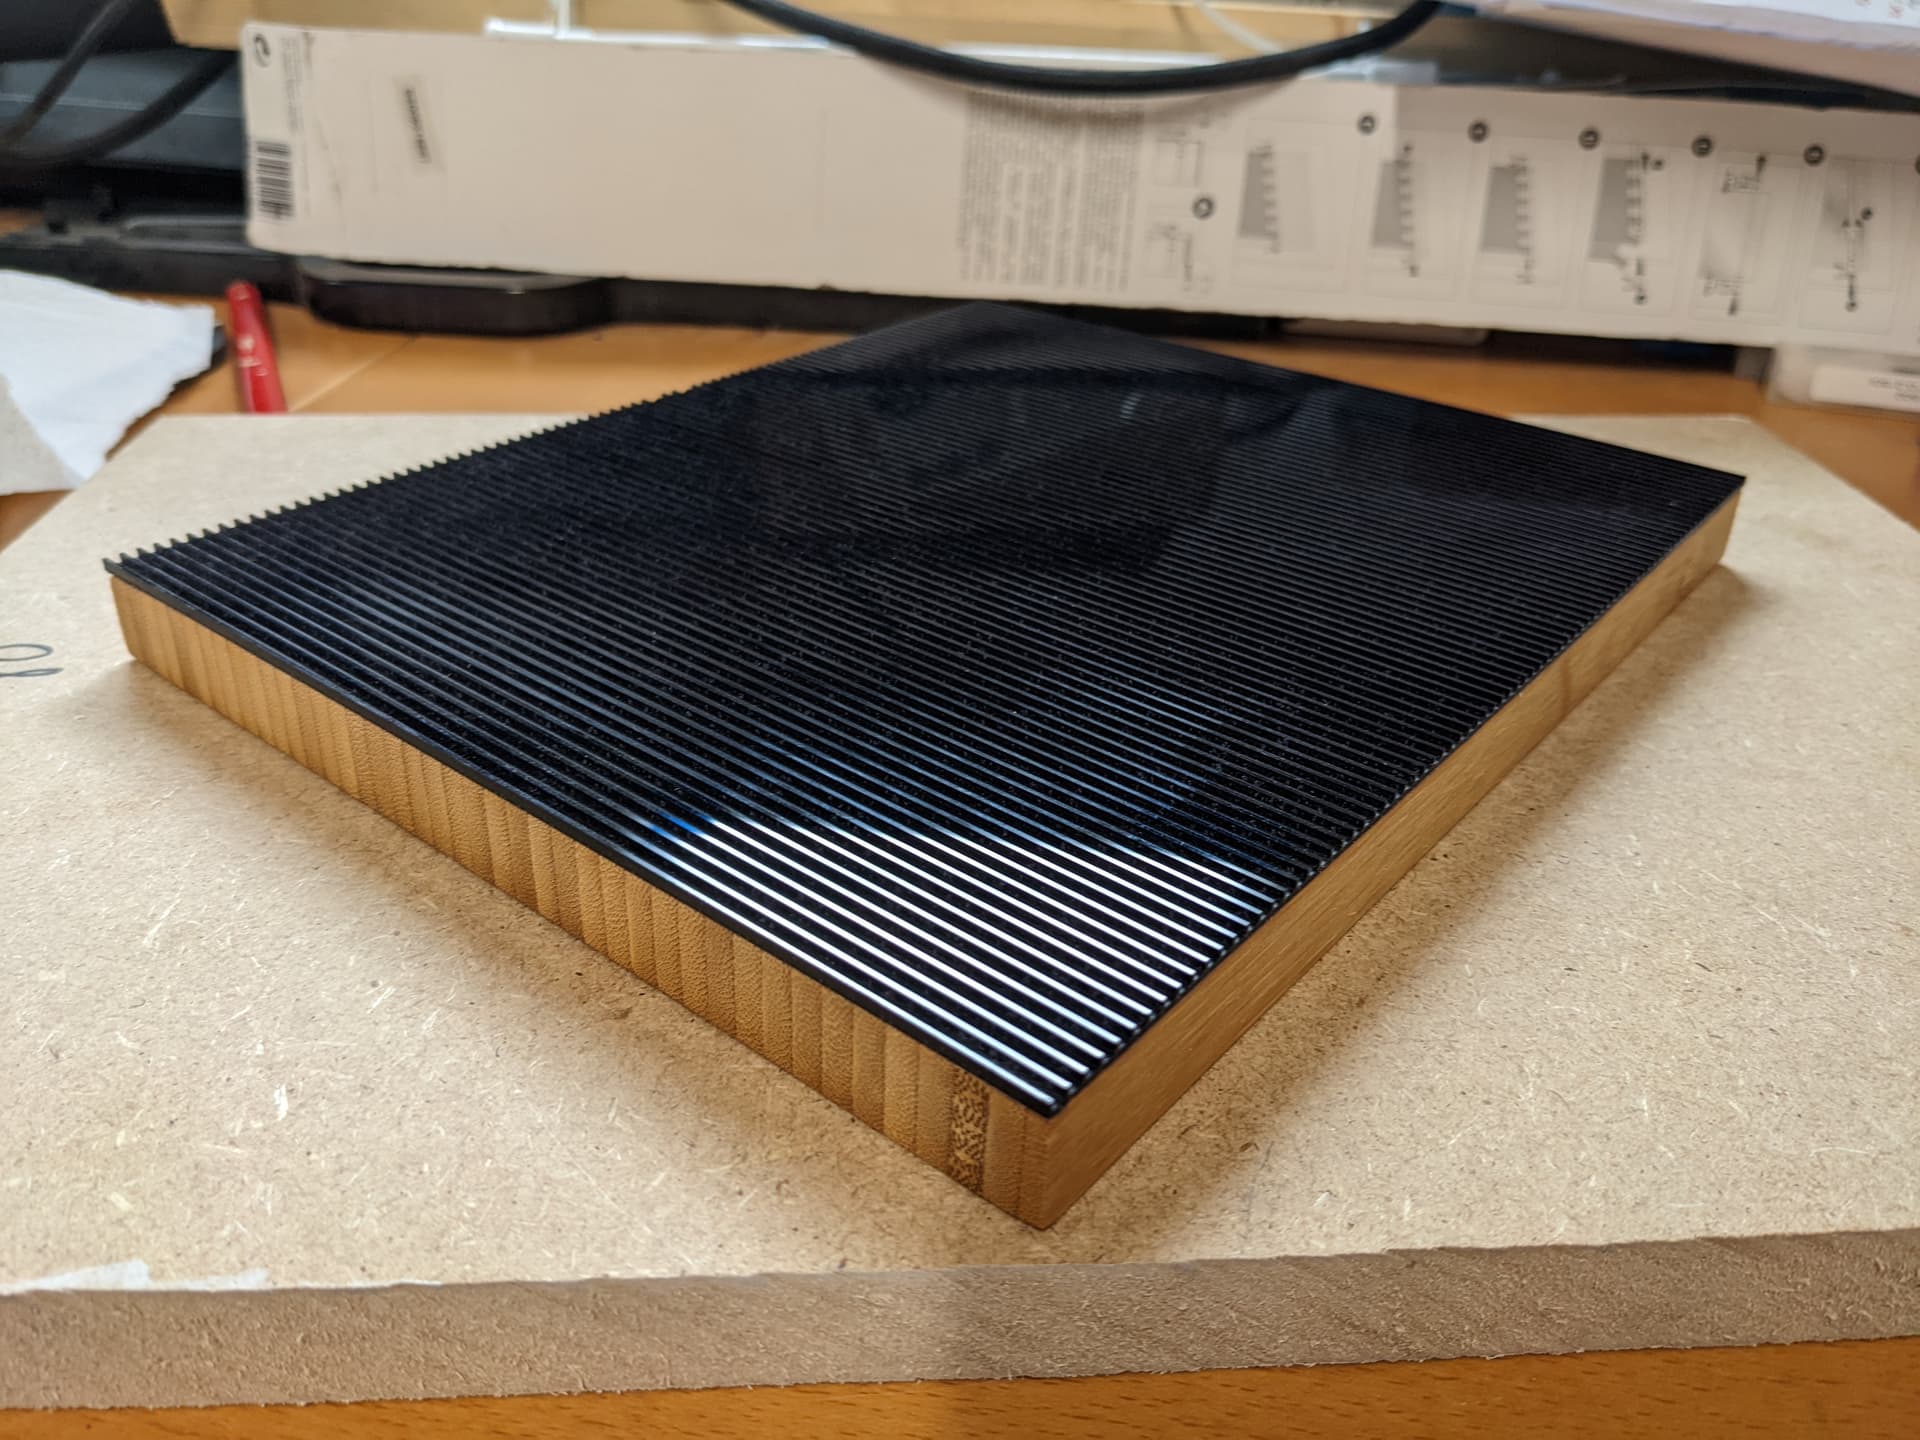
I’m happy with how it looks and feel (heavy enough, with the bamboo base), also happy that I don’t do this for a living or I would be broke, considering the ridiculous amount of time I spent on this project
Quote: I initially posted this in the “what did you cut today” thread, but I keep posting updates so I thought I would recreate a separate thread (mostly for me to find it more easily later). End Quote
I also suggested something like this for the “What did you make today” area to help keep people’s projects together. The reply was a “NO” - so go figure - "Where is that Project I liked and all of it’s pieces and COMMENTS? !!!
If I recall correctly the answer was “it’s what the Gallery category is for” ? (which is why I created this thread here, for this case where I knew I would likely come back and post more pictures/info)
“What did to you today” is great for snaps of whatever folks are working on when they don’t feel like sharing lots of details, and then one can create dedicated threads in Gallery for more detailed build logs
Hi Julien,
Thanks for posting such a brilliant project.
Can I ask where you found the vectors for the individual lines? Could you please add a link?
I’d love to be able to recreate CP 1919 in plywood
Cheers
Patrick