I am starting this as a new topic because while I have seen other topics dealing with Z-Axis tension, I have not seen any topics about doing a complete retrofit of the Z-Axis tensioner to the newest version.
Older versions of the X/Y carriage assembly did not have the idler wheel assembly with tension adjustment:
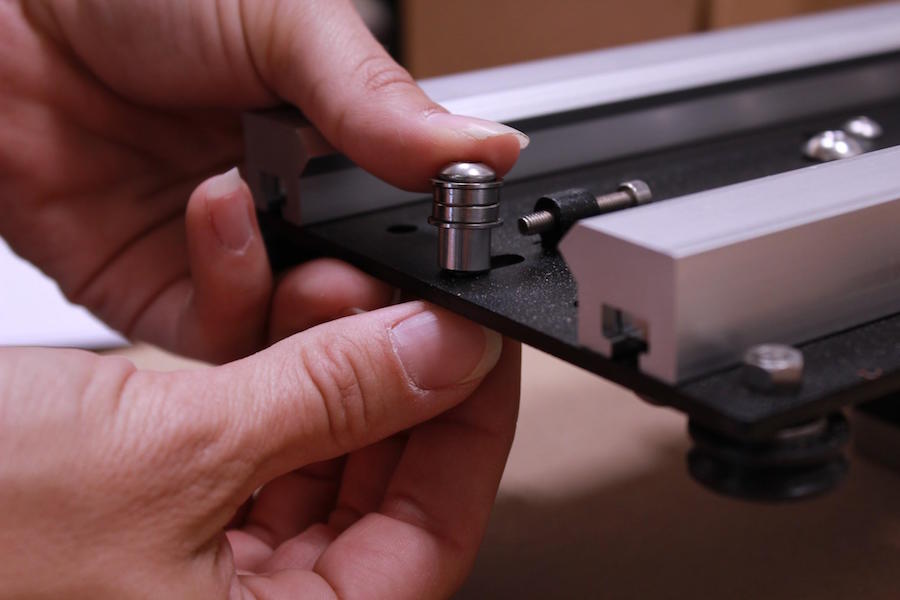
Potentially, an older machine could be upgraded to the new tensioning arrangement by getting a local machine shop to modify the X-Axis Mount Plate (Part # S3003) with a slot for the Idler Assembly:
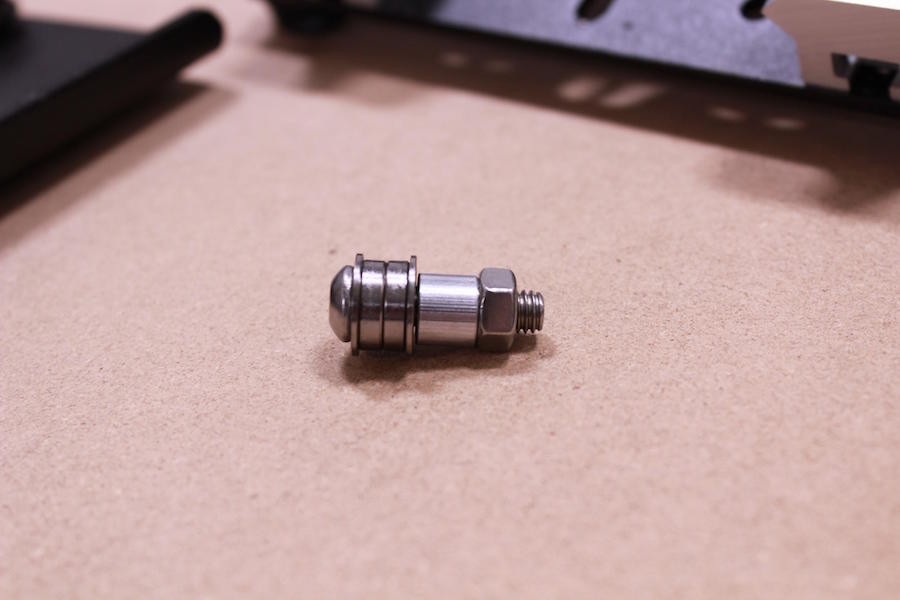
Which is made by a company called Penn Engineering. (Part #s RASM4-9-…)
In order to do so, you need the part specifications and a dimensioned drawing of the newest Part S3003. I haven’t been able to find any of these details.
I have an early version and last time I changed the Z Belt I clamped the motor with a quick clamp, tied a rope to the clamp and pulled the rope thought a pulley attached to the floor joist above my machine. I tied a loop in the other end of the rope and stepped in the loop to pull the motor up as much as possible before tightening the bolts. It worked really well but i would like something that is more controllable and I don’t have to get out a ladder.
I just shoved cheap wood door shims between the two motors until I couldn’t fit any more in, tightened up the screws, removed the shims, and haven’t had a Z belt issue since.
That would most likely be @edwardrford — I was always careful to not get myself in the photos when doing the instructions, and preferred diagrams so as to render that point moot.