Yes, I am basically the chief cook & bottle washer. I cut the patterns, cast, clean, polish & powder-coat.
I enjoy the challenge of can I get a design to cut and get the pattern to pull from the sand without damage to the mould.
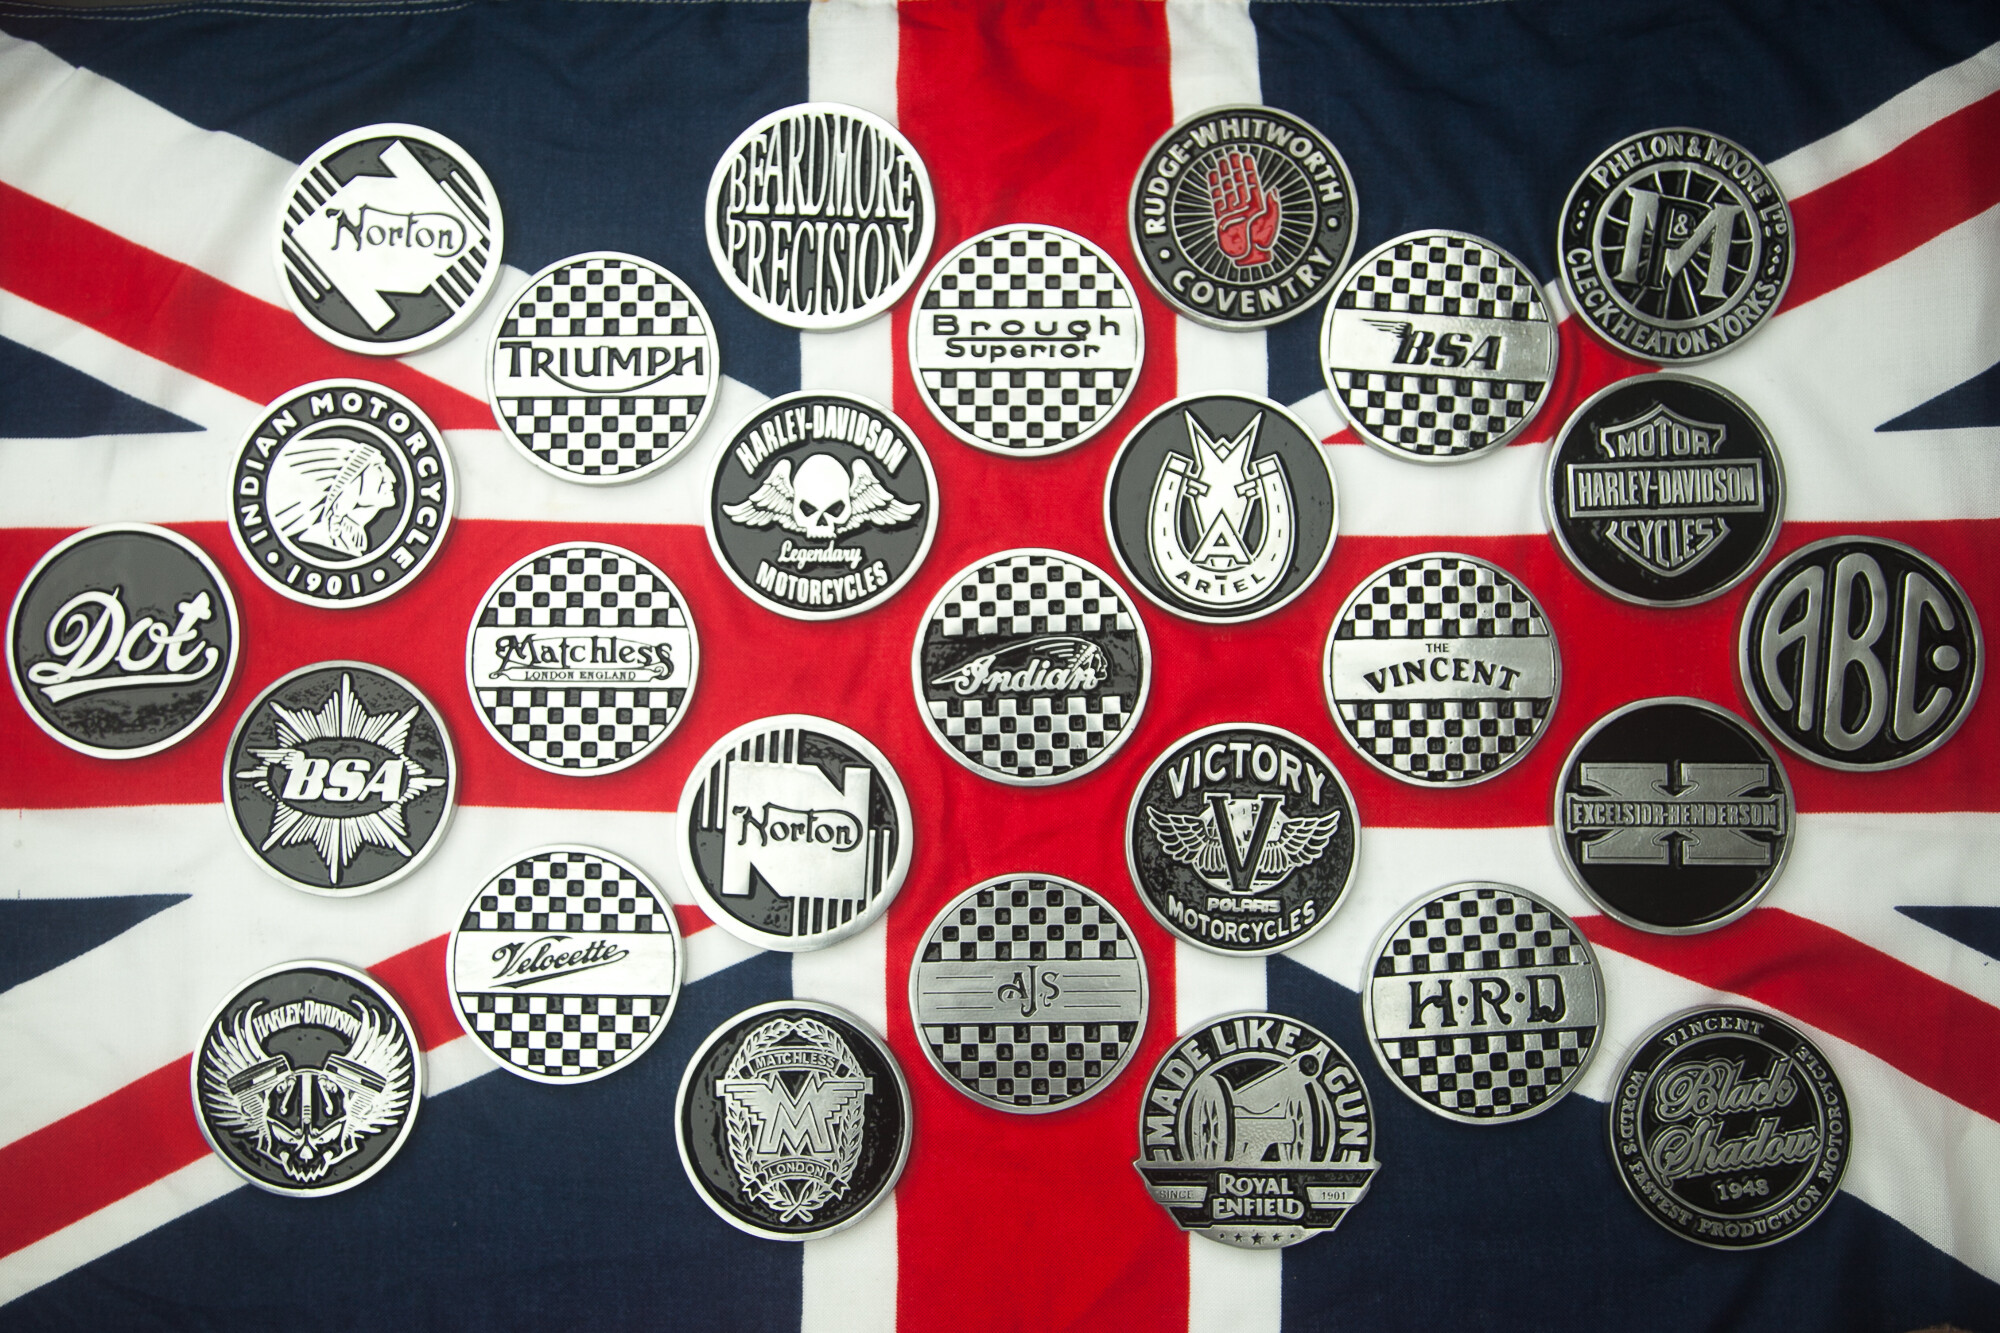
Recently I have been making lots of classic British (and a few American) motorbike coasters, some more of a challenge than others. When I have cast this one in brass (there are actually now going to be two different designs). I would like to try making a stacked text design to cast, I don’t know what design at the moment, I would just like to give it a try. Polishing will probably be an issue with that though.
Well all I can say they are great.The detail you are getting from sand casting is excellent.Would I assume you have a little crucible furnace at home??What I would like to do when I get the skill level up is machine some wax and investment cast,these machines would be more than capable of achieving this.
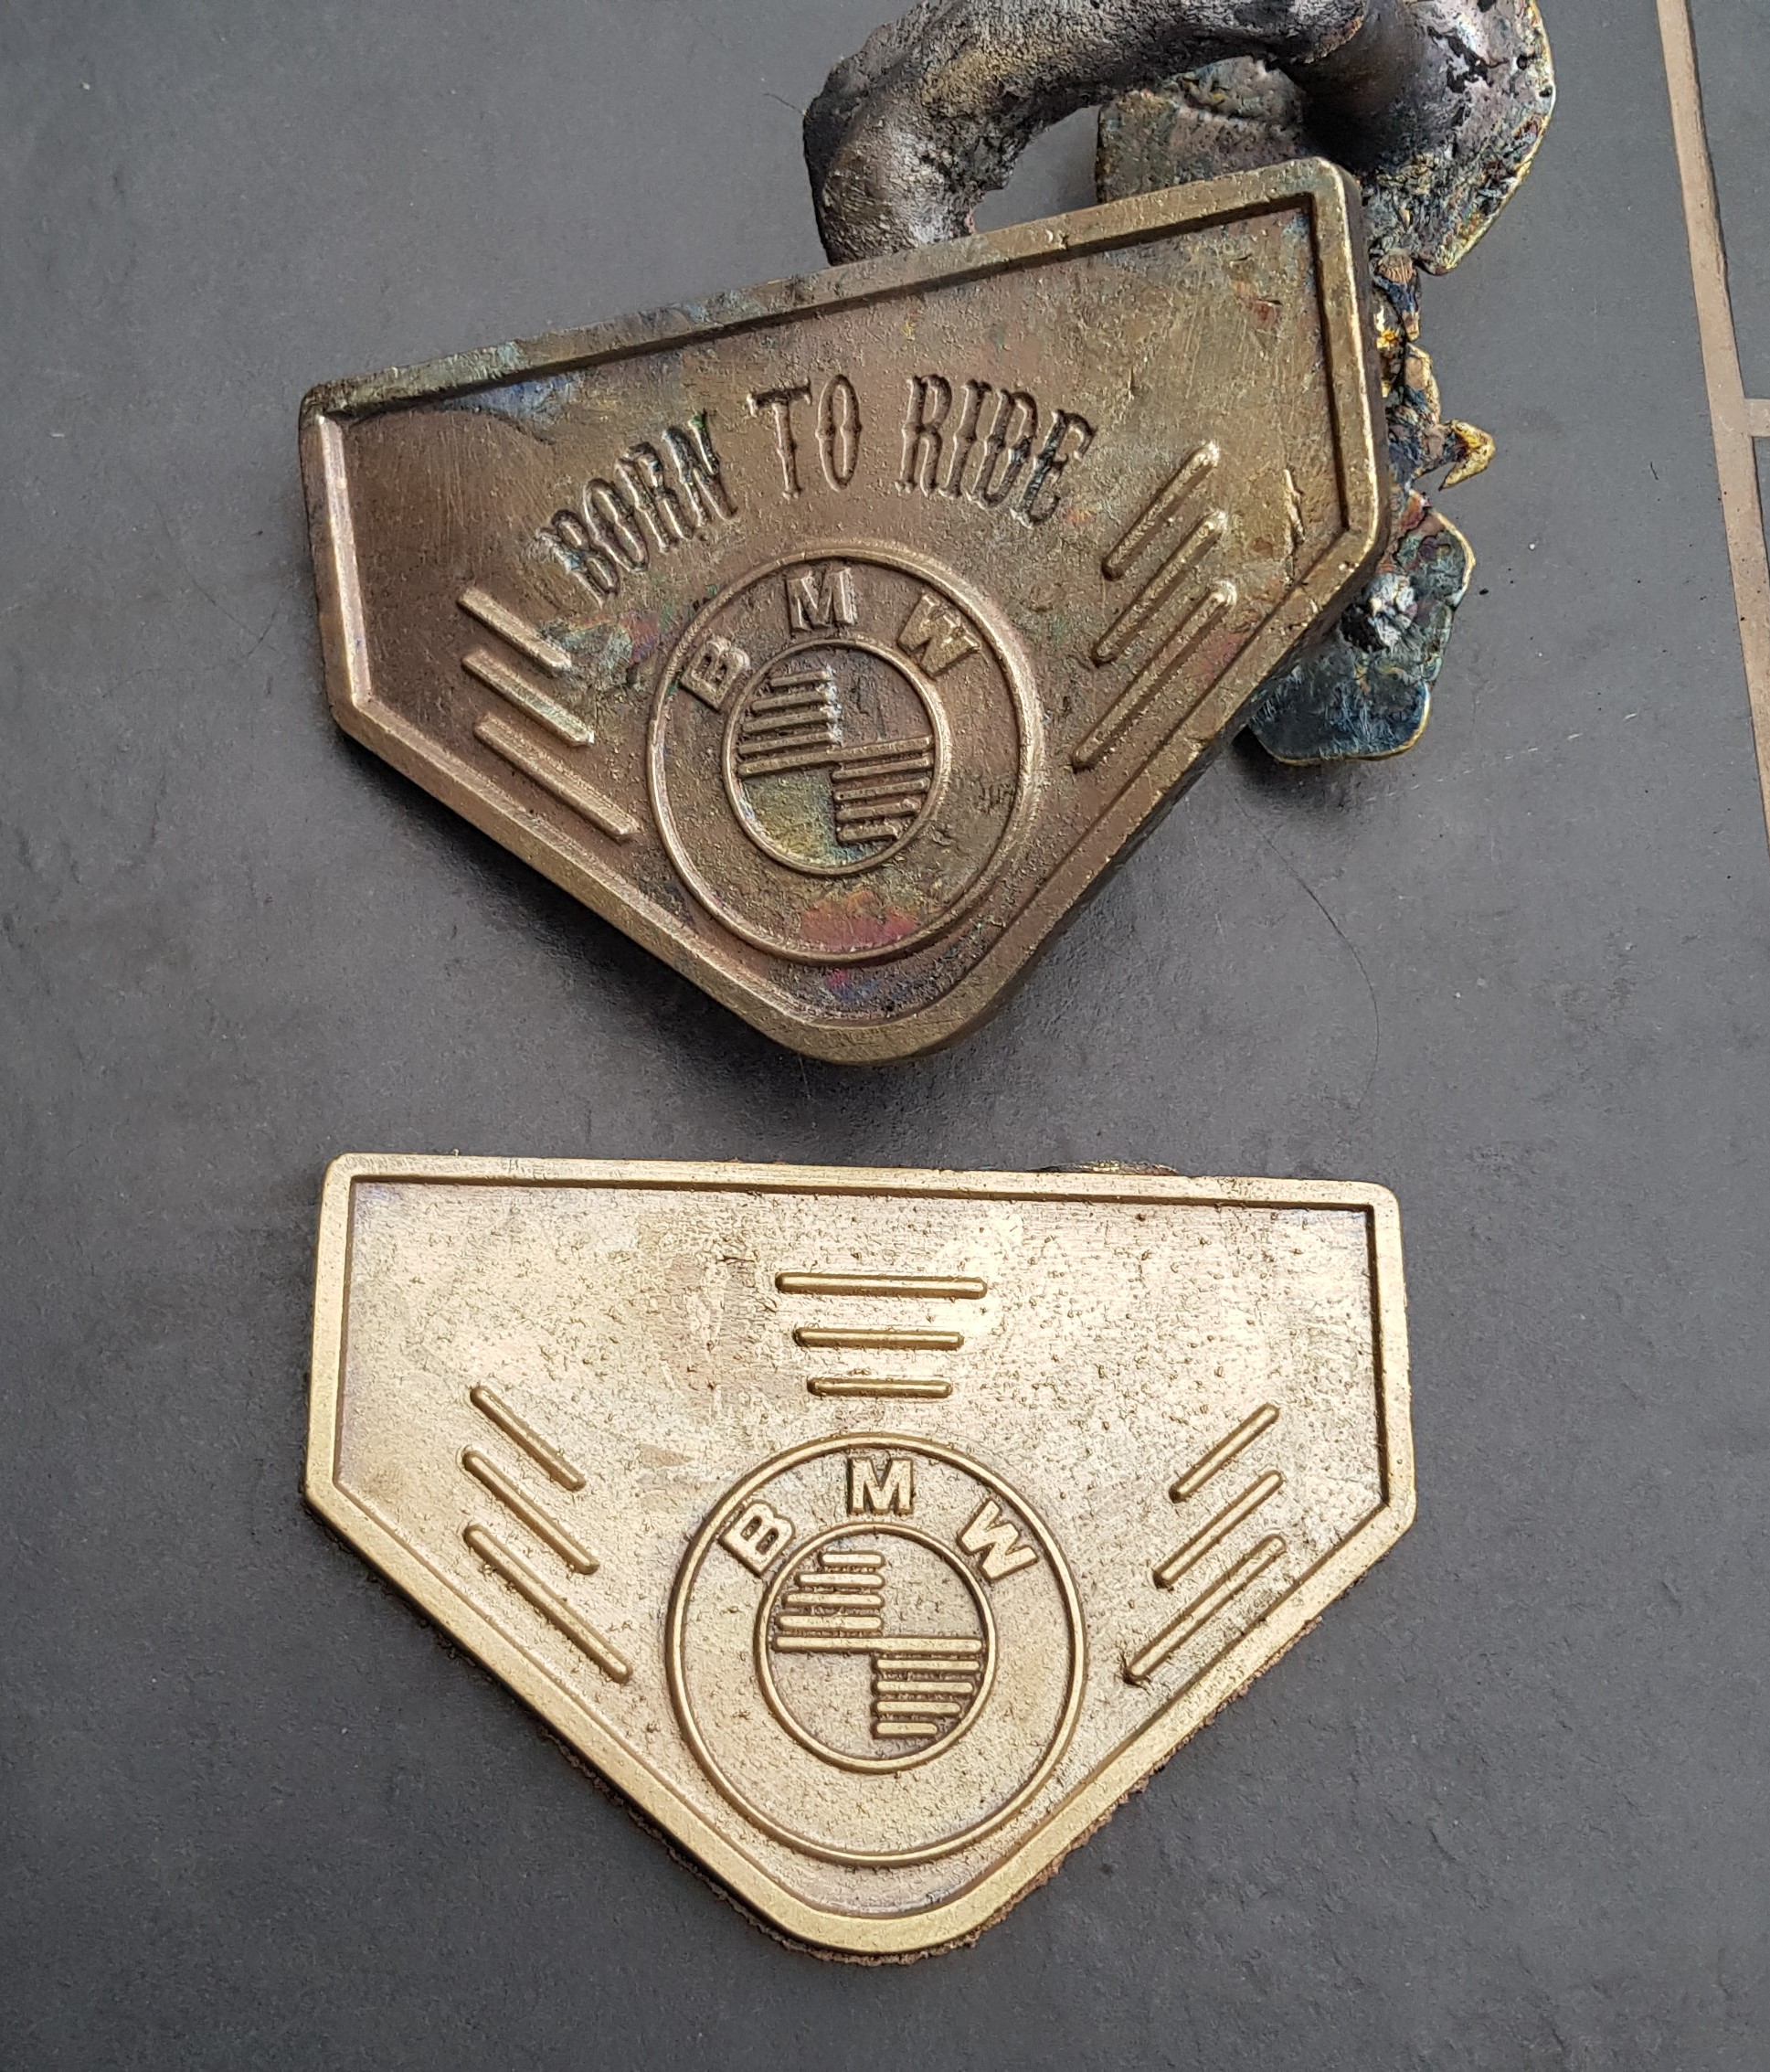
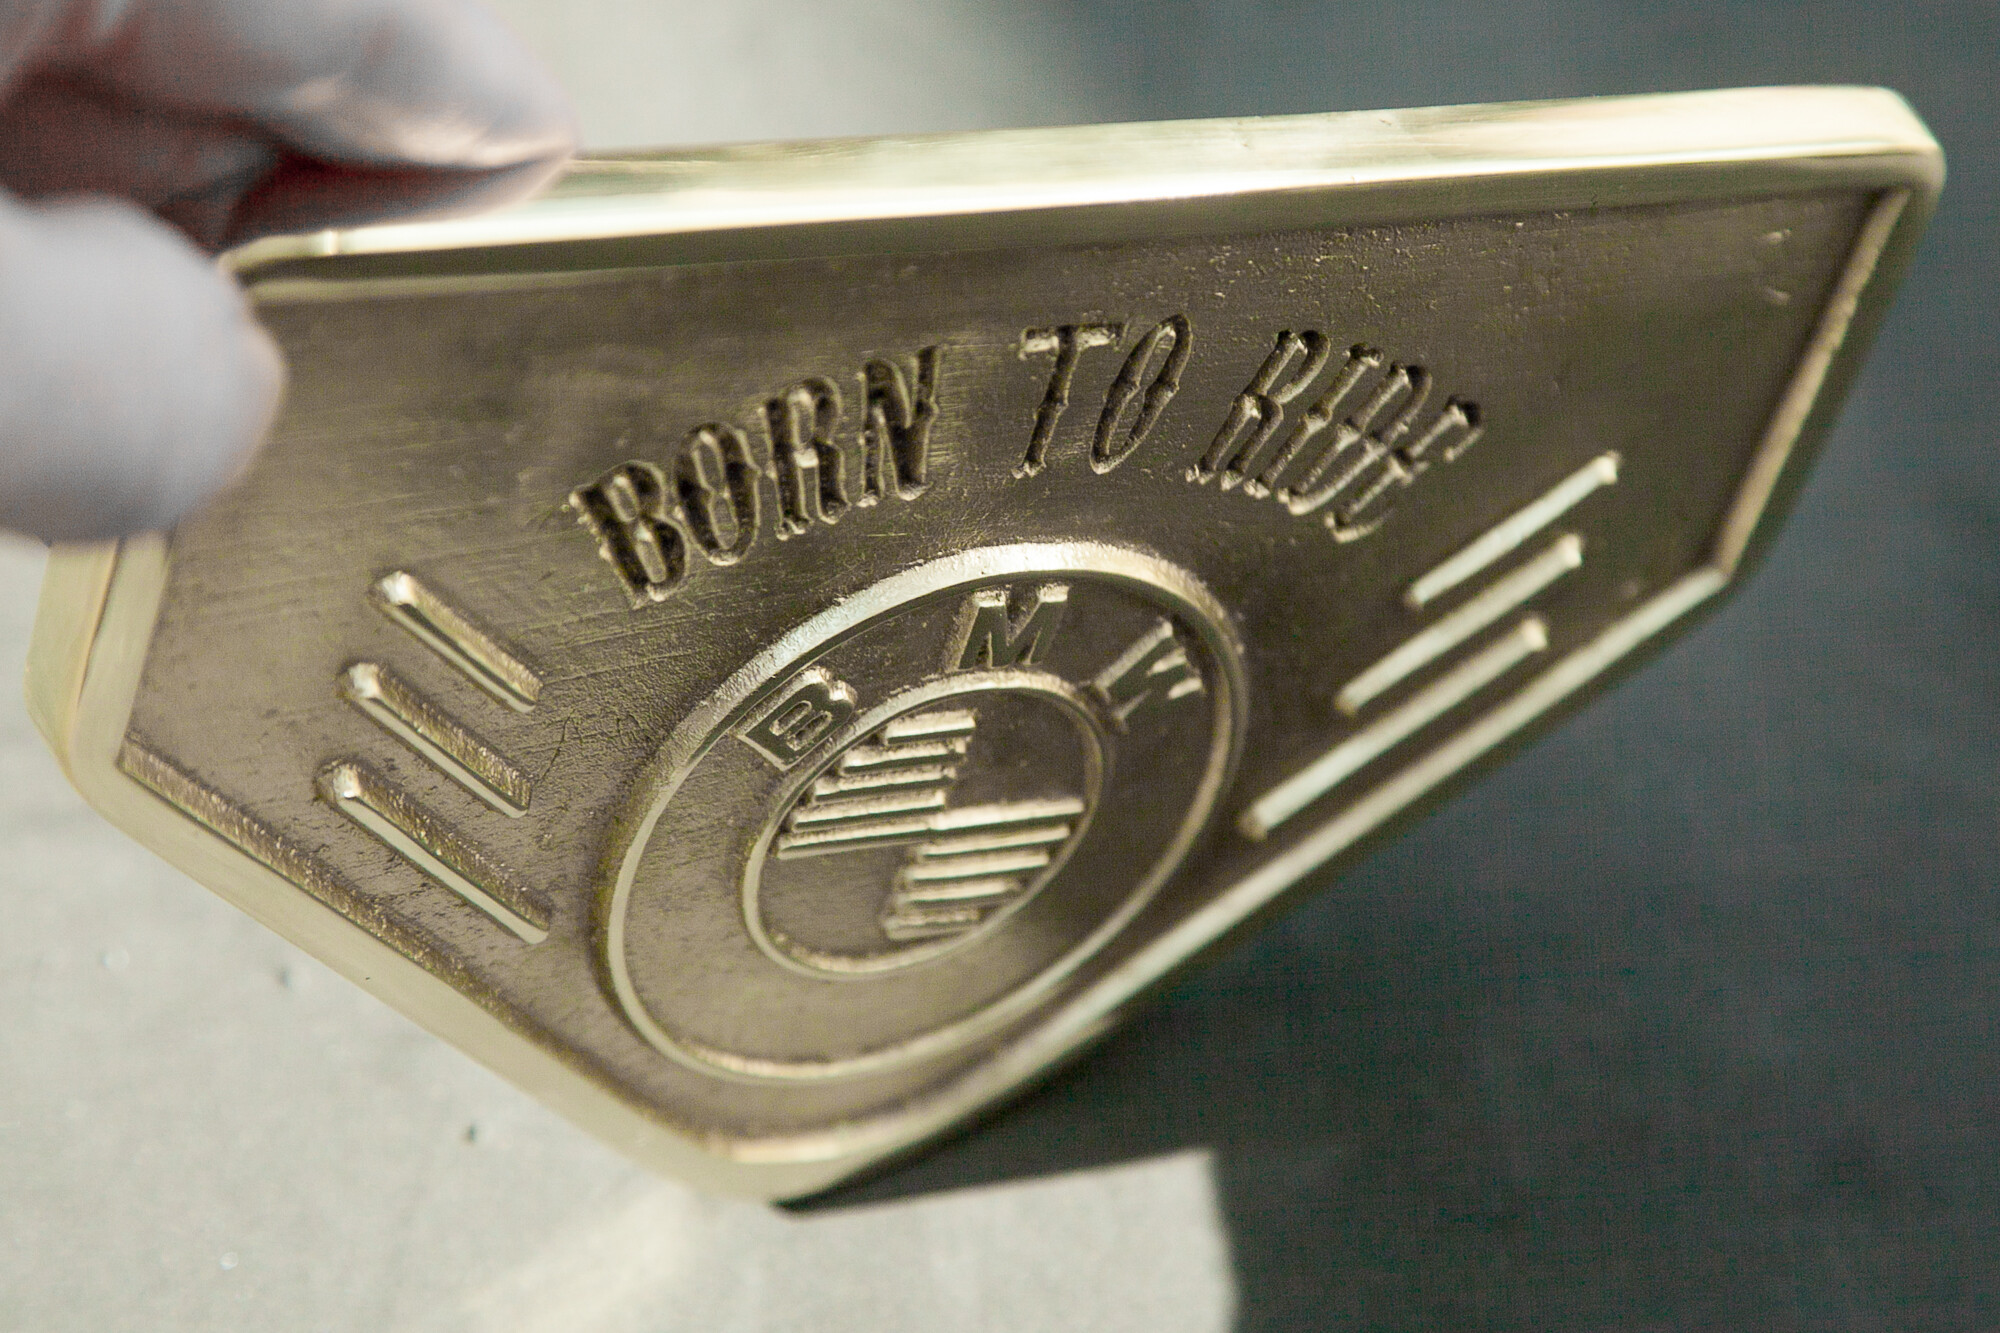
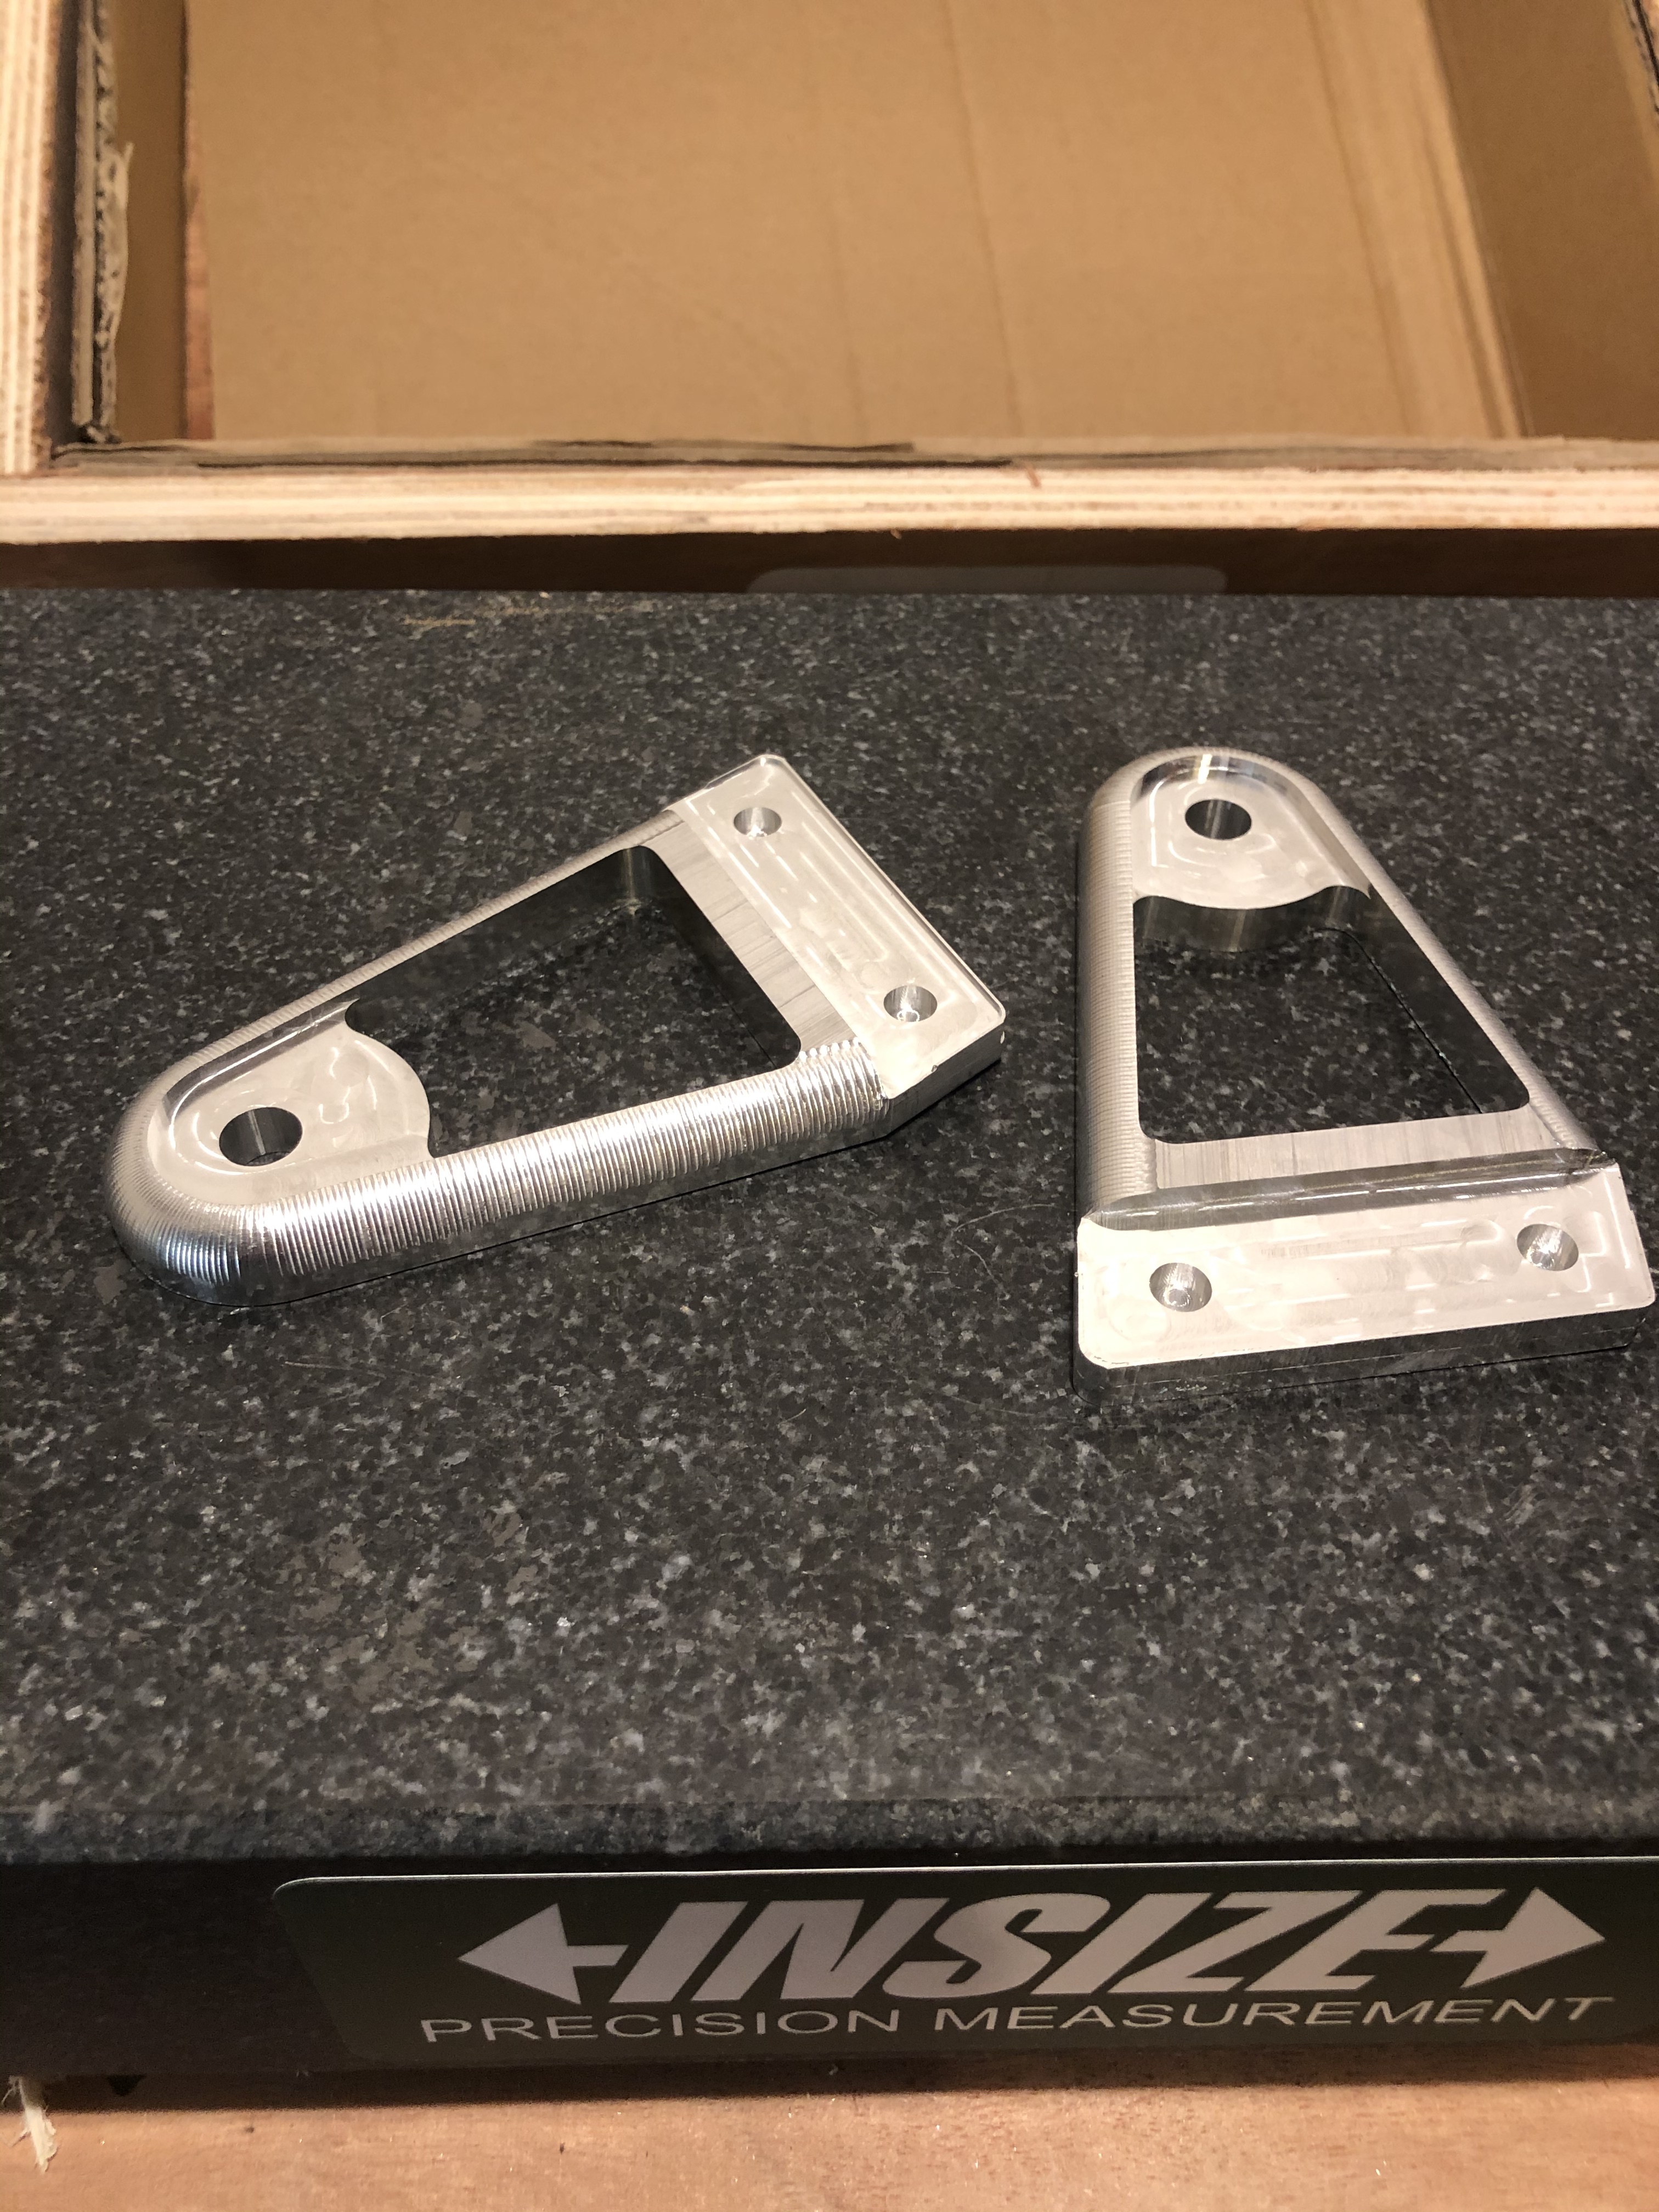
The first photo shows them on removal from the sand, the second shows how my one cleaned up in just 15 mins. The other one is to be polished by the bike owner.
Making the patterns for these would have been at least a 2 day job without the Shapeoko. It used to take me half a day to just make a blank pattern with a raised edge. Advanced “V” carve with pocketing has transformed what I can make.
Curious if you would make a topic showing your process and equipment? I’ve been interested in casting for some time but never knew anybody who I could reach for input on process.
Graham,they are truly brilliant.It’s a pity you guys were not close,I have approx 50 small crucibles here from A3 up to the A10 stored away.My background was 25 years at a Steelmaker here in NZ,furnace was 40 tonne then upgraded to 55 tonne with the various transformer upgrades.Continuous caster was Rokop.Then I spent next 25 years supplying to foundries here and I was responsible for crucible sales in Australia,Indonesia,Thailand,Malaysia and a little around the islands.
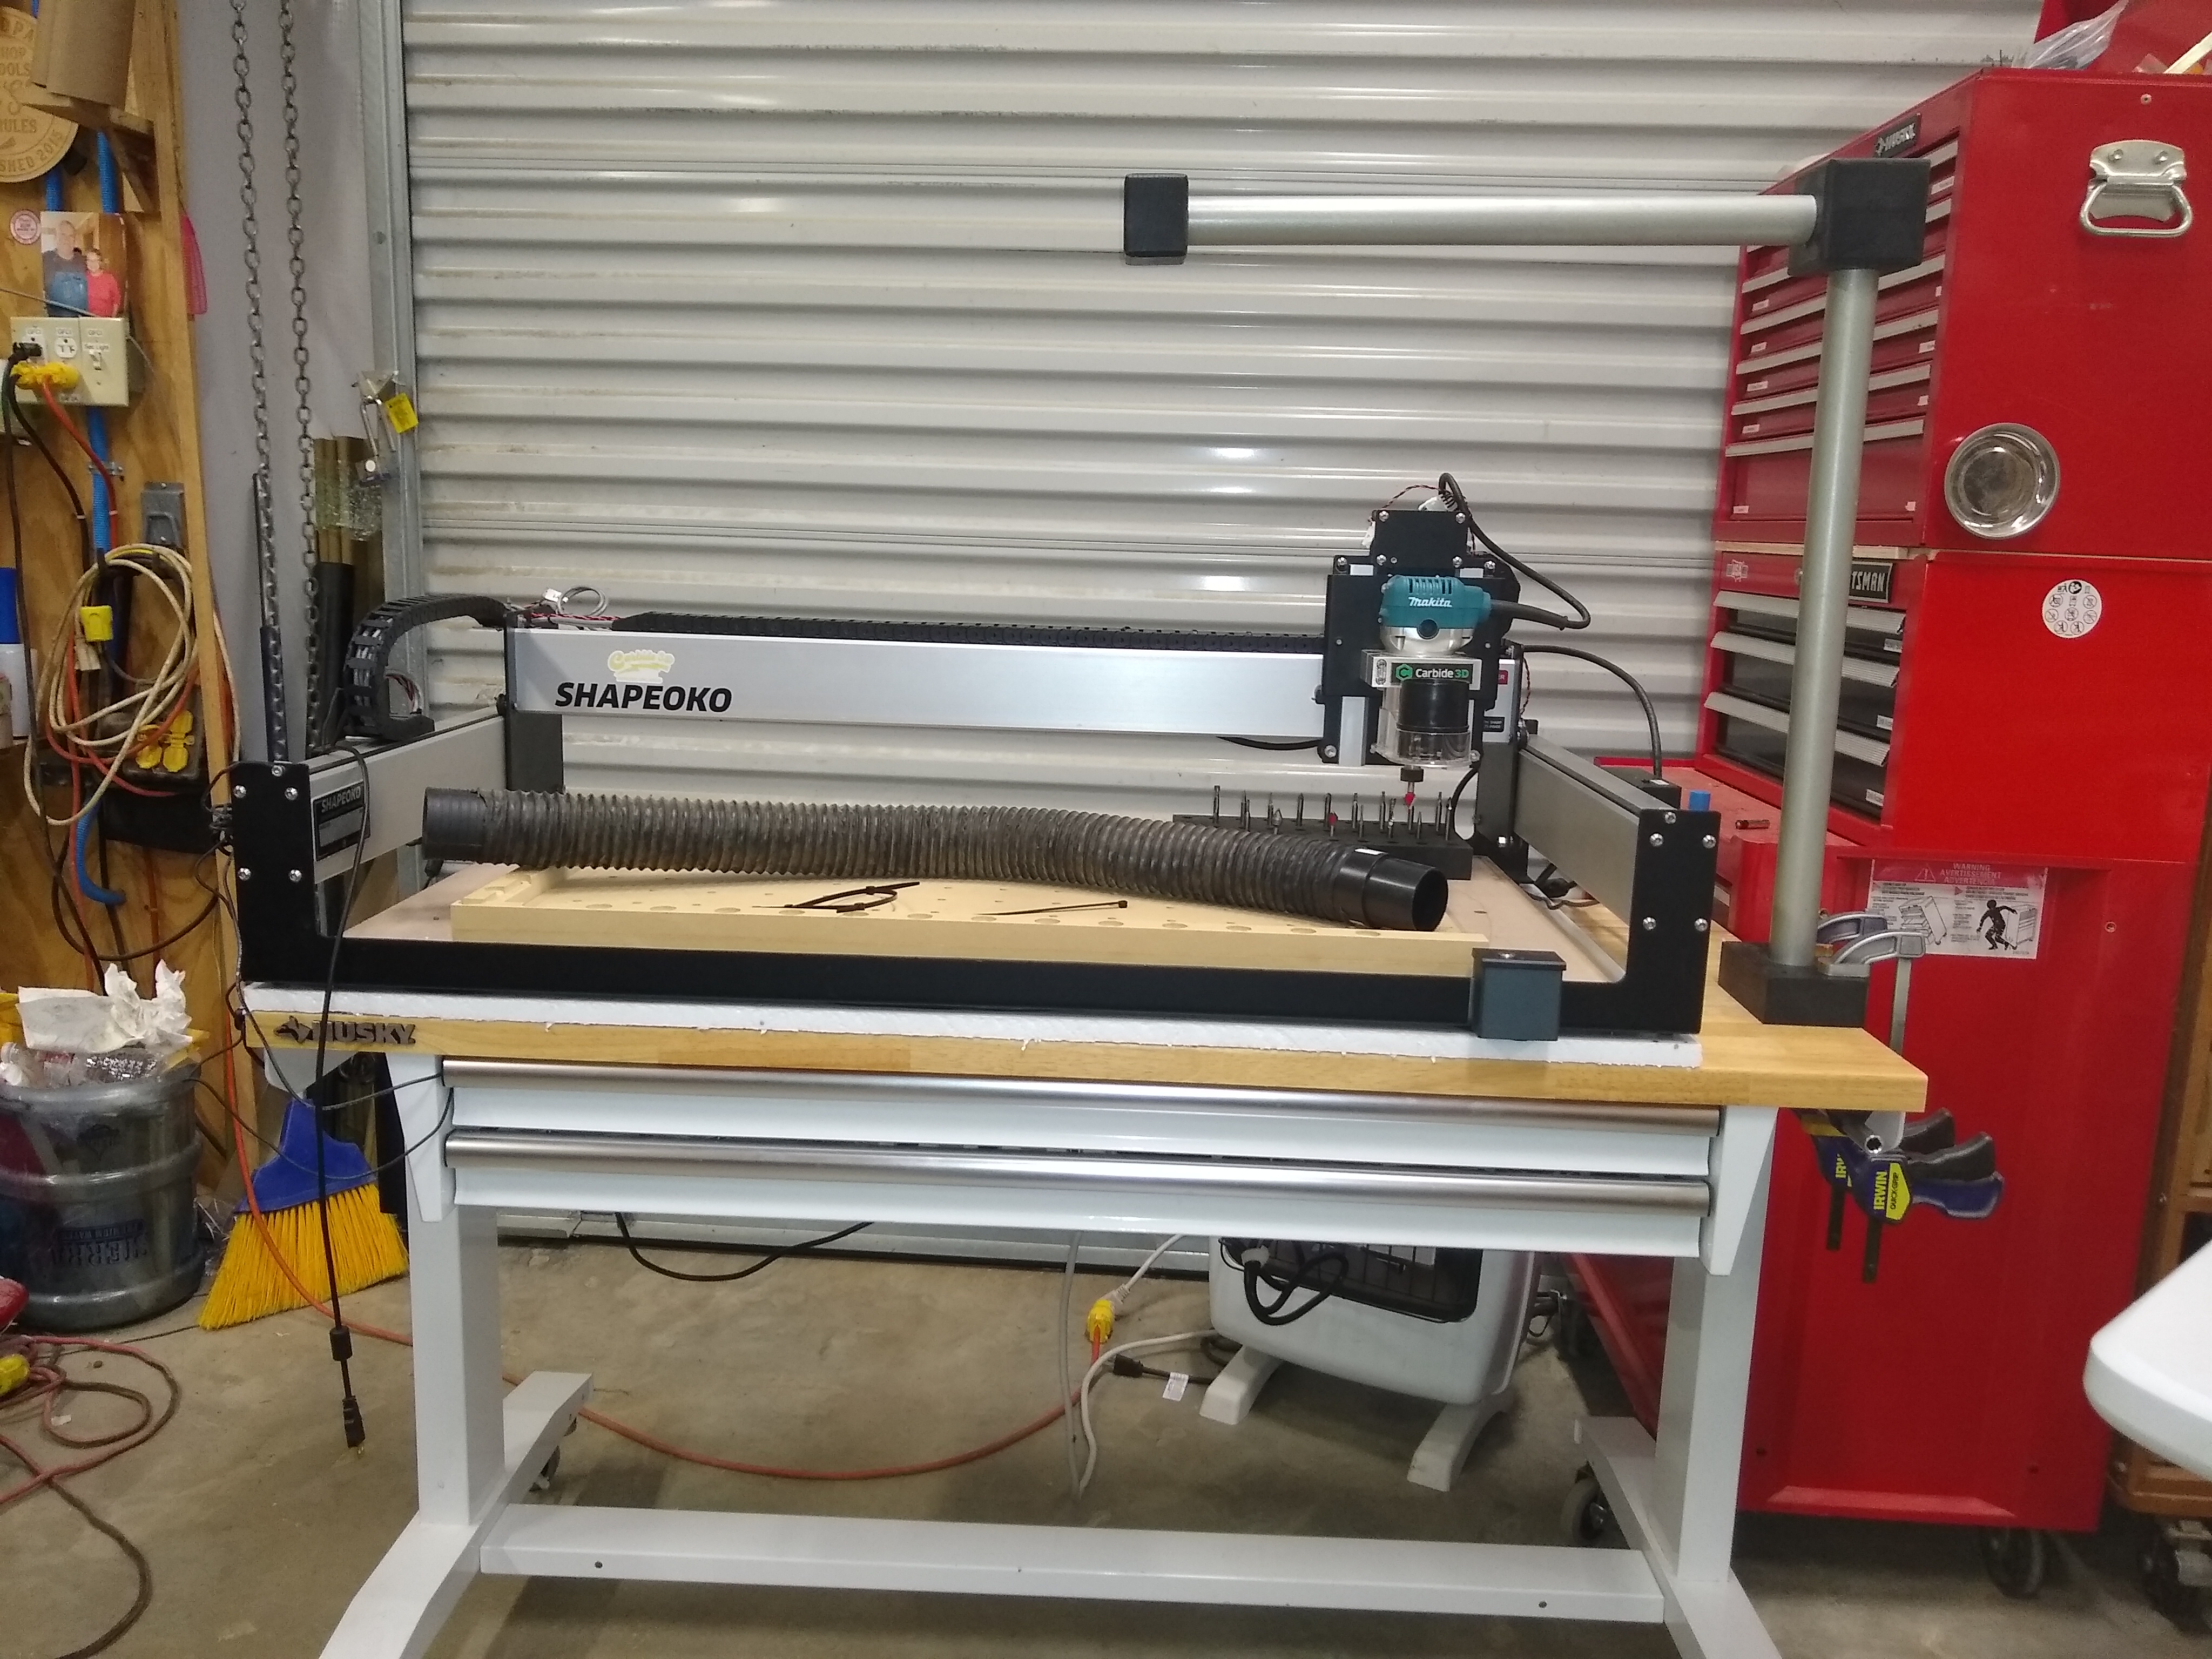
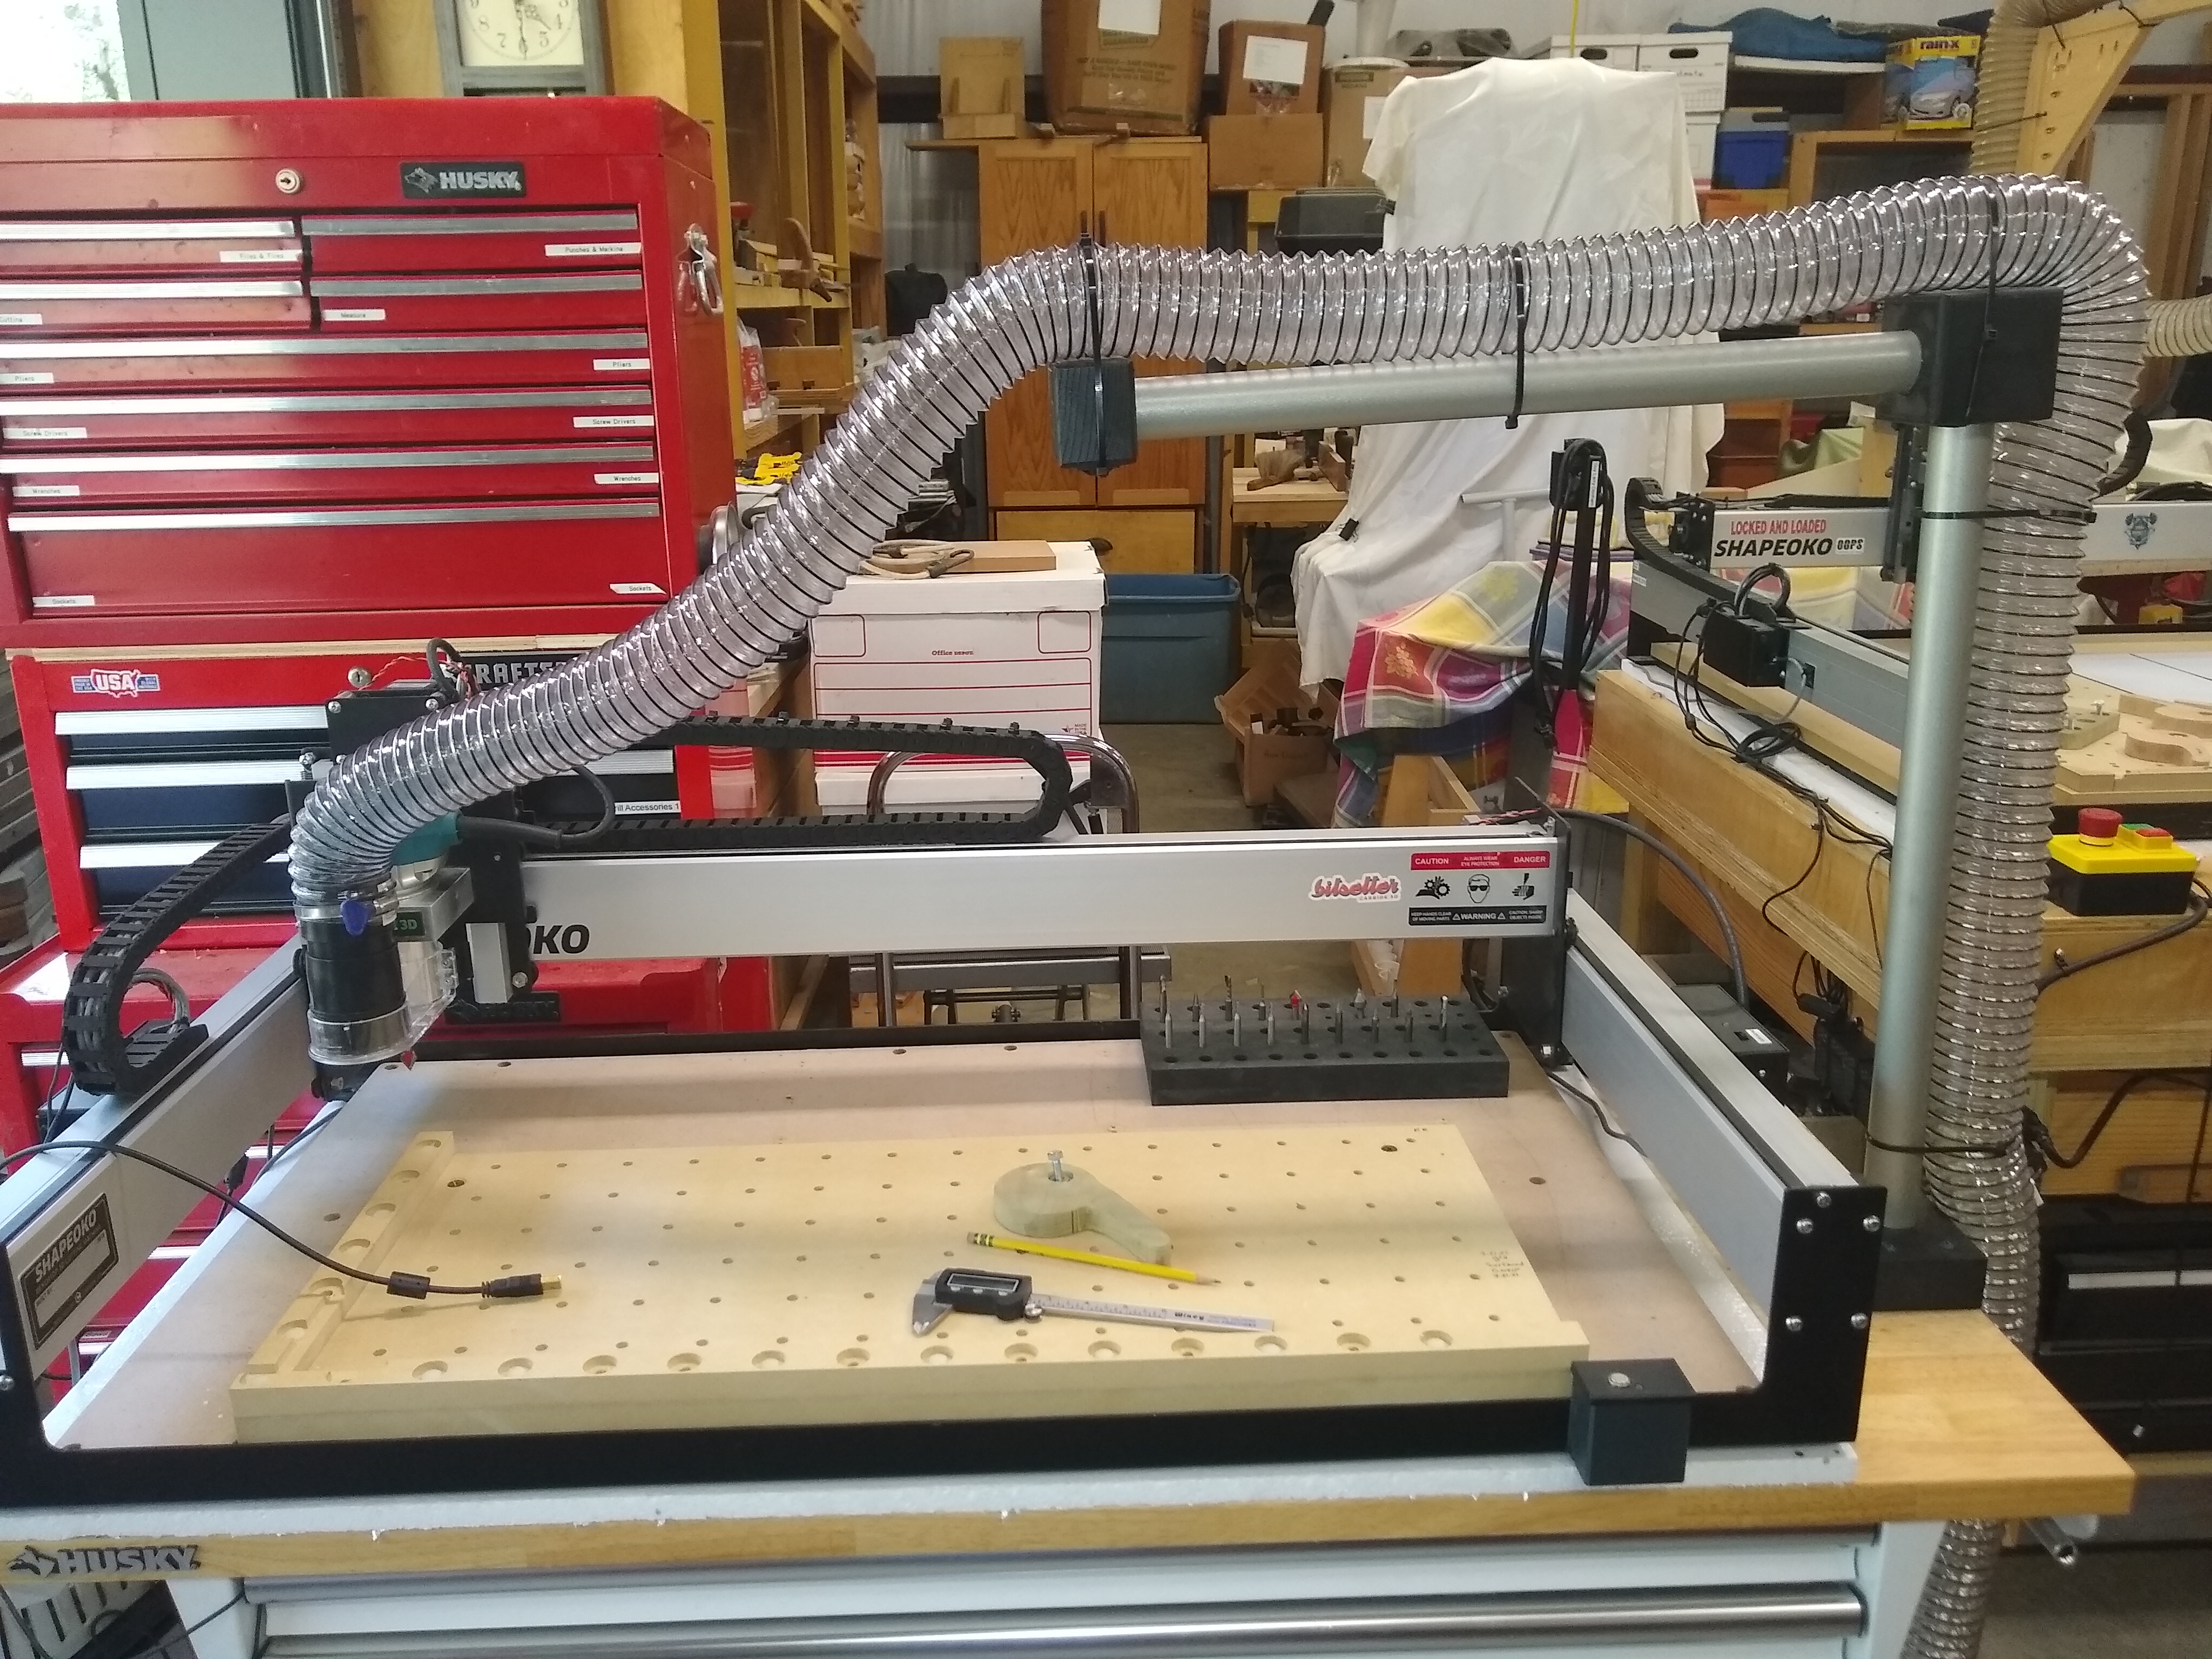
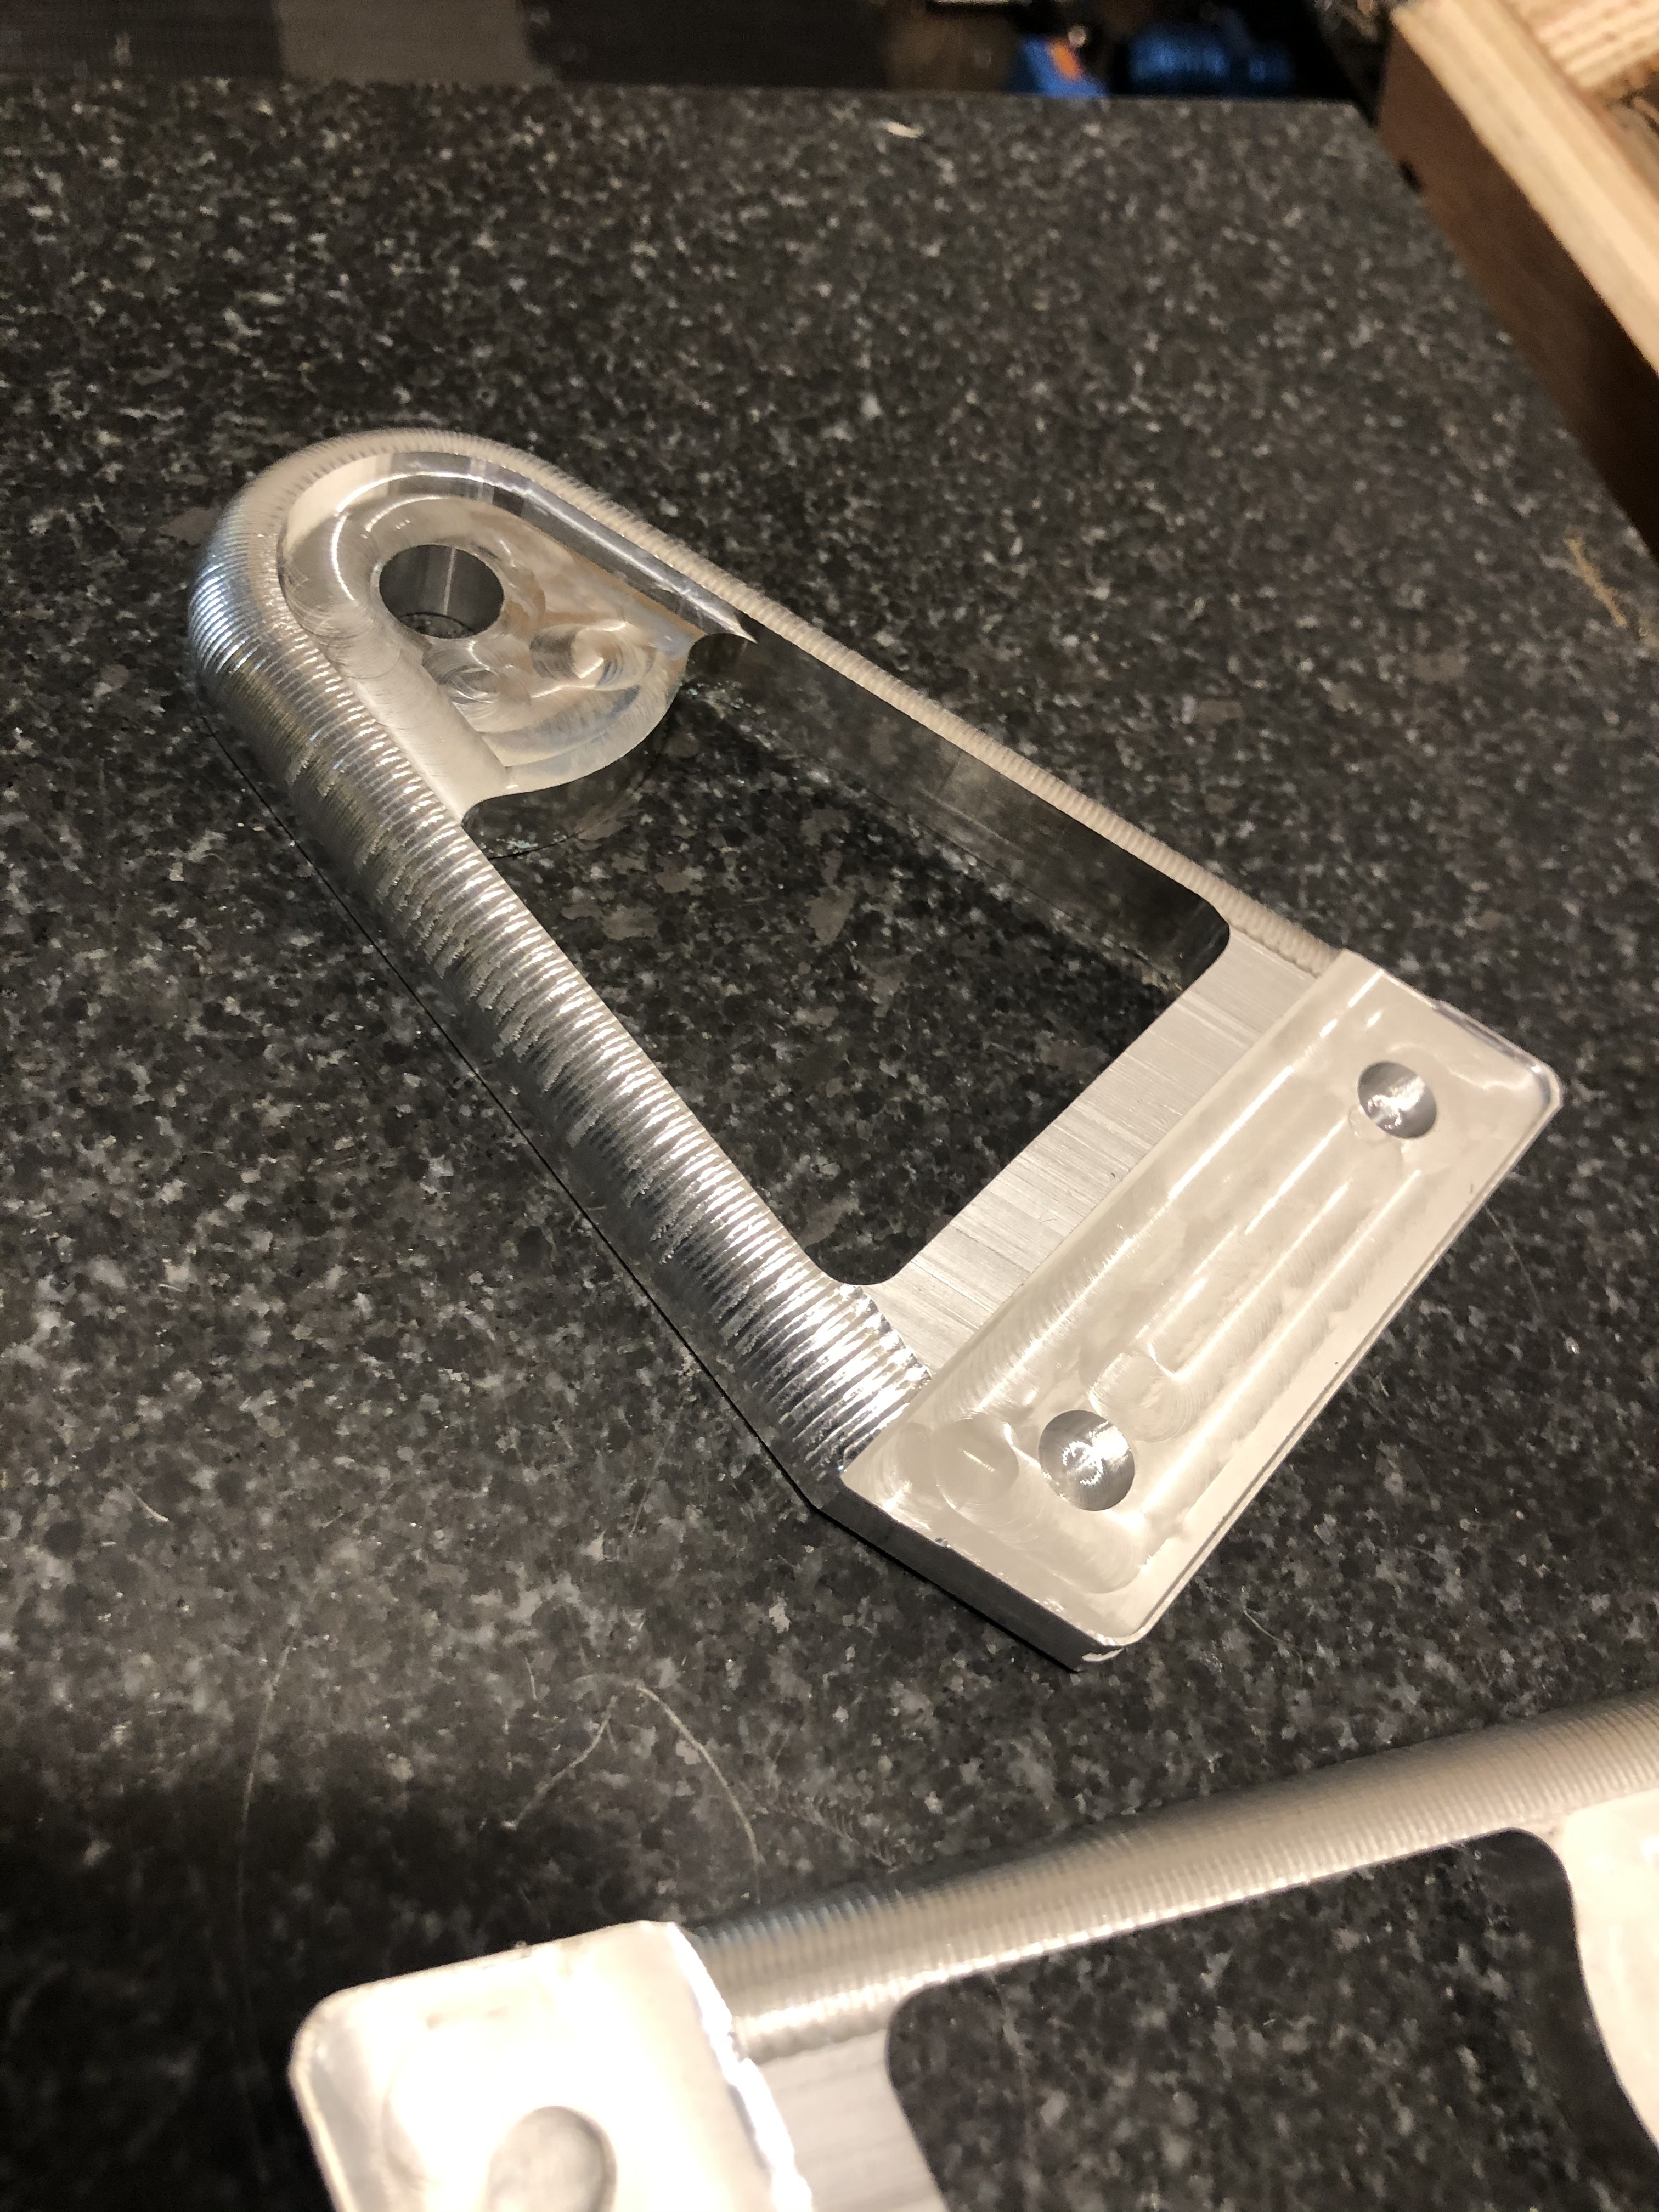
I have just about finished my over head dust collection boom for my XL. I got the base machines, primed and painted as well as the middle piece machined, primed and painted as well as the boom arms. I had some 1.5" steel conduit laying around that I cut up to make the boom. My design was inspired by one I say on etsy for the OneInfinity machine. I need to finish the end of the boom and mount the base. I will let the base swivel and the middle piece I will epoxy the arm in as well as the end cap. Not much more to go. During the snow storm a month or so back my local hardware store had the roof collapse so it is closed. I will have to go to Nacgodoches to get the base bolts.
My first attempt was to just drill the holes with a 1.5 inch forstner bit. The hole was a little small for the conduit I decided to make them on the Shapeoko. I cut the hole a little undersized as a pocket. So I increased the size on the project and did a contour inside cut. That was still a little too snug so I cut it again increasing a few thousands with a contour inside cut. The third time was the charm. The base was first and since I had the measurement down I just modified the material and cut the middle boom on two adjacent sides. As soon as I get it together I will cut the end cap tonight and prime and paint tomorrow. I need to drill a few holes for wire ties to secure the dust collection hose. I will post a pic when mounted.
Almost done. Waiting for Peachtree 2.5 dc hose. This hose is very flexible. The black hose laying on the waste board is too stiff to use but using it during mock up.
I could make a post about the casting process Mike but a “cnc cutting” forum is probably not the place for it. One thing I would say is be VERY CAREFUL when watching you tube videos on the subject some of the practices will, at best, put people in hospital.
Thanks Graham. 50 crucibles is a lot of crucibles, and 55 tonnes is a LOT of steel. Way out of my league. I think my A5 crucible weighs about 8 kilo when full of brass, though most of my casting is aluminium. As you say “if we were a bit closer” I don’t think it is possible to get further apart than a 36 hour flight!
The paint is powder-coat, mostly black, followed by a top clear powder-coat.
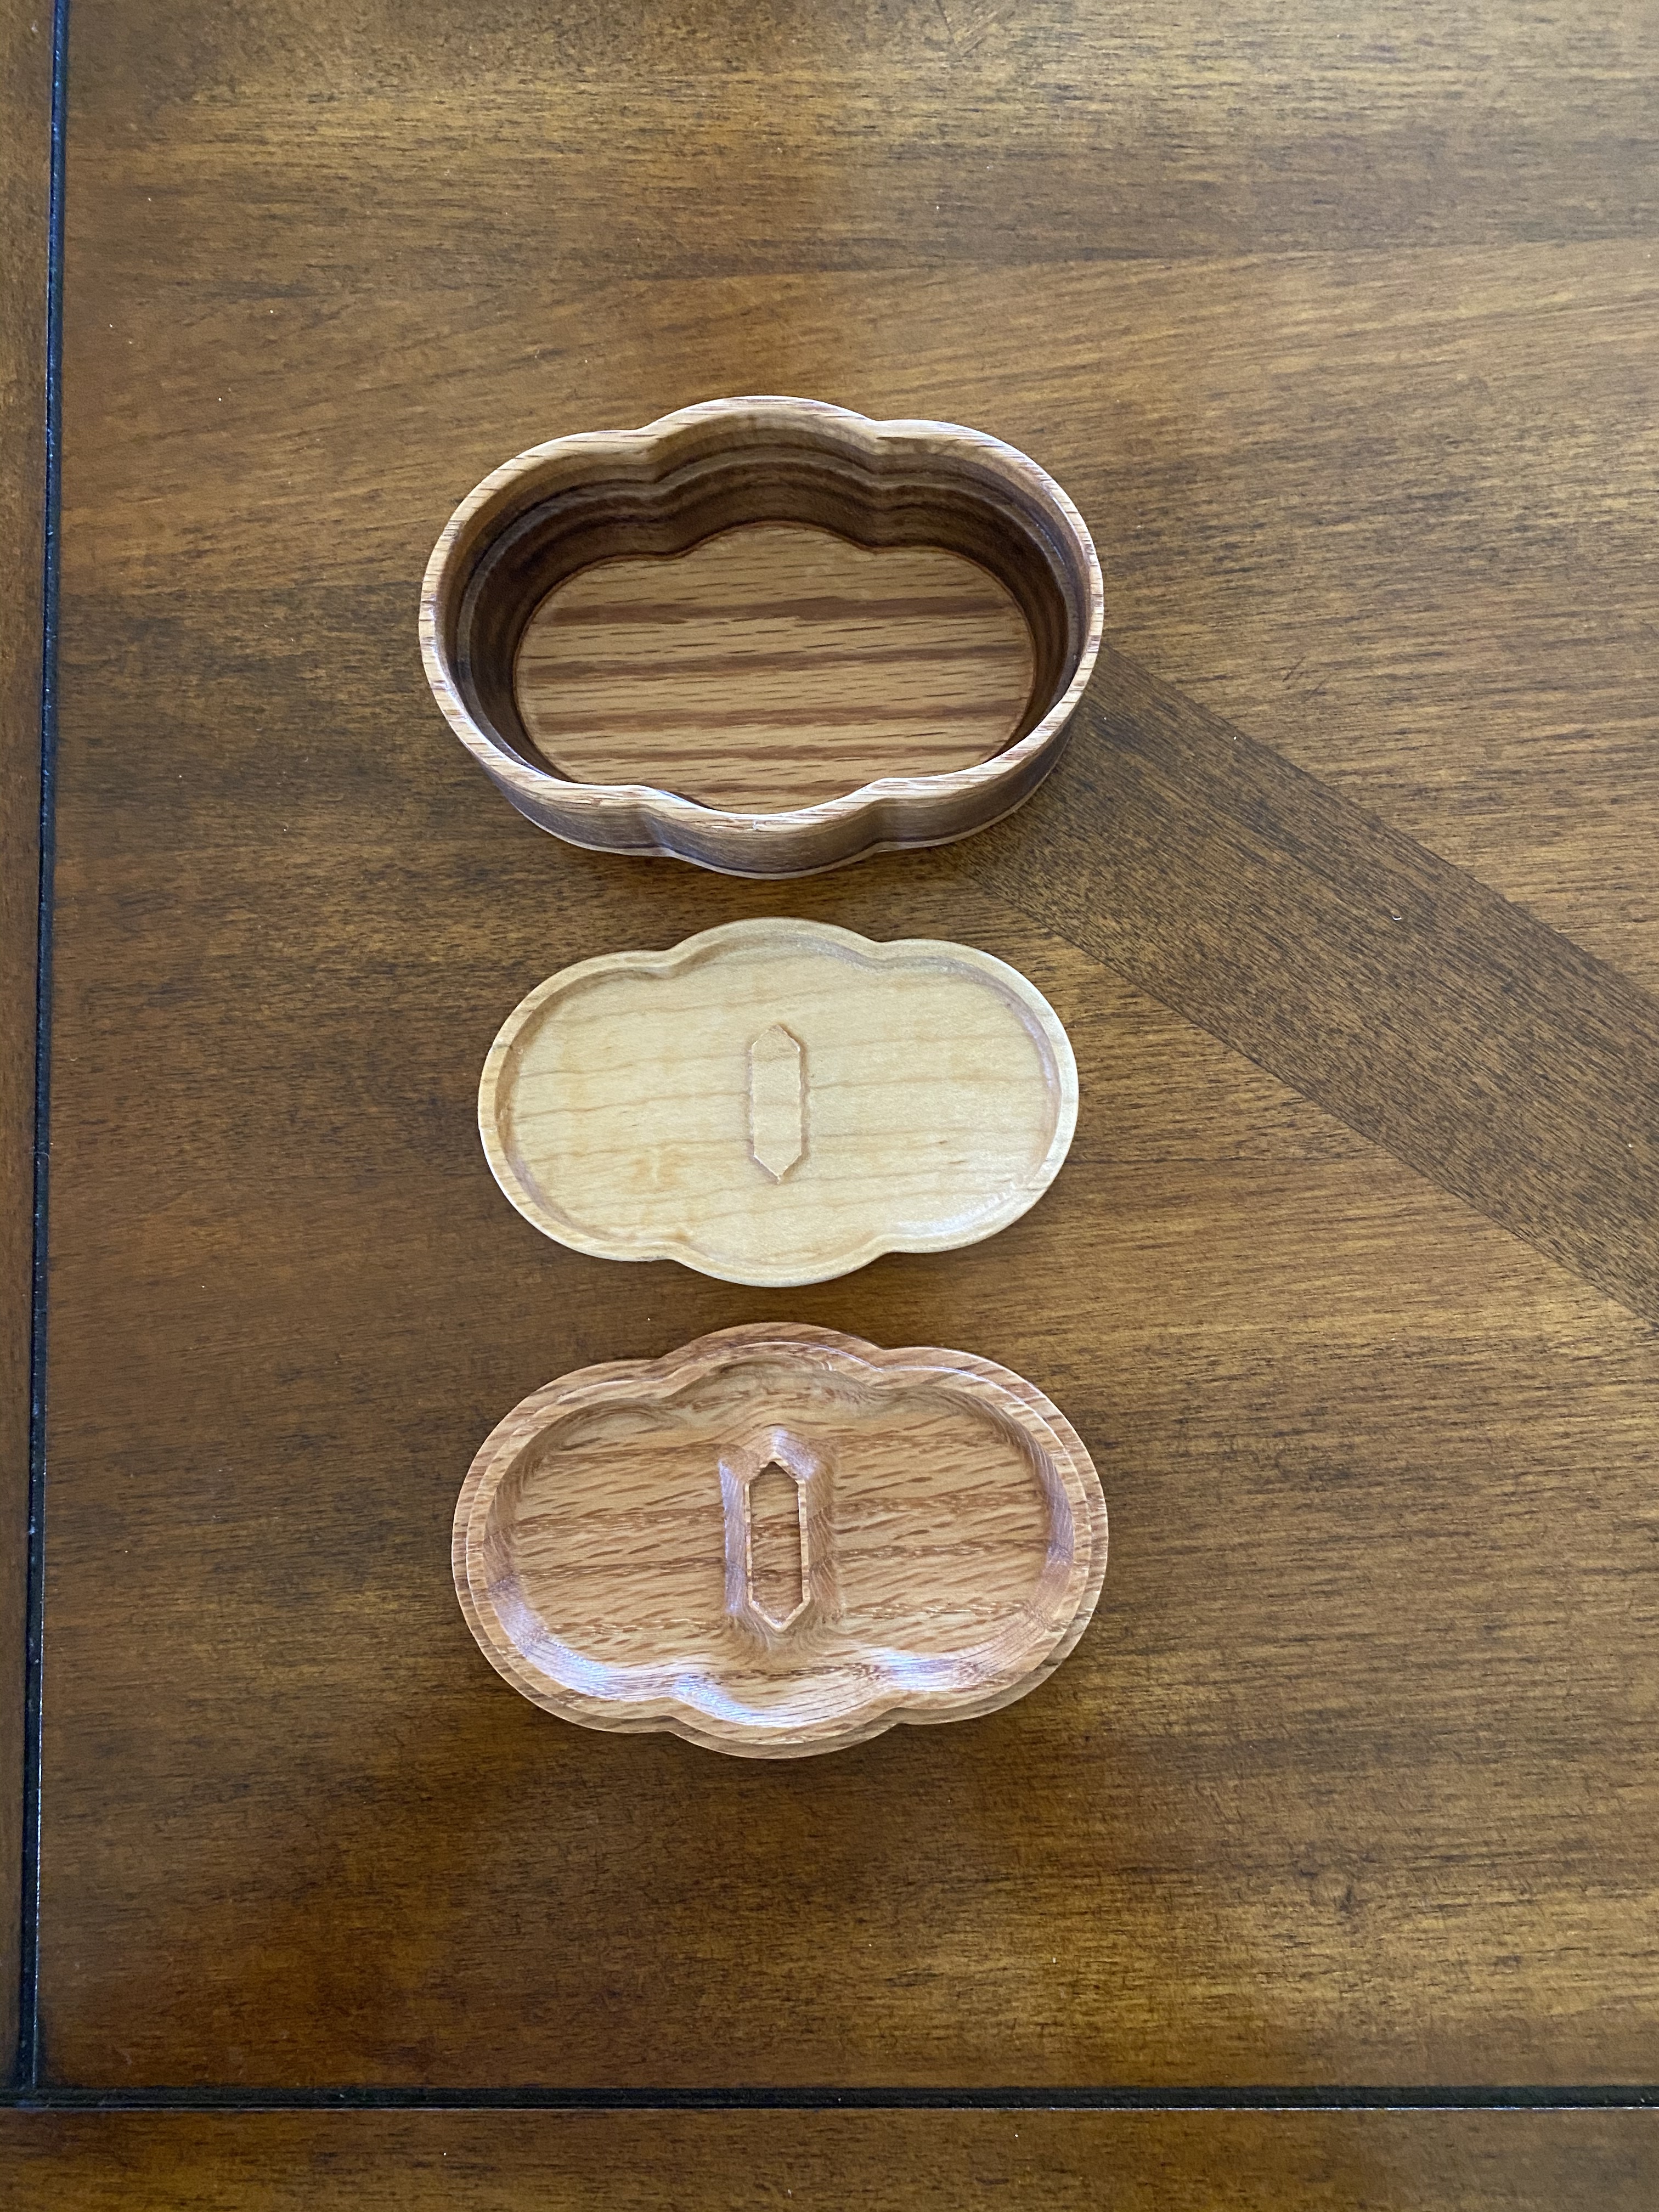
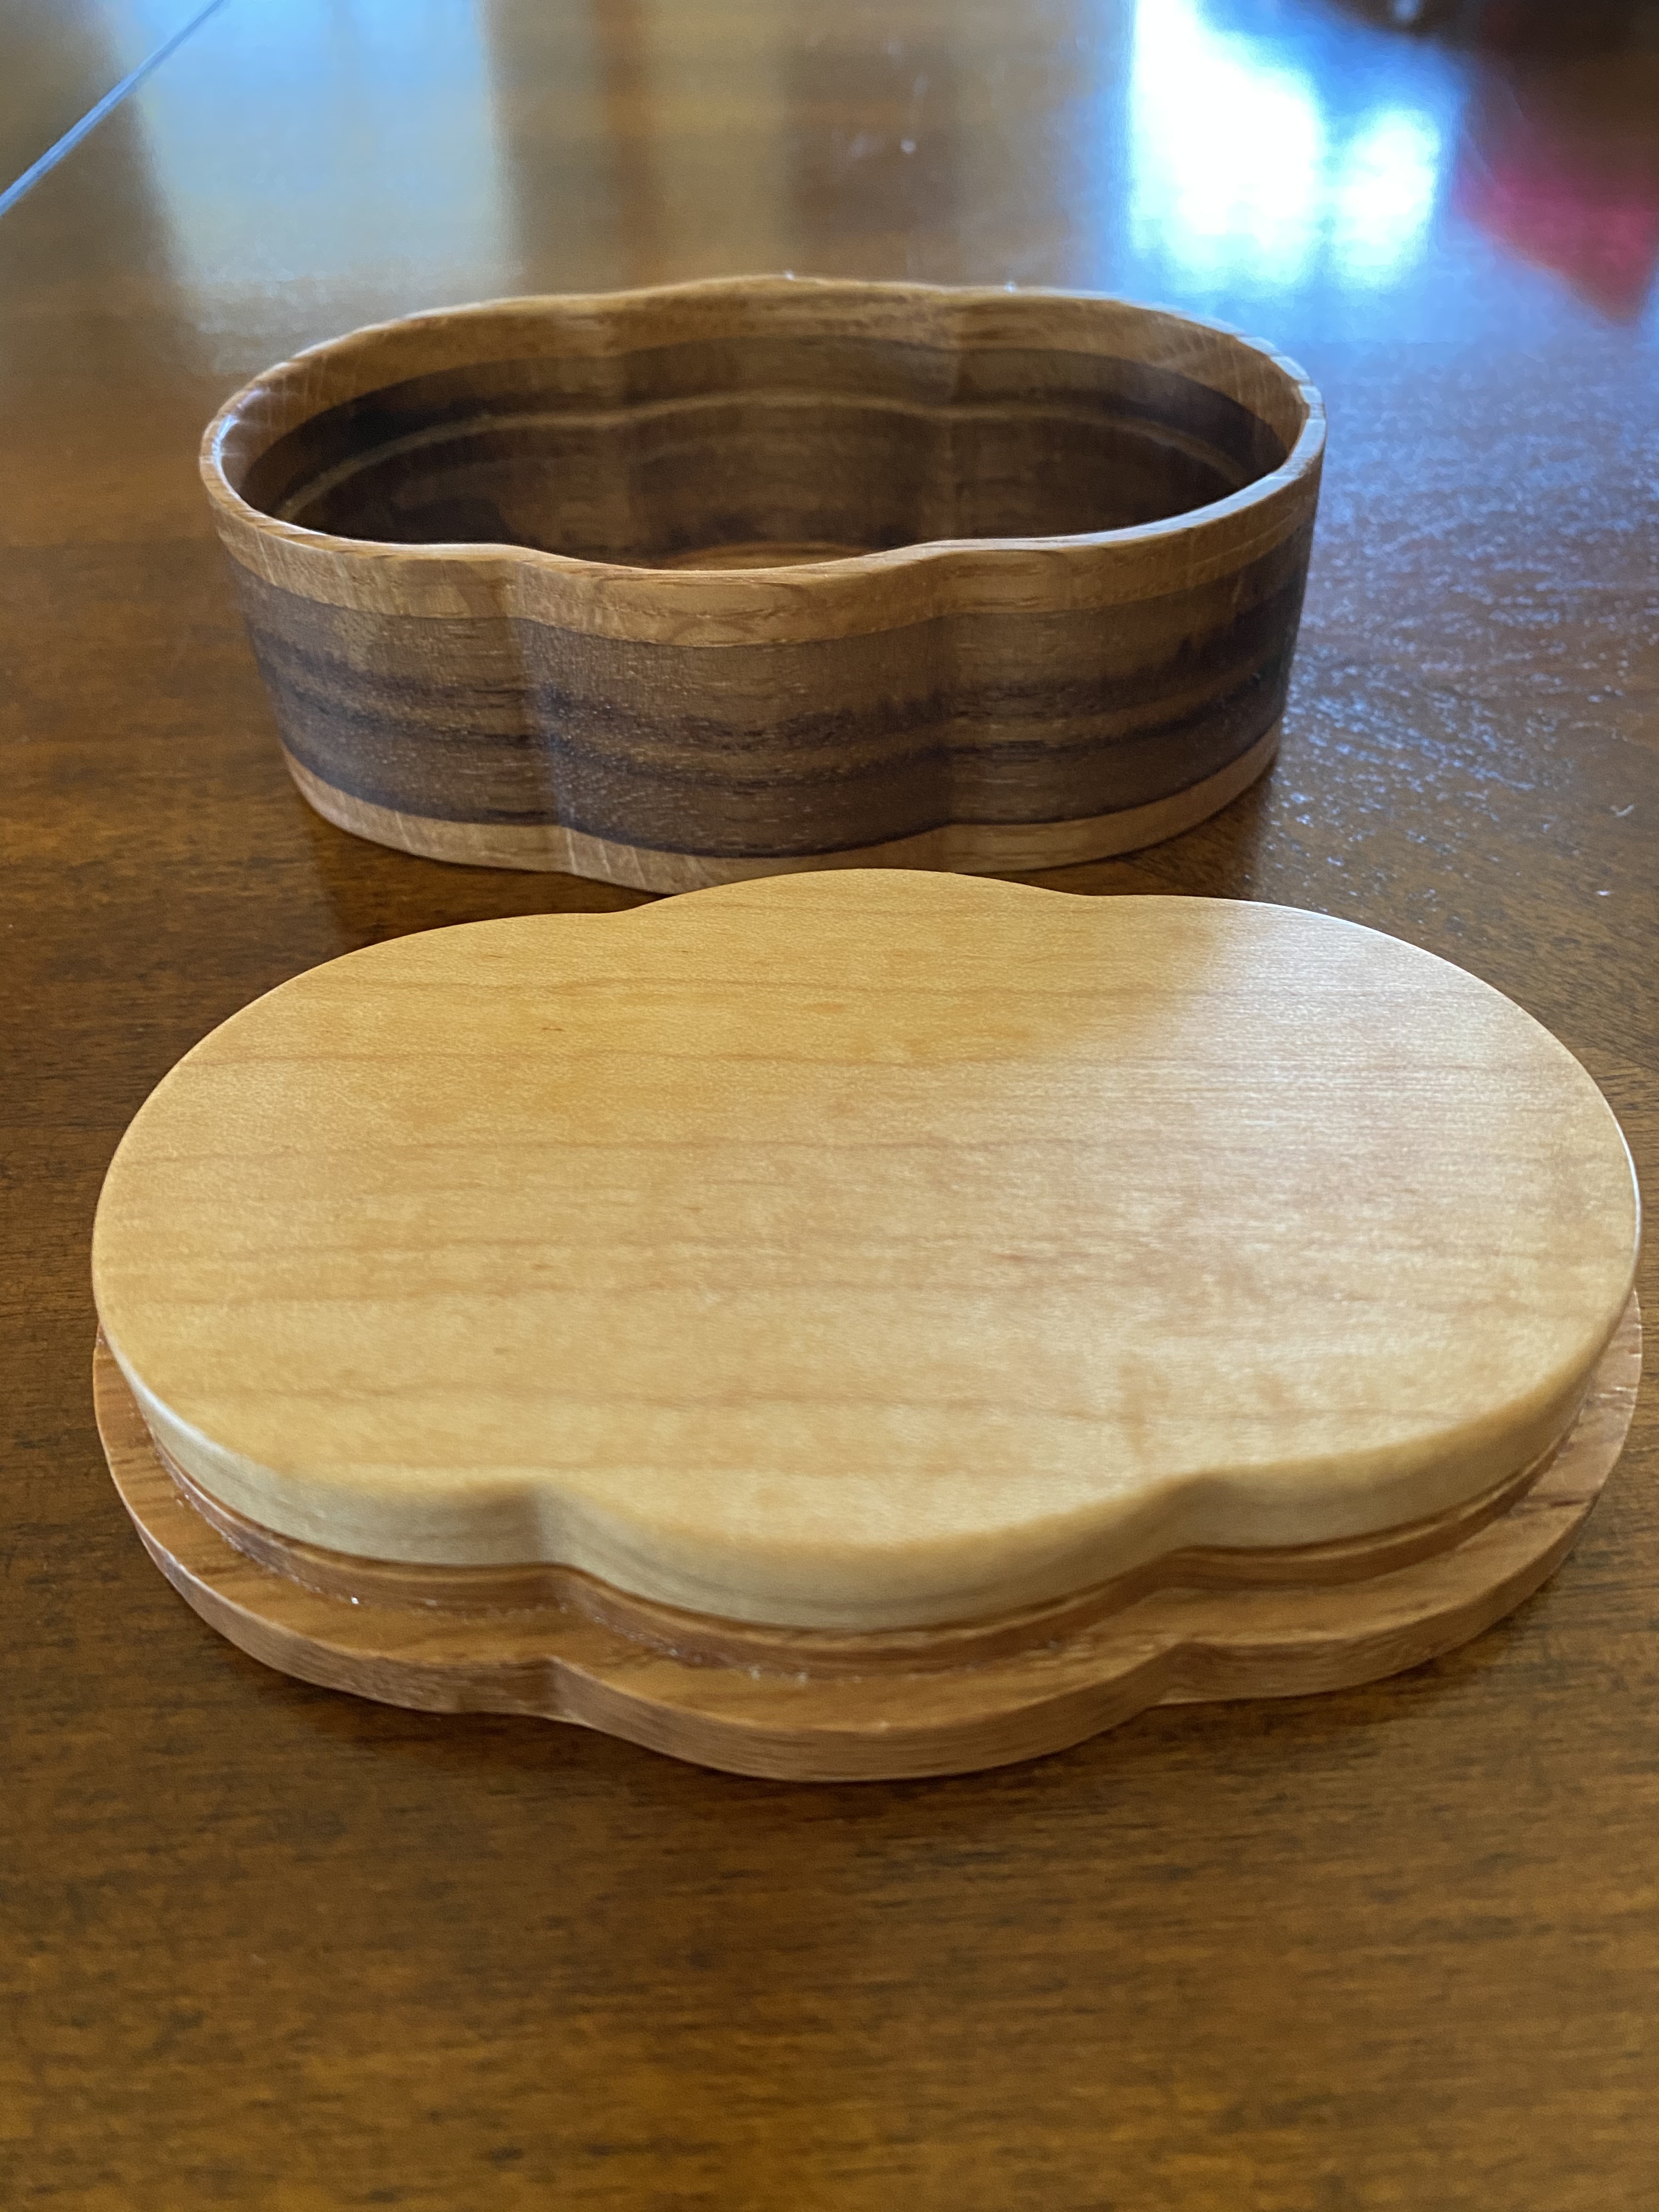
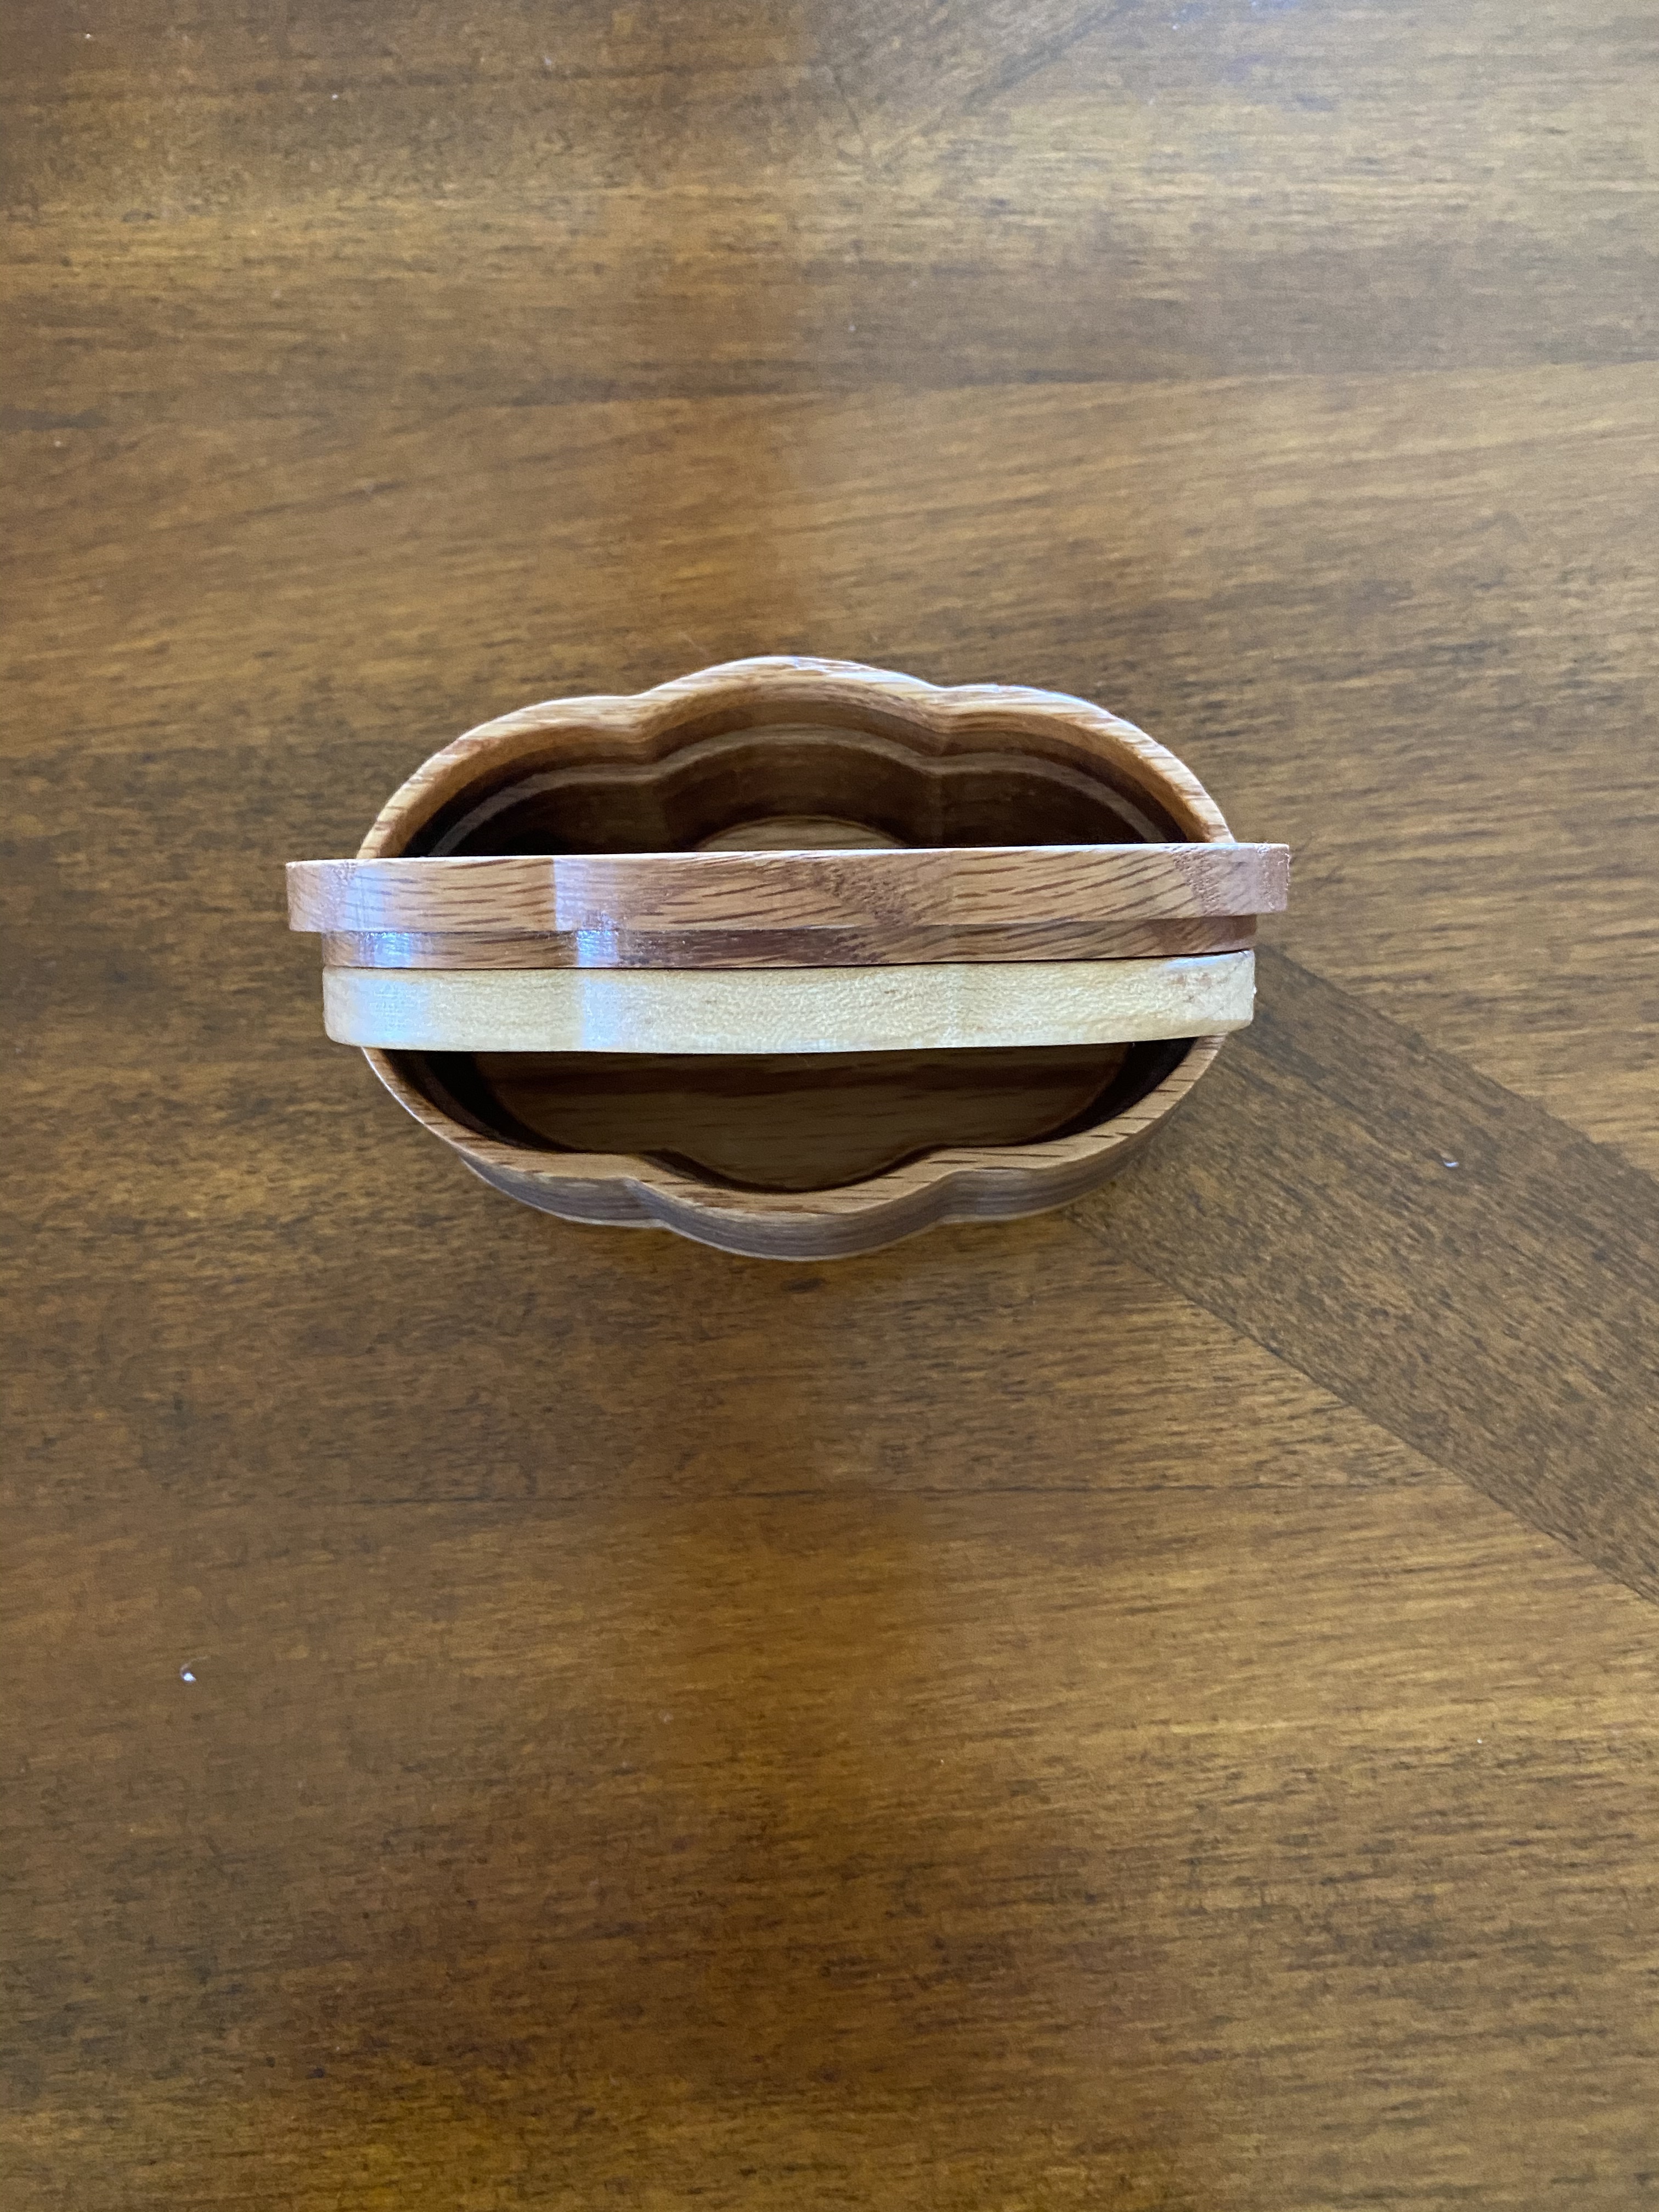
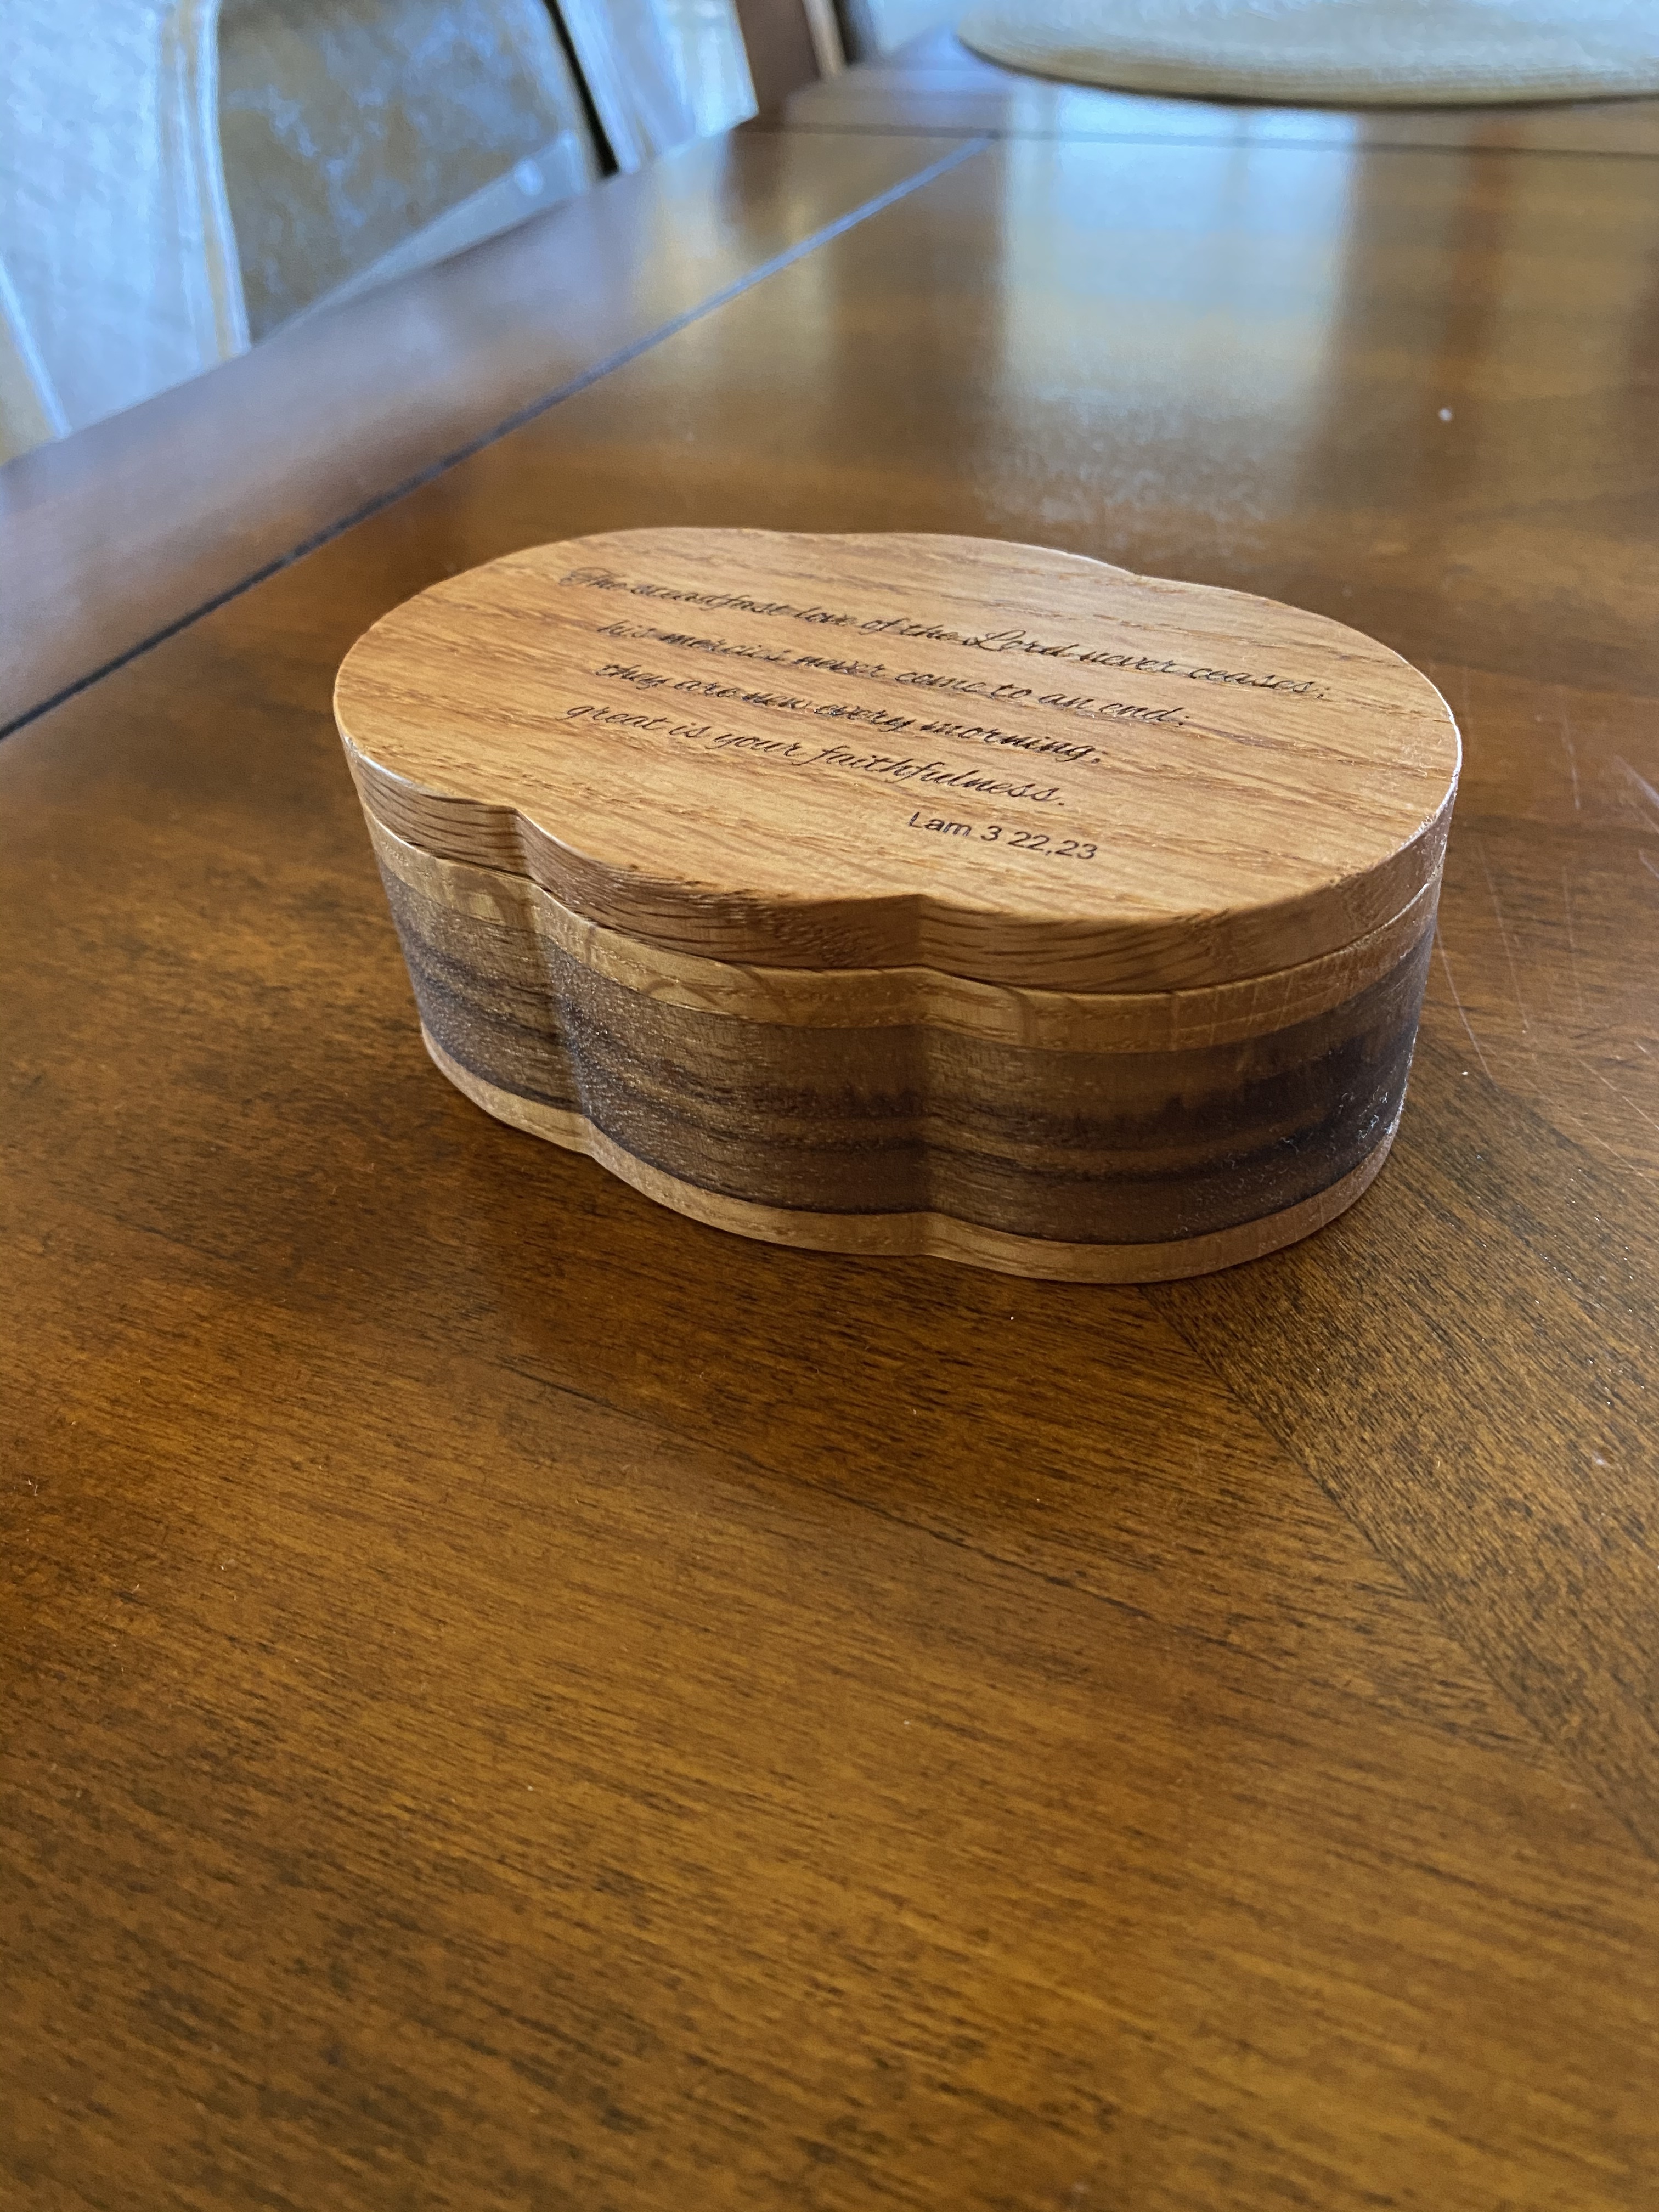
Thought I’d try a small jewelry box that features an internal tray that locks to the inside of the top cover. The bottom is a piece of black walnut sandwiched between two pieces of oak that features a supporting ledge for the tray.
The middle tray is poplar with a male plug to lock it to the inside of the top cover.
Yep and I recommend it. I bought it as a teenager and went through and made the furnace, the green sand, molds, and even foam designs that I did lost-foam casting with. It was a great guide and helpful through the whole process.
I’ll be installing those along with new MDF slats in the next week or so. I really need to do a bit of maintenance on my machine and that new spoil board is big on that list. Thanks again for the opportunity to grab those from you, one of the few times I was in the right place at the right time
Eventually I would like to get to that stage. I’m having enough of a hard time just cutting stars into a flag bluefield. Obviously operator error, but detailed stuff like this still eludes me.
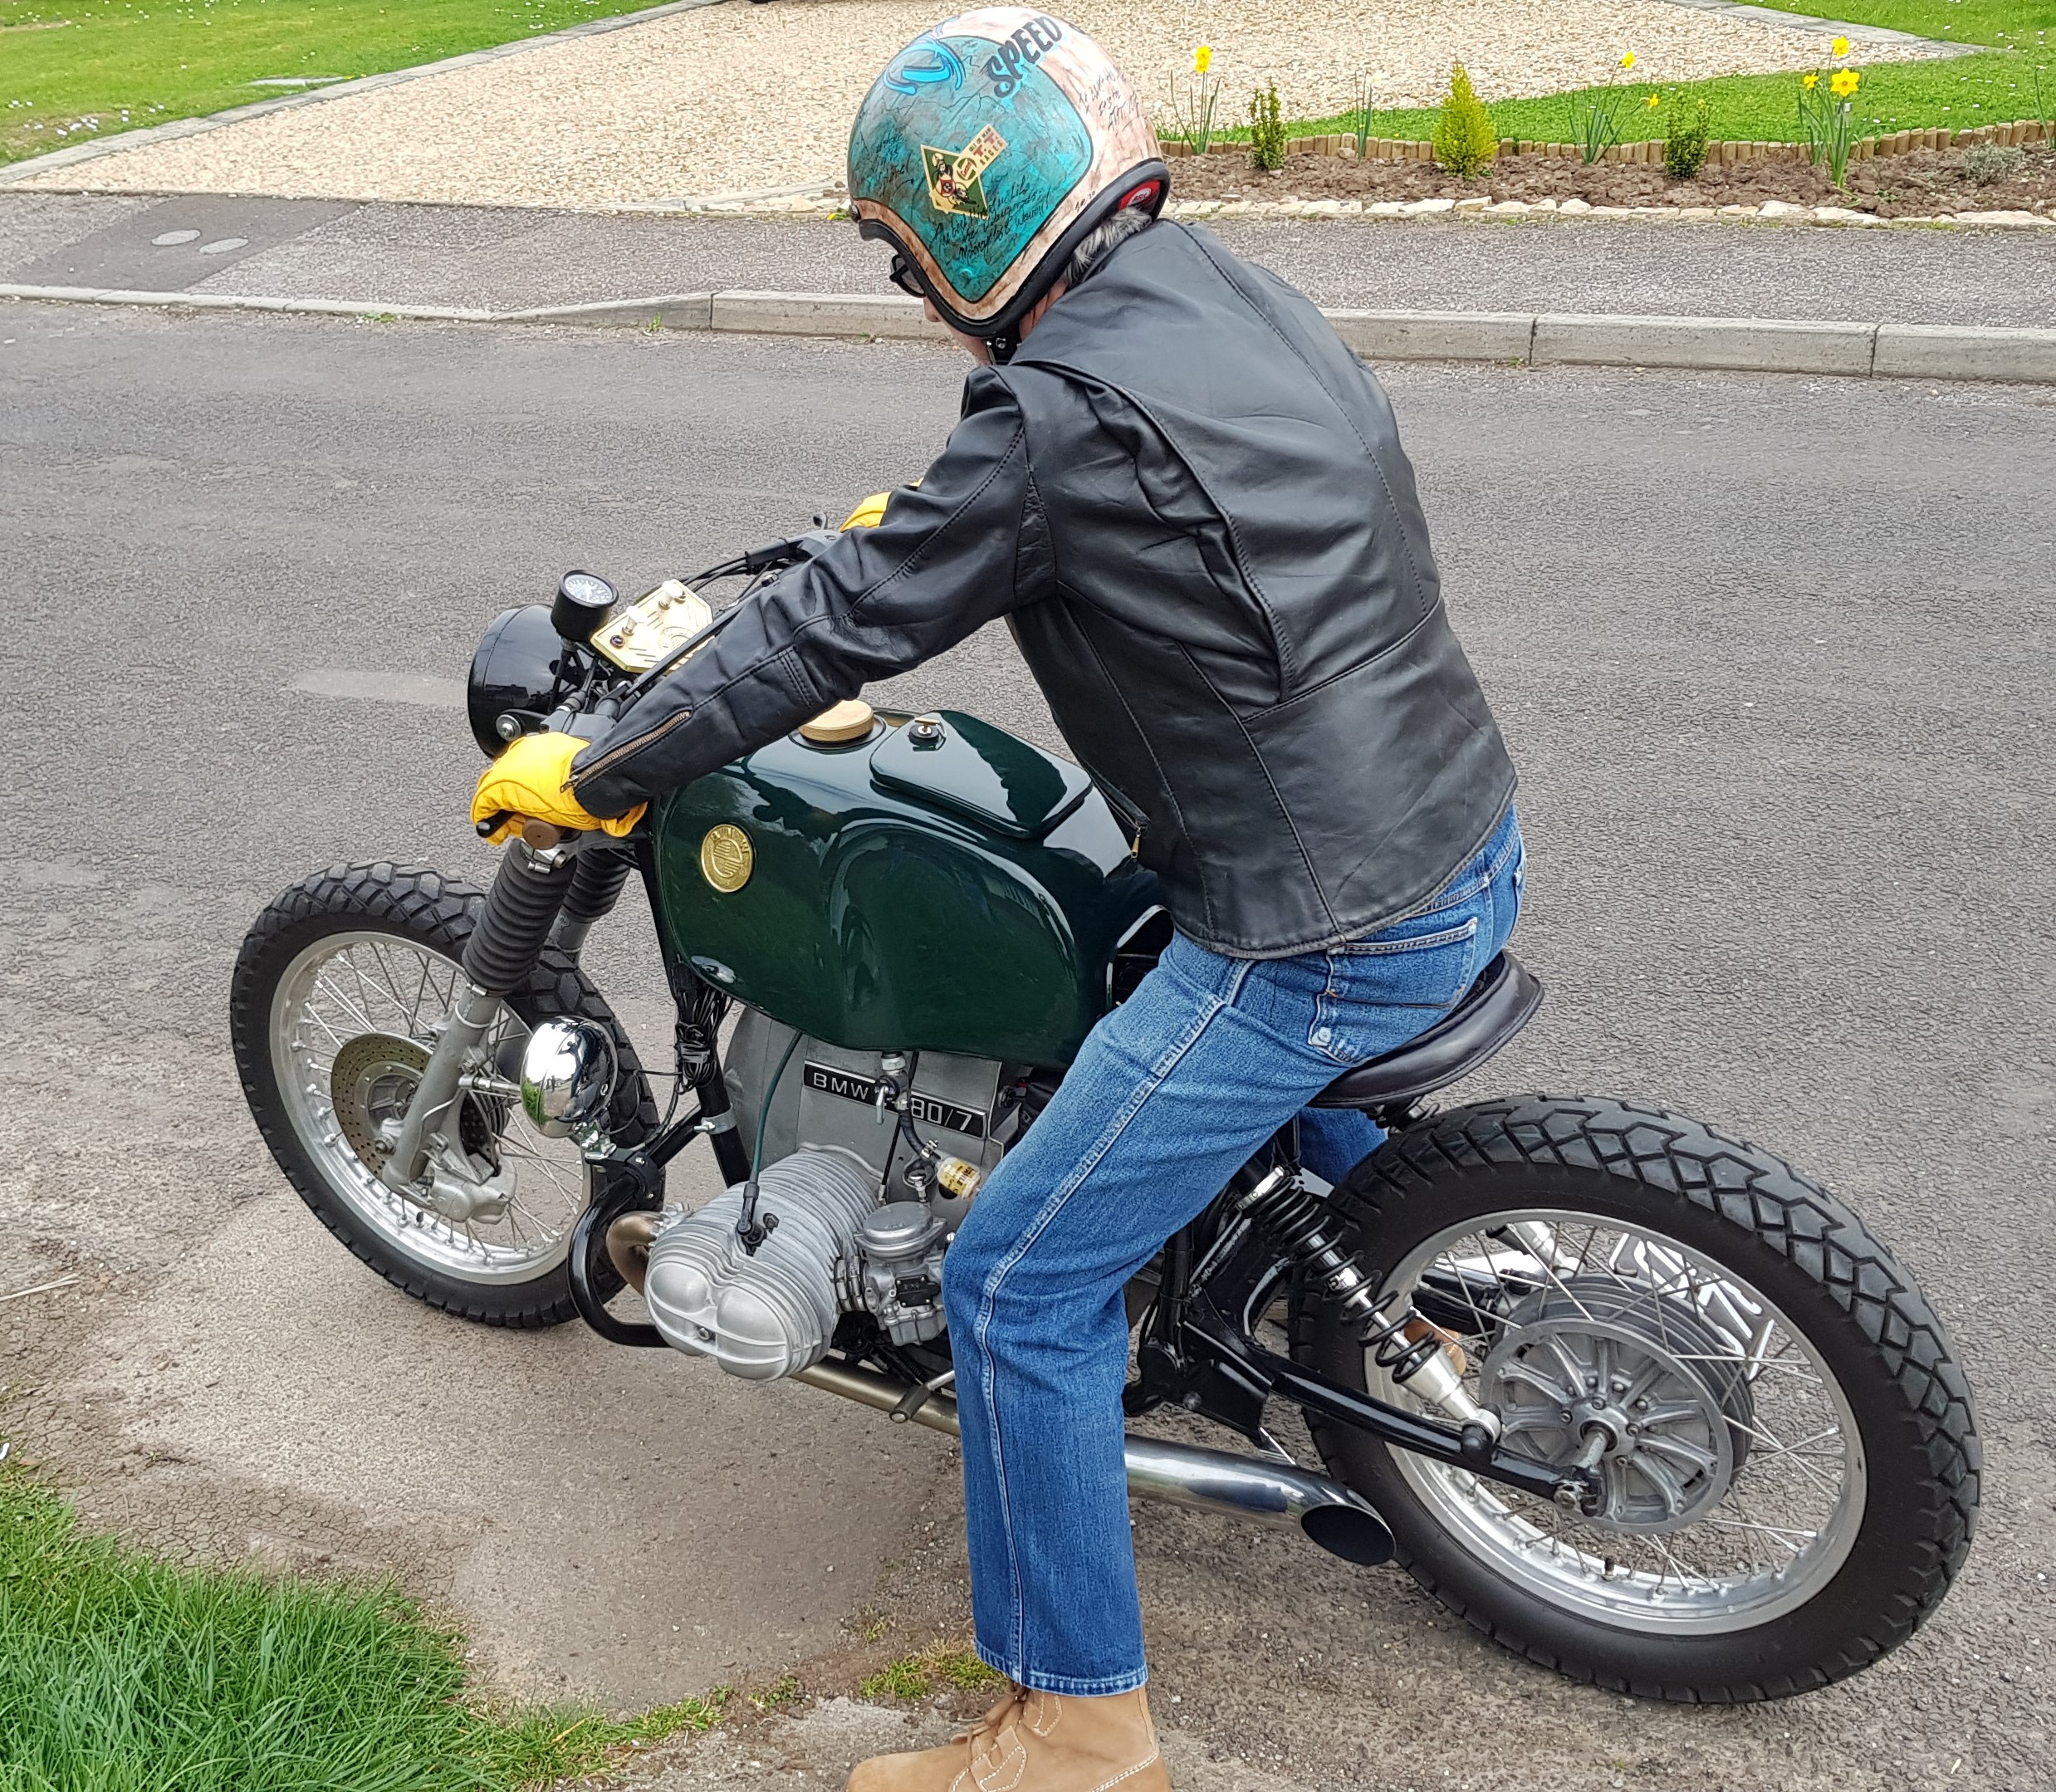
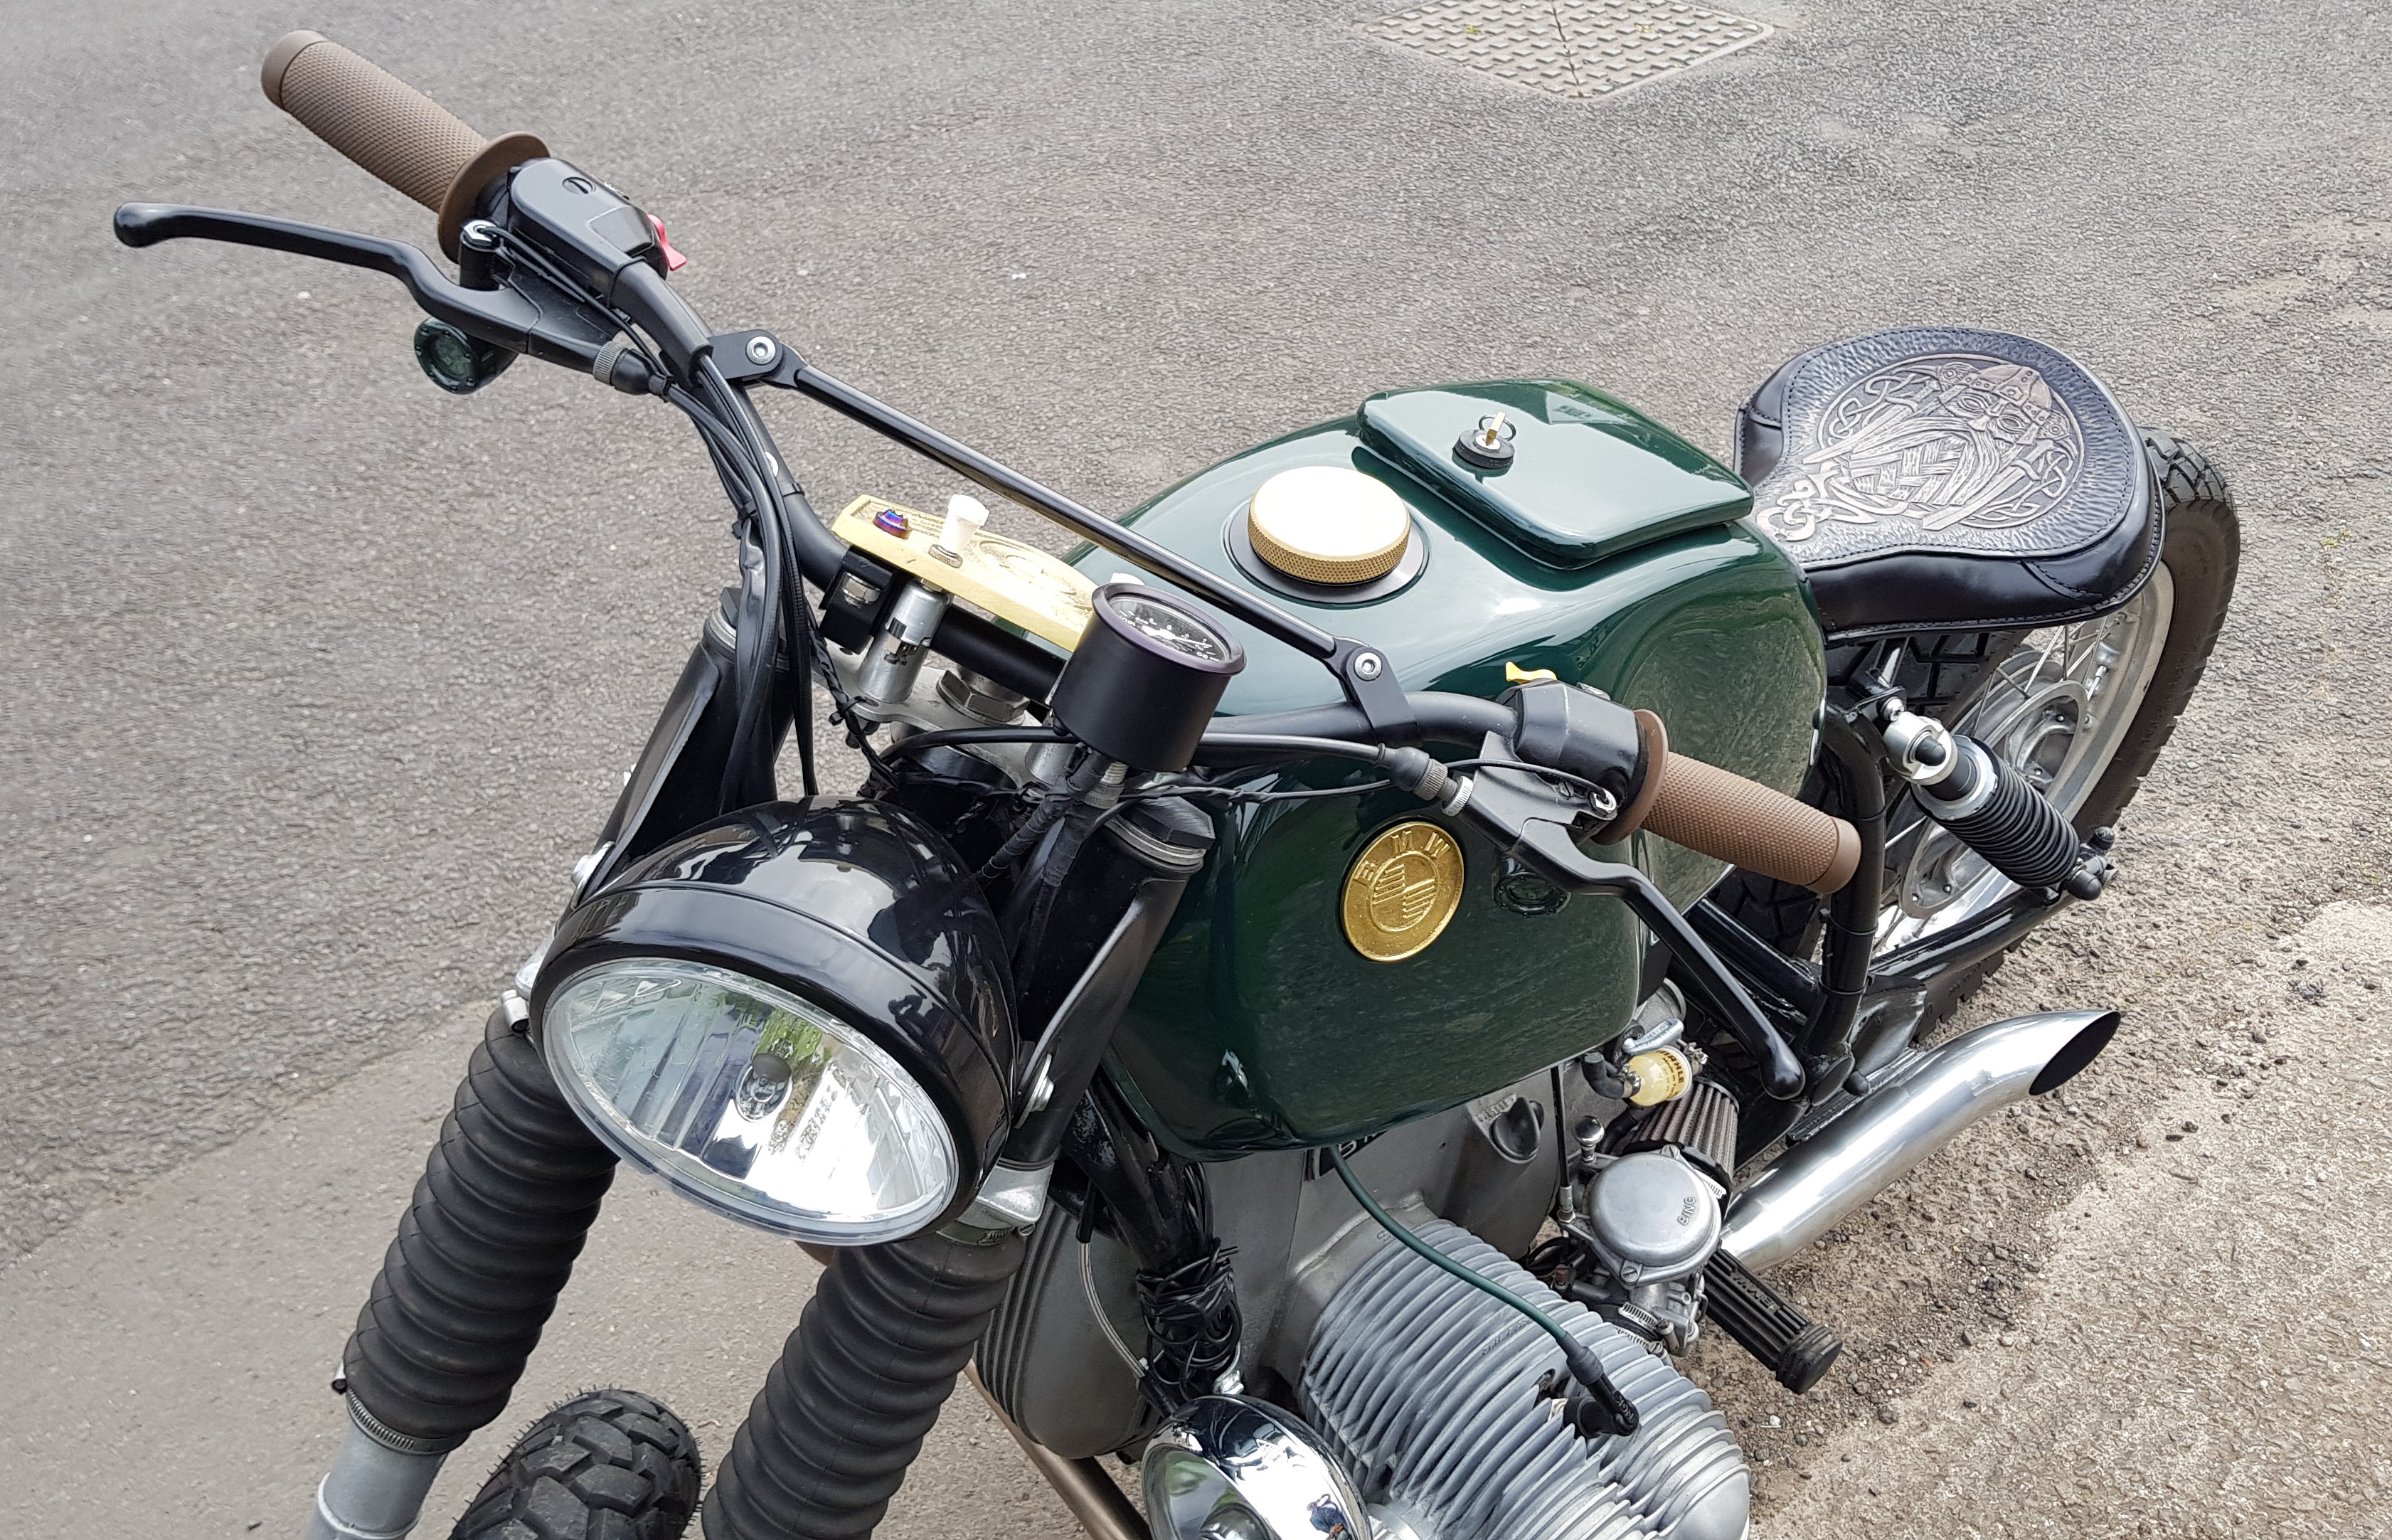
Just for completeness, and for any motorcycle aficionados on here.
The BMW visited today so that I could see the finished dash and tank badges. The patterns for these were also cut on the XXL. Difficult to cast in brass though as they are so thin, less than 2mm on the inside. It looks (and sounds) the part though.
Take a look at the seat that he has had re-leathered, a real work of art. A guy in Sweden did it.
OMG, I’m laughing out loud (in a good way). I have lost so many tools over the years (and not just inexpensive hand tools). I’m not carving my own name plates and putting them on everything now that I’ve seen this. I’ll post a pic when done (now, what glue will make it impossible to remove
I used epoxy. Some tools you can just drill a 1.25 inch hole. Then I drilled 4 holes and cut them in half. Epoxy on handle and make sure the name plates straight during drying.