Where can I find new Extrusions for an XXL Shapeoko 3?
My Shapeoko has never been square. I have dealt with it and been dealt frustration over the past year. I thought it was my error. I ended up using a ratchet strap, some sheet metal shims, and over drilling the holes. I really thought it would be easier to attain true?
Recently though I have learned that the extrusions I have are from a period (ca. 2 years ago) when they were cut less than square at the factory.
It is my understanding that all current extrusions are now cut perfectly square with a Tormach CNC at the Shapeoko warehouse? Is this true? Can’t quite find my source but I recall reading this…
Anyways, I would like to order a new set of the x3 aluminum extrusions for my machine. Mine got a bit pitted and this would really really help me keep a square. However, I see online the only option to order is for an entire upgrade package.
Is there any way or location where I can buy just the extrusions?
If your new beams don’t quite do the trick (mine did not) post here and some of us can help walk you through squaring up what you have. It is not that hard to do.
I wish squaring was easier. One of the things I have learned through machining is that this is so so so important. I really wish this was taken care of at the factory.
I might try squaring myself but I don’t really feel like a hand file will improve the quality. I don’t trust myself to be able to improve. If I don’t ace it then I have an even worse pair.
Can anyone think of a machine shop, or place in a normal city, where they would have a dead nuts machine able to square these? Do most sign shops, metal shops, etc have these?
Carbide support unfortunately is pretty adamant that I have to purchase the entire upgrade kit (ca $530) to receive any extrusions.
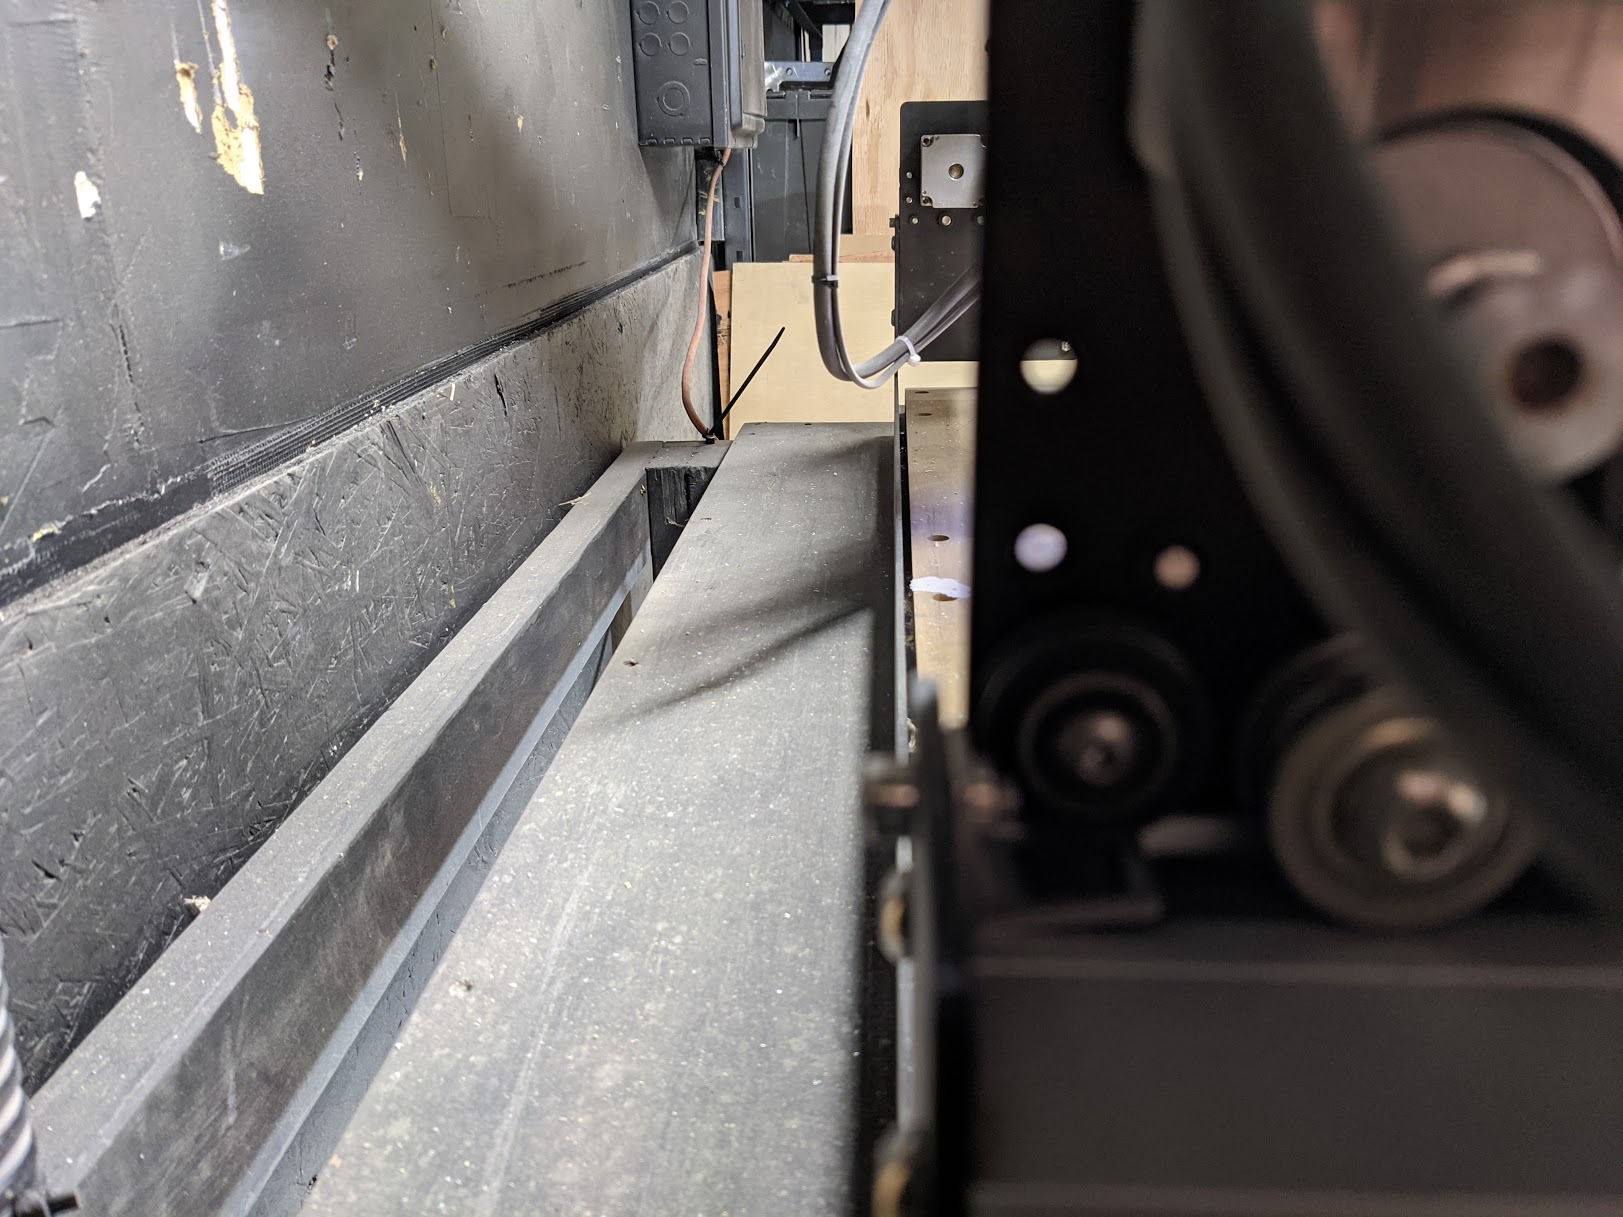
Also, worth noting is that my X axis is very pitted from amateur me not removing aluminum shavings from the guide wheels. This is affecting my cuts pretty noticeably which is why I really would like to get new ones in addition to the un-square current condition.
Loosen the beam screws and pull the beam to the front, measured the gaps between the beam ends and the mounting face.
Take the feeler gauge set apart and insert the appropriate feeler gauge blades where needed and tighten.
I had to add/insert 0.047 to the front/right side and 0.046 to the rear/left of the x-beam to get it square to the frame.
Use two sets for each beam that you need to square.
I would guess this brings the beam back to its intended length as the v-wheels sit nicely centered on the inverted v rails.
There is a video on youtube of some guy using Aluminium foil but I would avoid that and use the hardened steel feeler gauge. The aluminium is soft and will compress and cut under the ends of the beams, a feeler gauge blade will not.
That same guy also has a video showing how to “TRAM” the x-axis. He uses a soft jaw quick clamp to twist on the beam and tighten…Avoid using that method at all costs. Any force you have to apply is transferred to the v-wheels. I used feeler gauges again on this, placed between the spindle mount and backing plate.
Now that’s a good idea, cheaper than the pack of shim stock I bought.
This is really important, there’s very little position adjustment on the Y rails and if your X beam is short or long you’ll be fighting an uphill battle.
If you have a dial gauge using it to check the distance between the Y plate and the face of the Y rail as you rotate the eccentric nuts is a good way to see if your X is longer or shorter than the gap between the Y rails. Remember to loosen off the Y rails and re-tighten with the X beam in place like in the assembly instructions.
It is good to know it’s not just amateur me struggling with these things.
In any case I will be ordering the shims and seeing if I can use those to help things out.
Worth noting is that Carbide support is unwilling to sell just the rails and insists on selling the entire upgrade kits (ca $530). Whether or not I would entertain the justification that it’s “easier for inventory” it would be much better to sell each part, or at least groups of parts, as the un-square + pitting is making the machine hard to use.
I will try some more and thank you again for the help!
BTW, if you’re having trouble opening up the gap between the X rail and the Y plate to insert the shim, even after loosening all 4 bolts on the end you’re working on, loosen off the eccentrics holding the lower V wheels on that plate to get some play between the V wheels and the rail to give you some literal wiggle room.