I created this design from scratch but directly drew the idea from Apollo Crowe’s video on the Carbide Youtube page. Specifically: https://youtu.be/ie3_J22cRFQ?t=2m1s. So the credit belongs to @ApolloCrowe.
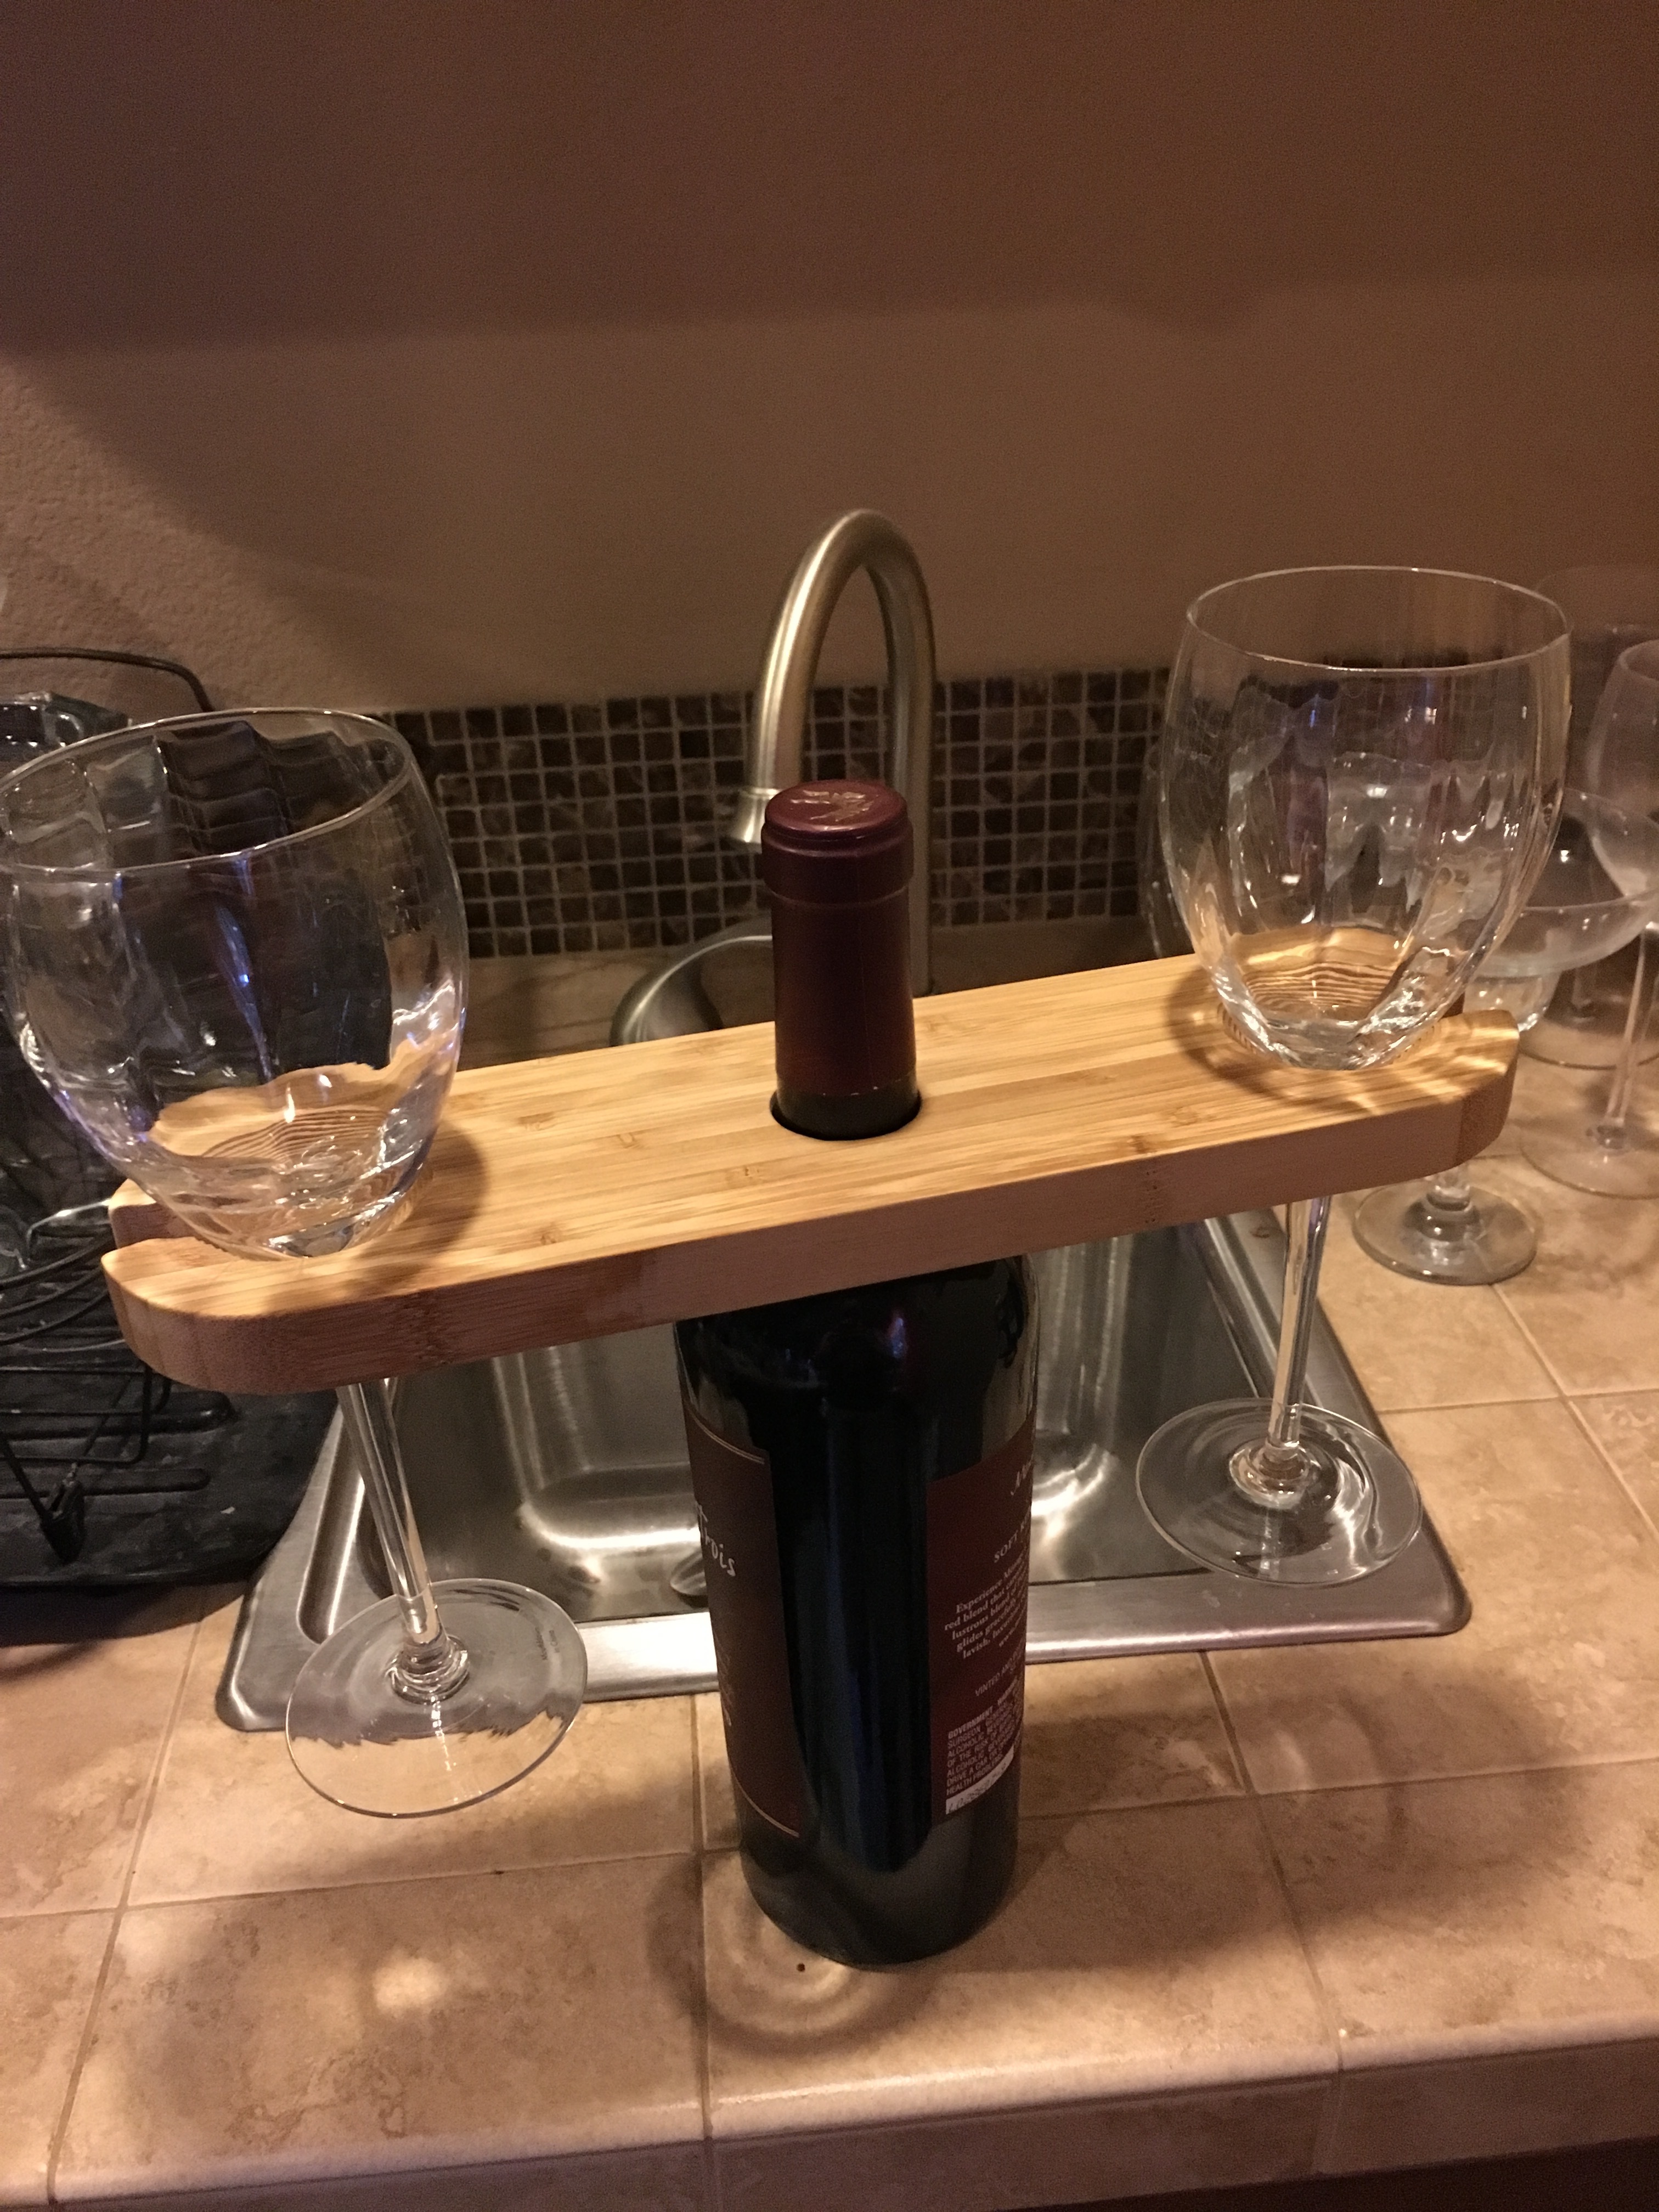
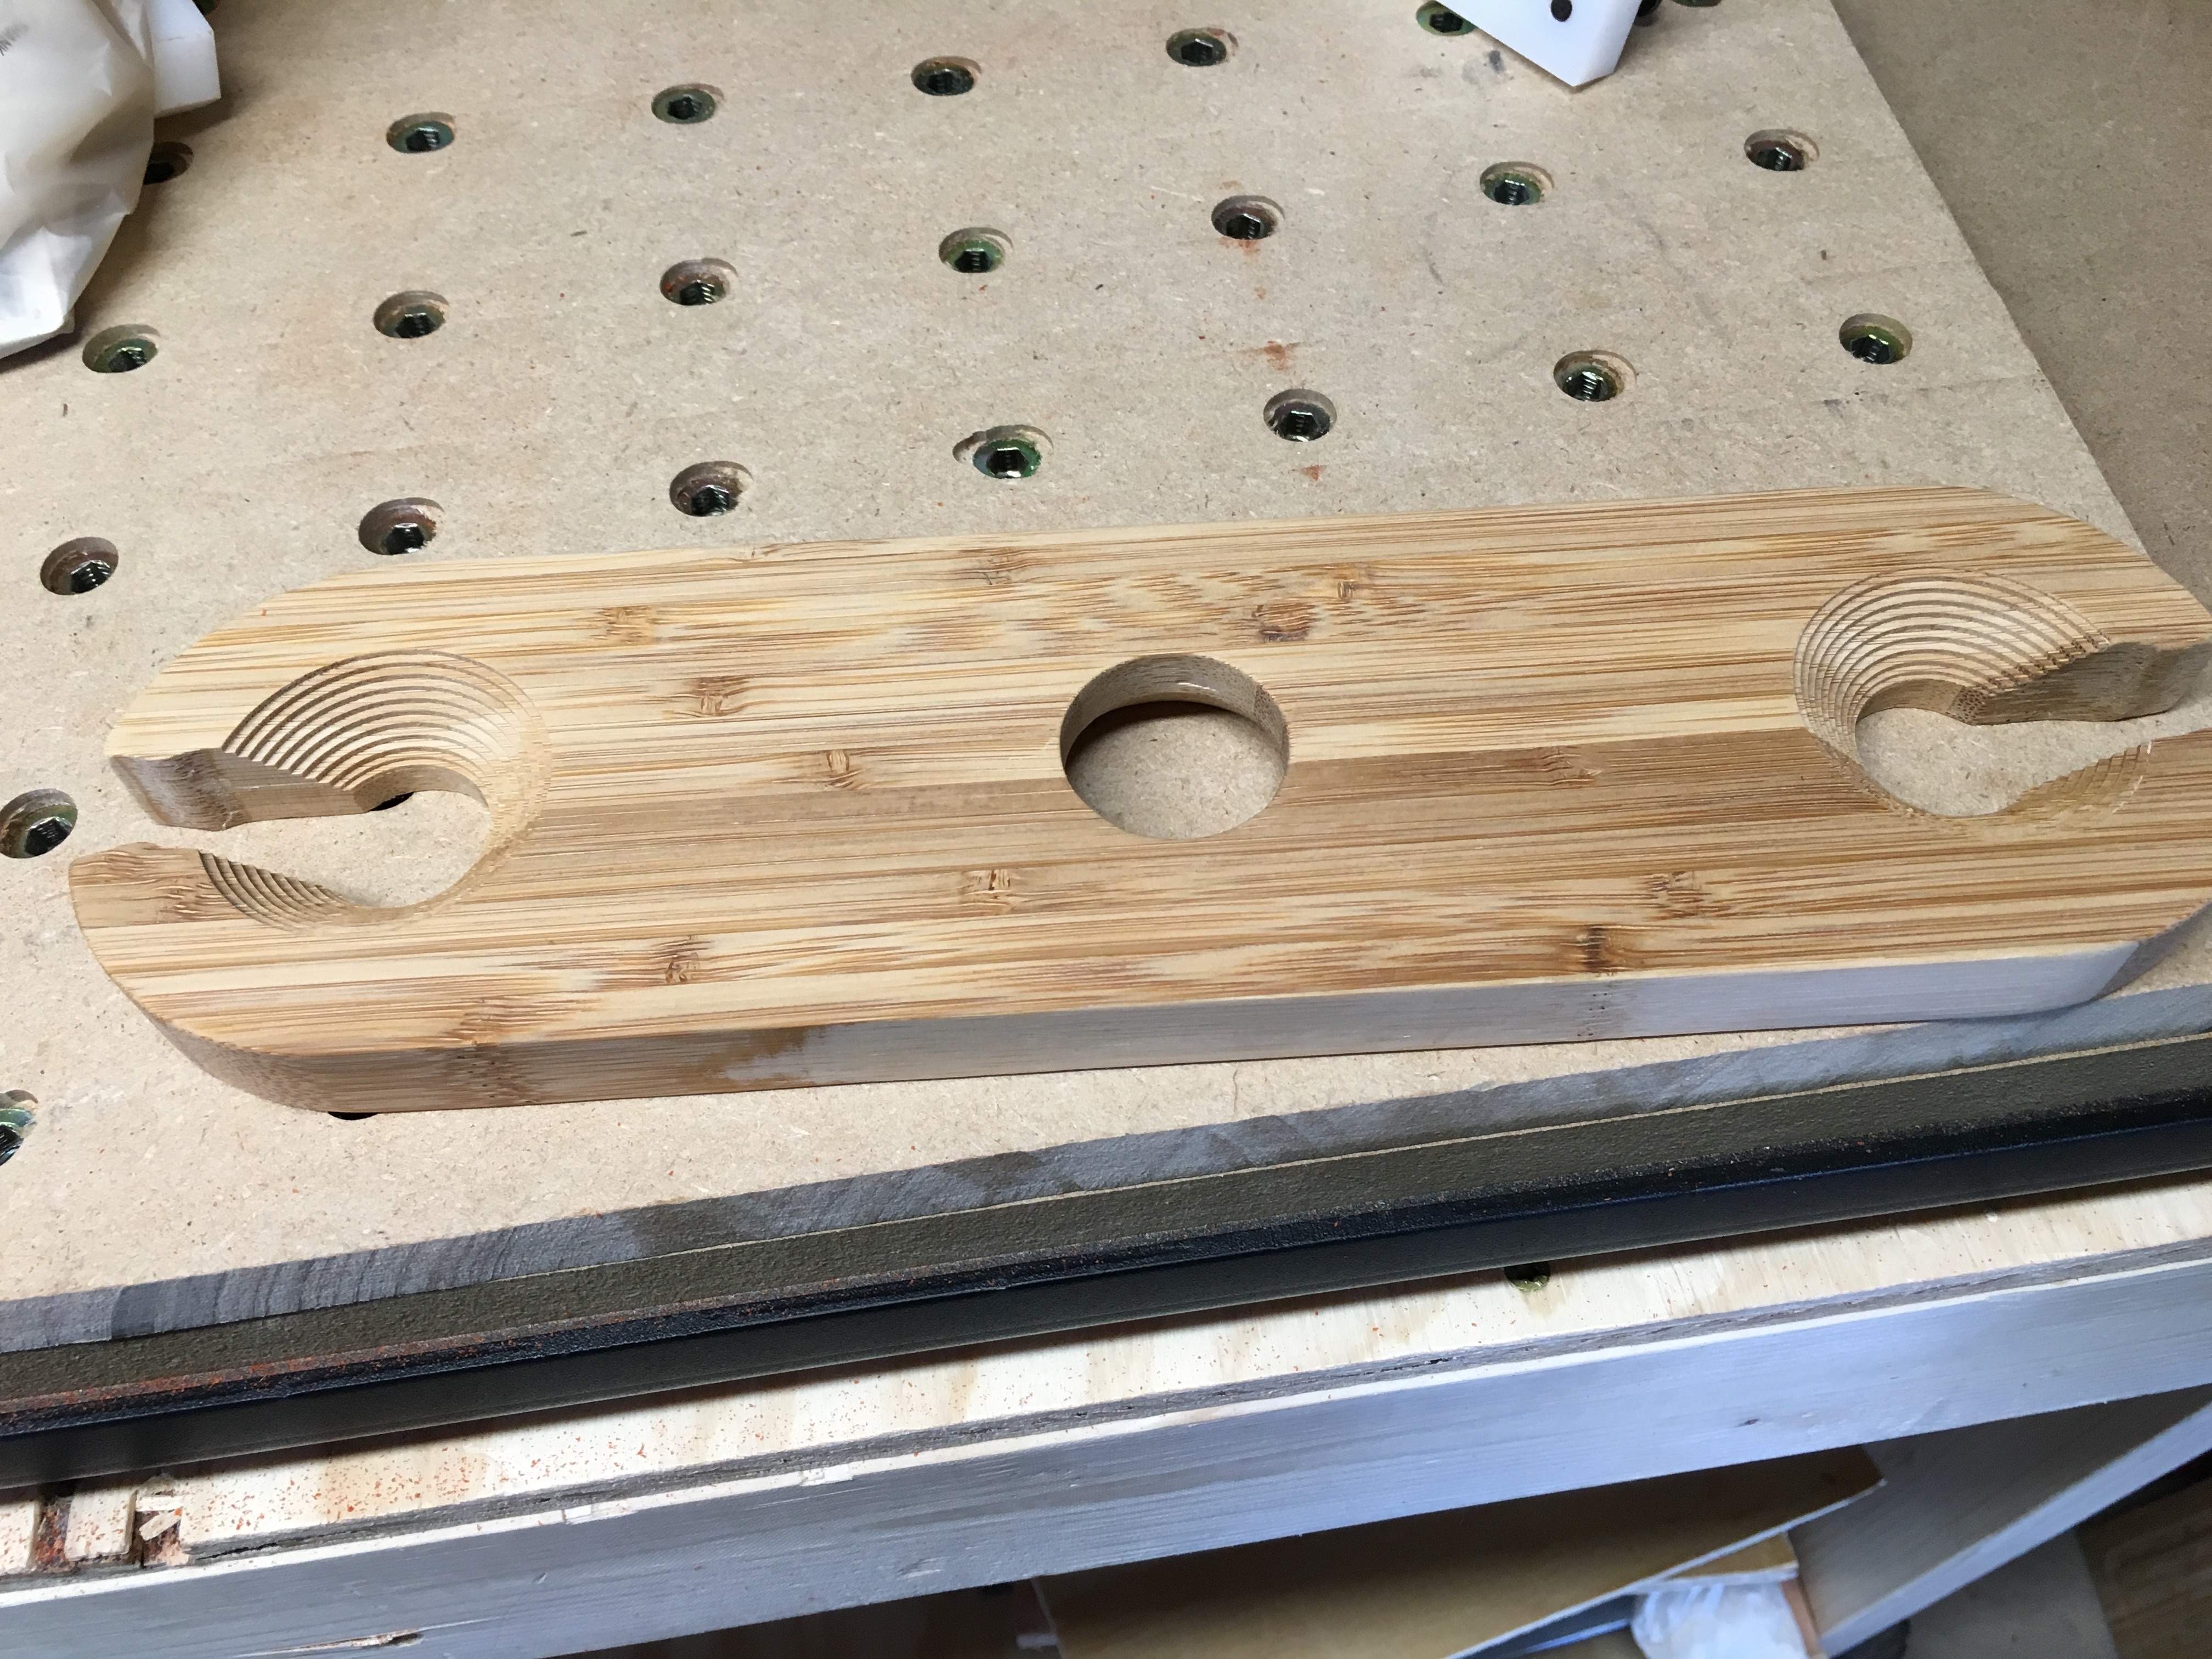
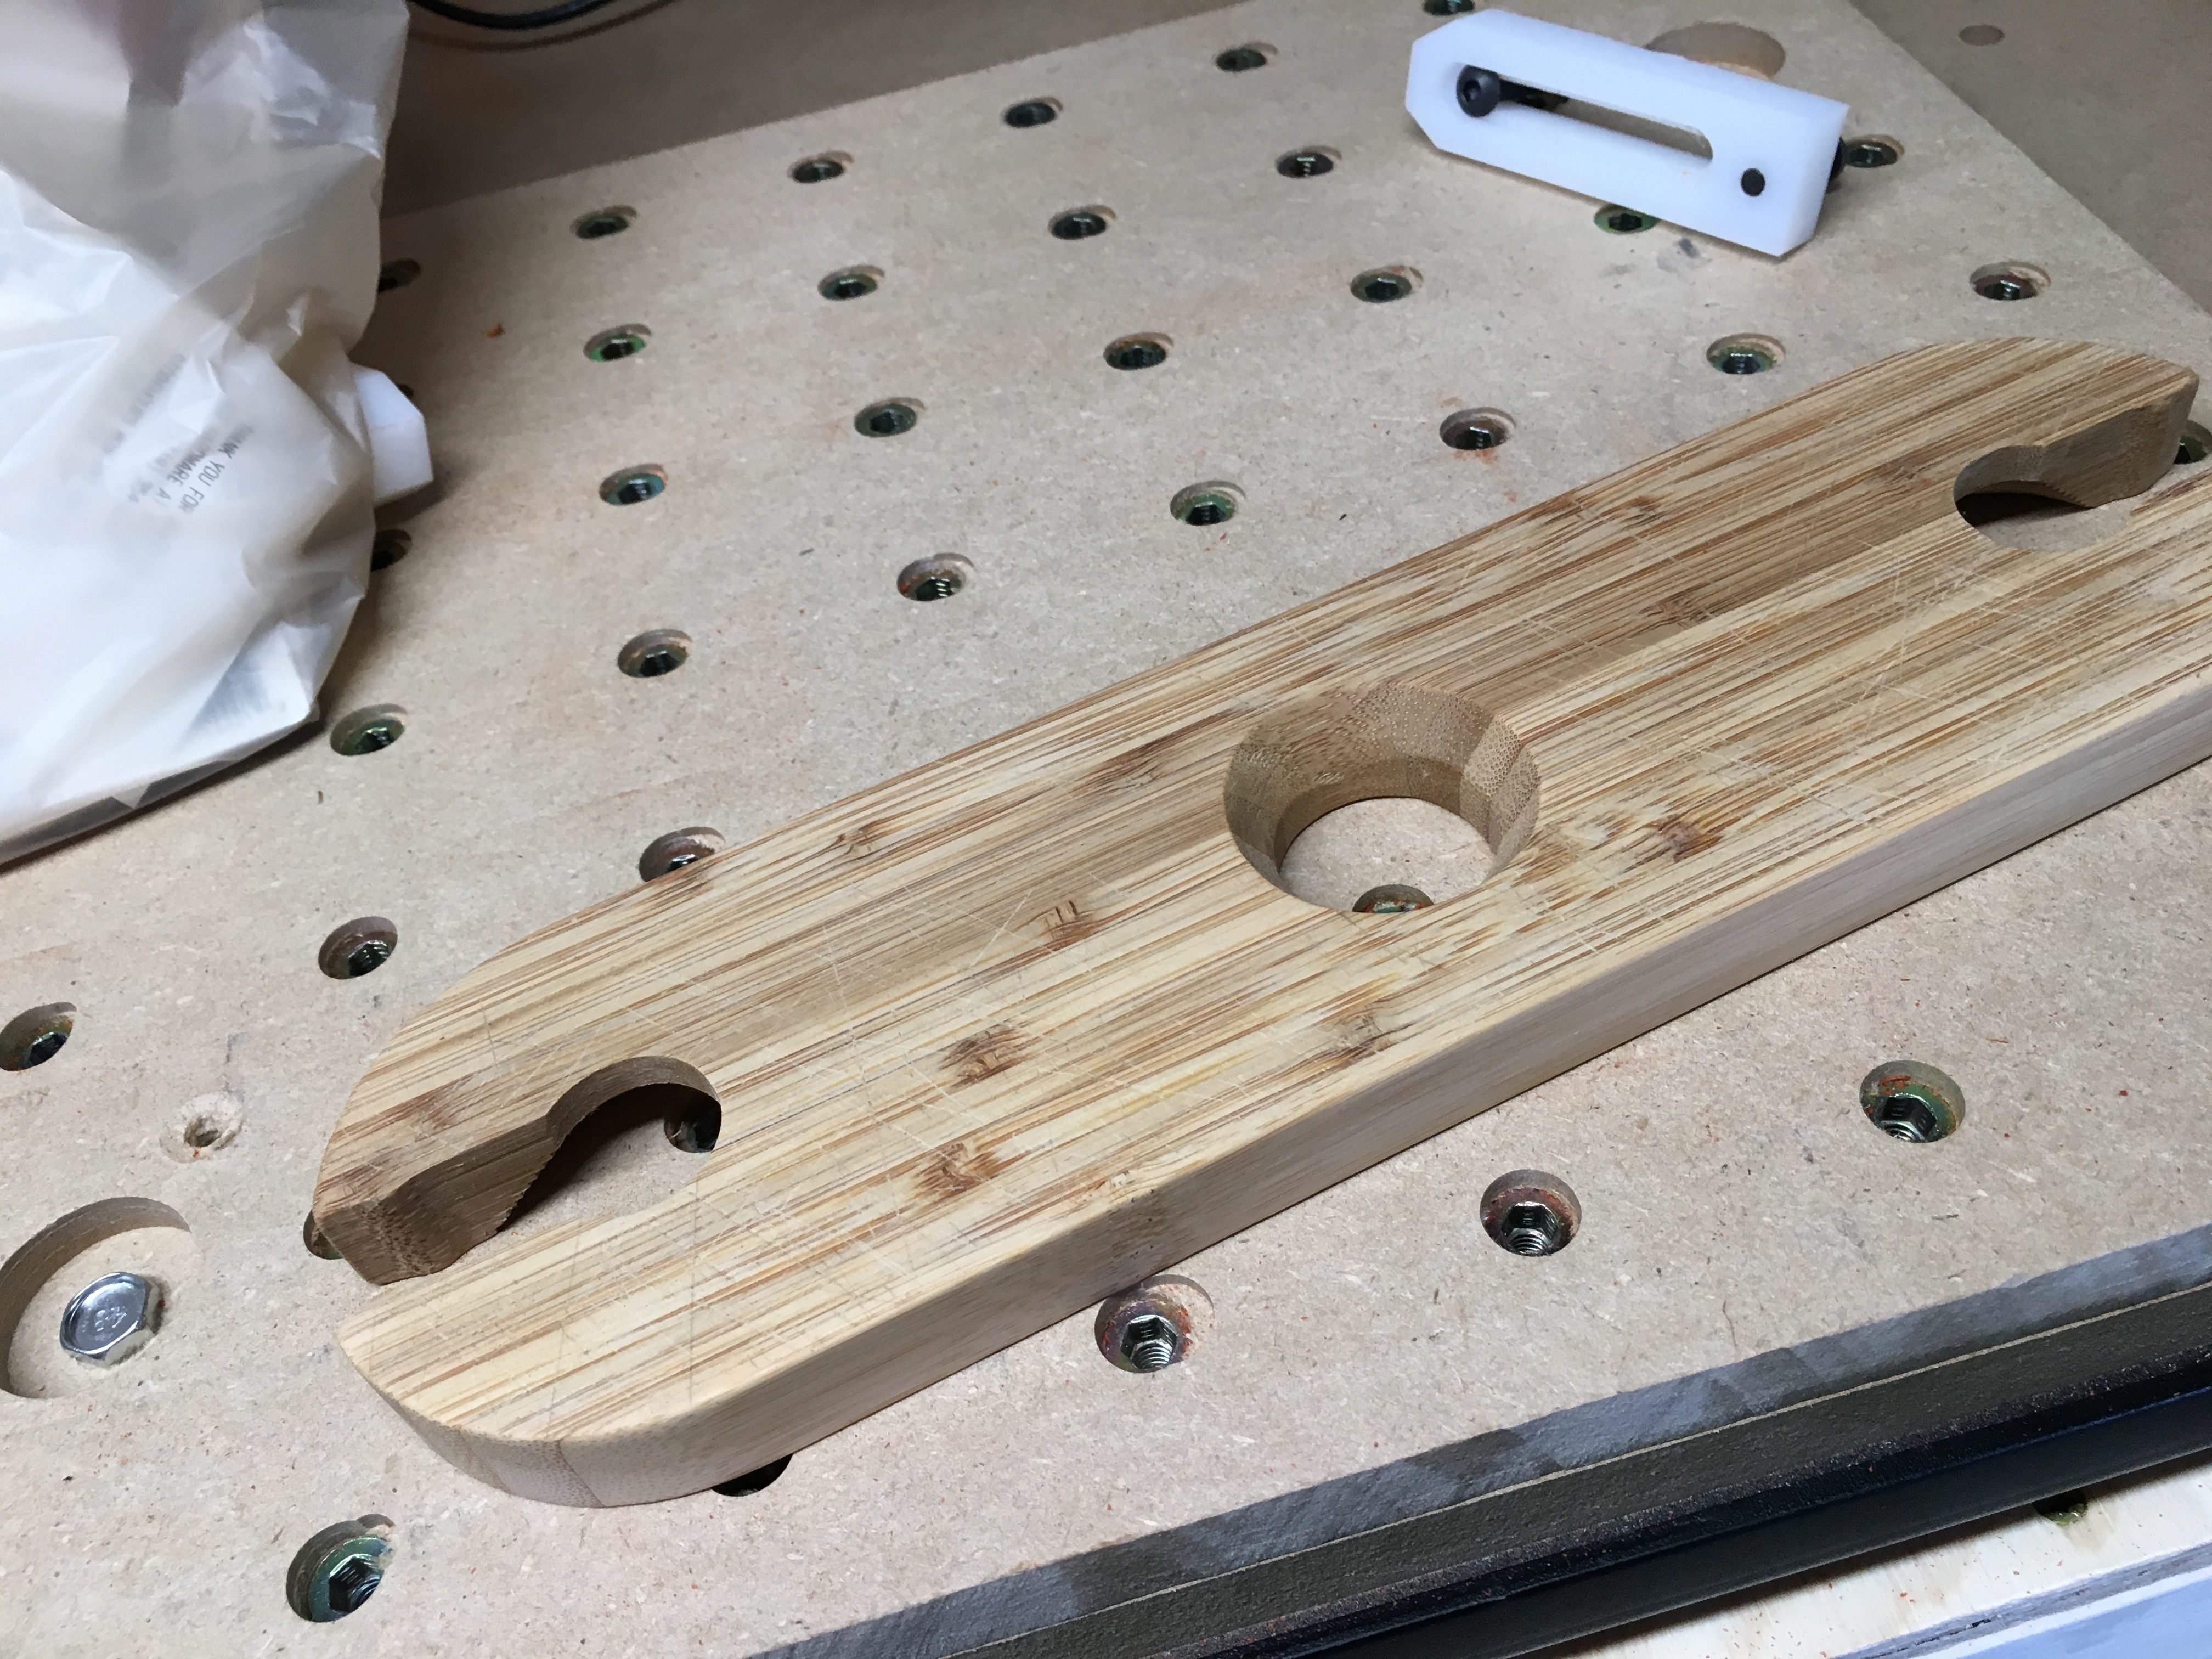
It was a really good project to practice bit changes, different types of tooling, and just get a better feel for how to model in Fusion 360. I made a few minor changes from the original. I use a 60 degree V-bit to put a 30 degree bevel on the underside center hole, to allow it to “grip” the shoulder of the bottle a little bit better. I also like the much smaller and more numerous stepped texture in the glass holder part. You might be able to see, but upon suggestions from my design chief (namely my wife), I added some small “nubs” that stick out into the channel for the wine glasses. Other than the underside bevel, I roughed out the outside contour (and part of the glass holes using the standard #201 .25" flat endmill, and then did a finishing pass on the outside contour and also milled the “steps” using a .25" 2 flute down cut end mill.
The wood is scavenged from a bamboo cutting board I bought at a yardsale for $2. I can get two more of these wine bottle thingies out of the same piece. I did however, sacrifice about 5 blocks of 1 x 4 white pine while the learning was occurring. The down cut mill did a great job of finishing with no tear outs whatsoever. The piece required minimal sanding, mainly to remove the evidence of my work holding tabs, and a light sanding on the top and bottom to ensure no bamboo fibers were sticking up (I caught one under the fingernail inadvertently, not fun). I did not sand the knife marks out of the bottom; I think they give it character.
Feeds and speeds: 19000 RPM (3.25 Makita dial)
#201 and V-bit: 50 IPM, and 30 IPM plunge, DOC stepdown: 0.2"
Downcut endmill: 48 IPM and 25 IPM plunge, DOC stepdown: 0.2"
I slowed down the feeds from the standard chart for the 201 mill, because the wood is pretty fibrous even for bamboo and wasn’t sure how it would cut. I could probably still do all the roughing at 65 IPM as recommended, but the V-bit needs a much slower speed. Maybe 40 IPM is what I will try next. The V-bit cut really big chips and could not throw them free (which I read later is the way V-bit works, so you have to slow them down).
Top face
Bottom face
Complete