@CooperBrad
Wait a minute… Just watched your last video. That movement away from the switch is goofy. It shouldn’t do that. (Unless the Pro is using different firmware)
2 Likes
It reacts to all 3 switches, maybe only seeing 2 waiting for the 3rd? I would check spacing on X and Y switches again. Also YL and YR plugs were backwards on mine.
1 Like
Thanks for all the suggestions guys, I will respond with actions ASAP tomorrow. Have been pulled away by the missus to the in-laws for NYE celebrations. Happy new year to you all from NZ!
3 Likes
Happy New Year! Congrats on the PRO it is amazing! I promise you will get the issue worked out soon.
2 Likes
I had the same thing happen on my machine when trying to initialize. @Samcraft put me in the right direction with the spacer. However, for some reason I had to space mine off the gantry by 1/2 for it to work reliably. Some longer screws and a shim got it working.
As far as the problem, I am speculating that the aluminum gantry is causing the limit switch to latch. Some inductive sensors can detect ferrous and non ferrous metals causing this latching affect. To check I unfastened the sensor from the gantry and pointed it away from al metal right after it errored. The latched led turned off and I confirmed that the sensor is working but is being held by the metal around it. After confirming that I just determined how far it needed to be from the gantry and it was a lot more than Sam’s.
so try spacing by 1/2" and see what happens.
2 Likes
Yes, I can use a piece of metal and pull it away at the correct time for it co complete the initialise
it is 25…, tried 100, no change.
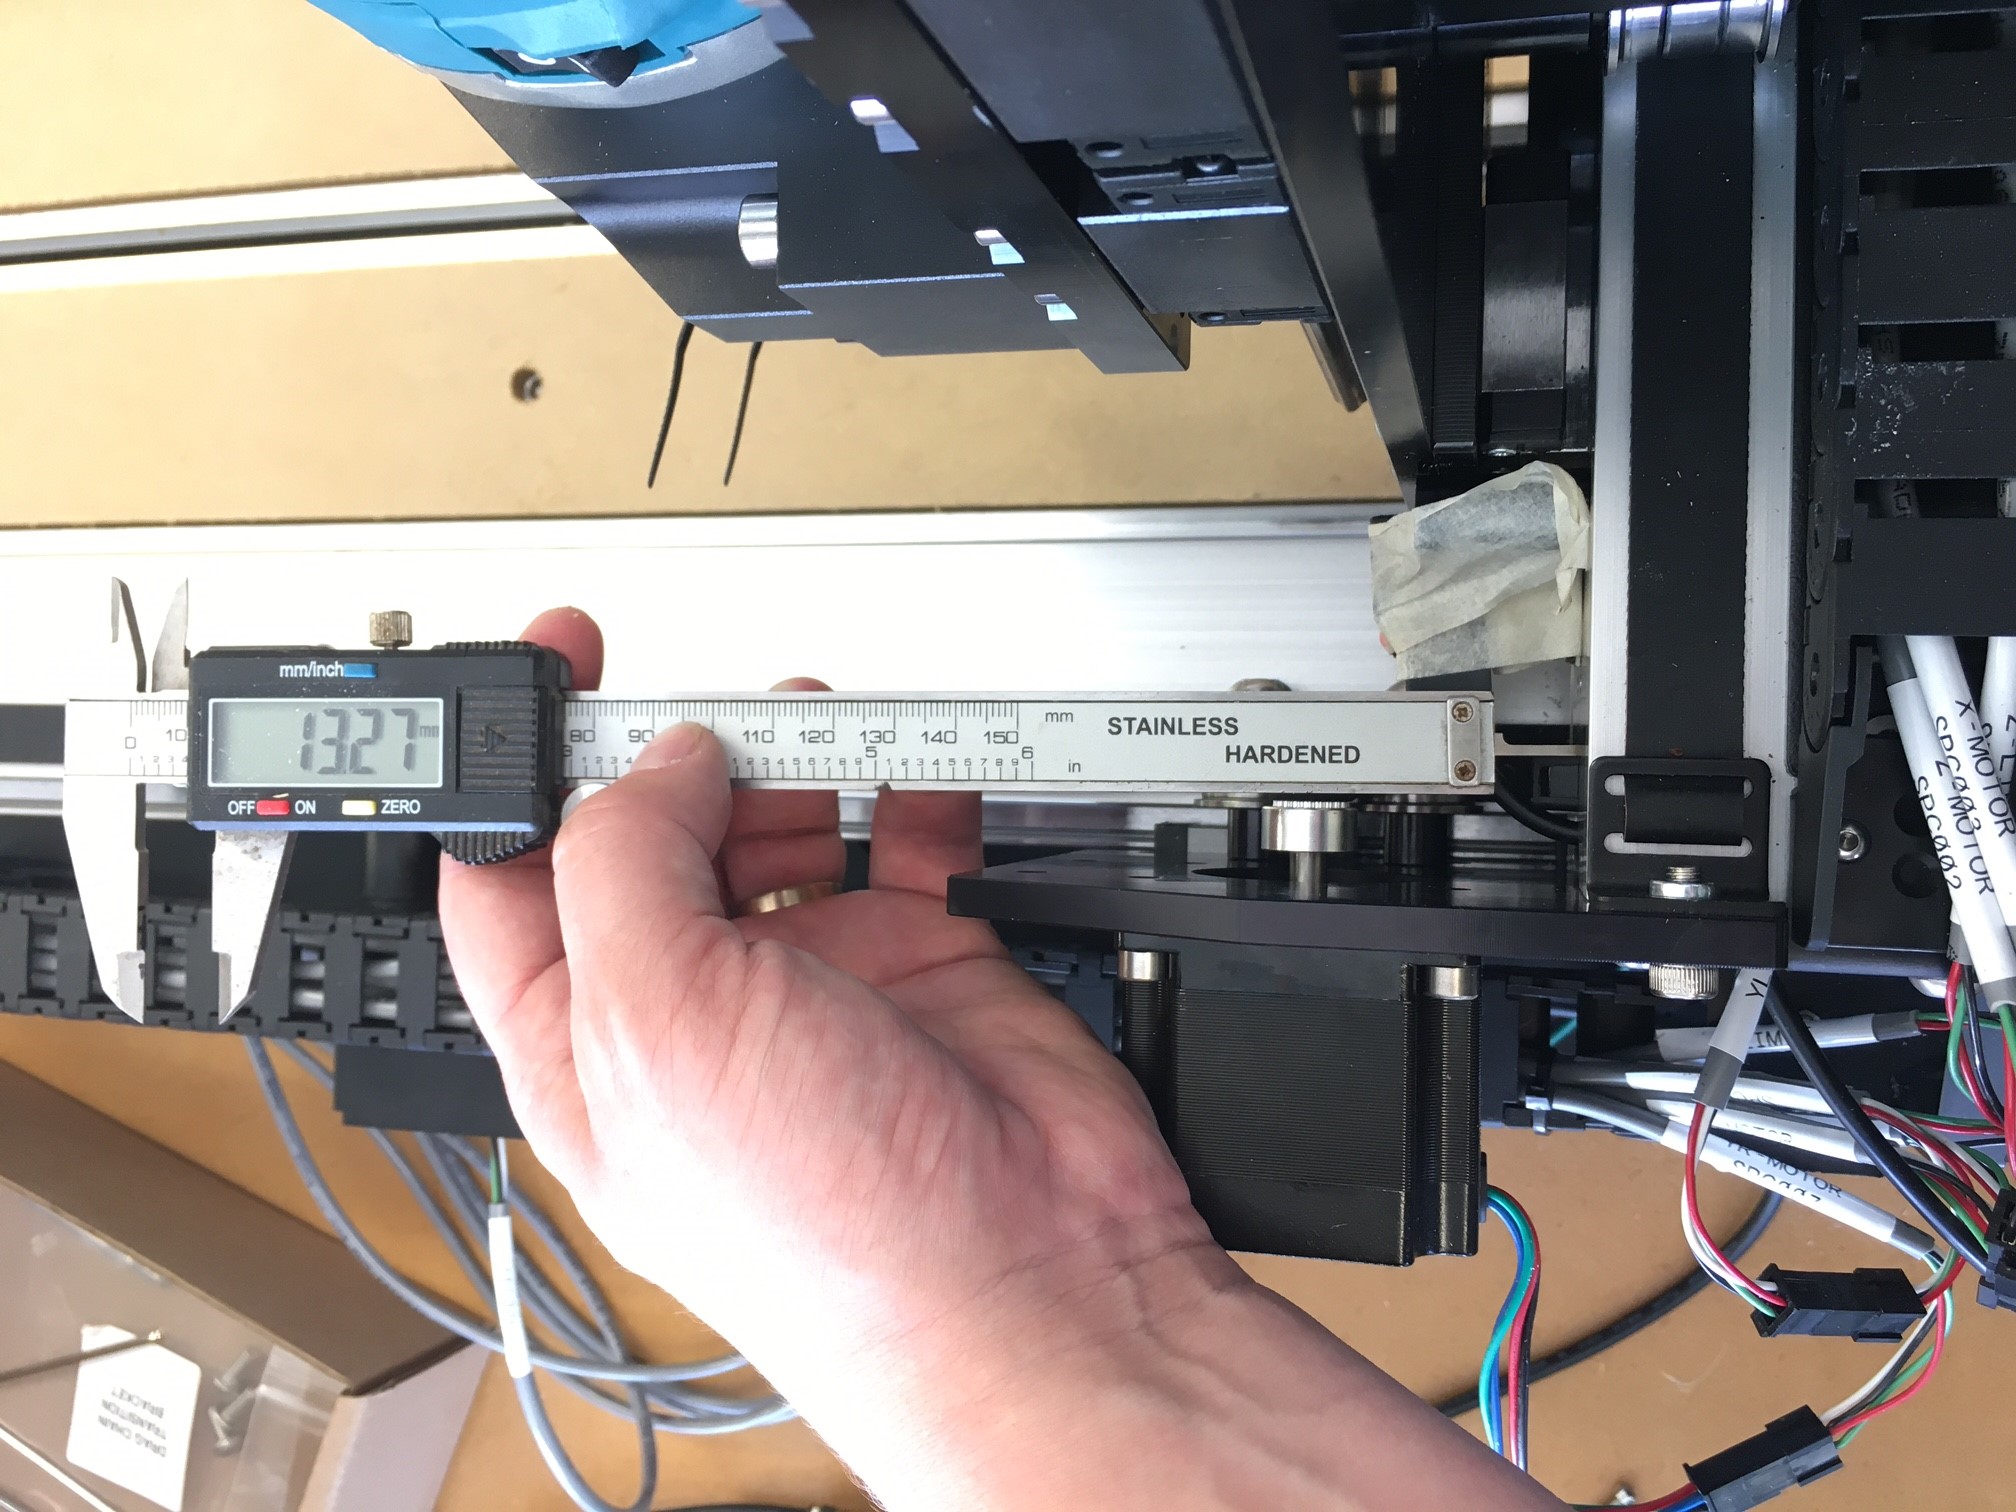
yeah, the limit switch is as far over as it go, its parallel, the front of the switch isnt parallel, I think that I might try some much larger spacers between the gantry and the sensor to try and bring it in line and see if that helps. at the moment it is packed out about 4mm, which is the limit of what the included machine screws will allow. I will have to try and jerry rig something with tape… all of the other switches look pretty good.
yeah on mine too.
i am going to do that right now and report back…
Thank you everyone for your suggestions - I really appreciate all of the thoughts.
I hope you are all having a great NY!
@Huni hmm I tried different washer spacings all the way up to 13mm (1/2") and it was the same throughout. 
I dont seem to be able to upload photos here which is a shame, but here is another link to a video - this is showing the max stand off that I have now tried (13mm)
please excuse the janky masking tape test seup.
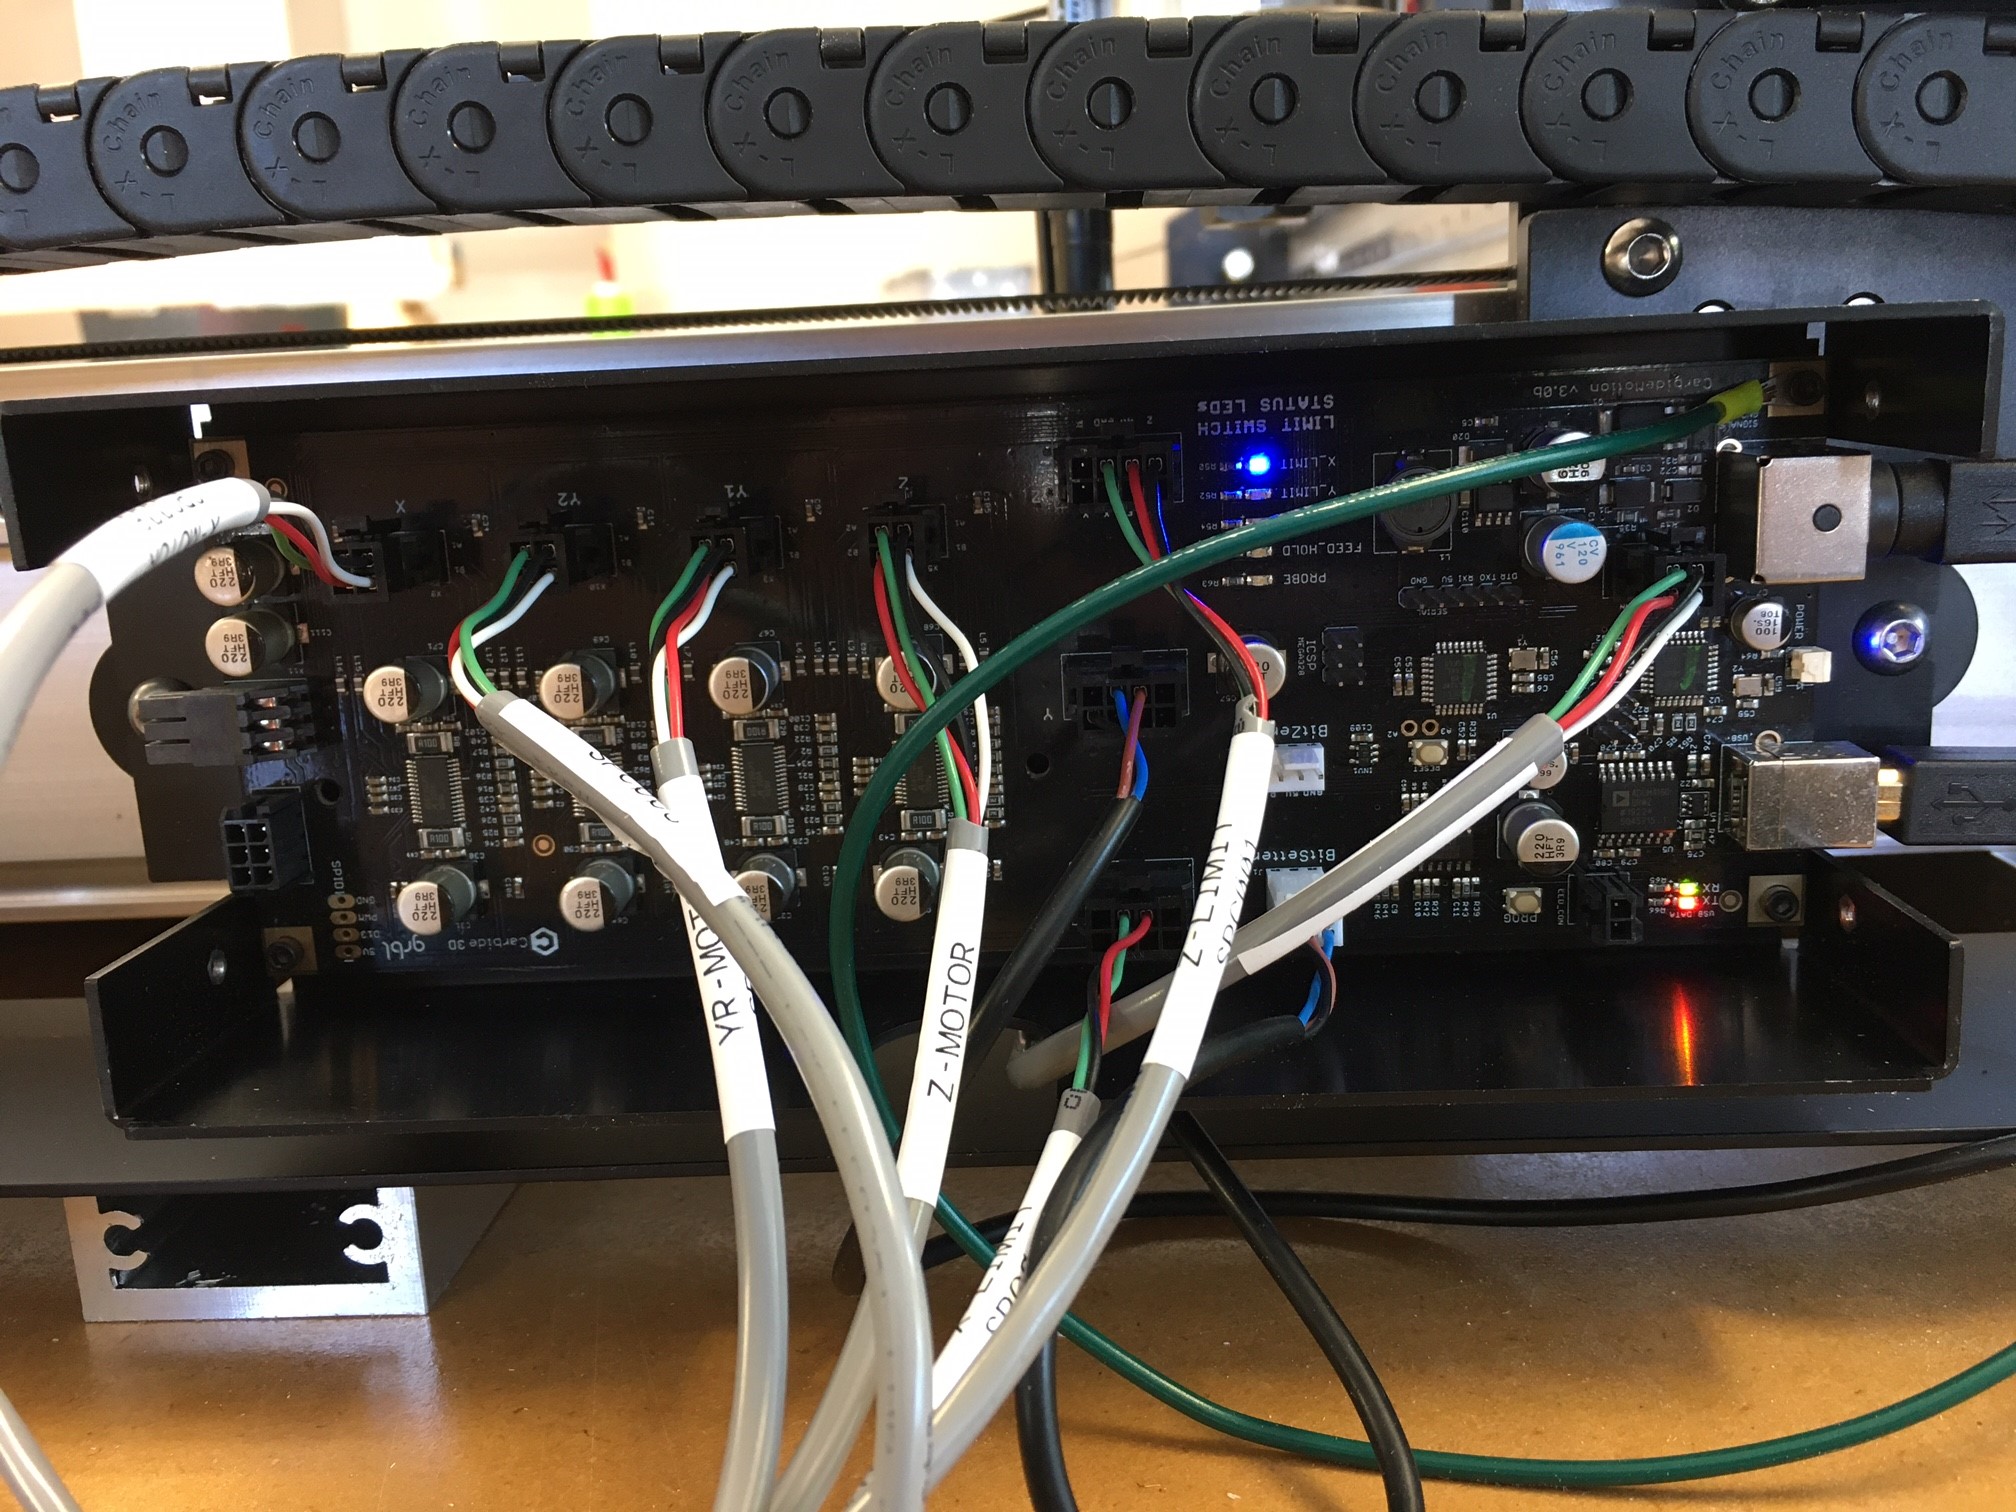
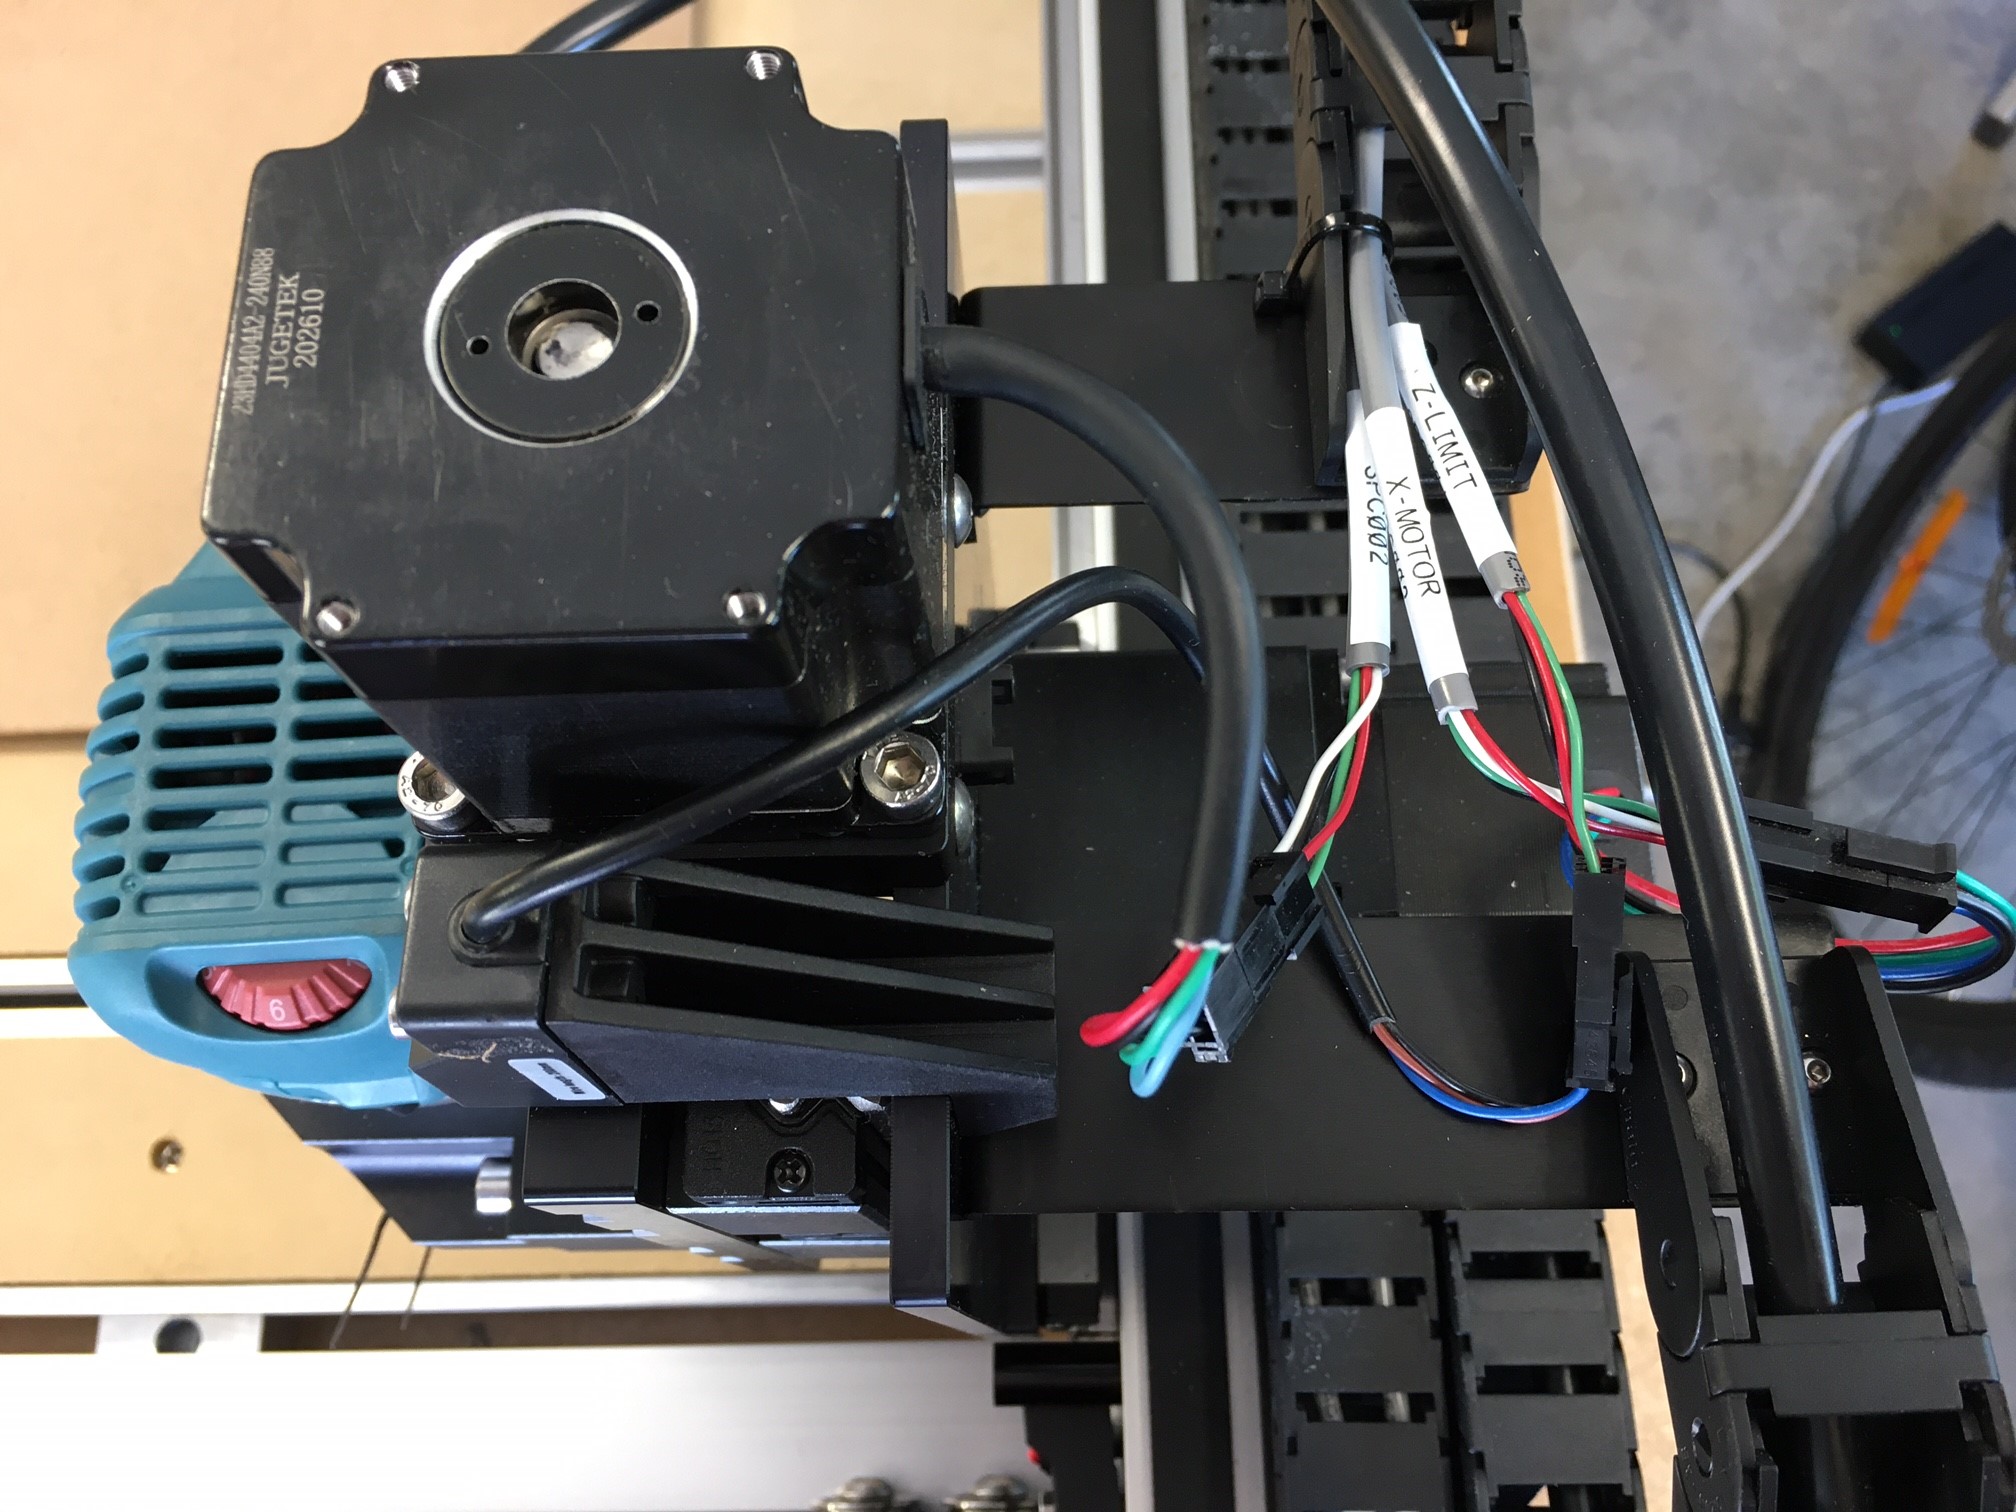
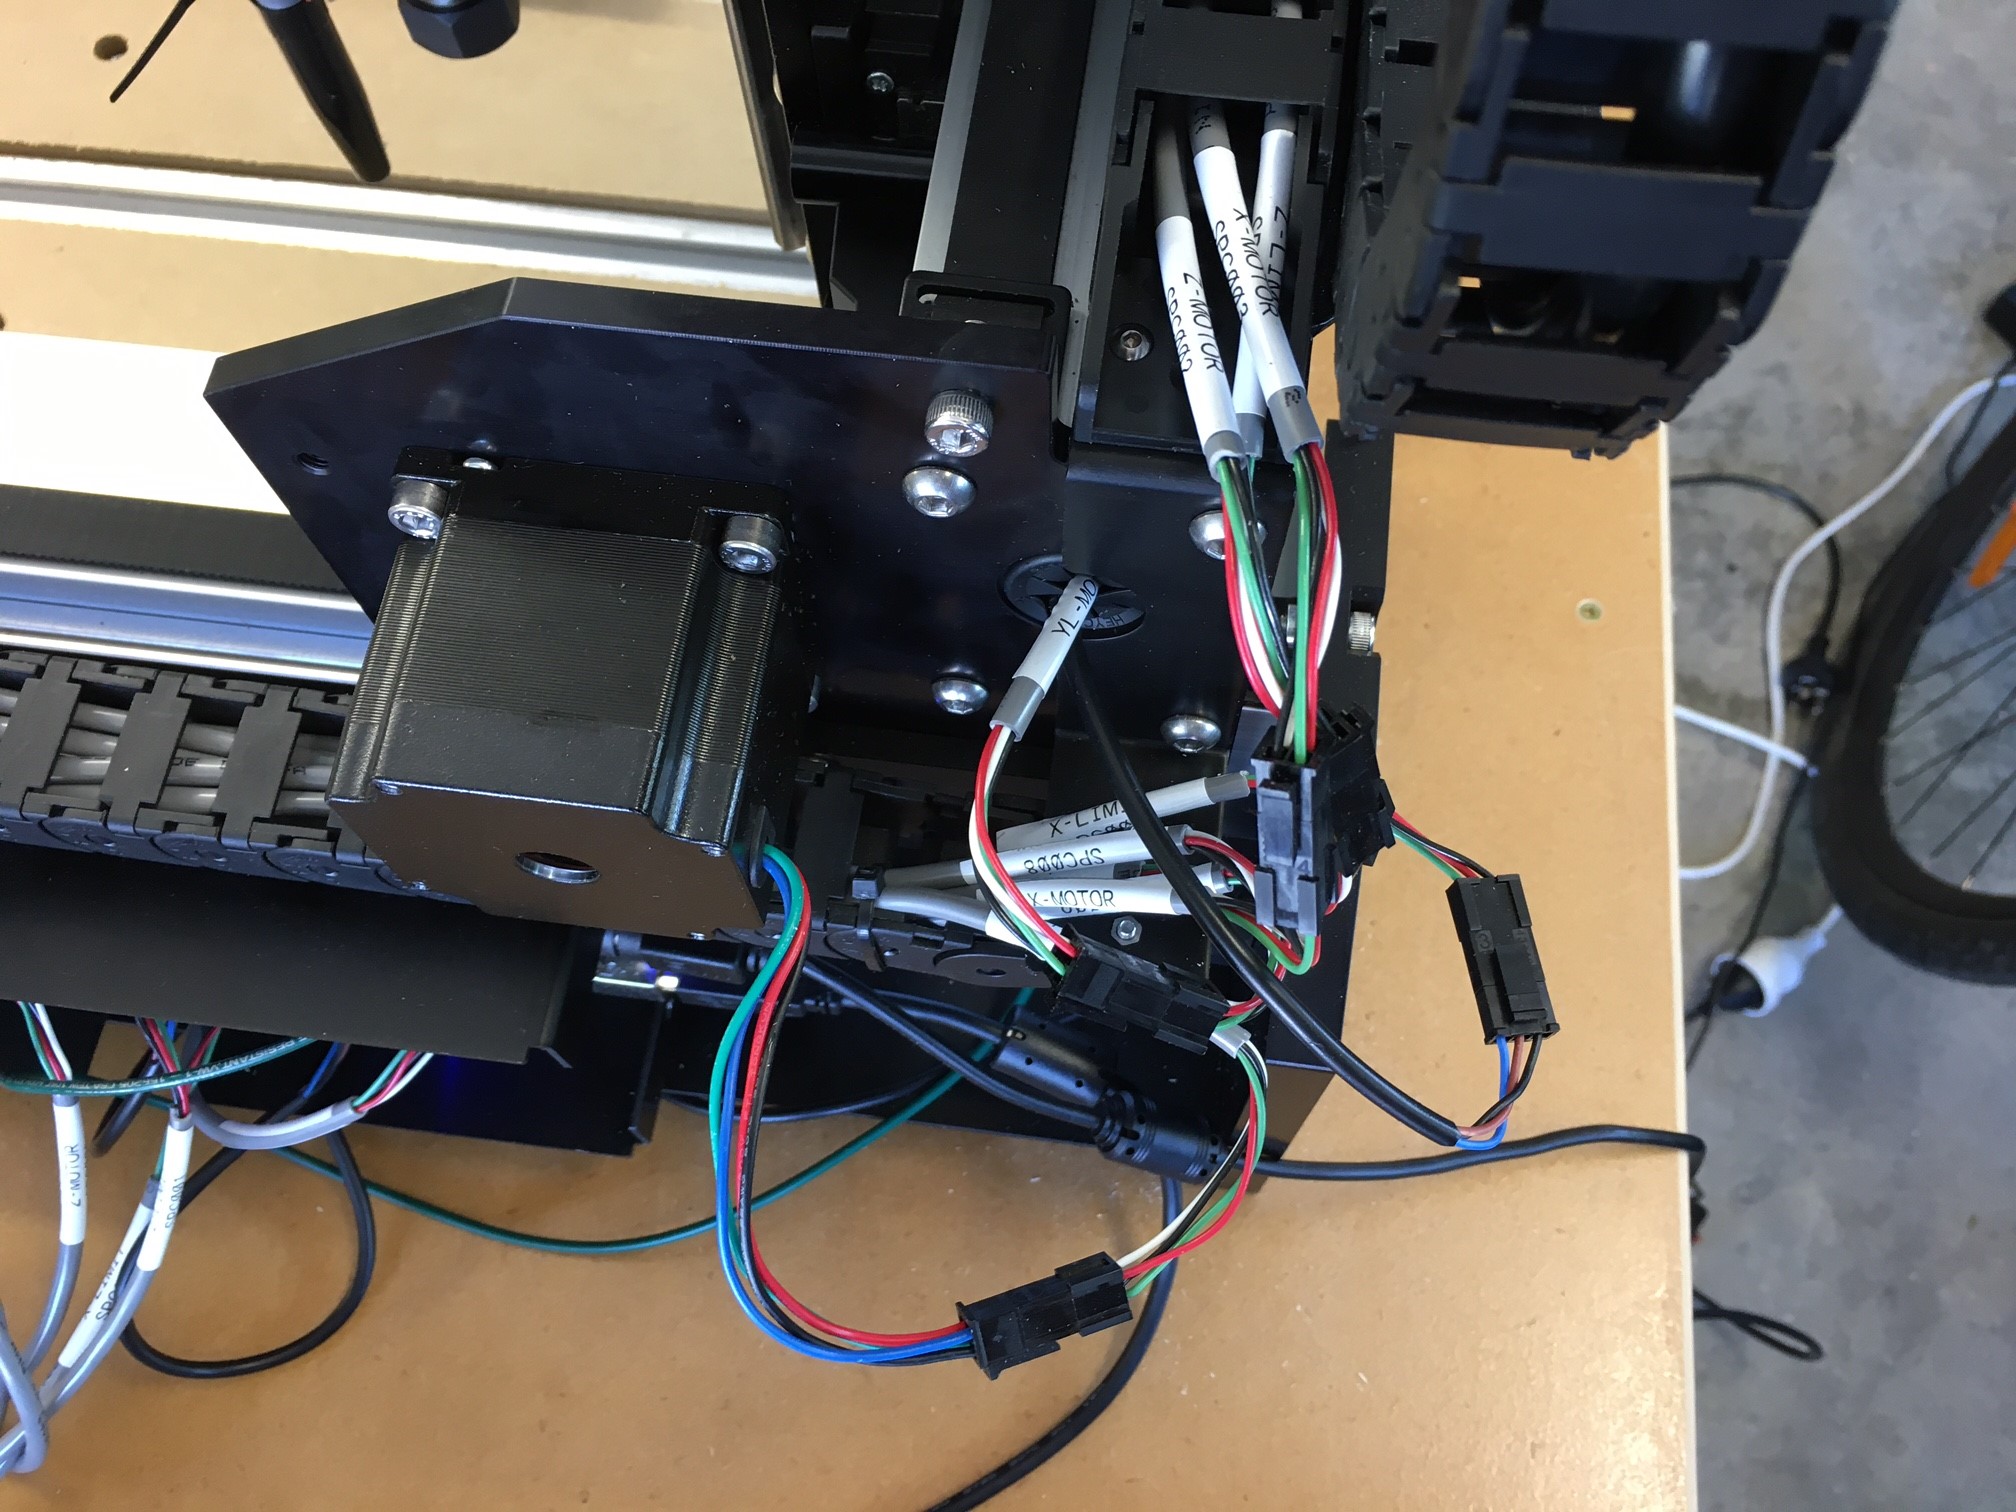
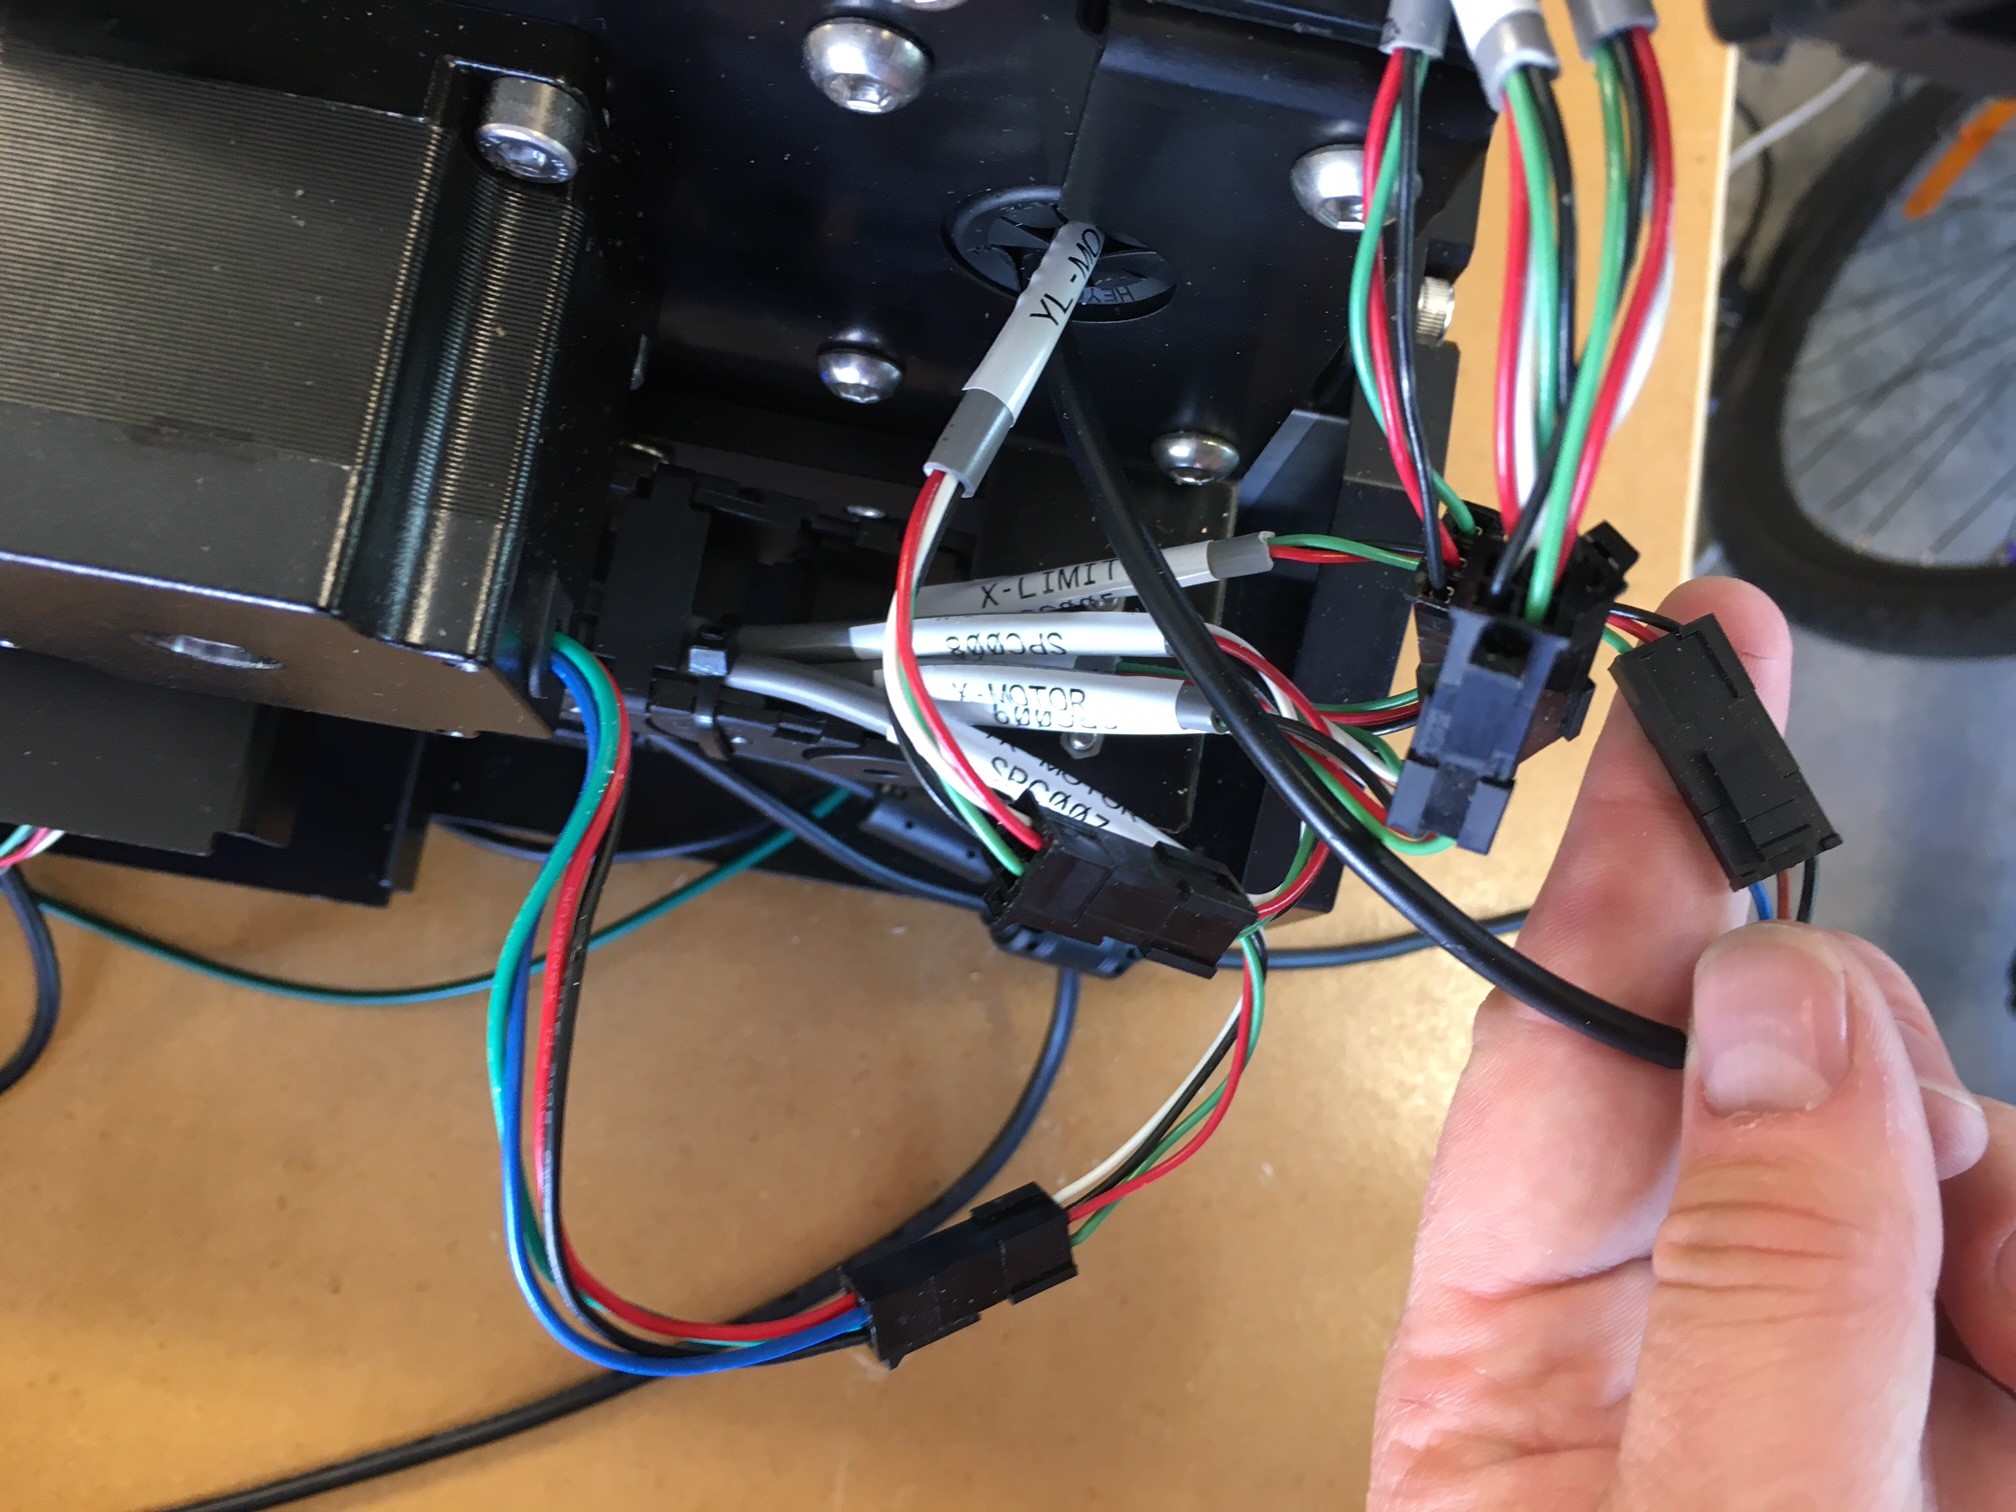
I have just seen how to upload photos  … yep - here are XA Switches, and also all photos that I have currently shared with support.
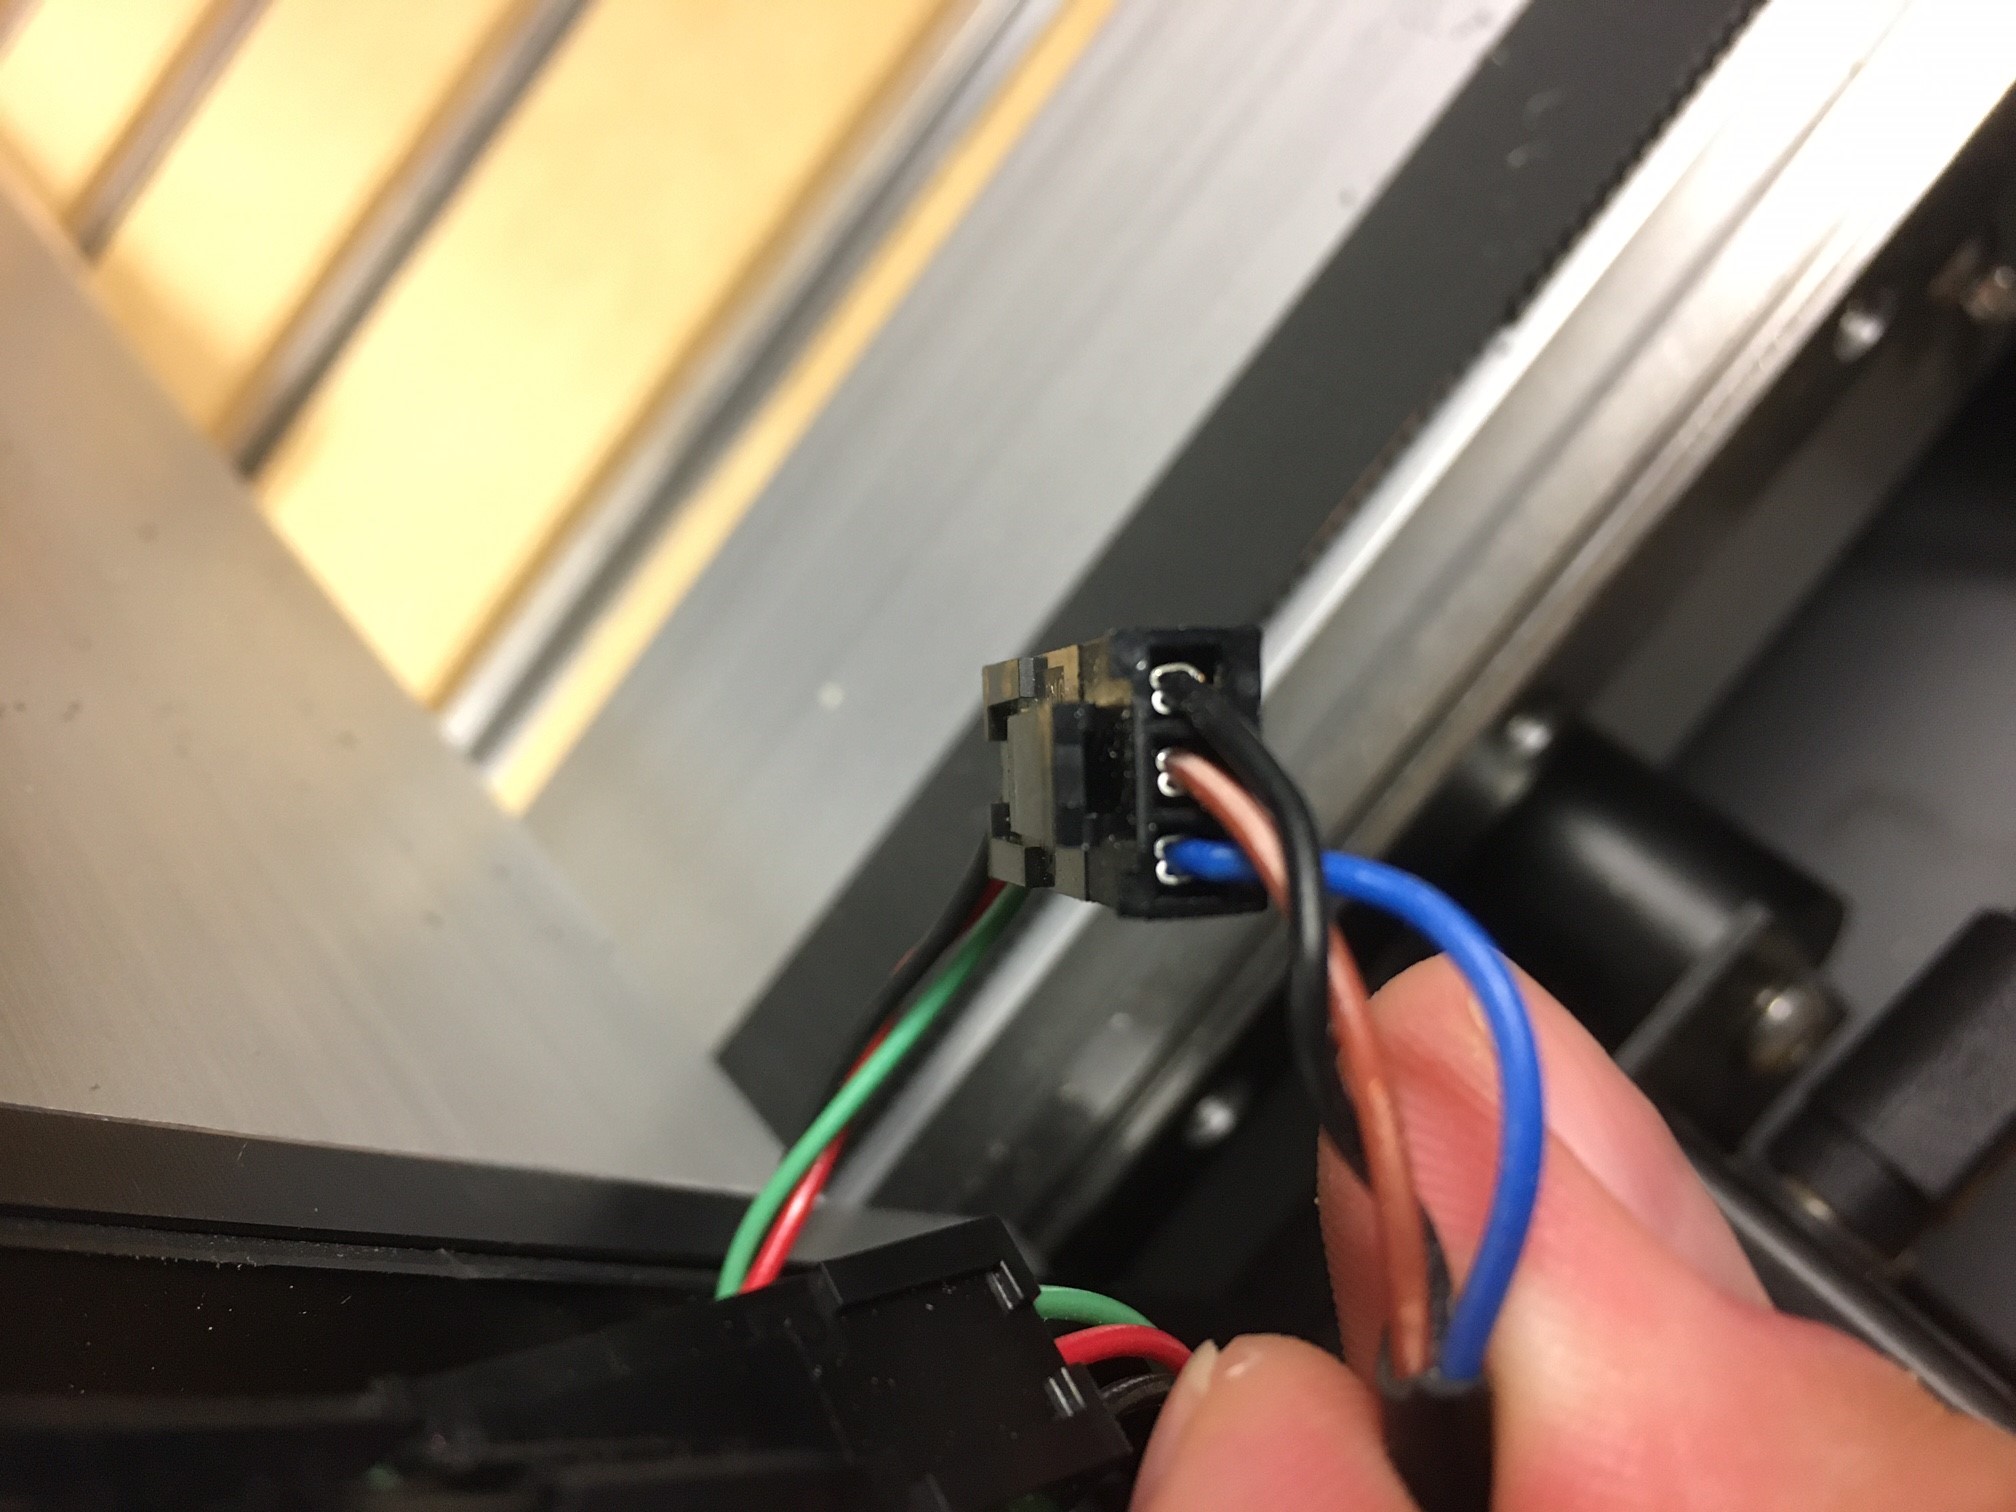
Maybe someone with a Pro can compare the pins in the connector. I can’t see where the black wire ends up on that X limit.
Also, the led for the X limit is lit up. Is it always on?
@neilferreri no its on when the initialisation step finishes, similar to the light on the sensor. if i move the gantry away, then the light goes out.
You wouldn’t happen to have a oscilloscope in your shop, would you ?
Could you check whether the black wire in that X limit switch connector at the controller, is seated properly in the connector housing?
Unfortunately no, no scope here.
I have checked the black wire from the sensor, through the connections and to the board, it all looks good. pins on the controller also look good.
If you want any specific photos please let me know.

1 Like
Thanks, it looks fine indeed.
I wonder if we would see anything interesting in the GRBL logs during that failed initialization sequence, could you try and grab that ?
In CM, from the Settings page, click the Open Log window button, do the test, then use the copy/paste all button and dump it here ?
It will probably only just tell us that the homing failed with the pull off did not clear error, but still worth checking. I’ll have a look at the GRBL code for inspiration around this specific failure mode.
Sure - here it is.
Its pretty late here so going to have to call it a night, apologies if you respond and I am delayed in getting back to you.
thanks for taking a look.
M56P0
ok
N0 M5
ok
N0G1F300.0X-10.0000
ok
N0 G4P0.005
ok
N0 G4P0.005
ok
$h
ALARM:8
GRBL_RESET
ok
Grbl 1.1f [’$’ for help]
[MSG:’$H’|’$X’ to unlock]
$X
Grbl 1.1f [’$’ for help]
[MSG:’$H’|’$X’ to unlock]
$X
[MSG:Caution: Unlocked]
ok
ok
G92.1
ok
G54
ok
G10L2P1X0Y0Z0
ok
G21
ok
G49
ok
G90
ok
$G
[GC:G0 G54 G17 G21 G90 G94 M5 M9 M56 T0 F0 S0]
ok
$#
[G54:0.000,0.000,0.000]
[G55:0.000,0.000,0.000]
[G56:0.000,0.000,0.000]
[G57:0.000,0.000,0.000]
[G58:0.000,0.000,0.000]
[G59:0.000,0.000,0.000]
[G28:0.000,0.000,0.000]
[G30:0.000,0.000,0.000]
[G92:0.000,0.000,0.000]
[TLO:0.000]
[PRB:0.000,0.000,0.000:0]
ok
$#
[G54:0.000,0.000,0.000]
[G55:0.000,0.000,0.000]
[G56:0.000,0.000,0.000]
[G57:0.000,0.000,0.000]
[G58:0.000,0.000,0.000]
[G59:0.000,0.000,0.000]
[G28:0.000,0.000,0.000]
[G30:0.000,0.000,0.000]
[G92:0.000,0.000,0.000]
[TLO:0.000]
[PRB:0.000,0.000,0.000:0]
ok
$G
[GC:G0 G54 G17 G21 G90 G94 M5 M9 M56 T0 F0 S0]
ok
N0 G4P0.005
ok
N0 G4P0.005
ok
M56P0
ok
N0 M5
ok
G92.1
ok
G54
ok
G10L2P1X0Y0Z0
ok
G21
ok
G49
ok
G90
ok
$G
[GC:G0 G54 G17 G21 G90 G94 M5 M9 T0 F0 S0]
ok
$#
[G54:0.000,0.000,0.000]
[G55:0.000,0.000,0.000]
[G56:0.000,0.000,0.000]
[G57:0.000,0.000,0.000]
[G58:0.000,0.000,0.000]
[G59:0.000,0.000,0.000]
[G28:0.000,0.000,0.000]
[G30:0.000,0.000,0.000]
[G92:0.000,0.000,0.000]
[TLO:0.000]
[PRB:0.000,0.000,0.000:0]
ok
N0 G4P0.005
ok
$$
$0=10
$1=255
$2=0
$3=5
$4=0
$5=0
$6=0
$10=255
$11=0.020
$12=0.010
$13=0
$20=0
$21=0
$22=1
$23=0
$24=100.000
$25=2000.000
$26=25
$27=3.000
$30=1000
$31=0
$32=0
$100=40.000
$101=40.000
$102=200.000
$110=10000.000
$111=10000.000
$112=1000.000
$120=500.000
$121=500.000
$122=270.000
$130=845.000
$131=850.000
$132=95.000
ok
@CooperBrad Any chance your X pulley is slipping on the motor shaft? Sometimes slow motions will go ok, but the fast retract might cause a slip.
2 Likes
Unsurprisingly, no additional info in the logs.
For the purpose of understanding what’s going on, you may want to try:
a) reducing $25 homing seek rate to something very slow like 200mm/min, see if it changes anything (there is a least one thread on the GRBL forum where someone had an issue where the combination of the limit switch location/orientation and a large homing seek rate was causing the absence of pull-off motion). This would also allow to test Neil’s hypothesis.
b) increasing $27 to a ridiculously large pull-off distance value like 20mm: the ALARM:8 is normally not reported until after the pull-off motion is completed. With 20mm of pull off, this should grandtenough time to visually detect whether the X axis does at least move back a little, or not at all.
dont think so, but the stepper motor is difficult to see as it is enclosed. The tension on all the belts subjectively feels all the same, and I made sure to follow the Winstons instructions very closely.
This worked! i managed to get through a complete initialise cycle ![]() to see which of the variables was the driver I upped the $25 back to 2000 - this also worked. I have reduced the $27 back down to 7mm, which is the lowest it will go.
to see which of the variables was the driver I upped the $25 back to 2000 - this also worked. I have reduced the $27 back down to 7mm, which is the lowest it will go.
Although it works, I do not have enough experience with the machines to know if the noises it is making are normal however - they do seem different to the previous attempts. Here is another link to a video if you want to have a look. Also I have reverted to securing the sensor with the 2 machine screws and small spacer, in lieu of the massive spacer and masking tape.
Thank you all for taking the time - I really appreciate it.
Download Attachment
3 Likes
Noise seems normal to me, strange that you had to adjust those values for it to work.
1 Like