A little more work completed tonight. I finished replacing the rest of the v-wheels. No more bumps. Rolling smooth as silk in all directions now.
Next I replaced the pulley I broke the retaining ring off of yesterday. Now my Z assembly is ready.
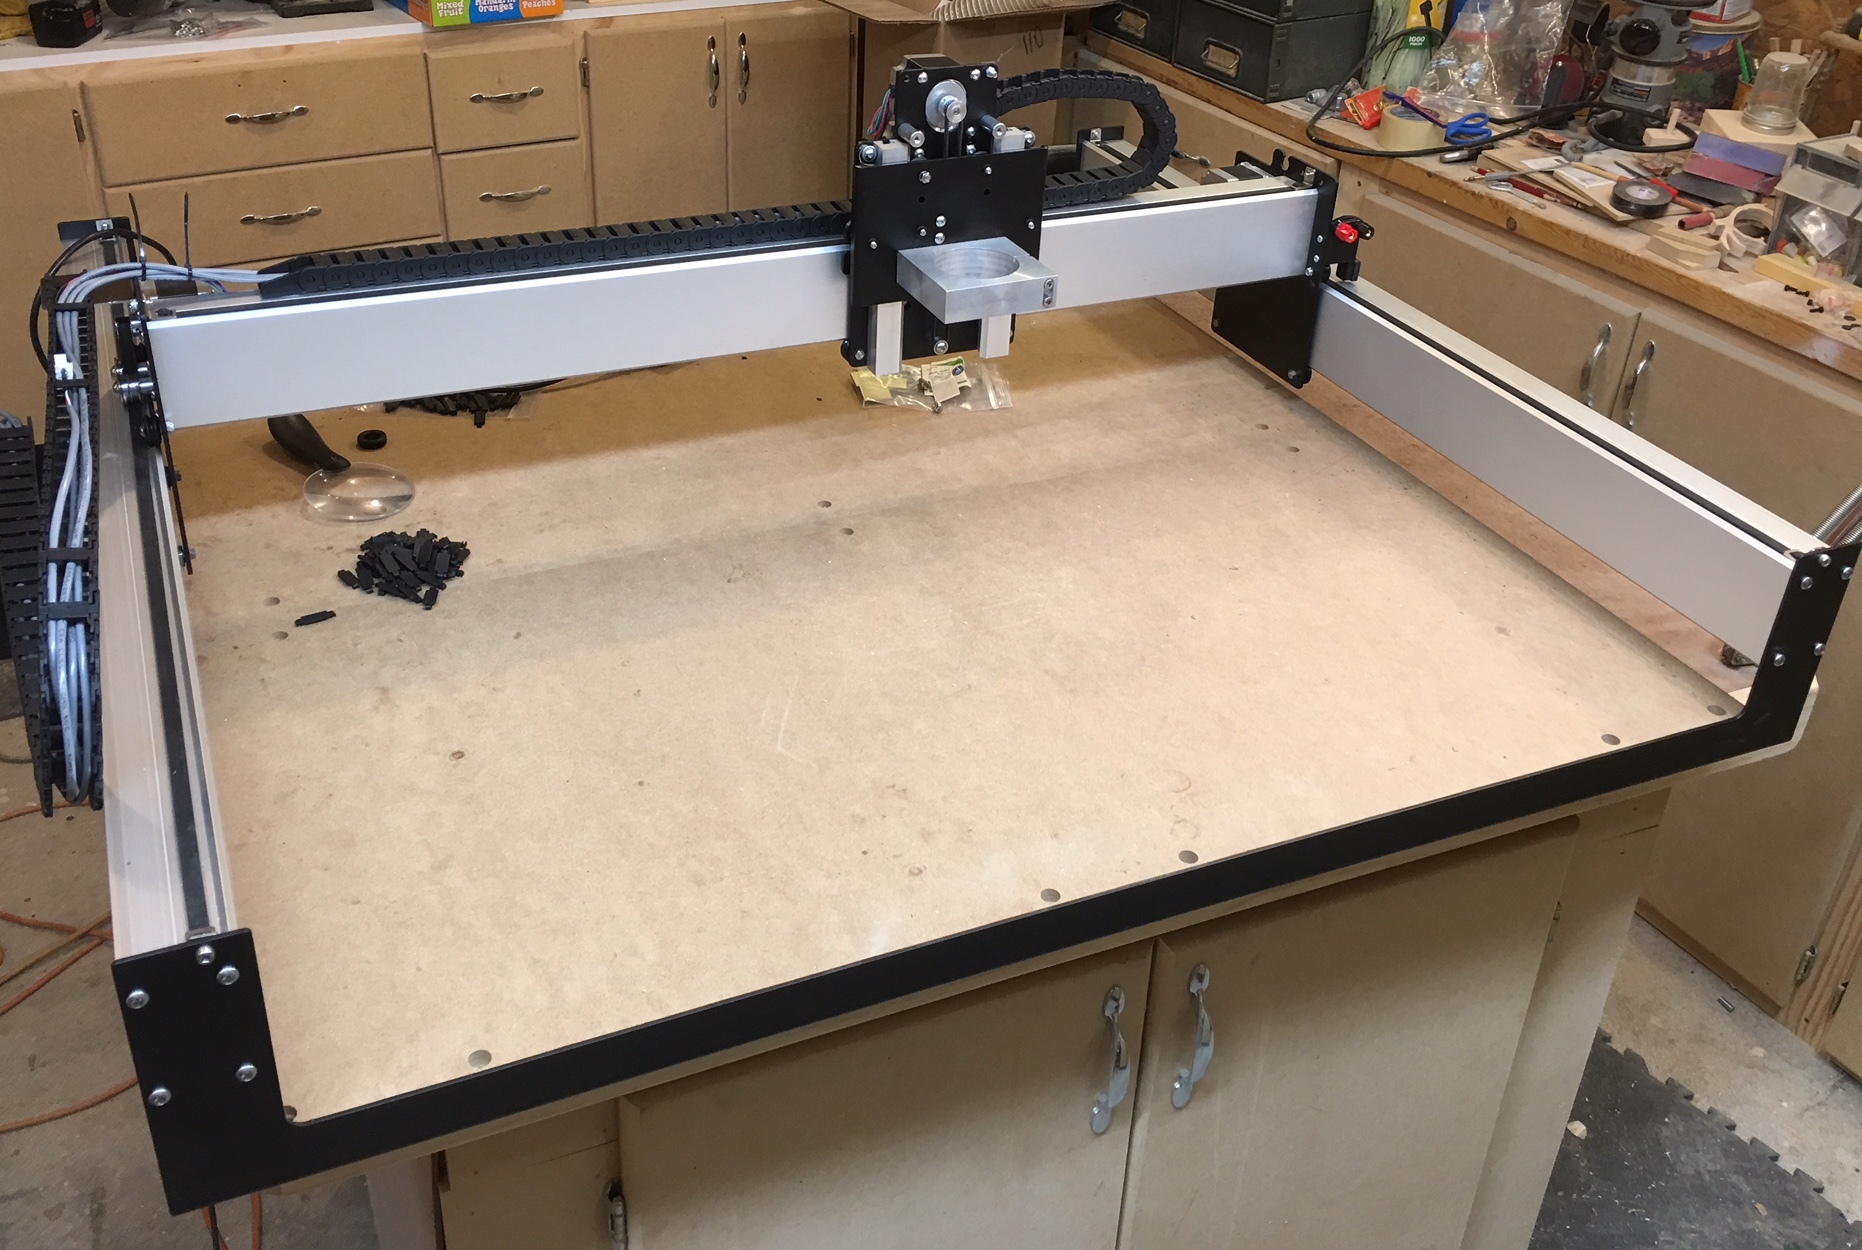
Next up was squaring up the machine. I followed the wiki instructions. Pulled the gantry all the way to the front and tightened the screws in a star pattern, alternating between the left and right sides. Then slide it to the rear and repeated. I will still need to calibrate more, but all of the measurements were right on and everything appears square. I’m using a large framing square.
Next I installed the upgraded belts. These went on much easier than the original S3, due to the newly designed tension brackets. The new brackets are threaded and utilize a single M5 socket cap screw instead of the 2 small screws and hex nuts on the S3. Big improvement. Mounting the new brackets on the carriages required me to drill out the top hole used by the original bracket. A 20mm drill bit was perfect. The bracket ended up being a little higher than I thought it should be, but drilling out the lower hole was too close to the rail. So I went with the top hole and bent the bracket down towards the rail to get in down where it needed to be in order to clamp the belt between the rail and the bottom of the bracket to keep it from slipping.
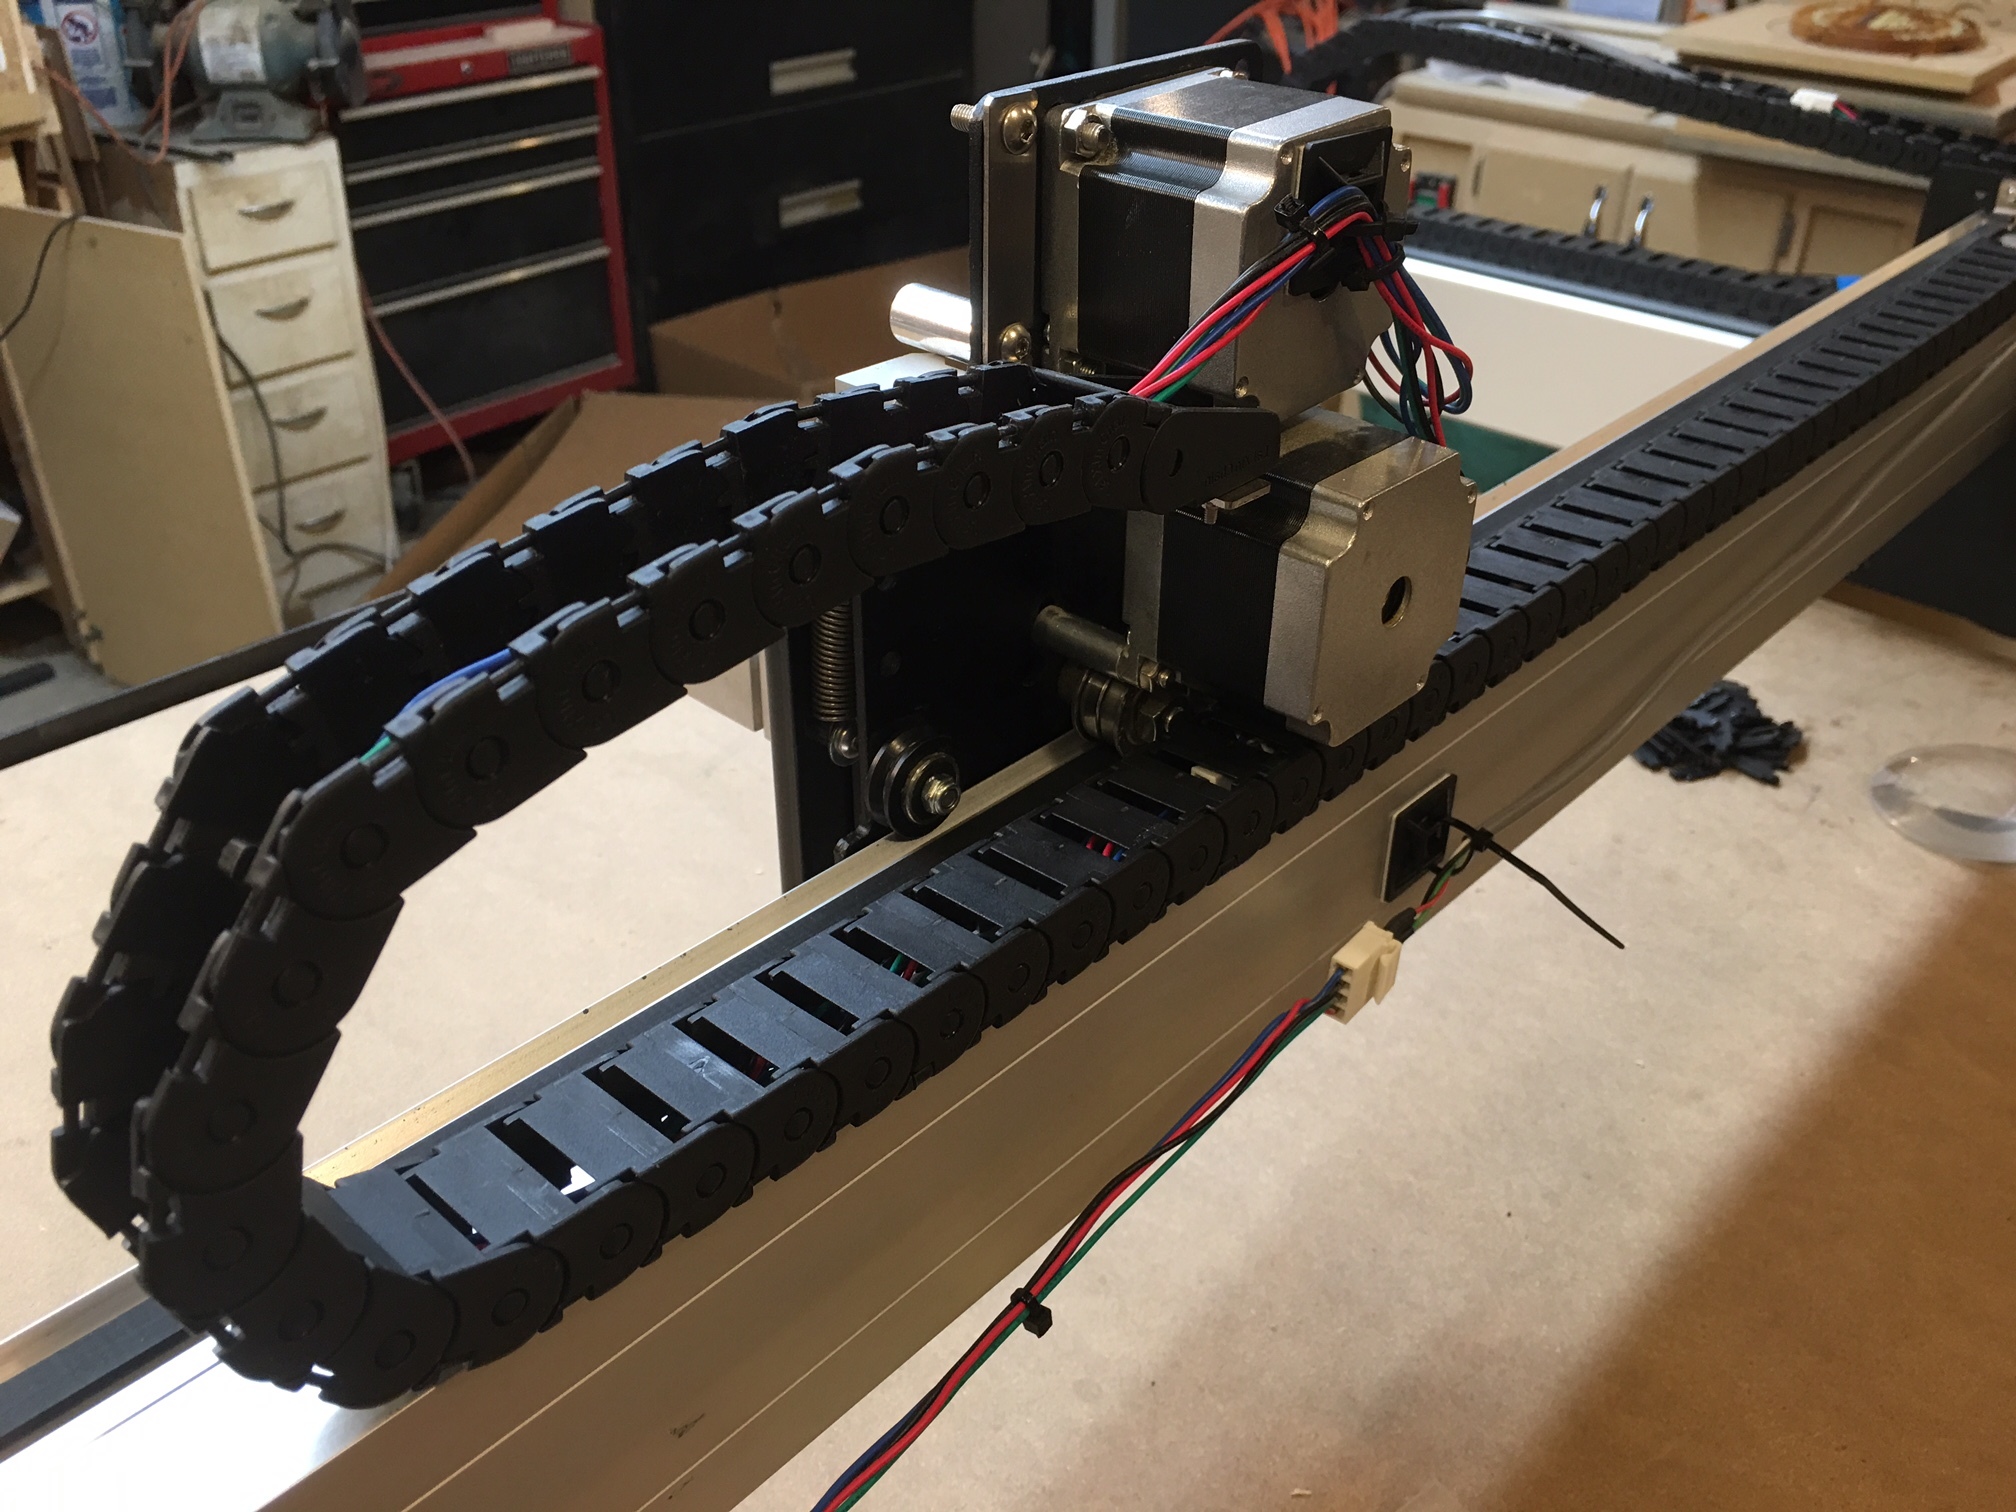
Now for the wiring. I went ahead and mounted the controller to the left rail for now. I will most likely move it outside of my new enclosure like I’ve seen some others do. Seems like a good idea.
The wiring instructions consisted of several pictures. No written instructions of which of the cable extensions go where. There are 4 cable extensions. 2 long, 1 medium and 1 shorter one. I decided that the longest cables must go to the X and Z, the medium to Y right, and the medium to Y left. The only issue I ended up with was the Y right cable ended up barely long enough to go through the drag chain. I may need to swap Y right and left extensions to see if I had those reversed.
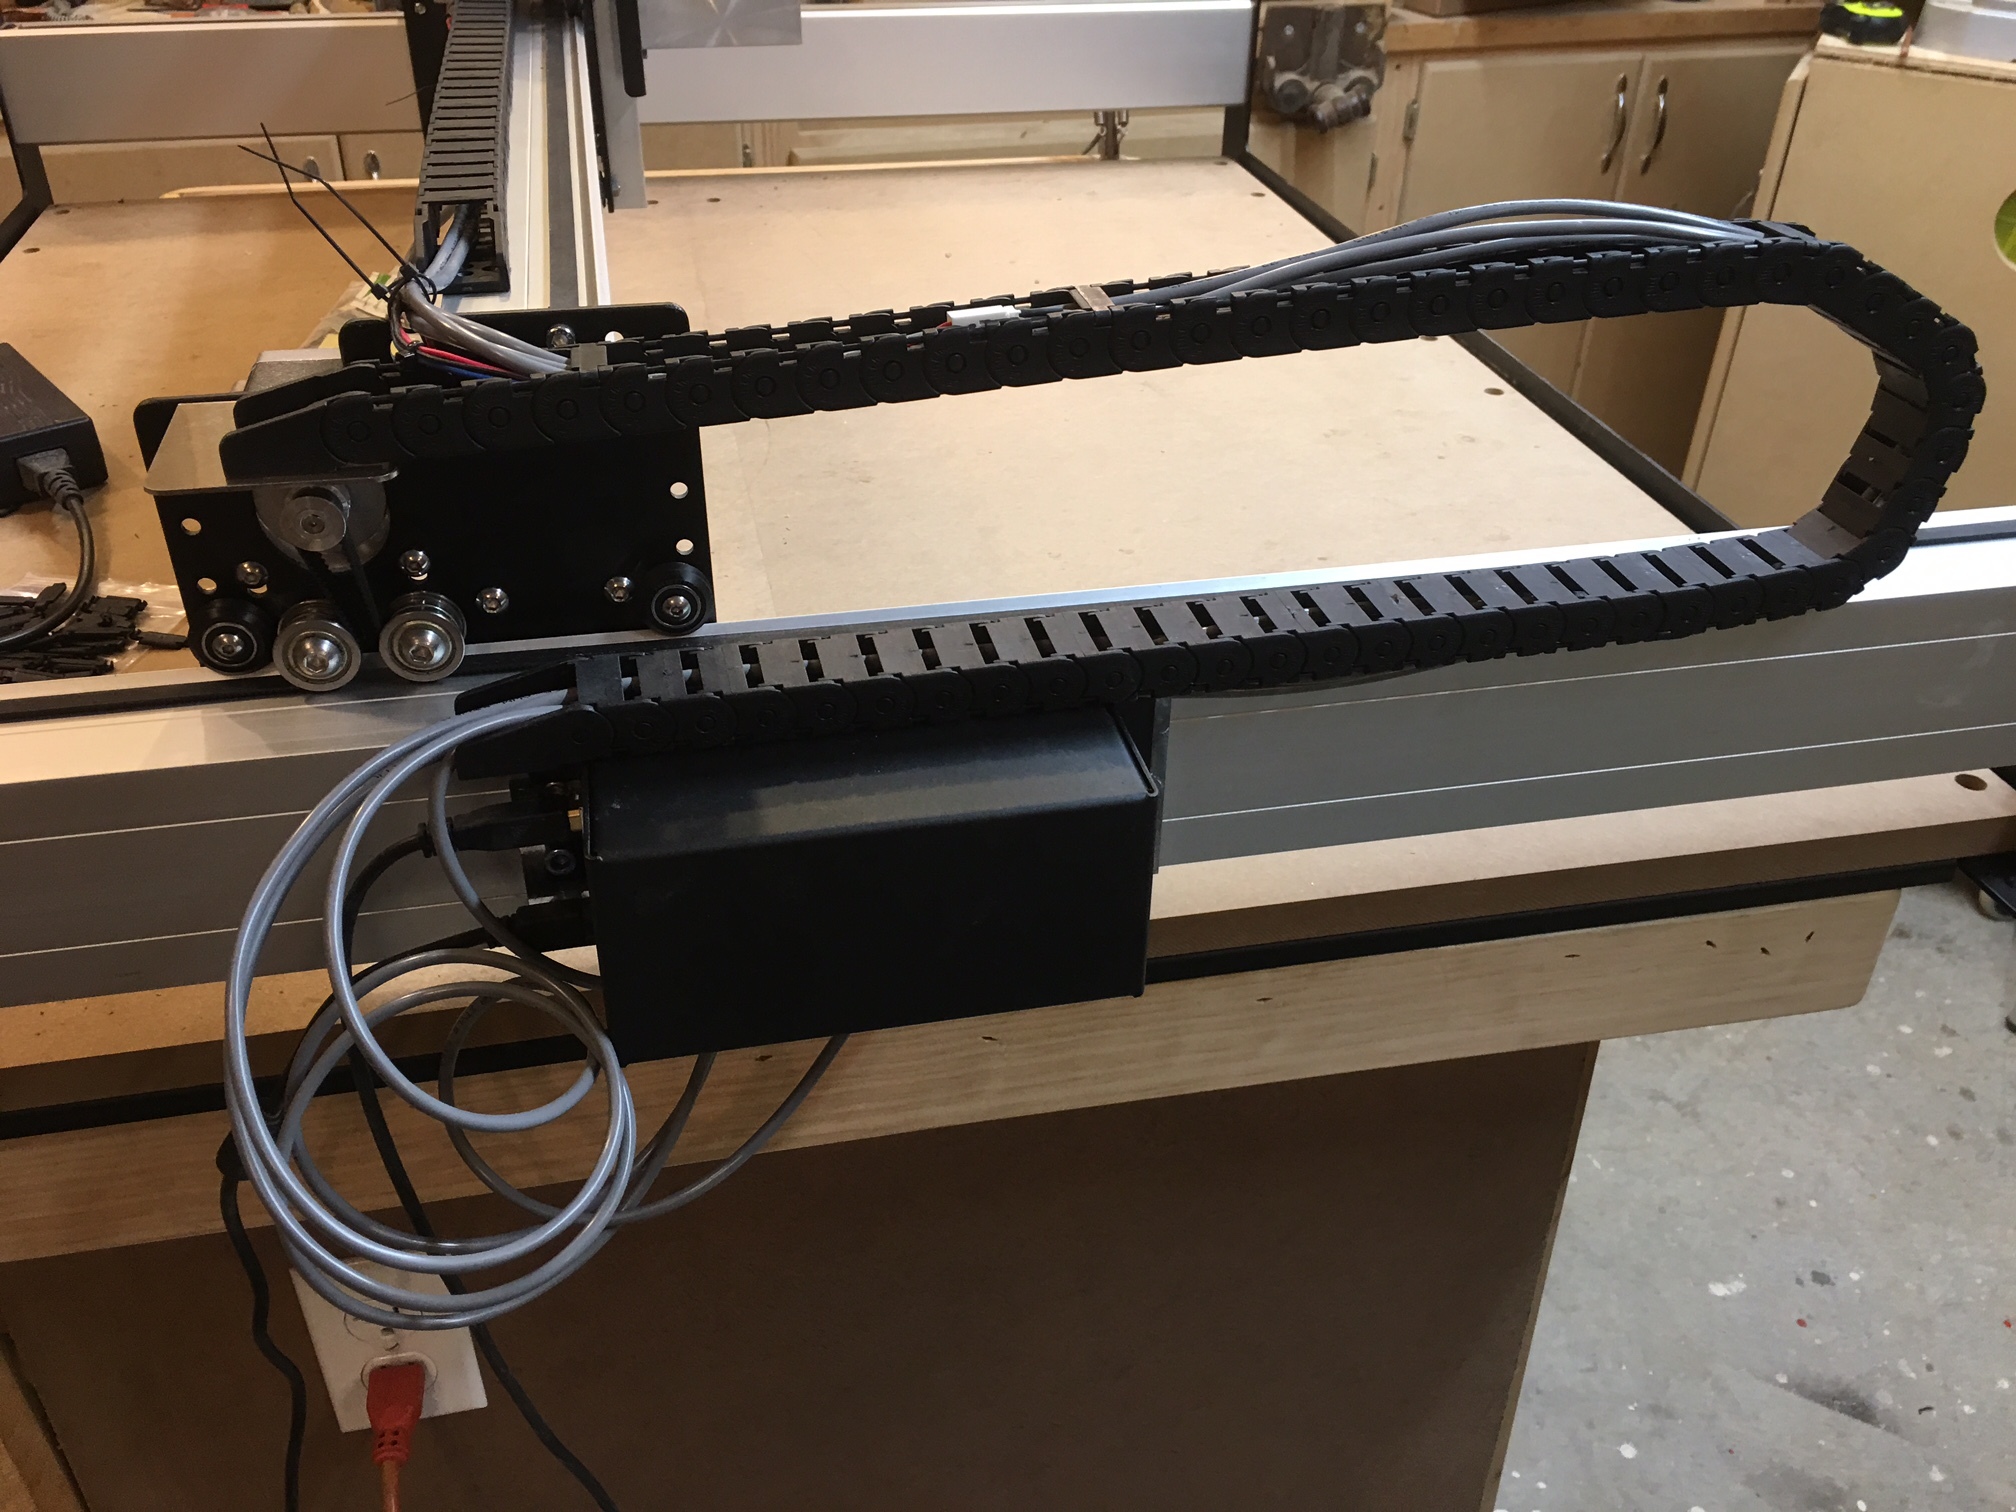
The pictures provided were good enough to get the drag chains installed. The gantry bracket used an existing screw. There was not a screw included for the top. I used an extra M5 and a nylon locking nut I had laying around. I removed all of the retaining clips on the drag chains to make it easy to route the cables. I used the tape to hold down the end of the drag chain on the gantry. I have not decided where to connect the end of the side drag chain.
Now I need to make extensions for my limit switch cables and the wiring will be complete.
I hooked everything up, powered it on and connected via Universal G-Code Sender. I am moving smoothly in every direction. Once I get the limit switches reinstalled I will change the settings for table size and possibly tweak the homing speed.
Here are some pics of where I left off tonight.