Well so far so good. Got my switch today, put it on did a quick test to make sure it registered then homed. It went to the front, I put a bit in and it went to the bit setter and that worked. I didn’t do any cutting yet but it’s off to a good start. Still don’t have any idea why the other 3 crapped out!
1 Like
Well, if you didn’t find the cause, don’t you expect the same outcome?
1 Like
“The definition of insanity is doing the same thing over and over again , but expecting different results .”. You’re not the first one to call me insane and most likely won’t be the last.
Carbide 3D hasn’t offered any suggestions for what is causing this, I tested prior to receiving my new switch with the Y switch and it didn’t kill the switch. Did the same with the new switch, put it in, checked in settings and it works. Ran a homing sequence and it works. There is nothing in the way and the Z carriage doesn’t slam to the top. Logically, there are only two things that could be causing this - the switch and the control board and it’s very unlikely the board would be causing the switch to stay closed. I suppose the board could be sending ultra high current through it such that the contacts get welded together, but I would think if it did that, I’d be letting the smoke out of the board at the same time.
I am going to do an autopsy on one of the bad switches to see if I can determine the cause of death, but right now I’m (and seemingly Carbide 3D) going on the assumption that I had a string of bad switches and / or, shit happens.
2 Likes
I did not say you were “insane”. Sorry, my comment was too succinct. Just trying to limit your losses, but you clearly don’t need any more advice.
same, I went ahead and just wired a mini molex connector to both the switch and lead. I went ahead and reconfigured the machine and set up bit setter again and all is well. I haven’t yet tried switching over to lightburn yet but will report back.
1 Like
I didn’t mean for my response to come across as ungrateful. I actually wrote in my head and it sounded like I was making fun of myself - which I was - but on paper (screen) it didn’t come across that way, so my apologies for coming across as snarky - I certainly didn’t mean too. There are a lot of people on this forum that are a lot smarter than me and know a lot more about these machines than I do, so I would never try to come across as though I know what’s best.
And, trust me, if there was a suggestion based on this thread for something that hasn’t been tried yet, I would be more than happy to give it a shot.
2 Likes
You could have just ran through a few bad switches. It happens.
Once you have checked that your switches are properly mounted (meaning that the machine will first, plunge the switch, then if the machine over-runs, it will collide with itself in metal to metal instead of crushing your switch).
You have not yet mentioned that you have seen damage to the switch, nor a premenatly depressed plunger from too much force.
All three of my homing switches can NOT be damaged by the machine. They are all mounted as per instruction and are recessed enough that they can NOT be depressed too far by the machine. The machine would go metal to metal and “collide” forcing the stop of physical motion before it could damage a switch.
Actually, my machine does not completely compress the switch dust boot, just enough to get proper contact action.
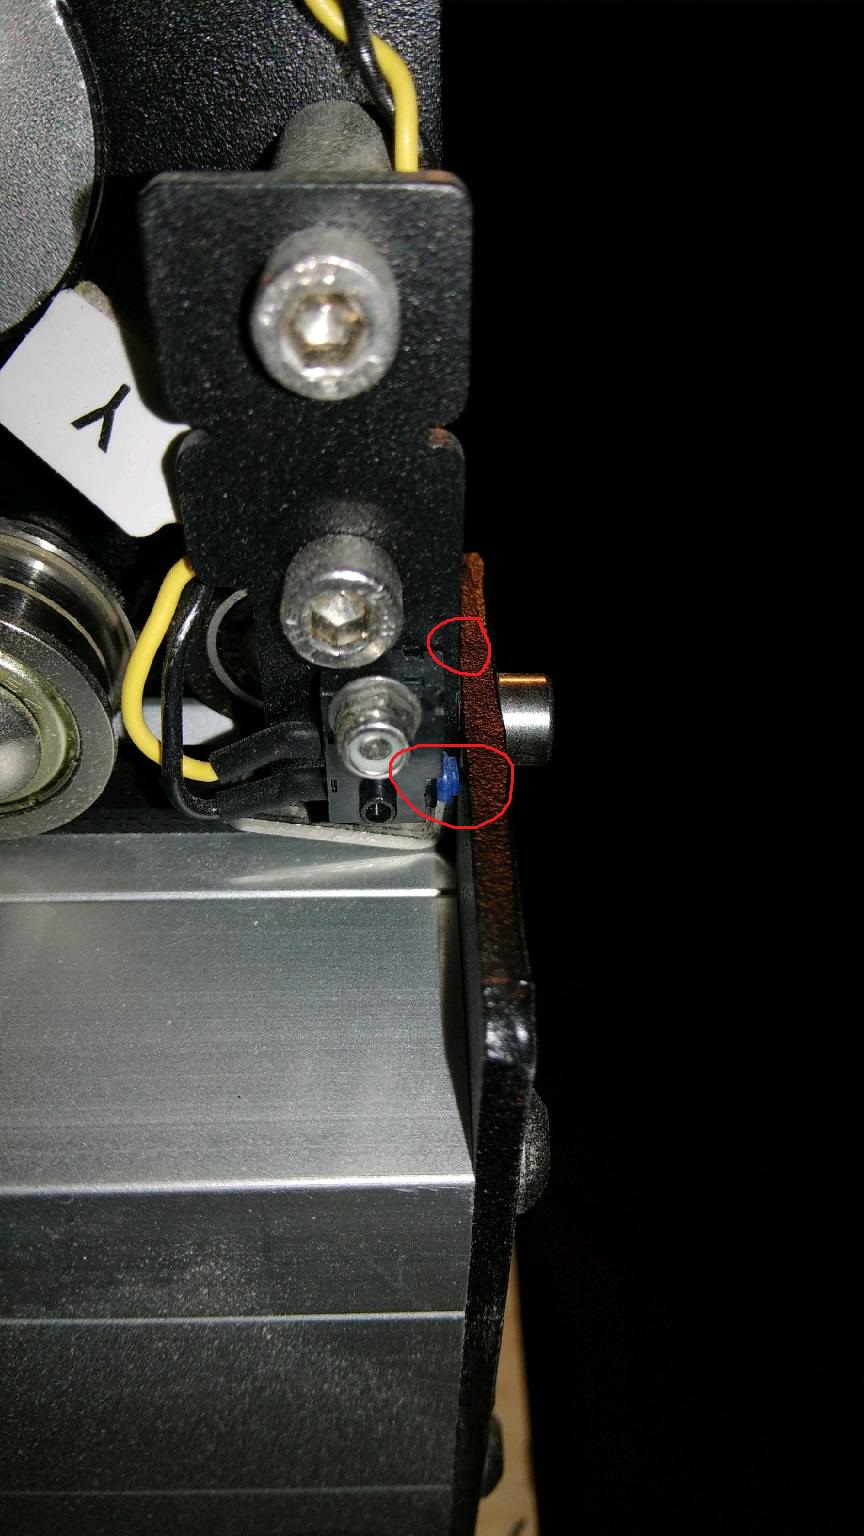
Below are some (poor) pictures. These are with the machine power off and I am holding the machine in a metal to metal collision state.
Note that NONE of the switches are overly depressed.
This one shows metal to metal and the Y axis switch properly depressed
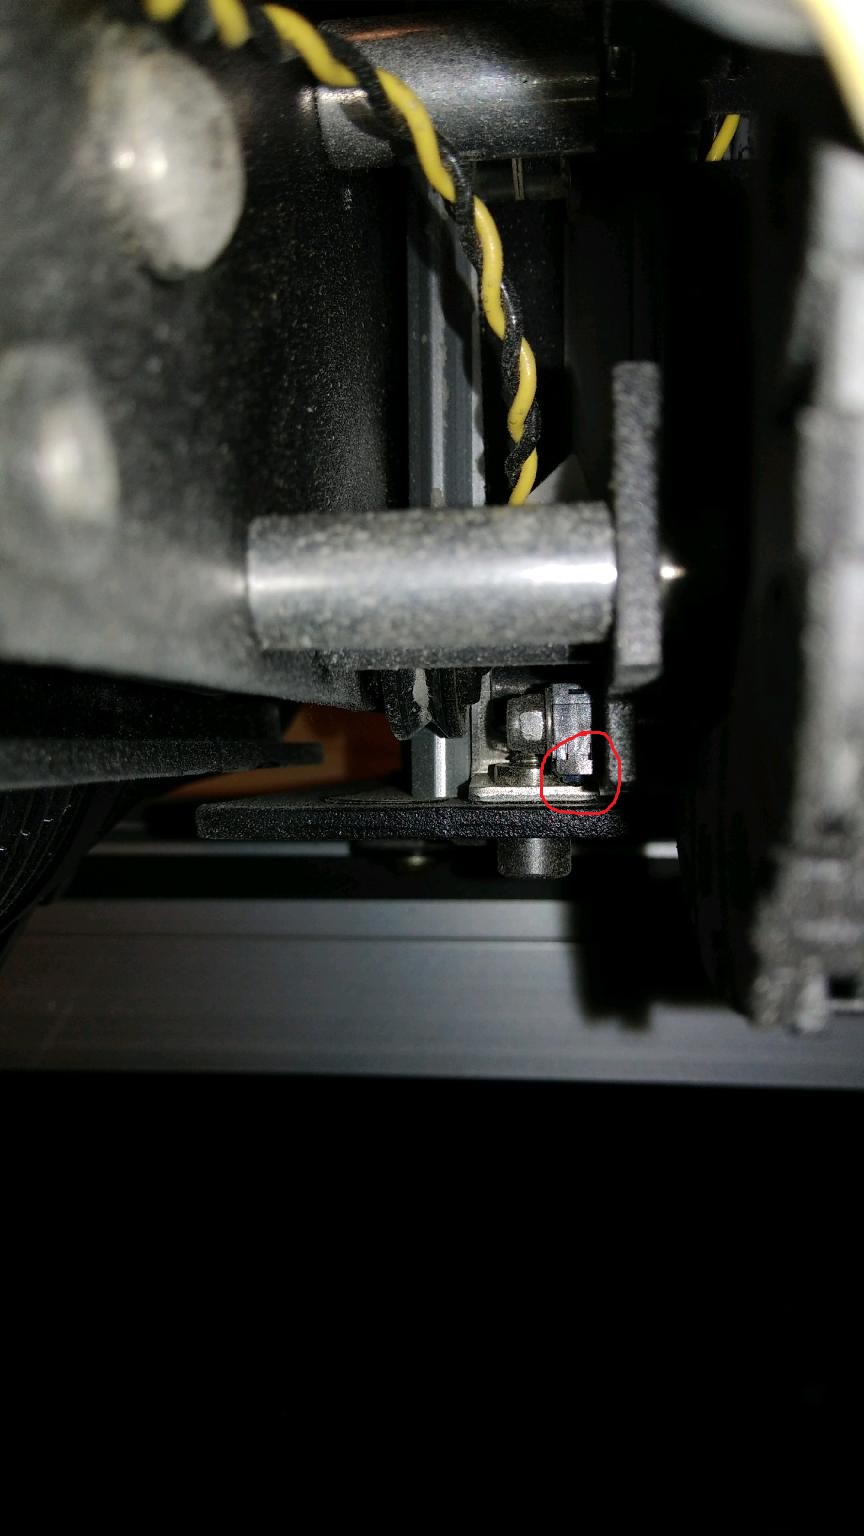
This is a top-down view of the X axis switch, fully depressed and the machine metal to metal,
no damage
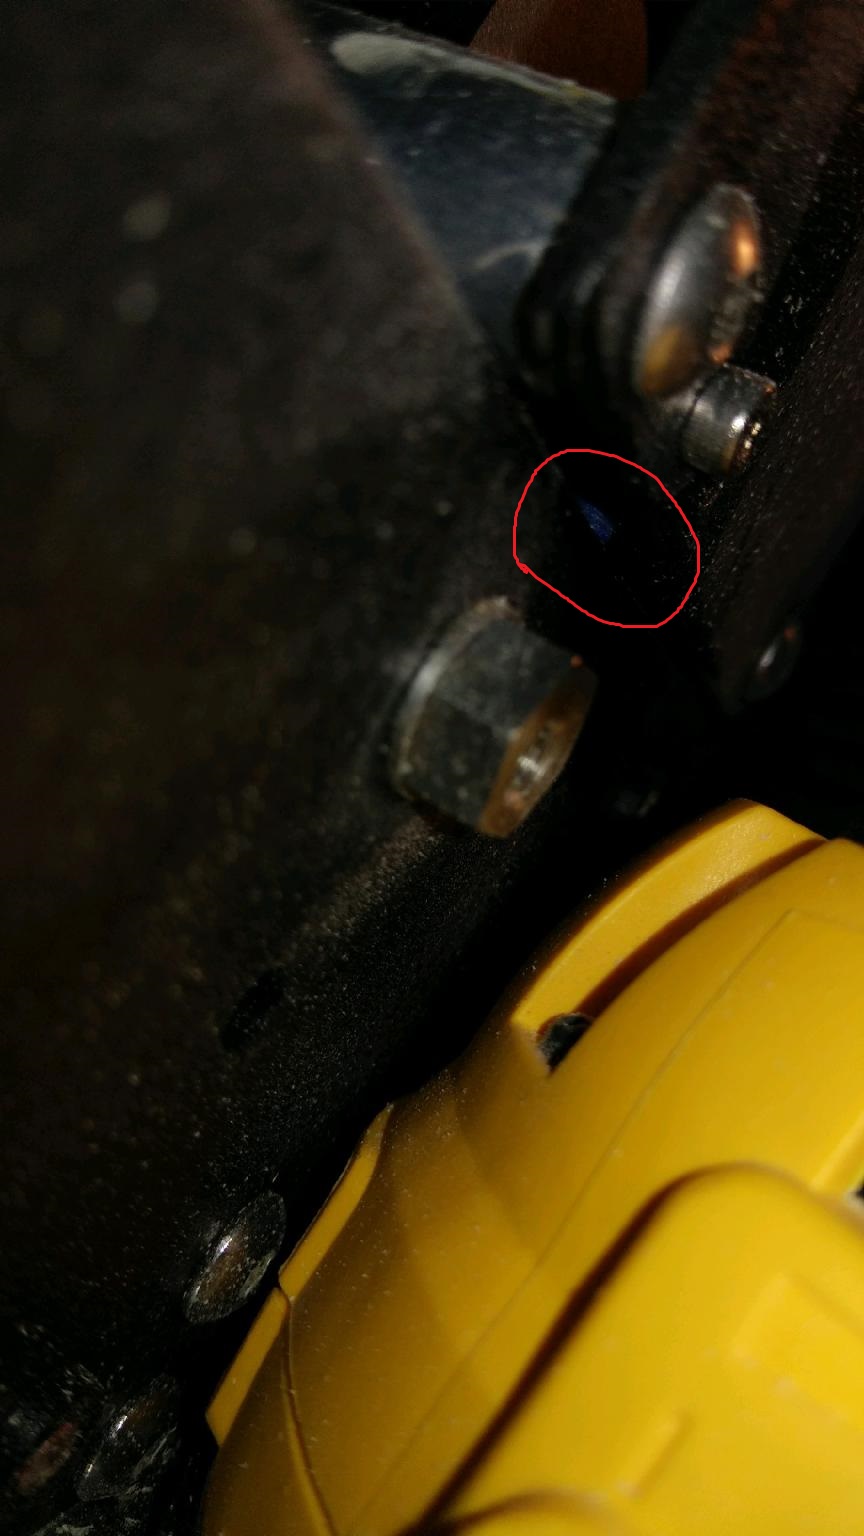
This is a view of the Z axis switch. Again, I am holding the machine metal to metal and no over depress nor damage to the switch.
2 Likes
No, none of the three bad switches were damaged. The plunger still worked fine on all of them. And I did put a meter on them and they were all shorted (closed) regardless of plunger position.
Any visible damage (if any) would probably be around the mounting screw hole, or the alignment tab.
They seem like decent folk at carbide support… just keep working through them.
1 Like
I went through 3 switches when I installed my HDZ. Not sure if some were just bad. Any way it seems to be OK now. I am going to upgrade to inductive proximity switches that I got off eBay. I’ll need to make brackets for the proximity sensors.
Since you have so many bad switches have you tried to grind off the rivets and look inside the switch itself. I would try this on at least one of the switches and see if there is something internal in the switch that is wrong or if the contacts have melted together. I know this would be a pain in the butt but at this point you need to figure out what is going wrong inside the switch. It could be bad switches but as I said in earlier post the same part going bad over and over is something usually local. I dont mean that you are doing something wrong but there is something amiss. A few people have had bad switches but no one has complained about multiple switches going bad.
1 Like
Currently quarantined away from the machine . When I get back, I’ll open up the defective switches to see if I can determine cause of failure.
I’m on my second switch on the HDZ,bought 2 extras just in case.Can you tell me what proximity switch you got on ebay. I want to do this up grade as well. Thanks John
This topic was automatically closed 30 days after the last reply. New replies are no longer allowed.