Calling All Makers: Carbide Community Monthly Build #4 starts now!

Carbide Community weekly Build Competition #4

Rules: This community build will allow everyone’s creativity to flow. Whether you just got a machine and want to follow the tutorial or get crazy with some fibonacci metal inlayed coasters, all you need to do is follow these guidelines.

  1. Build a set of 6 coasters

  2. Build a holder for the coasters

  3. Publish directions/methods used along with any files. Other forum members should be able to follow along and replicate your work.
    * After creating the coaster set, is there anything you would have done different, and why?

Theme: Coasters

Material: Any

Machine: Nomad or Shapeoko

Tool: Your choice

Required Info in your Post:
Photos! The More the better.
A) Materials used
B) Cutters
C) Design software used to create your project
D) Machine used

…And these additional details I would think would help earn votes from the Community but are not required:
E) Work-holding
F) Finishing
G) Sourcing of supplies is often very helpful.
H) Concept Sketch
I) Machining Time
J) Carbide Create .C2D file, Fusion 360 Link/File

Voting will be done with the heart/like buton, the post that gets the most wins.
.

@robgrz Rob Grzesek Said carbide3d will provide the prizes.

The winner each week will start the challenge off for the following week so be ready with ideas.You will get to decide the theme/rules/tools/materials and whatever.

This weeks build is from 4-19-2017 to 5-19-2017 post as many projects as you want.

I’m excited to see what everyone can come up with, and excited to see everyone’s work holding strategies.

1 Like

Let’s get some posts in guys/gals.

1 Like

I’d like to see these challenges continue. I would love to see more participation. I din’t make any coasters this week so this is not so much an entry as a nod to coasters being nice gifts that are fairly quick, easy to make, and useful. These are some of the various coaster projects that I have made for friends and family. I never made holders for them. most are western red cedar fence boards thinned down to around a 1/4". there is one set made from plywood. All were designed to be cut with 1/8" end mill.

Fleur

Weave, Designed with the help of Vetric Aspire


6 Likes

Extended the timeframe, would really like to see what everyone has been working on.

Here is a batch of six sets for a local brewery, delivered on Friday. The foam fixture worked super well for laser engraving everything.

4 Likes

Here are my coasters. This was a set of 4 coasters I made for my brother with his two favorite teams KC Chiefs and Kansas State Wildcats), with a holder.
Material was 3/4" maple for the holder. The helmet used a model from Design and Make with the team logos added on. the coasters were some 3/8 inch oak cabinet door panel rejects from a cabinet shop.
I made the mistake of trying to stain the maple, which turned out blotchy. I painted the logos on the coasters using acrylic paint then varnished, then filled in with clear two part epoxy.
This is the first set I made. In the second holder I added material to the bottom of the helmet to allow the helmets to be inserted into a slot in the base to attach rather than gluing the two helmet sides to additional wood pieces. This allowed the 2nd version to hold 6 coasters in roughly the same amount of space as the one in the pictures. And i left the 2nd one natural rather than staining. This probably does not count toward the contest, but here are some pics anyway.

I can’t share the files for these. I do not own the rights to the helmet files (you can purchase at Design and Make). One other tip: Do not use oil based varnish over white acrylic paint. It will yellow the white paint. I now use a water based poly to finish anything with white paint in order to keep it white.

Machine: Shapeoko 3 XXL
Software - Vectric VCarve Desktop 8.5, Universal GCode Sender
Cutters - 90 degree .5" vbit for logos, .25" end mill for roughing, .625" tapered ball nose for 3D finish, .125" end mill for inside profile cutouts.
Workholding - aluminum clamps from Rocker on t-track
Finishing - stain on maple (not recommended), followed by spray poly. Coasters painted, sealed with poly, then filled with 2 part epoxy.
Machine Time - 3-4 hours for all the parts including multiple tool changes (2 helmets plus side supports and base, then 4 coasters).

10 Likes

I actually like the more yellow, antique look. The oil based varnish will probably hold up better to hot cups and spilled liquids than polyc, which likes to get all white-spotty when it can.

Birch and maple are known for being blotchy when stained. People who finish for a living suggest using a grain sealer before staining those two woods.

1 Like

I coincidentally made a coaster recently and was pointed here since I posted it in the gallery. I’ll have to do some more work to get up to 6 with a holder but with some luck I should have enough time in the coming week or two.

Some more detail:

I made these in maple, because that’s what I had lying around. I recommend using what you have lying around too. I started by using an online maze generator.


I then zoomed in before taking a screenshot, cropped it to size to only have the maze, then used Adobe Illustrator’s Live Trace tool to ‘Make and Expand’. Using the direct selection tool I could then choose the white space and delete it, leaving me with nothing but the maze lines in vector form. I used the Offset Path tool in Illustrator to expand the lines to a point where I thought they’d engrave well, about .07" or just larger than a 1/32" bit (I’d originally intended to pocket these before switching to v-carving).

From there it was a fairly simple process to open it in Carbide Create. I did a 2 part operation, one was the v-carving with a 90 degree bit, including a circle around the perimeter. The second operation was a 1/4" straight bit that I used to contour the coaster right at the low spot on the perimeter v-carving, creating a nice bevel all the way around.

Some light sanding, some Medium Walnut danish oil, and then some polycrylic water based spray finish got it coaster ready.

A few notes:
If I do more I may carve a circular pocket on the bottom side, leaving a 1/2" rim around the outside, so that it rests on the rim not the whole bottom.

The faster I ran my DeWalt 611 the smoother the v-carving was, I think around 4- on the scale worked well

Work holding was done with Permacel tape: https://www.amazon.com/gp/product/B000QDL9GK/ref=oh_aui_search_detailpage?ie=UTF8&psc=1

I wasn’t making enough of these to optimize the process so I did them one at a time on piece I already had cut to rough size. I used a simple procedure of two pieces of wood to make positioning easier.

I did all the v-carving first on all the pieces, then did a second round to cut them out.

C2D file, please use for reference or thoroughly check everything before attempting to use:

6 Likes

Here’s a project that I completed last week for The Arizona Department of Public Safety Special Olympics BBQ. They holds a yearly barbecue to raise money for Arizona Special Olympics. Part of the money raised comes from a raffle of donated items. DPS receives donations of things including Resort stays, firearms, movie passes, and gift bags. I was asked if I’d be interested in donating something unique to this years raffle, so I gladly accepted and got the gears turning. I had a few laser engraved glasses already on hand, so I decided to make a gift box with coasters to complete the set.

I’m still getting the hang of the Shapeoko so I wasn’t able to use it for everything but it worked great for the coasters and for sliding lid track on the box.

Items used:
Shapeoko XL
1/4" 3 Flute Upcut Endmill for Coasters and Box lid sliding pocket
Dewalt Router

Material:
Coasters - Red Oak appearance board 1/4 x 4 x 4 (Lowes)
Box - 1/4" Birch Plywood, pre-finished on one side (HomeDepot)
Glass tumblers (Kohl’s)

Software:
Autodesk Fusion 360 (Coasters)
Adobe Illustrator
123D Make
Tabbed Box @ www.makercase.com

Coasters:
I used Fusion 360 to sketch a simple rectangle with the outer (cut) and inner (inset) circles for the coasters. I extruded the rectangle and all but the inner circles to .245" (the actual thickness of my red oak plank). I then extruded the coaster circles to .125" for the inset of the coaster. After the CAD portion was setup I went into the CAM section and created the milling operations. I used 2D Pockets to make the coasters inset and a 2D Contours for the outside.

Since I was using Red Oak plank for the coasters I secured it using blue painters tape on the spoil board and the bottom of the plank and then put a few zig zags of super glue on the tape. I lined up the tape strips on the plank and spoil board and weighted the plank with a brick for about 30 minutes. The plank stayed in place till the job was done and I used a spatula to pry it and the coasters off the board. By using the tape and superglue I was able to avoid using tabs in my 2D contour step.

Cam Settings for 1/4" 3 flute endmill:
Rough 2D Pocket - Dewalt Setting 2, Feed 80ipm, Plunge 30ipm, Stepover .25", Stock to leave .02"
Finish 2D Pocket - Dewalt Setting 2, Feed 80ipm, Plunge 30ipm, Stepover .20"
Rough 2D Contour - Dewalt Setting 2. Feed 60ipm, Plunge 30ipm, Stepdown .10, Stock to leave .02"
Finish 2D Contour - Dewalt Setting 2. Feed 80ipm, Plunge 30ipm, Stepdown .10

When the coasters were finished I gave them a light sanding with 220 grit, blasted them off with compressed air and coated them with Butcher Block Conditioner (Bees Wax and Mineral Oil). The conditioner seals them from condensation and water while bringing out the beautiful wood color. It also keeps the coasters food safe.

Cardboard insert for glasses and coasters:
In Adobe Illustrator I created a 7x7 square with four circles for the glasses and saved it as a DXF file. I the DXF into Fusion 360 and extruded it into a 3D shape. From F360 I took it into 123D Make where I set it up as Radial Slices with Horizontal slices to get the cut file. I opened the cut file from 123D make up in Illustrator and added the drop in the center for the coasters to rest above the glasses. I also rounded the top outside edges of the cardboard. After that I sent the cut file to the laser and cut the the pieces from (clean) recycled cardboard. They press fit together snug and didn’t require any additional support. The first time I slid the cardboard down into the finished box I thought I had made it too large. It turned out to be an exact fit that was snug and didn’t move around.

Box:
I use the tabbed box design for the basic box design and then edited it in Illustrator to raise the top left, right and back and remove the tabs. For the lid also added a pull tab on the from, removed the tabs (from the makercase design), and extended it a little to make a sliding lid.
I did the cuts for the box on the laser but used the Shapeoko and a 1/4" endmill to make the pocket on the left, right and back for the sliding lid. The 1/4" upcut endmill caused a lot of tear out in the birch plywood so I ended up putting some blue painters tape across the surface of the wood. The painters tape kept the endmill from tearing up the wood and a few strokes of 220 grit sandpaper and it was perfect. Everything was press fit and then I ran a bead of wood glue into the seams on the inside of the box. After realizing that my clamps were a half inch short for holding the box together overnight I resorted to wrapping the box tightly with para cord. While the glue was drying I laser engraved the DPS Star onto the box lid. After the box was finished I sealed it with a couple coats of the Butcher Block Conditioner that I used on the coasters.

Glasses:
Laser Etched using a Rotary

I’m really happy with how the project came together and hopefully the raffle winner is too!
After some more experimenting I’m hoping to do the same engraving using the Shapeoko and see if I can’t make another box completely out of hardwood.

13 Likes

I thought I had an original idea.
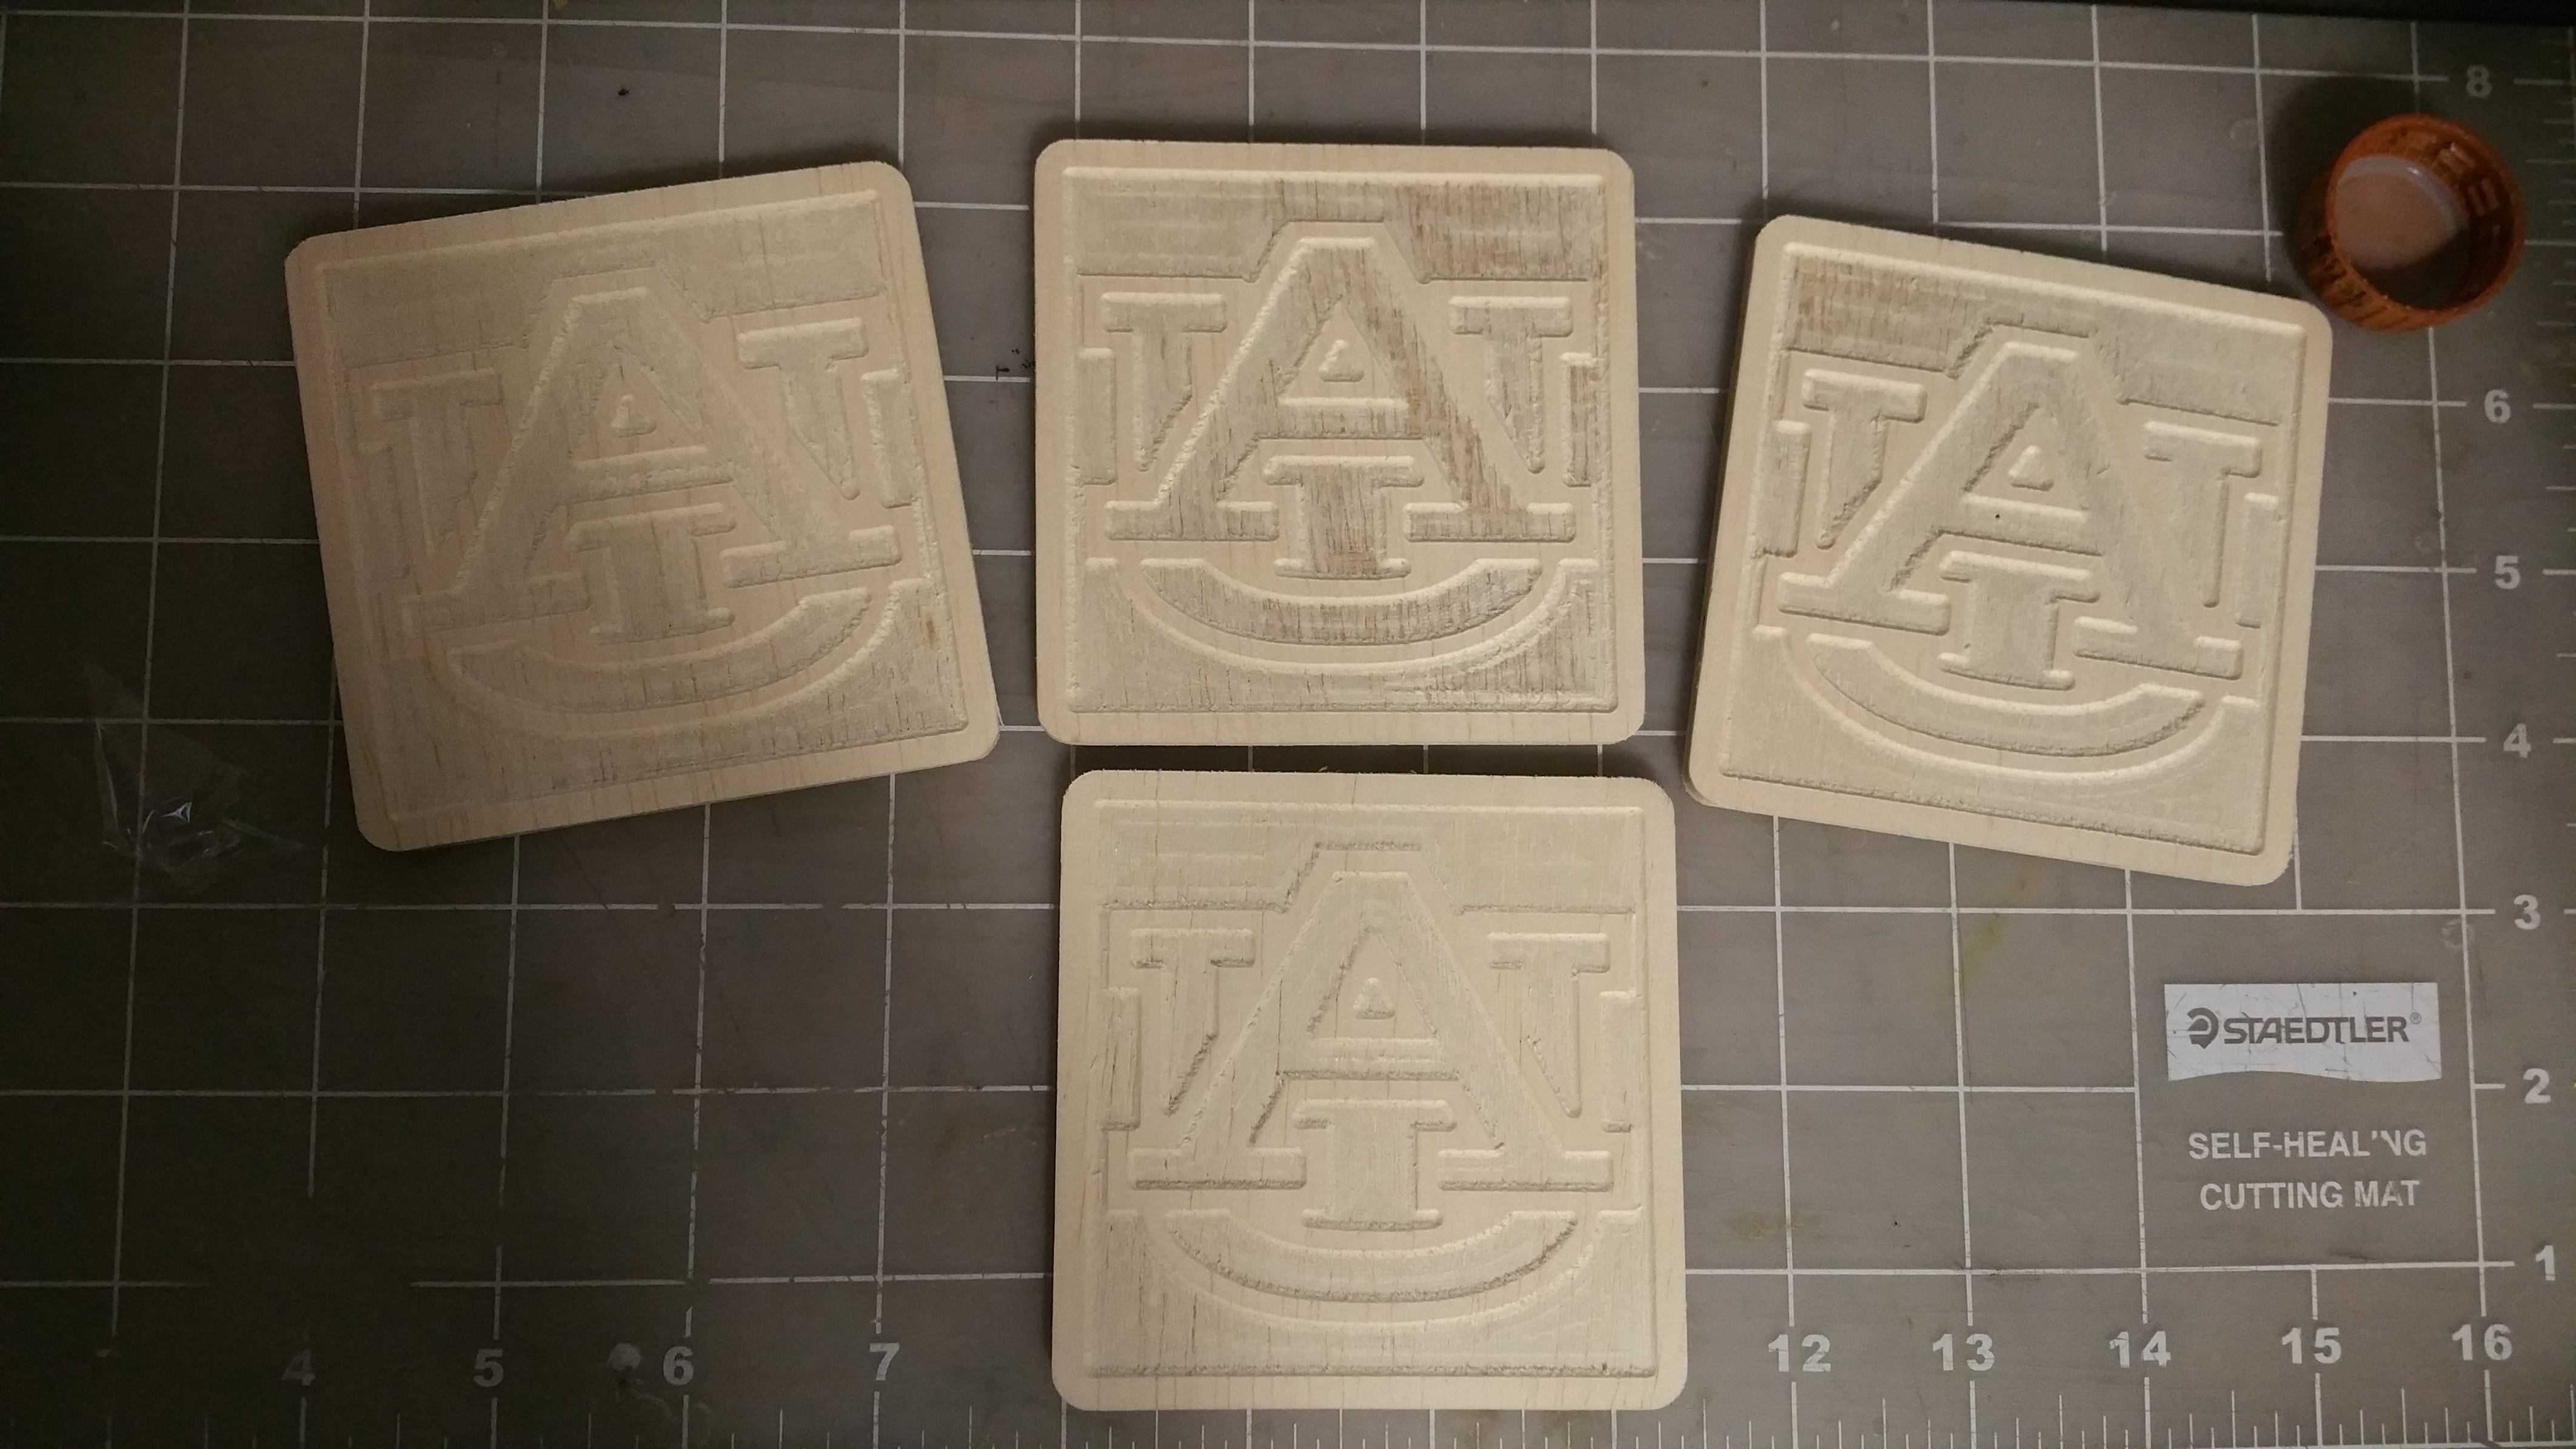
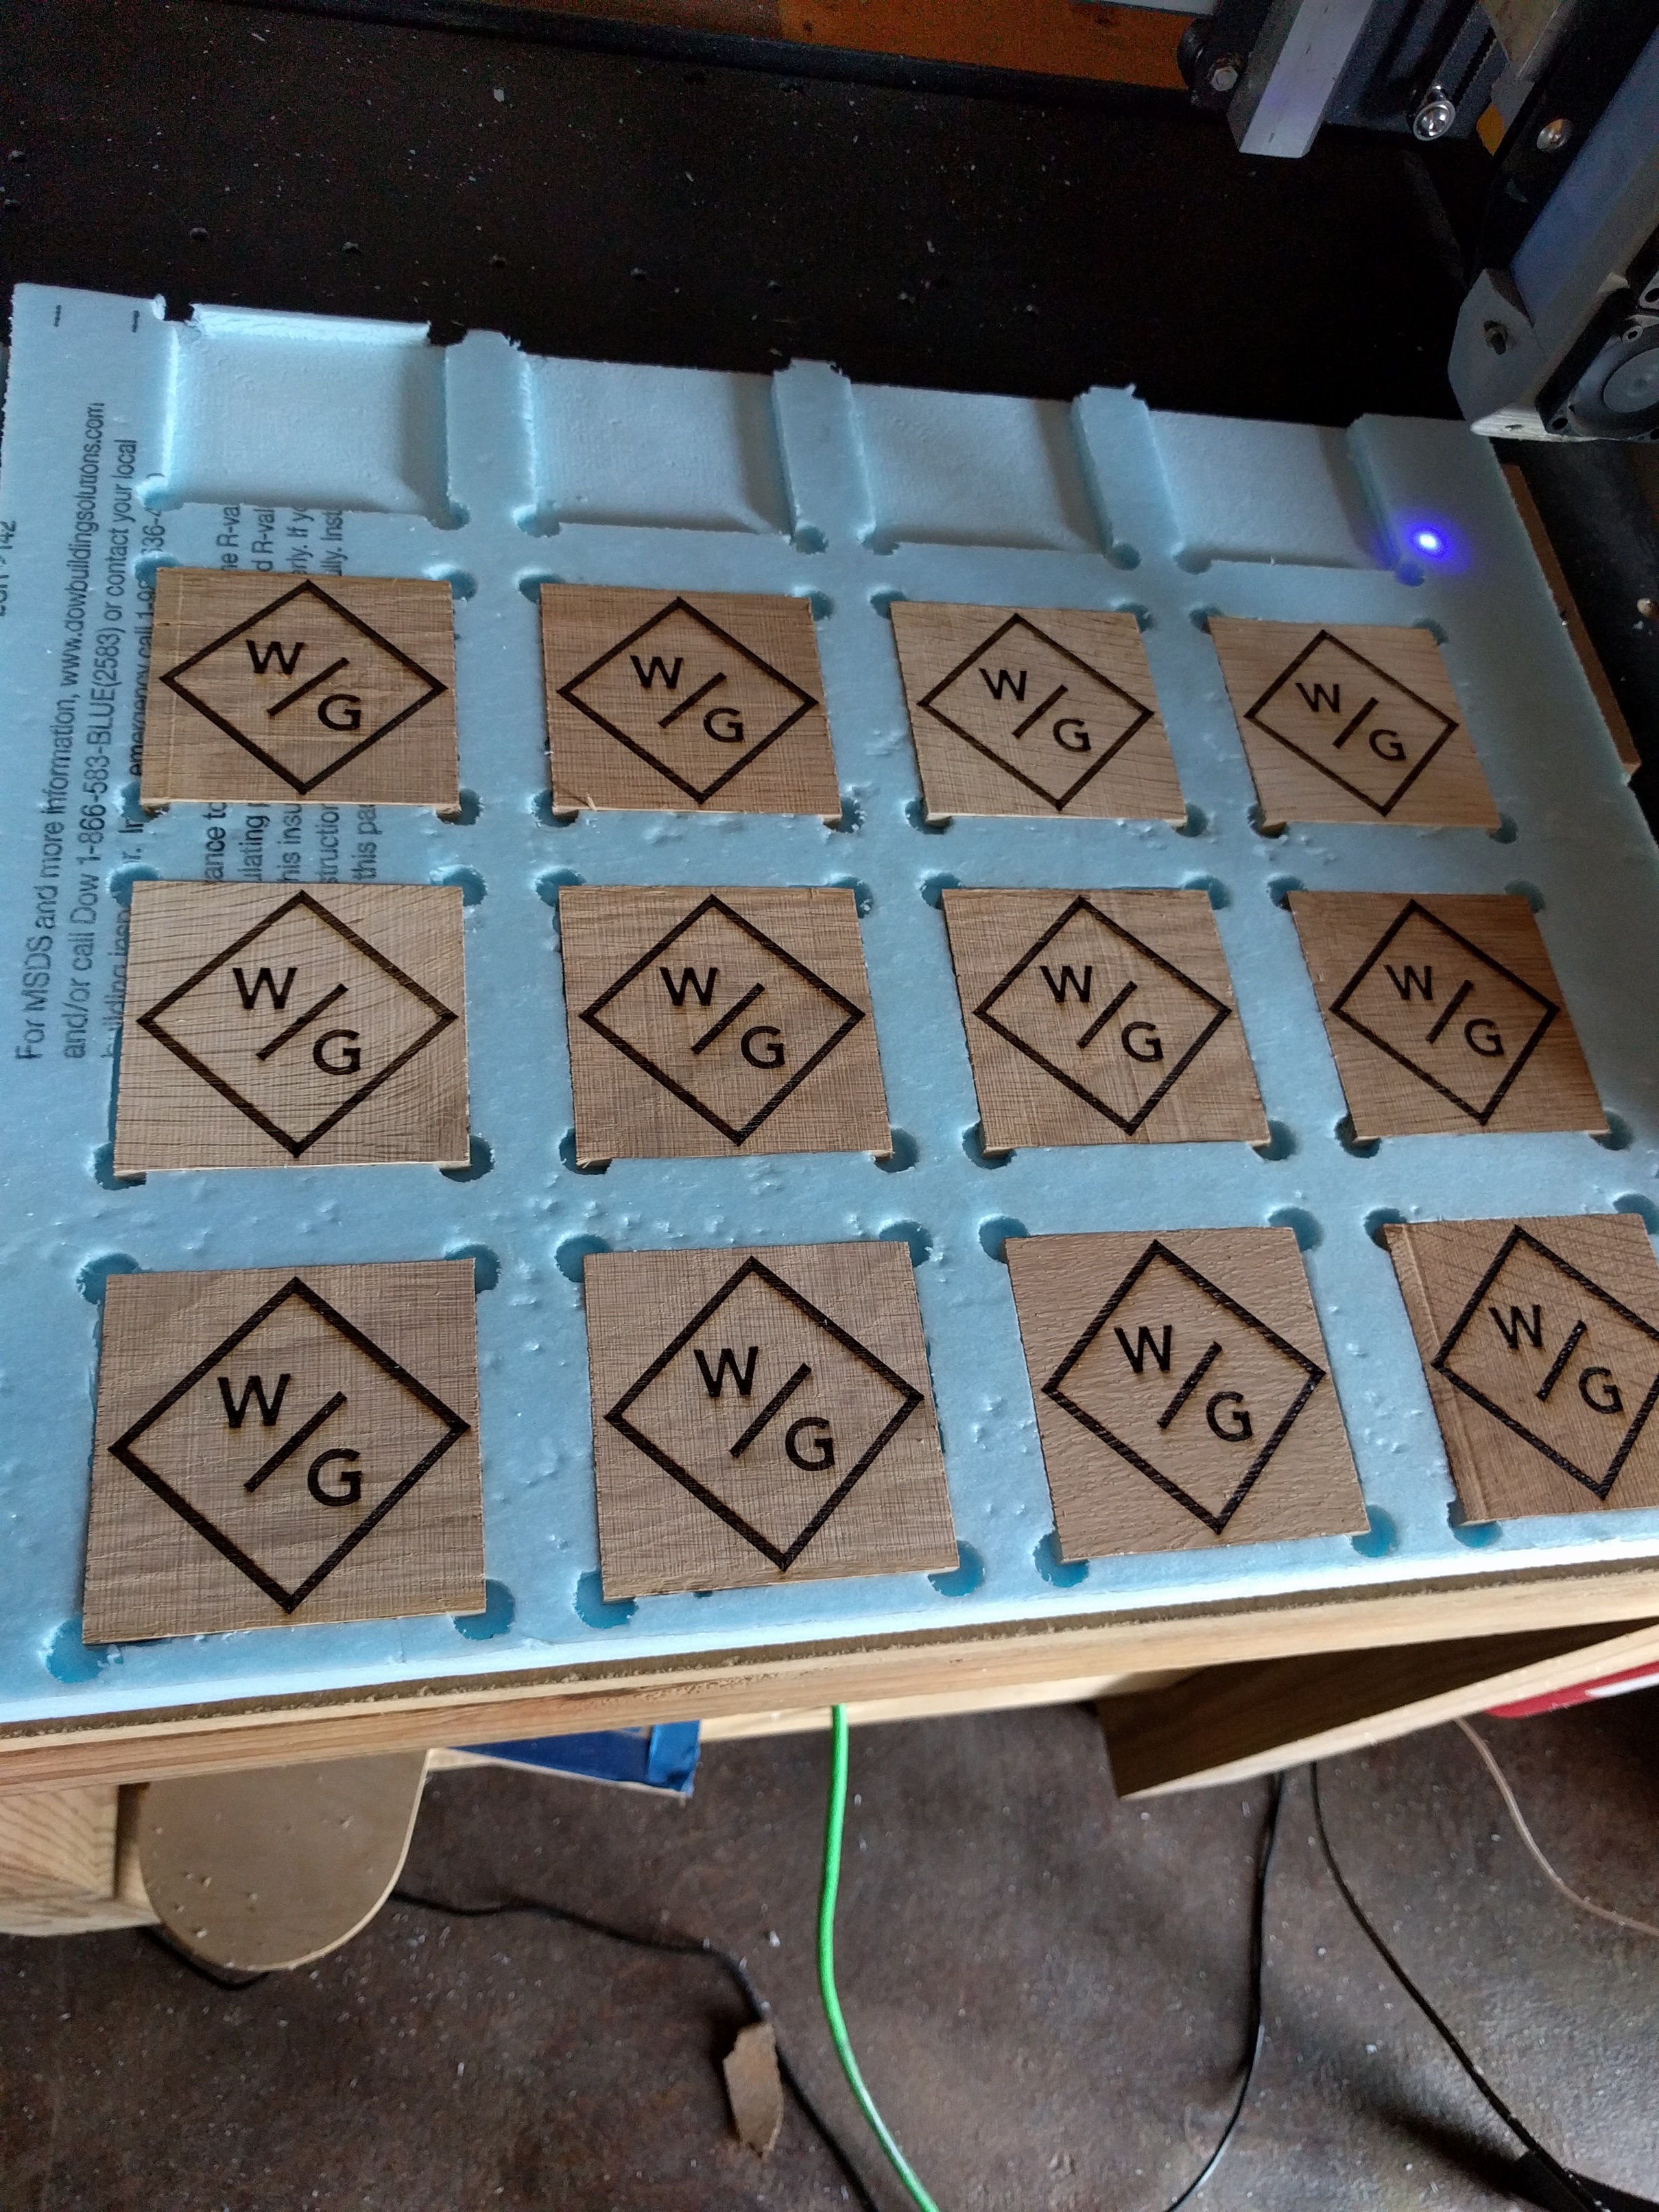
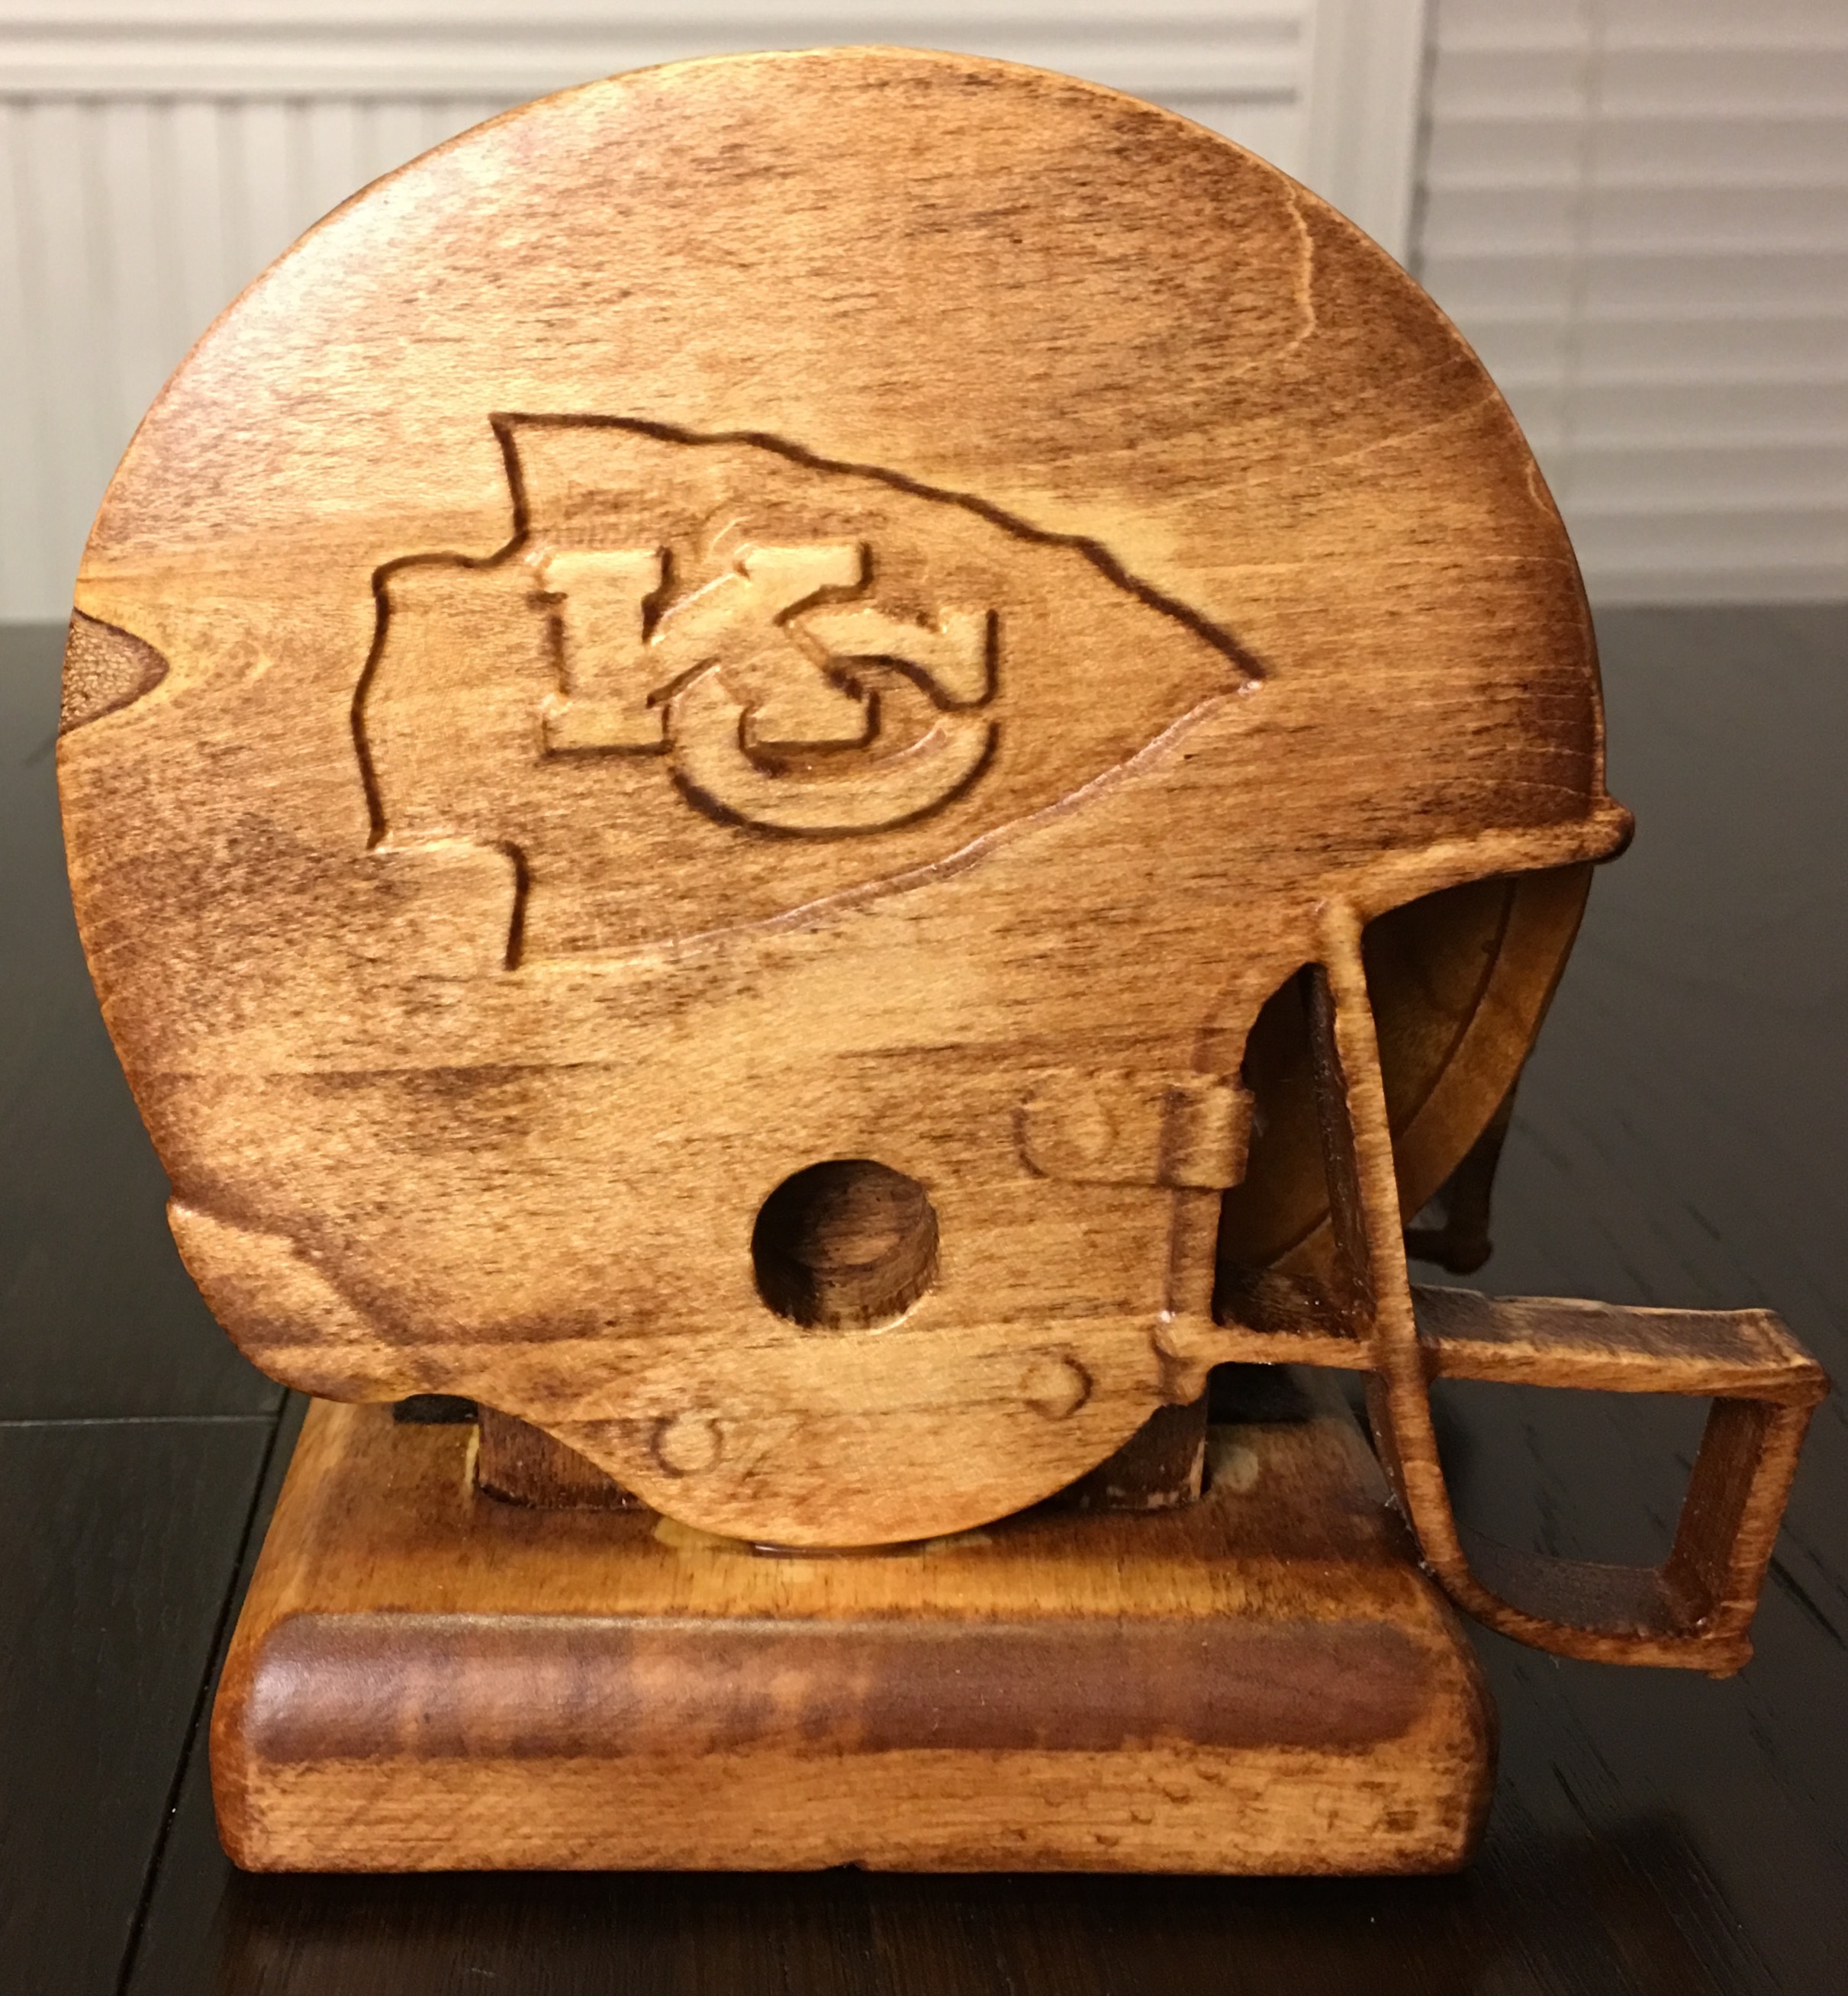
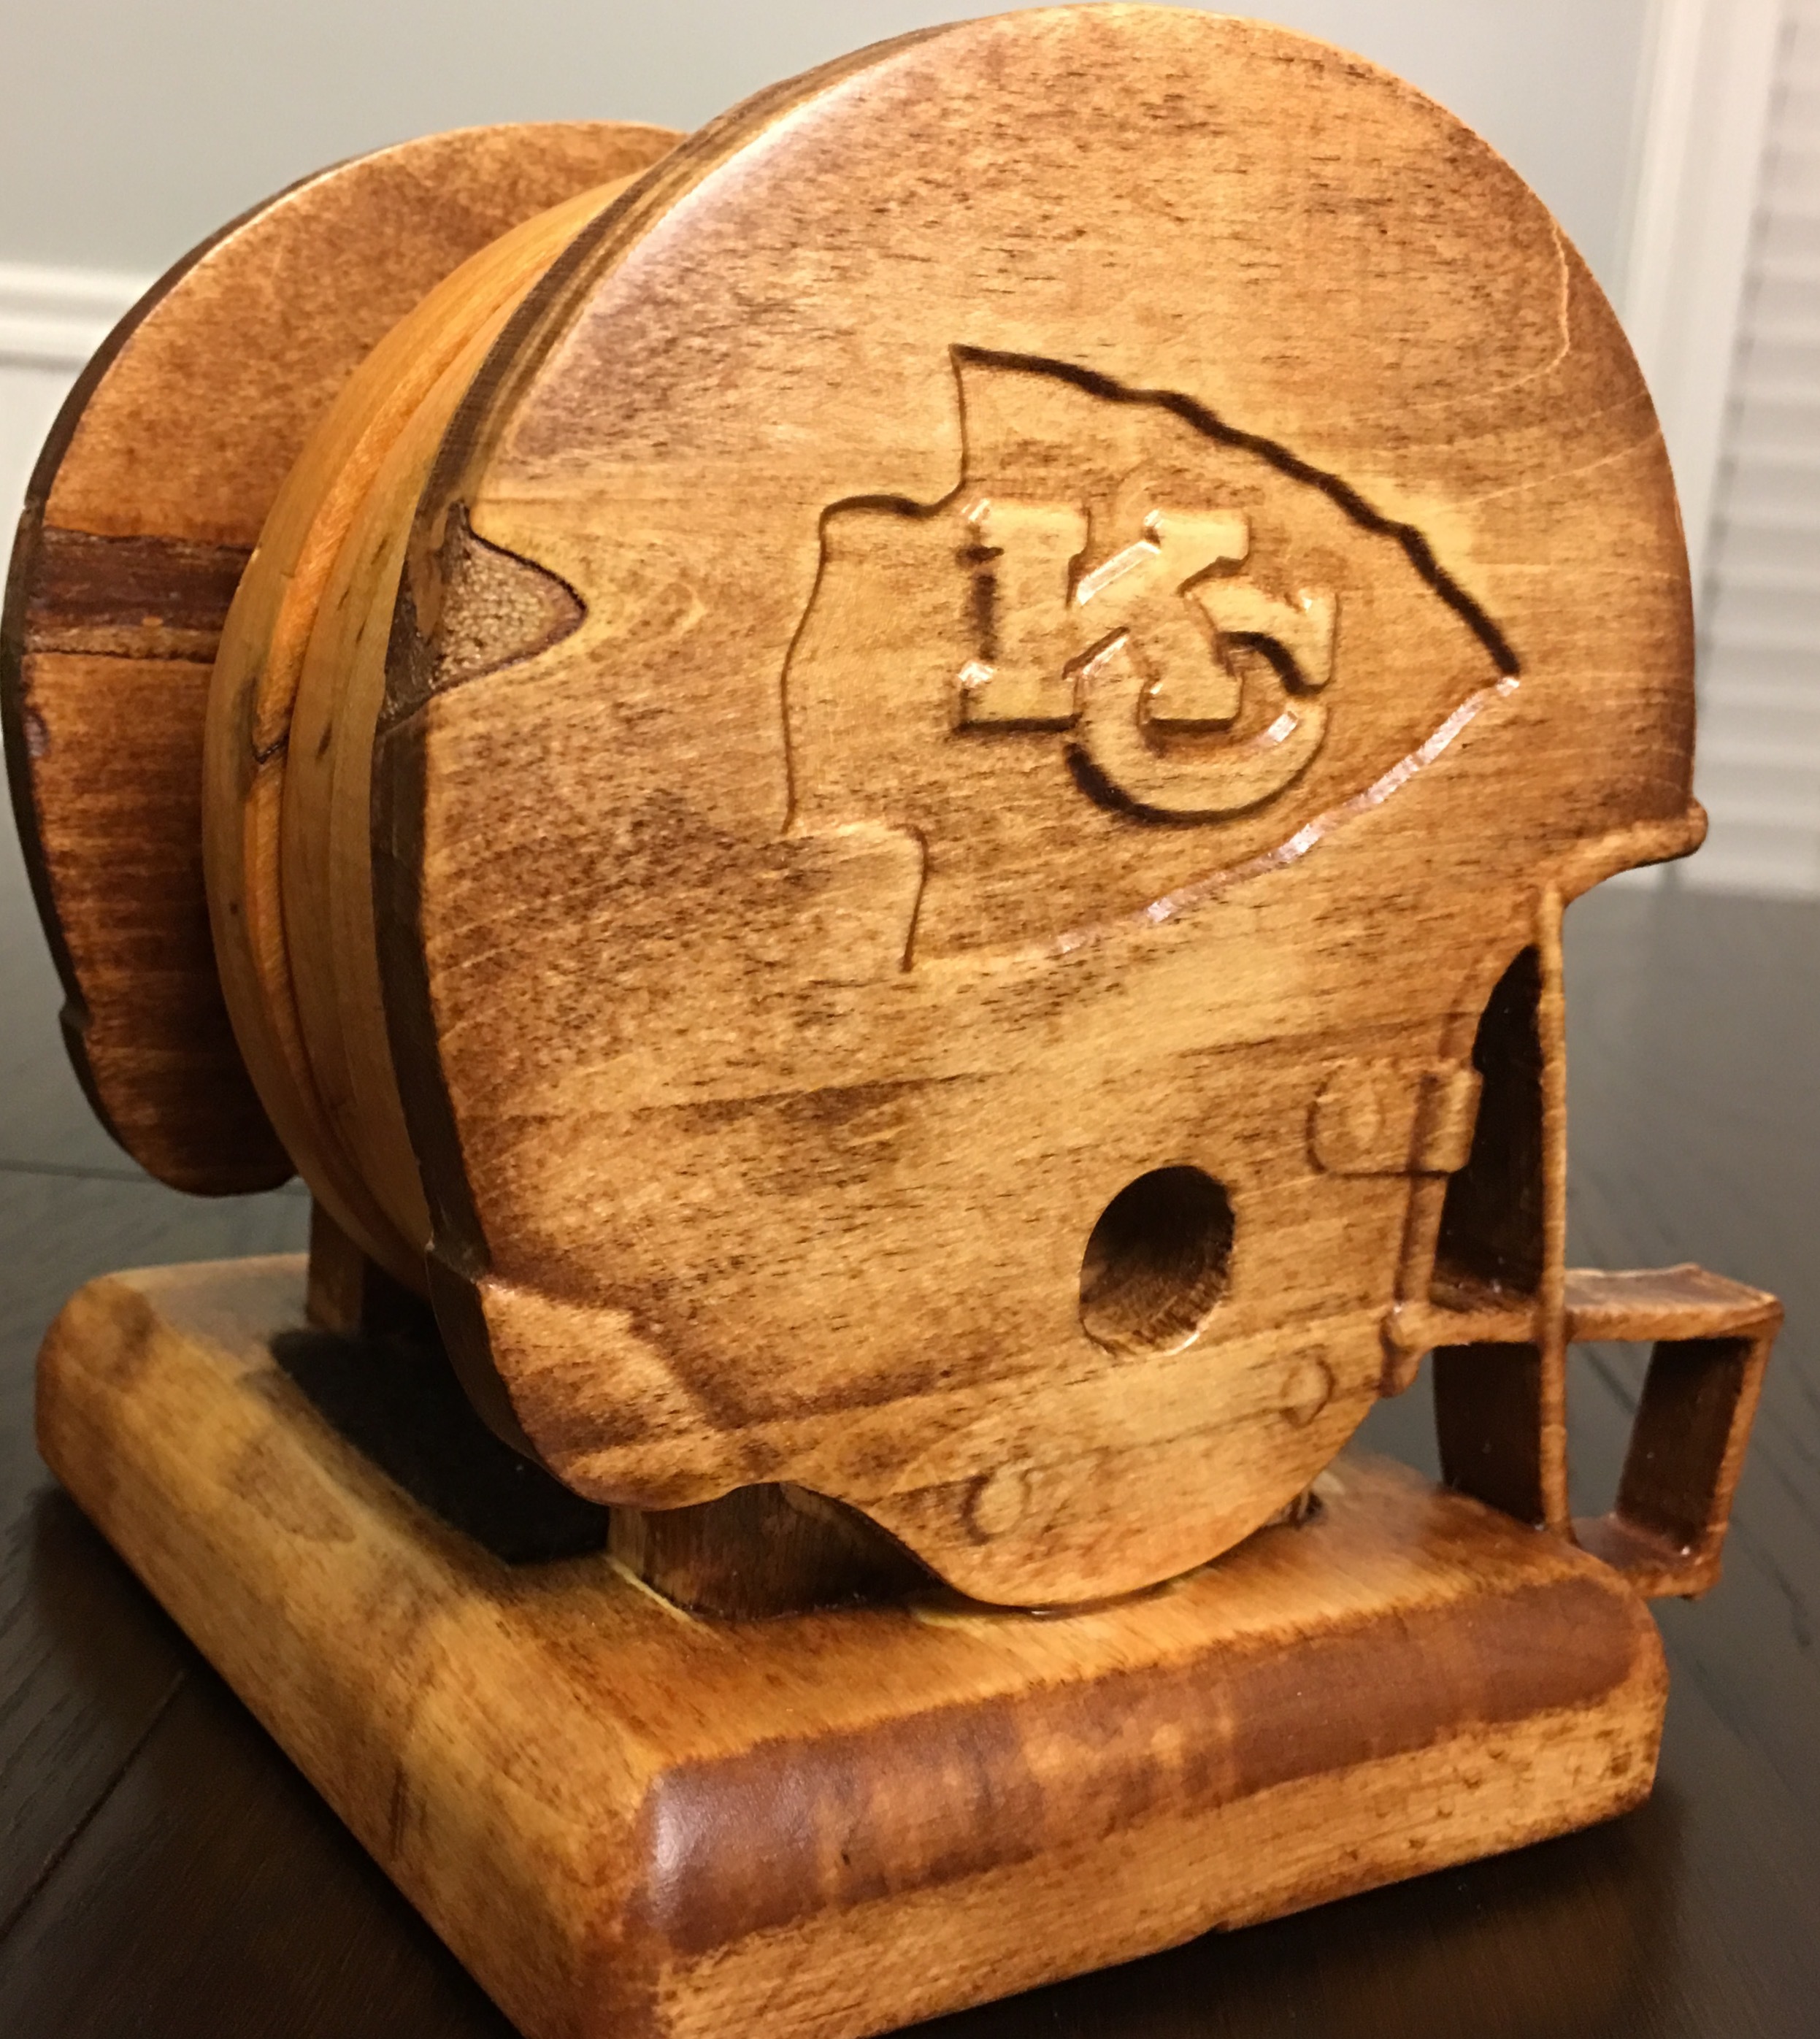
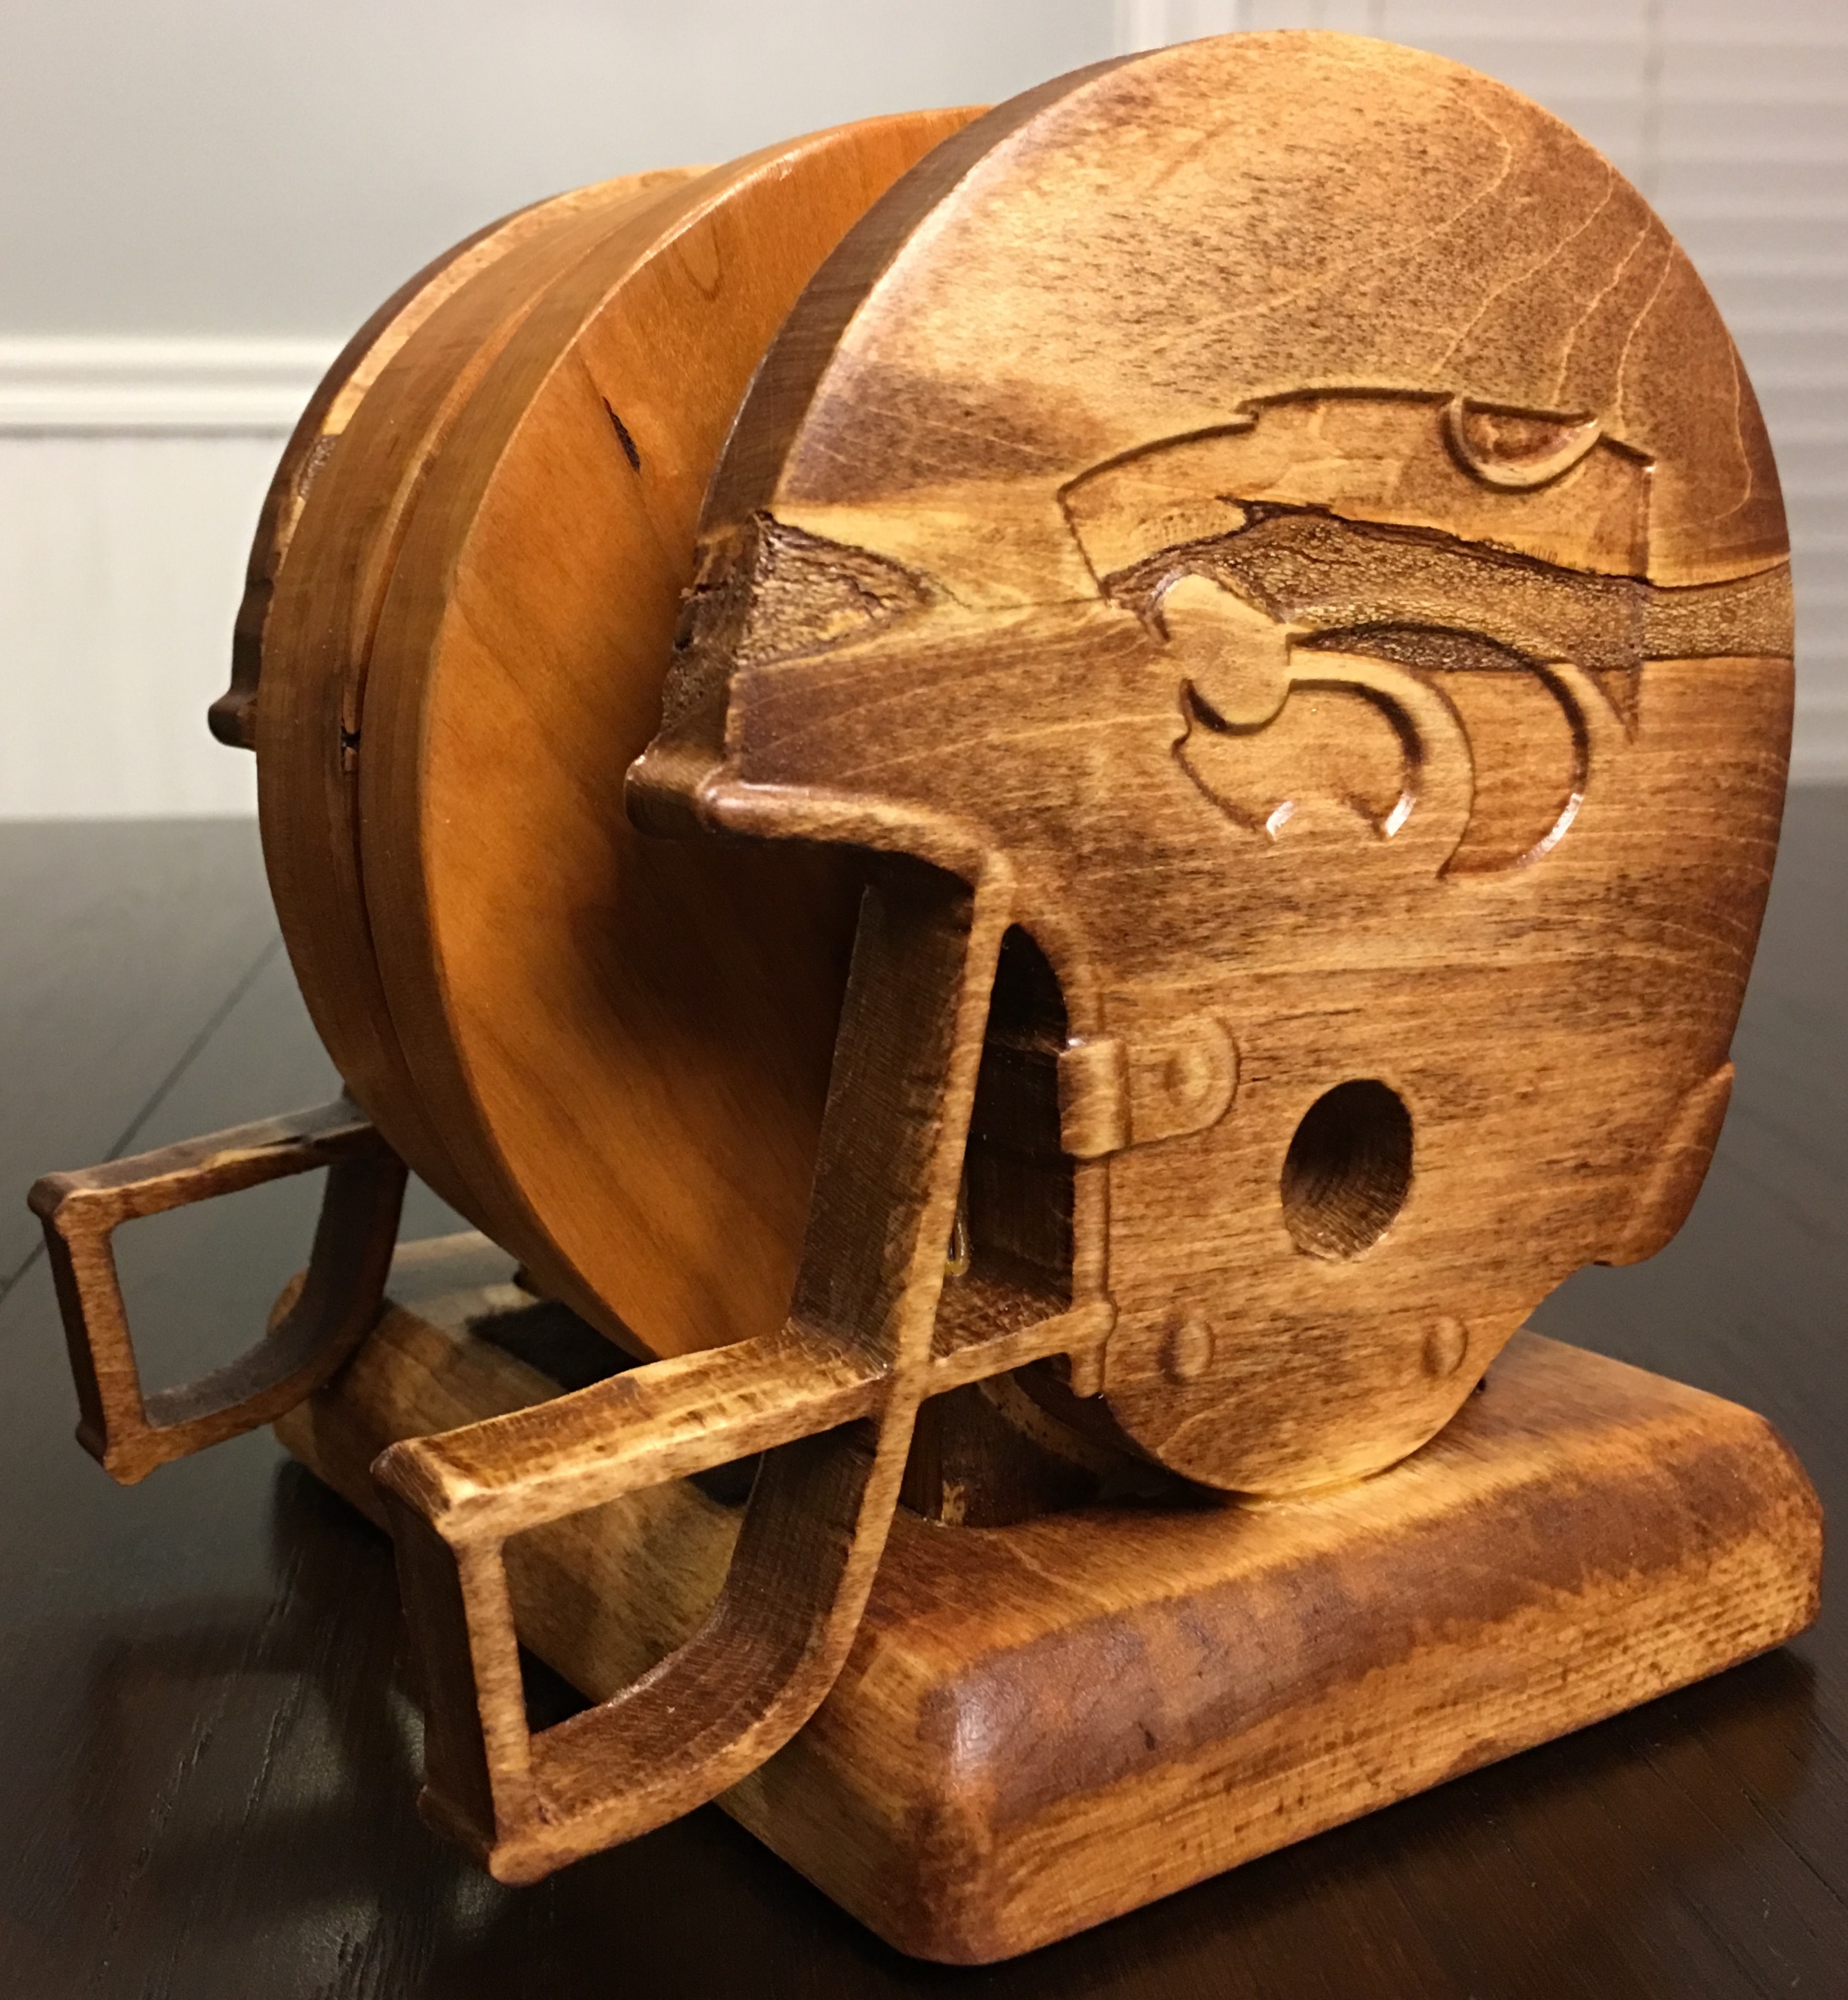
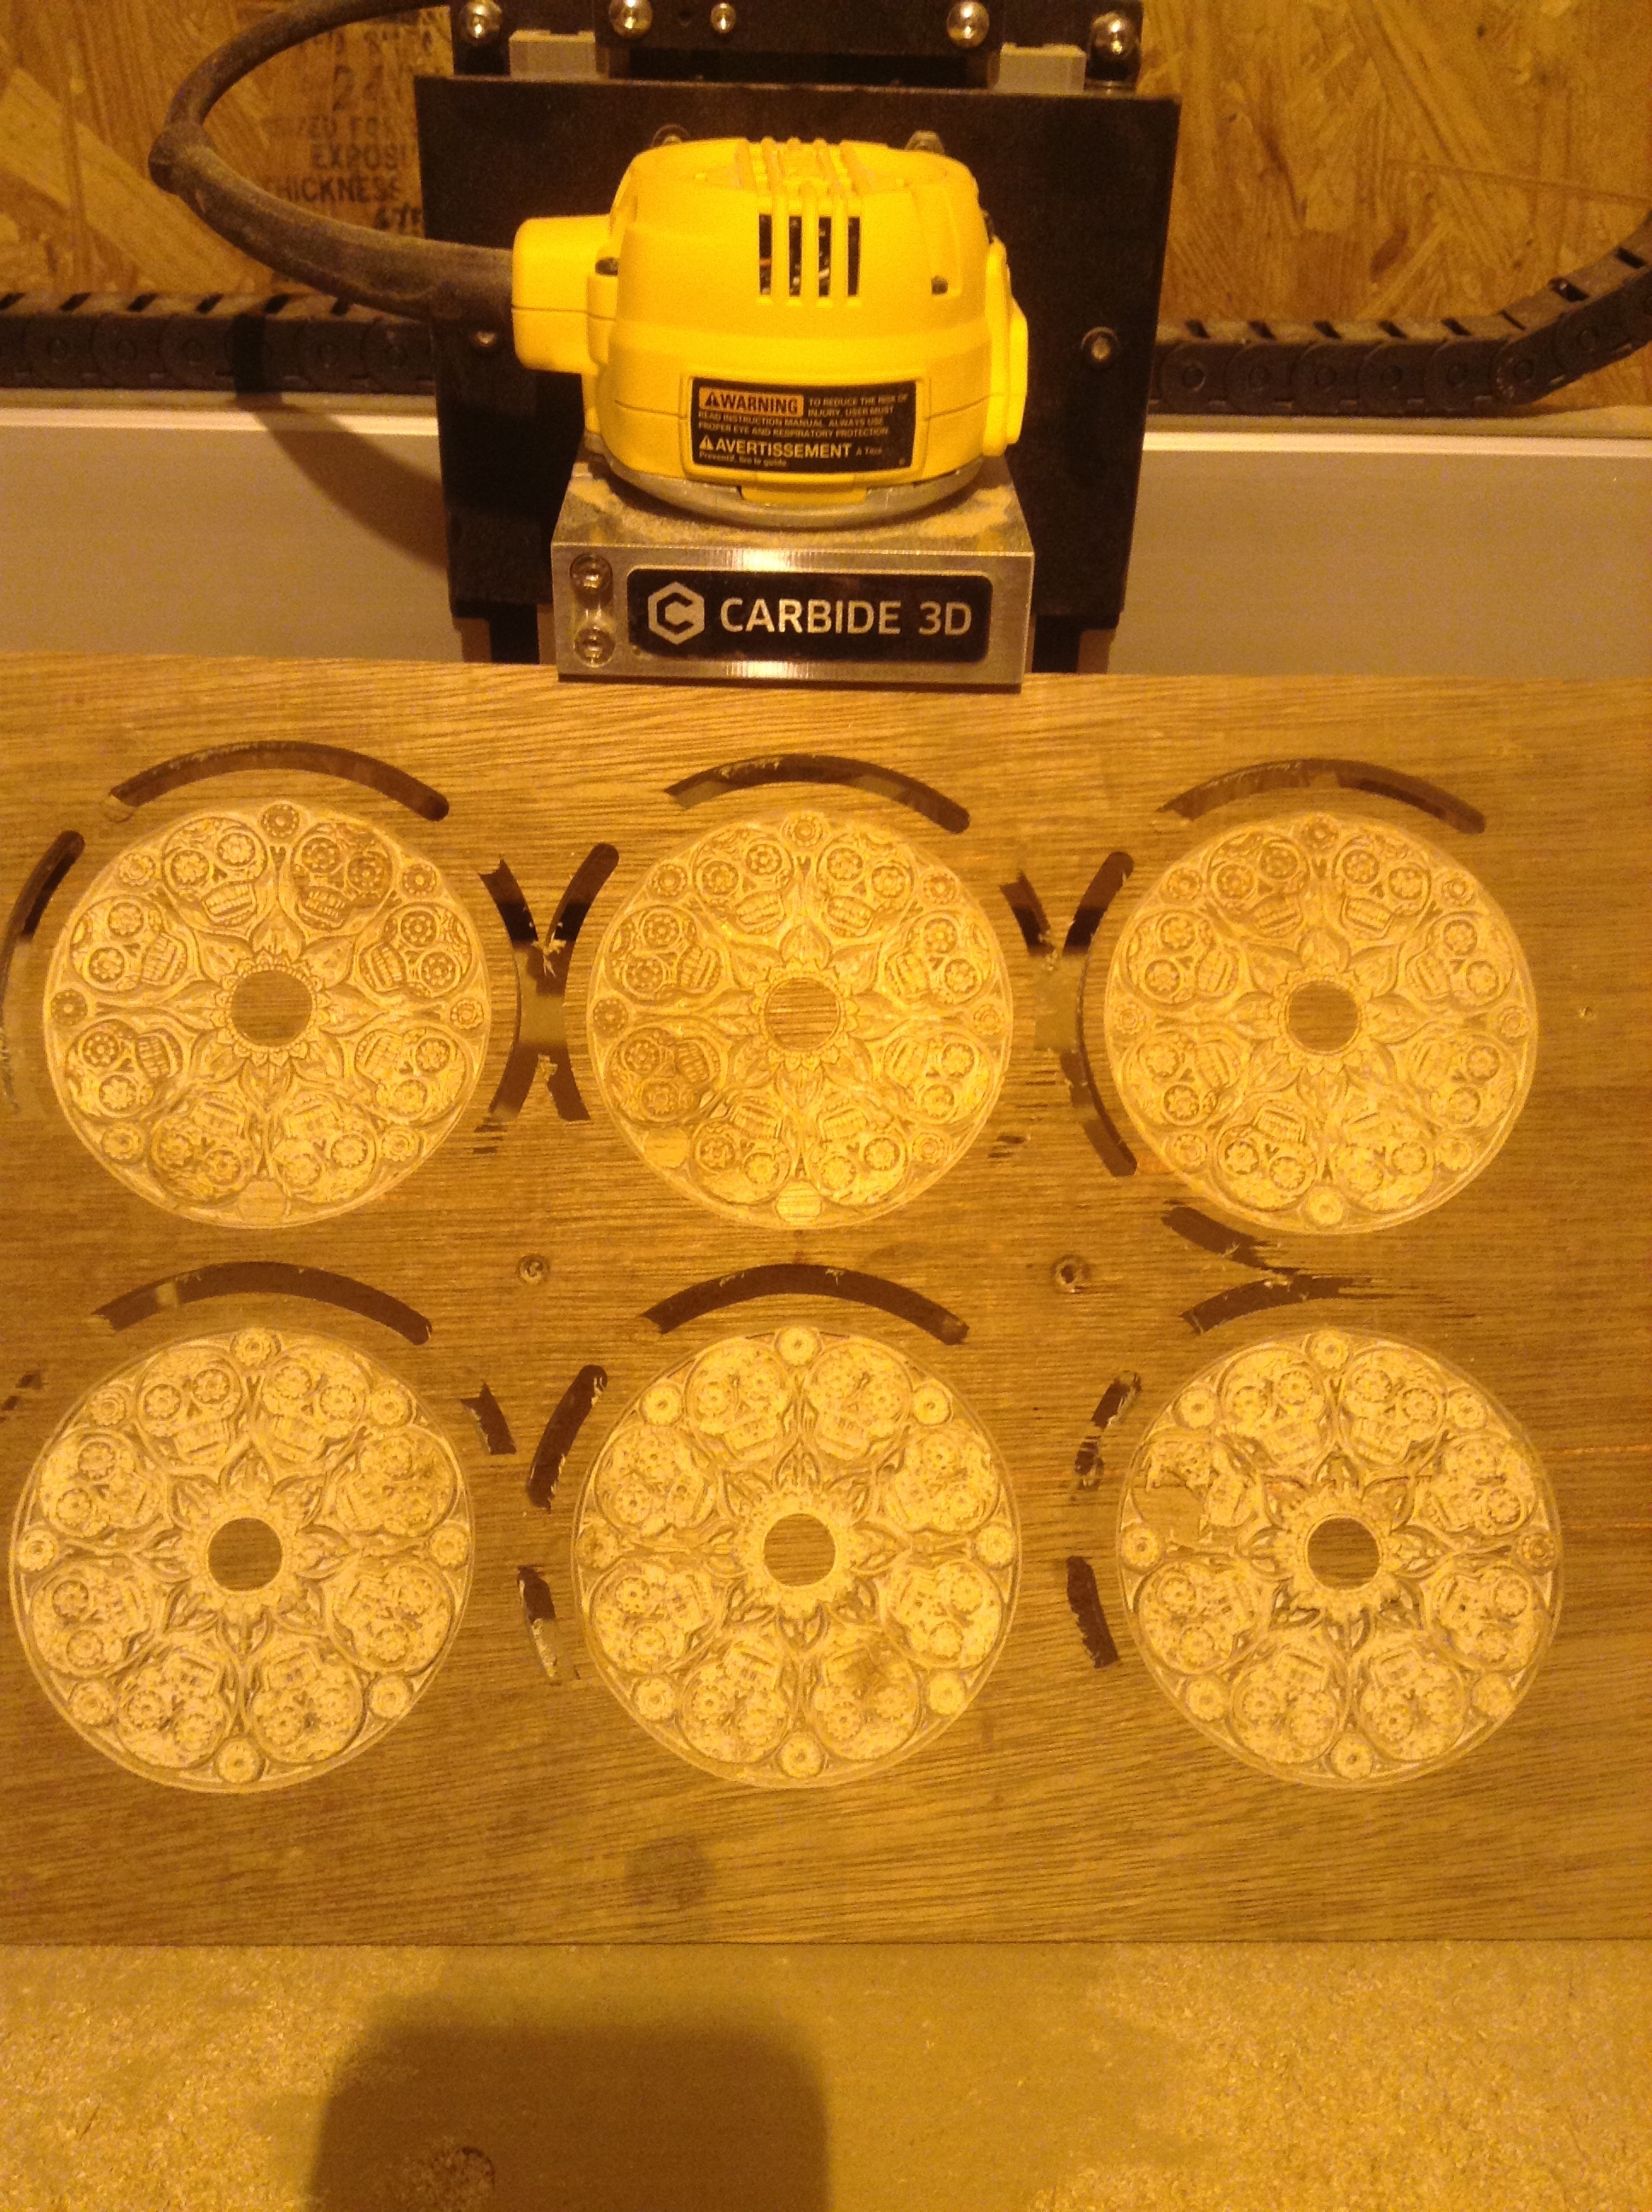
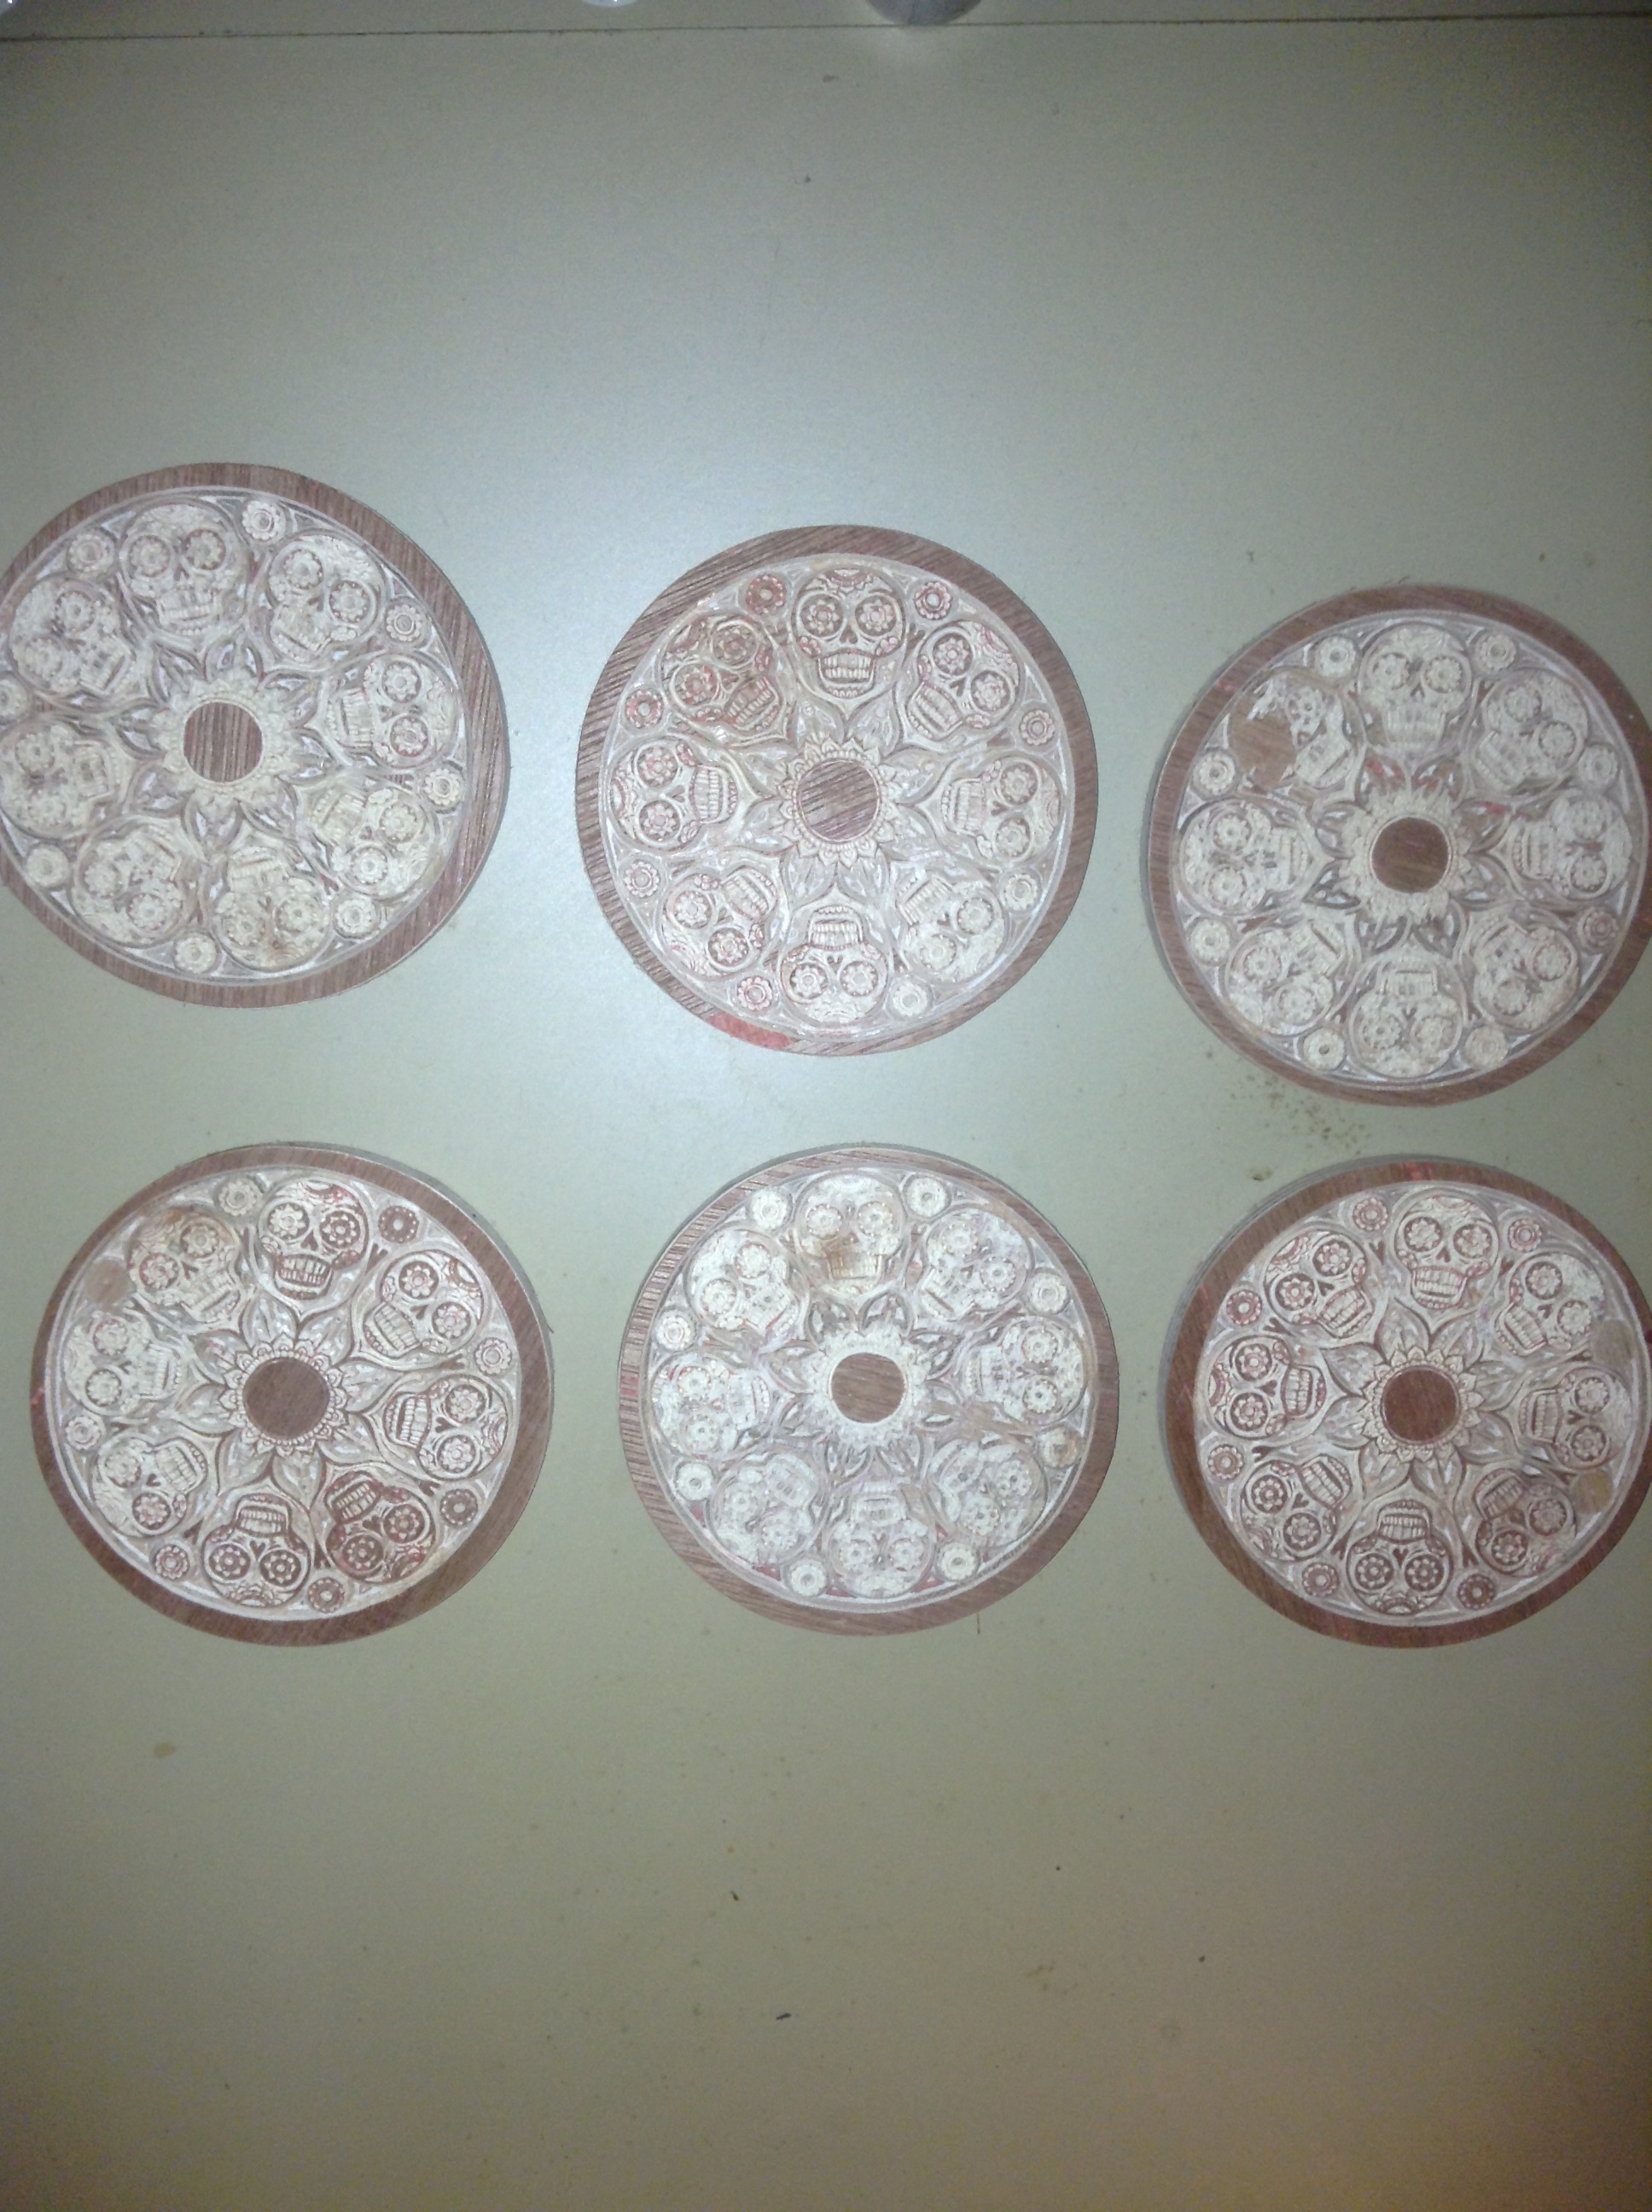
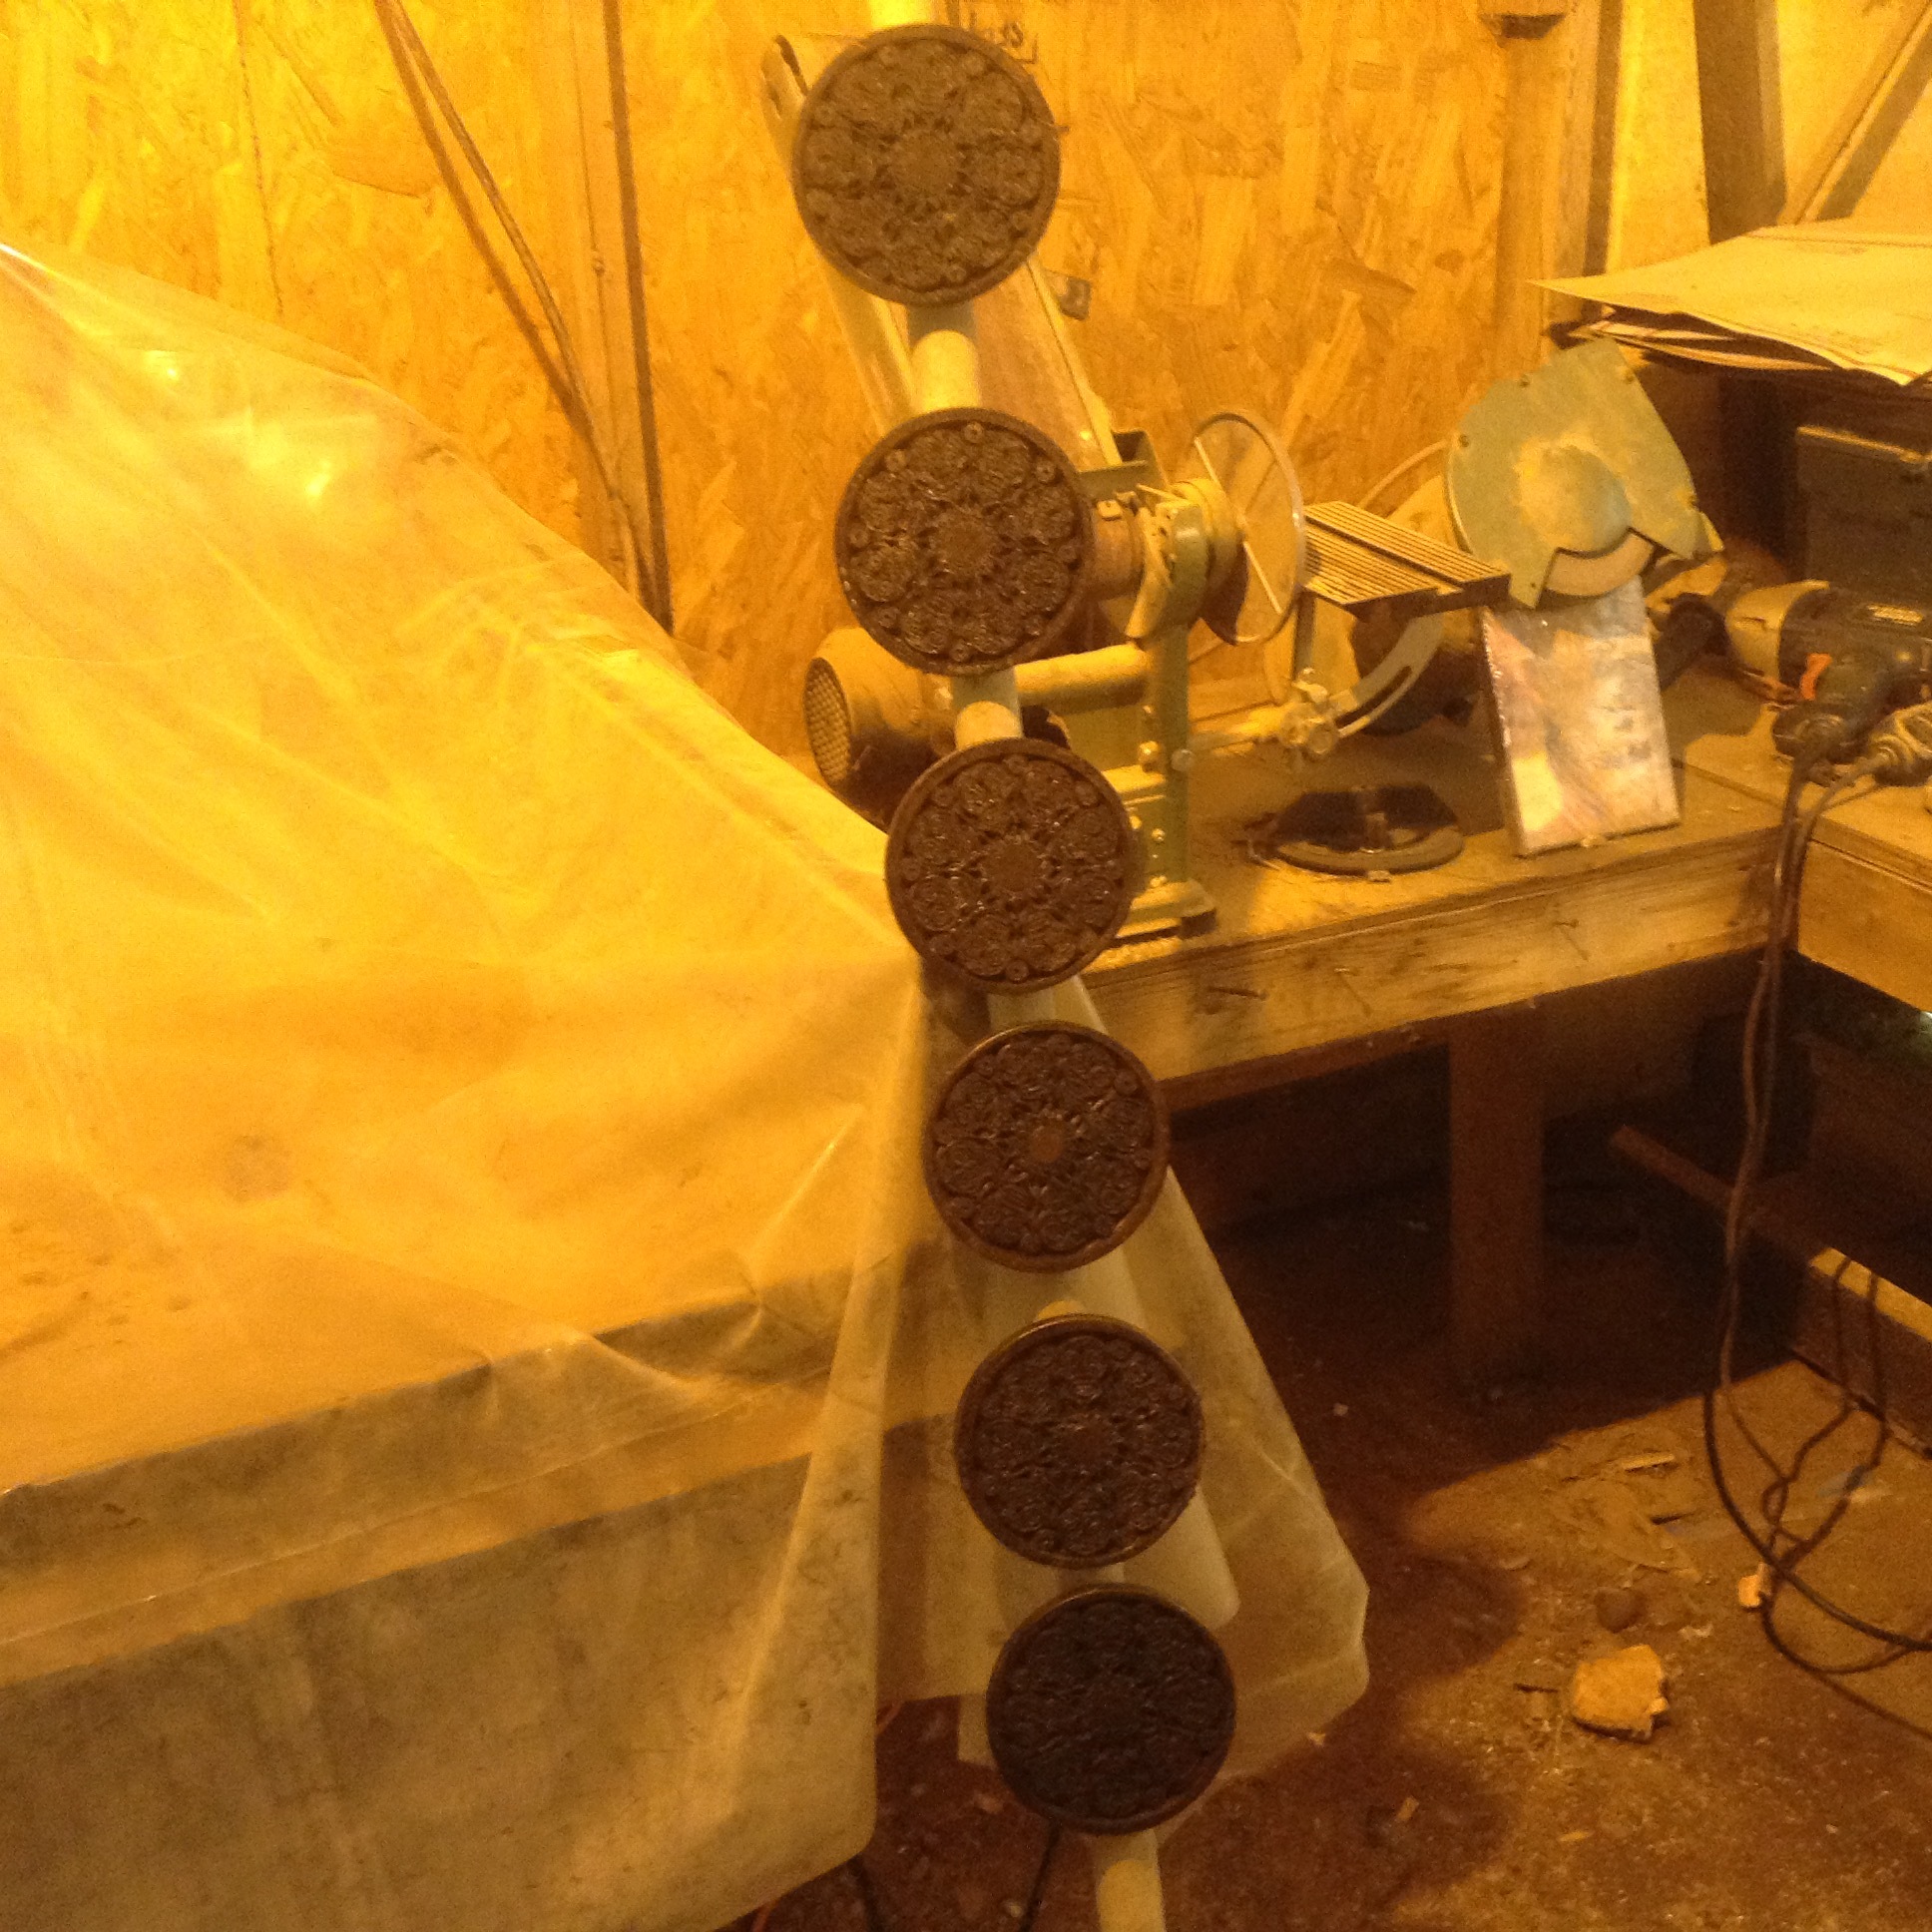
I just got done machining 6 V carved coasters.
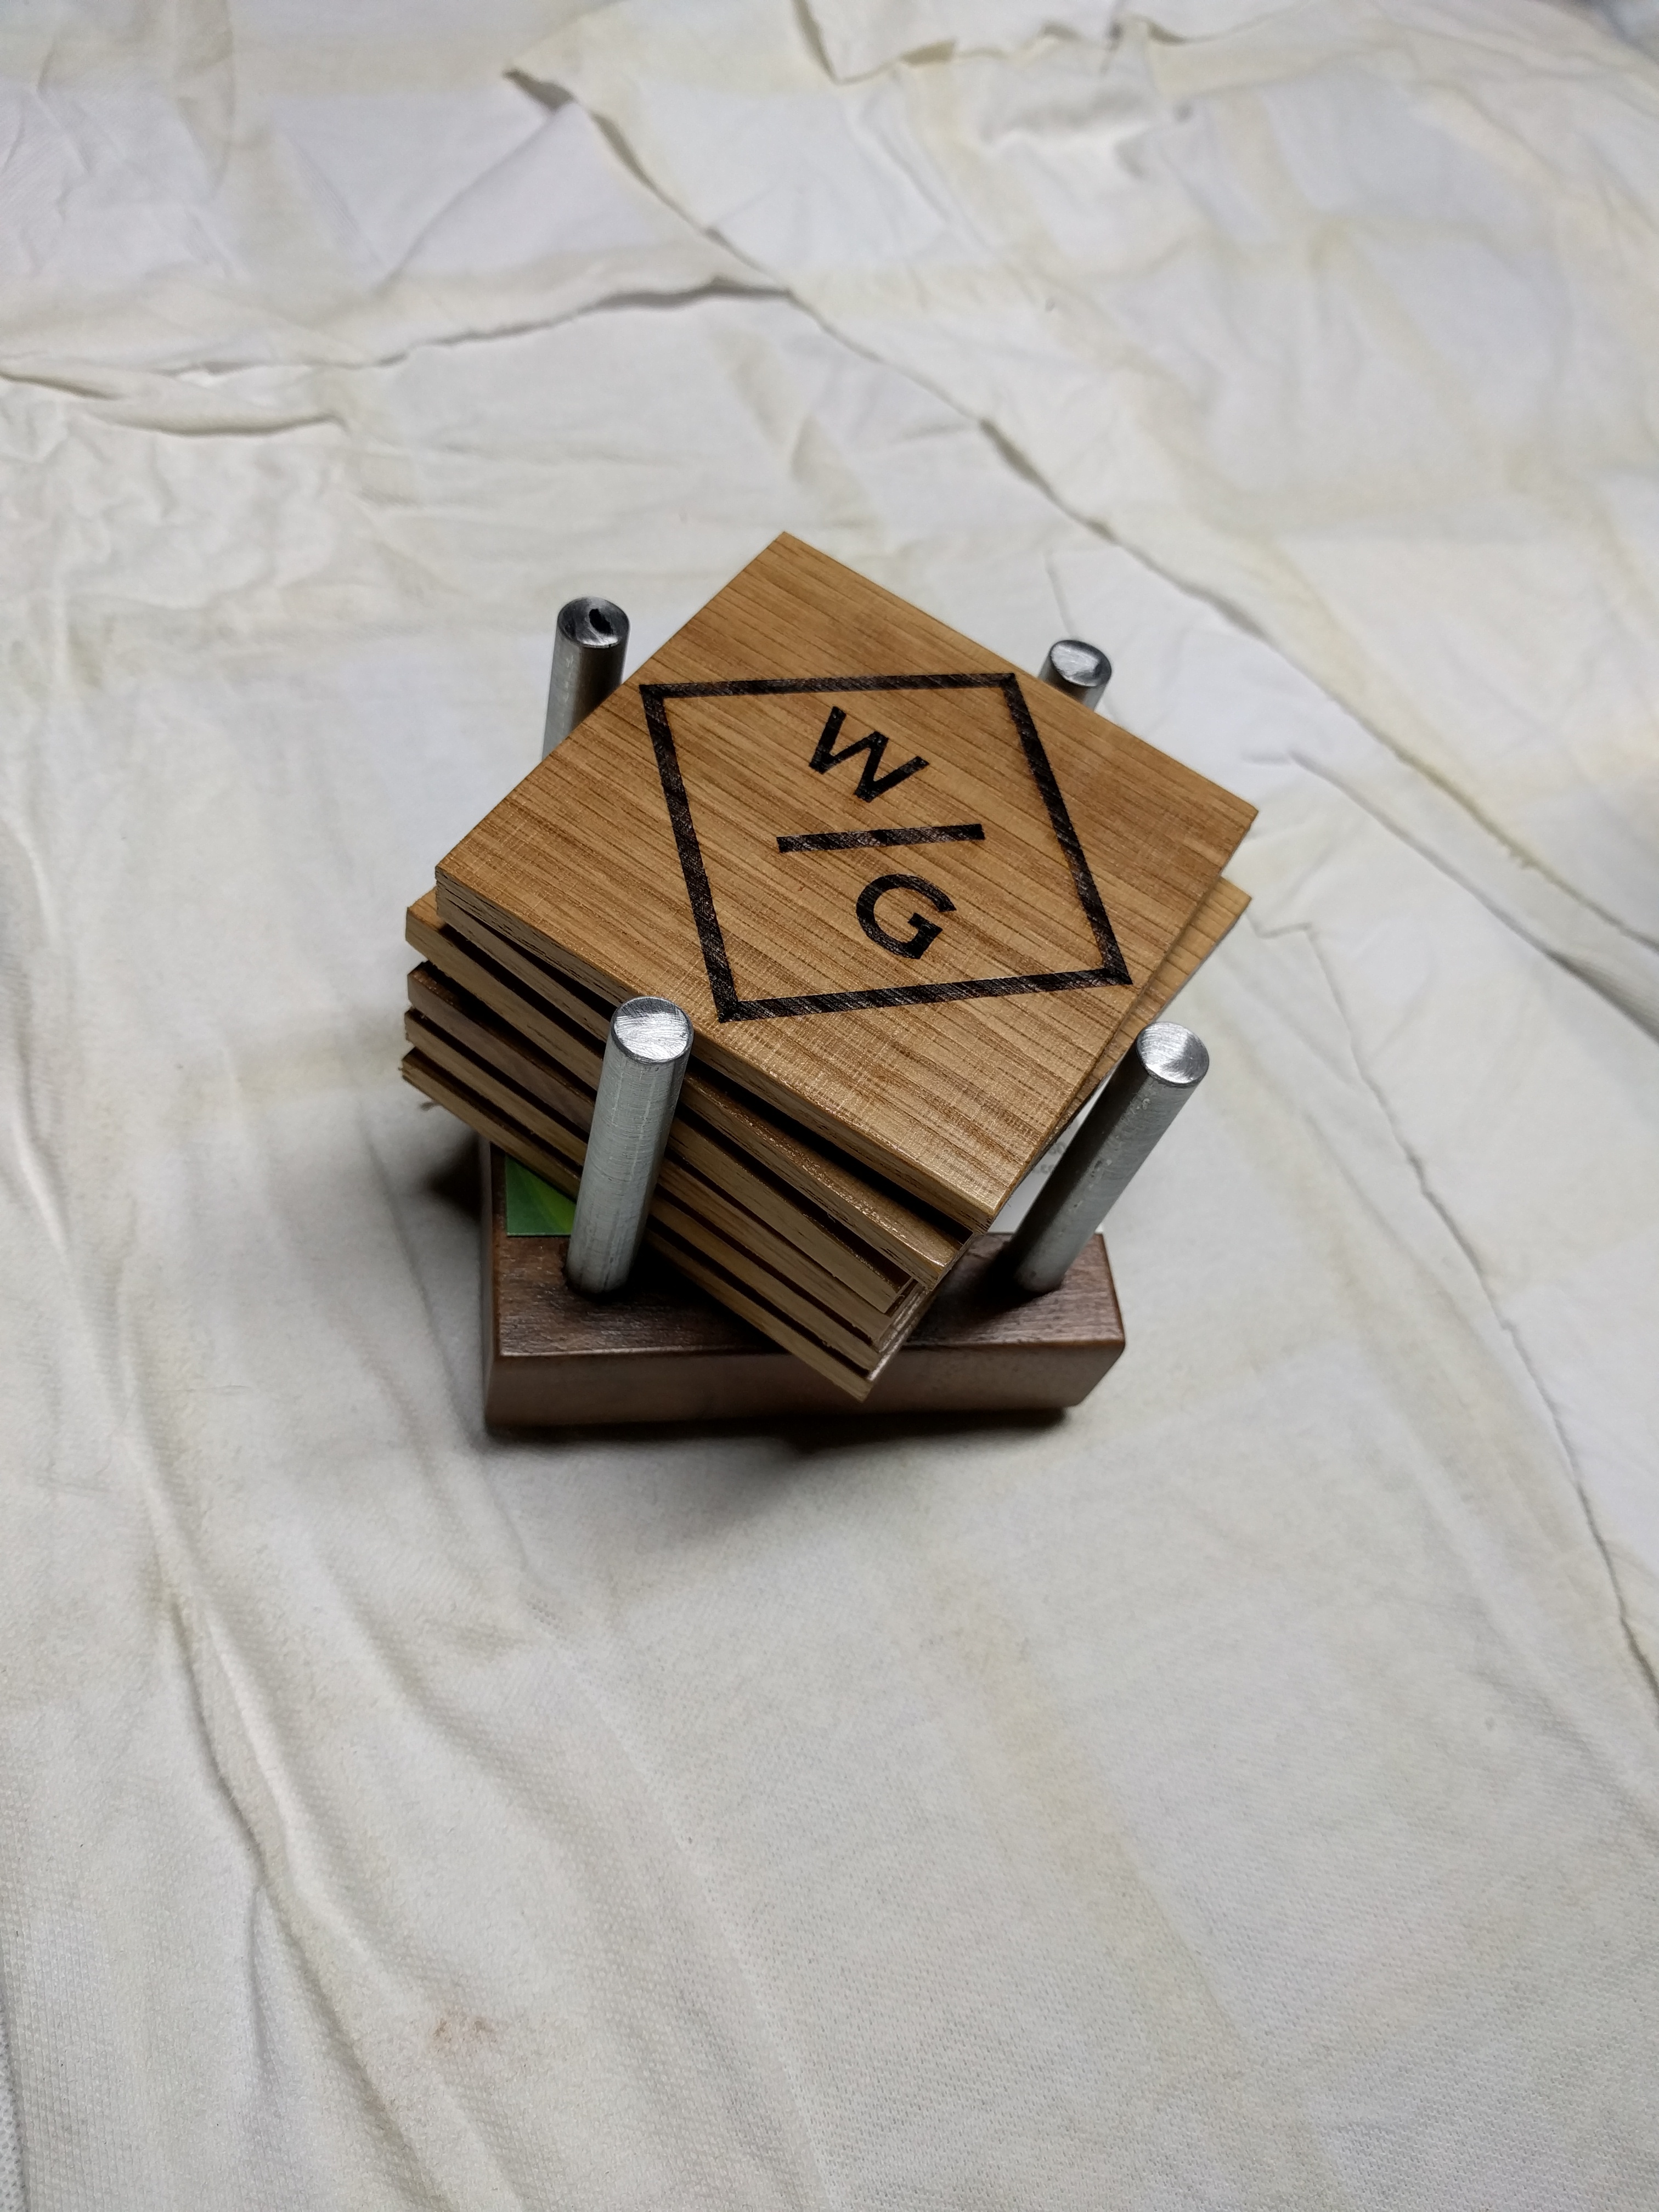
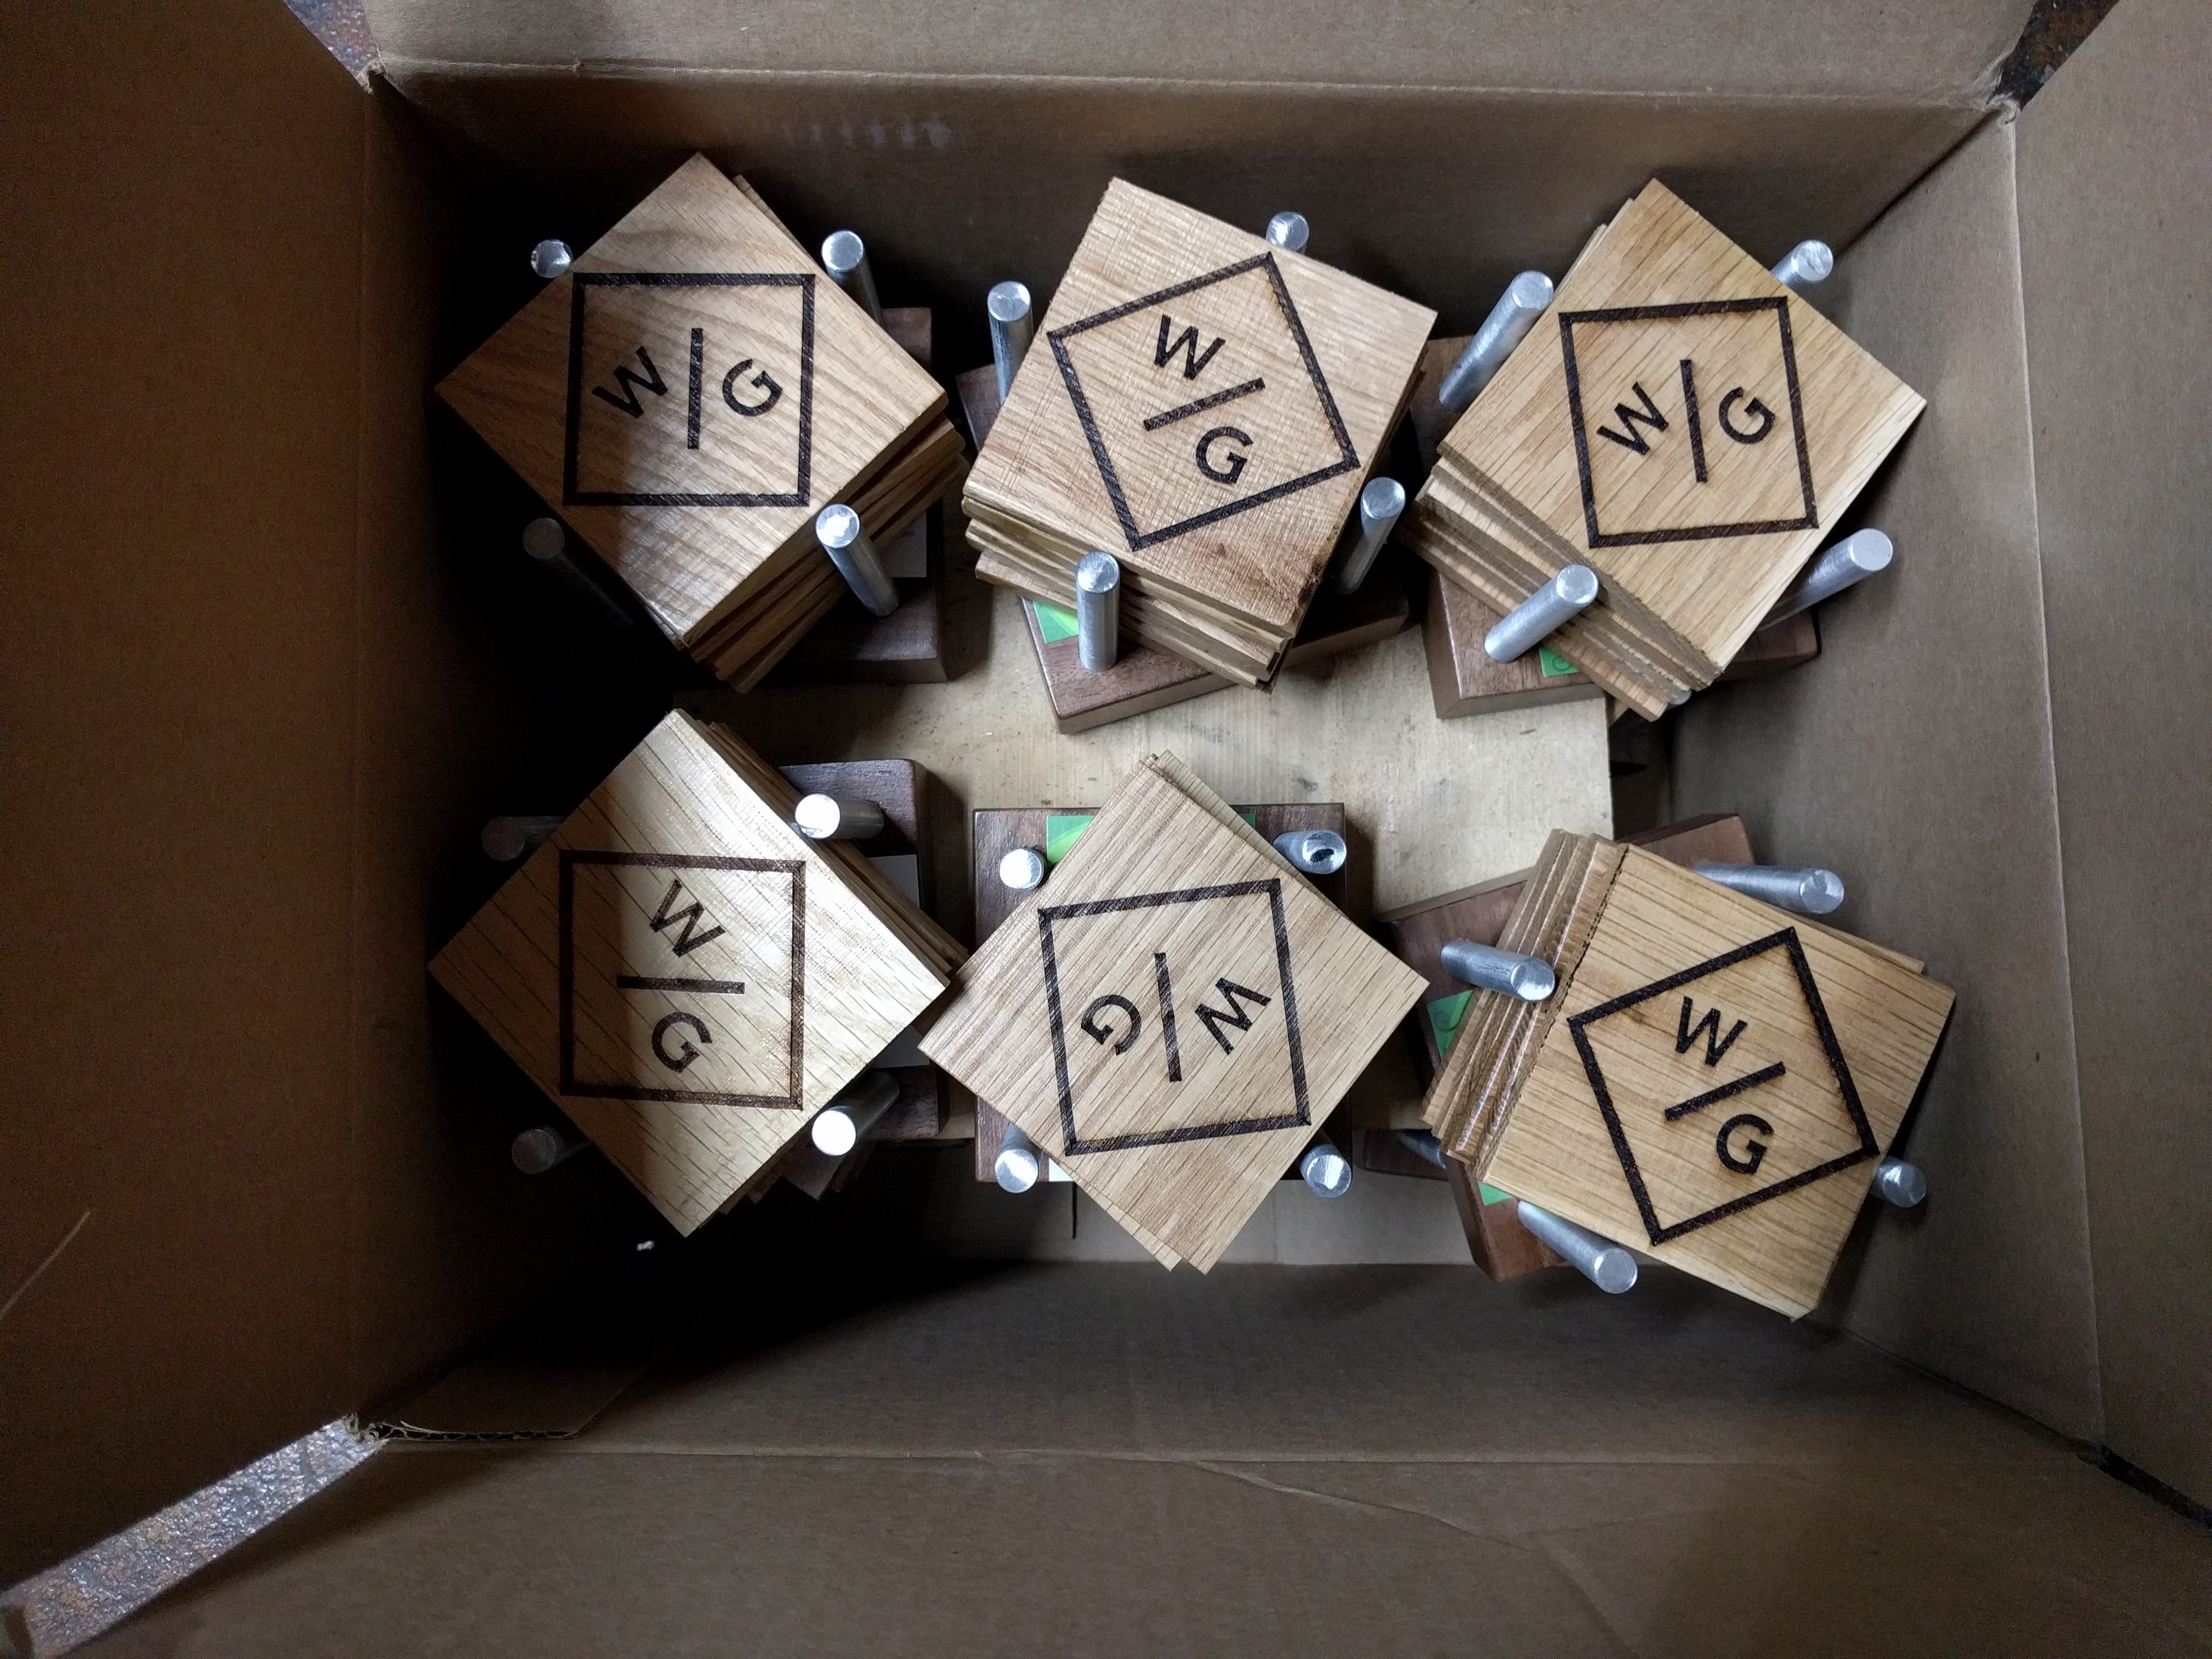
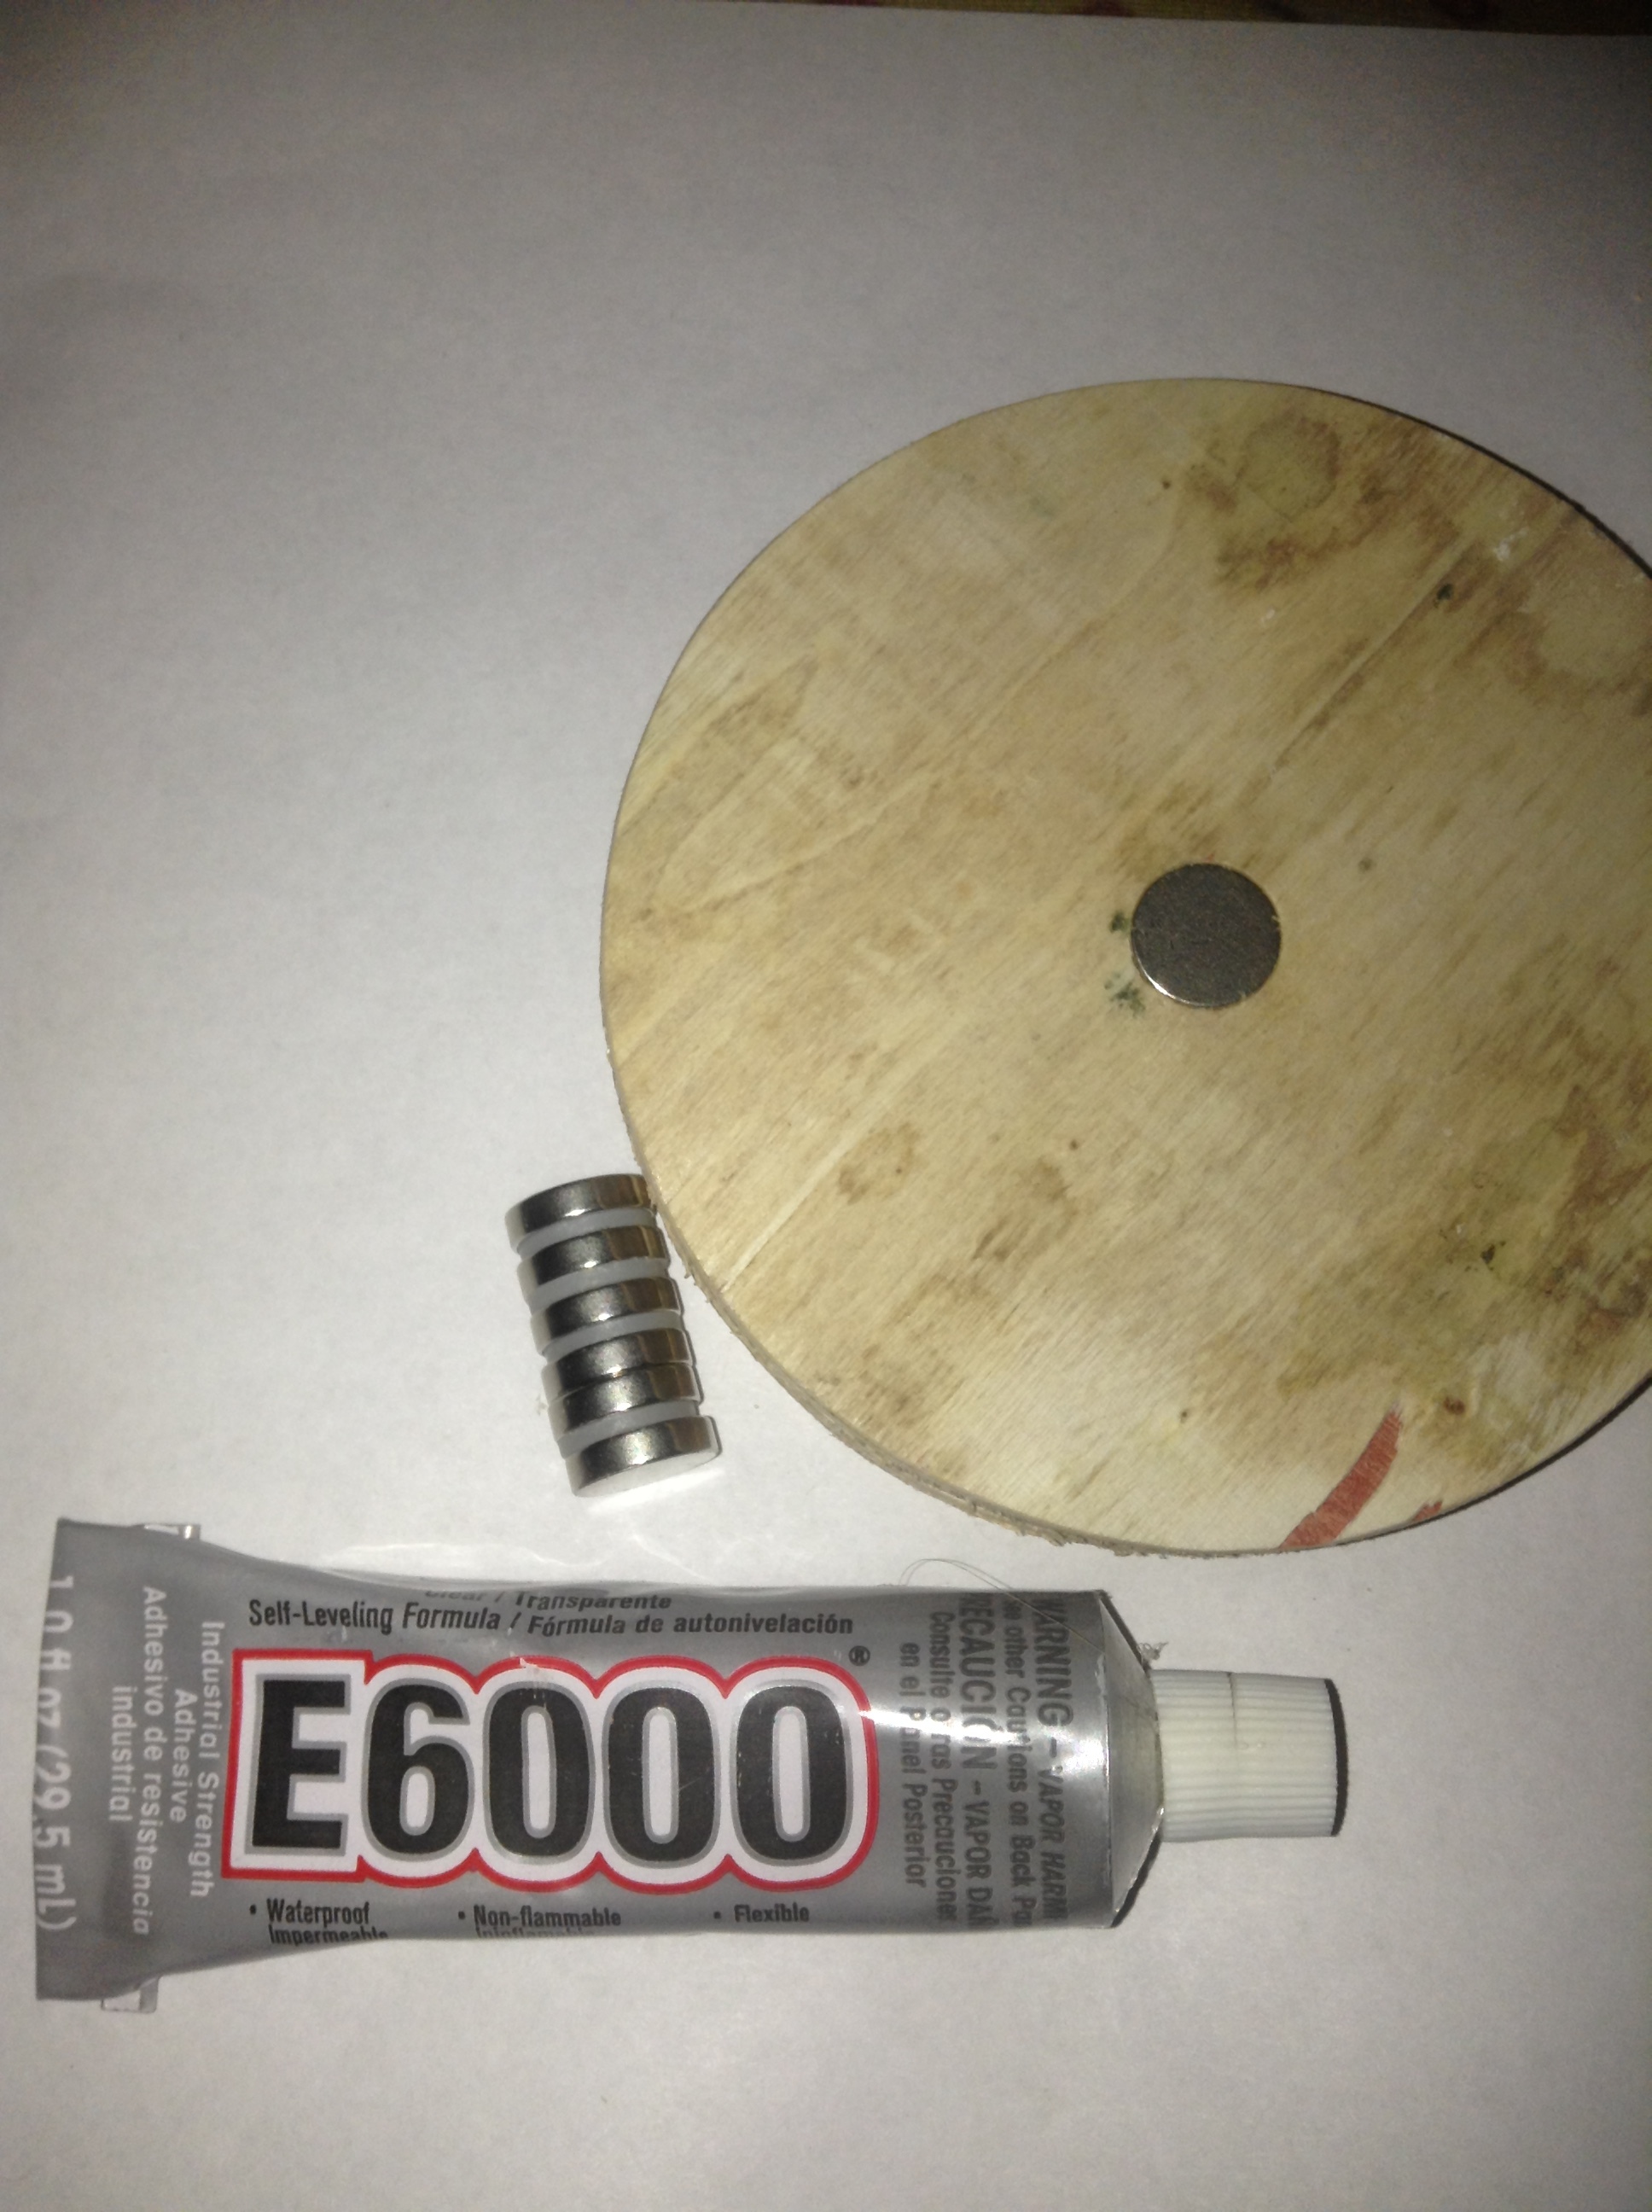
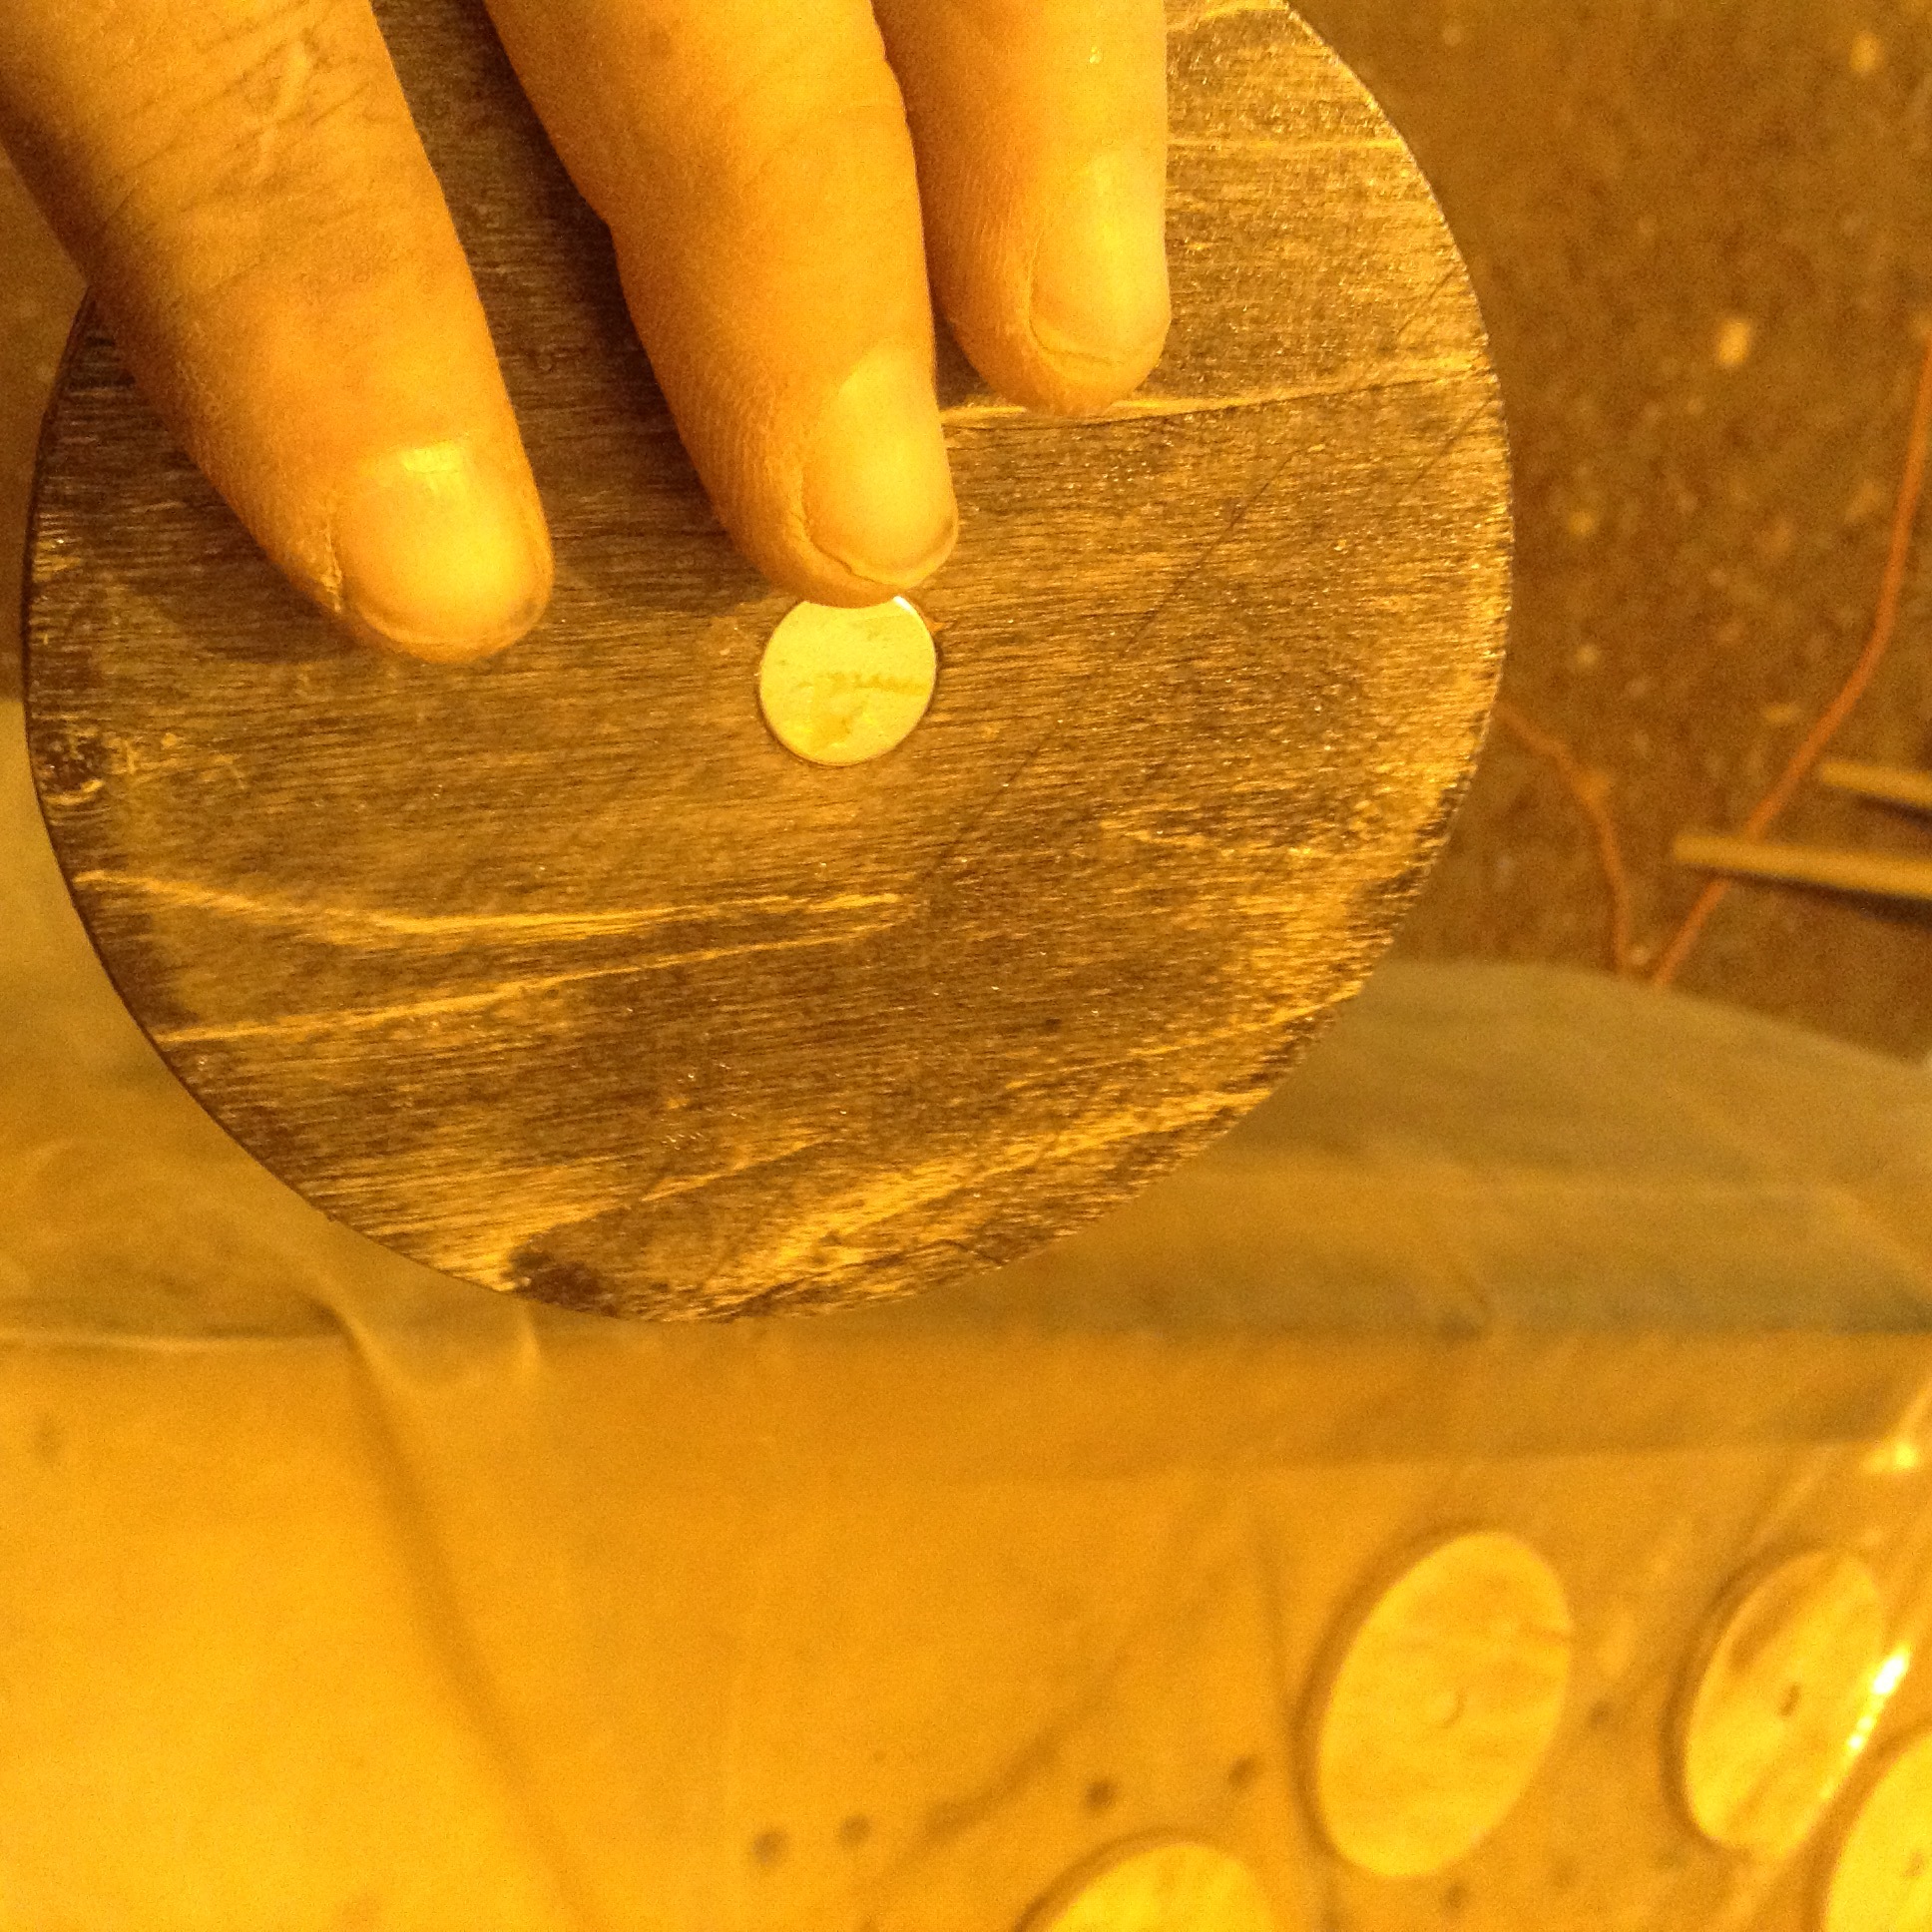
I had the idea of using magnets for the holder, but I just Googled it and it’s Not an original idea :wink:
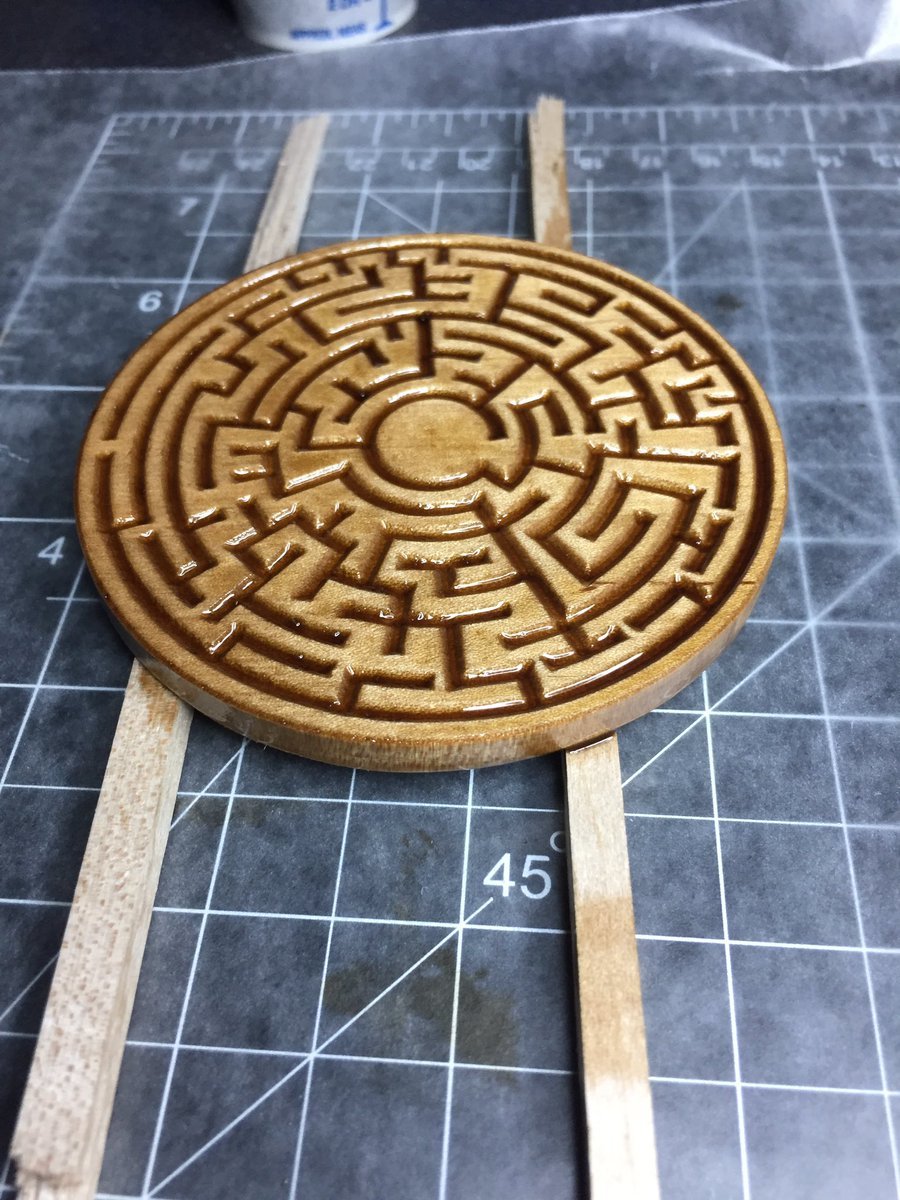
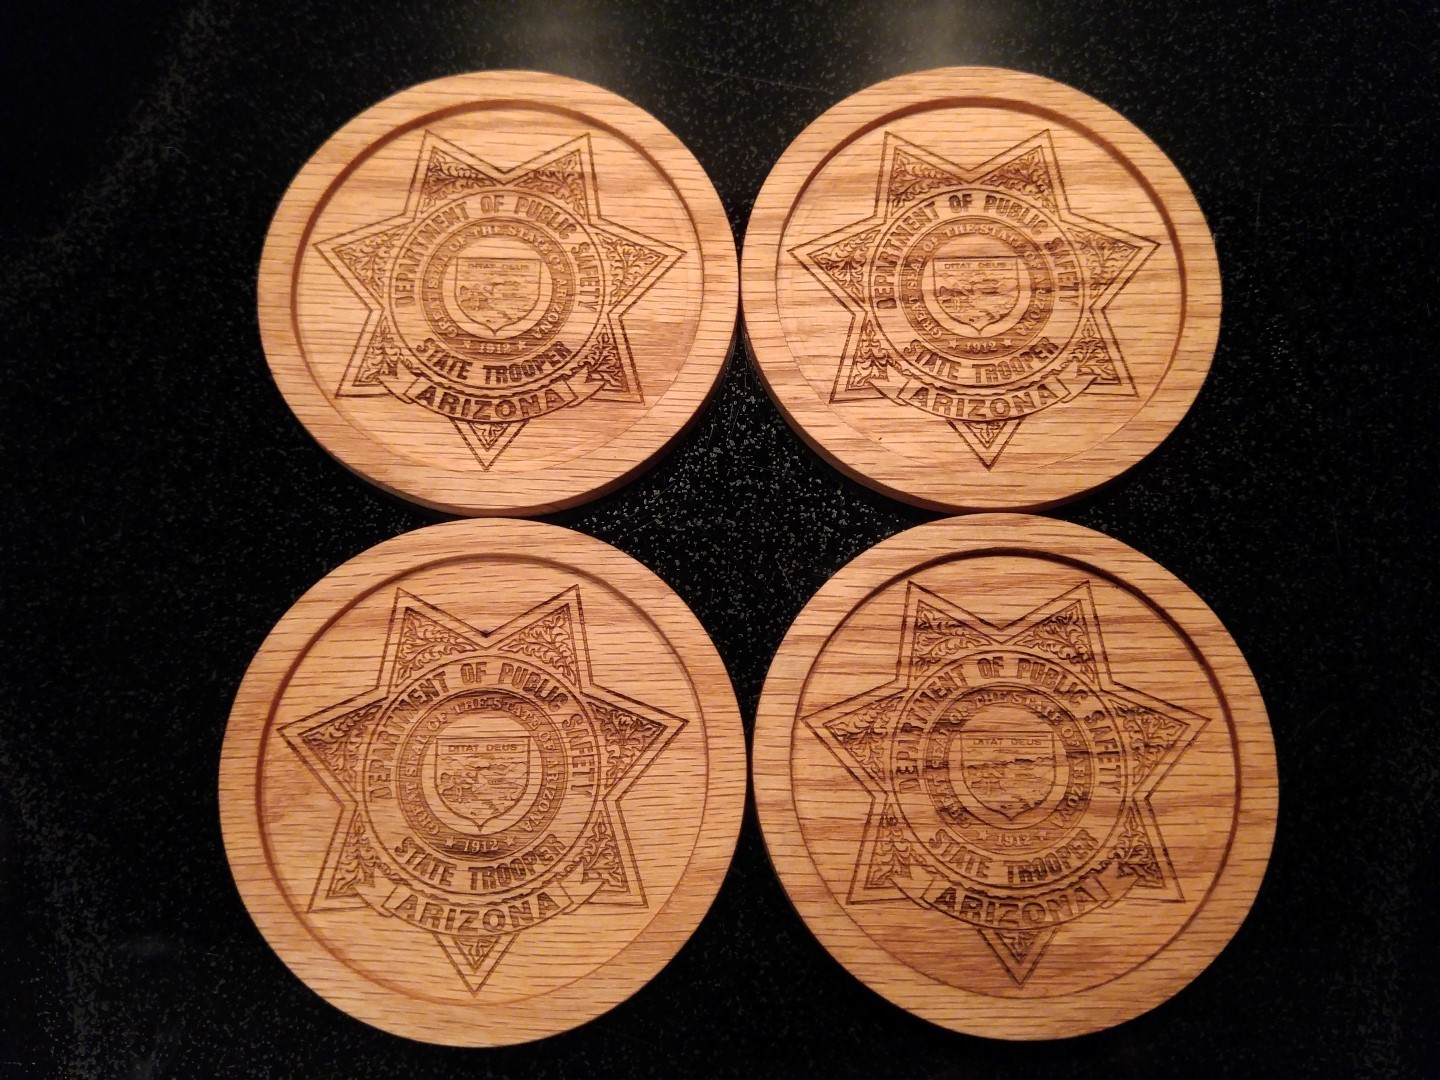
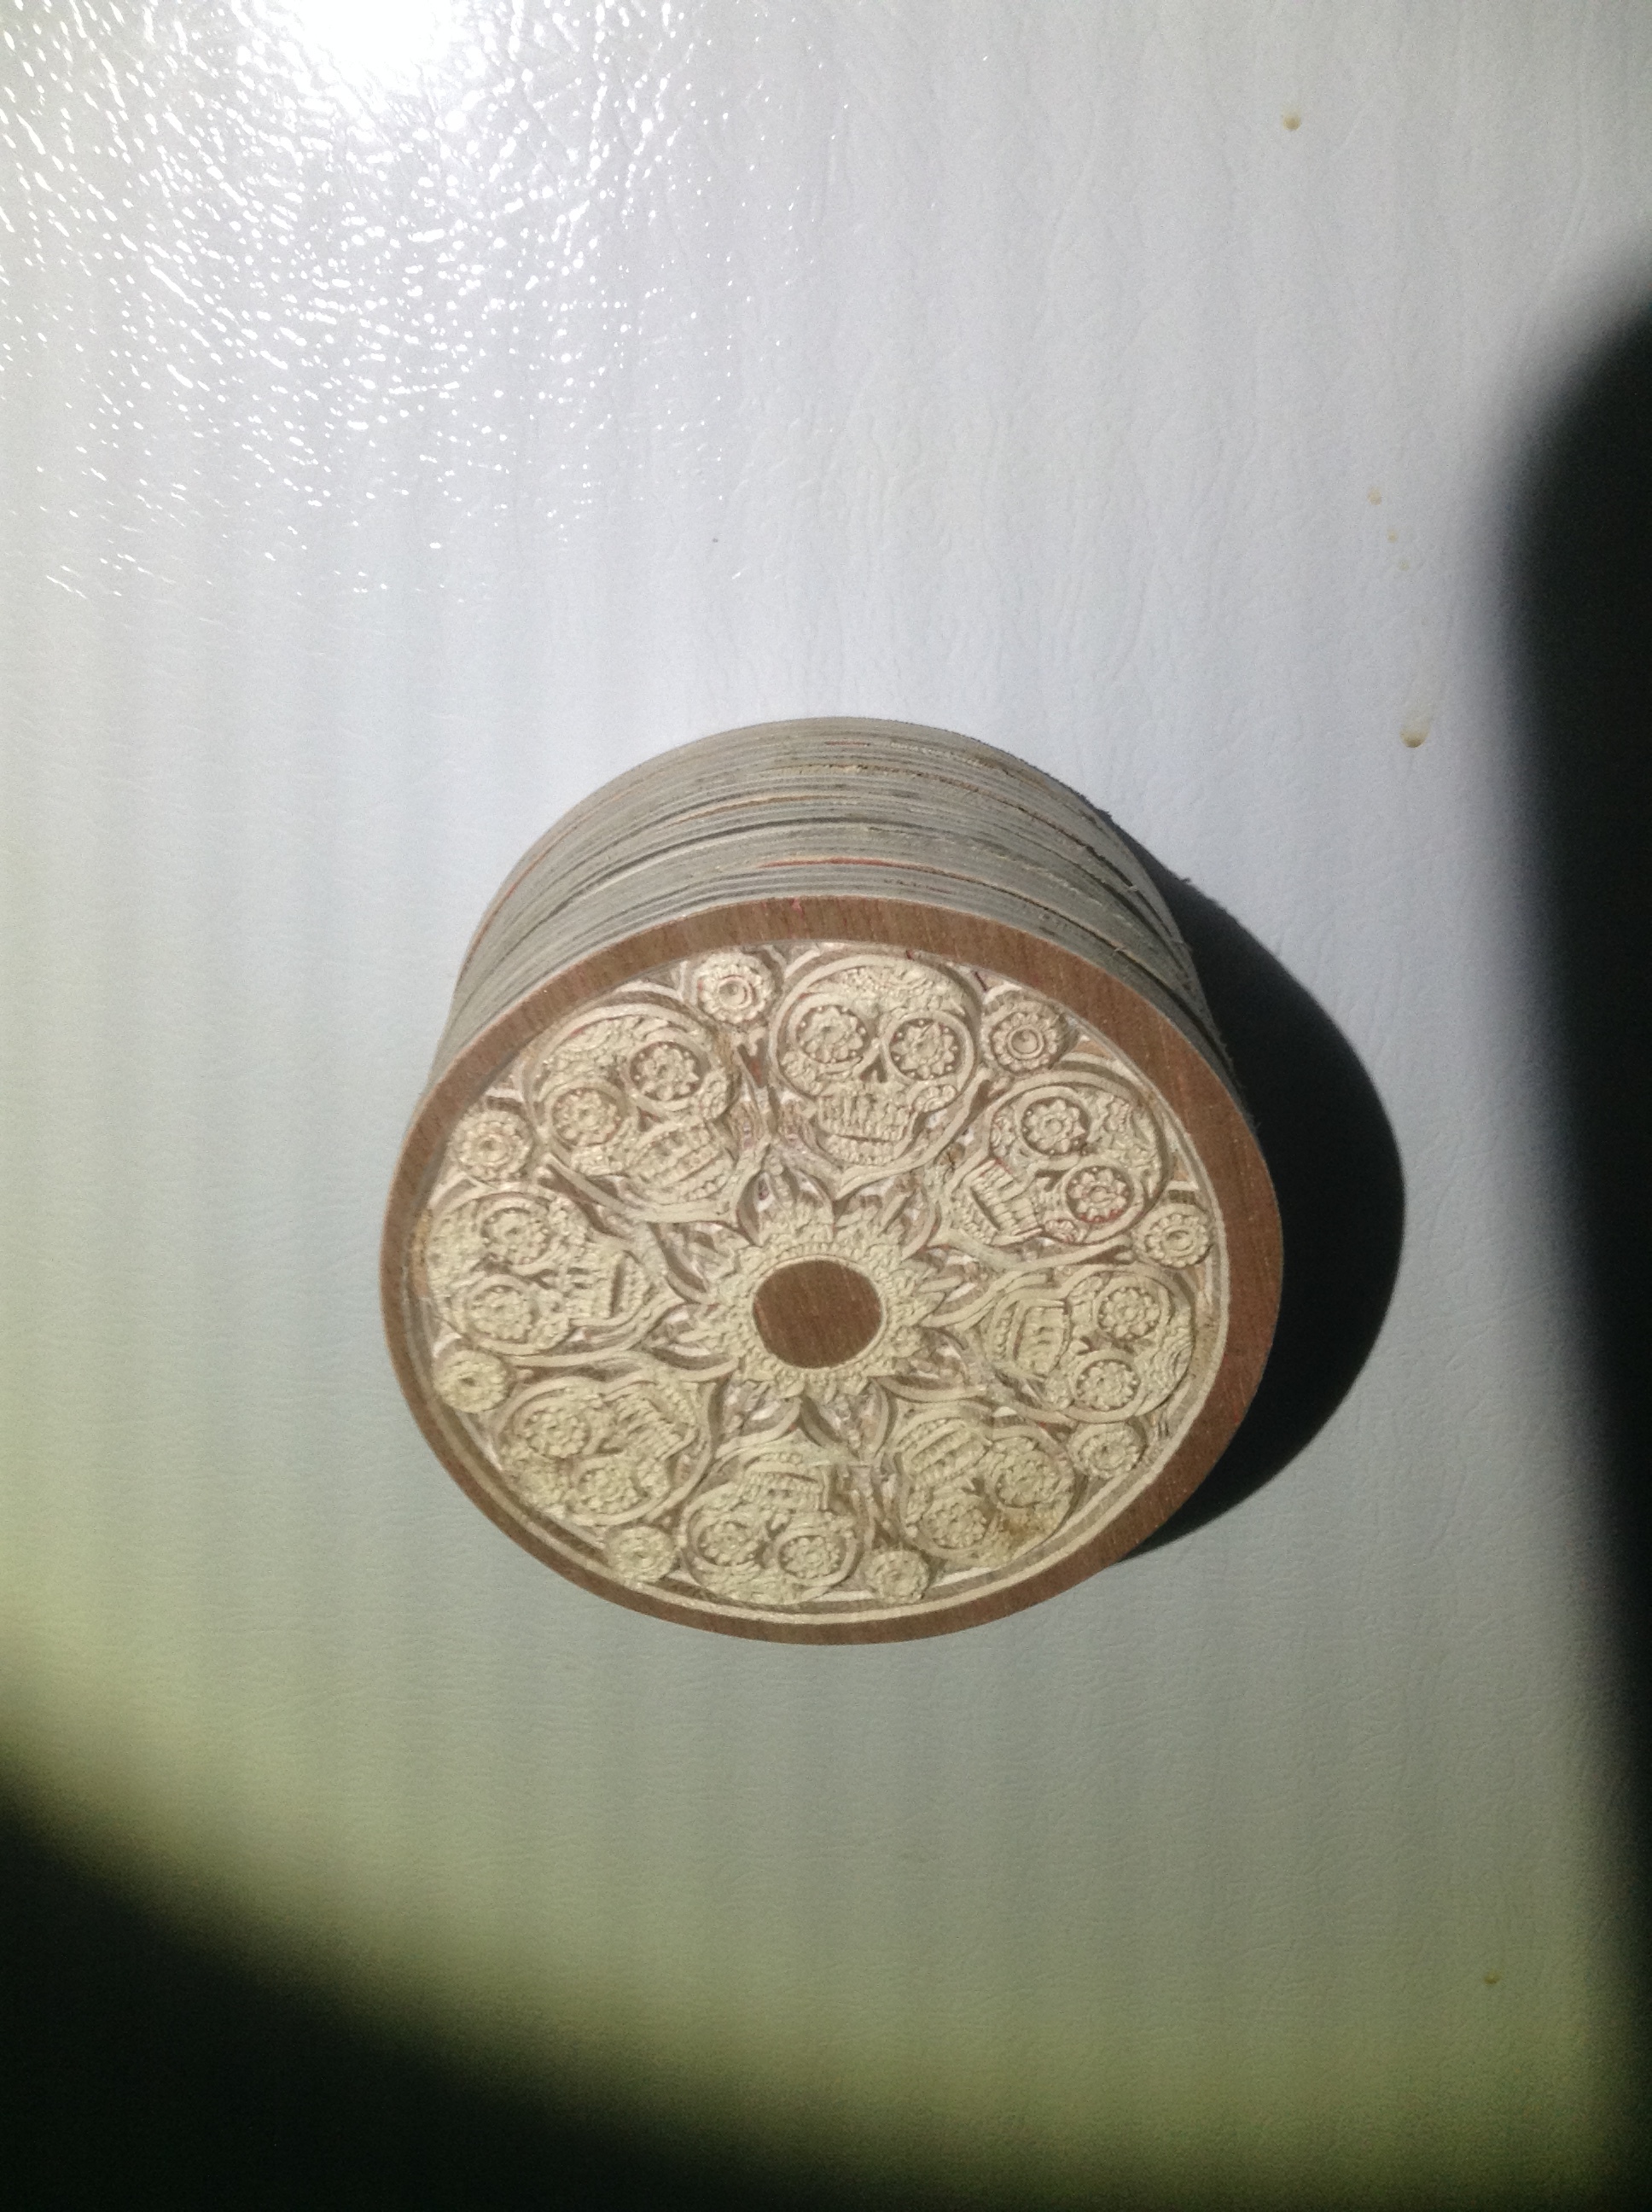
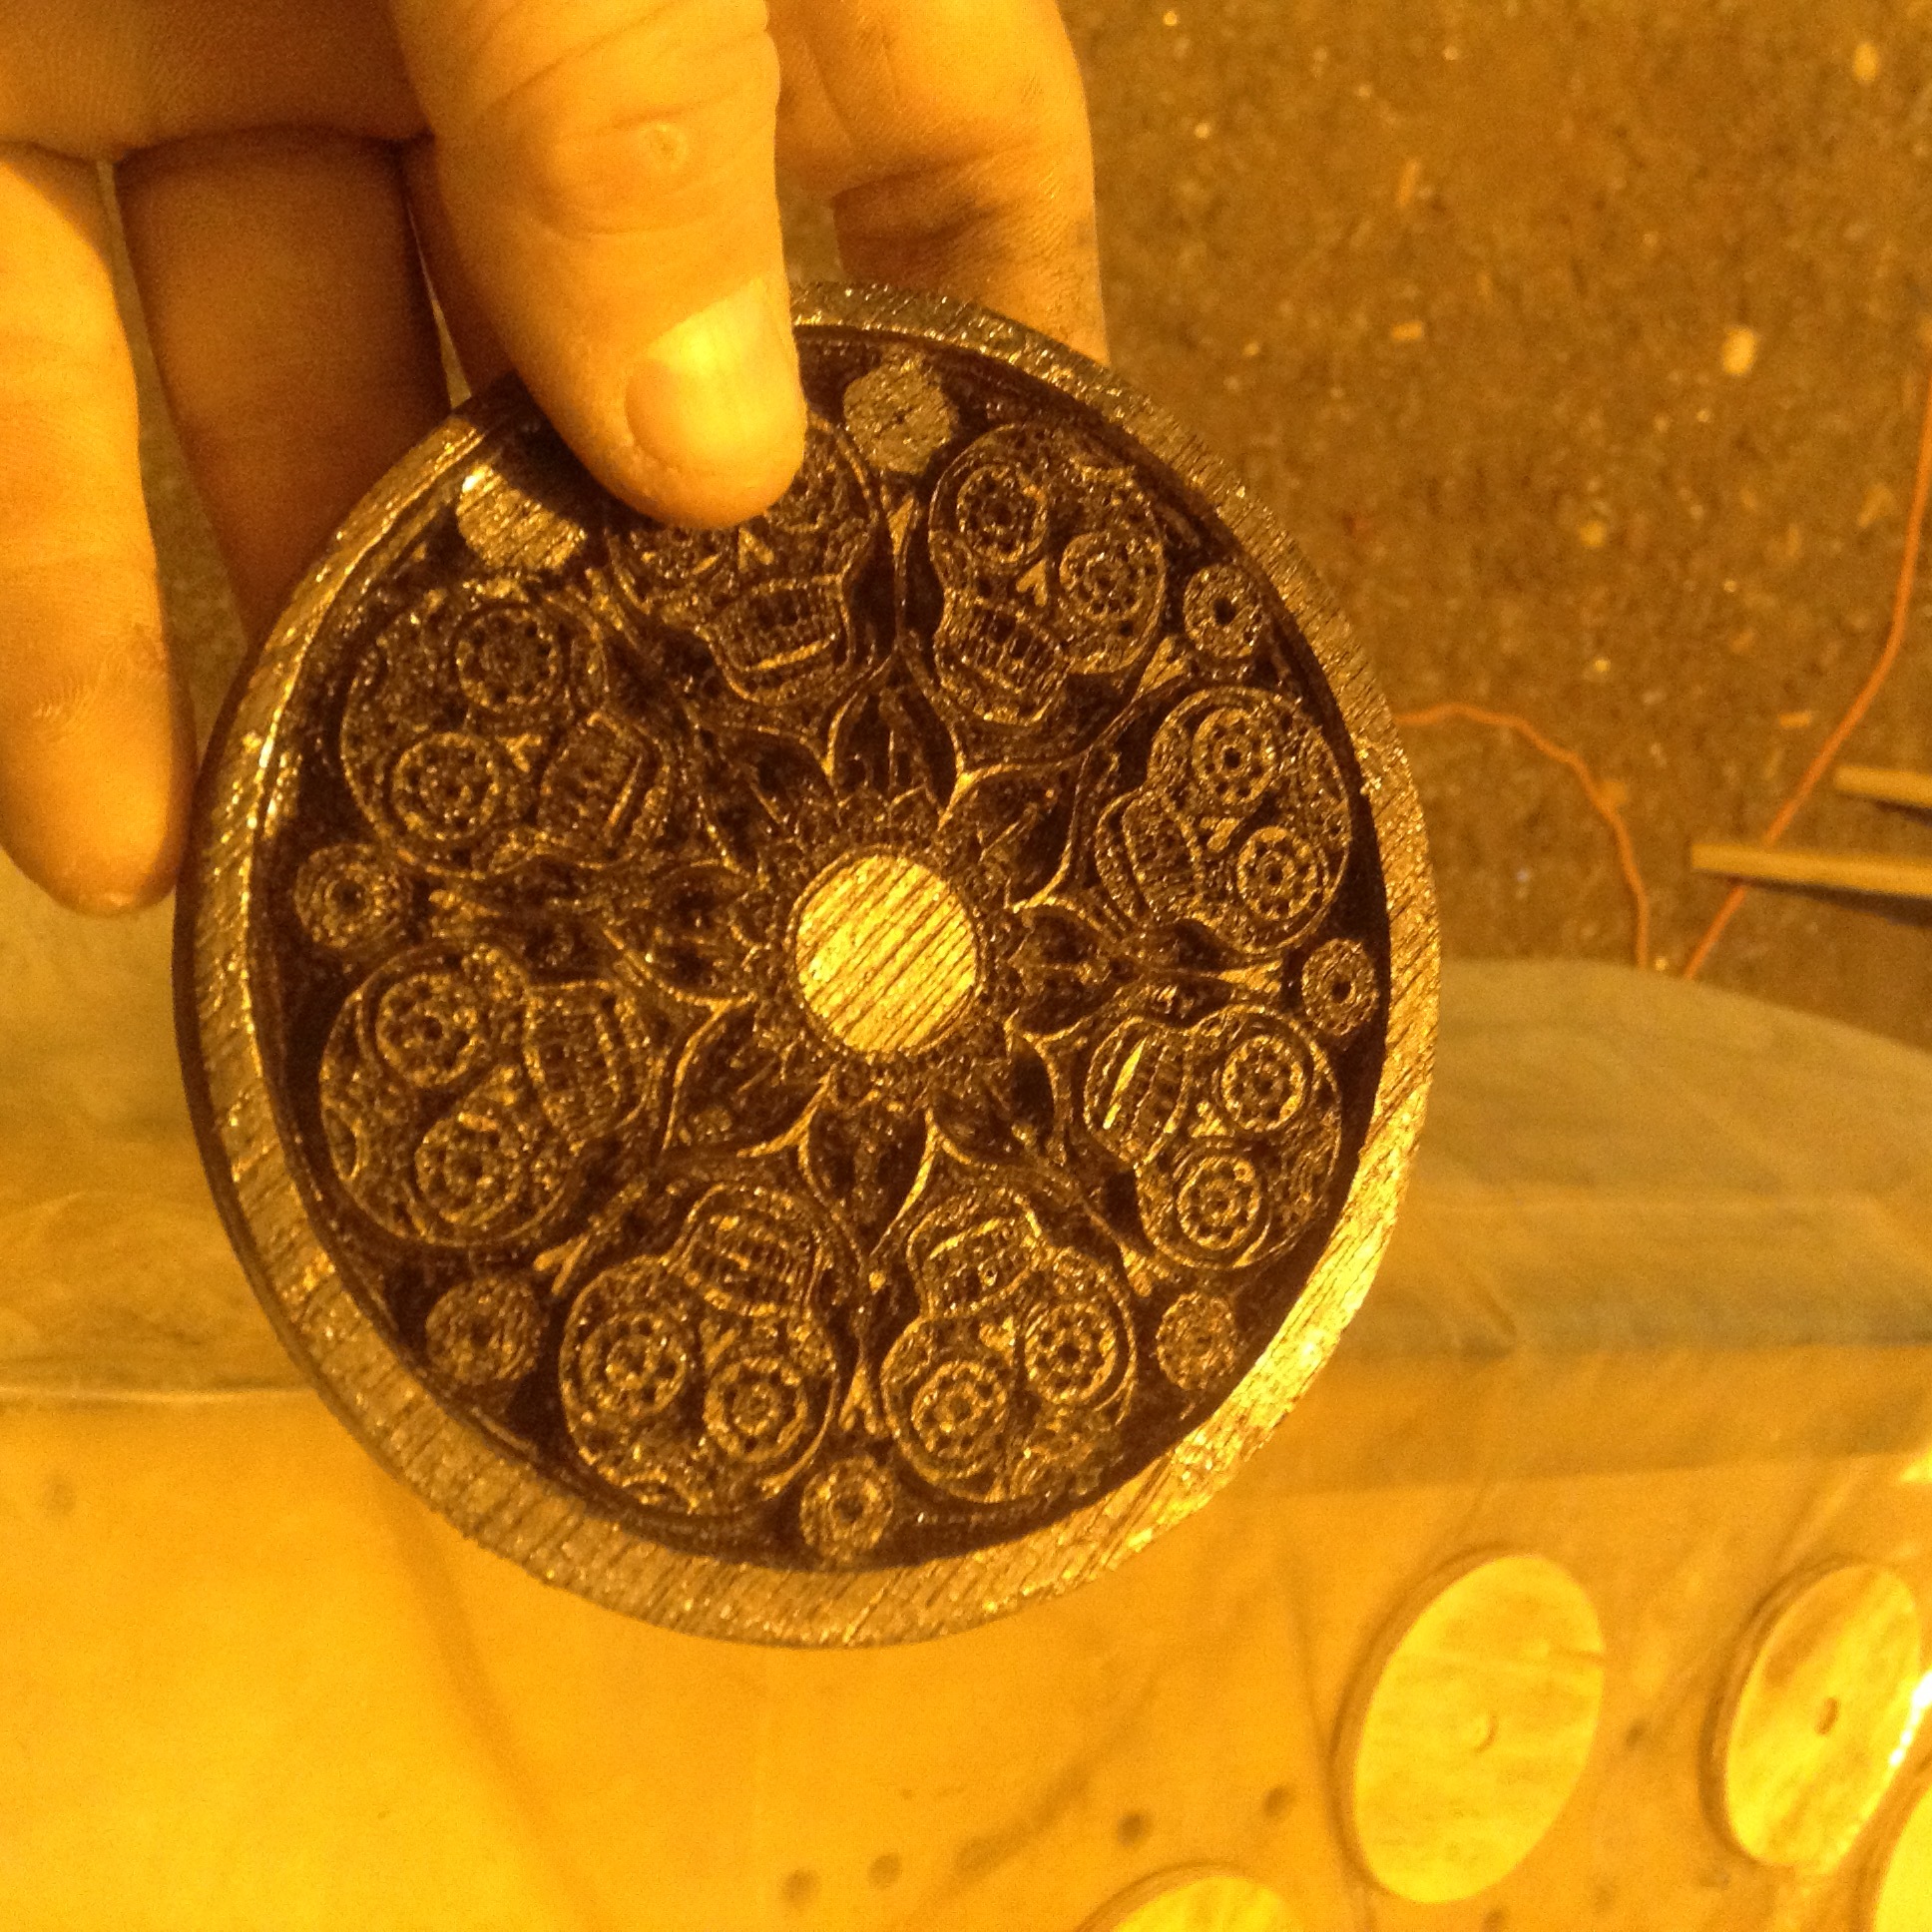
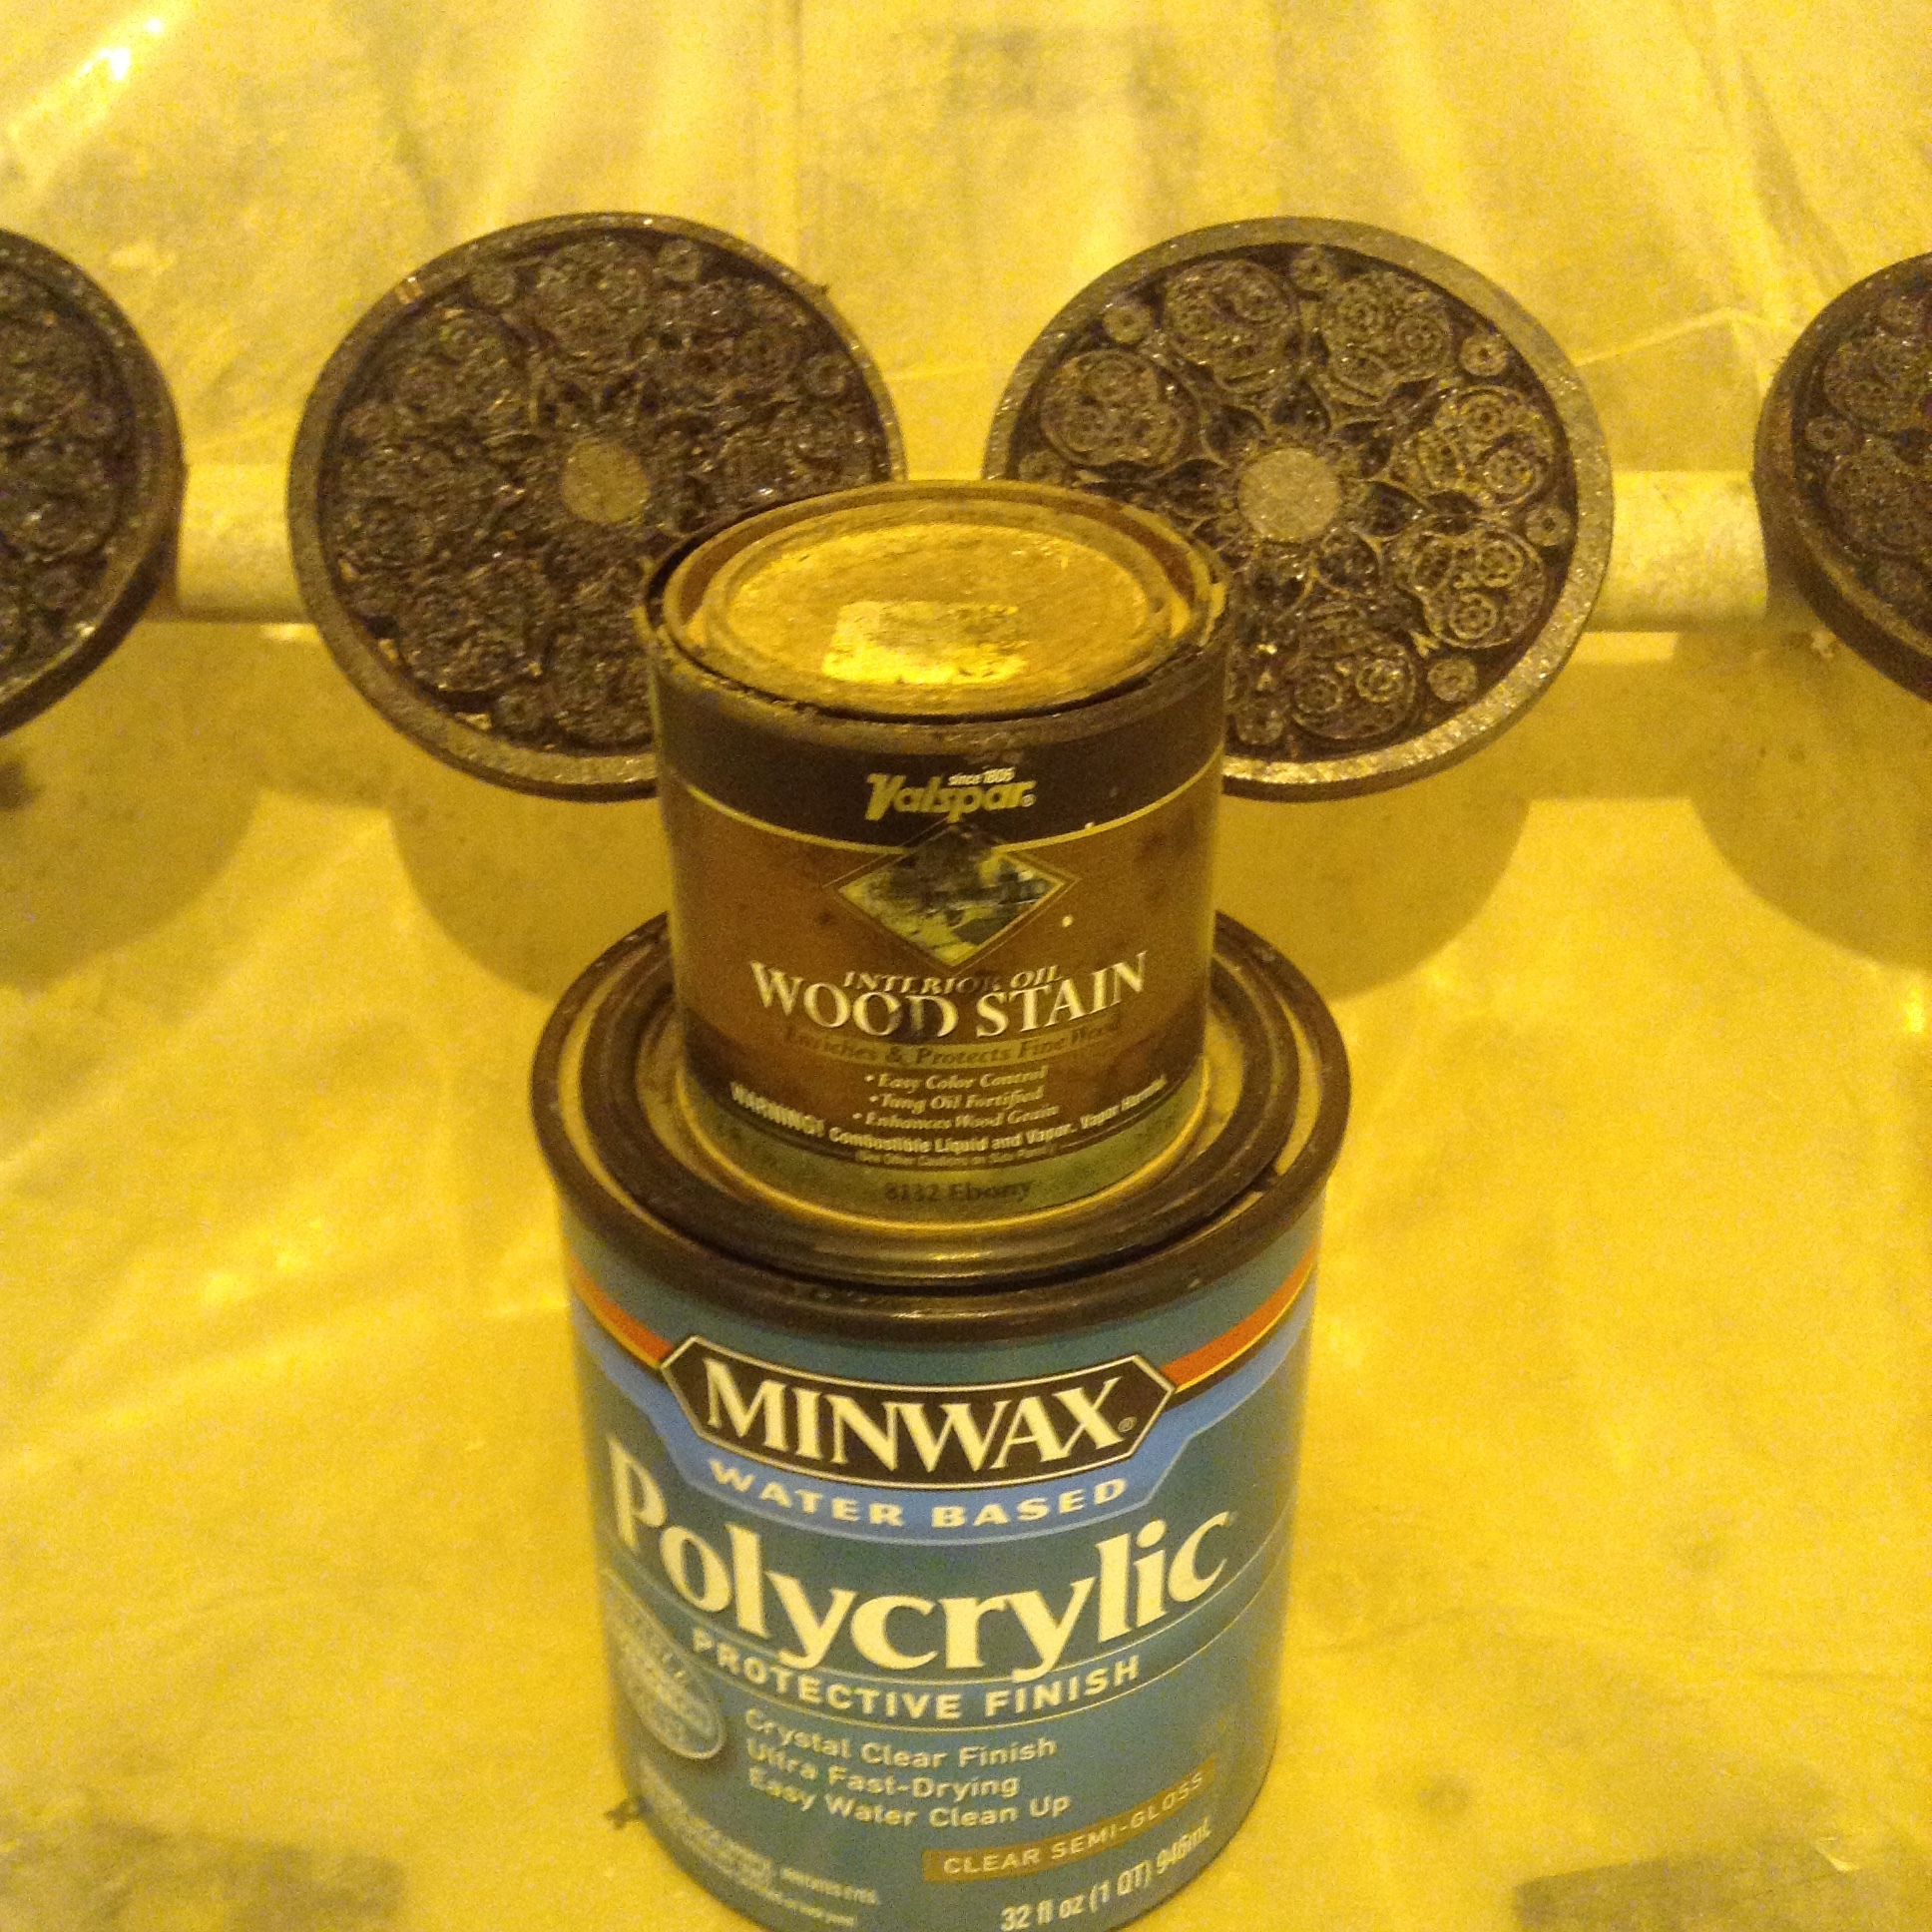
Oh well. I’m very pleased with the way they turned out, and made from a thin, scrap, ply wood crate. I might do some similar from a hardwood in the future.
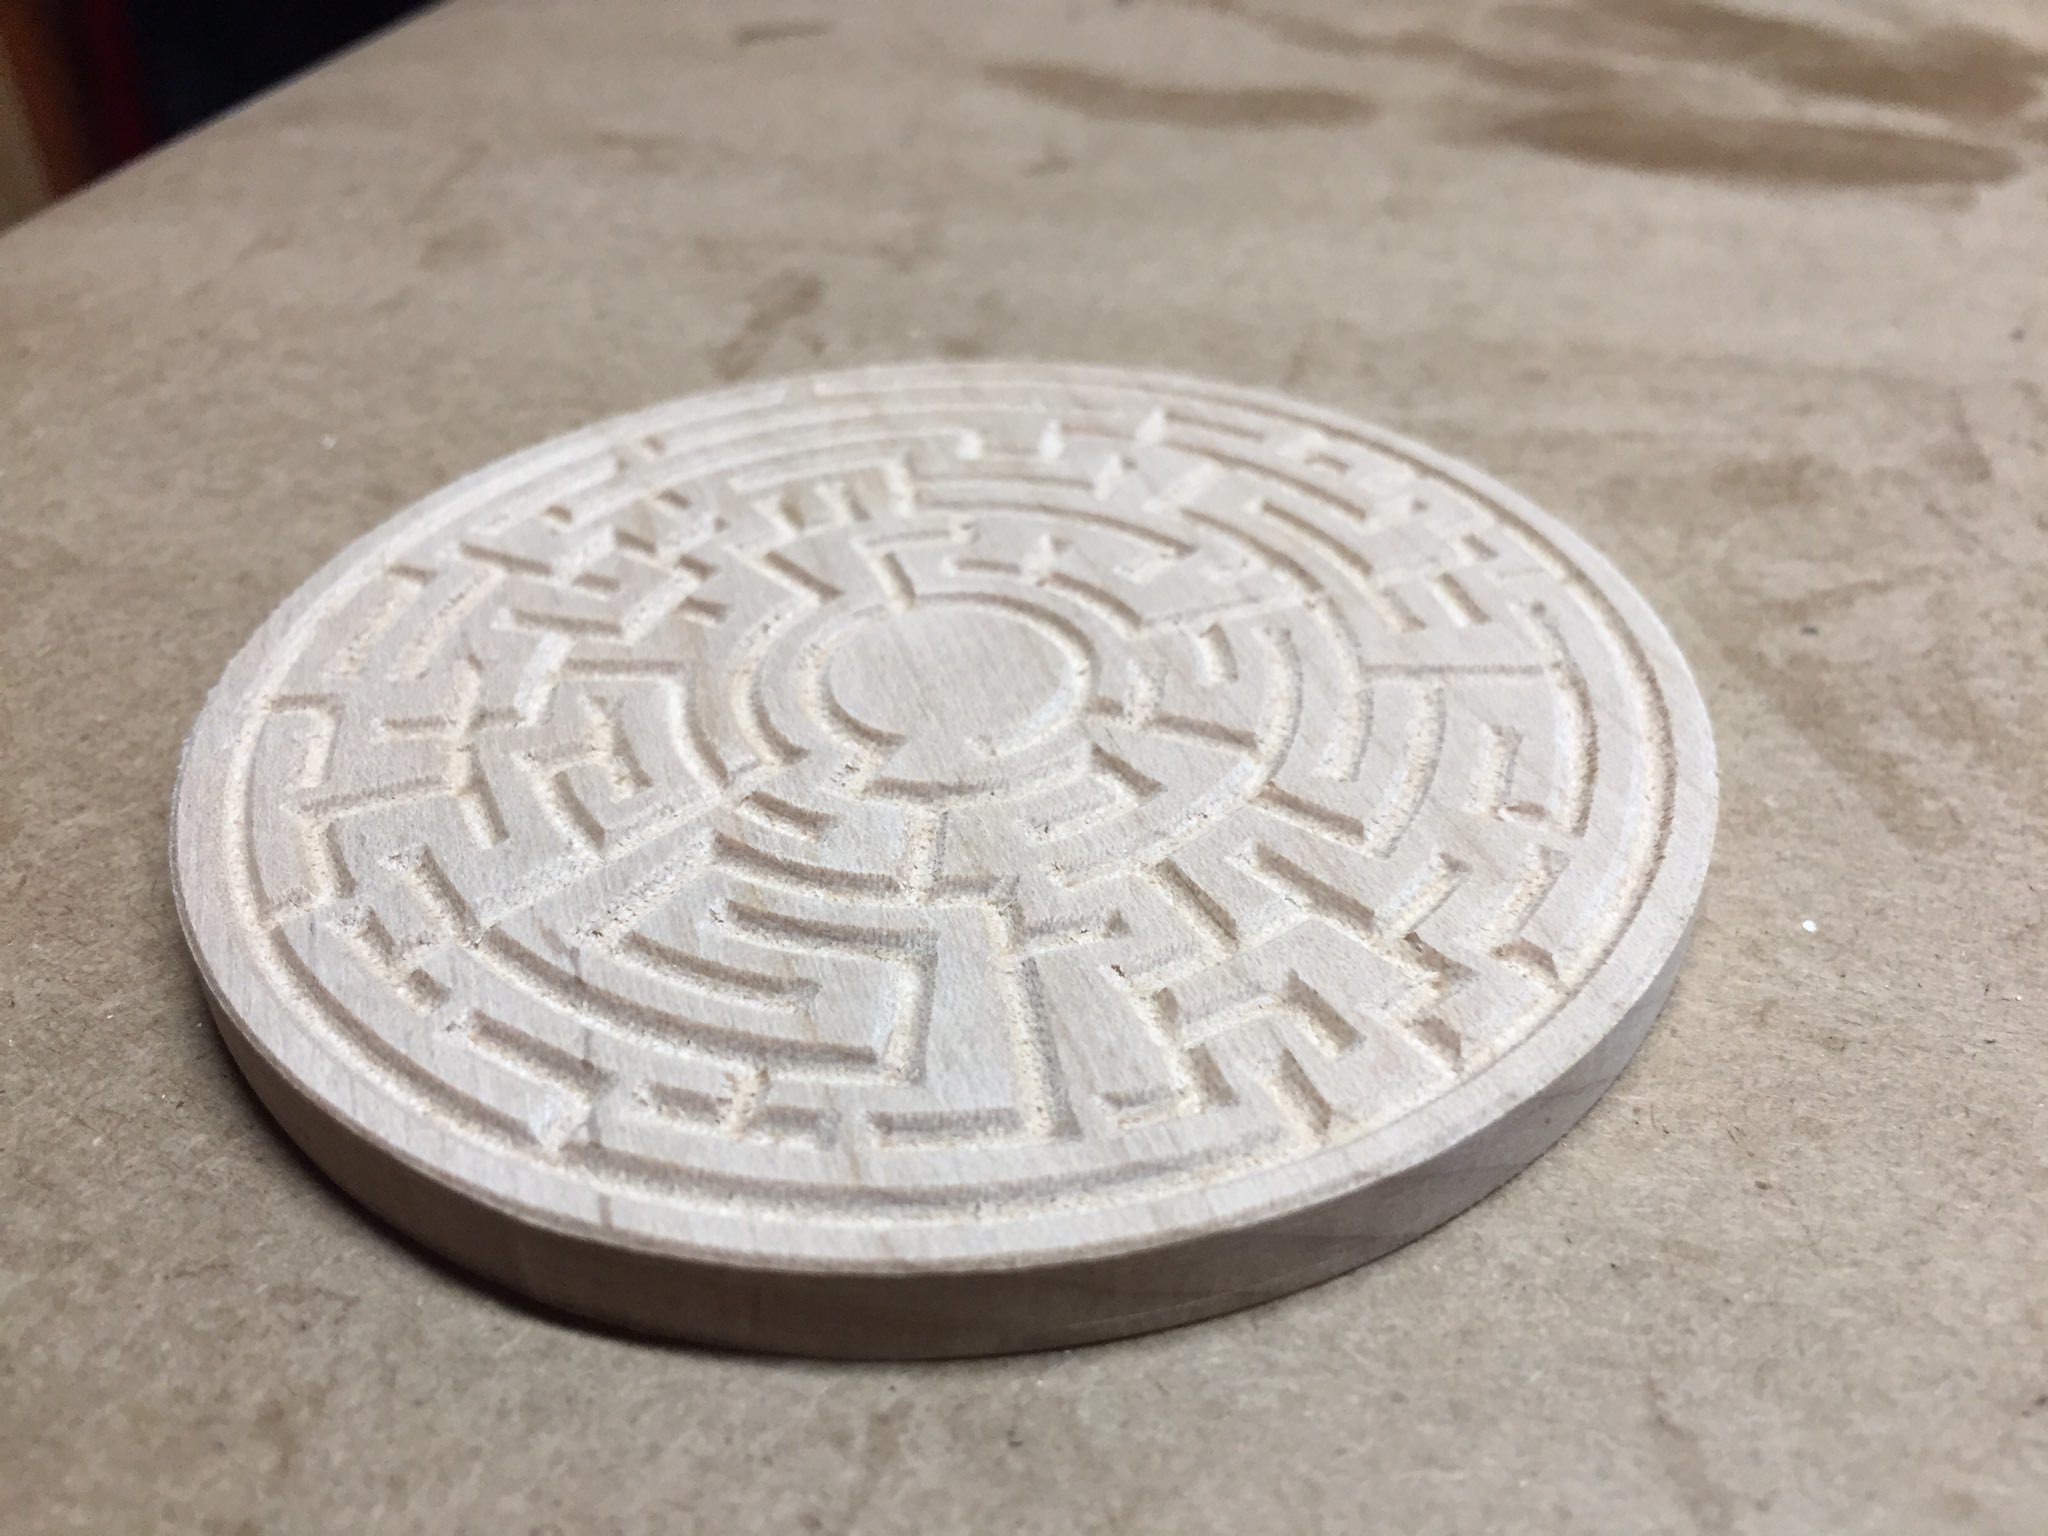
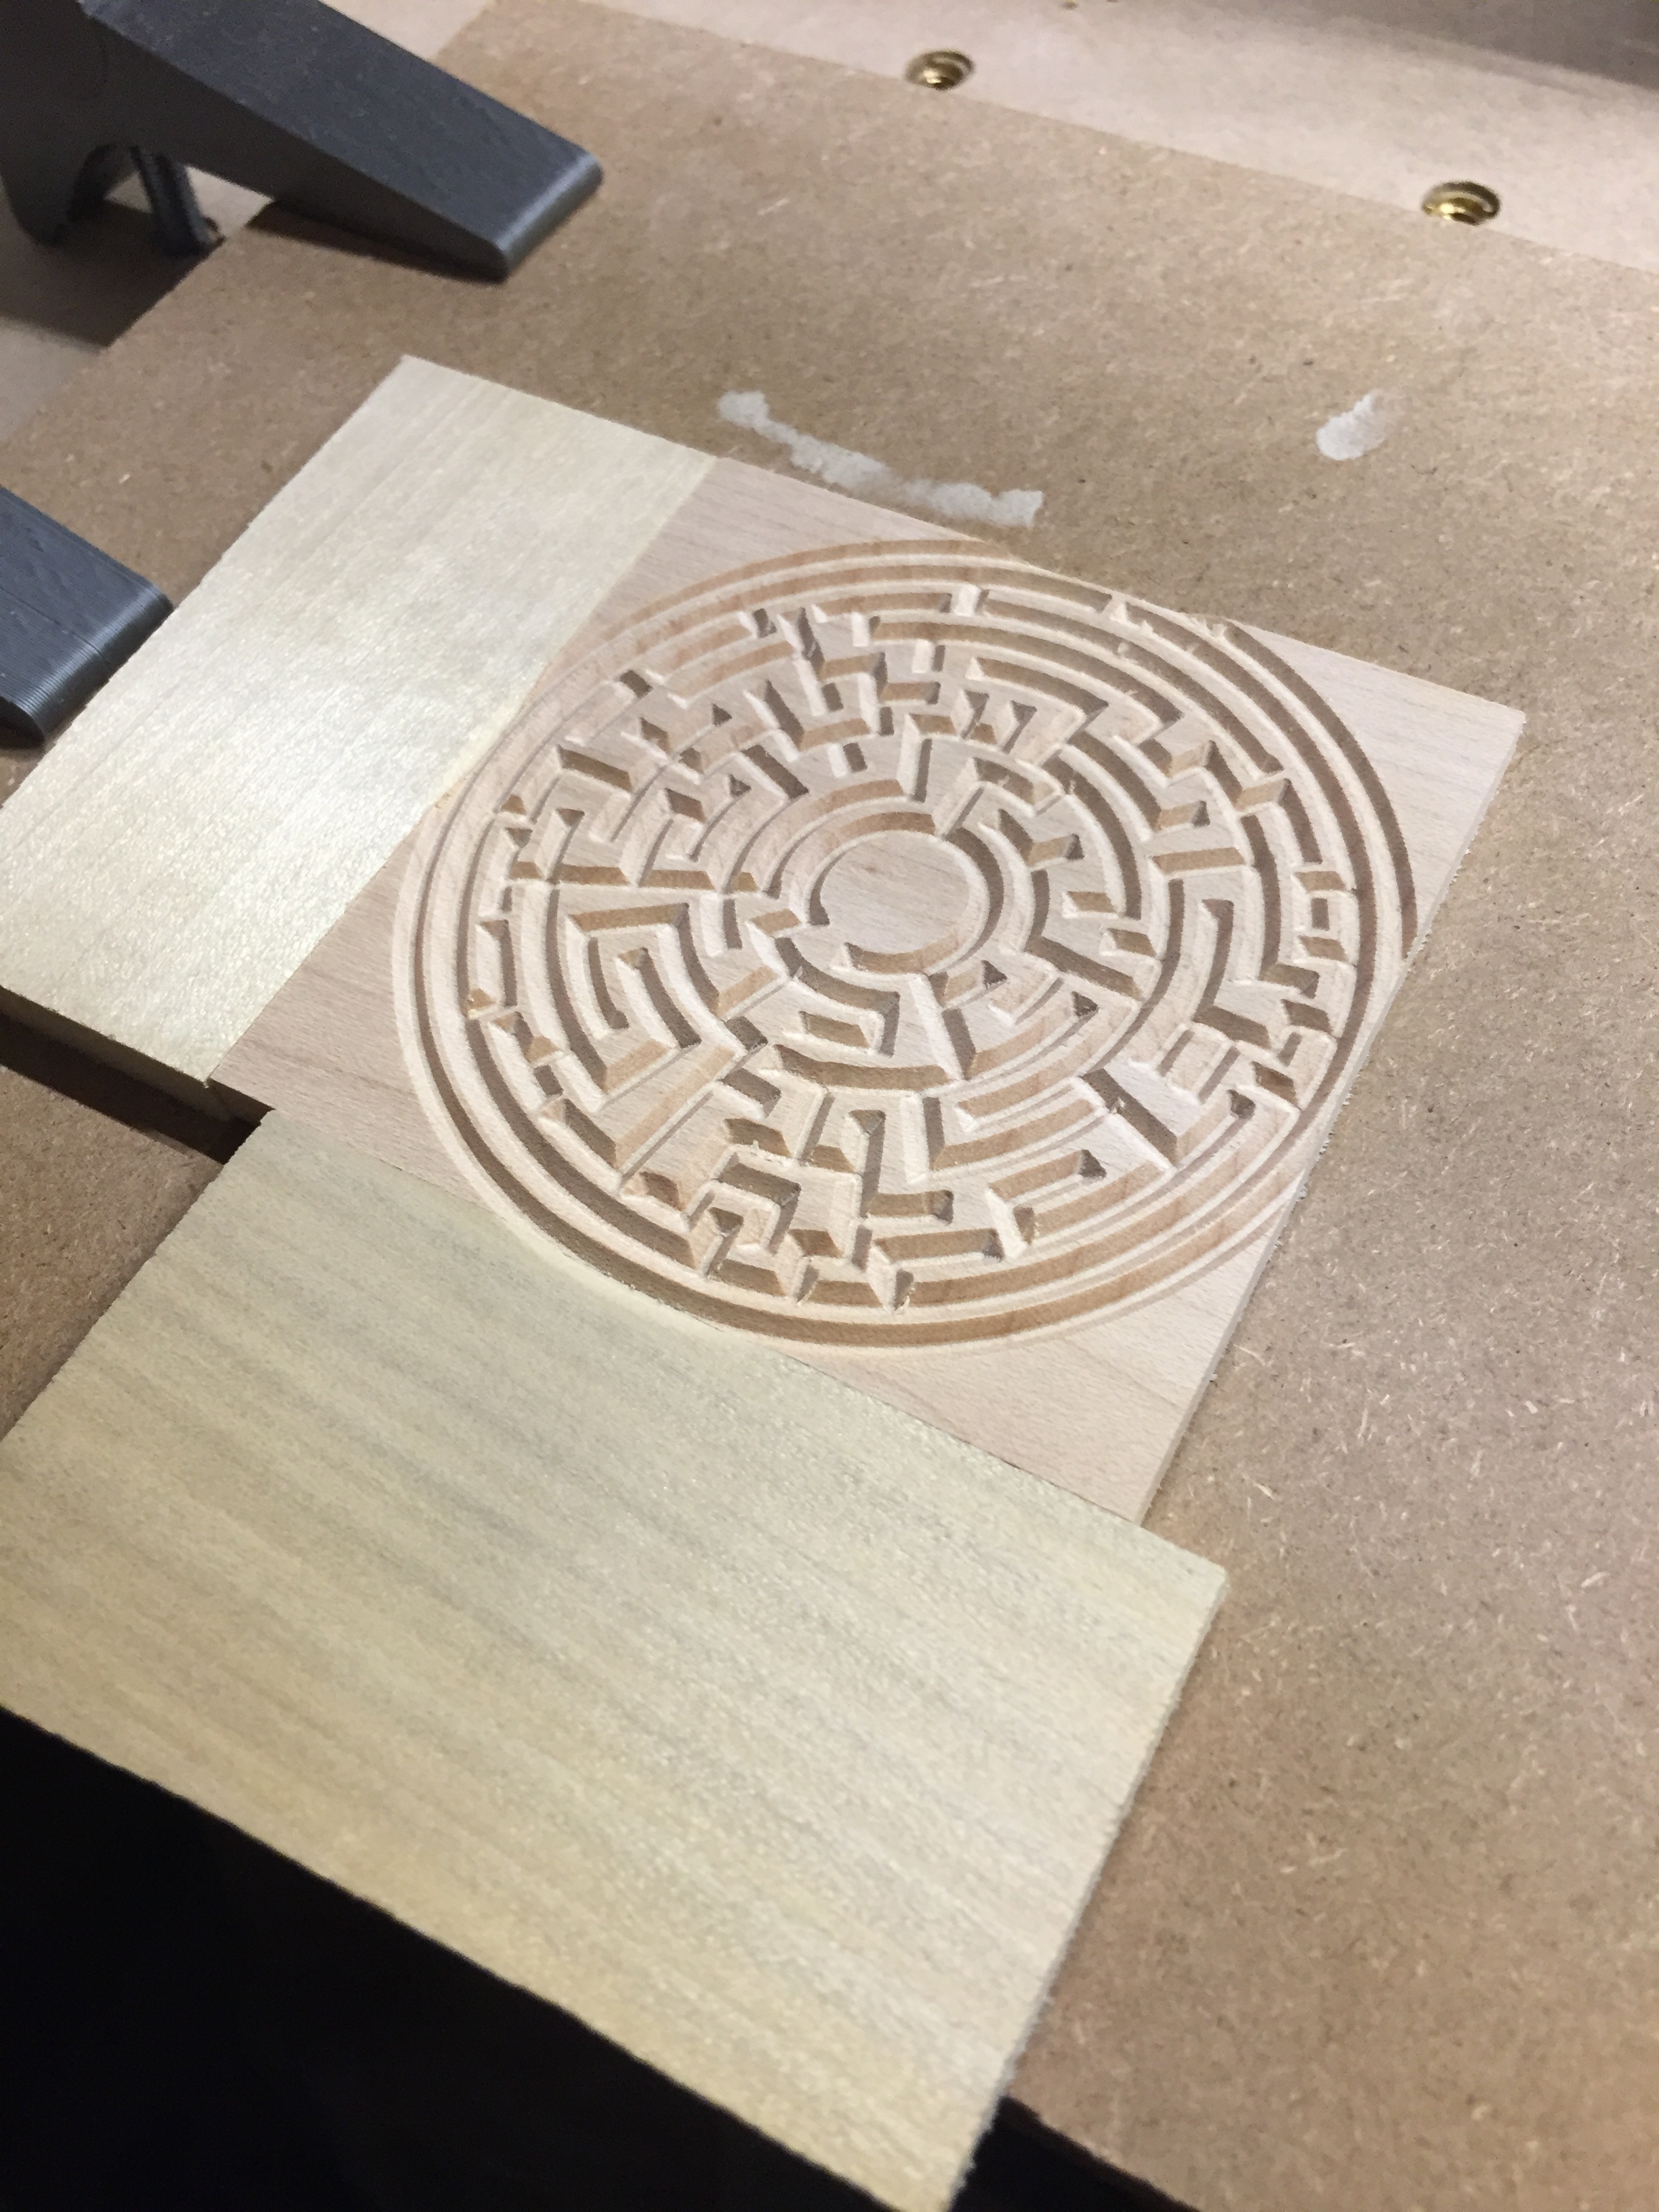
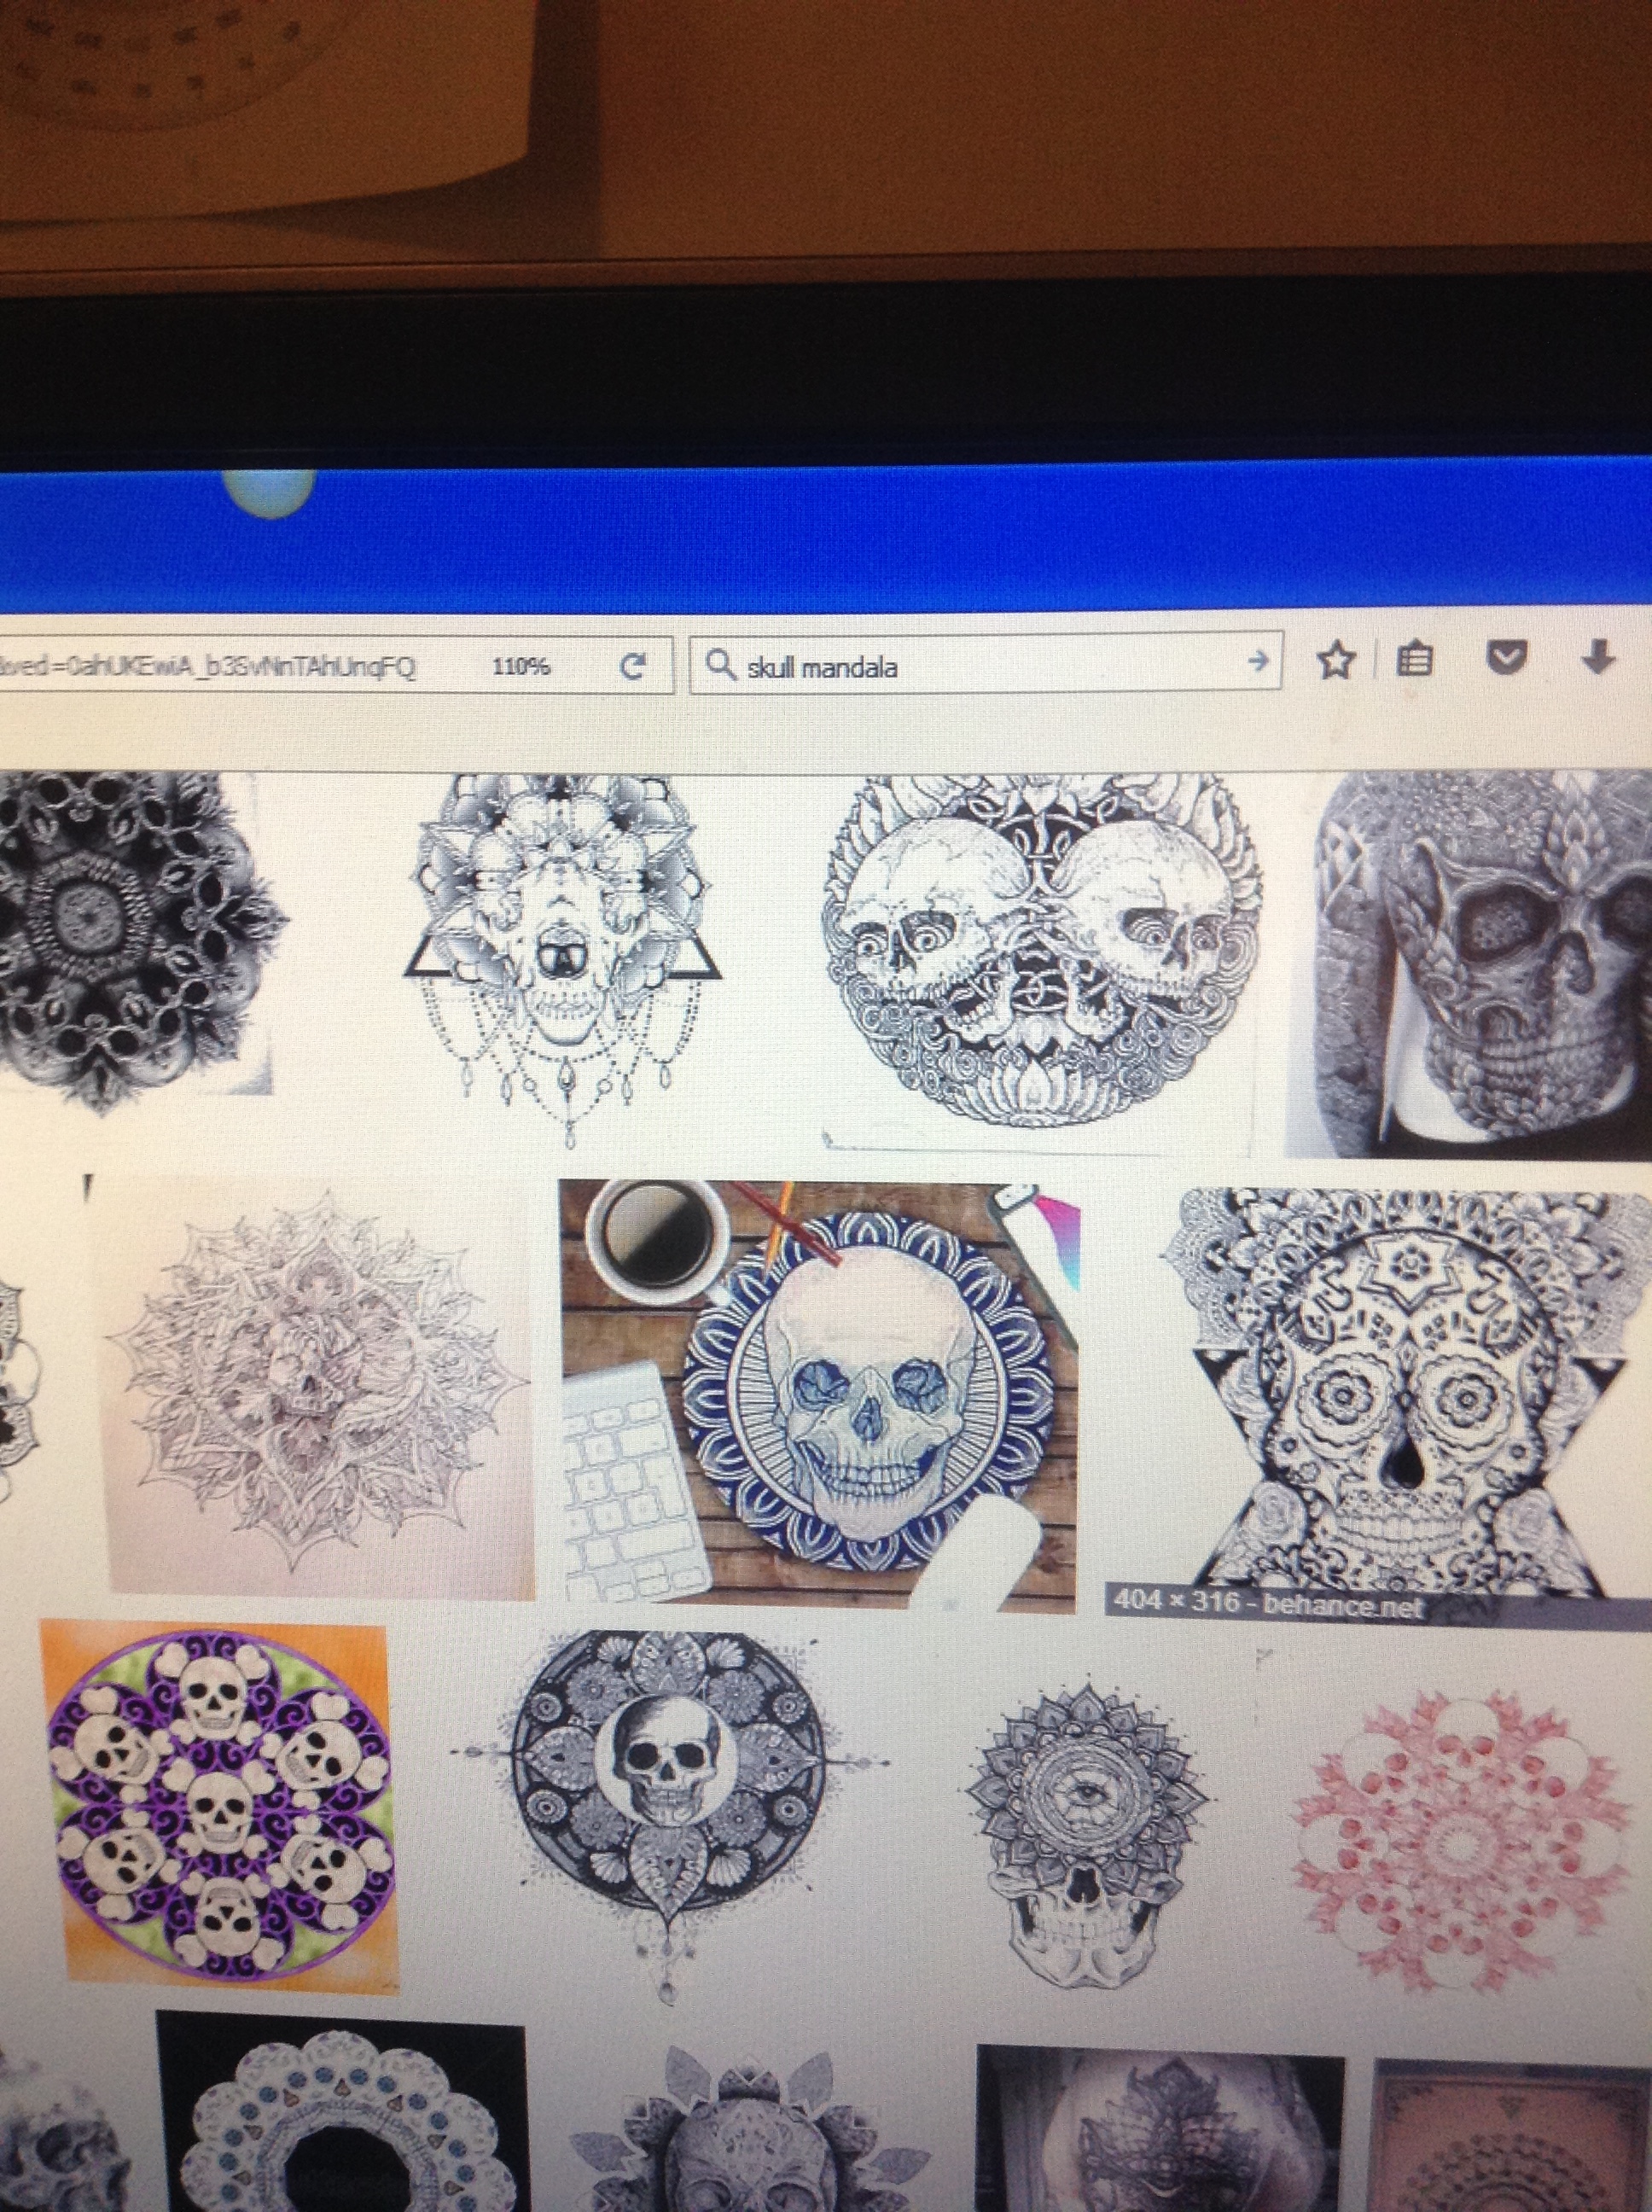
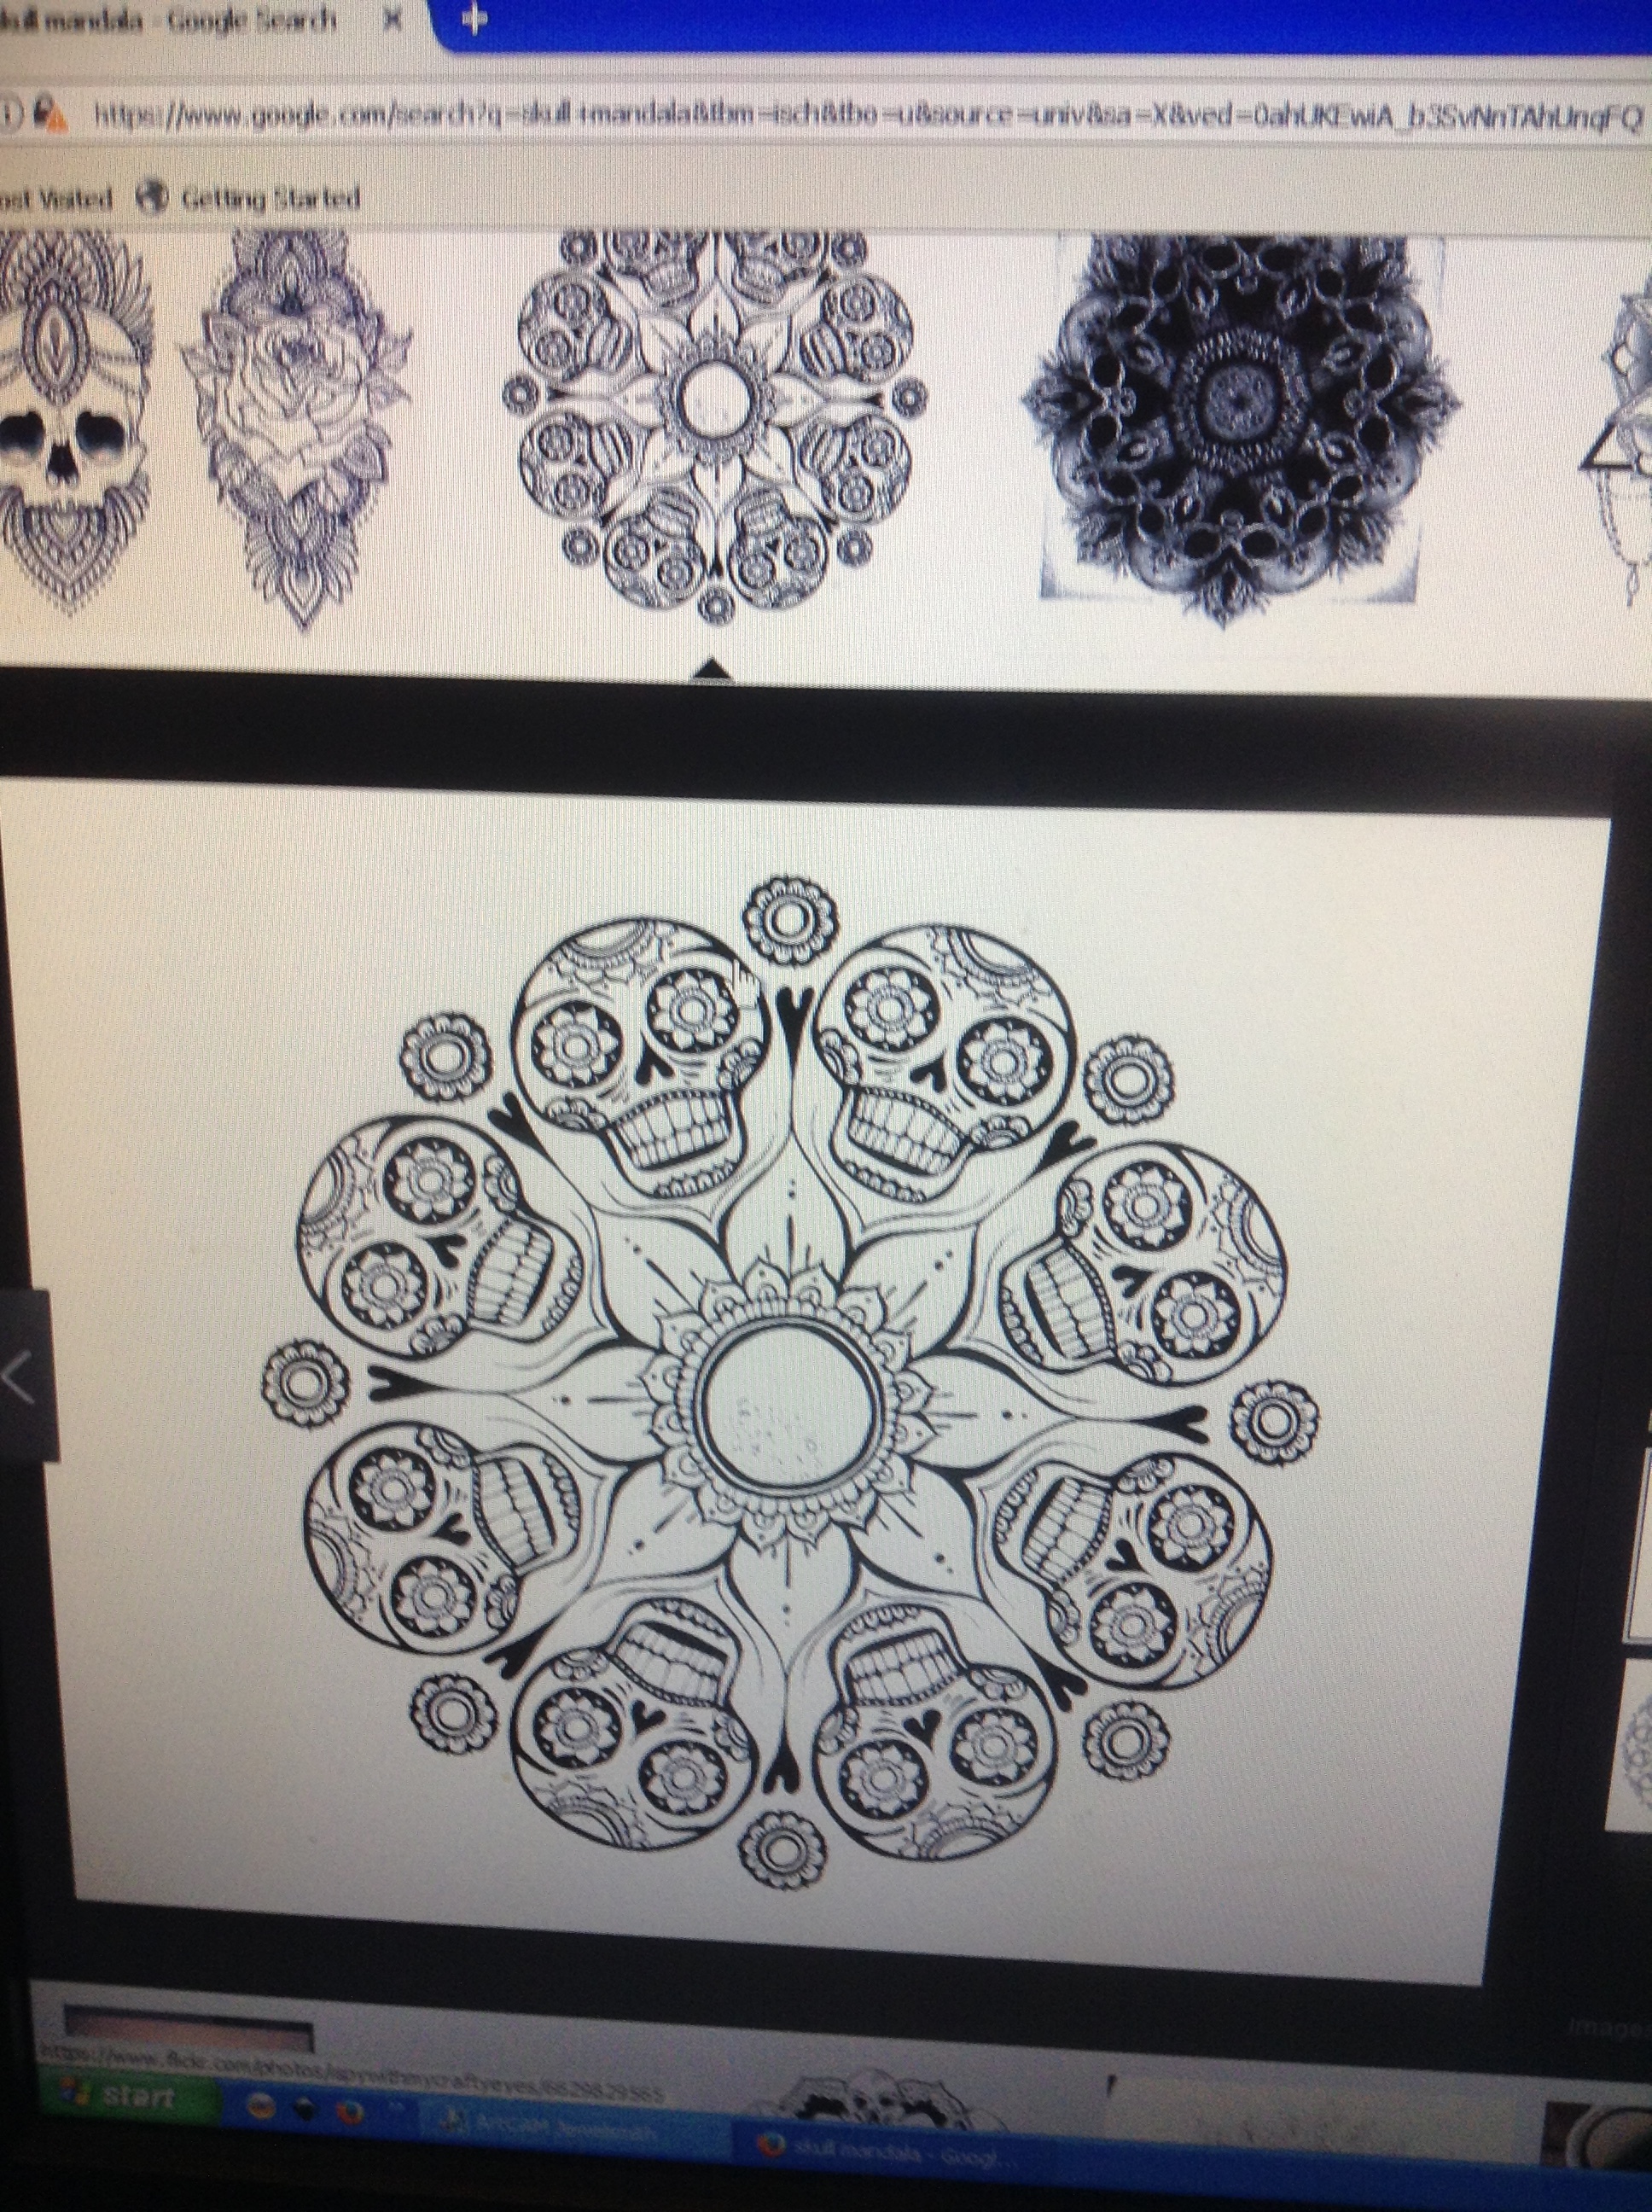
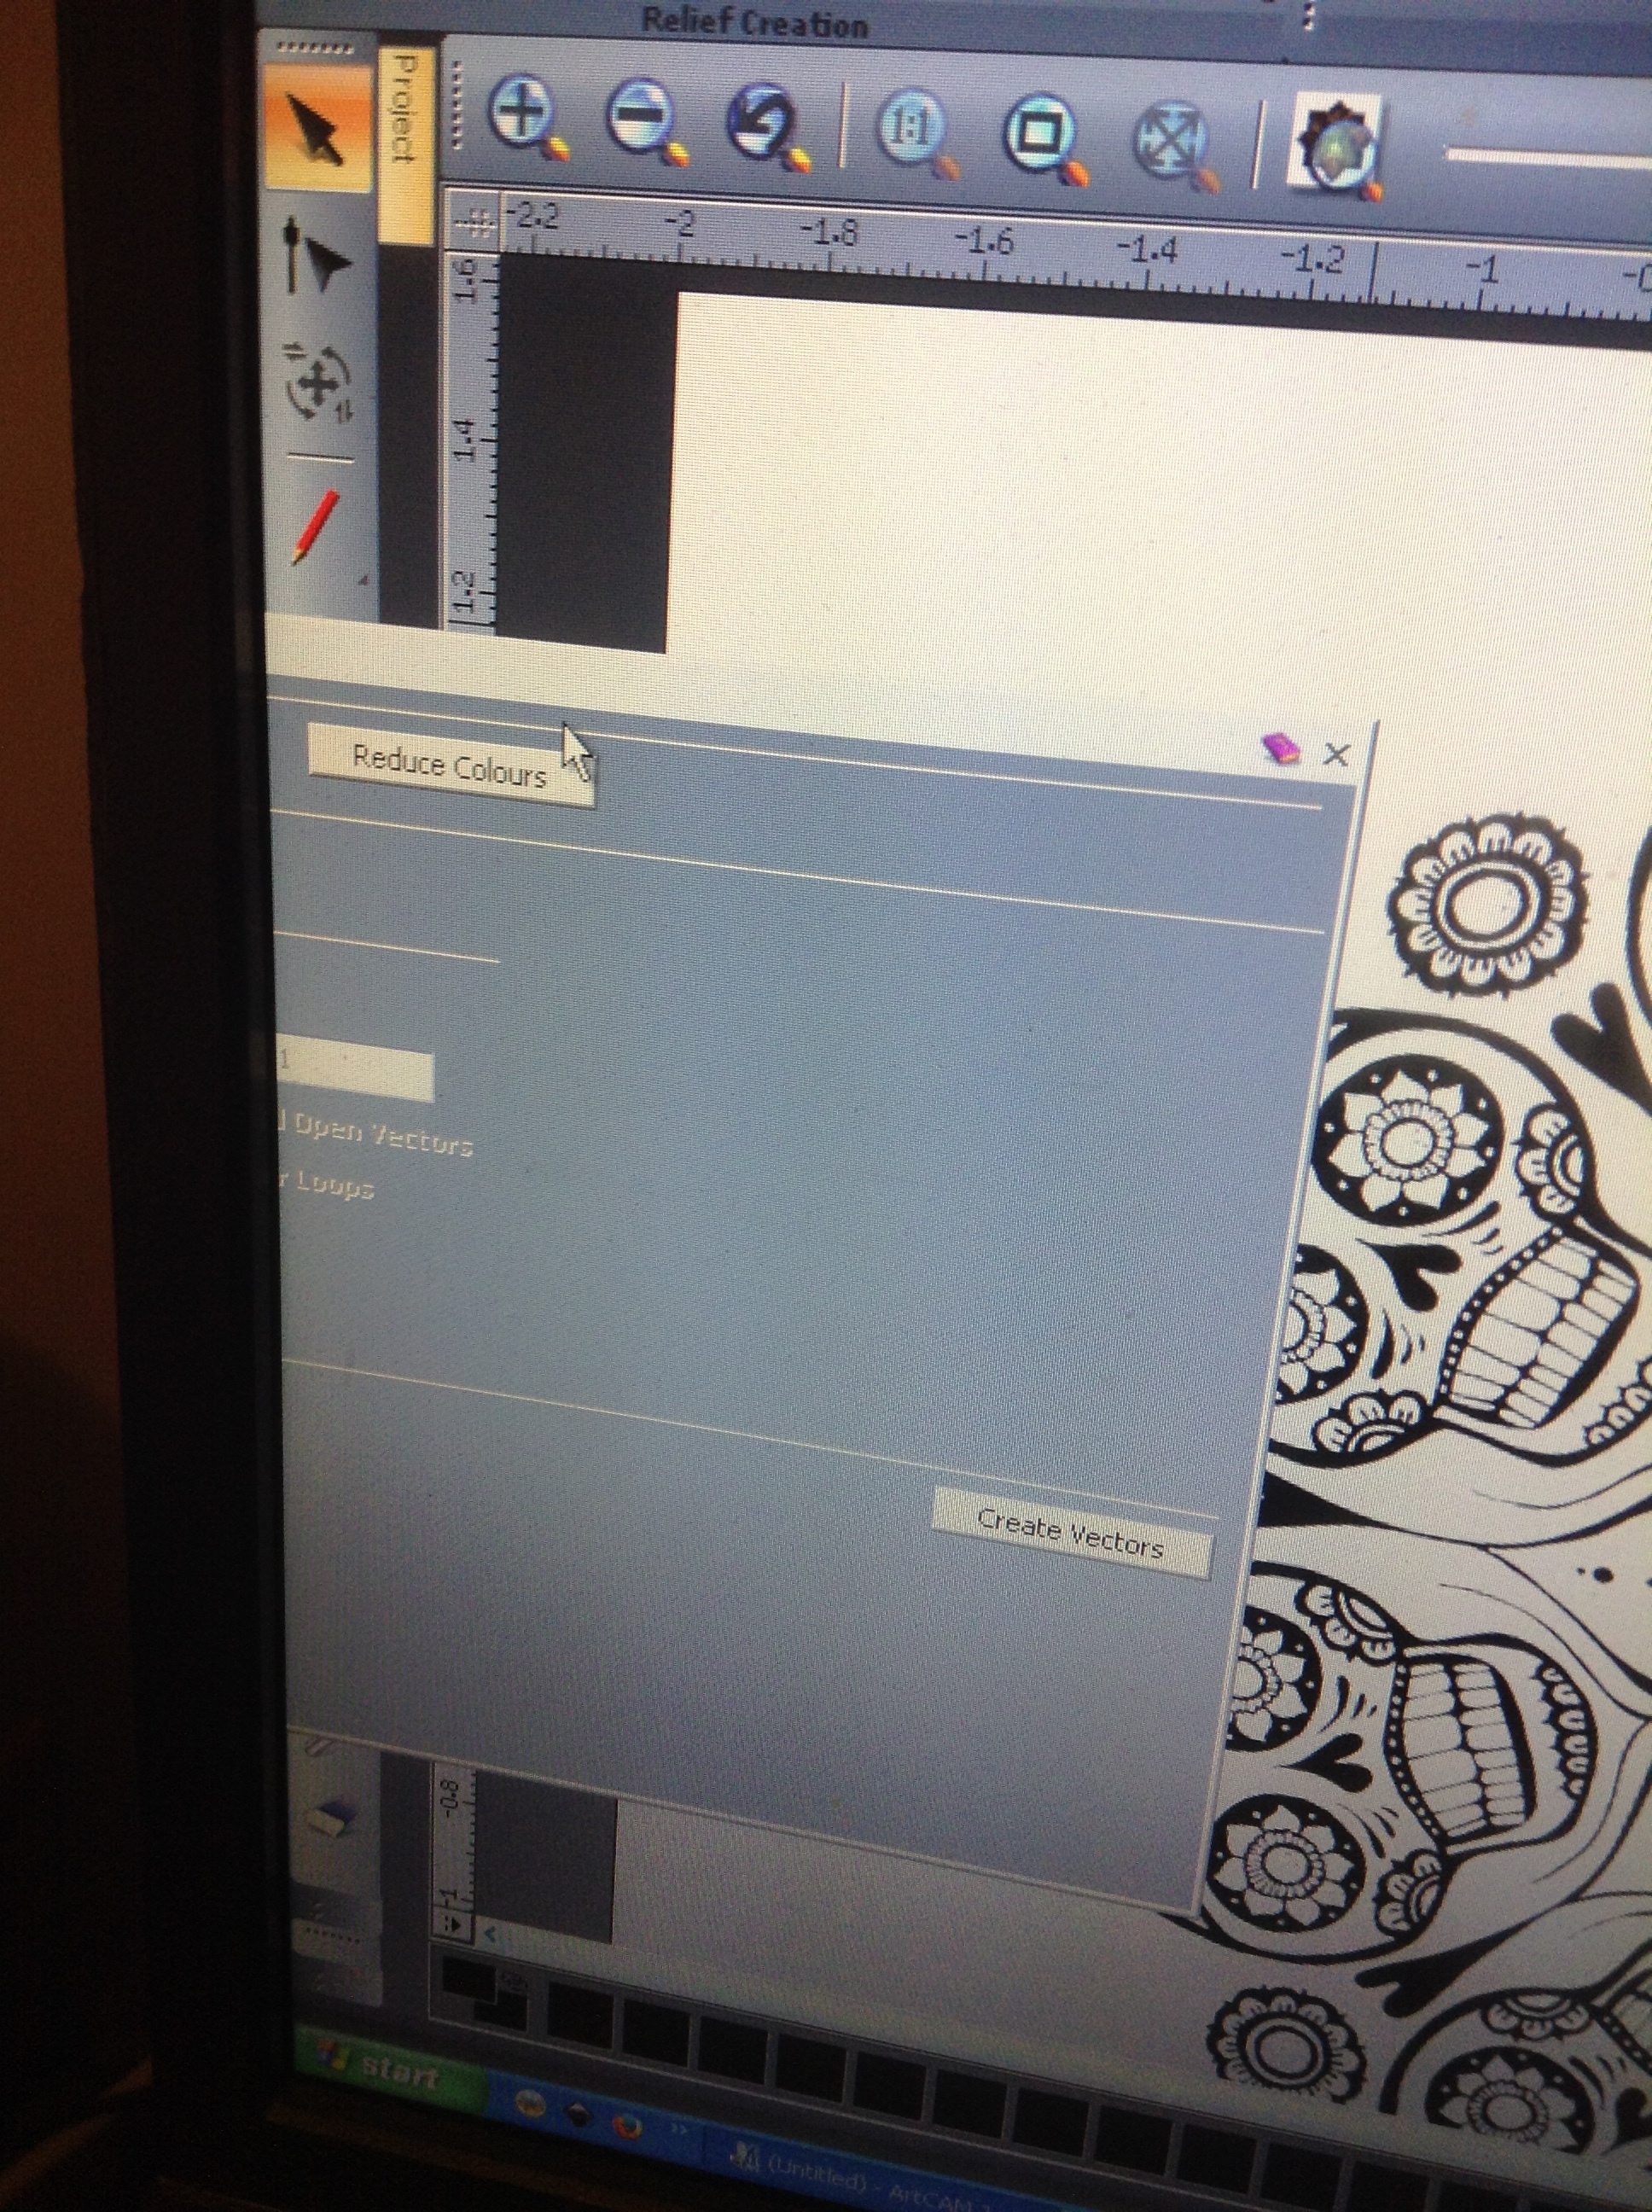
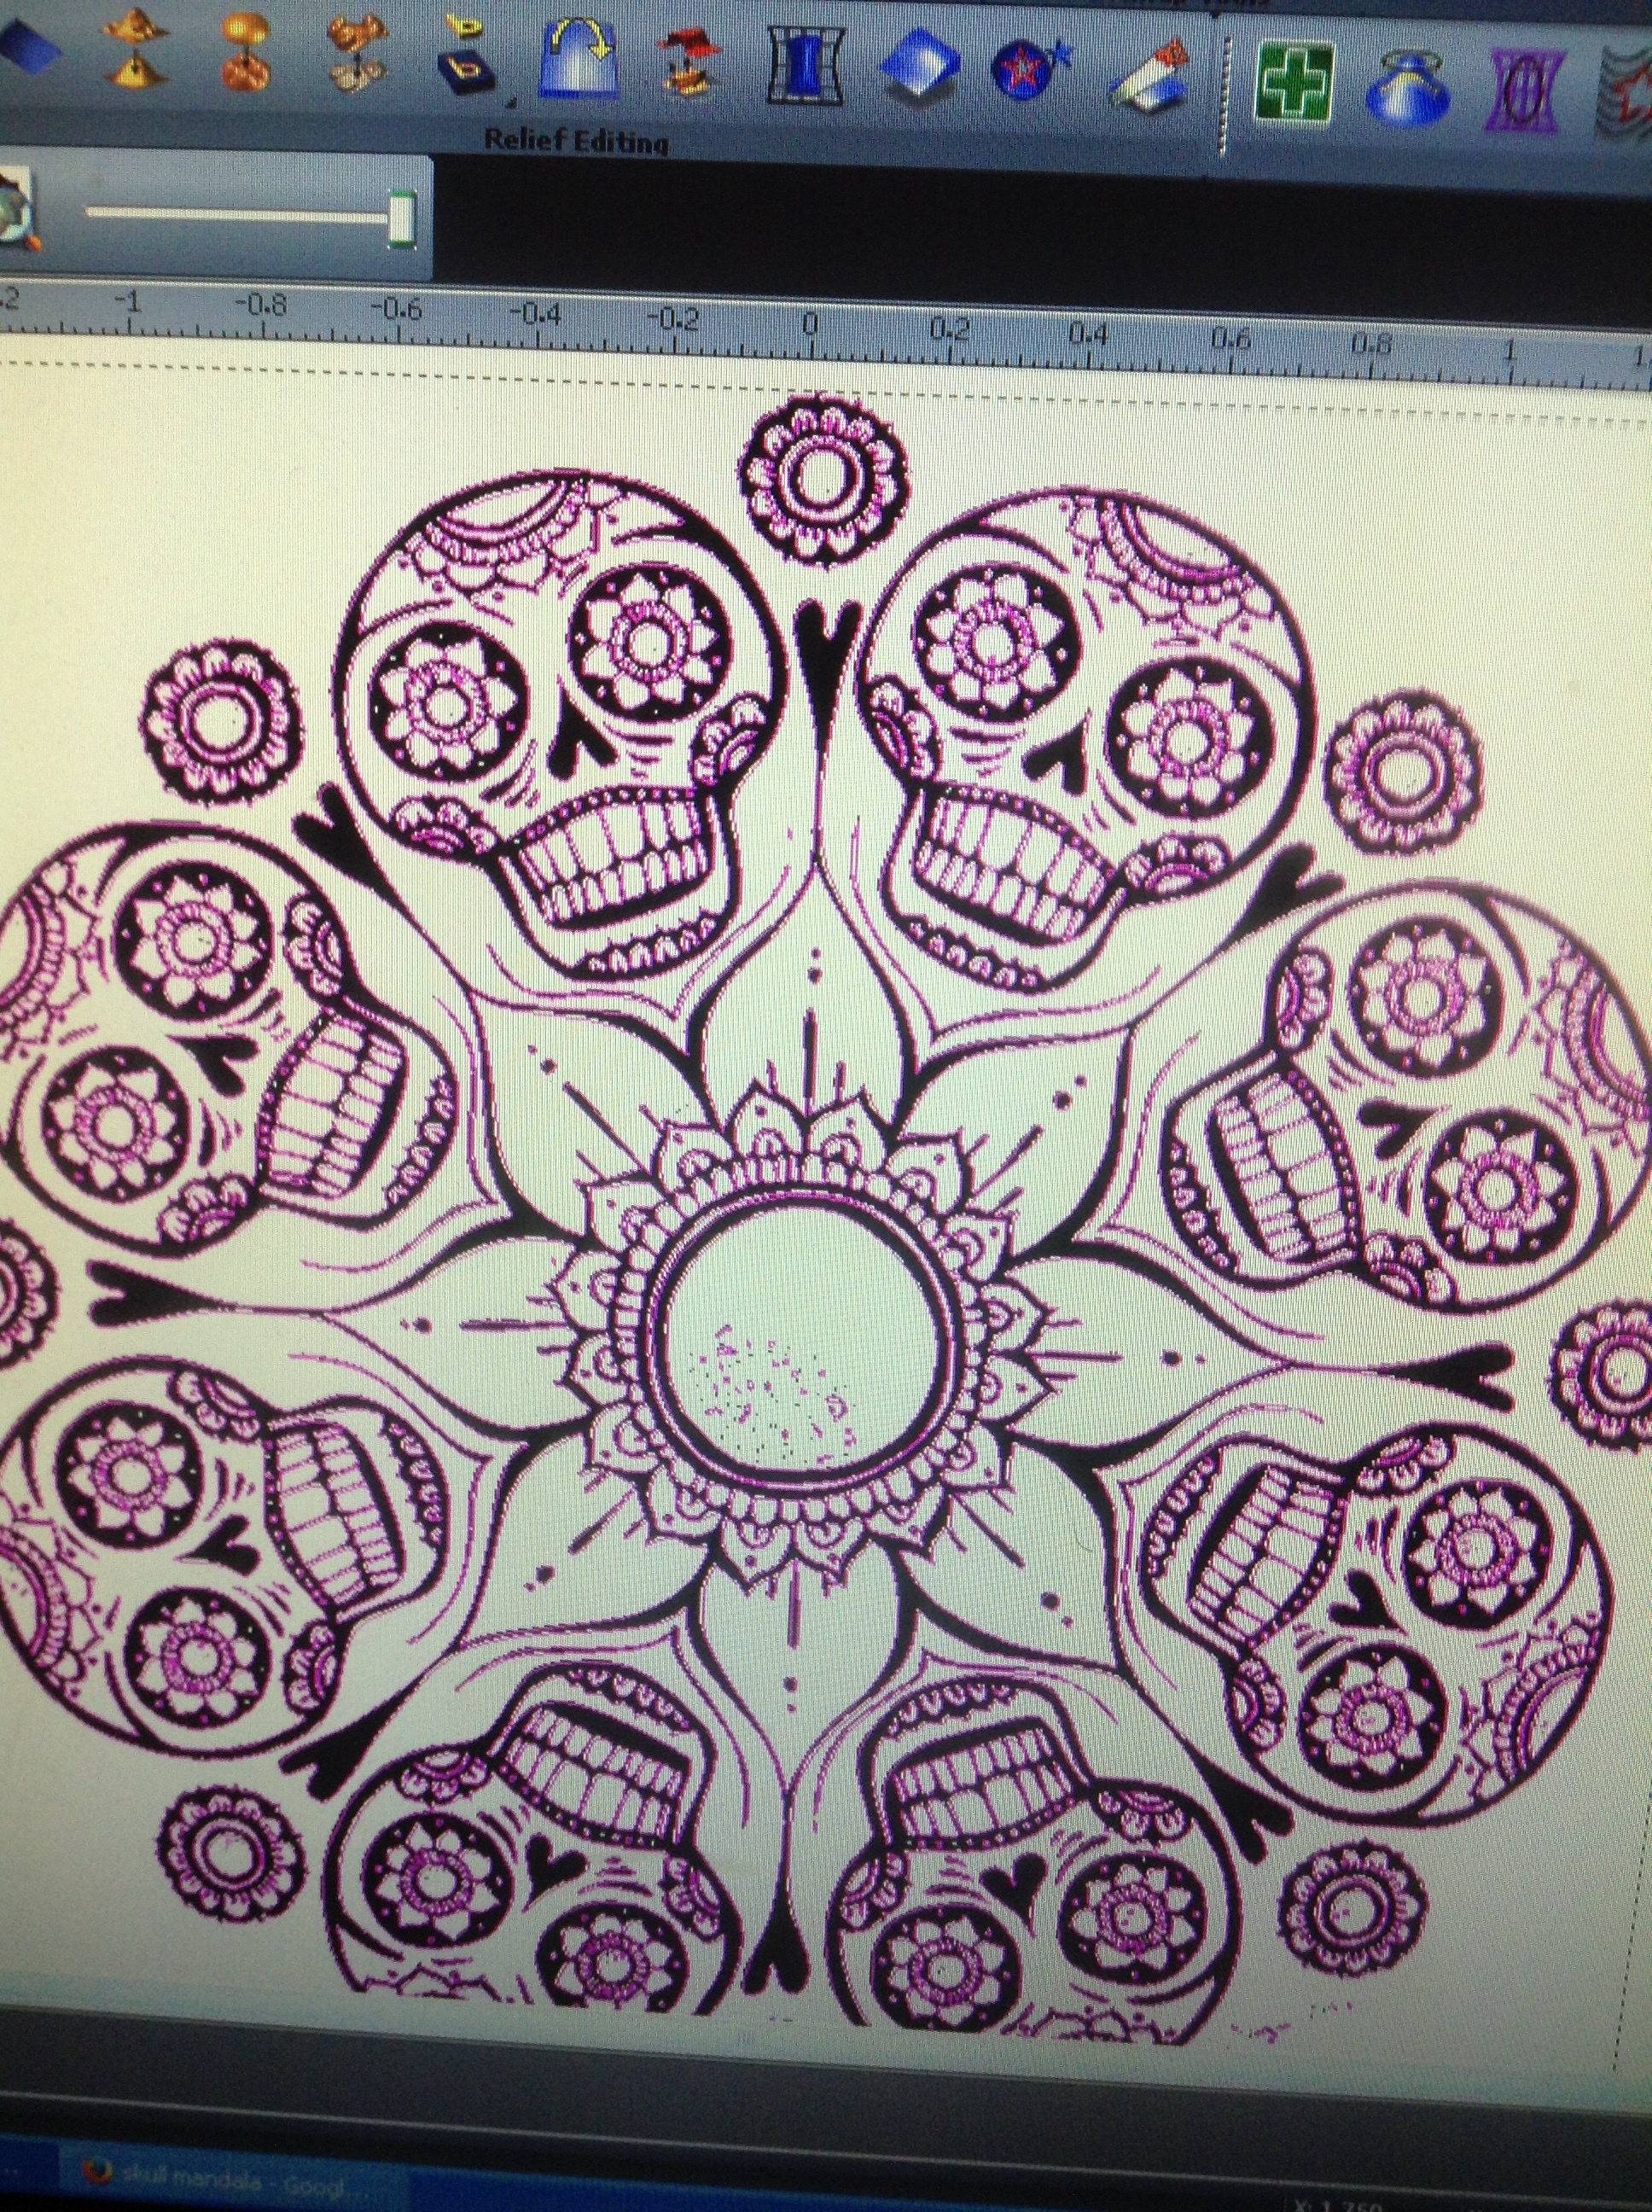
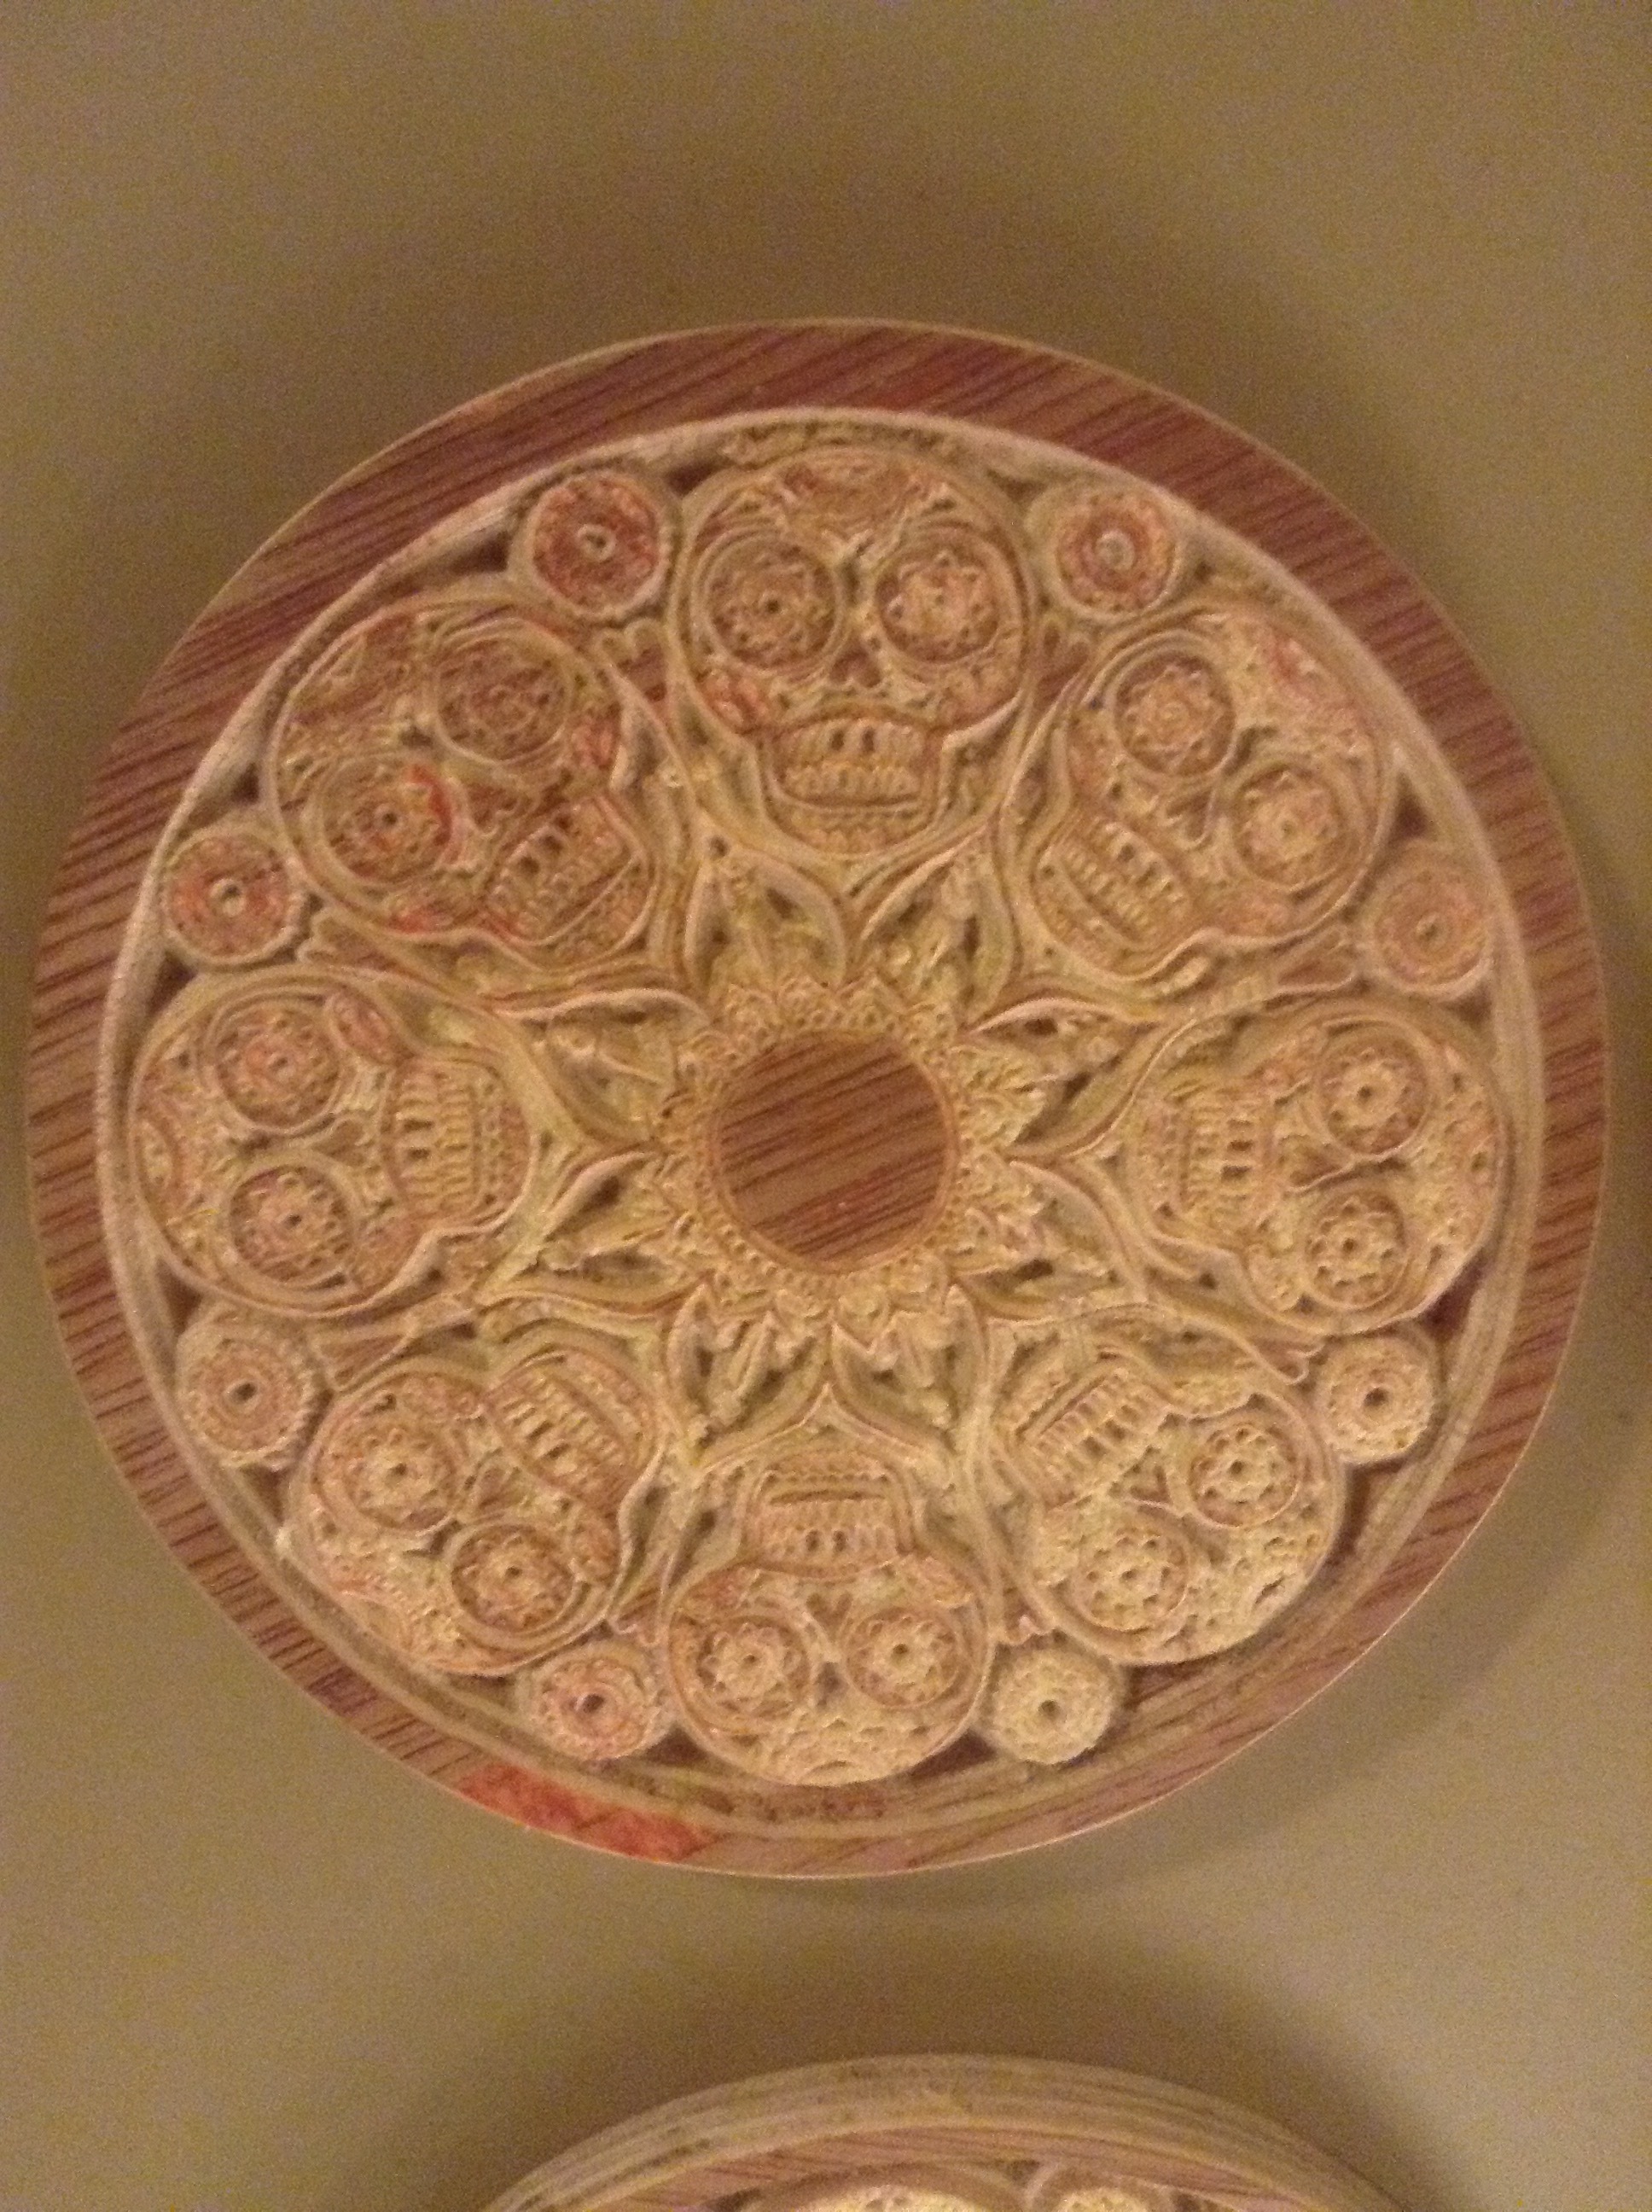
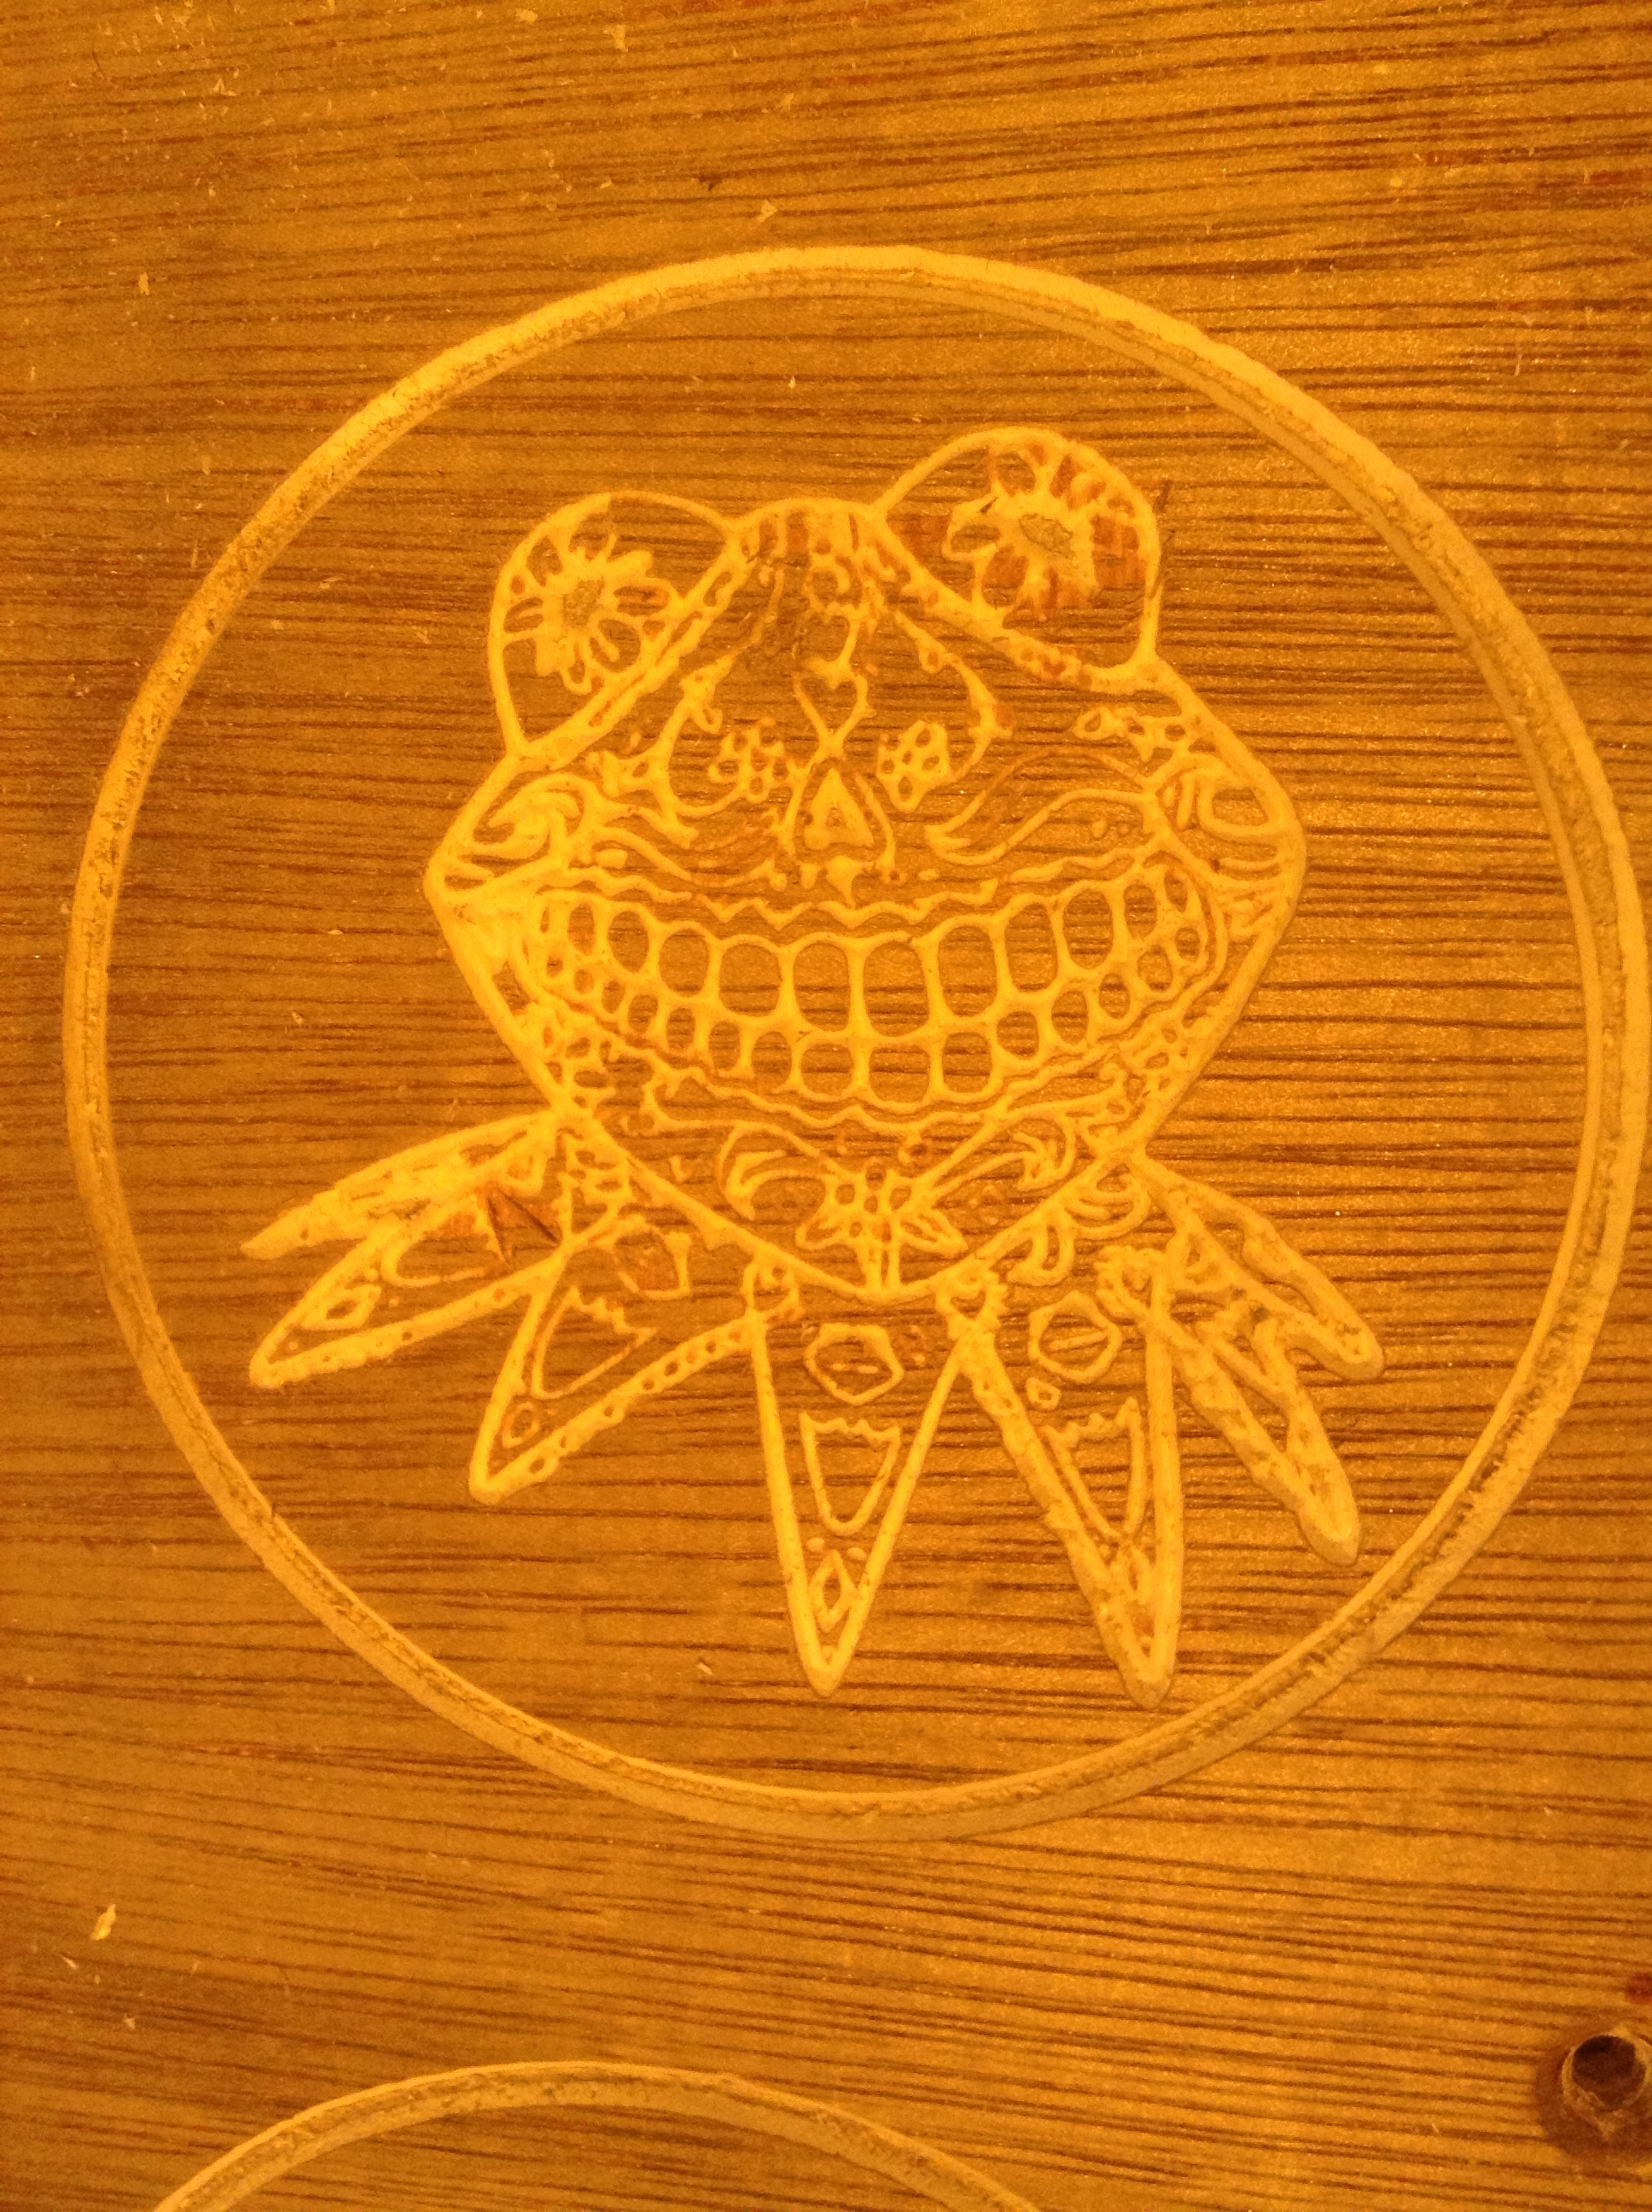
A very detailed sugar skull mandala that I grabbed from the web and vectored.

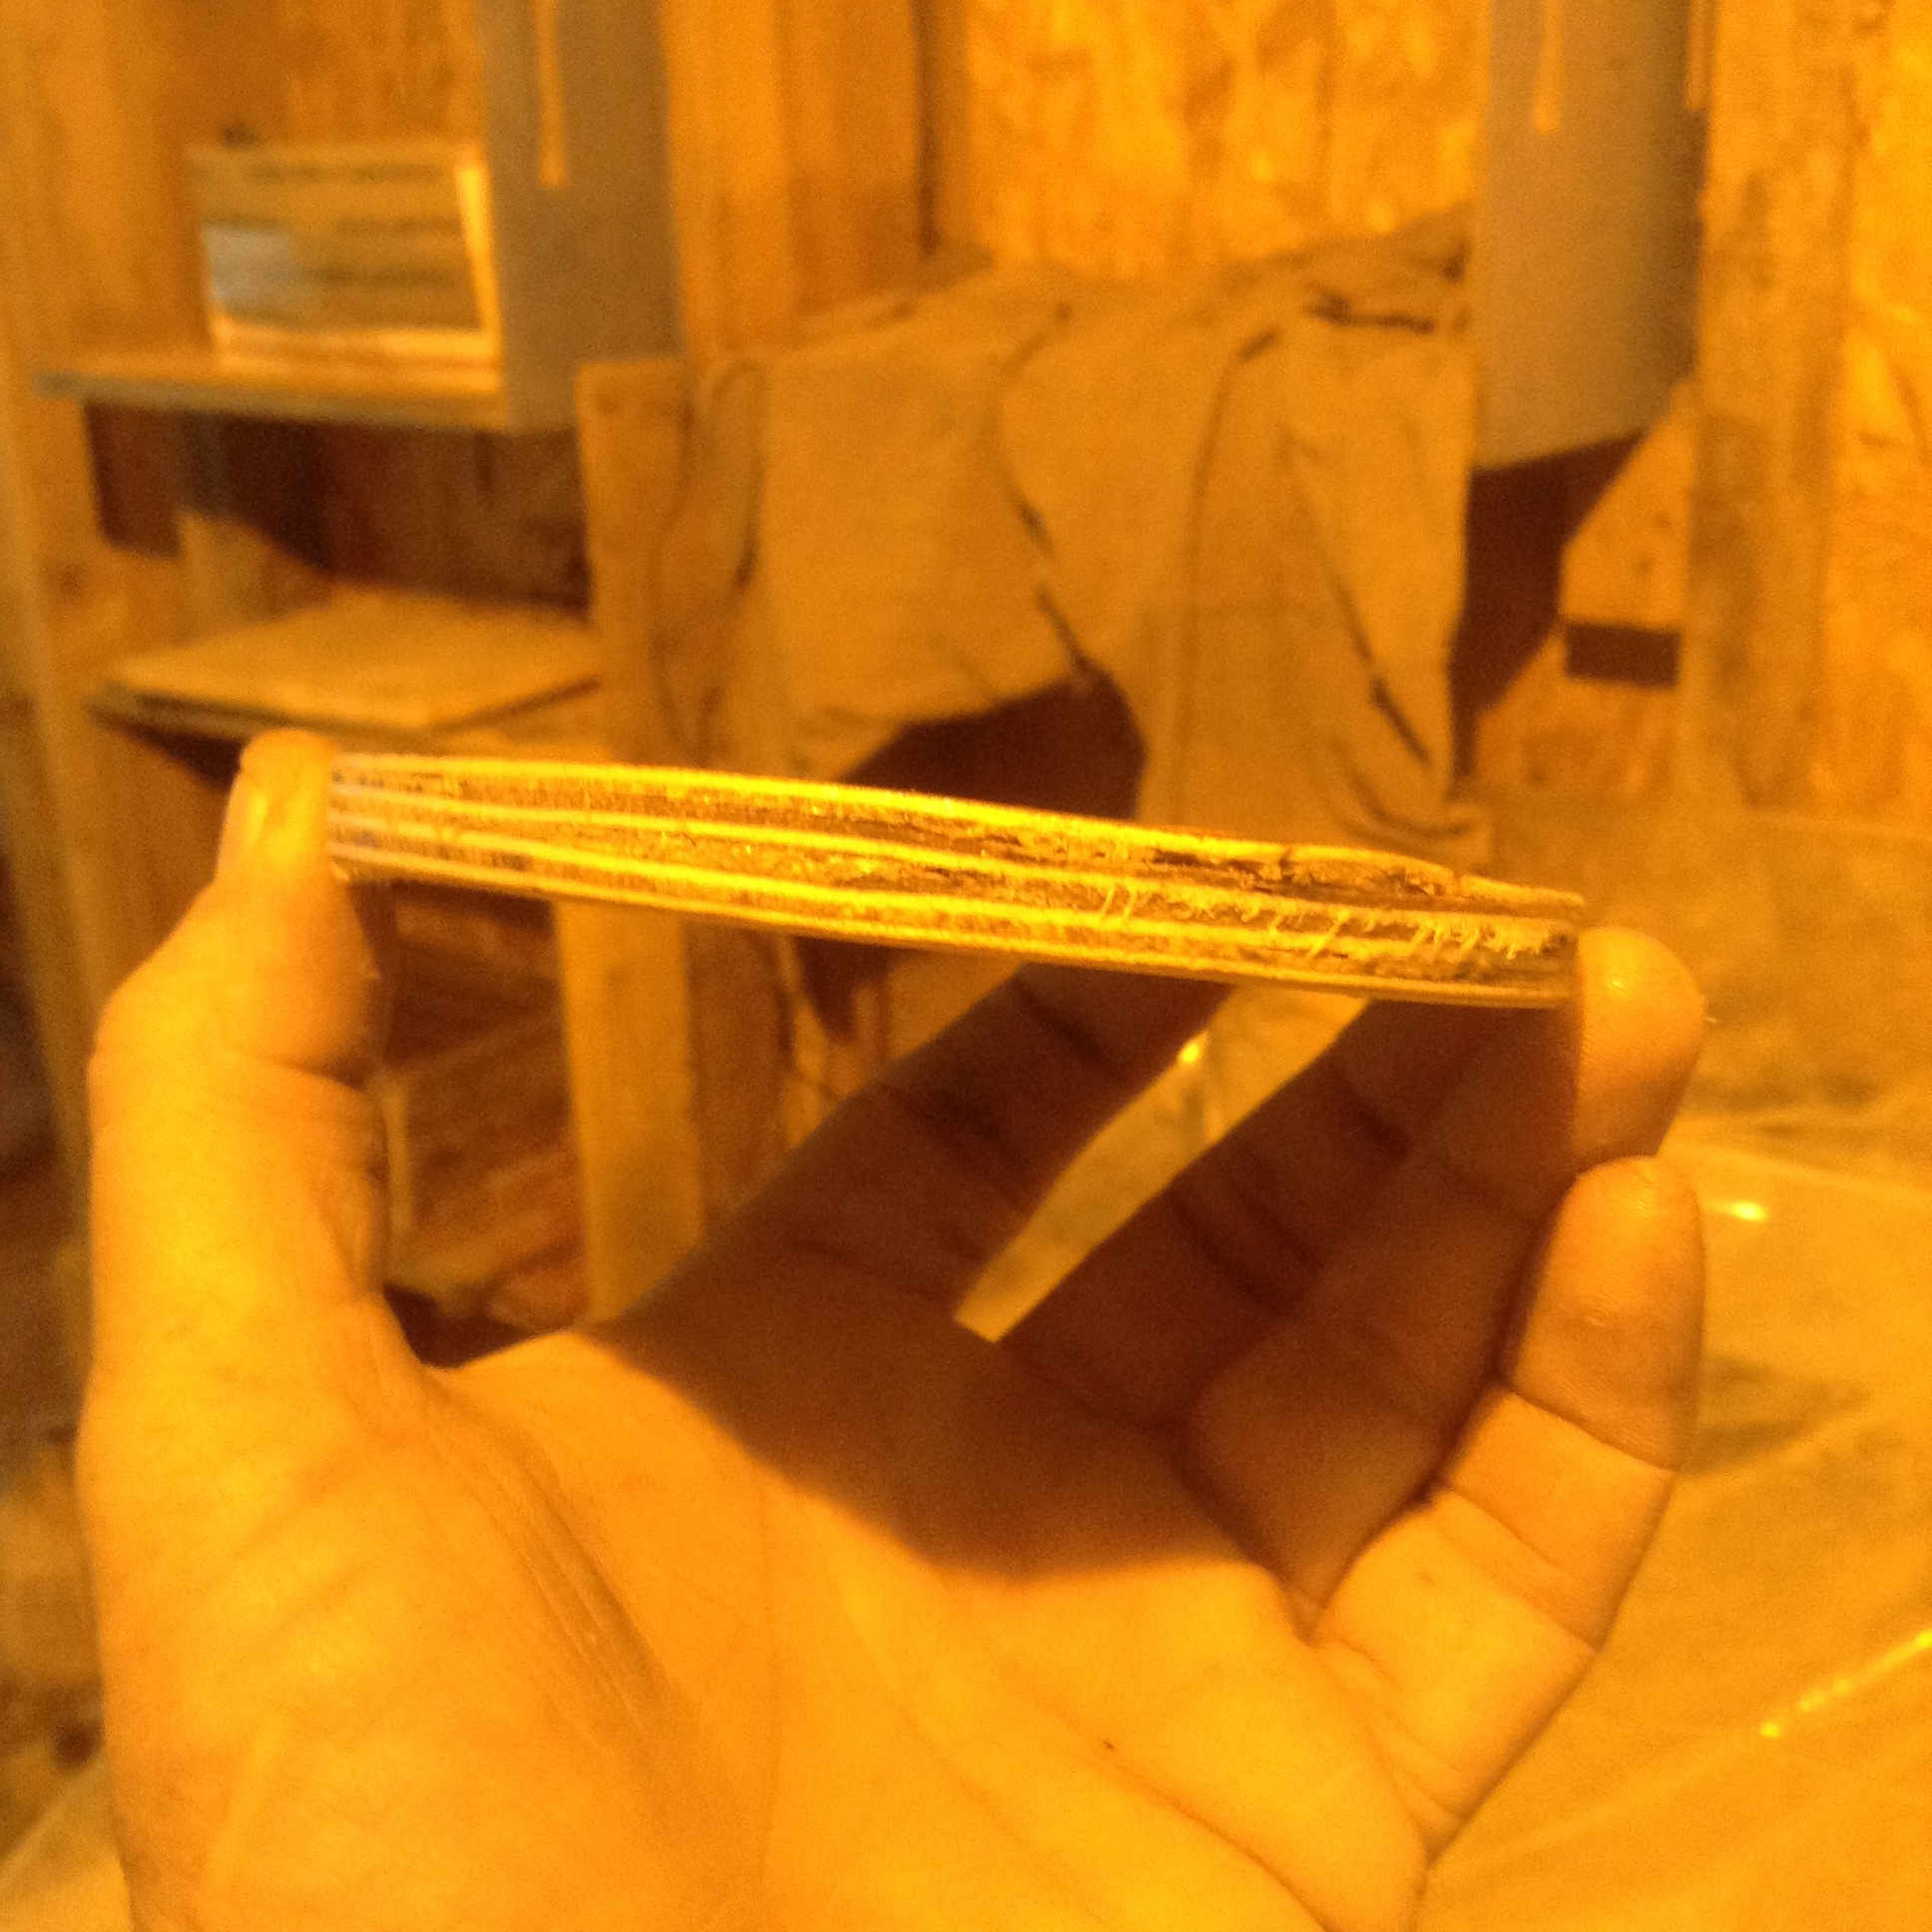
A) Materials used- .340" thick ply wood from a crate.
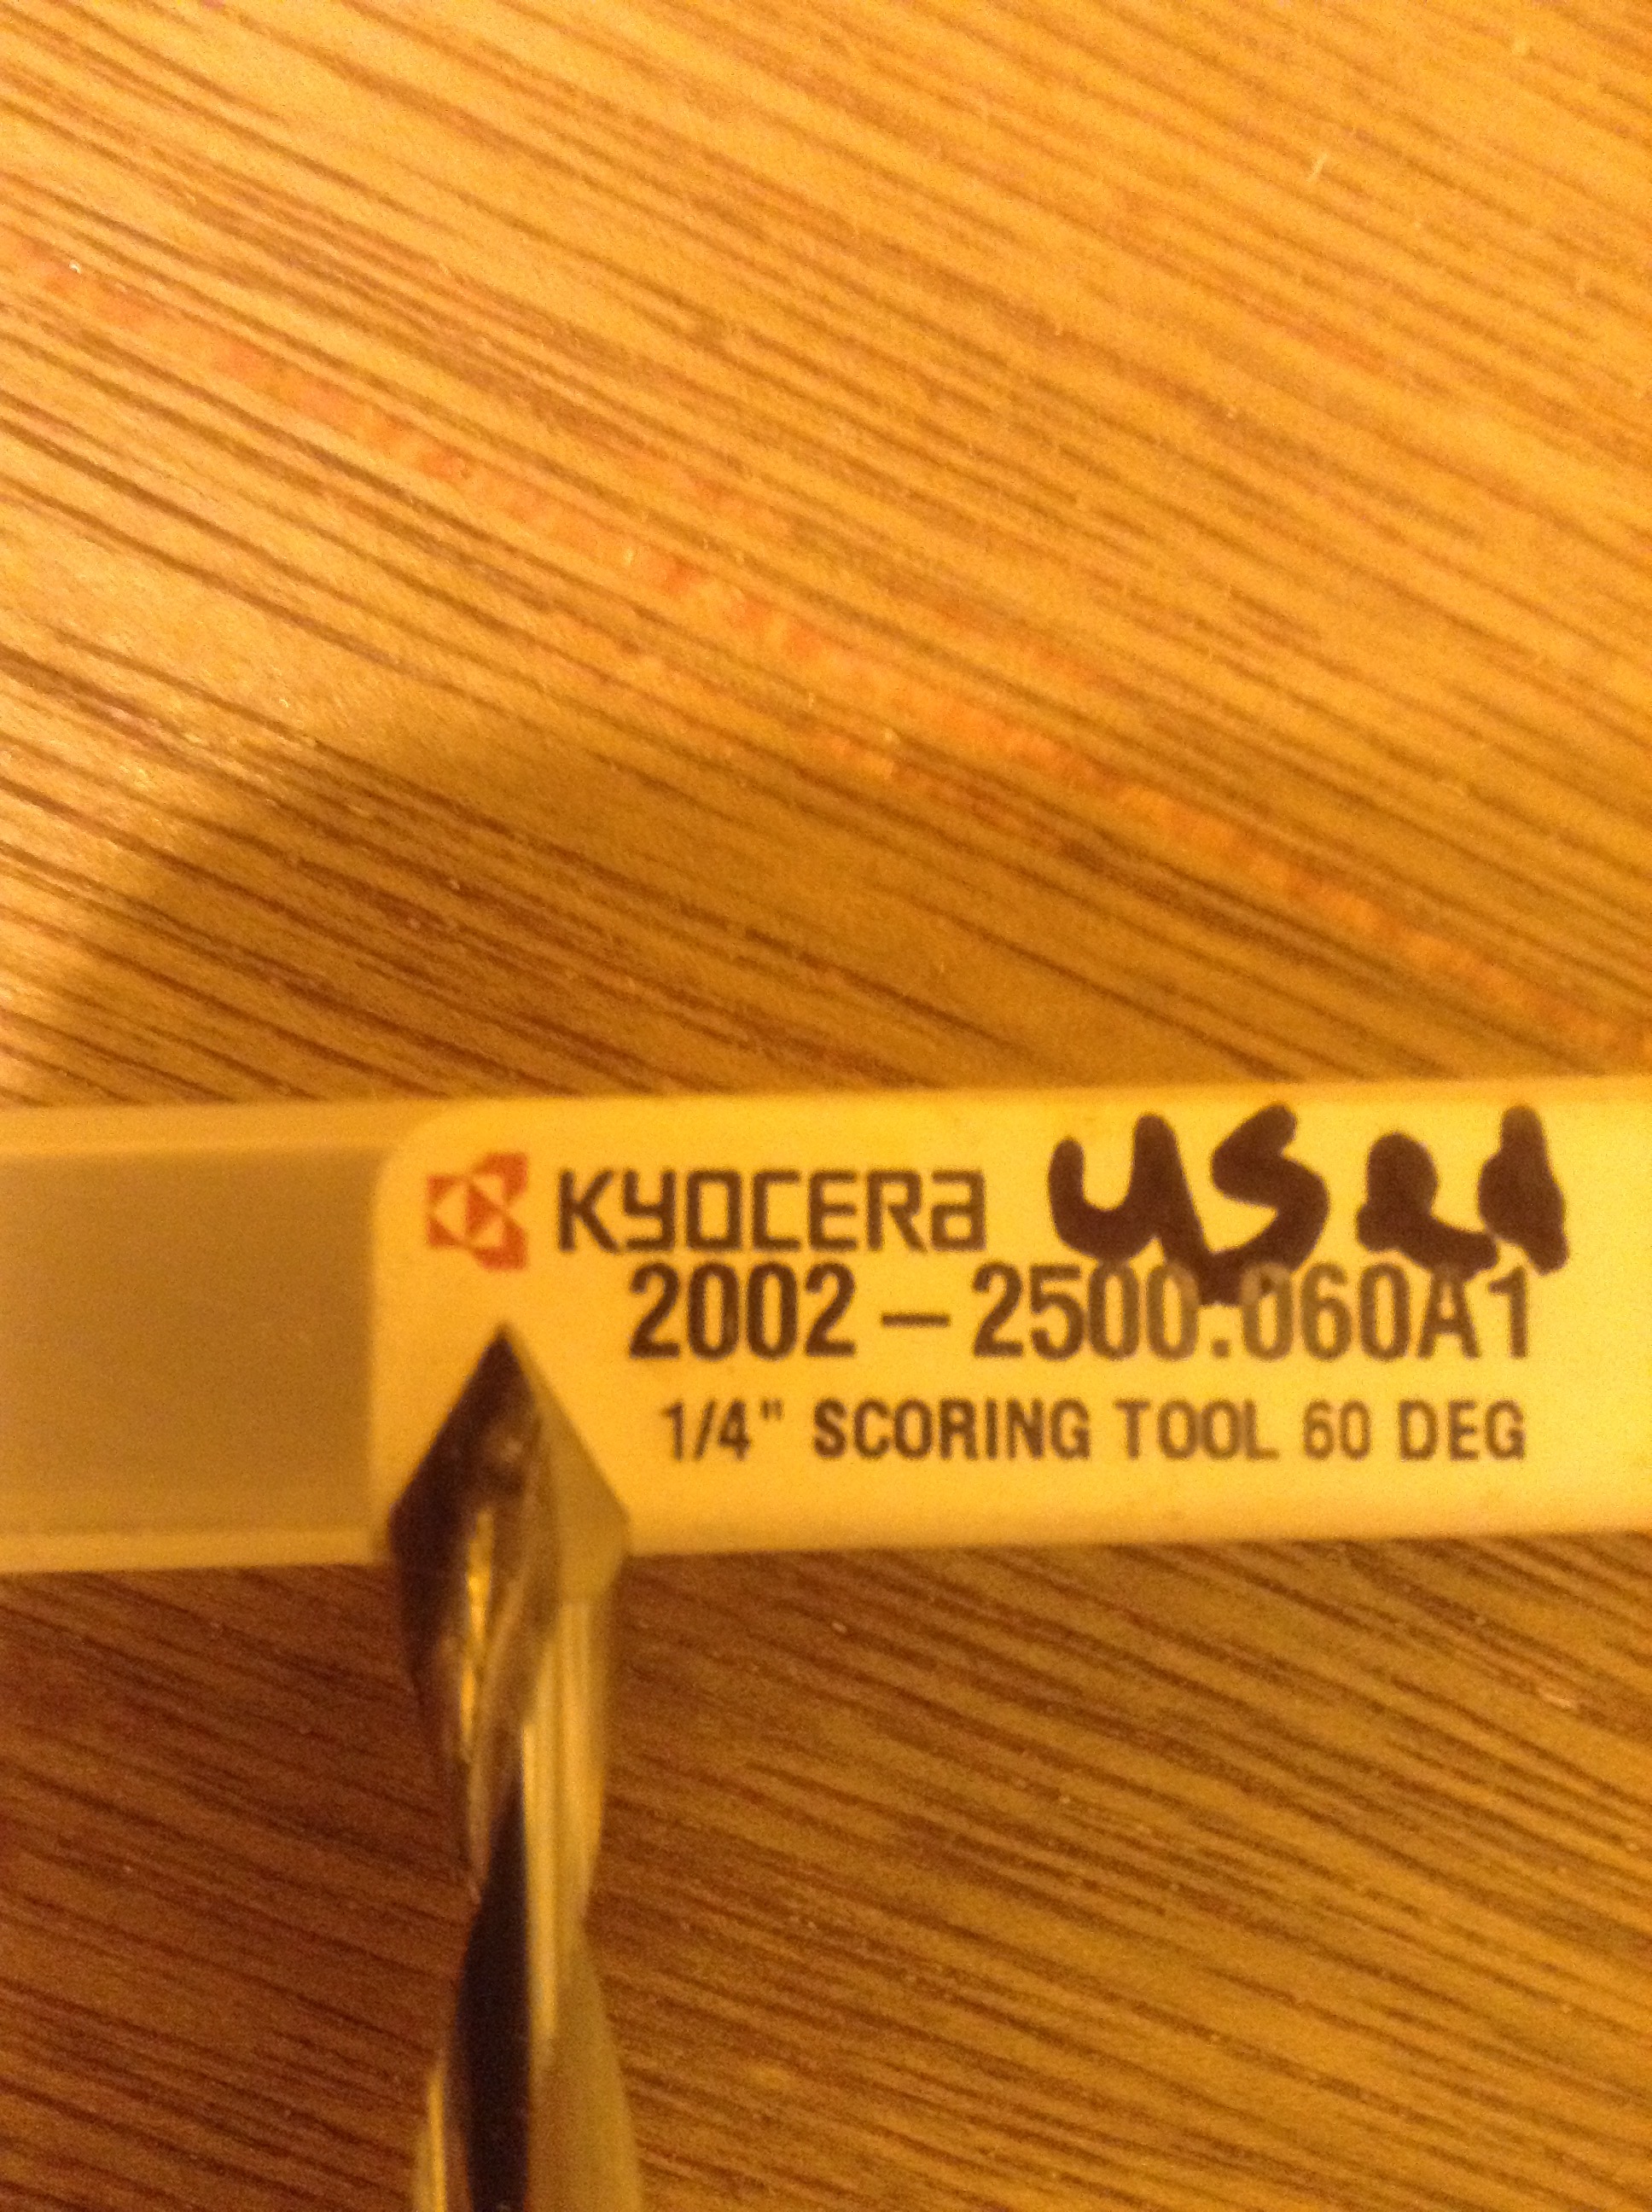
B) Cutters- .25", 3 flute E.M. (#201), and a 60 deg. v bit from drillman on Ebay.


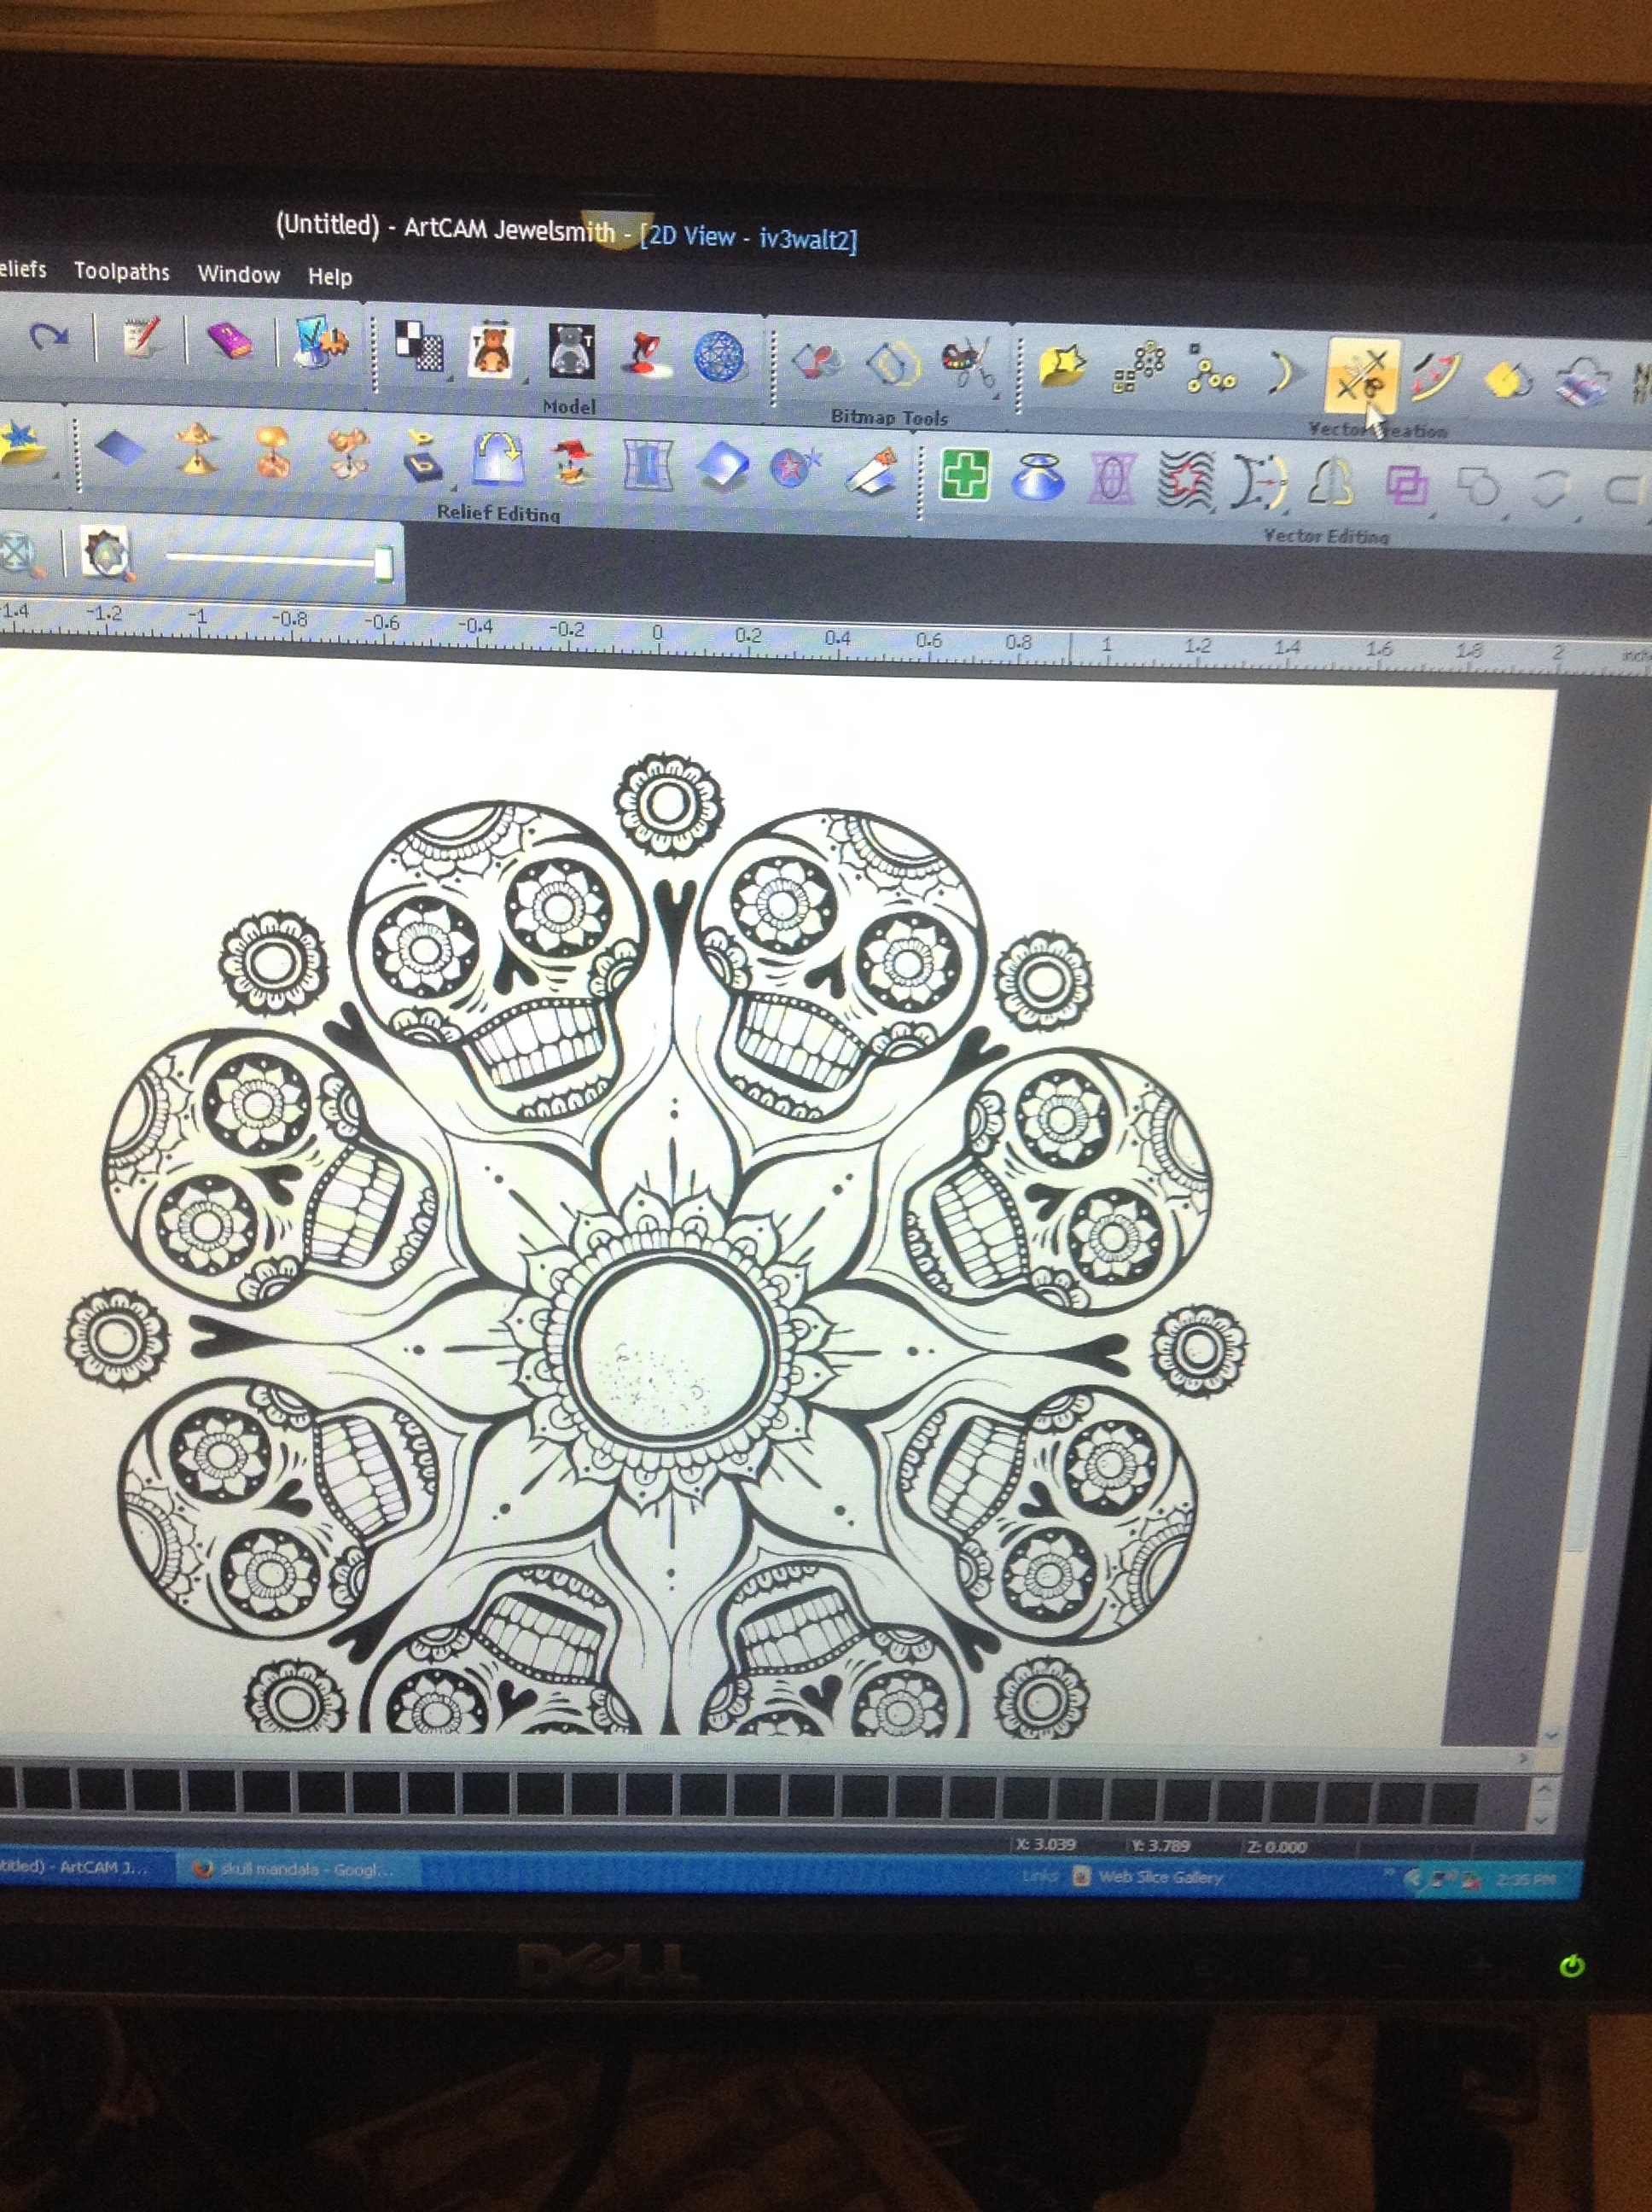
C) Design software used to create your project- Artcam
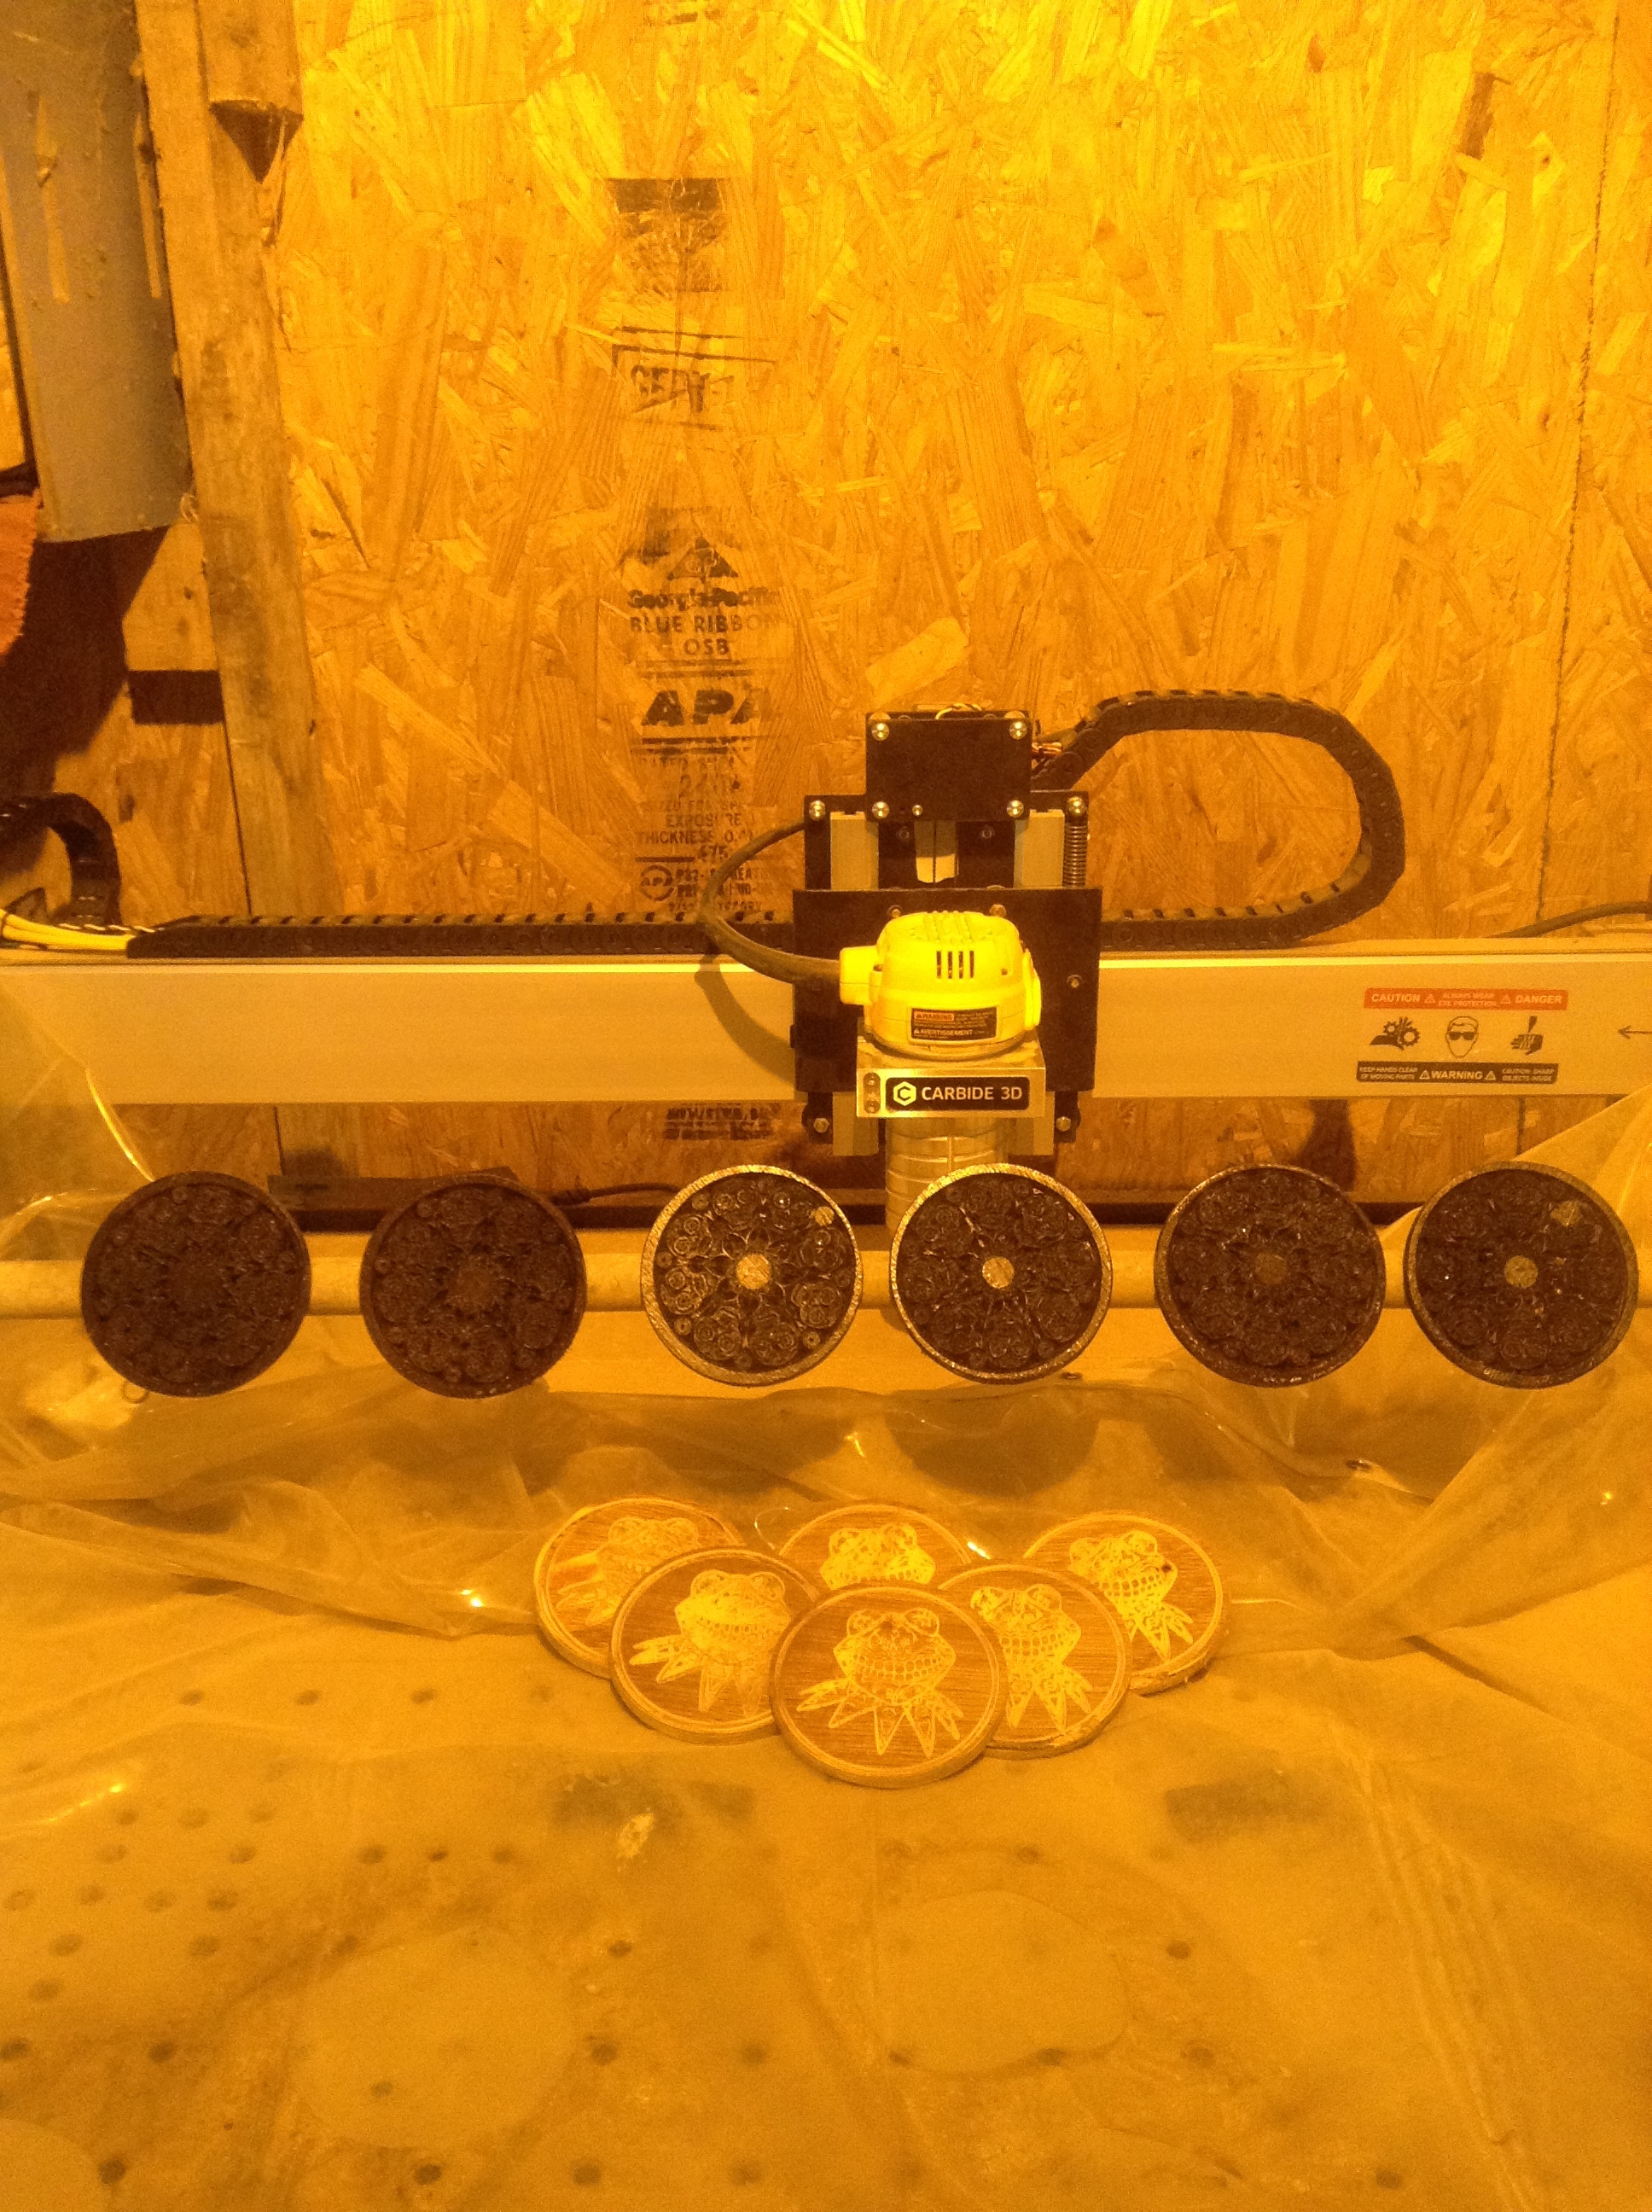
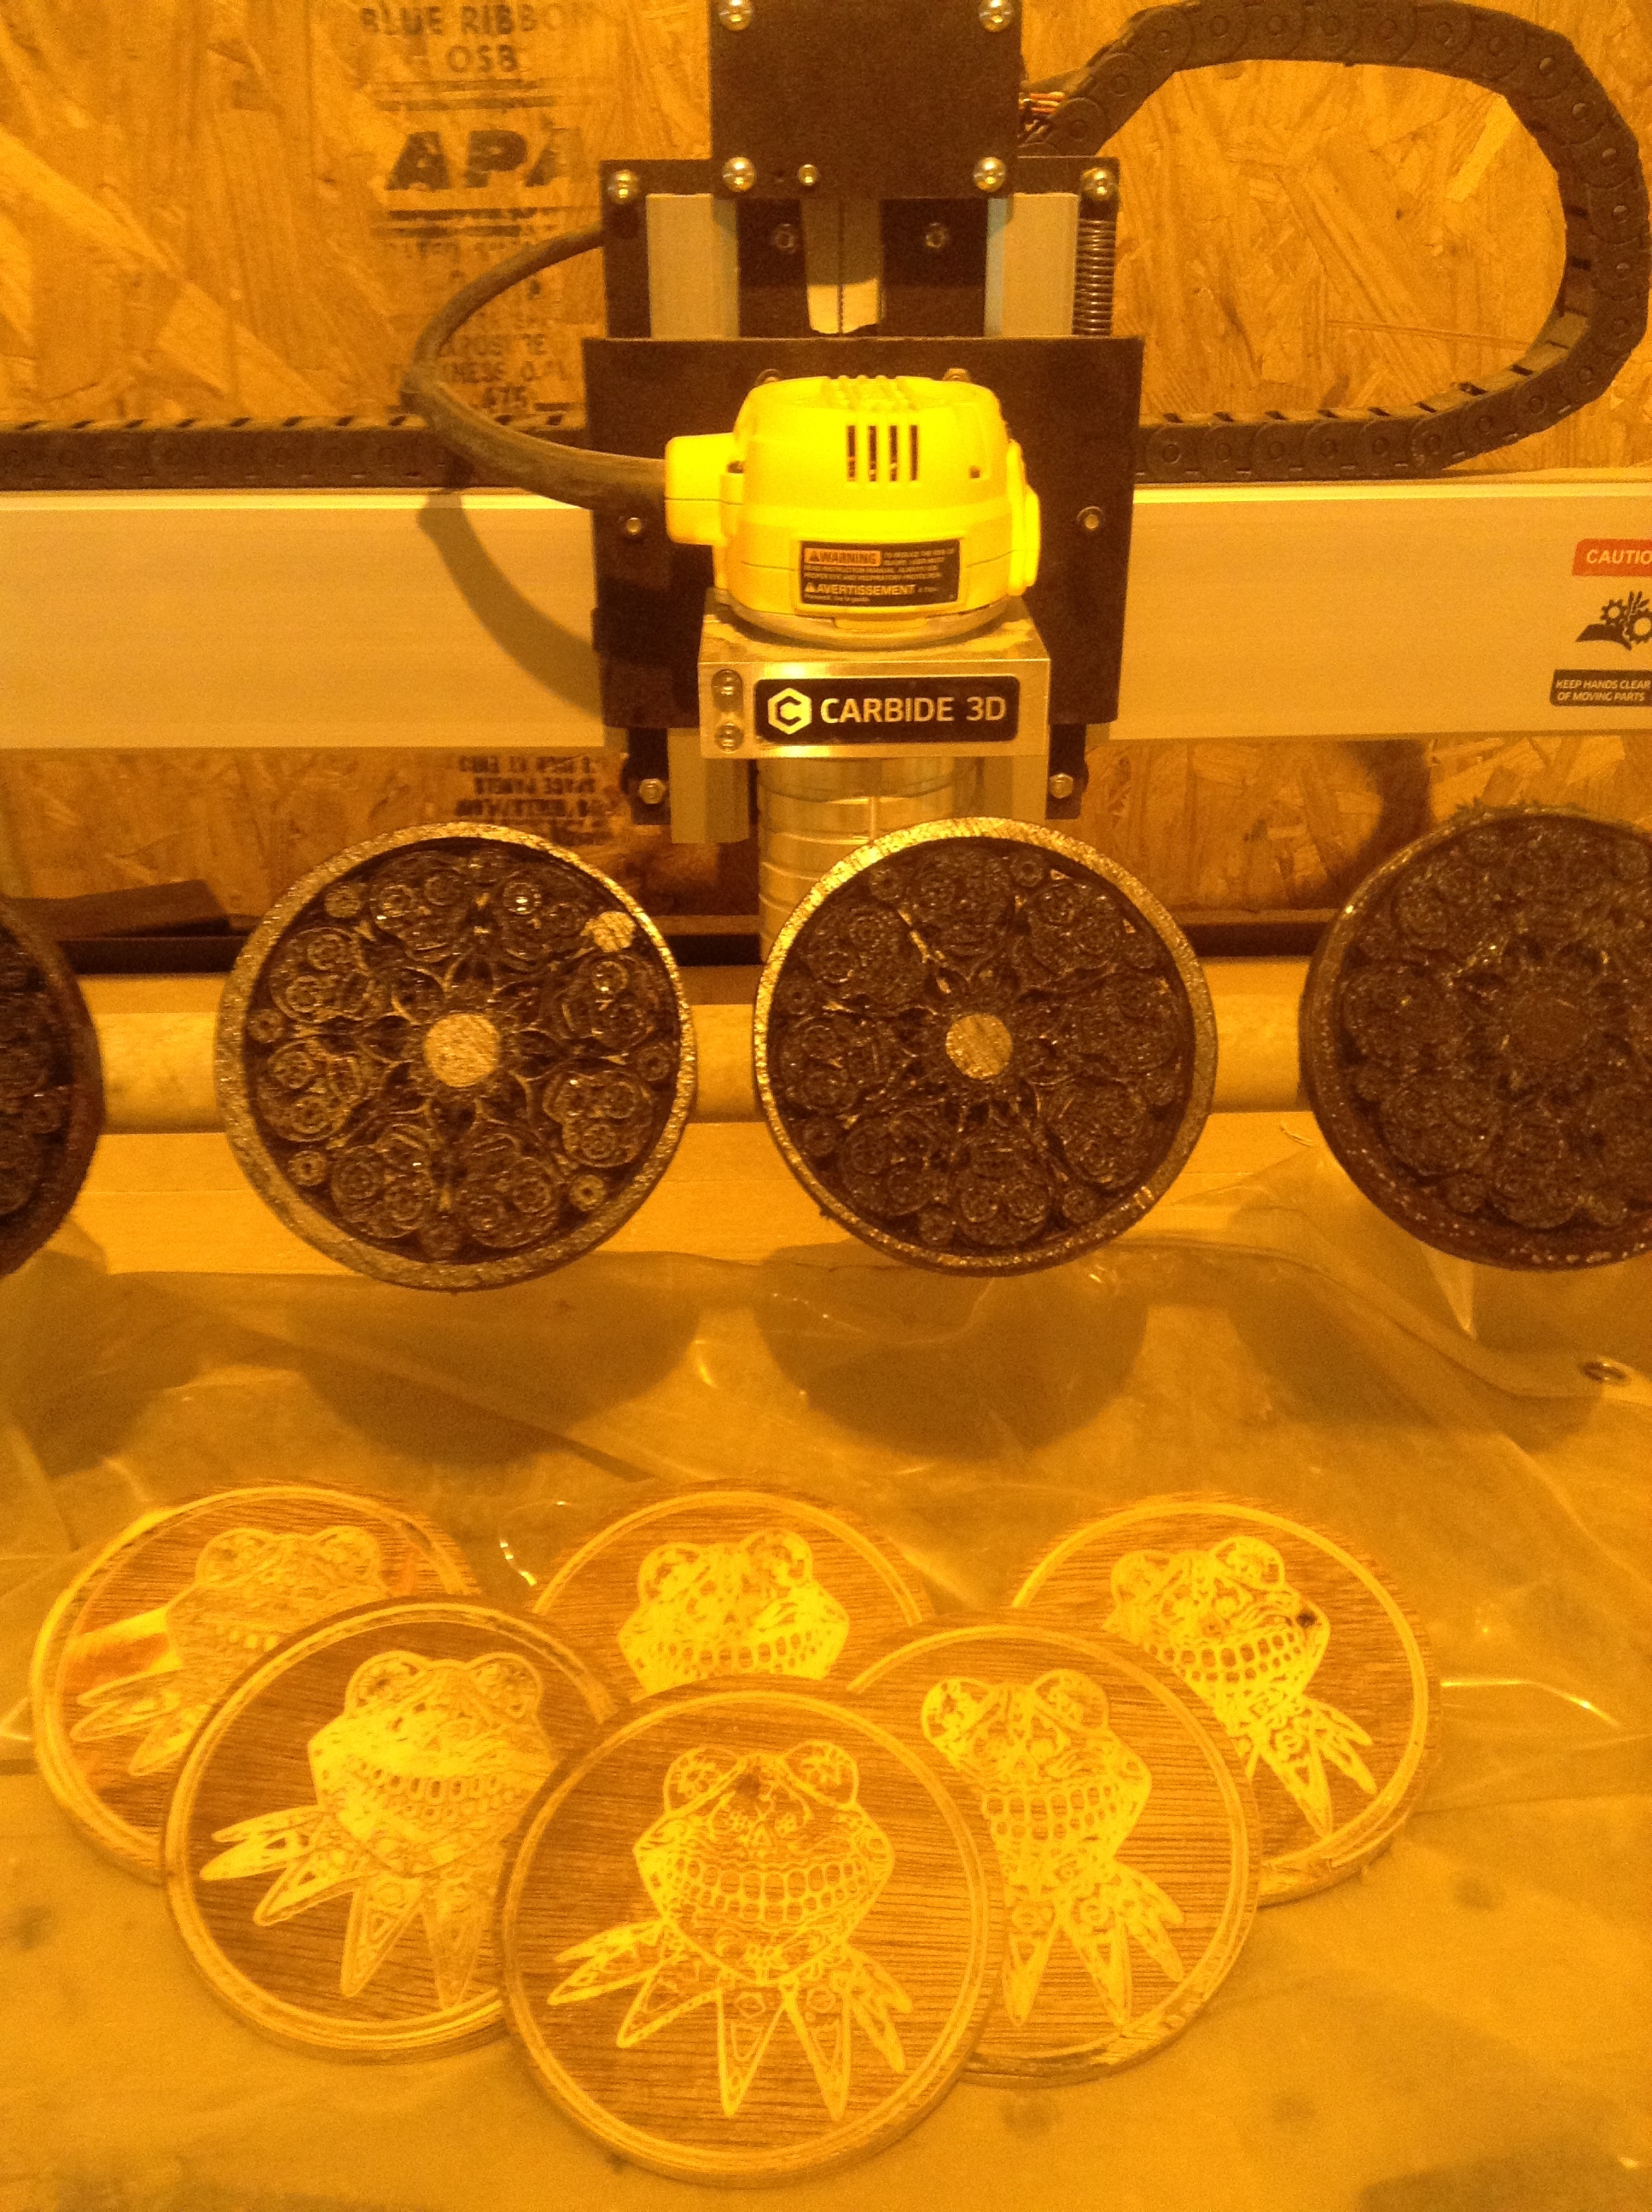
D) Machine used- Shapeoko XXL
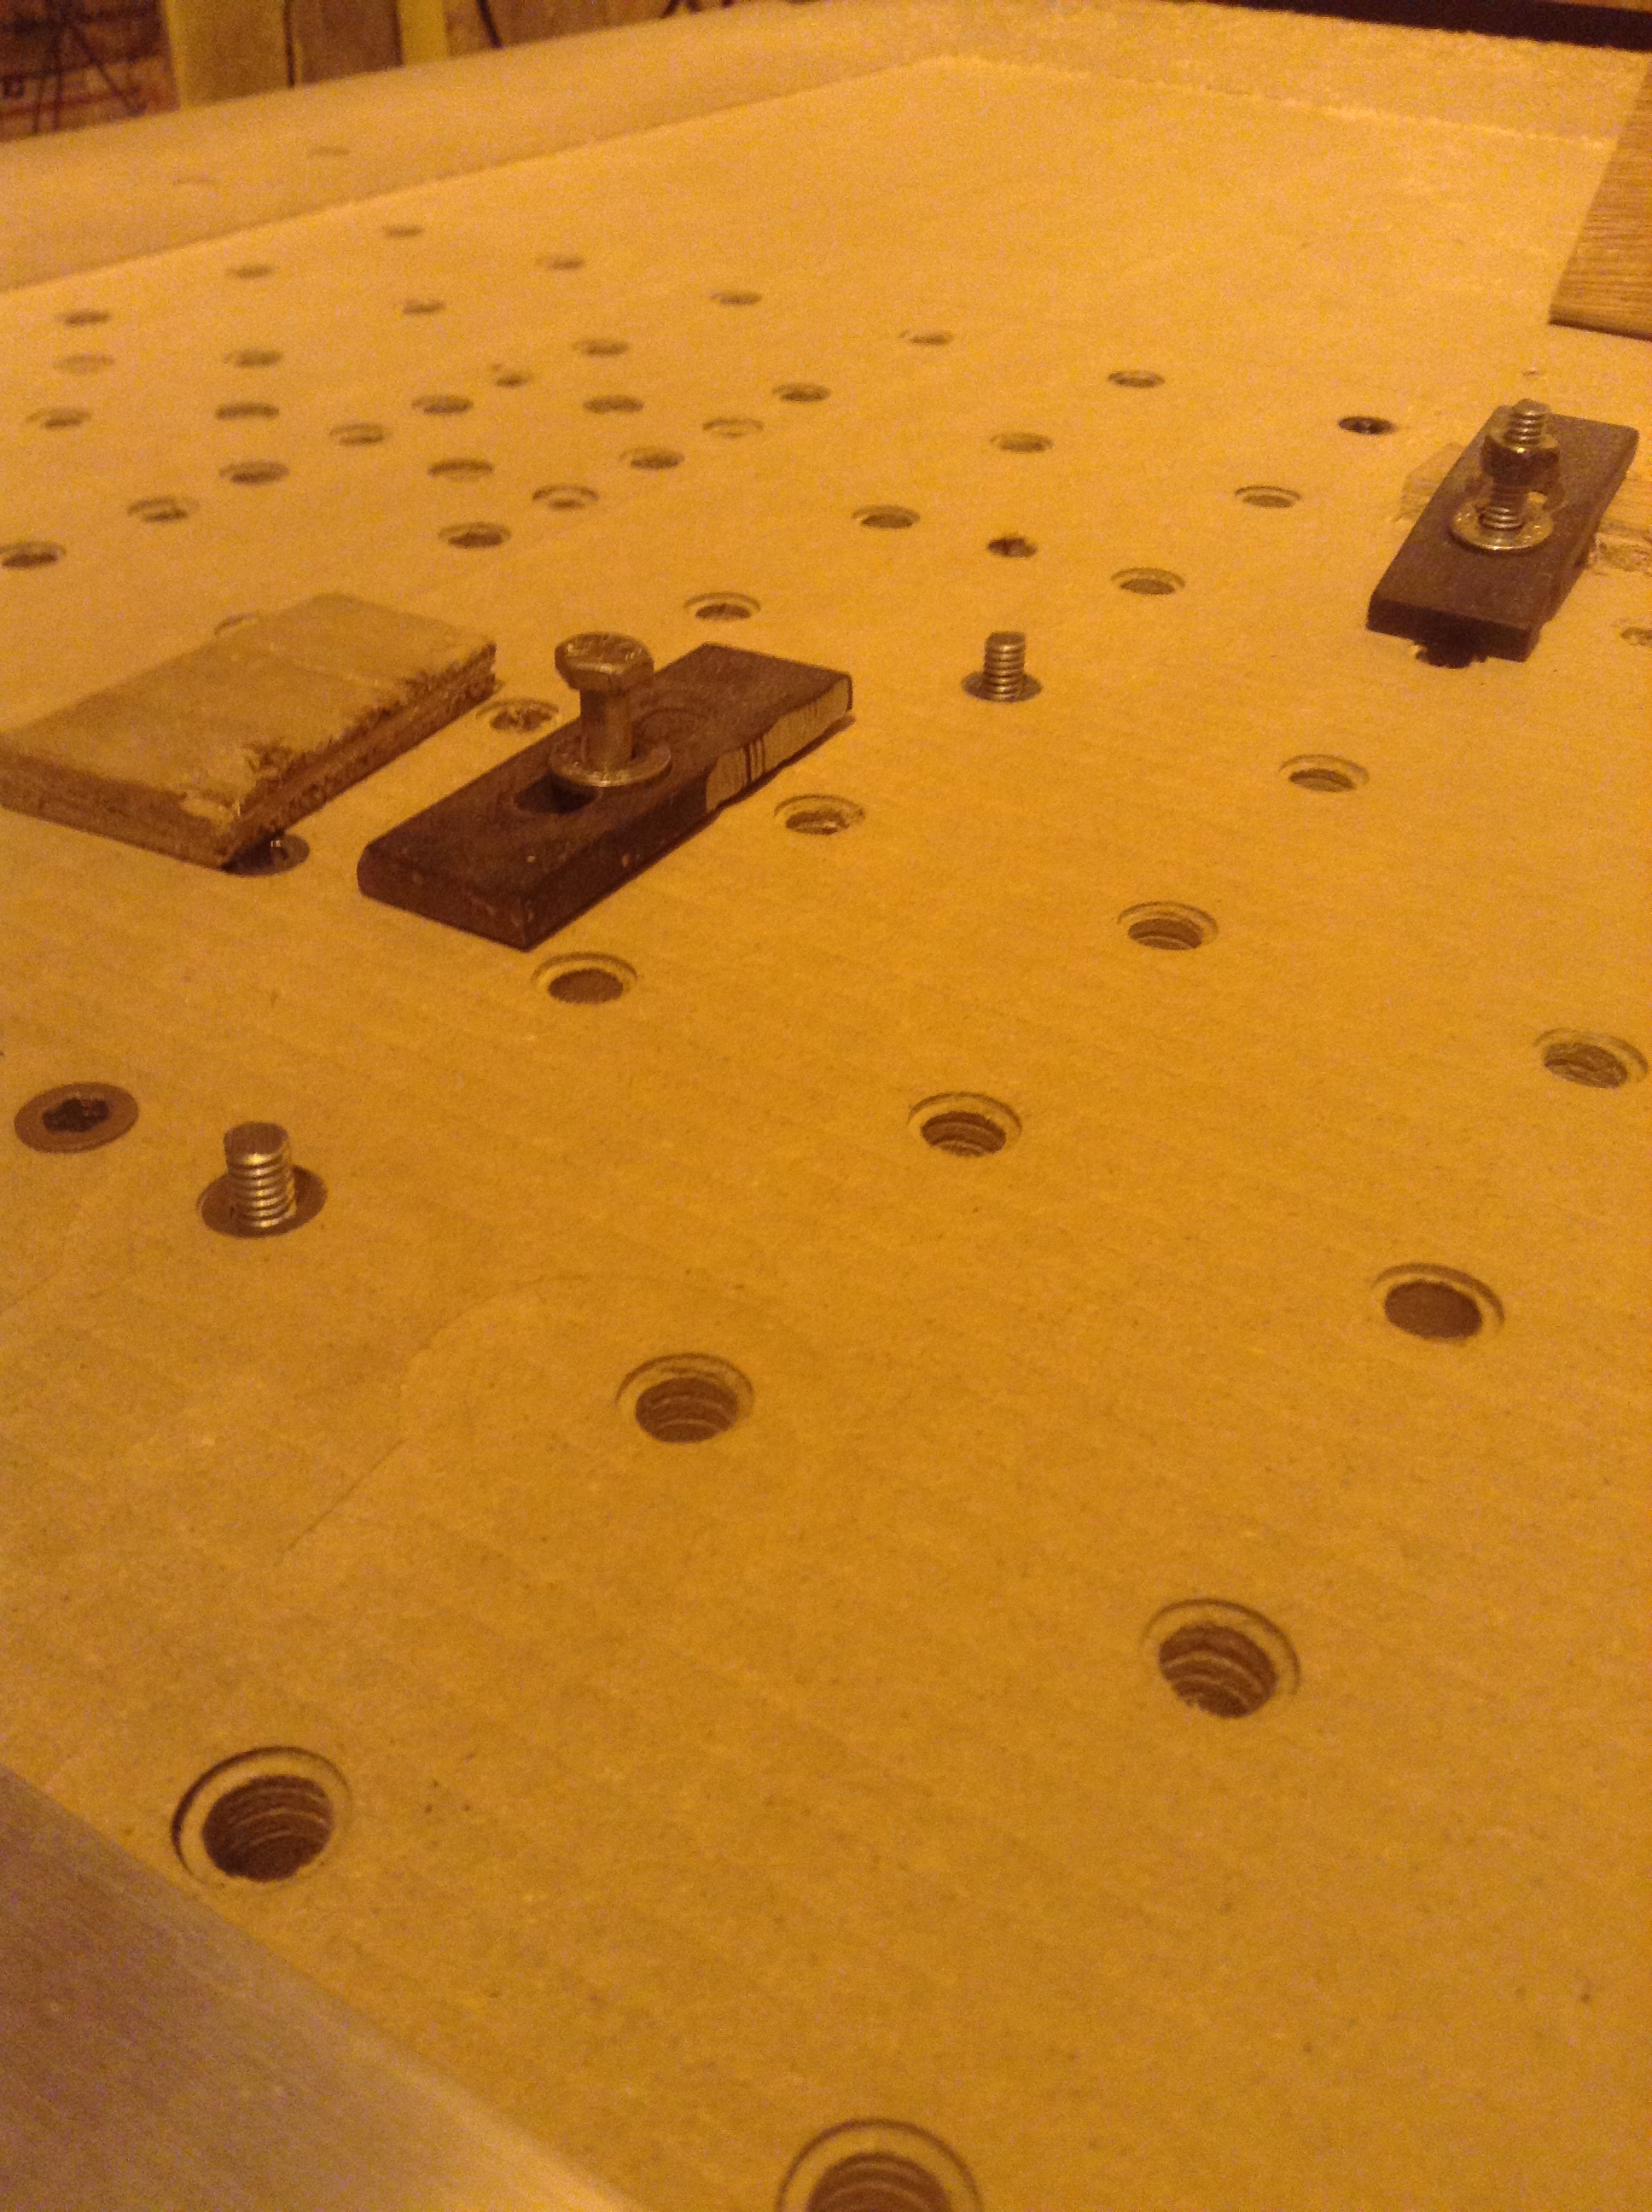
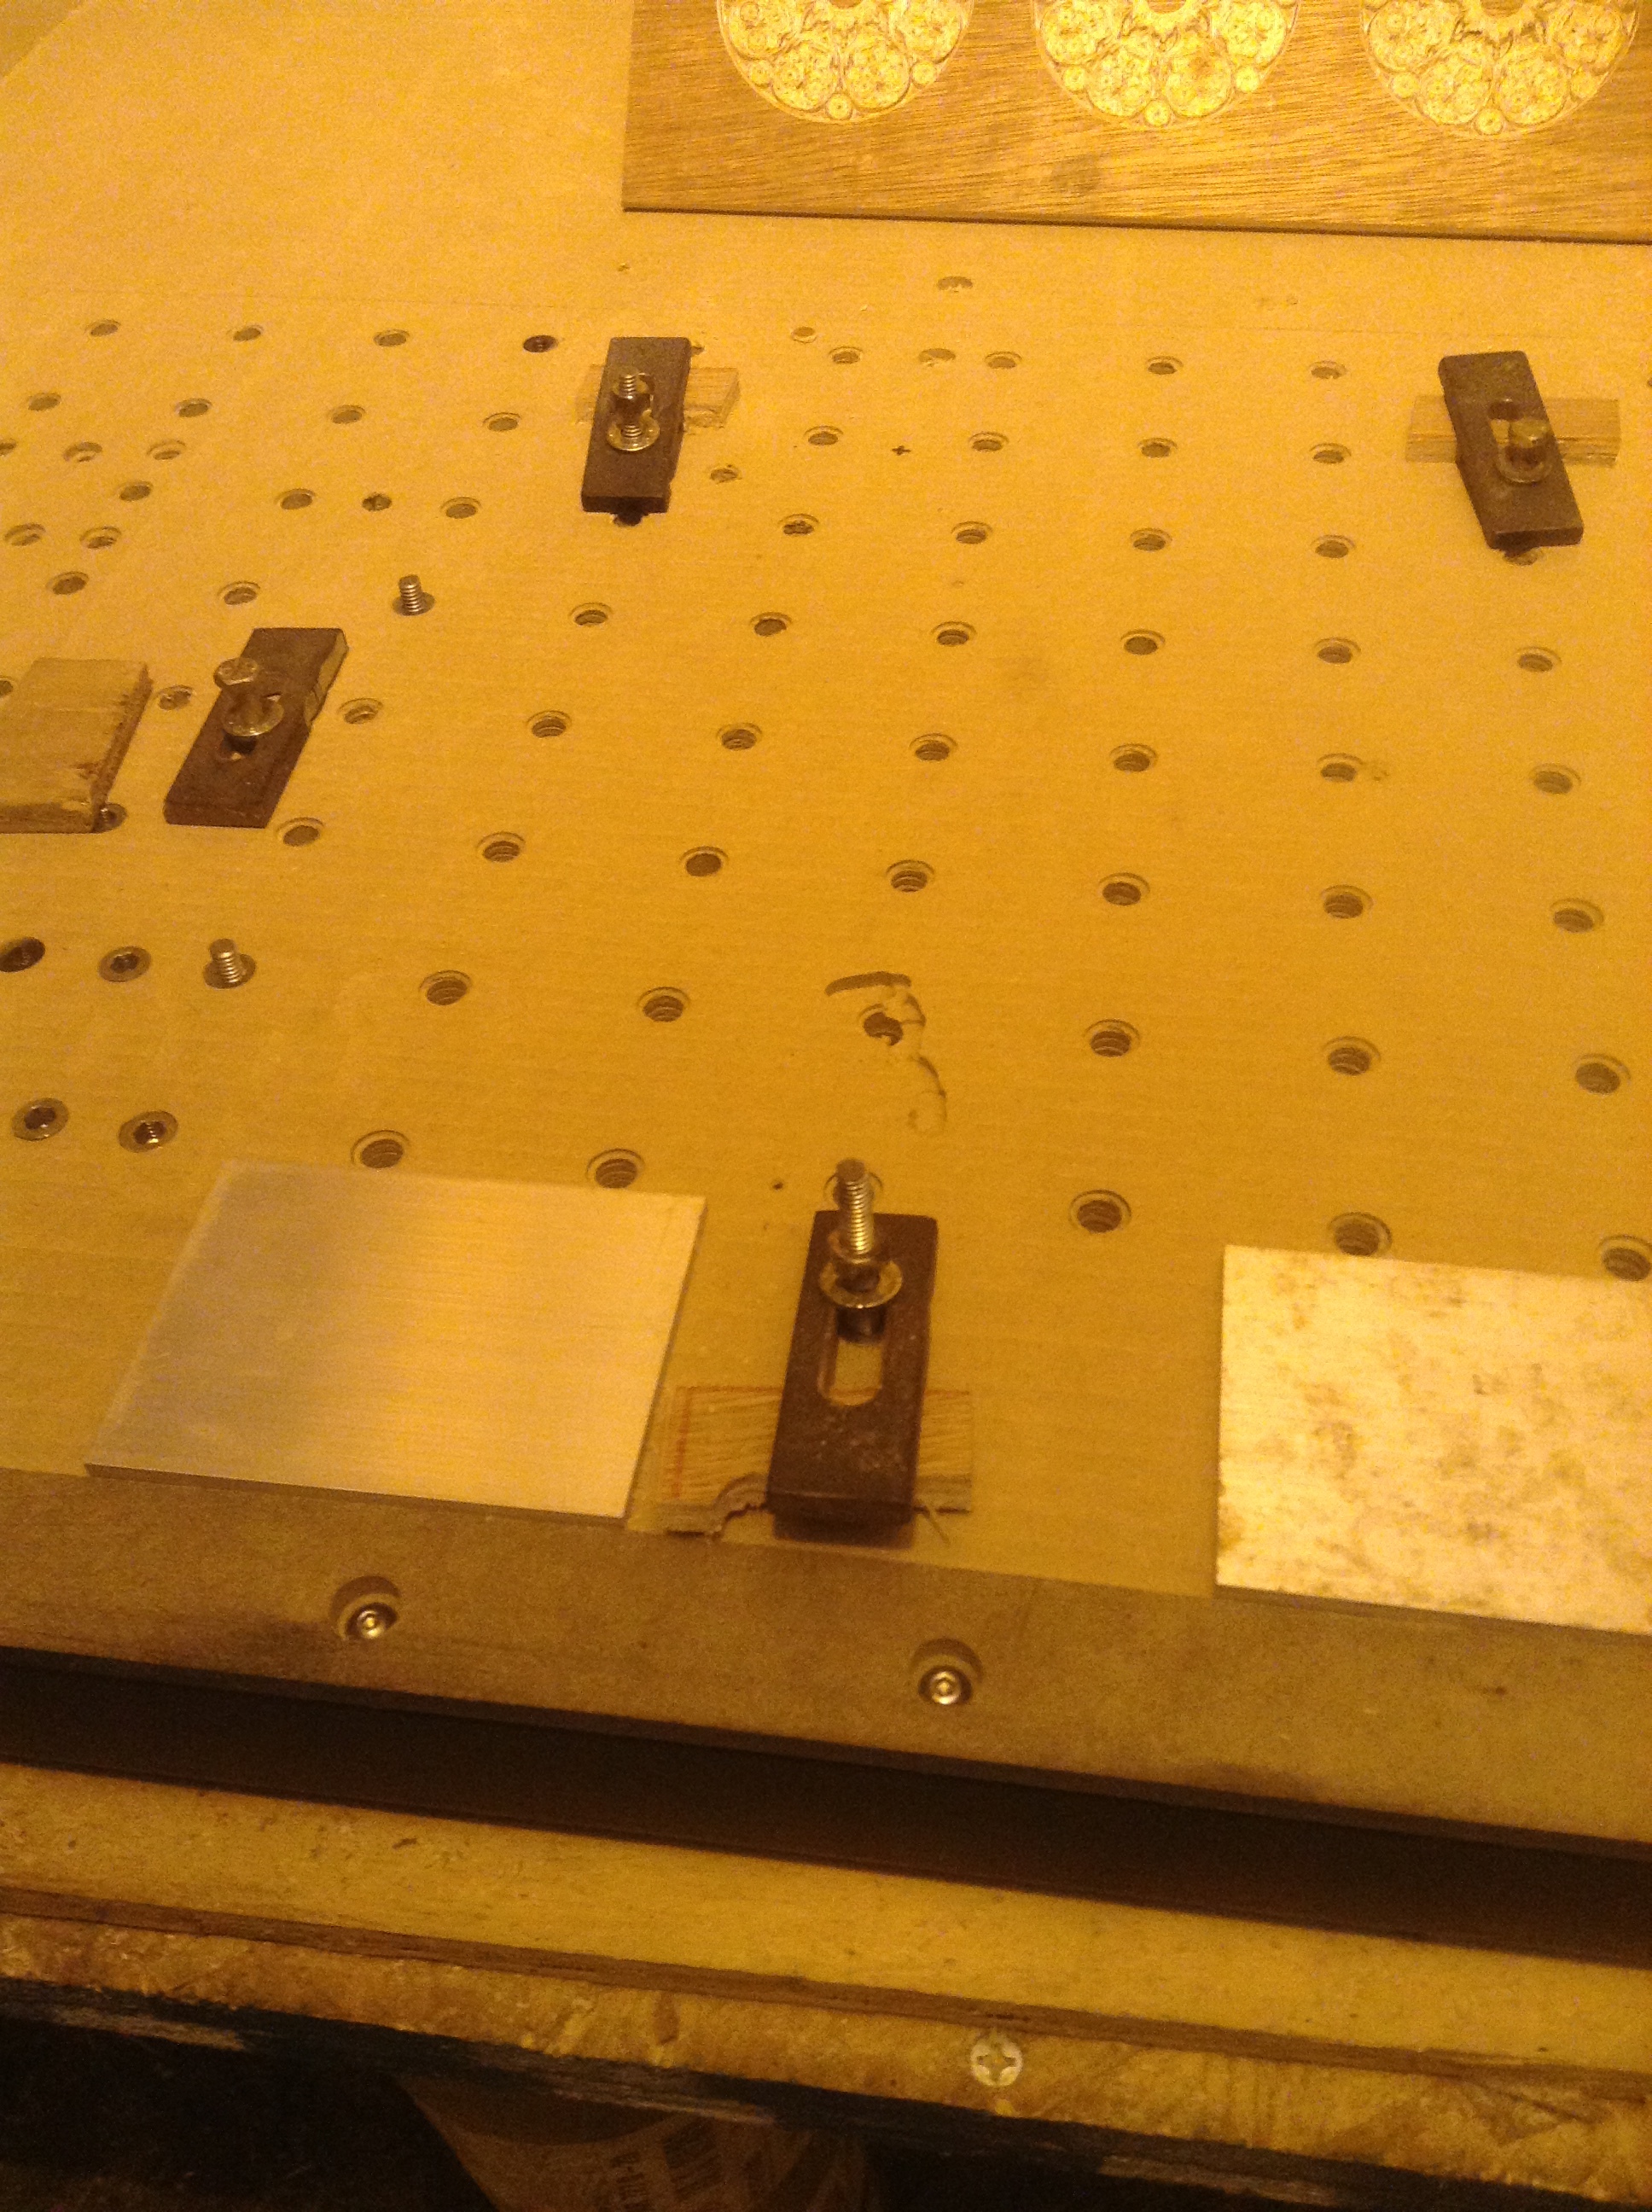
E) Work-holding- Threaded inserts/steel clamps.
I) Machining Time- 2hrs
I would start by saying Vectric is a much more economical choice of cam, and VERY similar. I just happen to have access to Artcam.

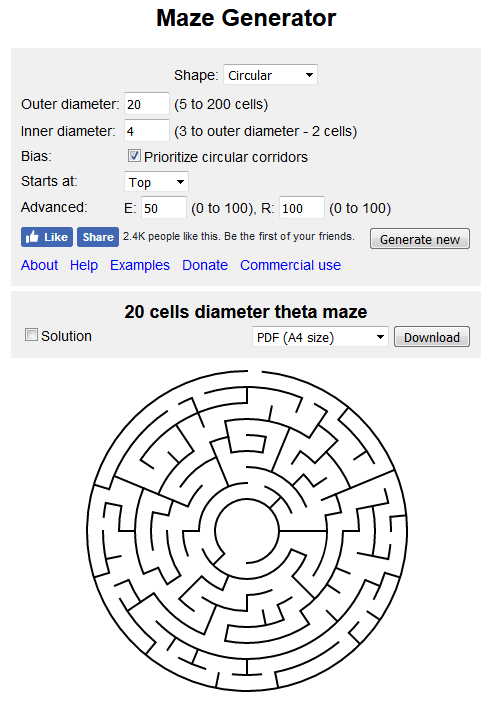
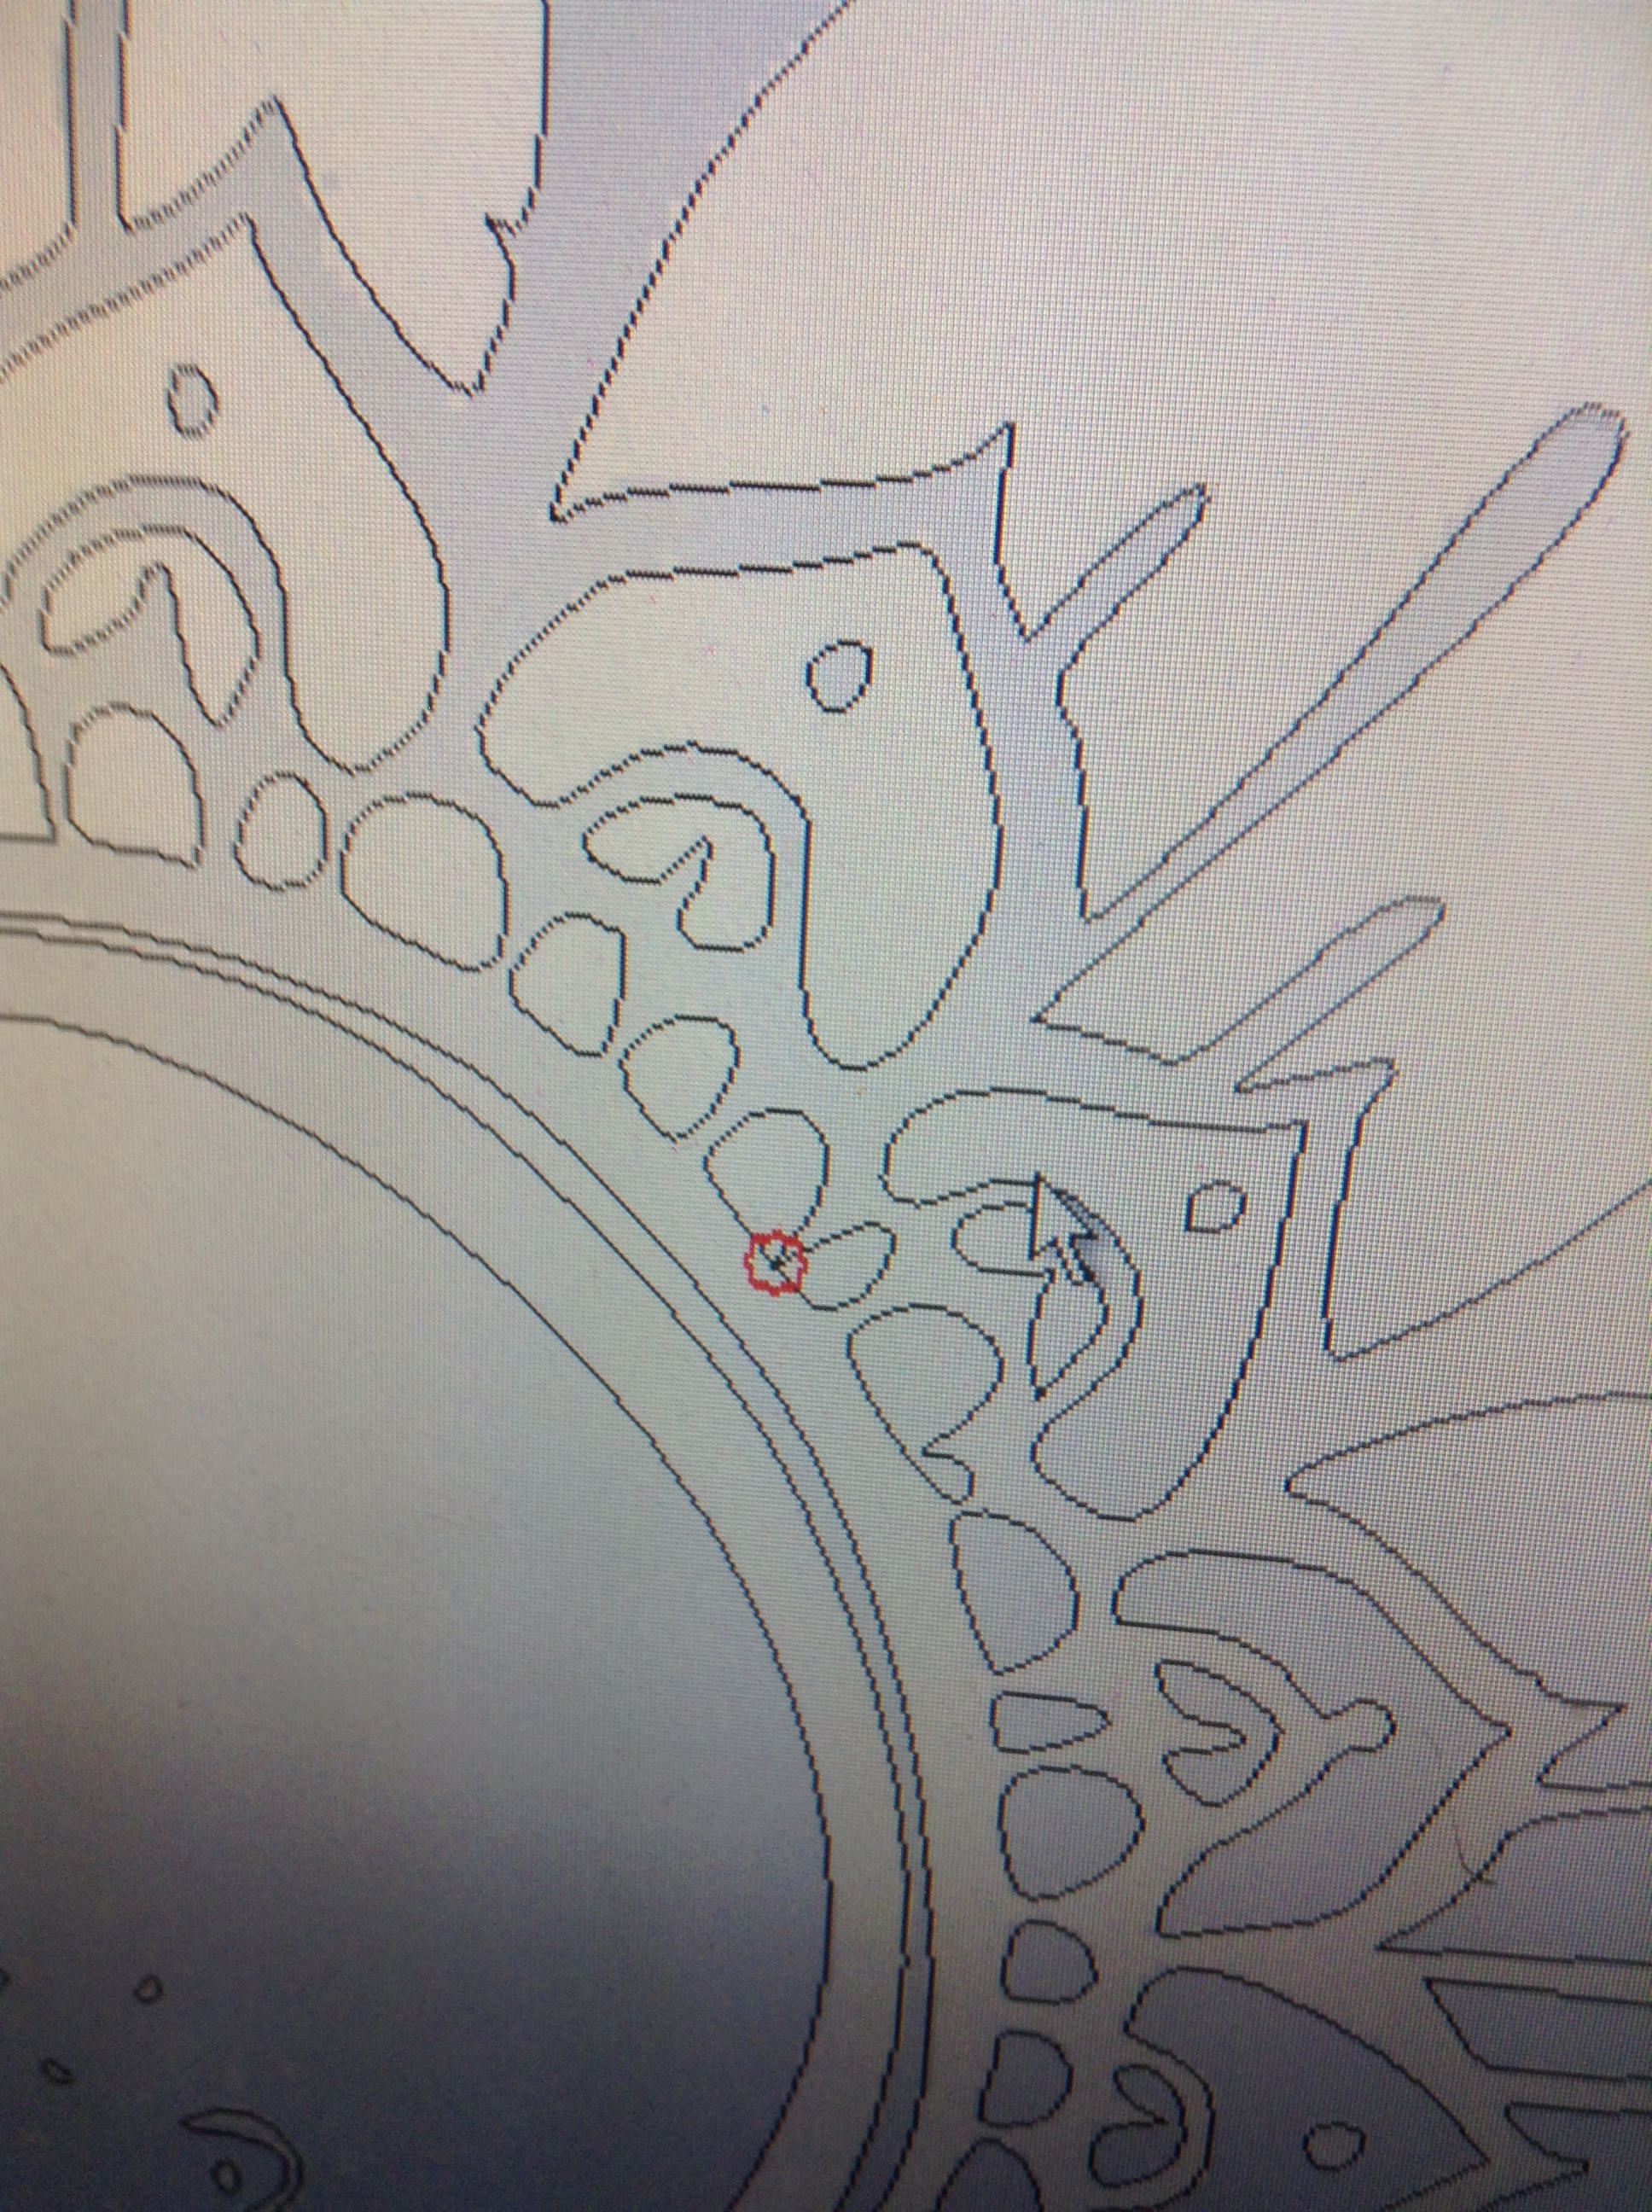
I started by opening Artcam, then searching the web for “skull mandala”.
I chose one that didnt seem to crazy detailed, but now I know why it’s good to have narrower angled v bits. The 90 deg. doesn’t get any depth with narrow vectors.

I left clicked, and dragged the picture into artcam. Z set to zero.

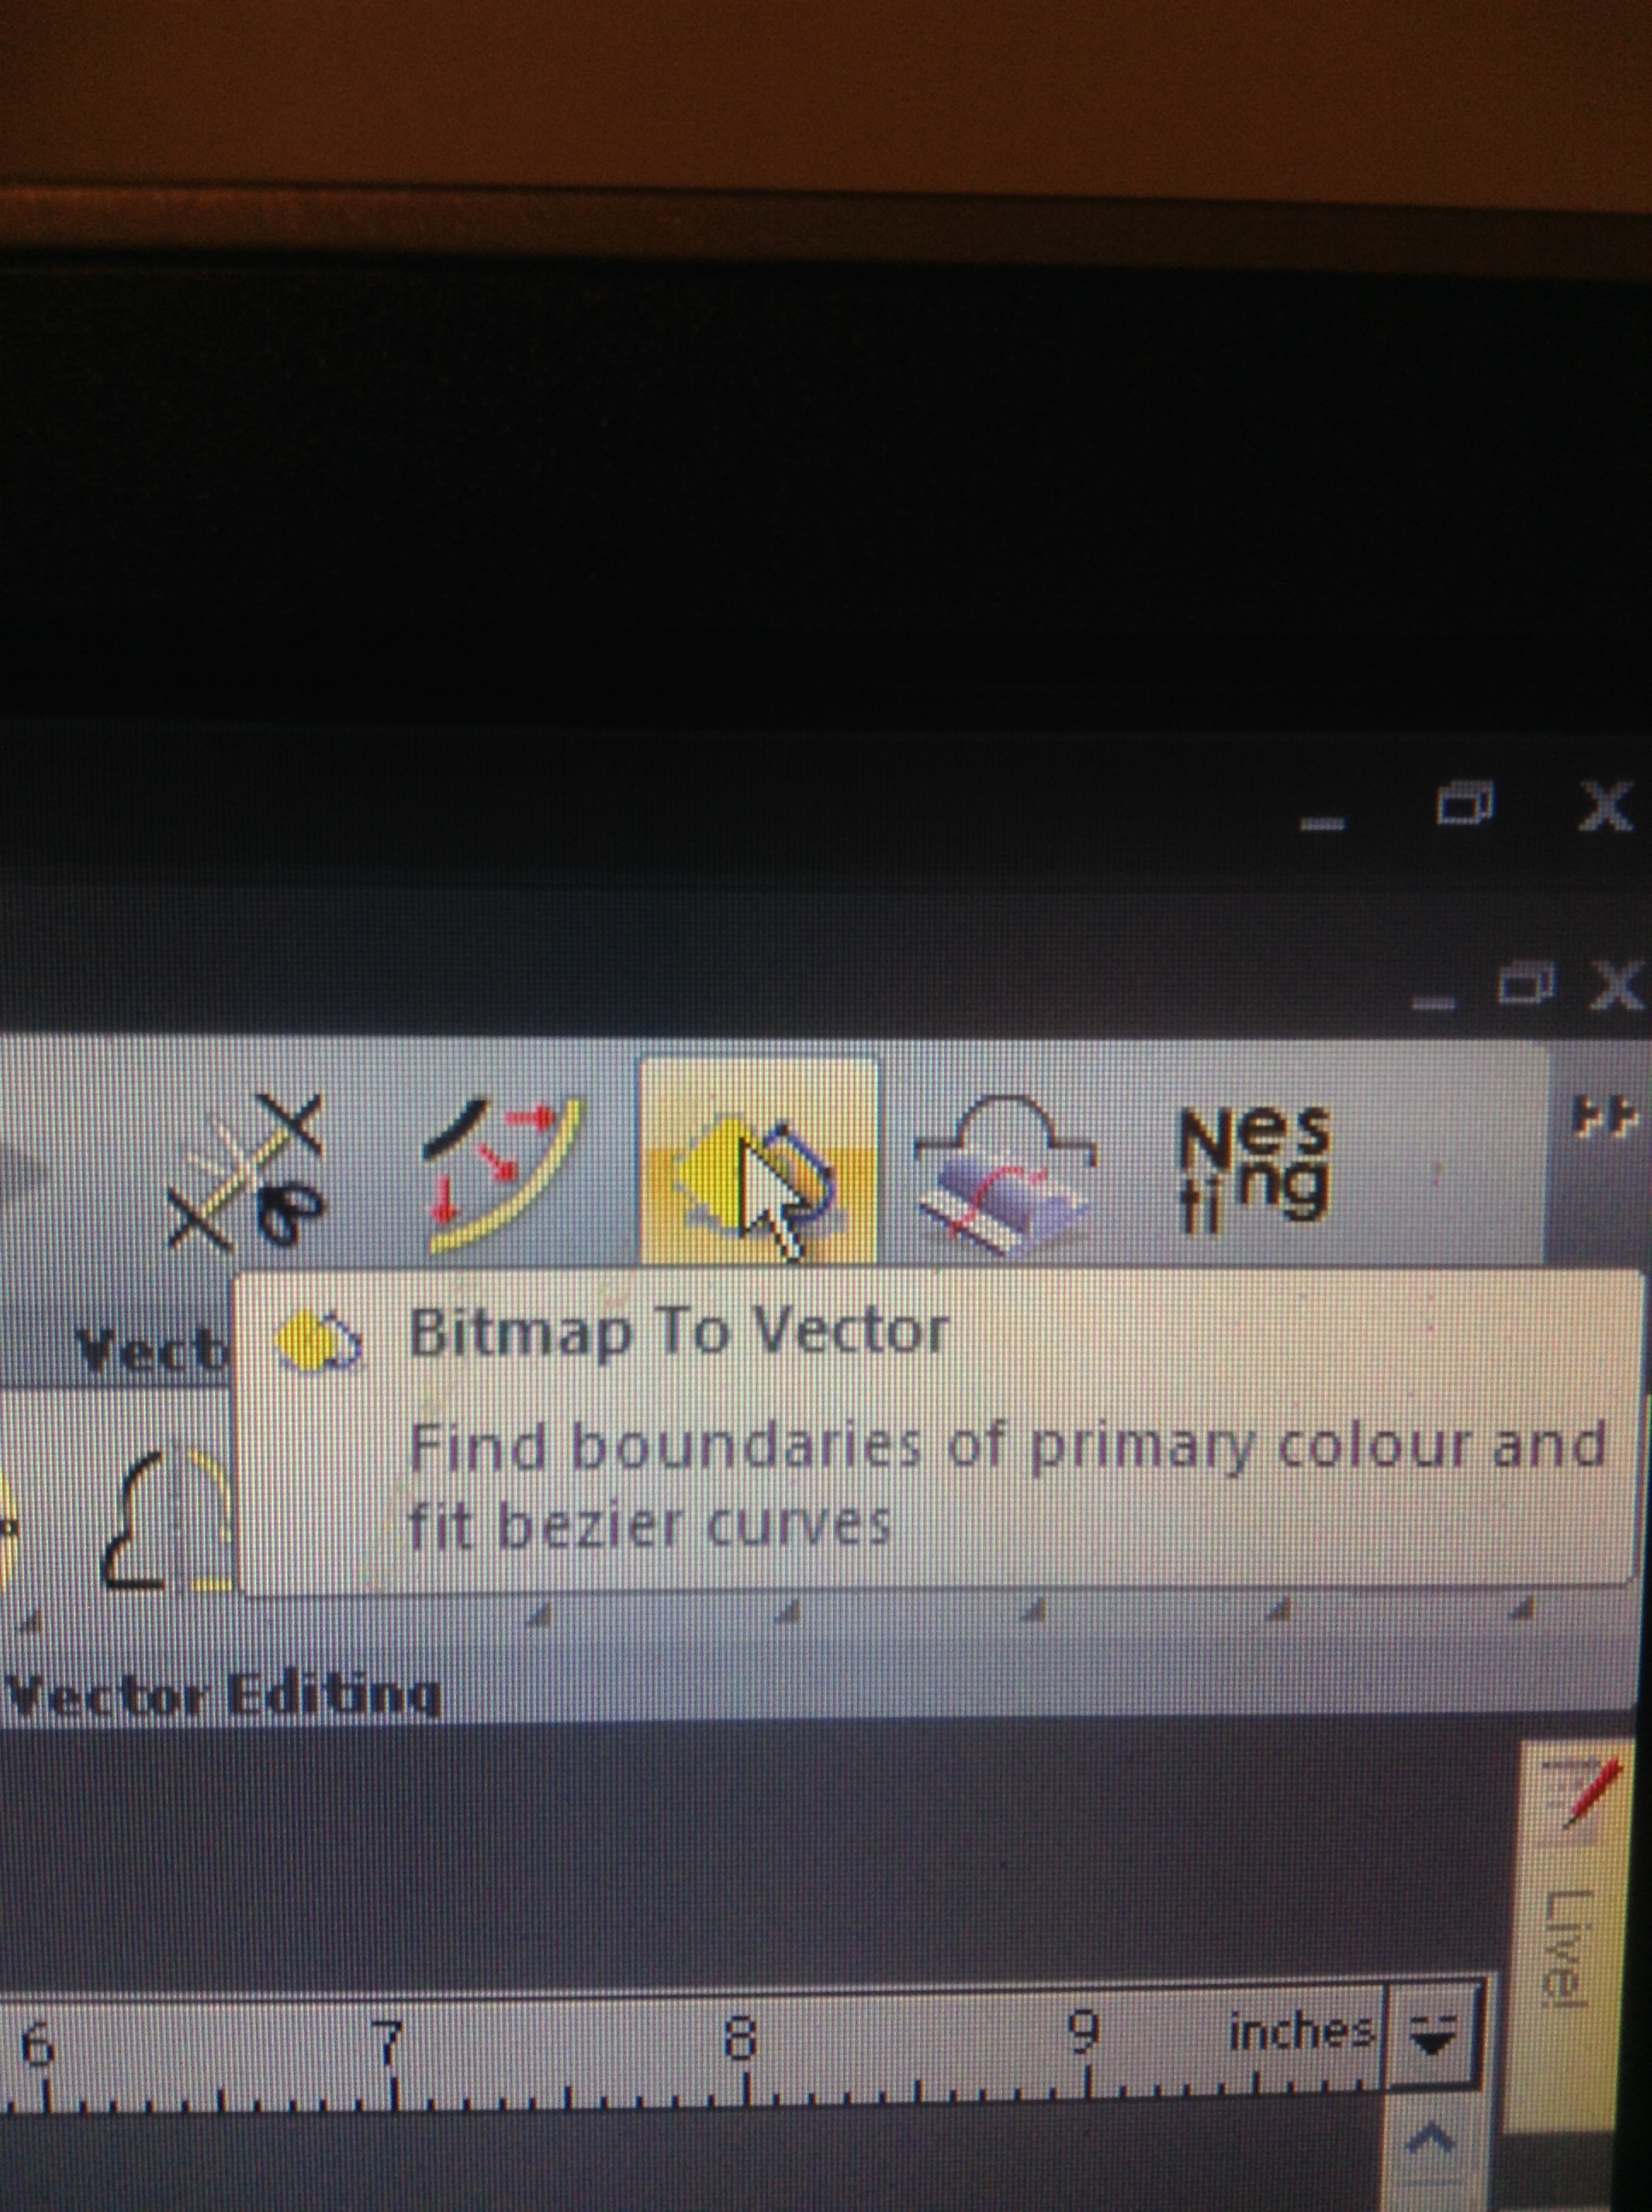
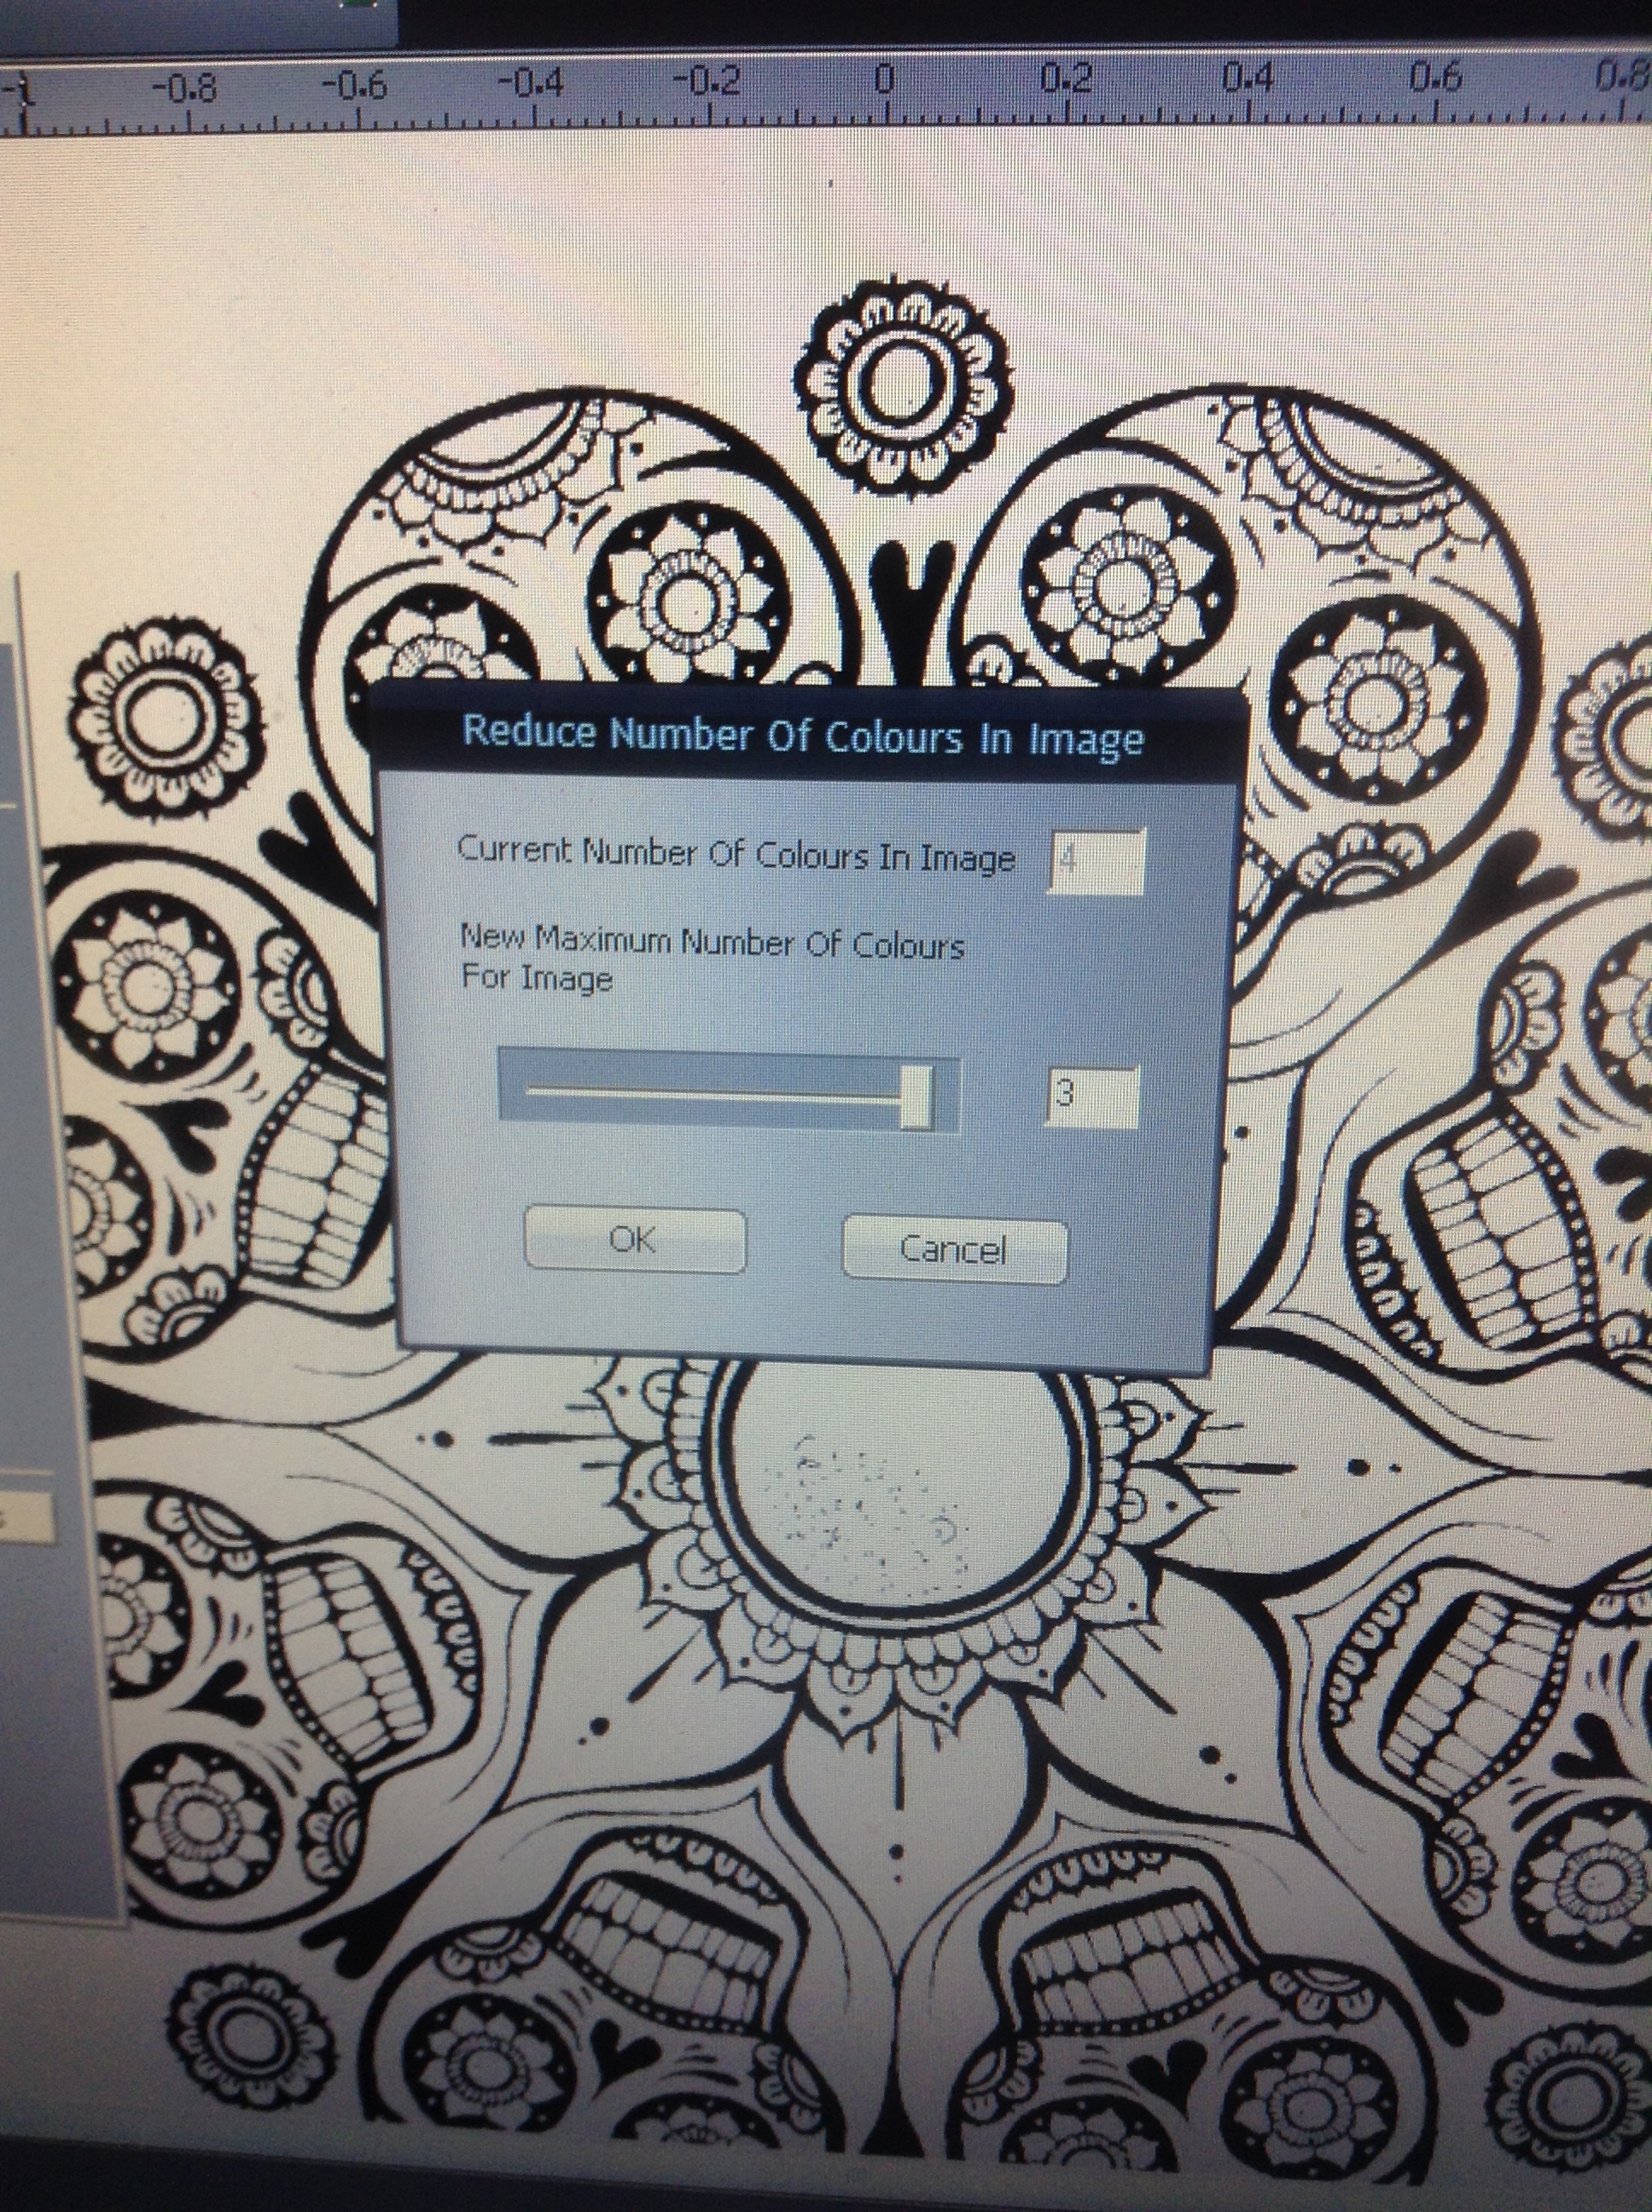
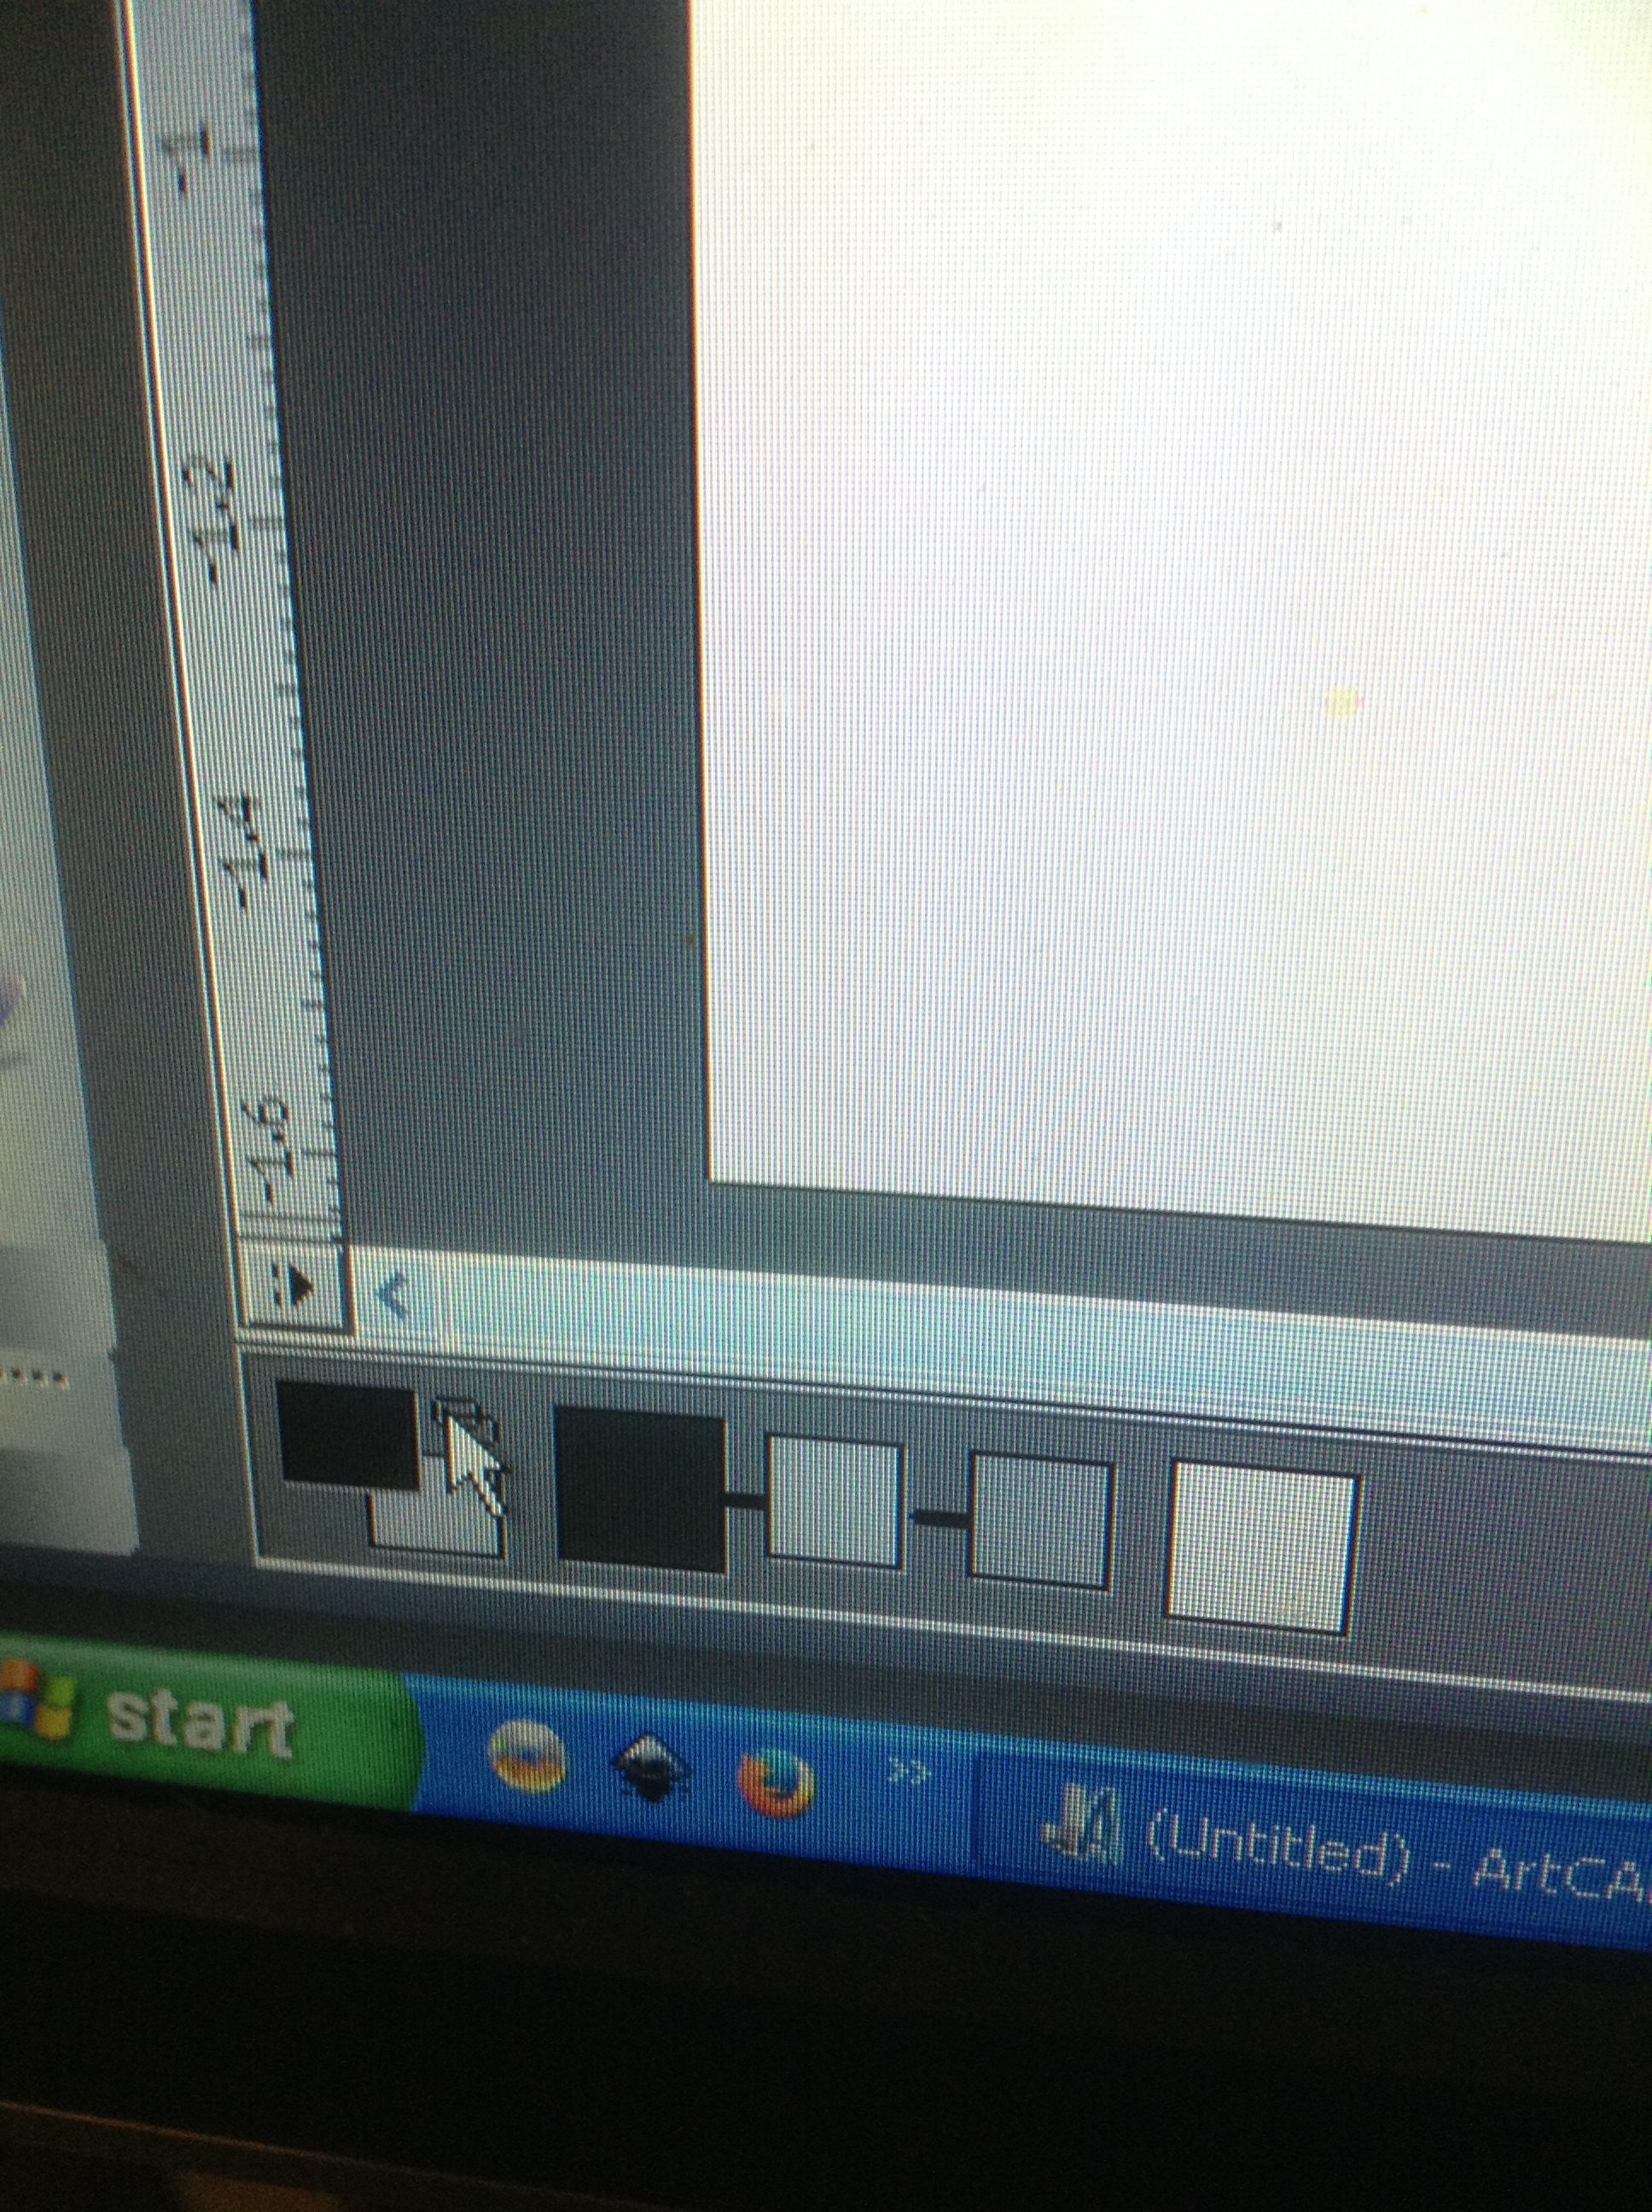
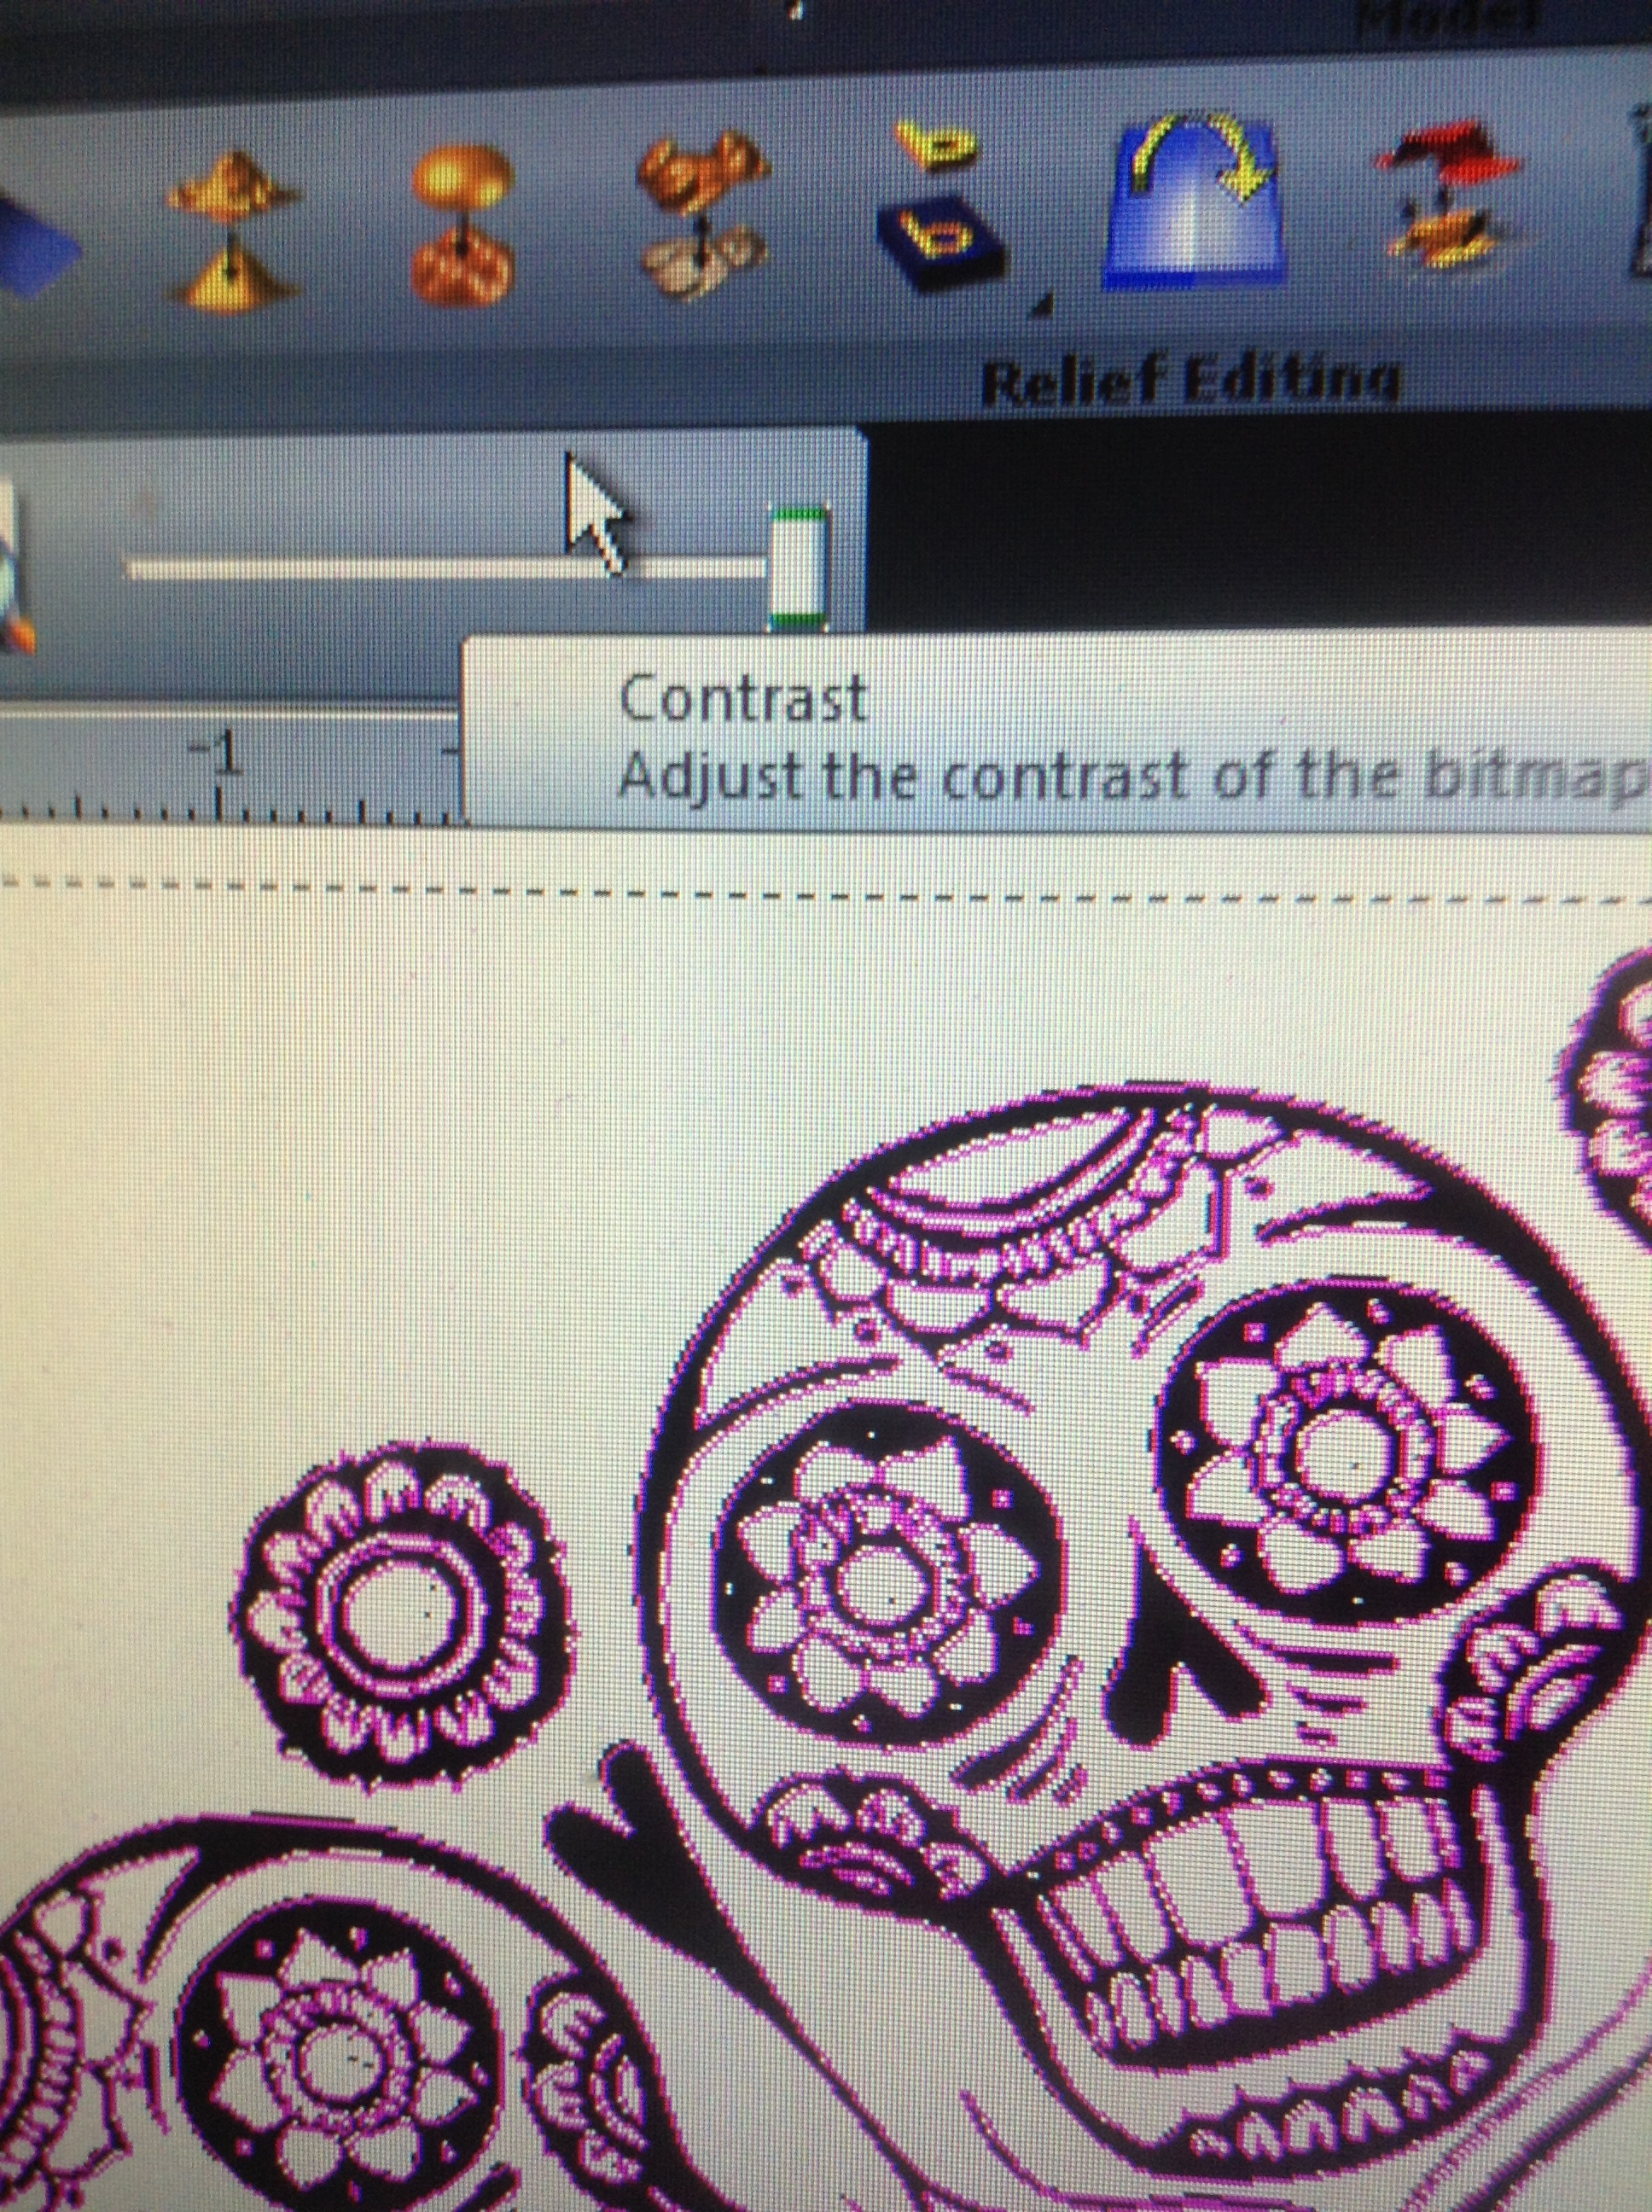
I reduced the colors to 4, and linked the 3 darker ones.
This gives a sharper outline to trace around.

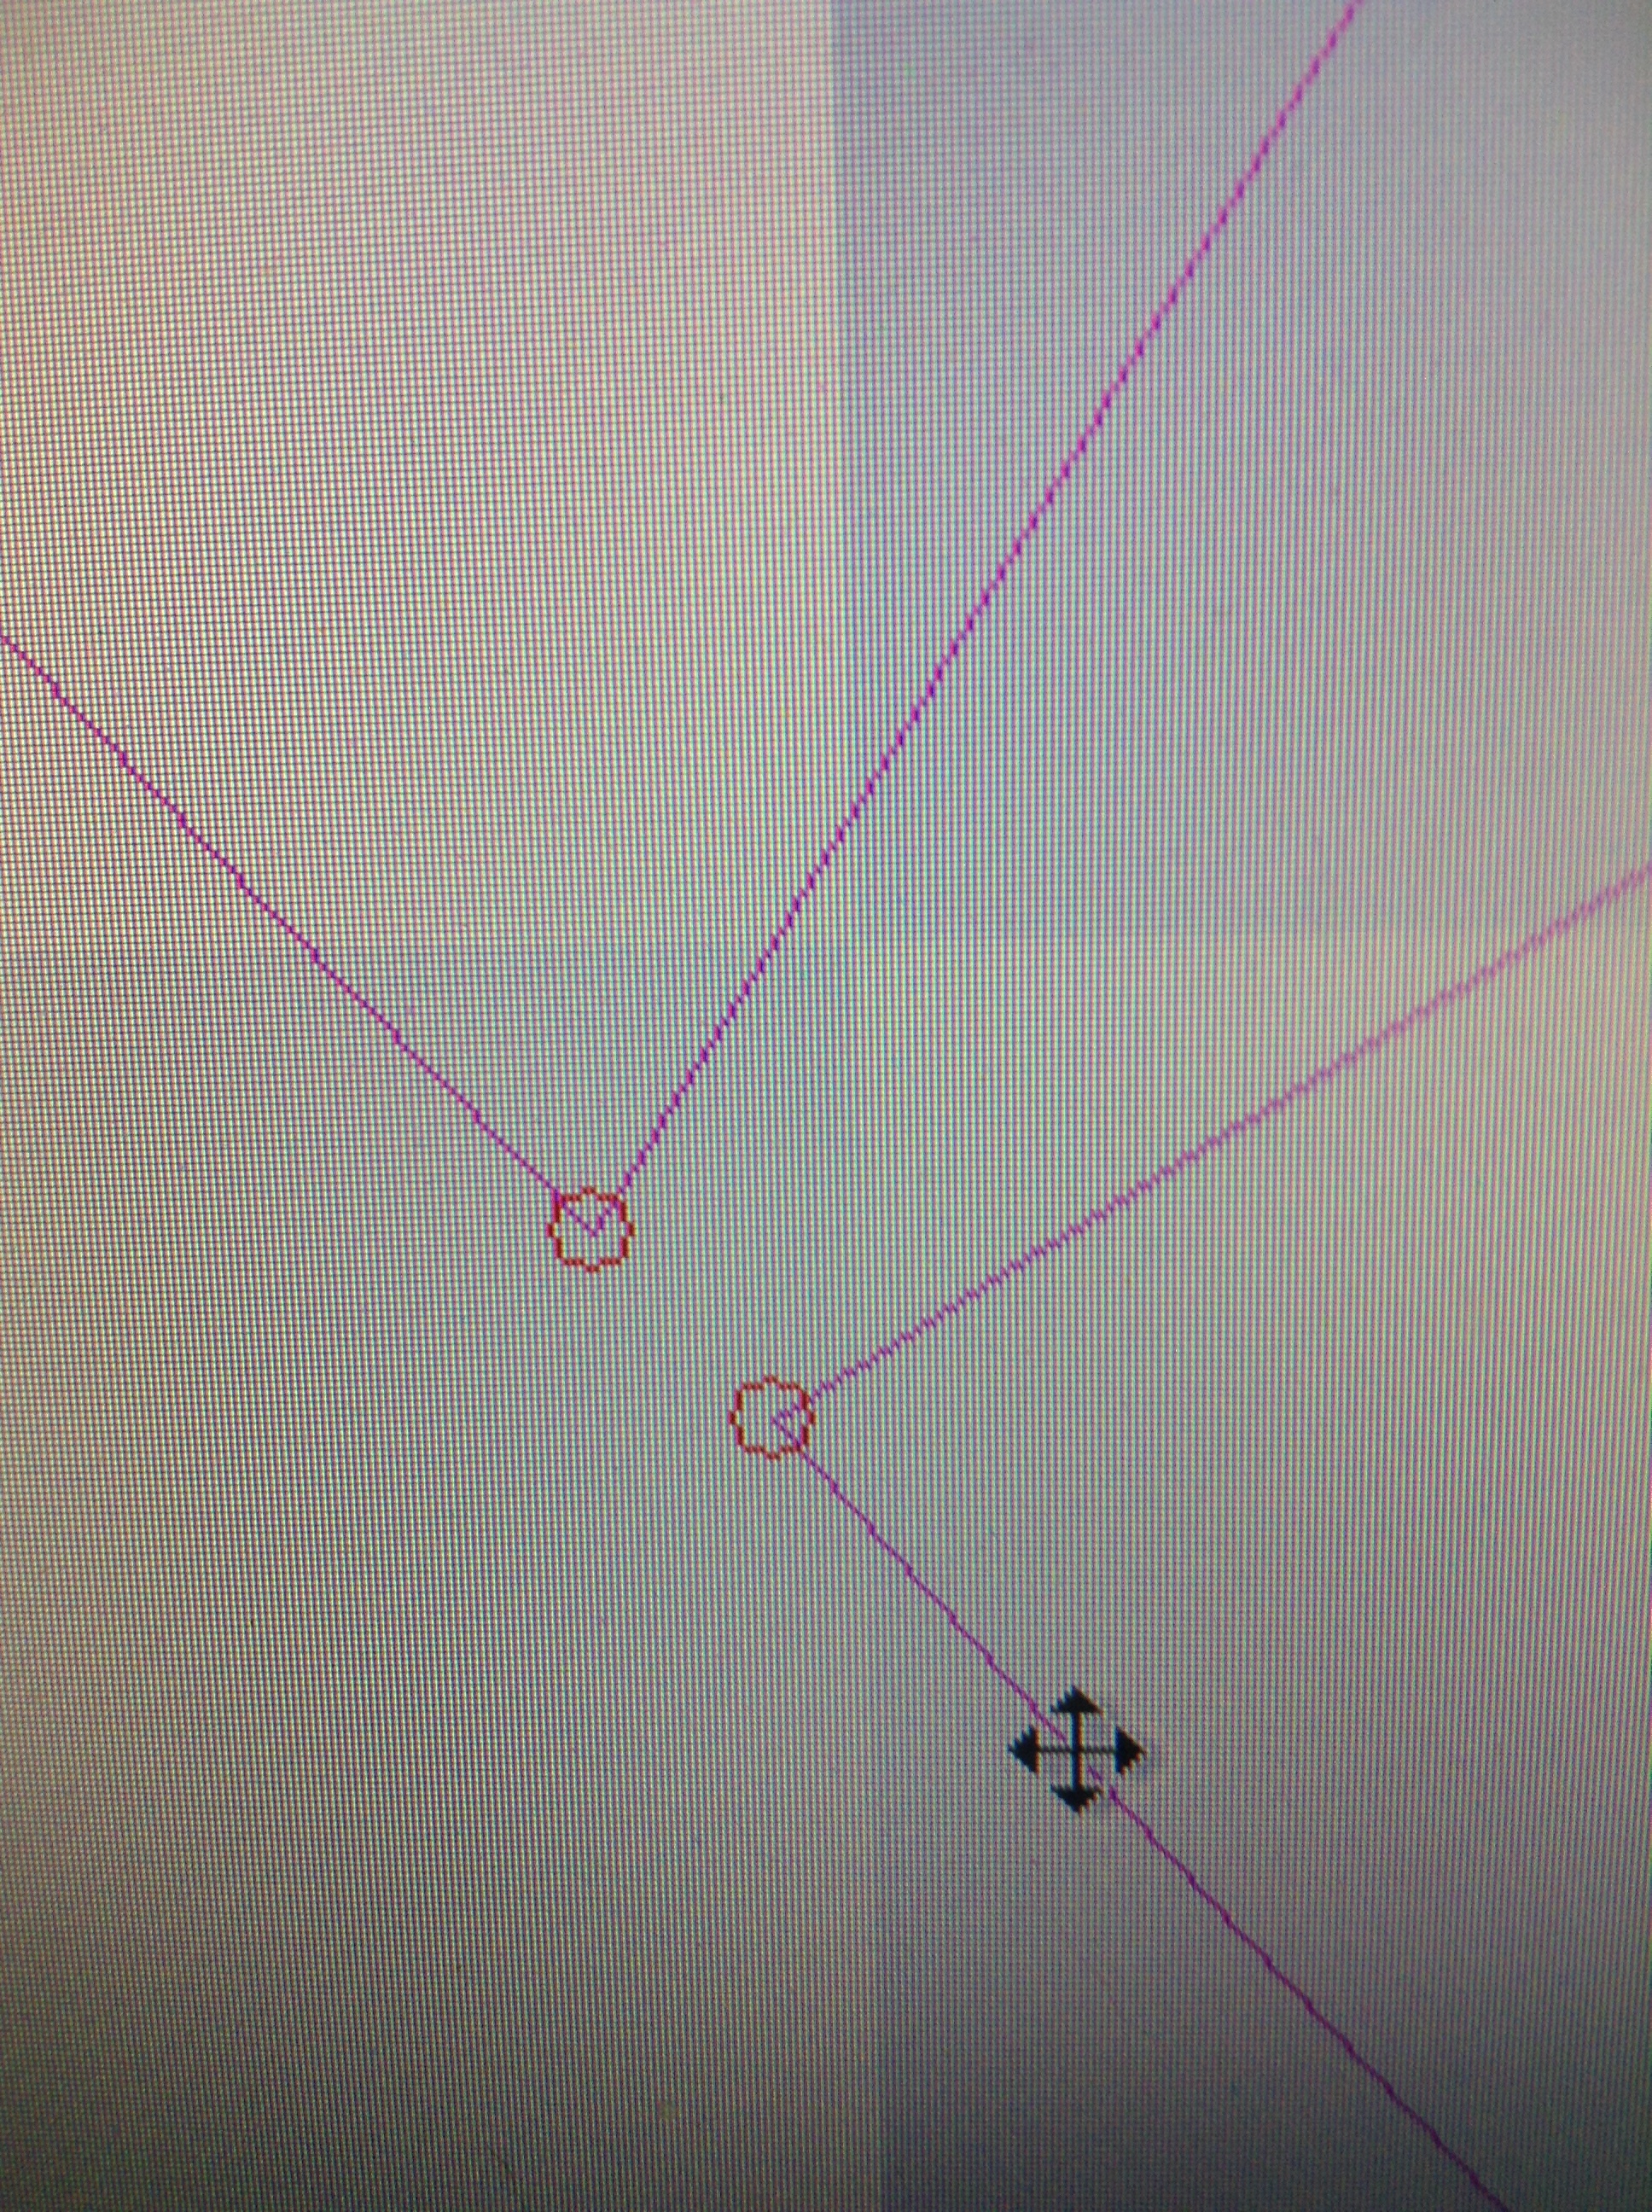
Then hit the “create vector” button.
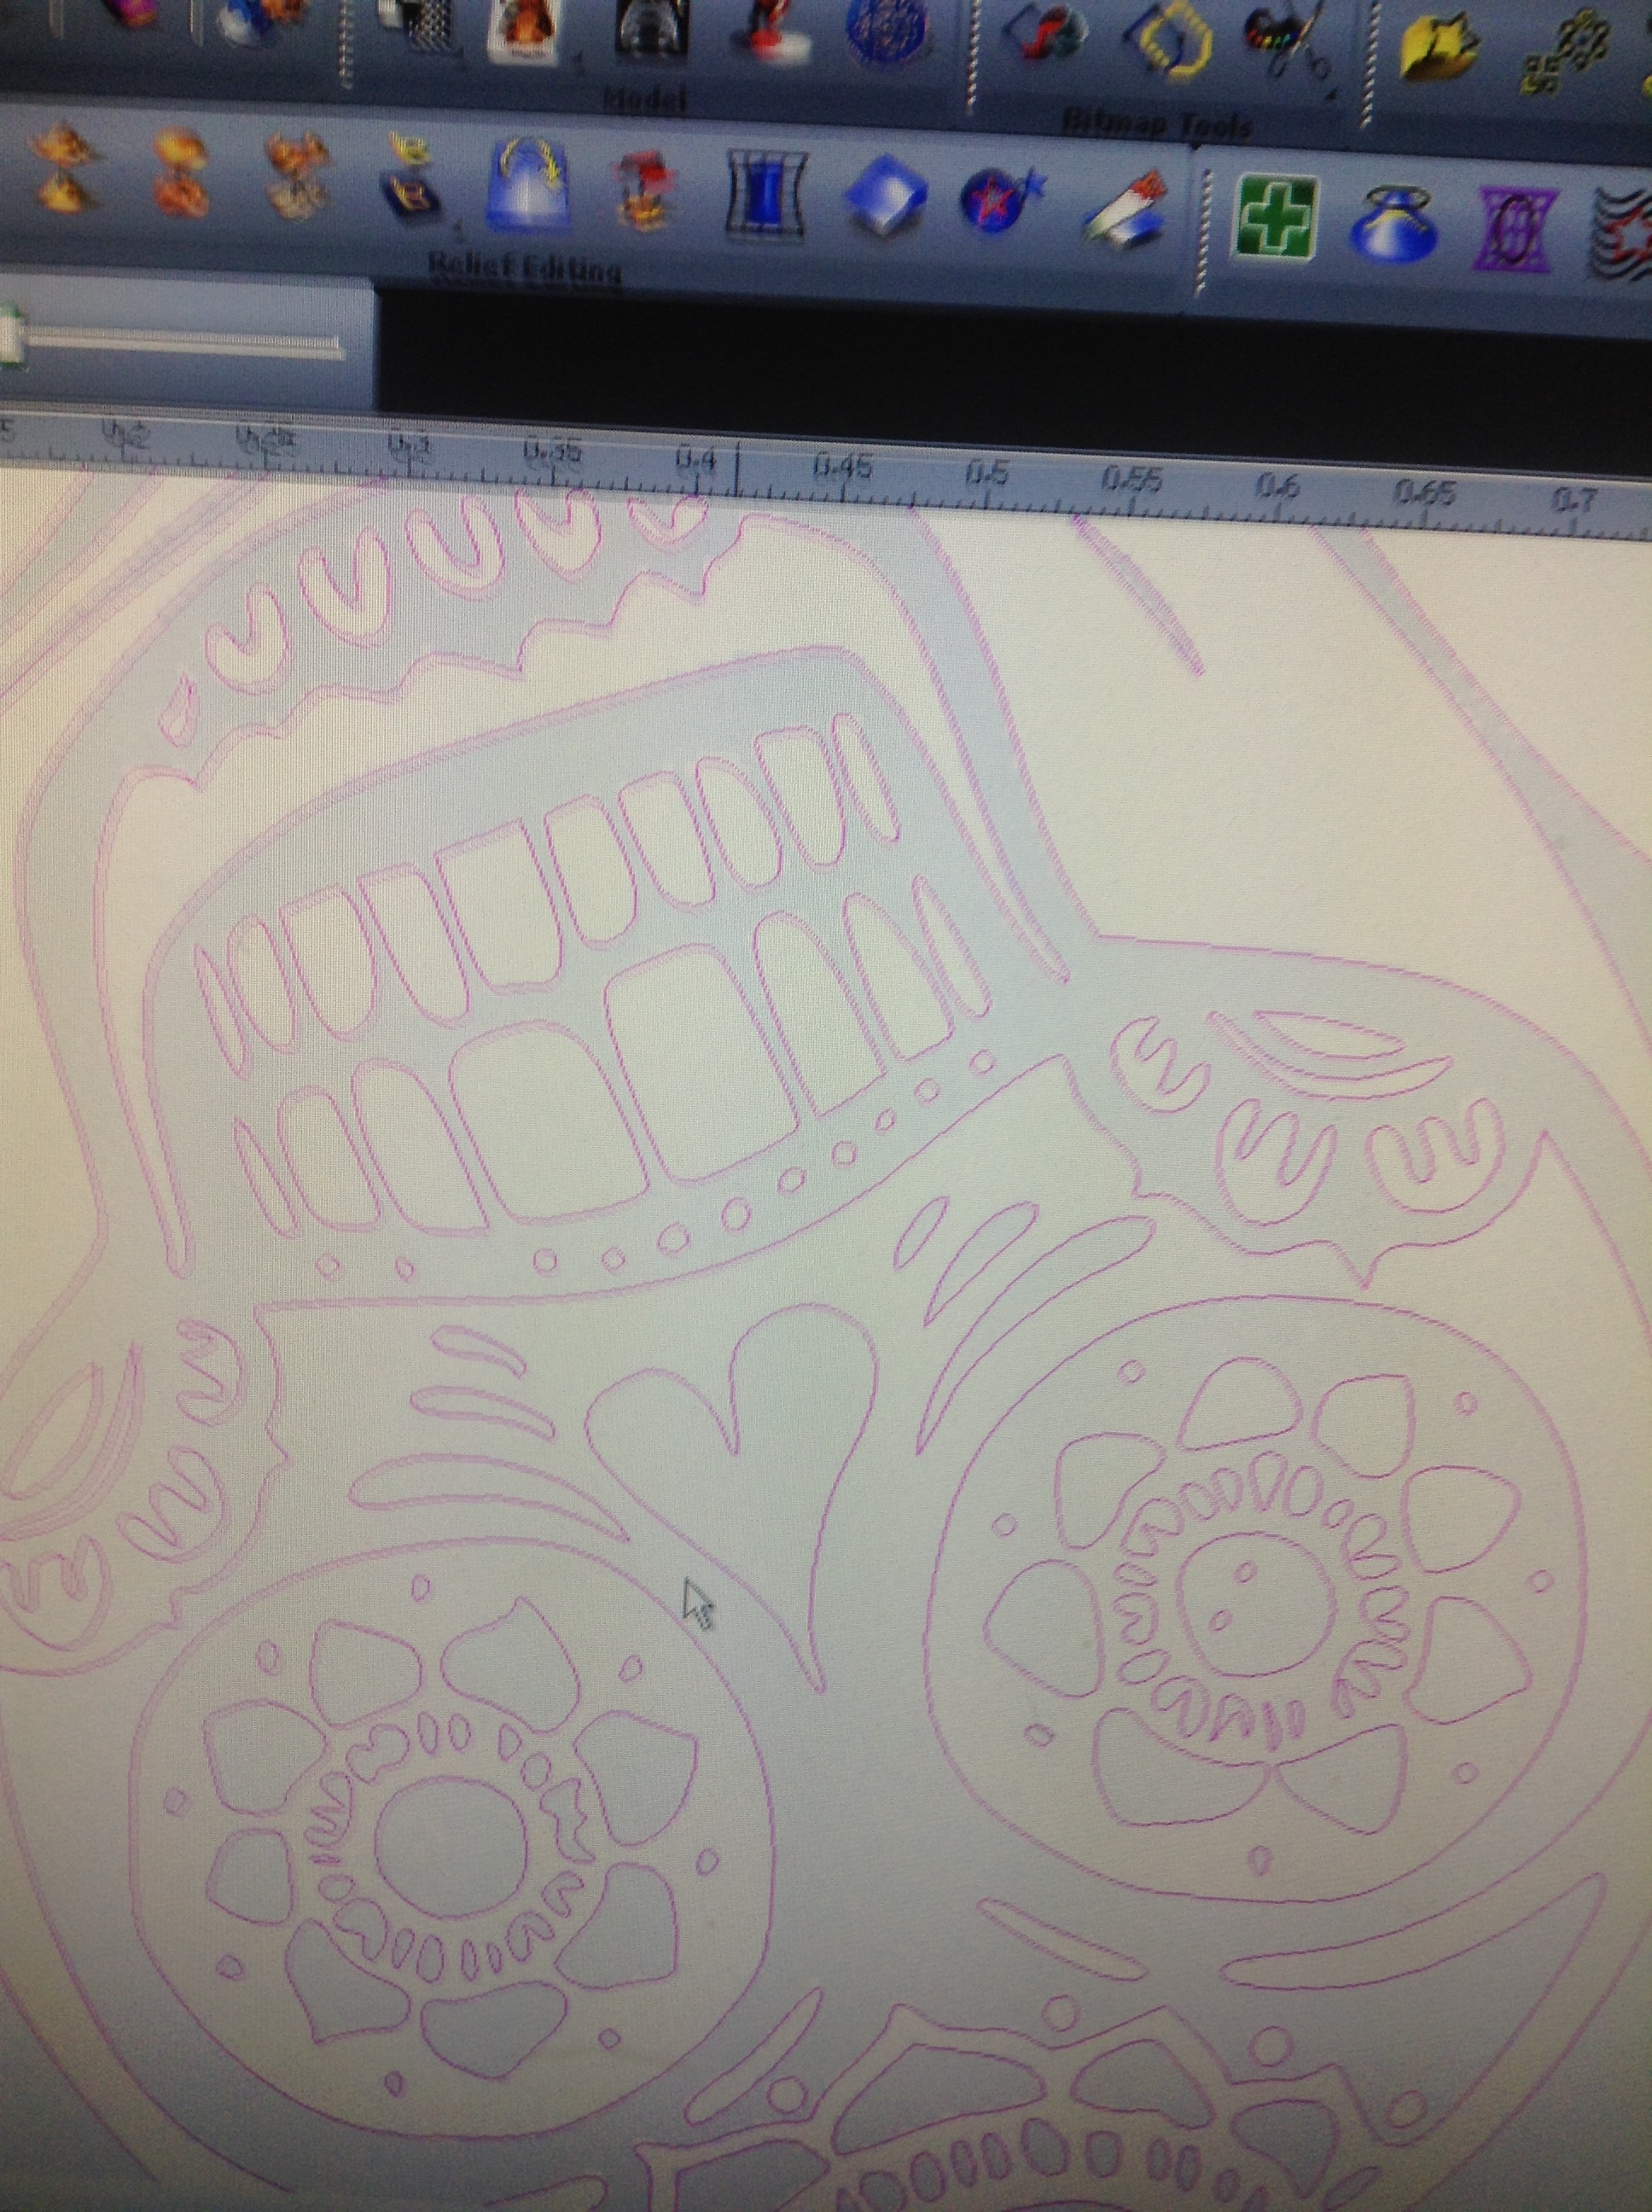
You’ll notice pink lines tracing your picture.
At the top left is a slider bar that fades the picture away, so you can see your vector lines easier.

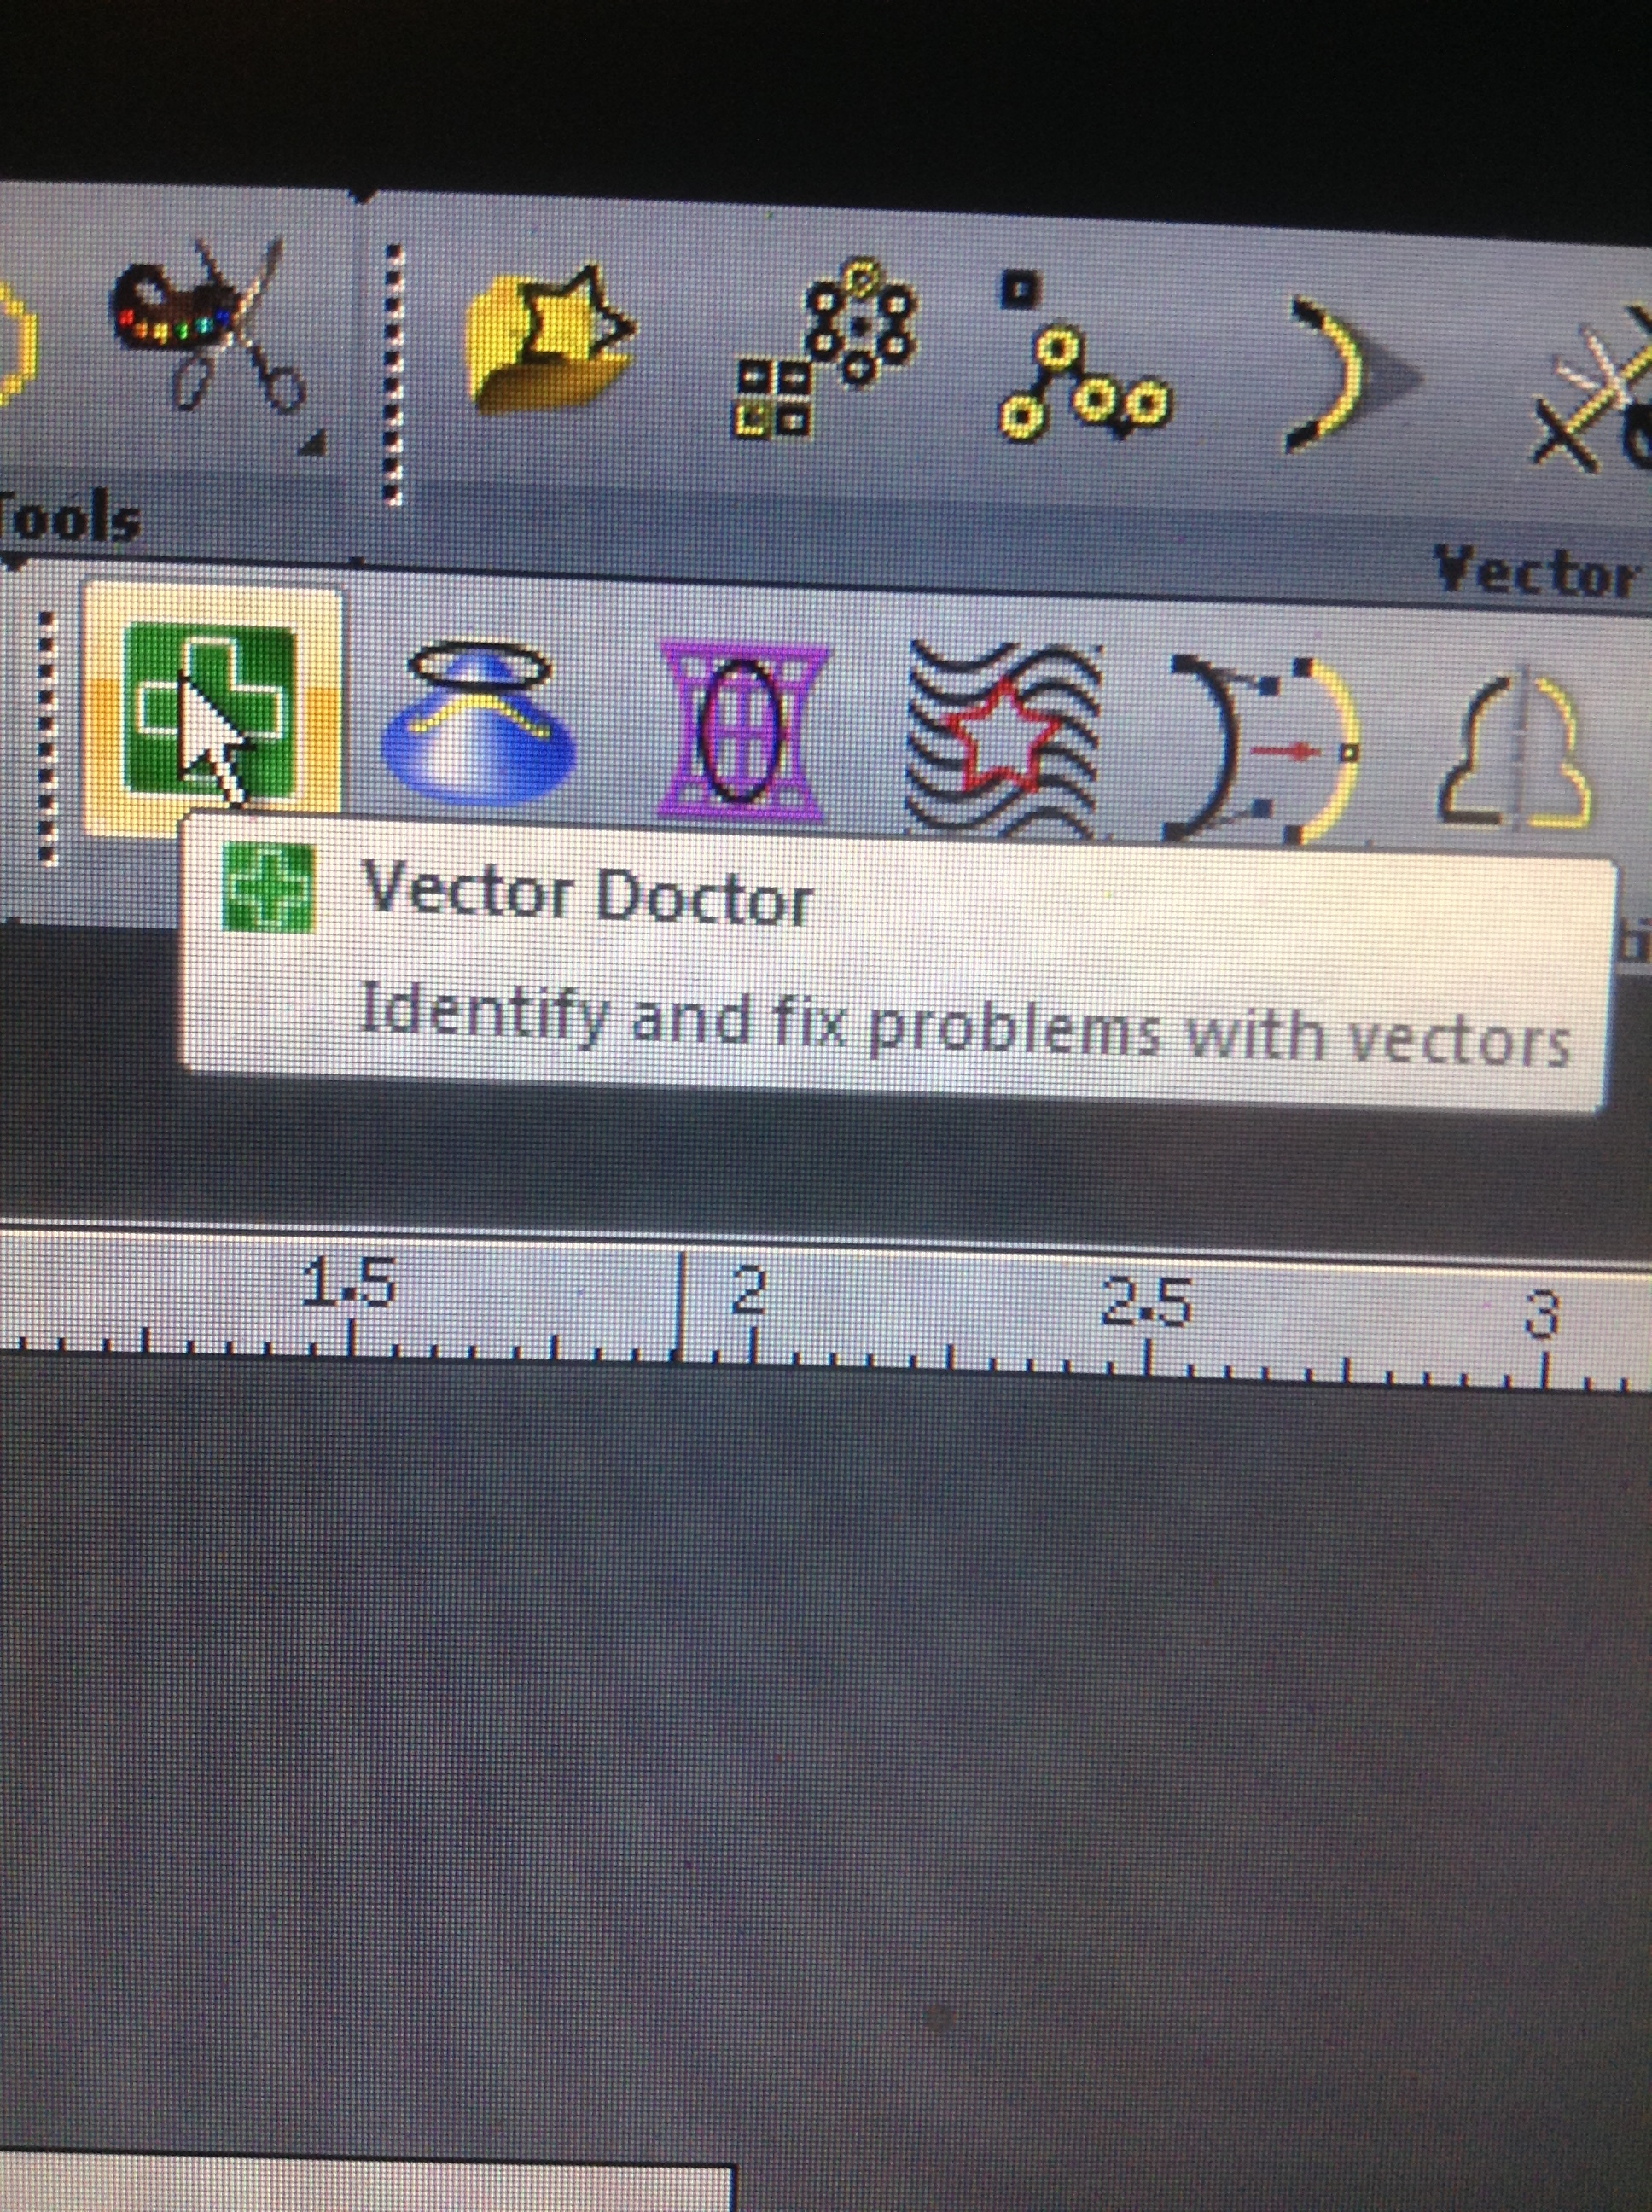
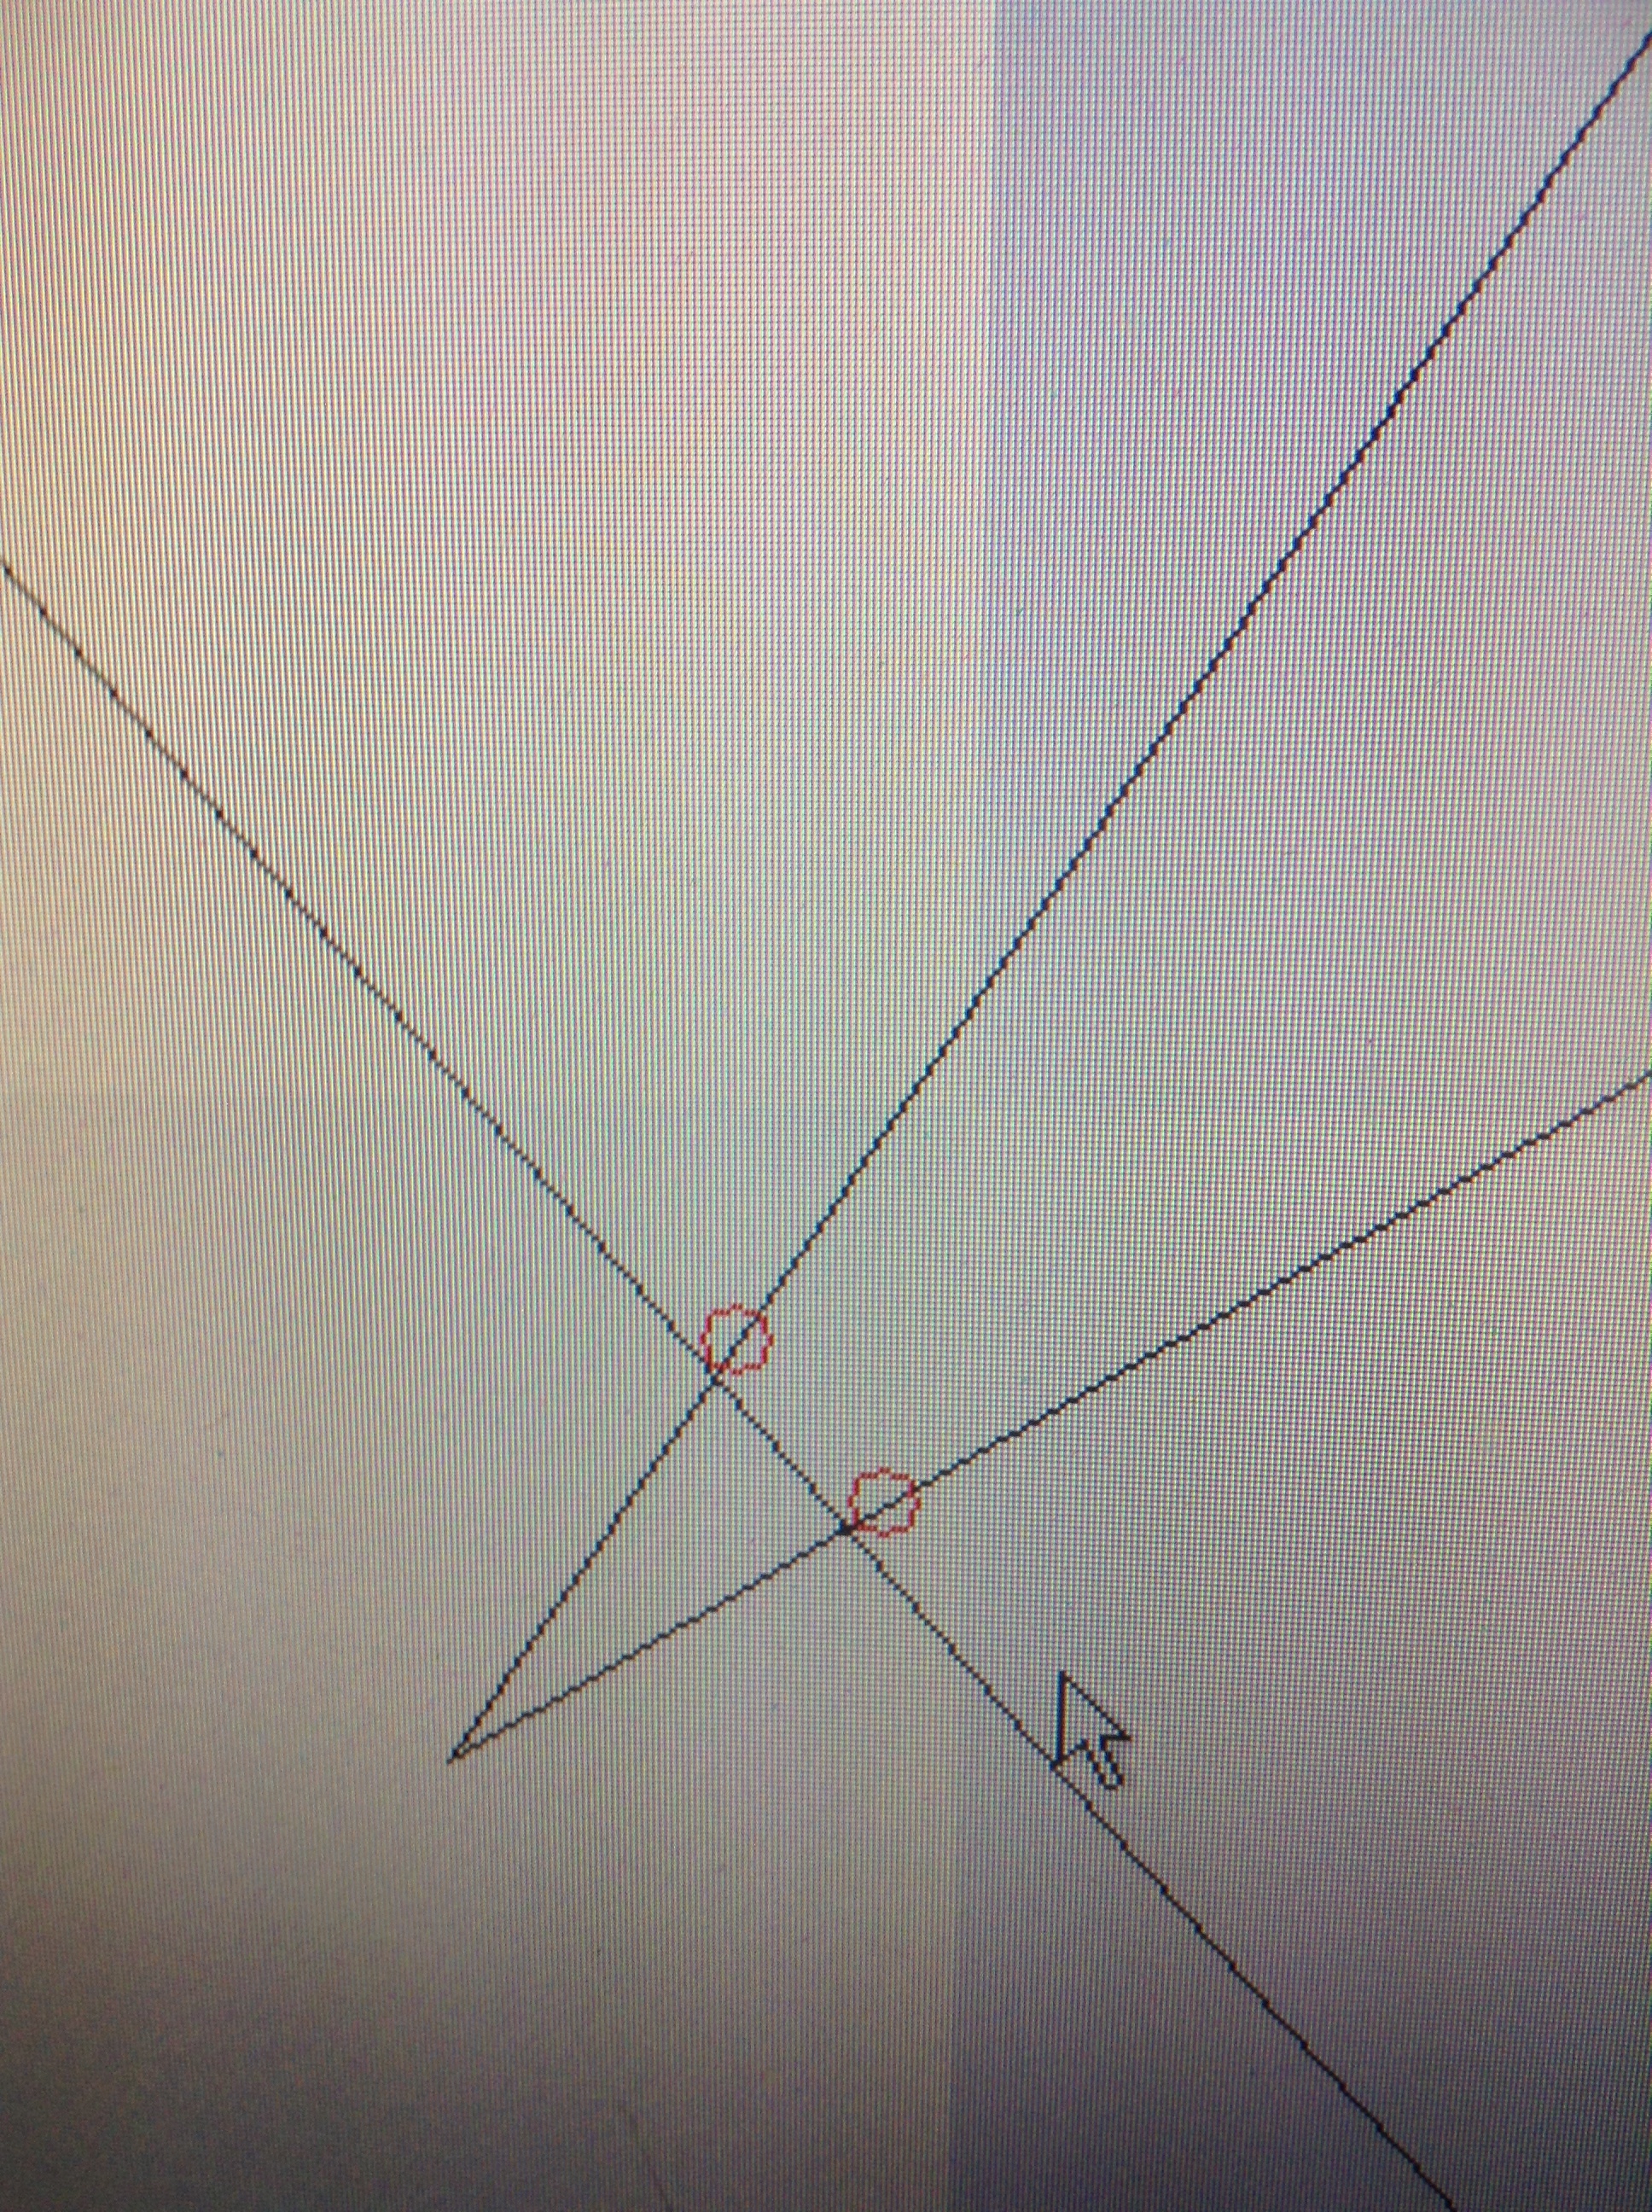
Now usually, and especially with smaller designs, there will be problems with your vectors, after this stage.
Sometimes there’s thousands of vectors, and some might cross, or touch, which cant be machined until they are fixed.
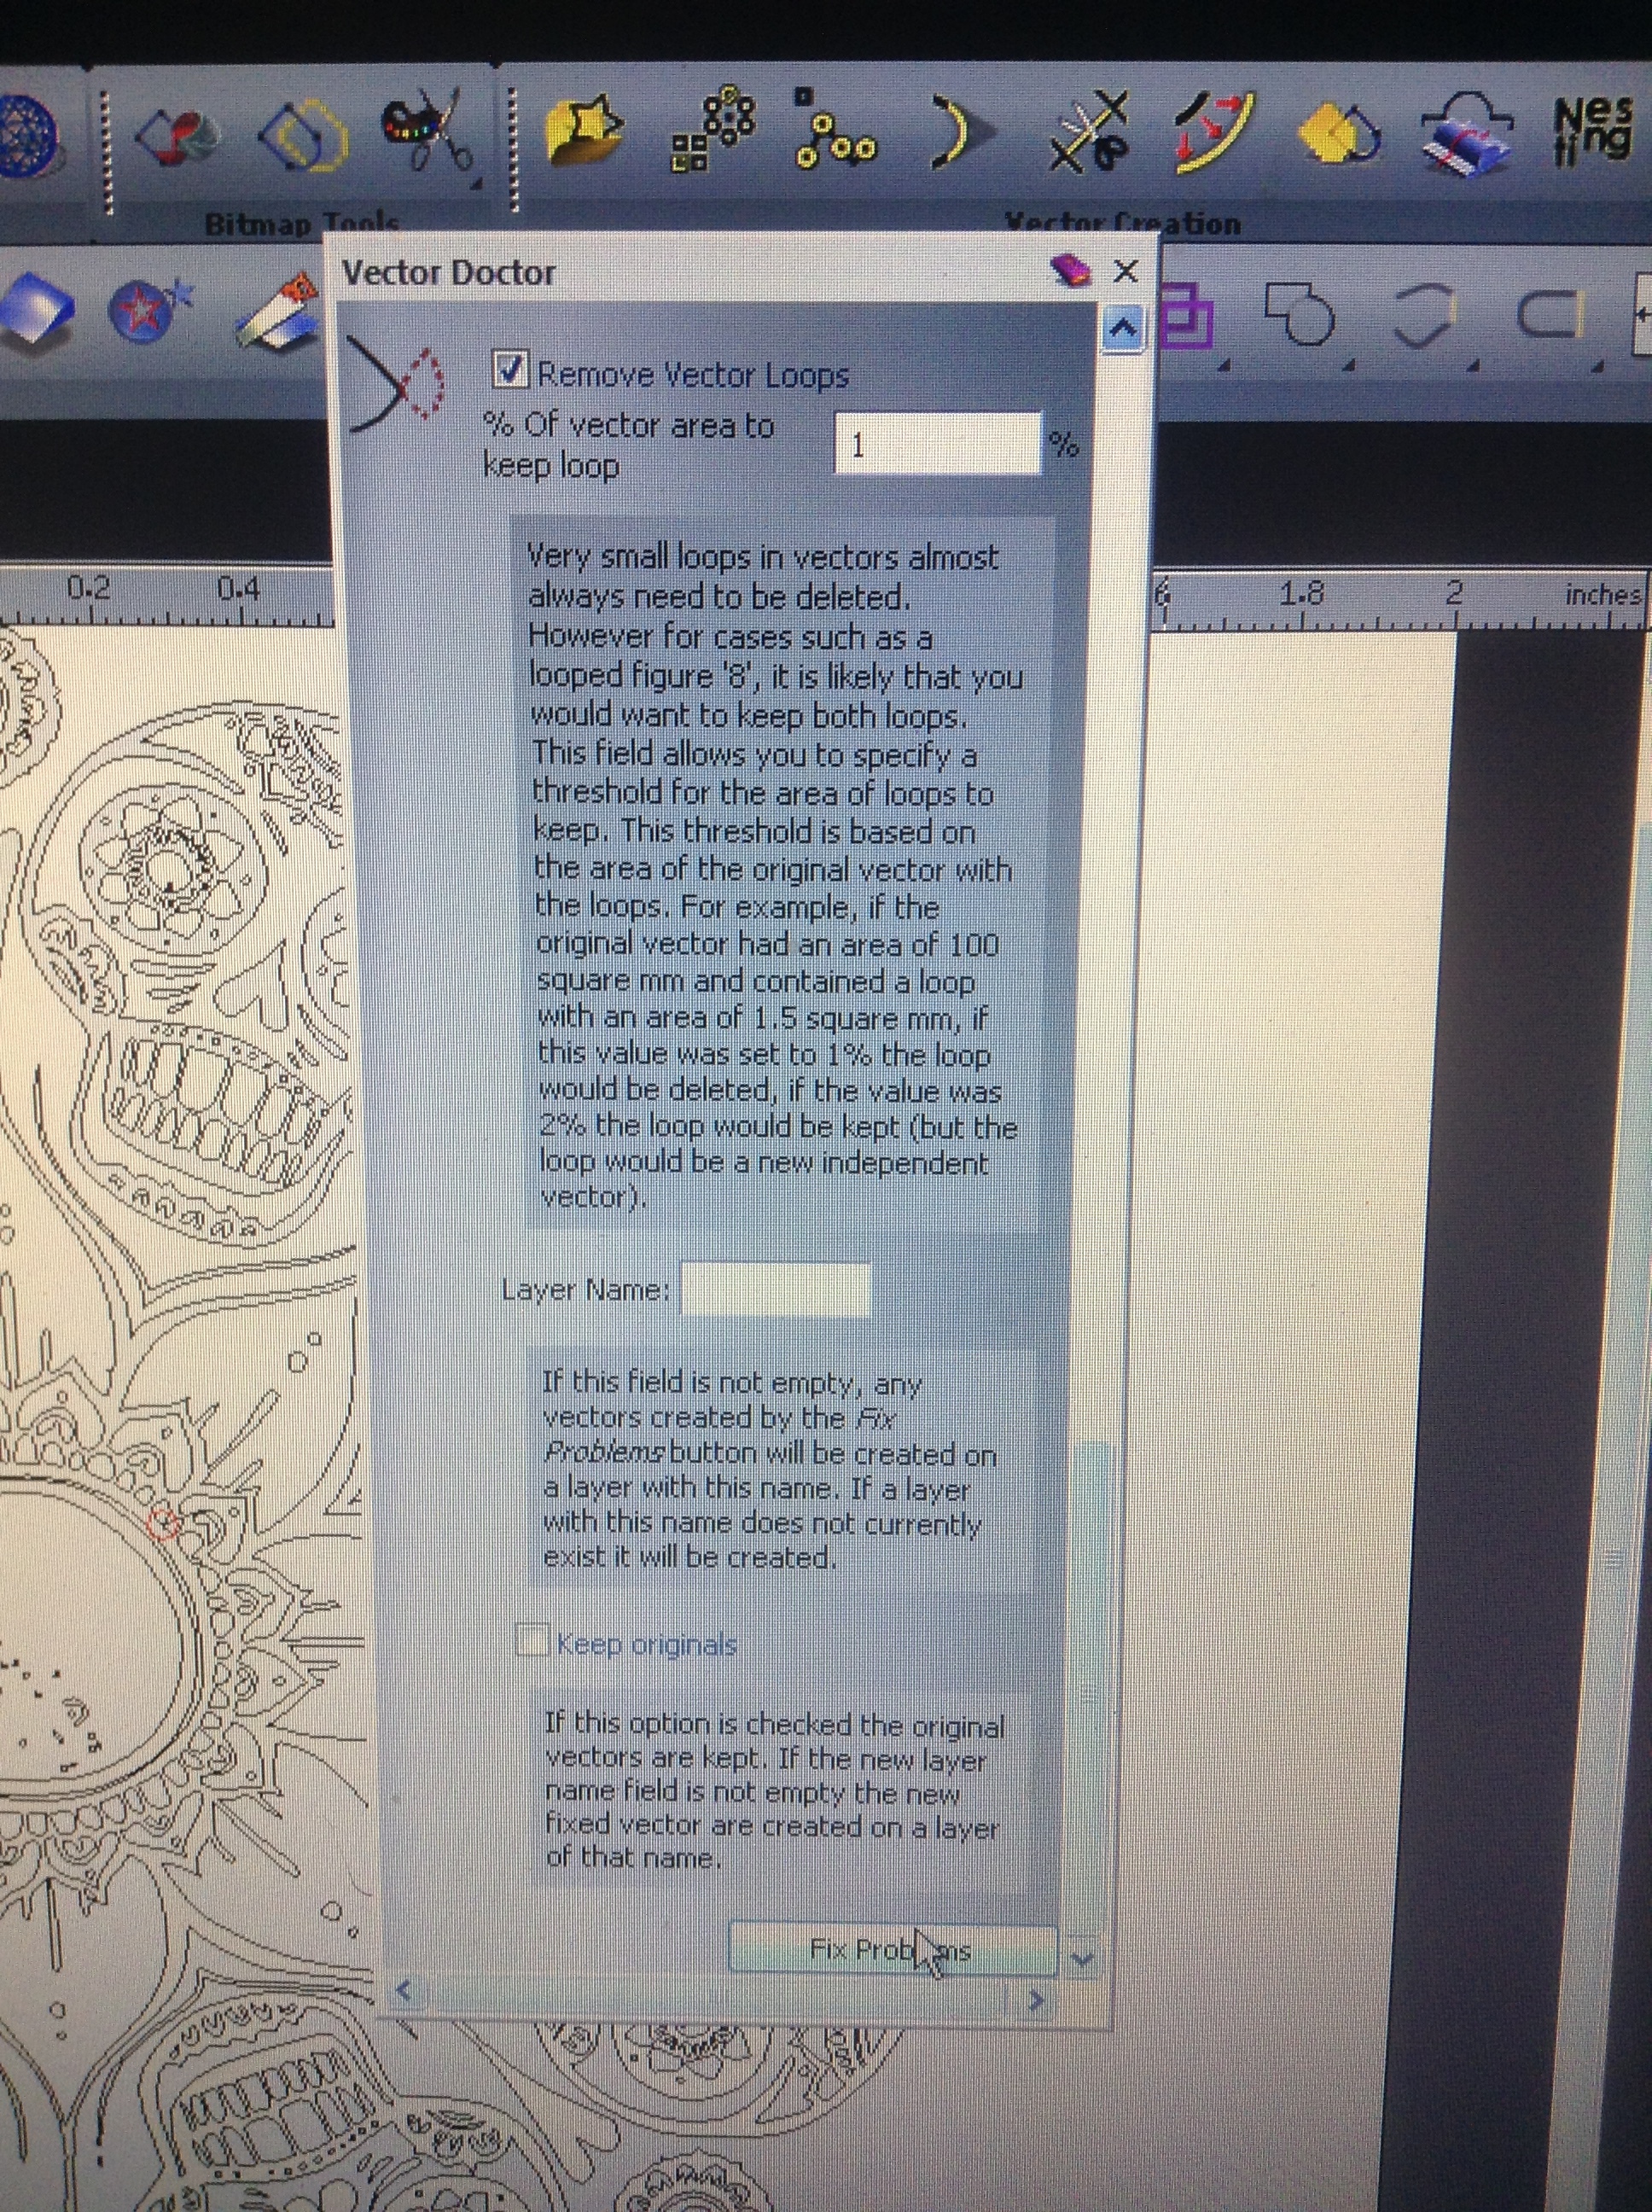
Instead of searching manually, we have the “vector Dr.”


I hit the fix button. Problem solved, or you can edit manually, and drag lines where you want them.


I deleted some unwanted vectors, resized to 3.5" and saved these vectors.
I later pasted them on to 4" circles.
I’ll add more details later.
Any questions would make it easier. I took pics of every step. Too many lol.
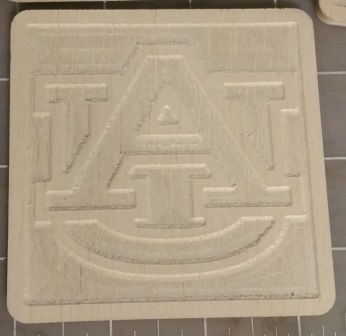
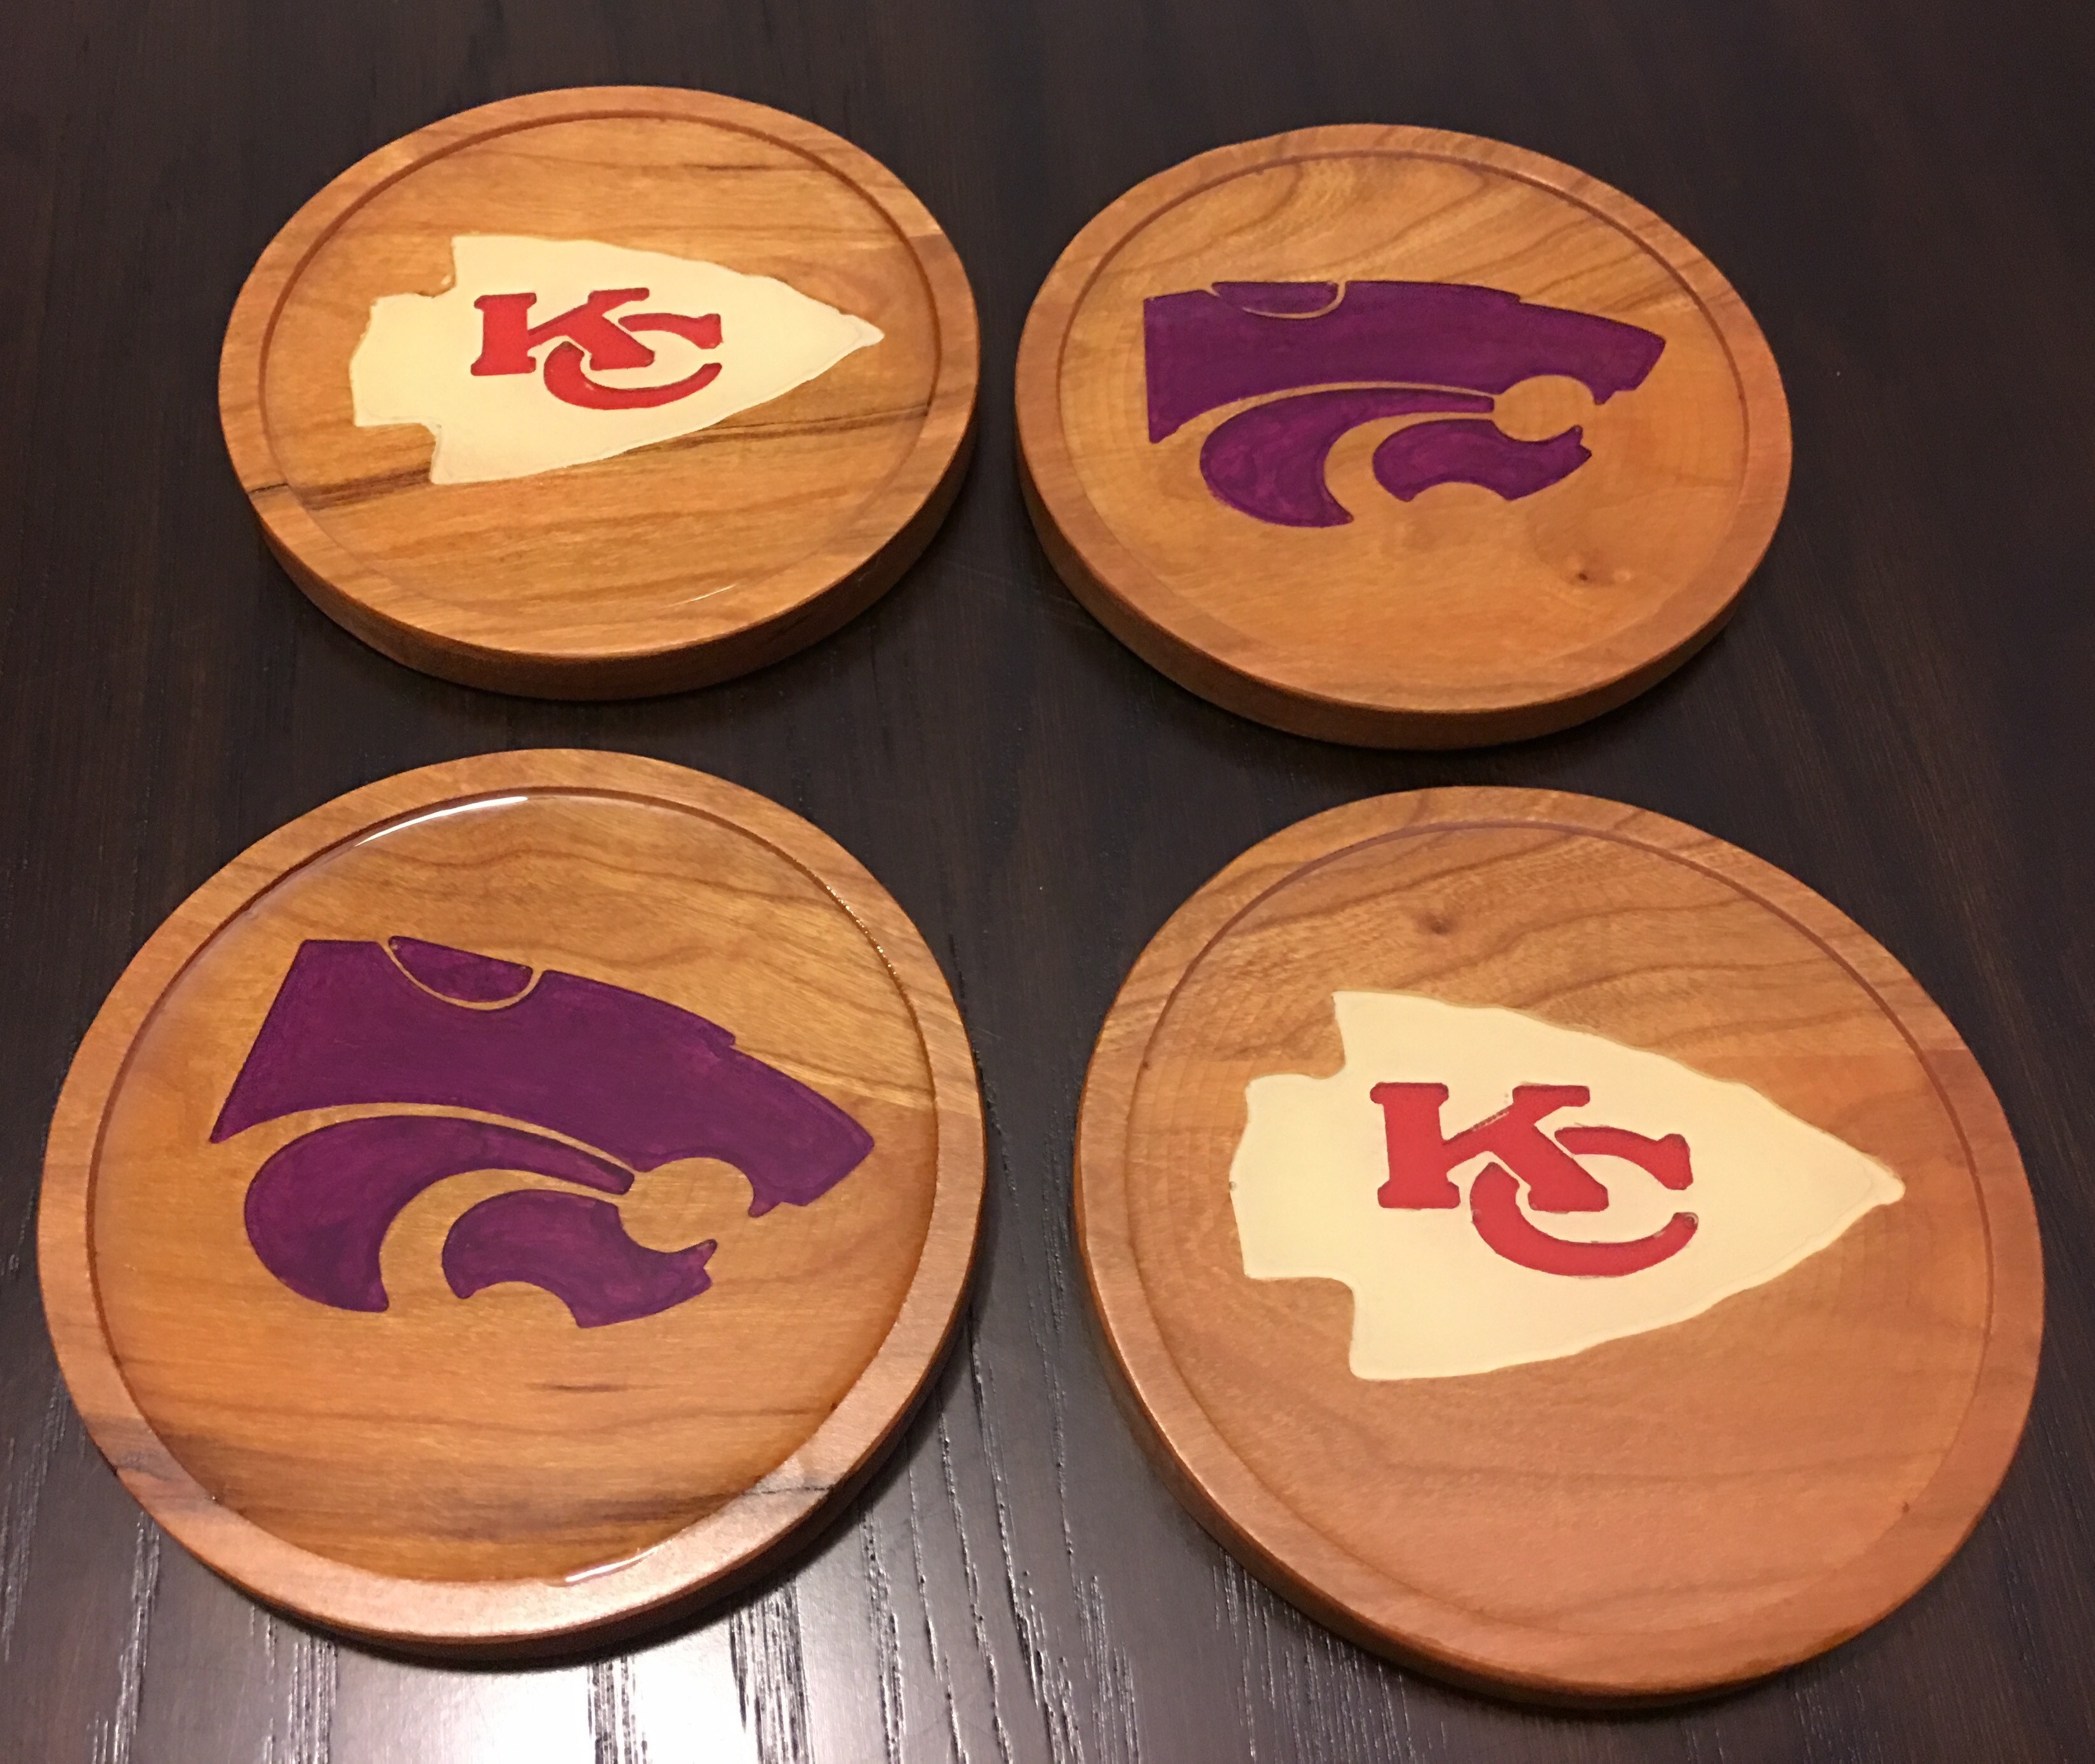
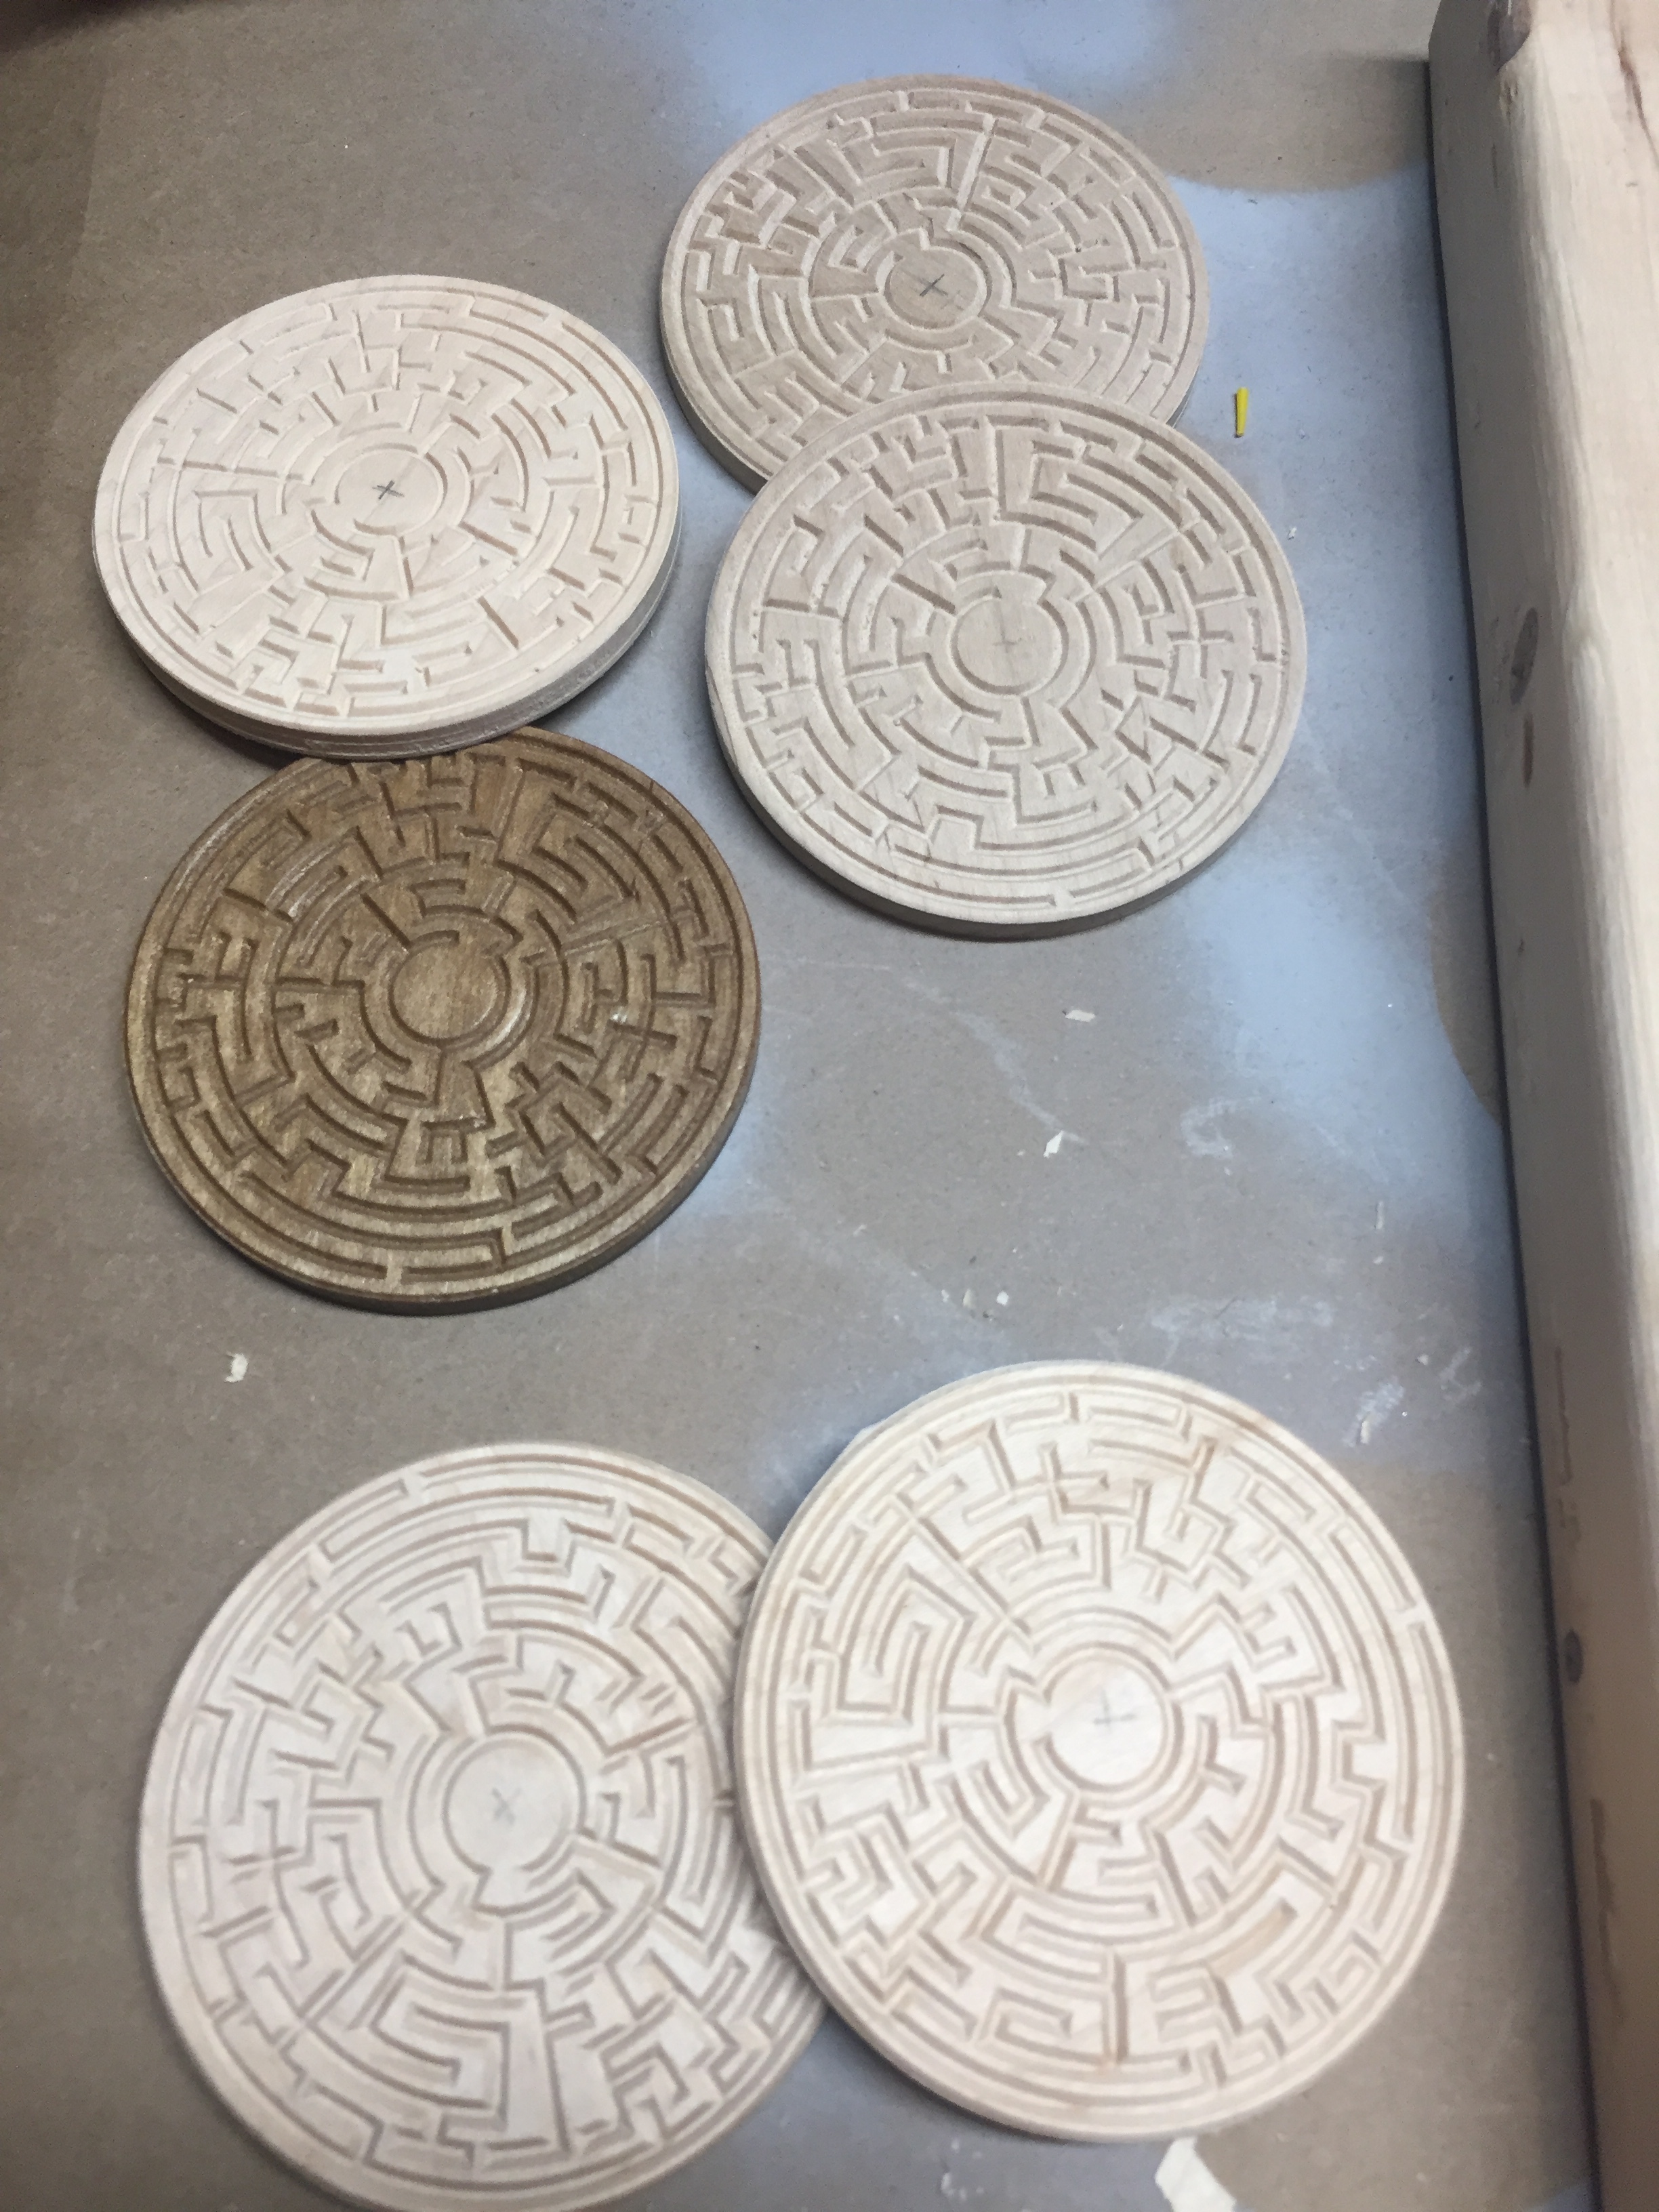
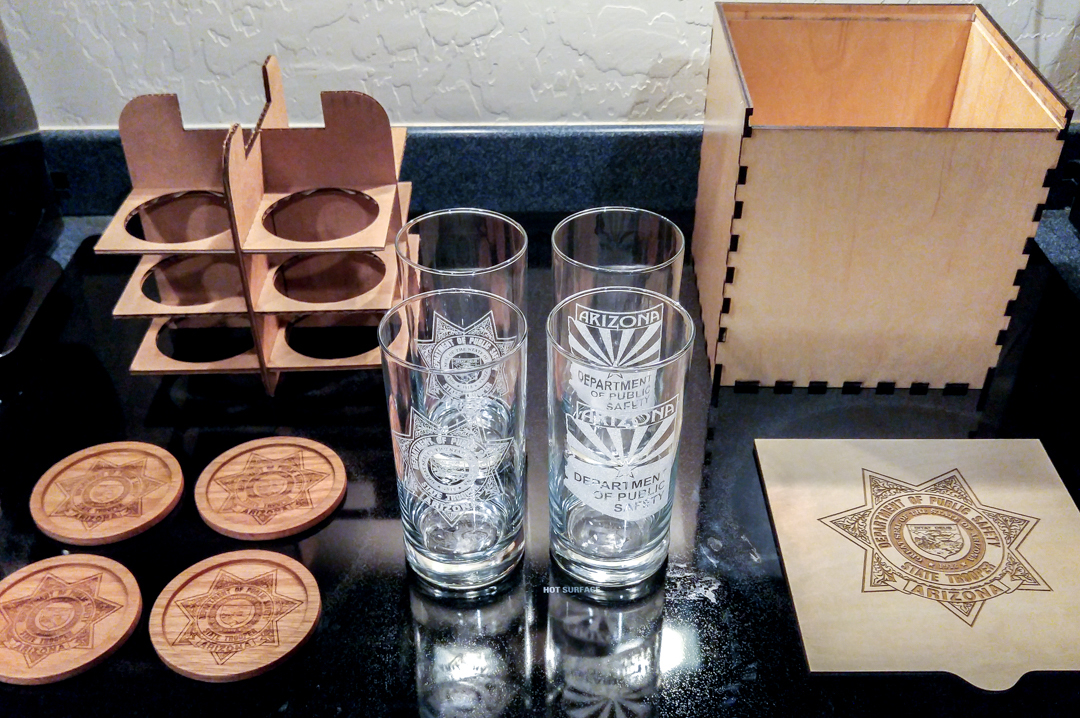
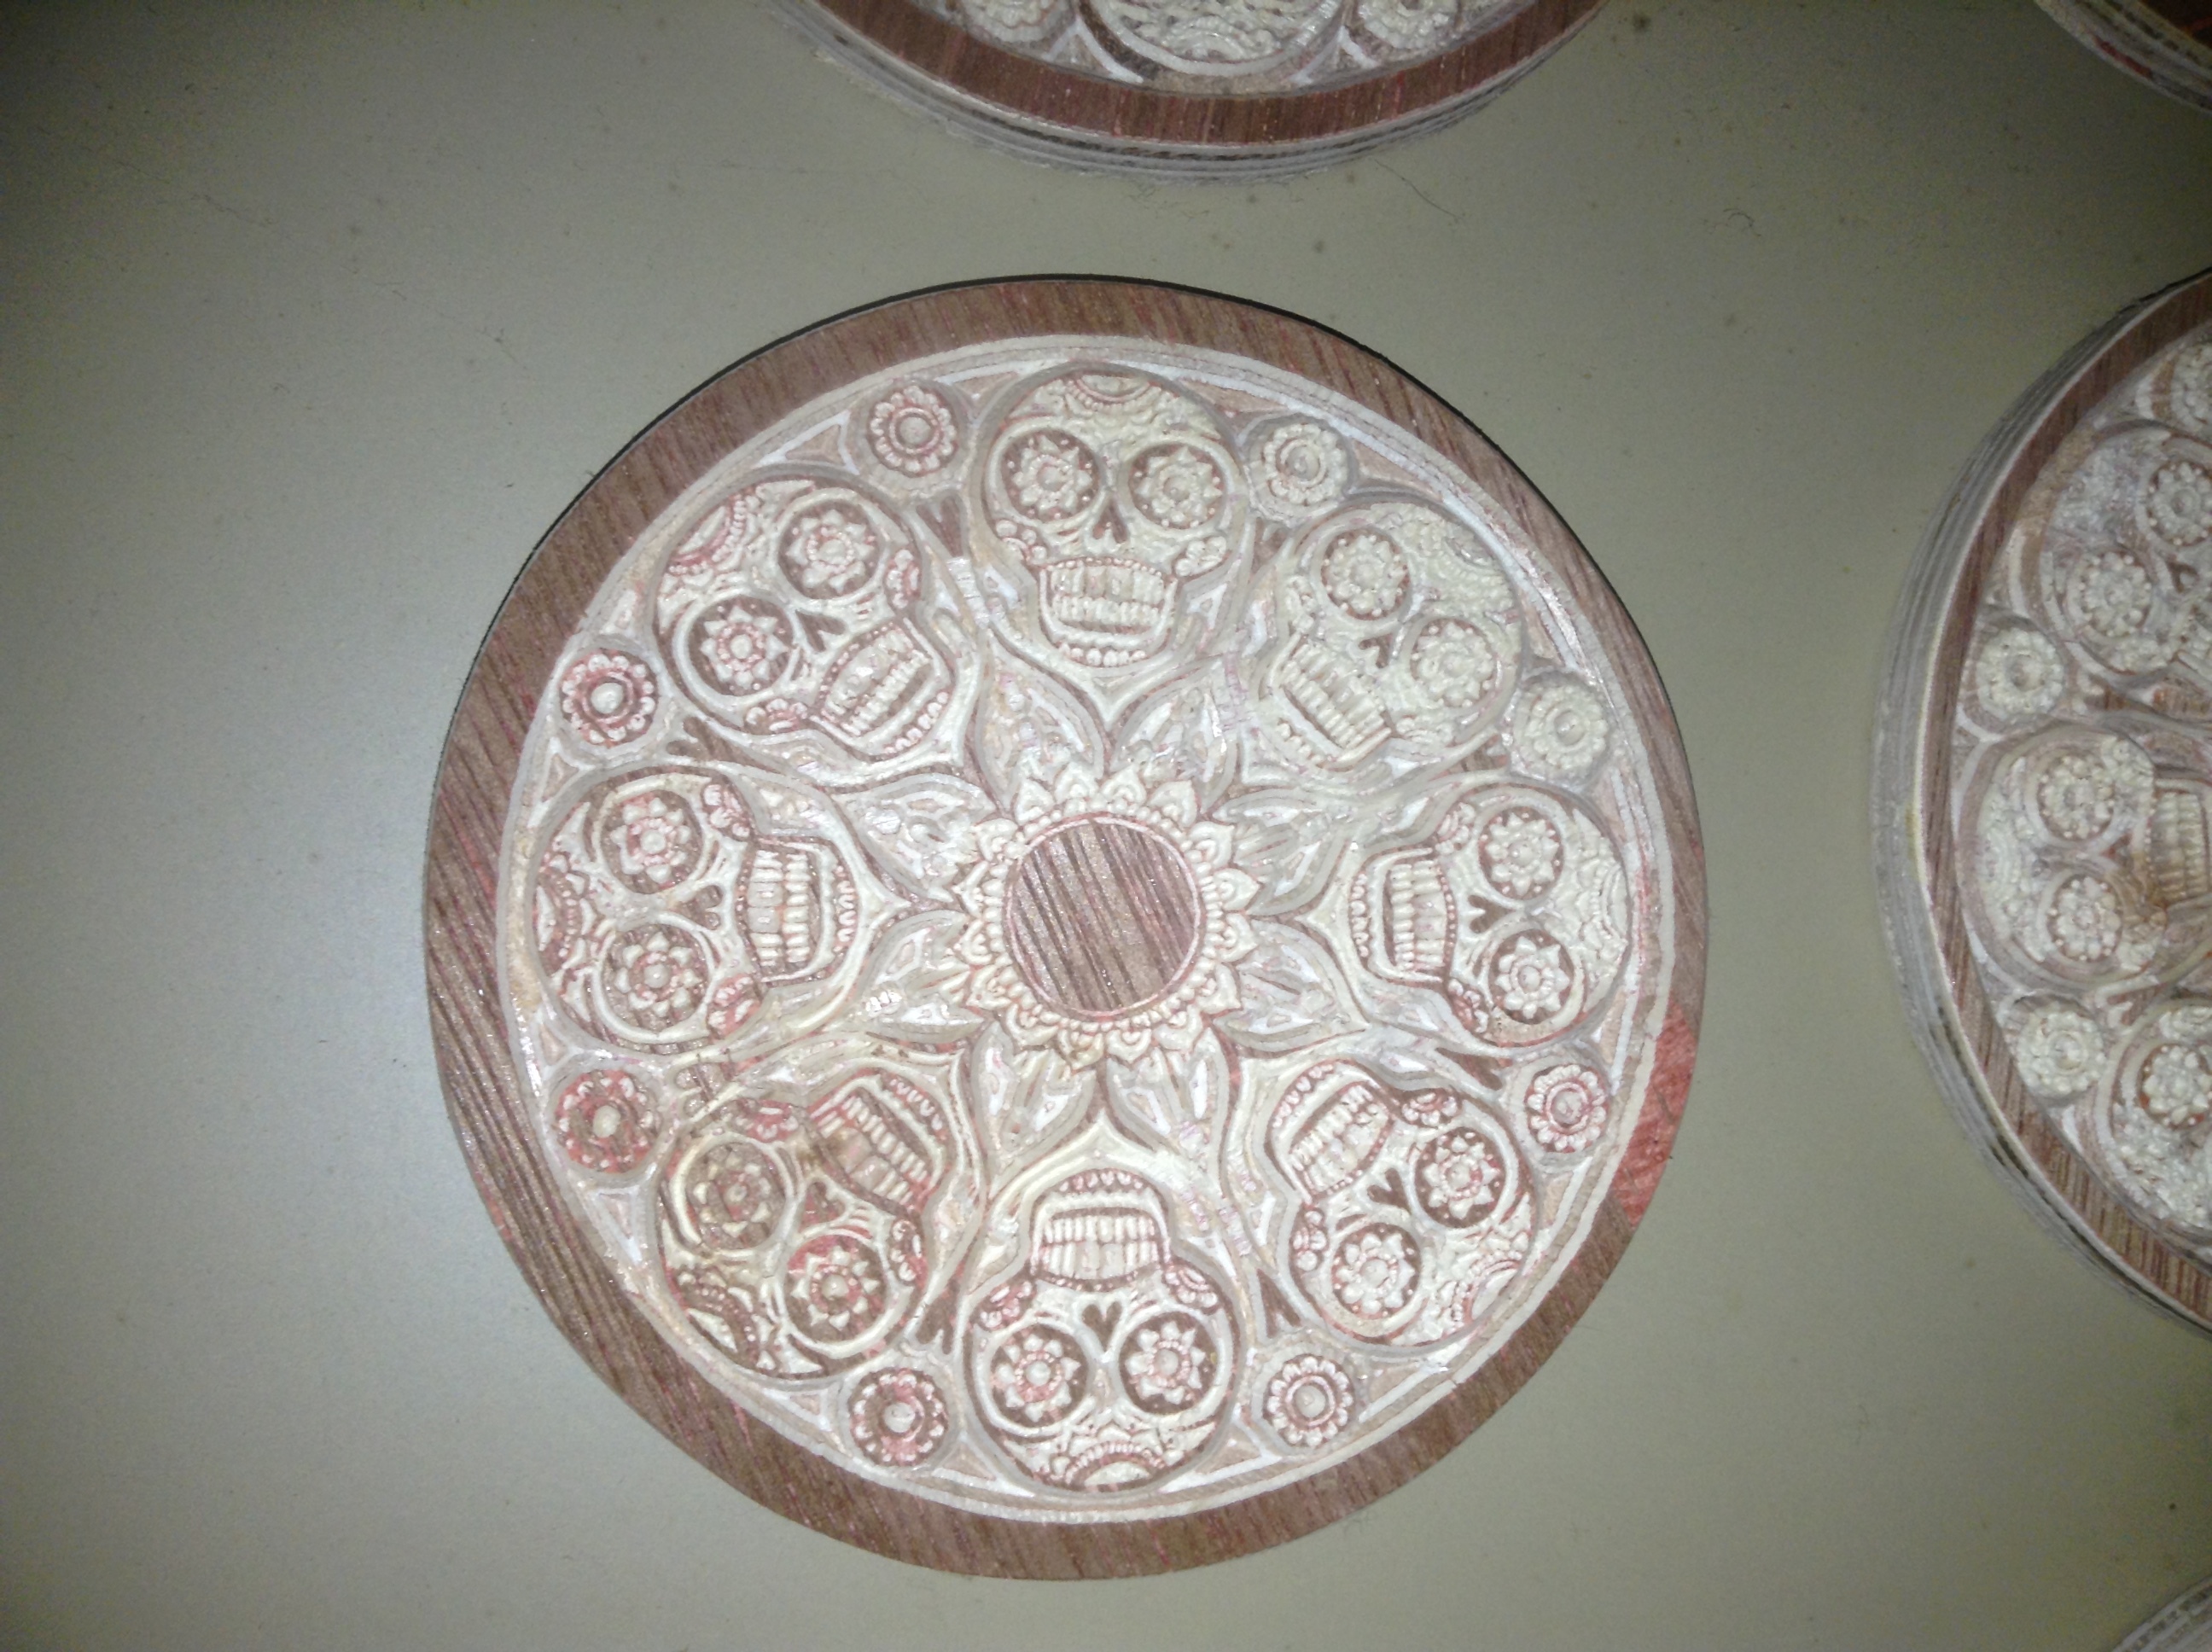
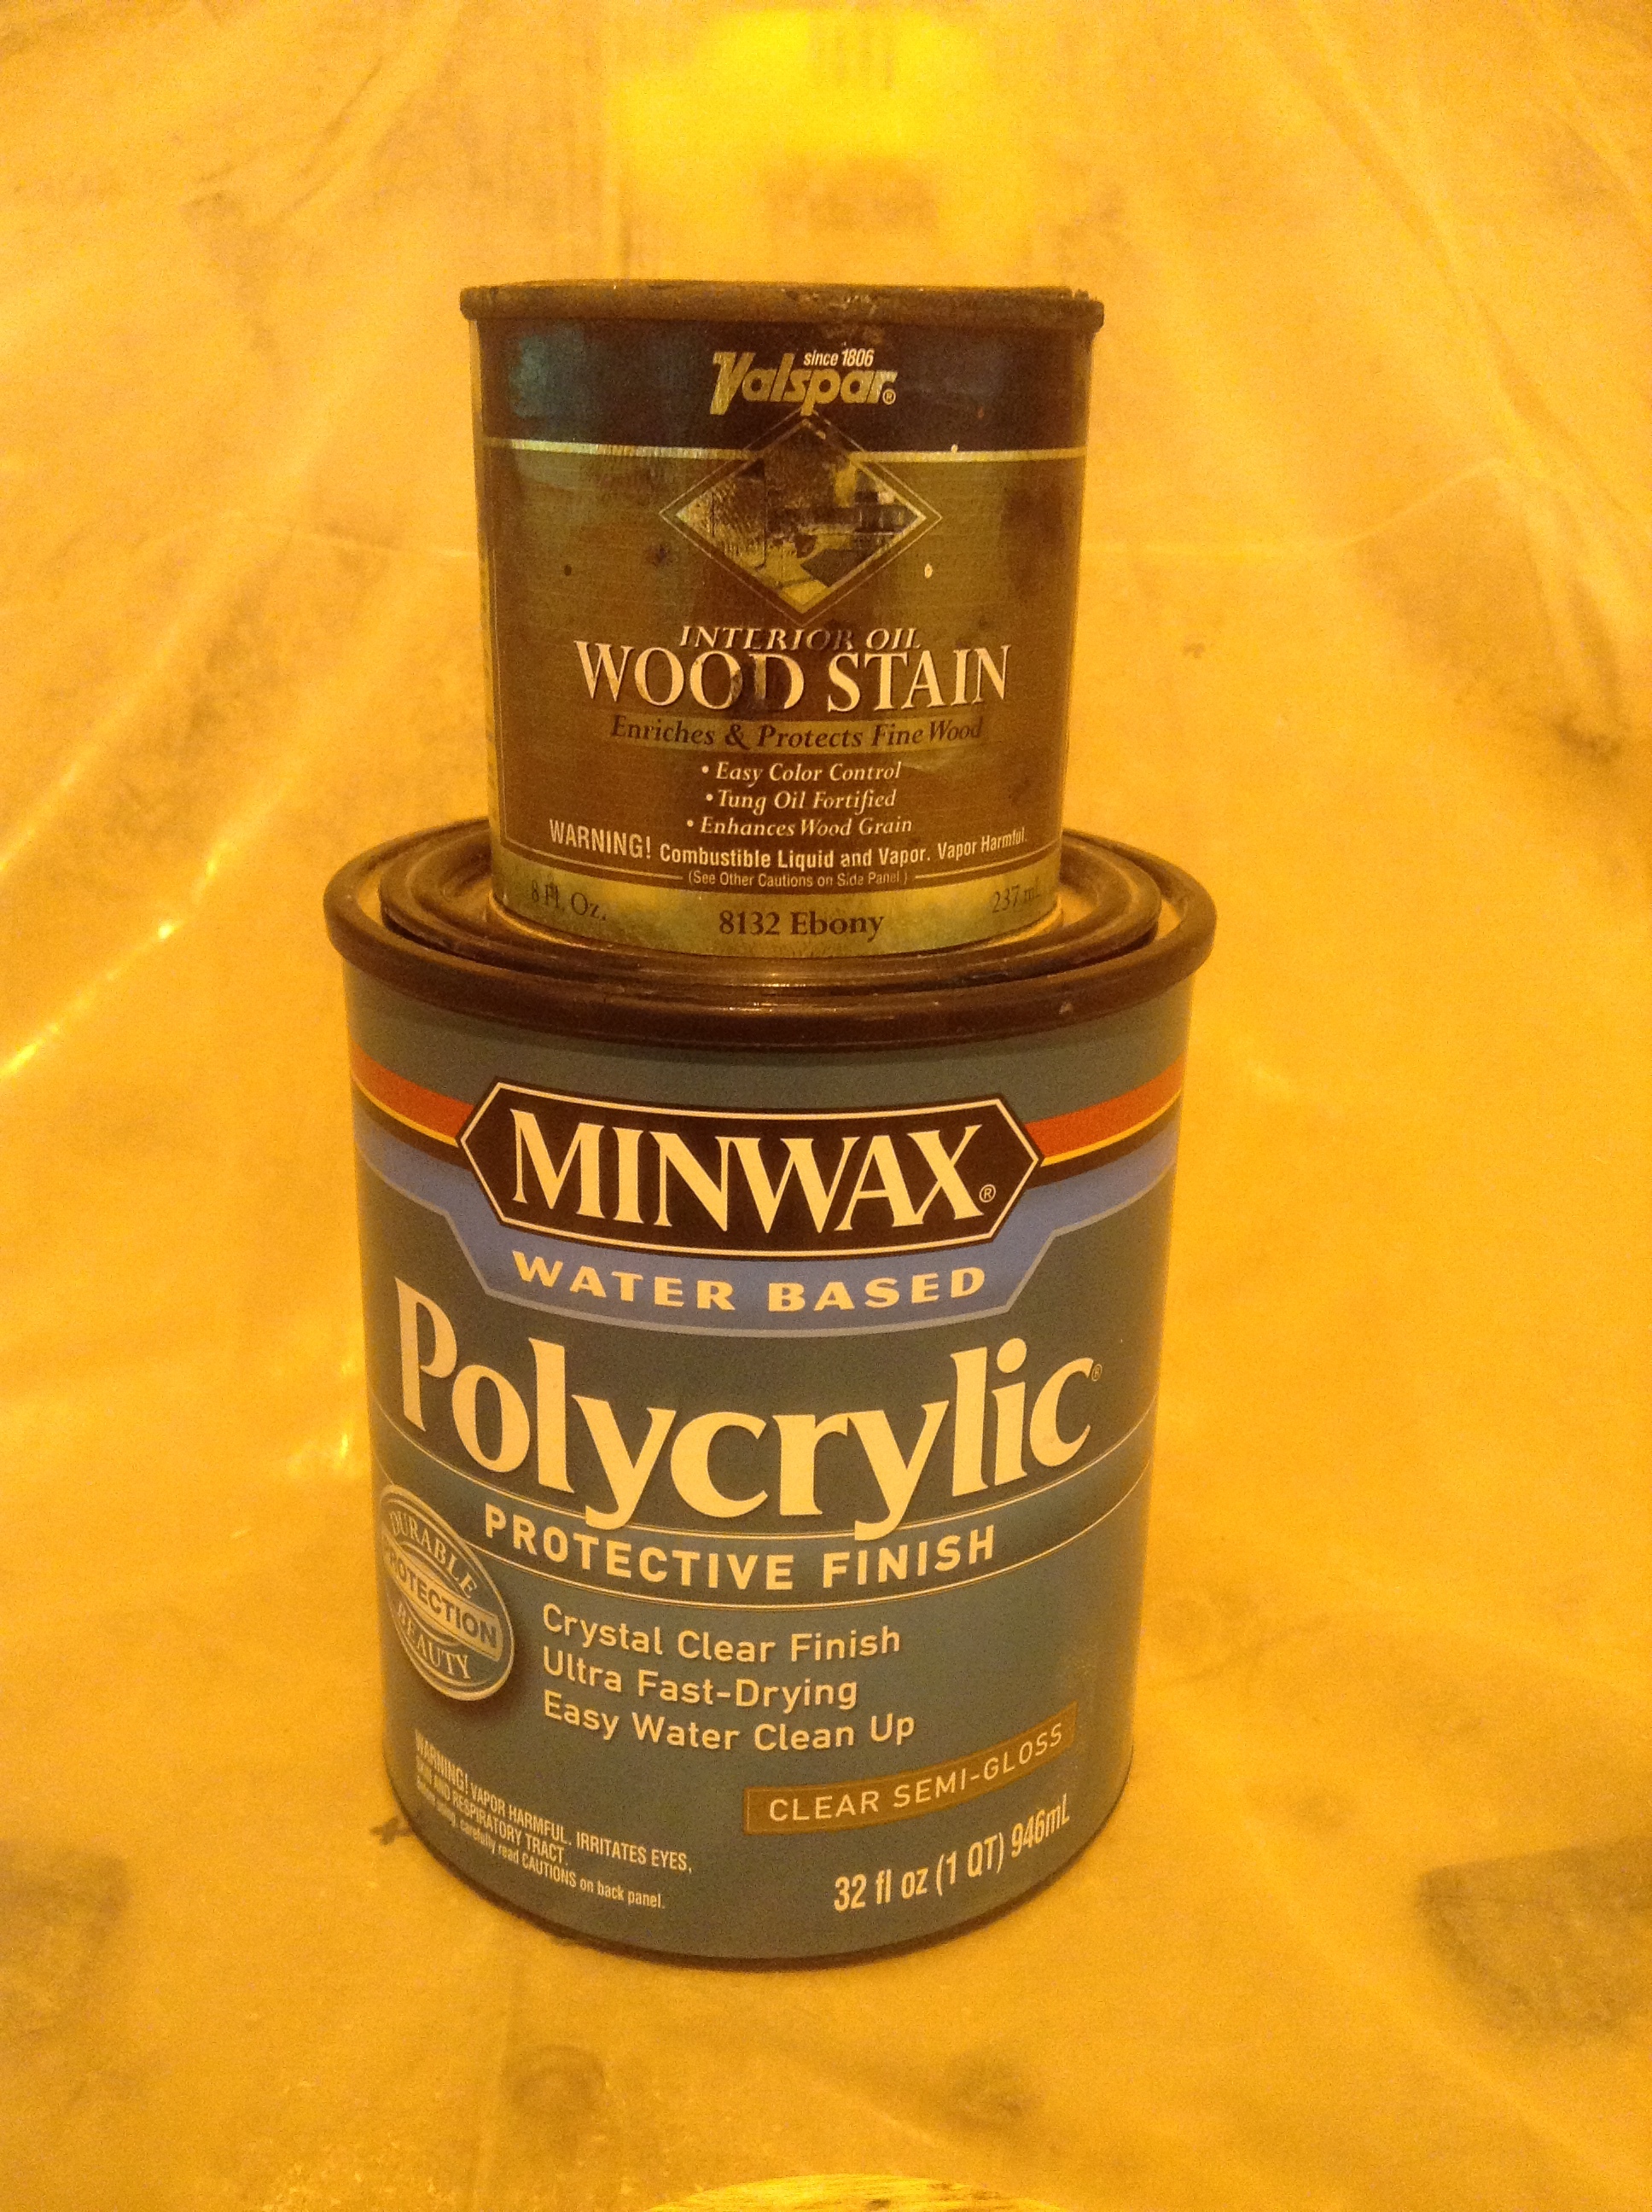
Here’s pics of the finished, unsealed coasters.
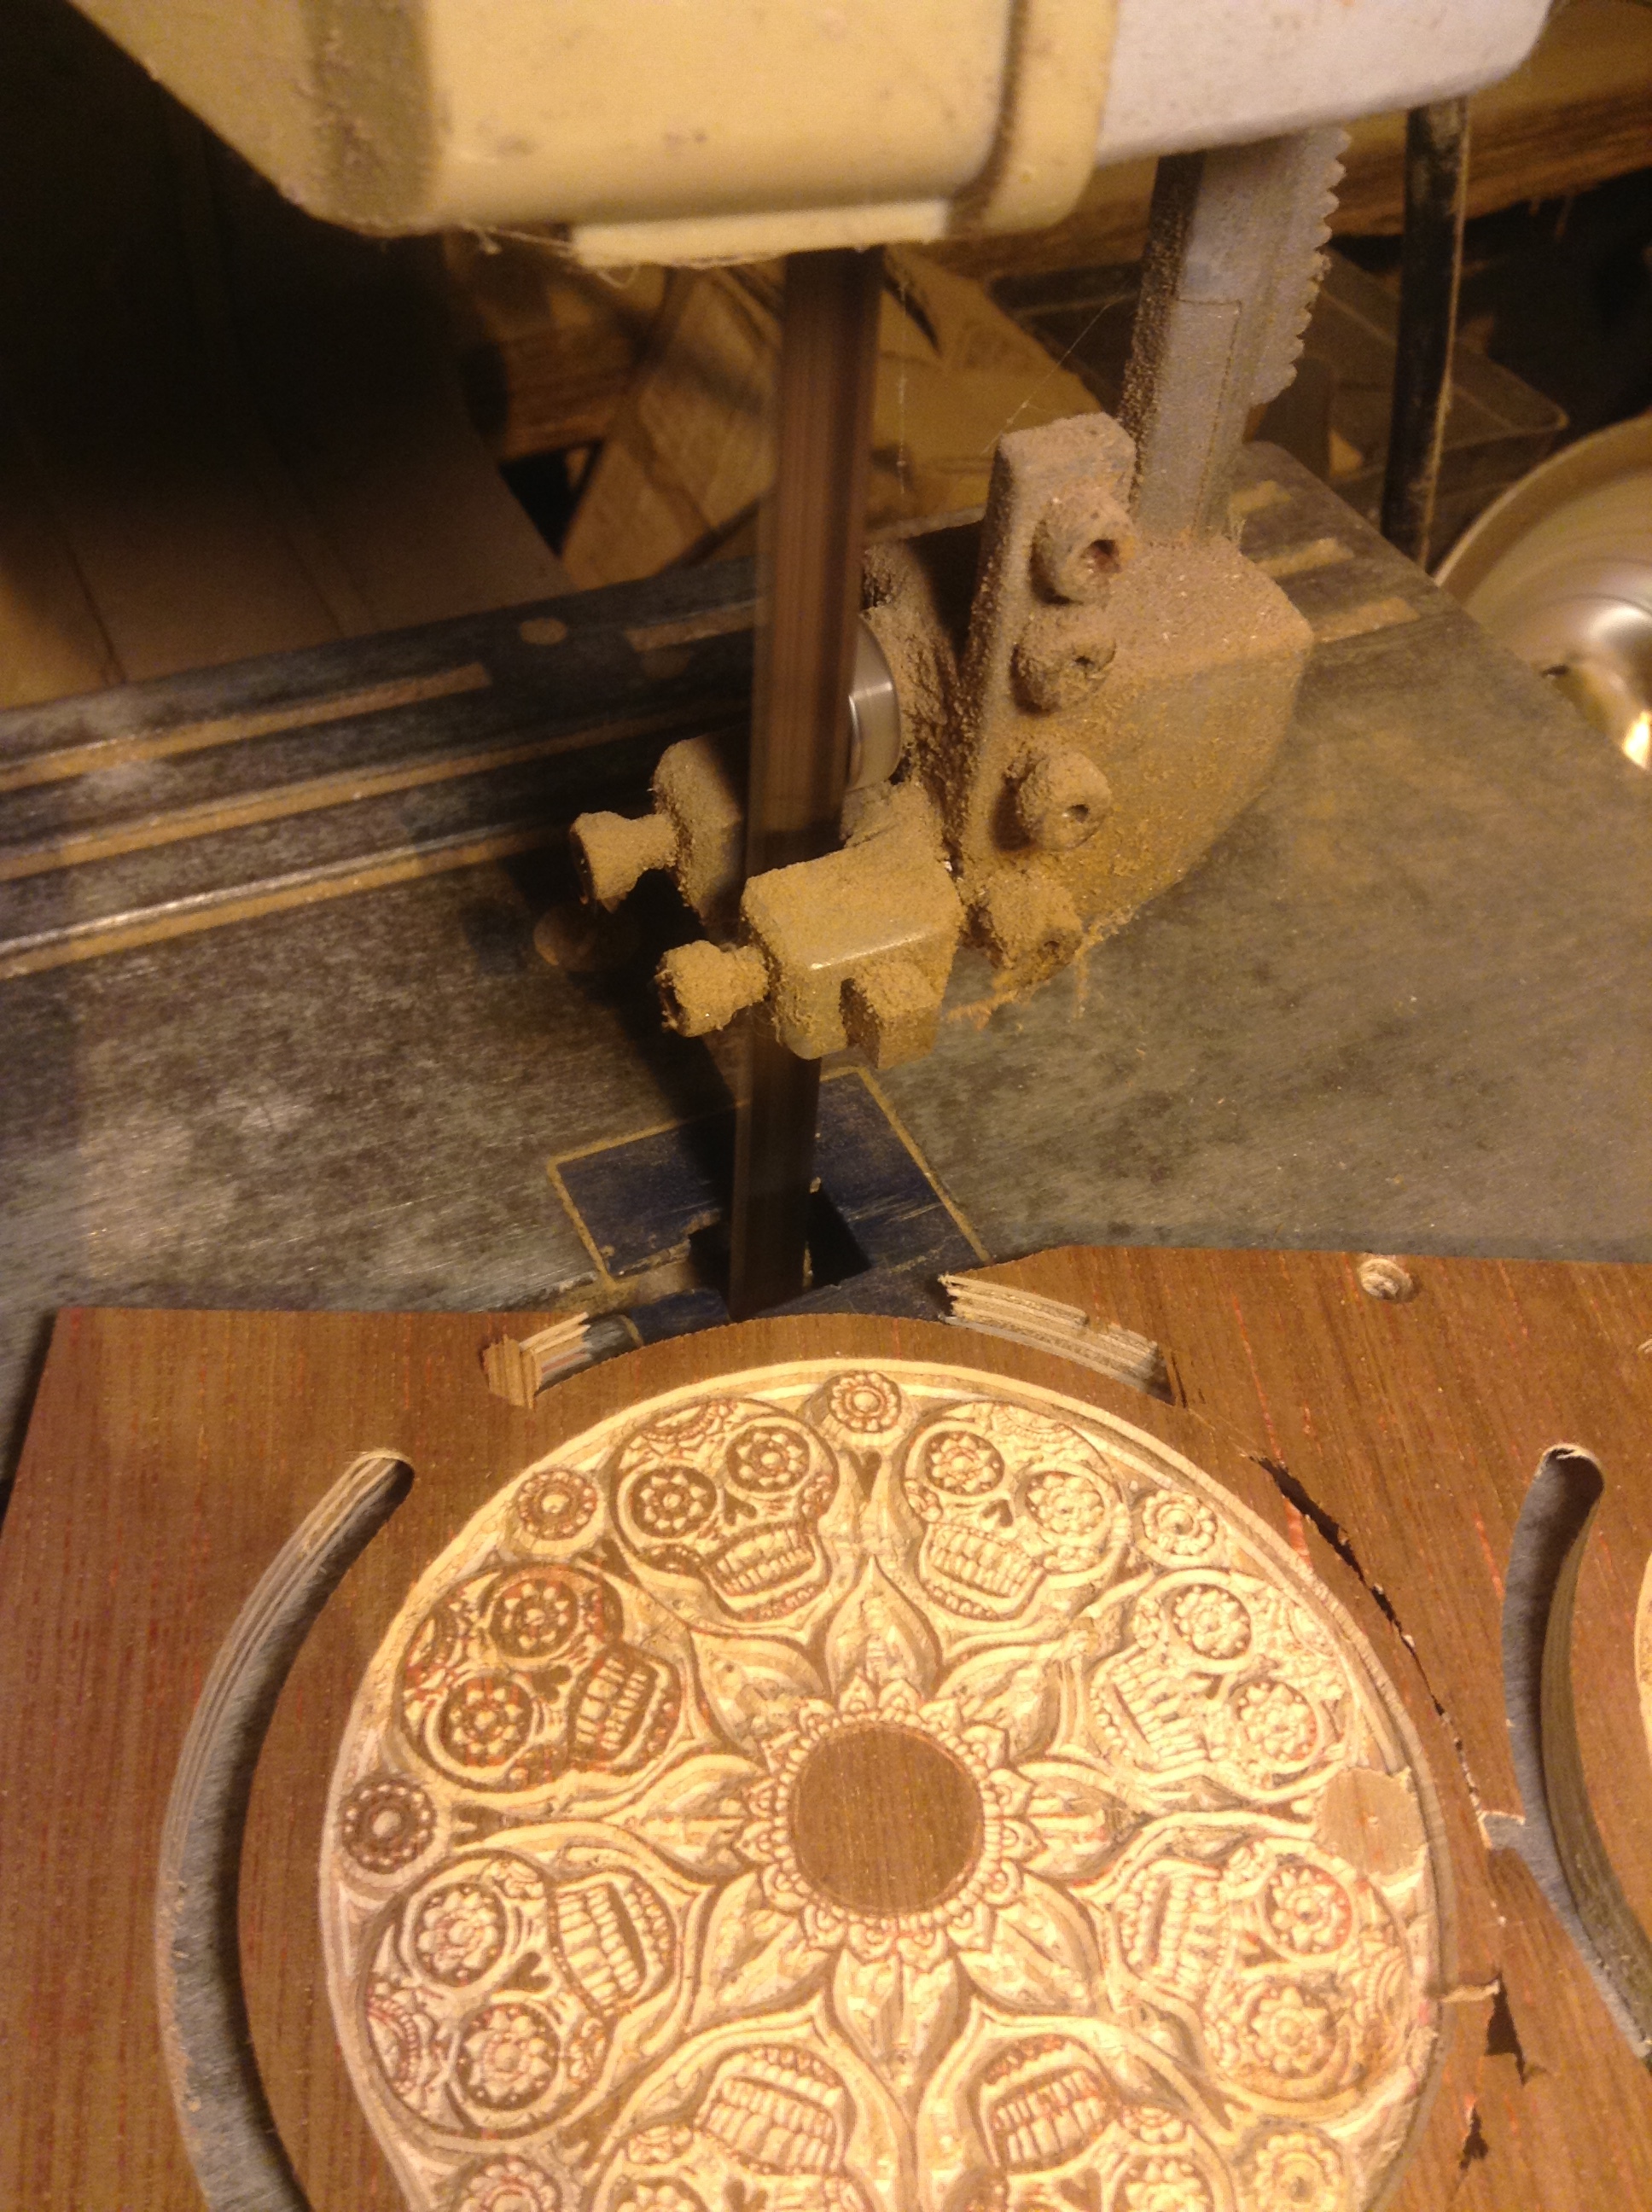
My first attempt at tabs.

Here’s some more tooling and designing info on this project.
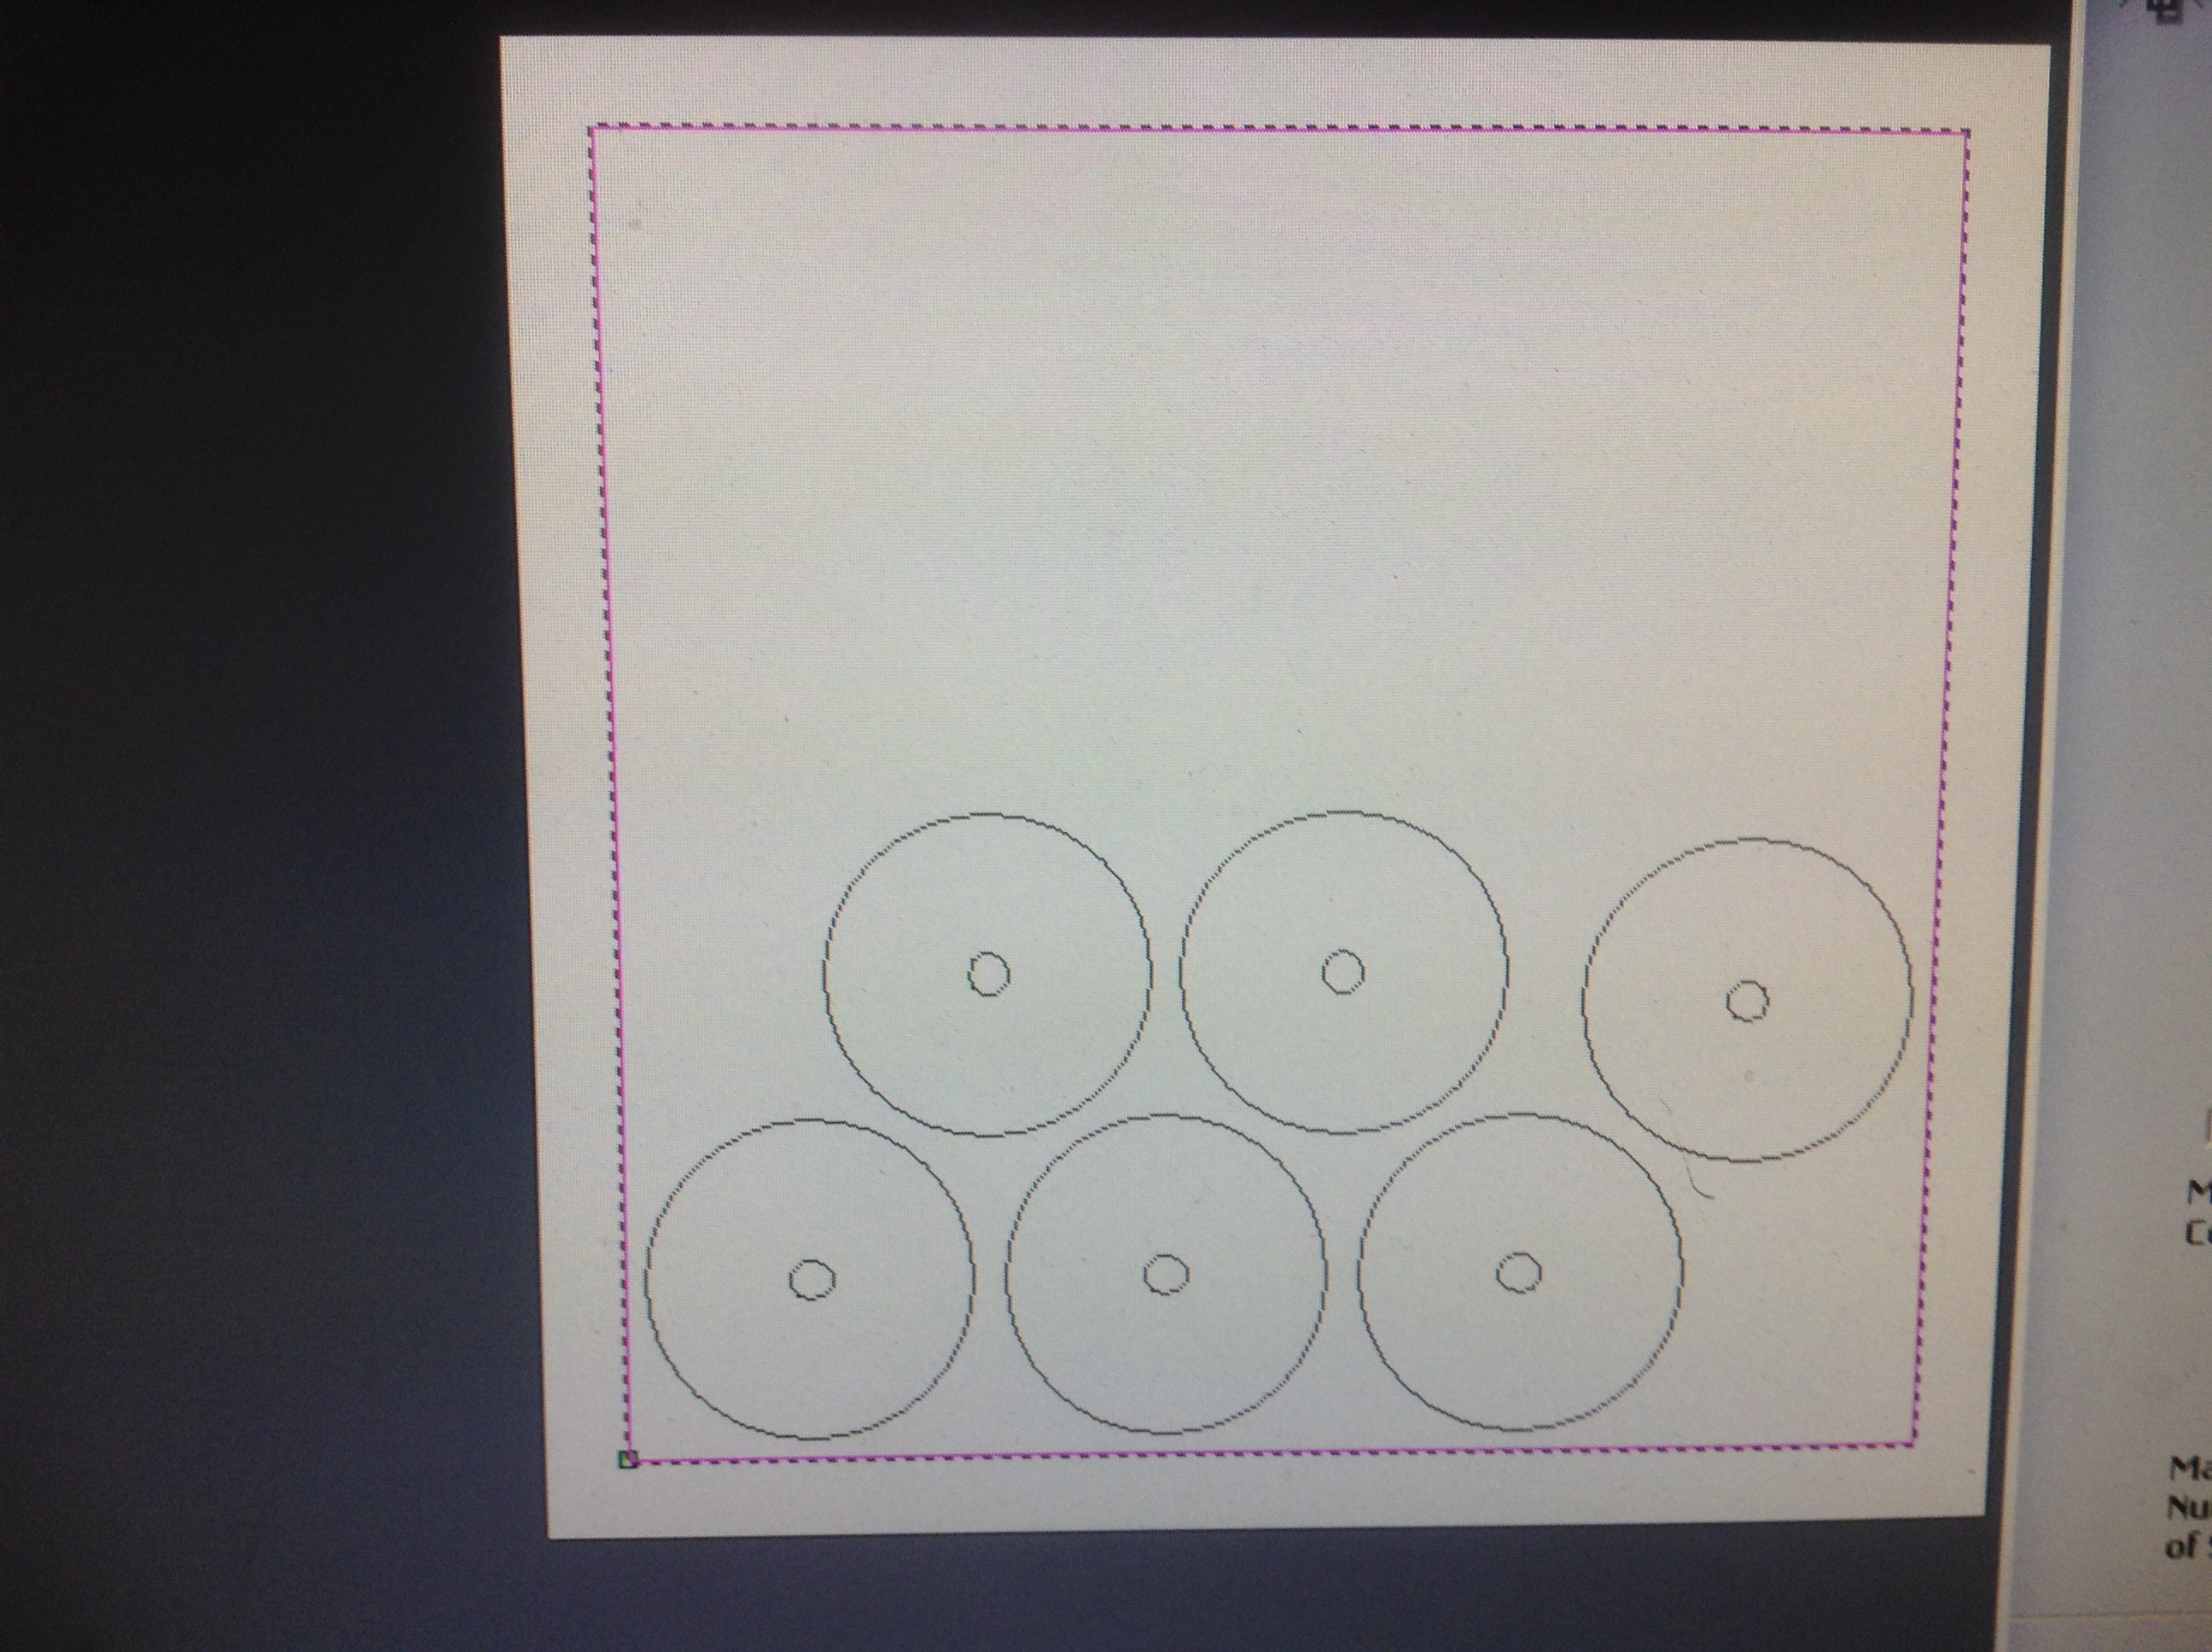
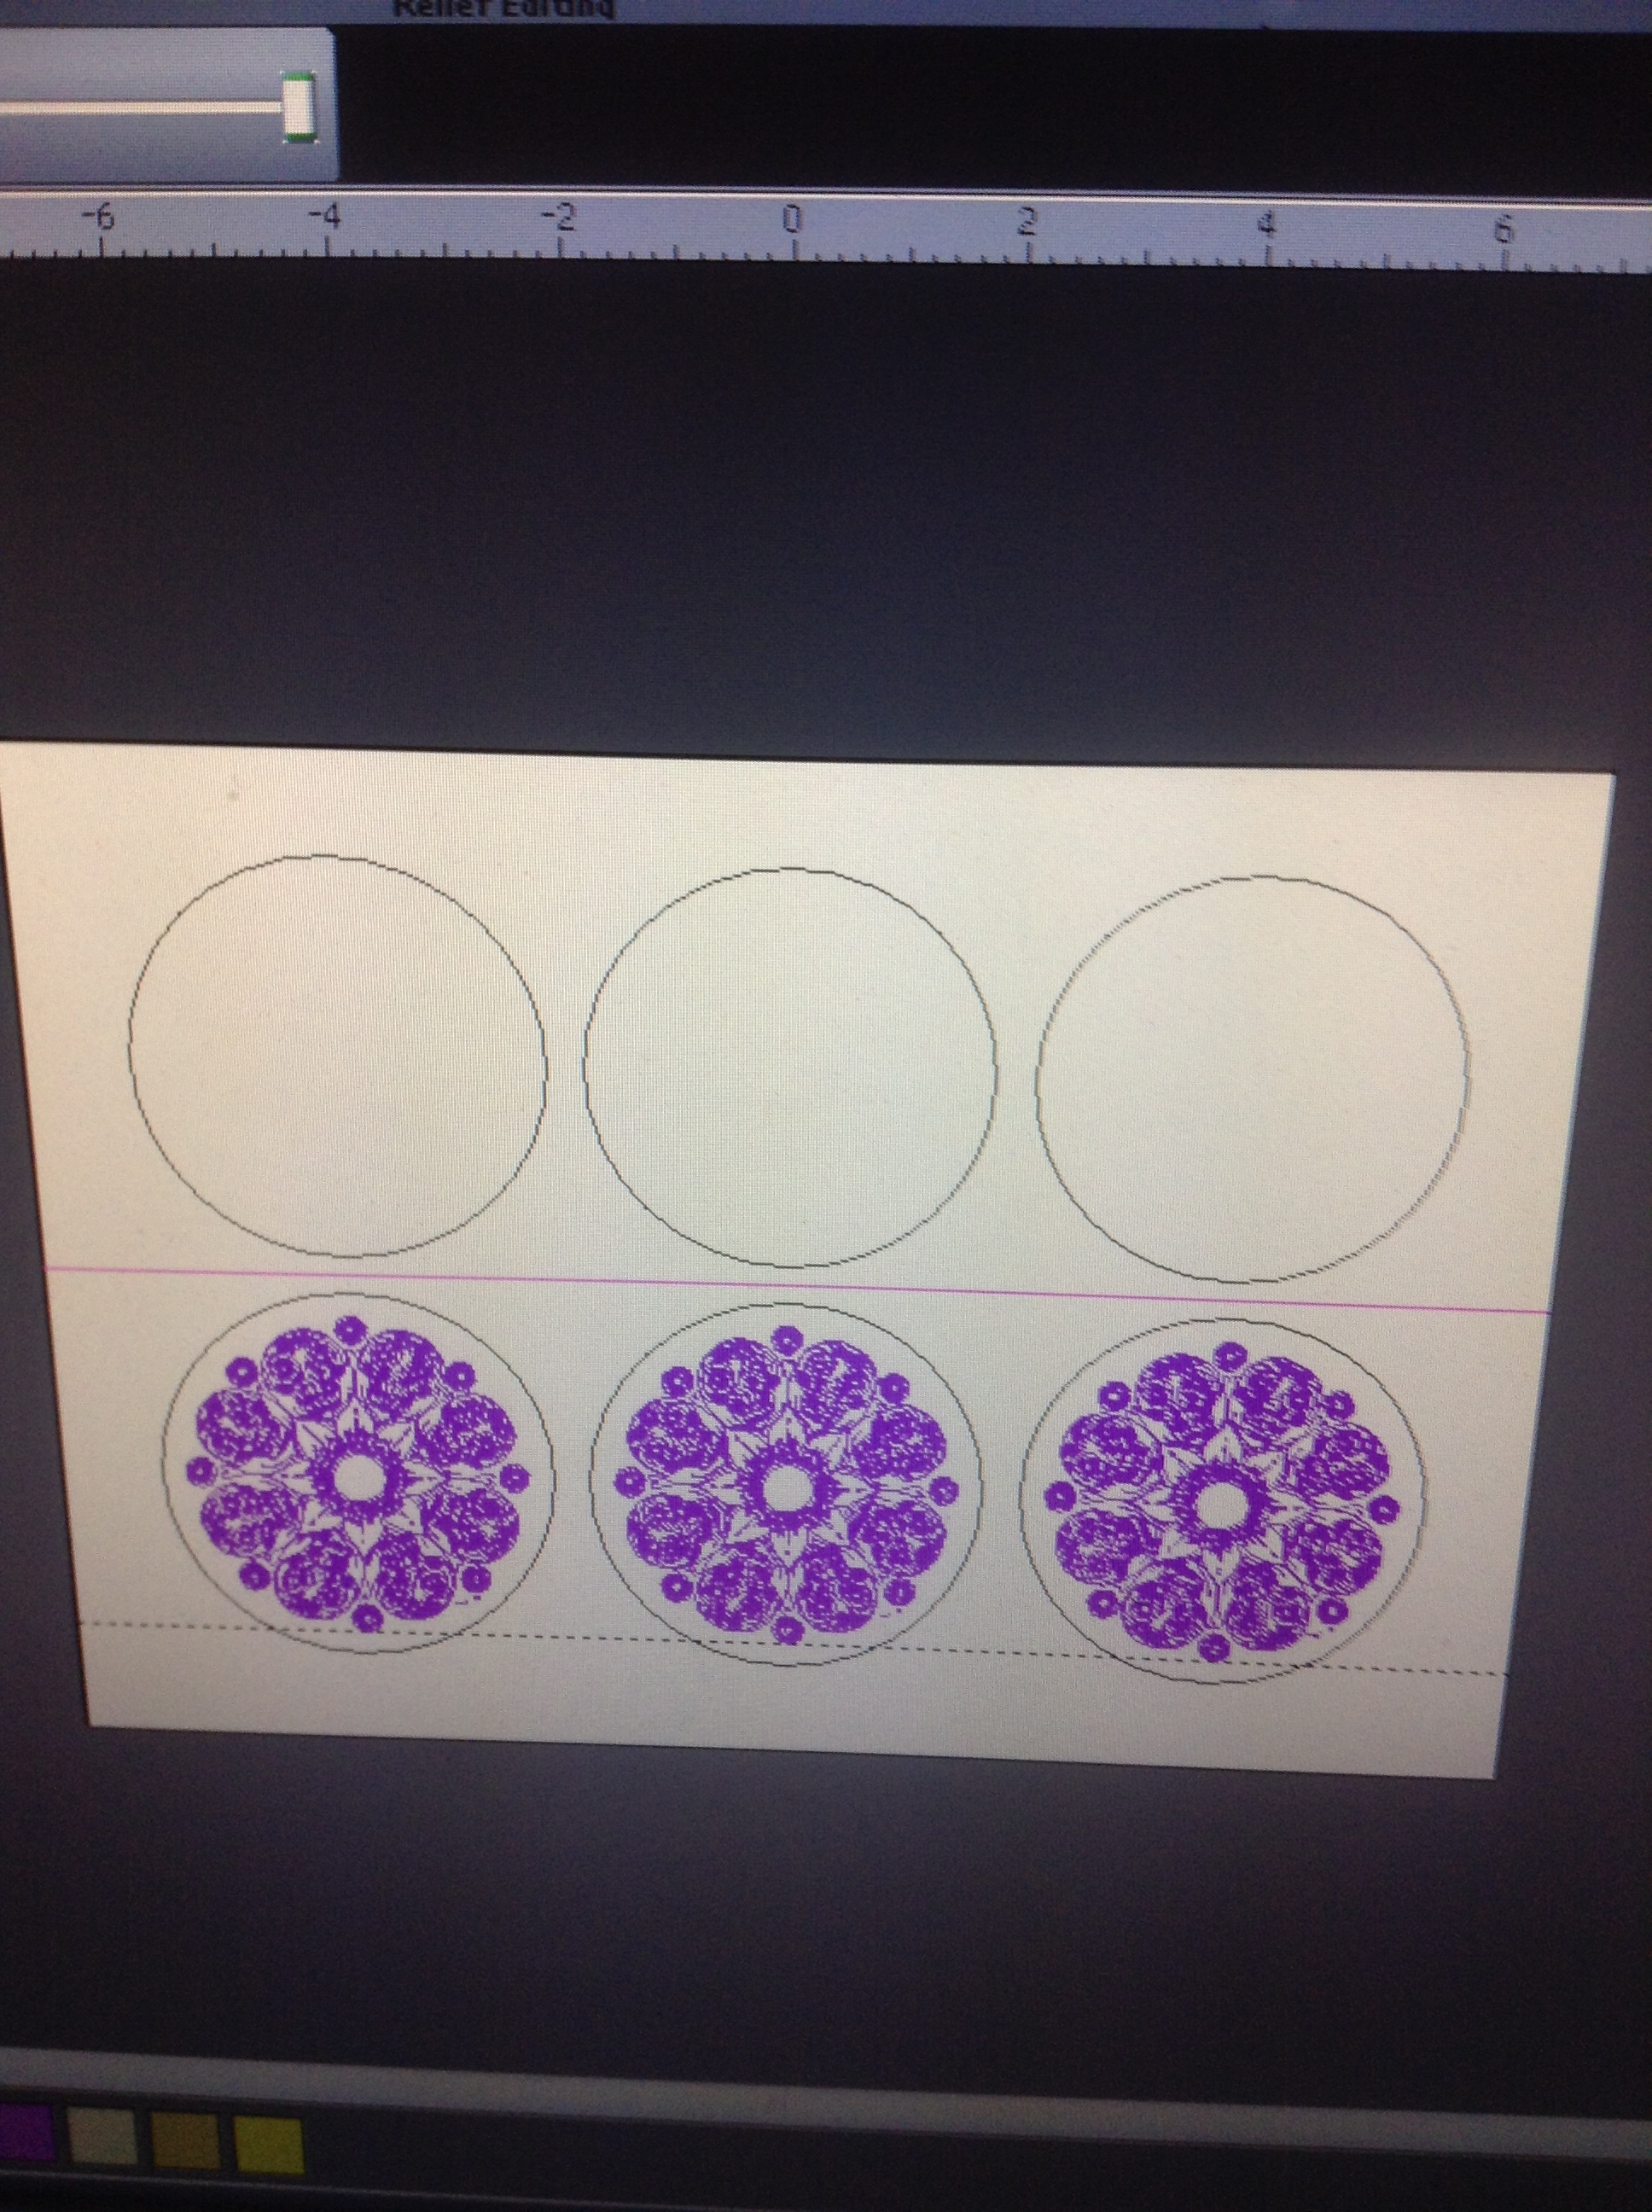
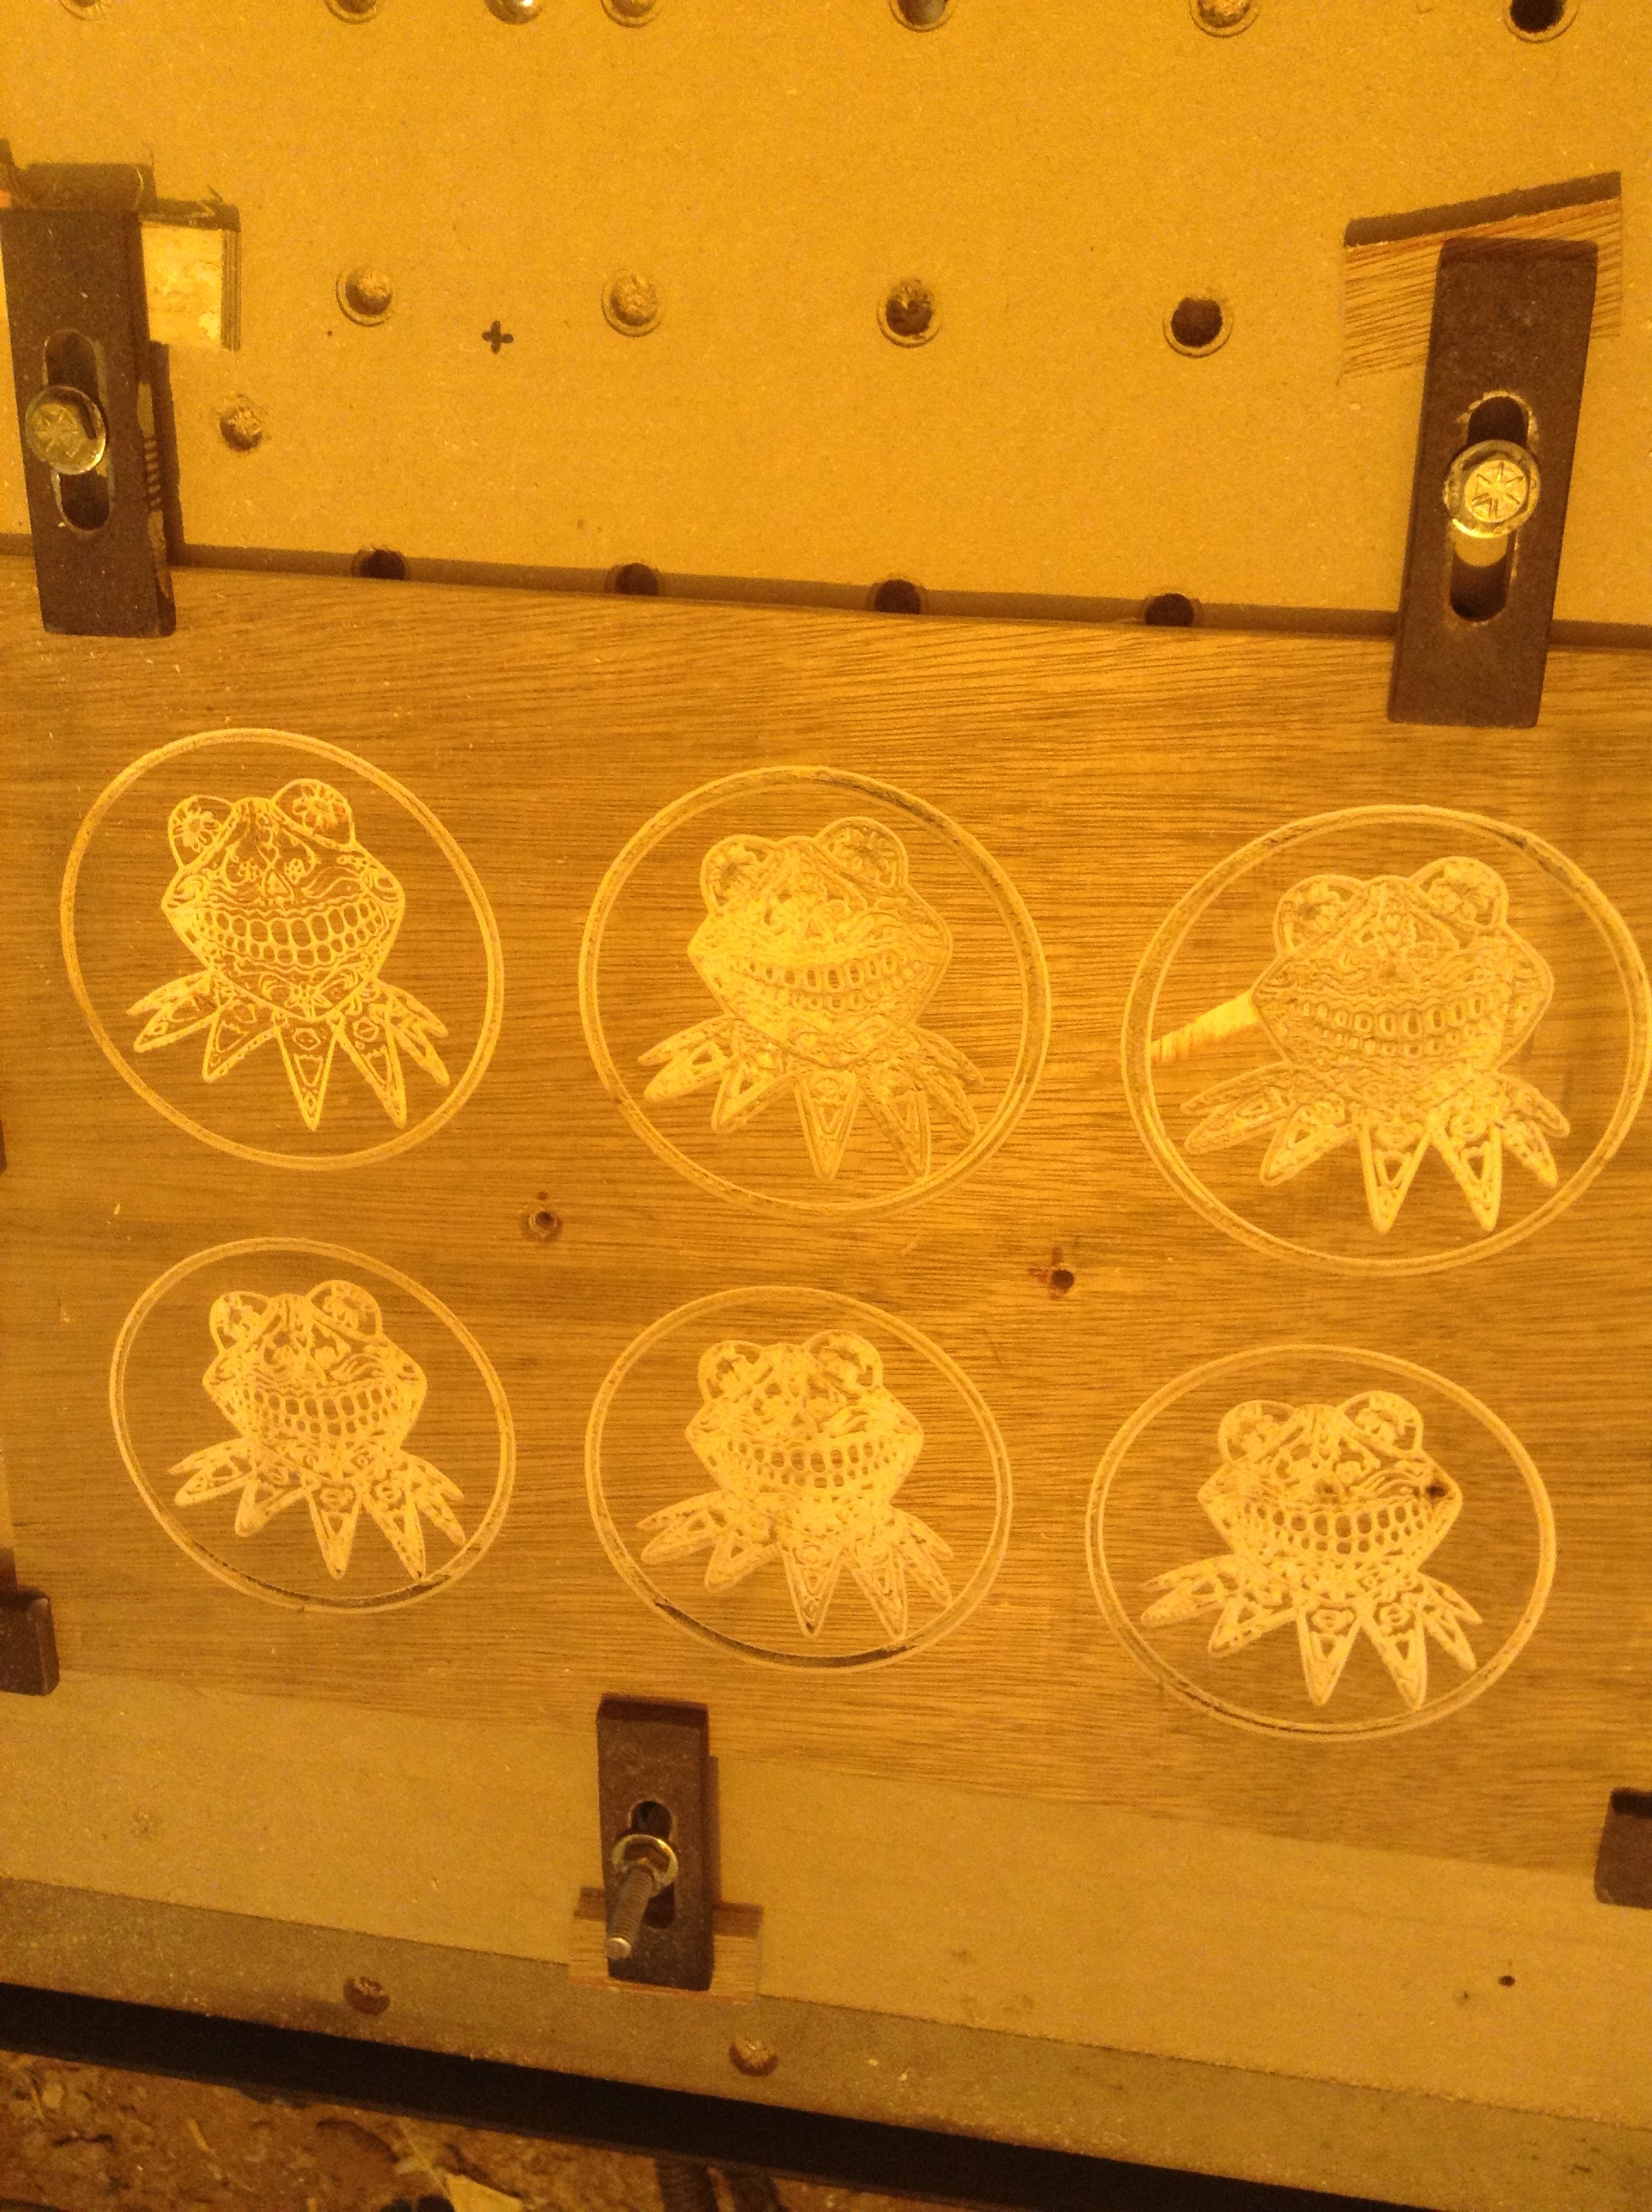
To get six of these 4" circles on one sheet in a way I could flip accurately took me some head scratching. I don’t do 2 sided machining very often.
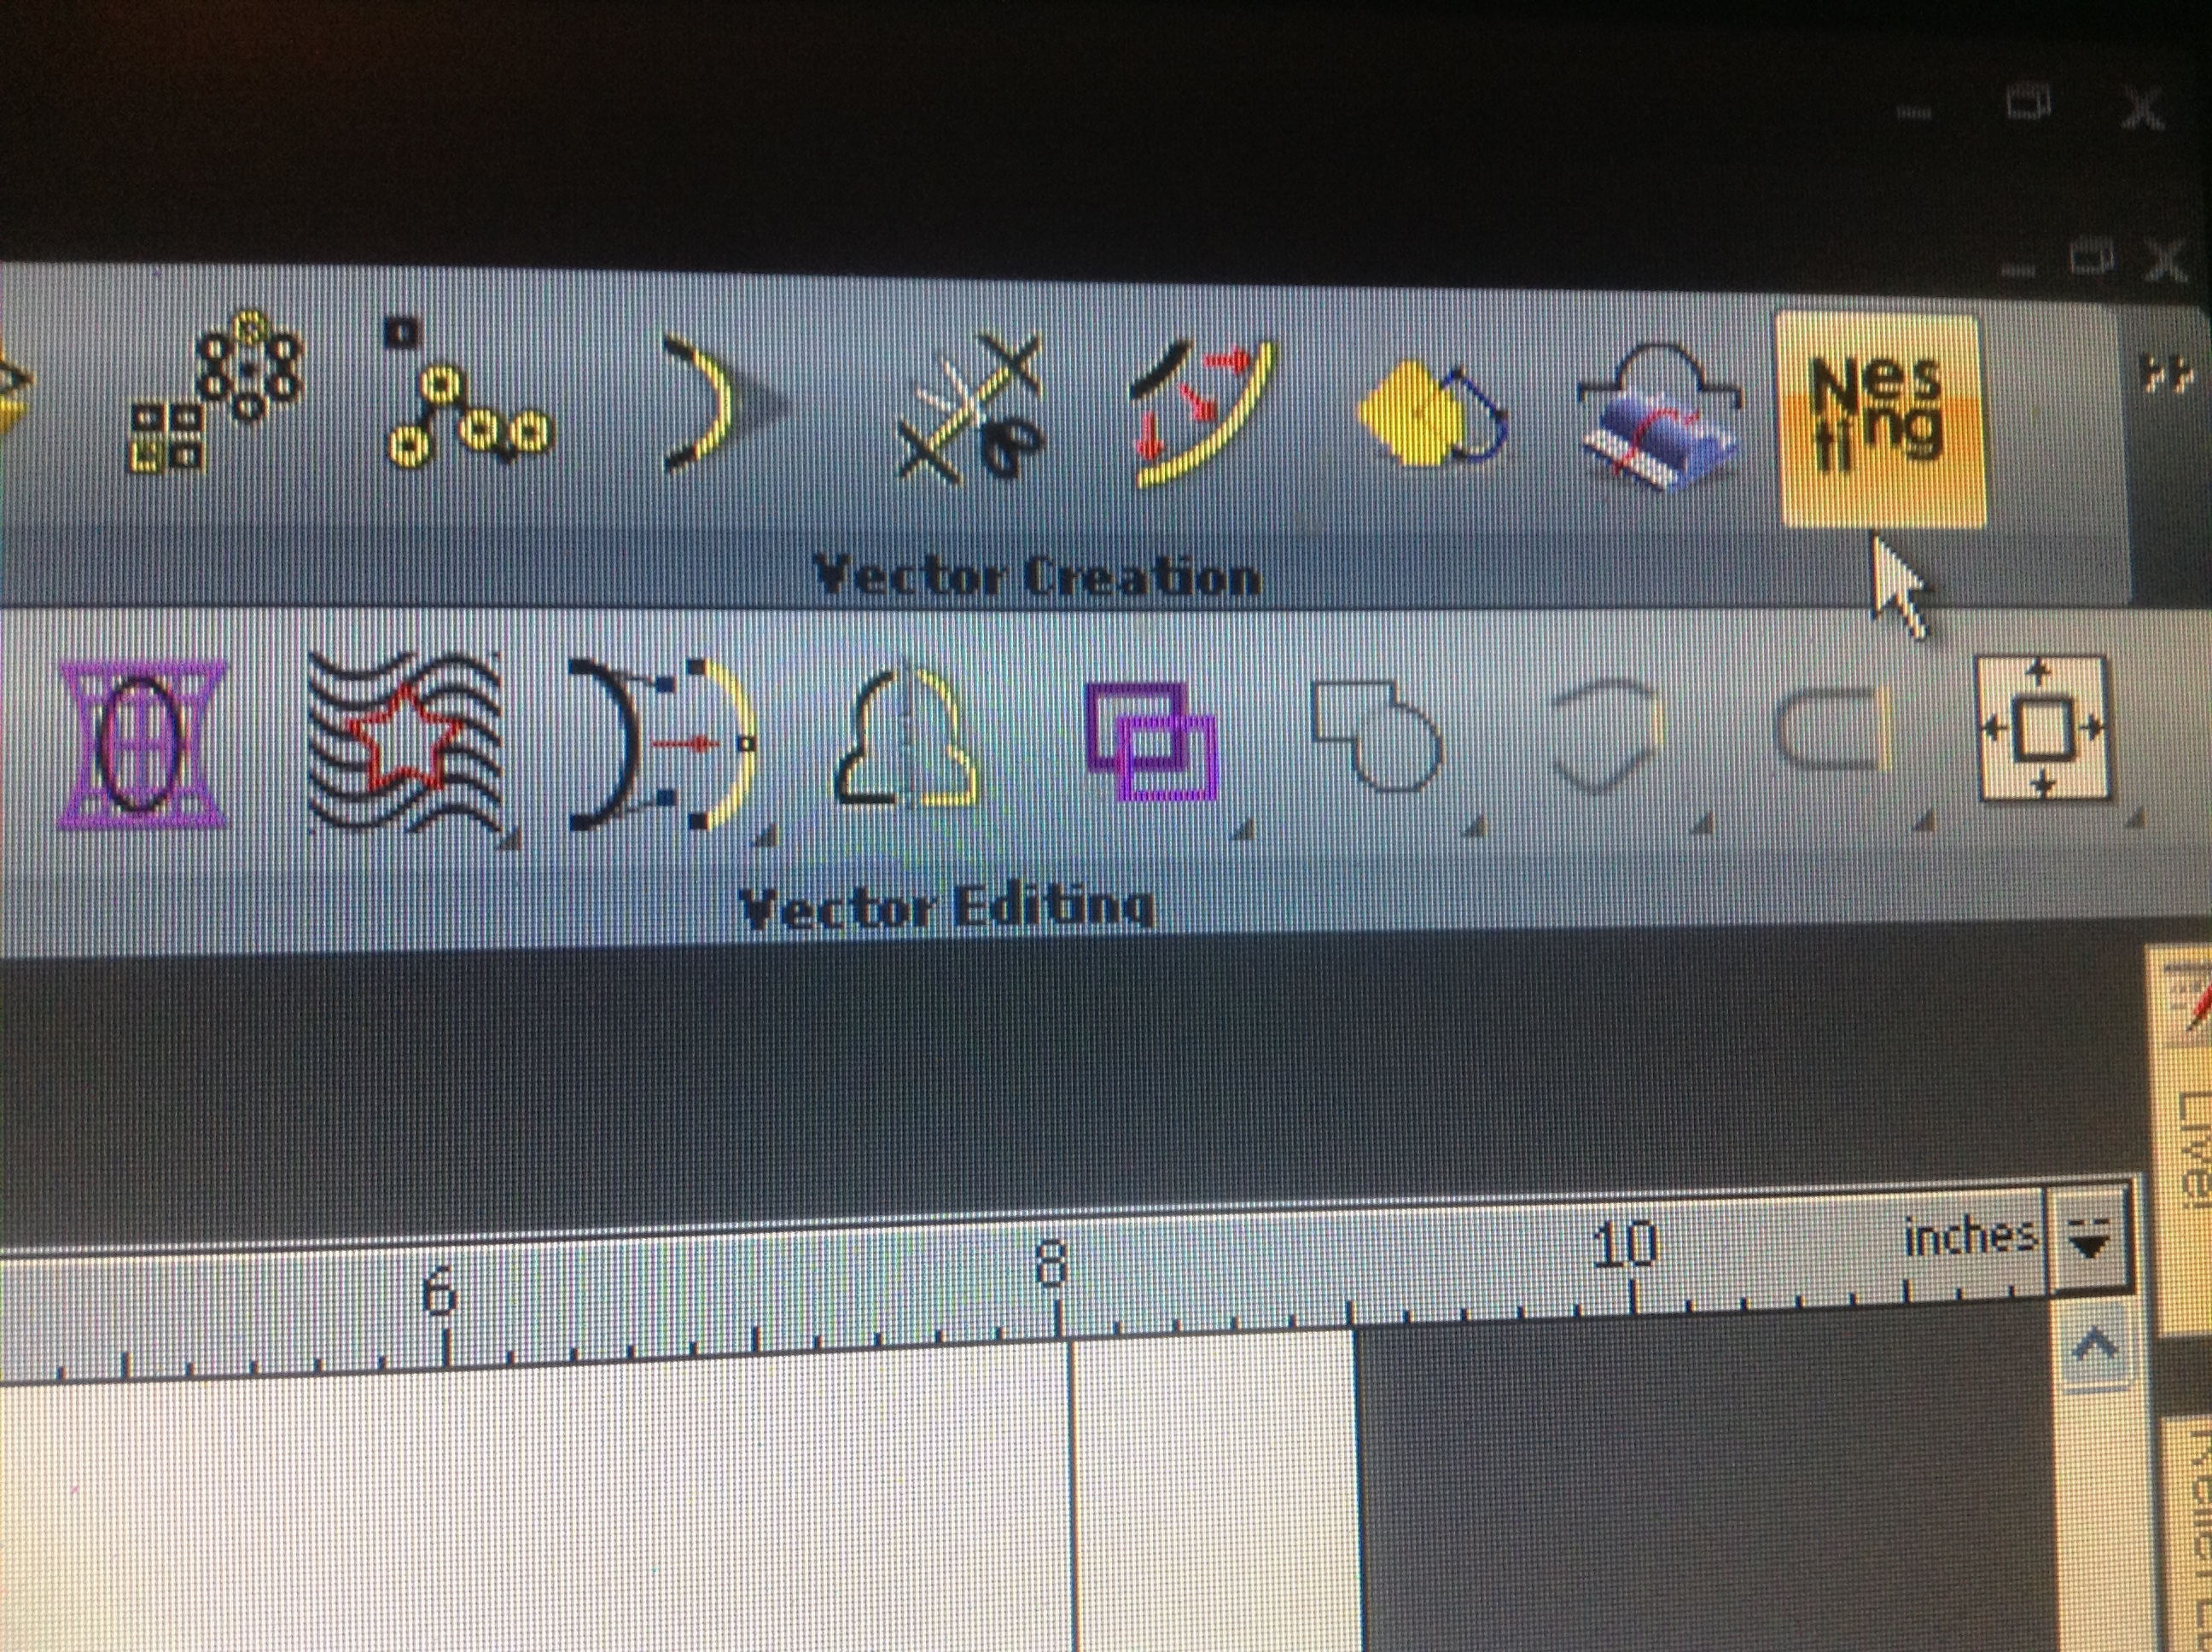
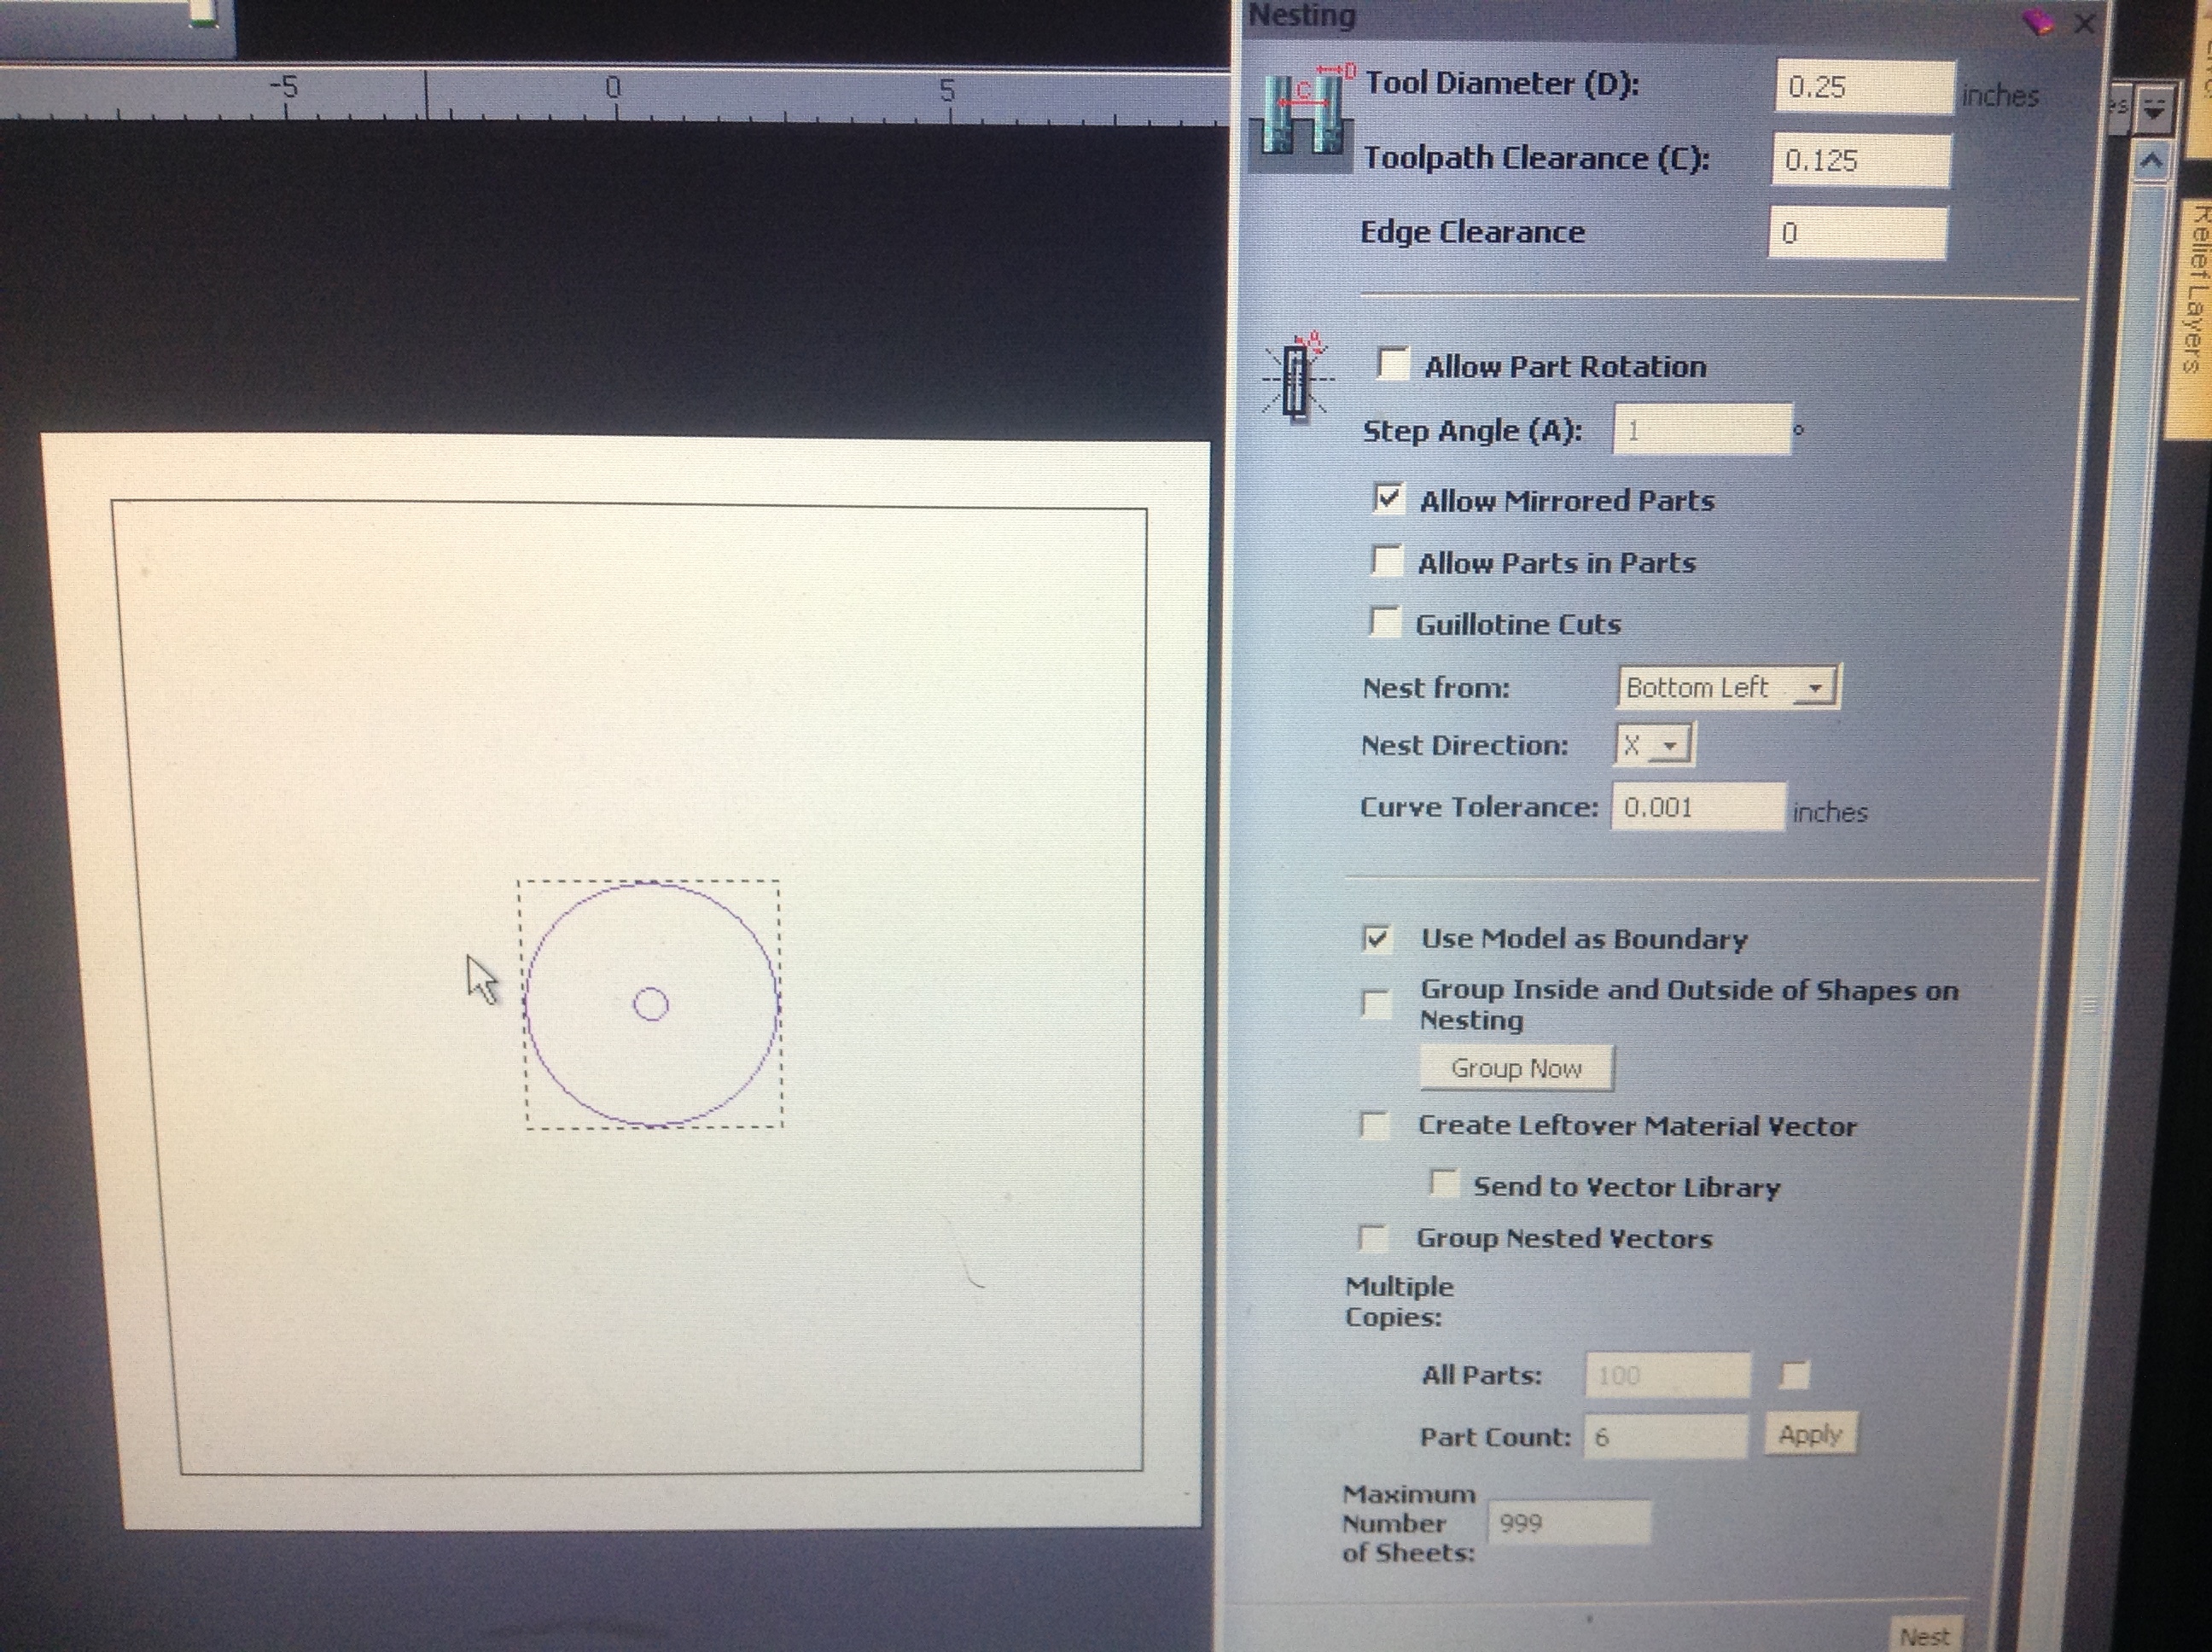
My first idea was to nest the parts. Wrong.


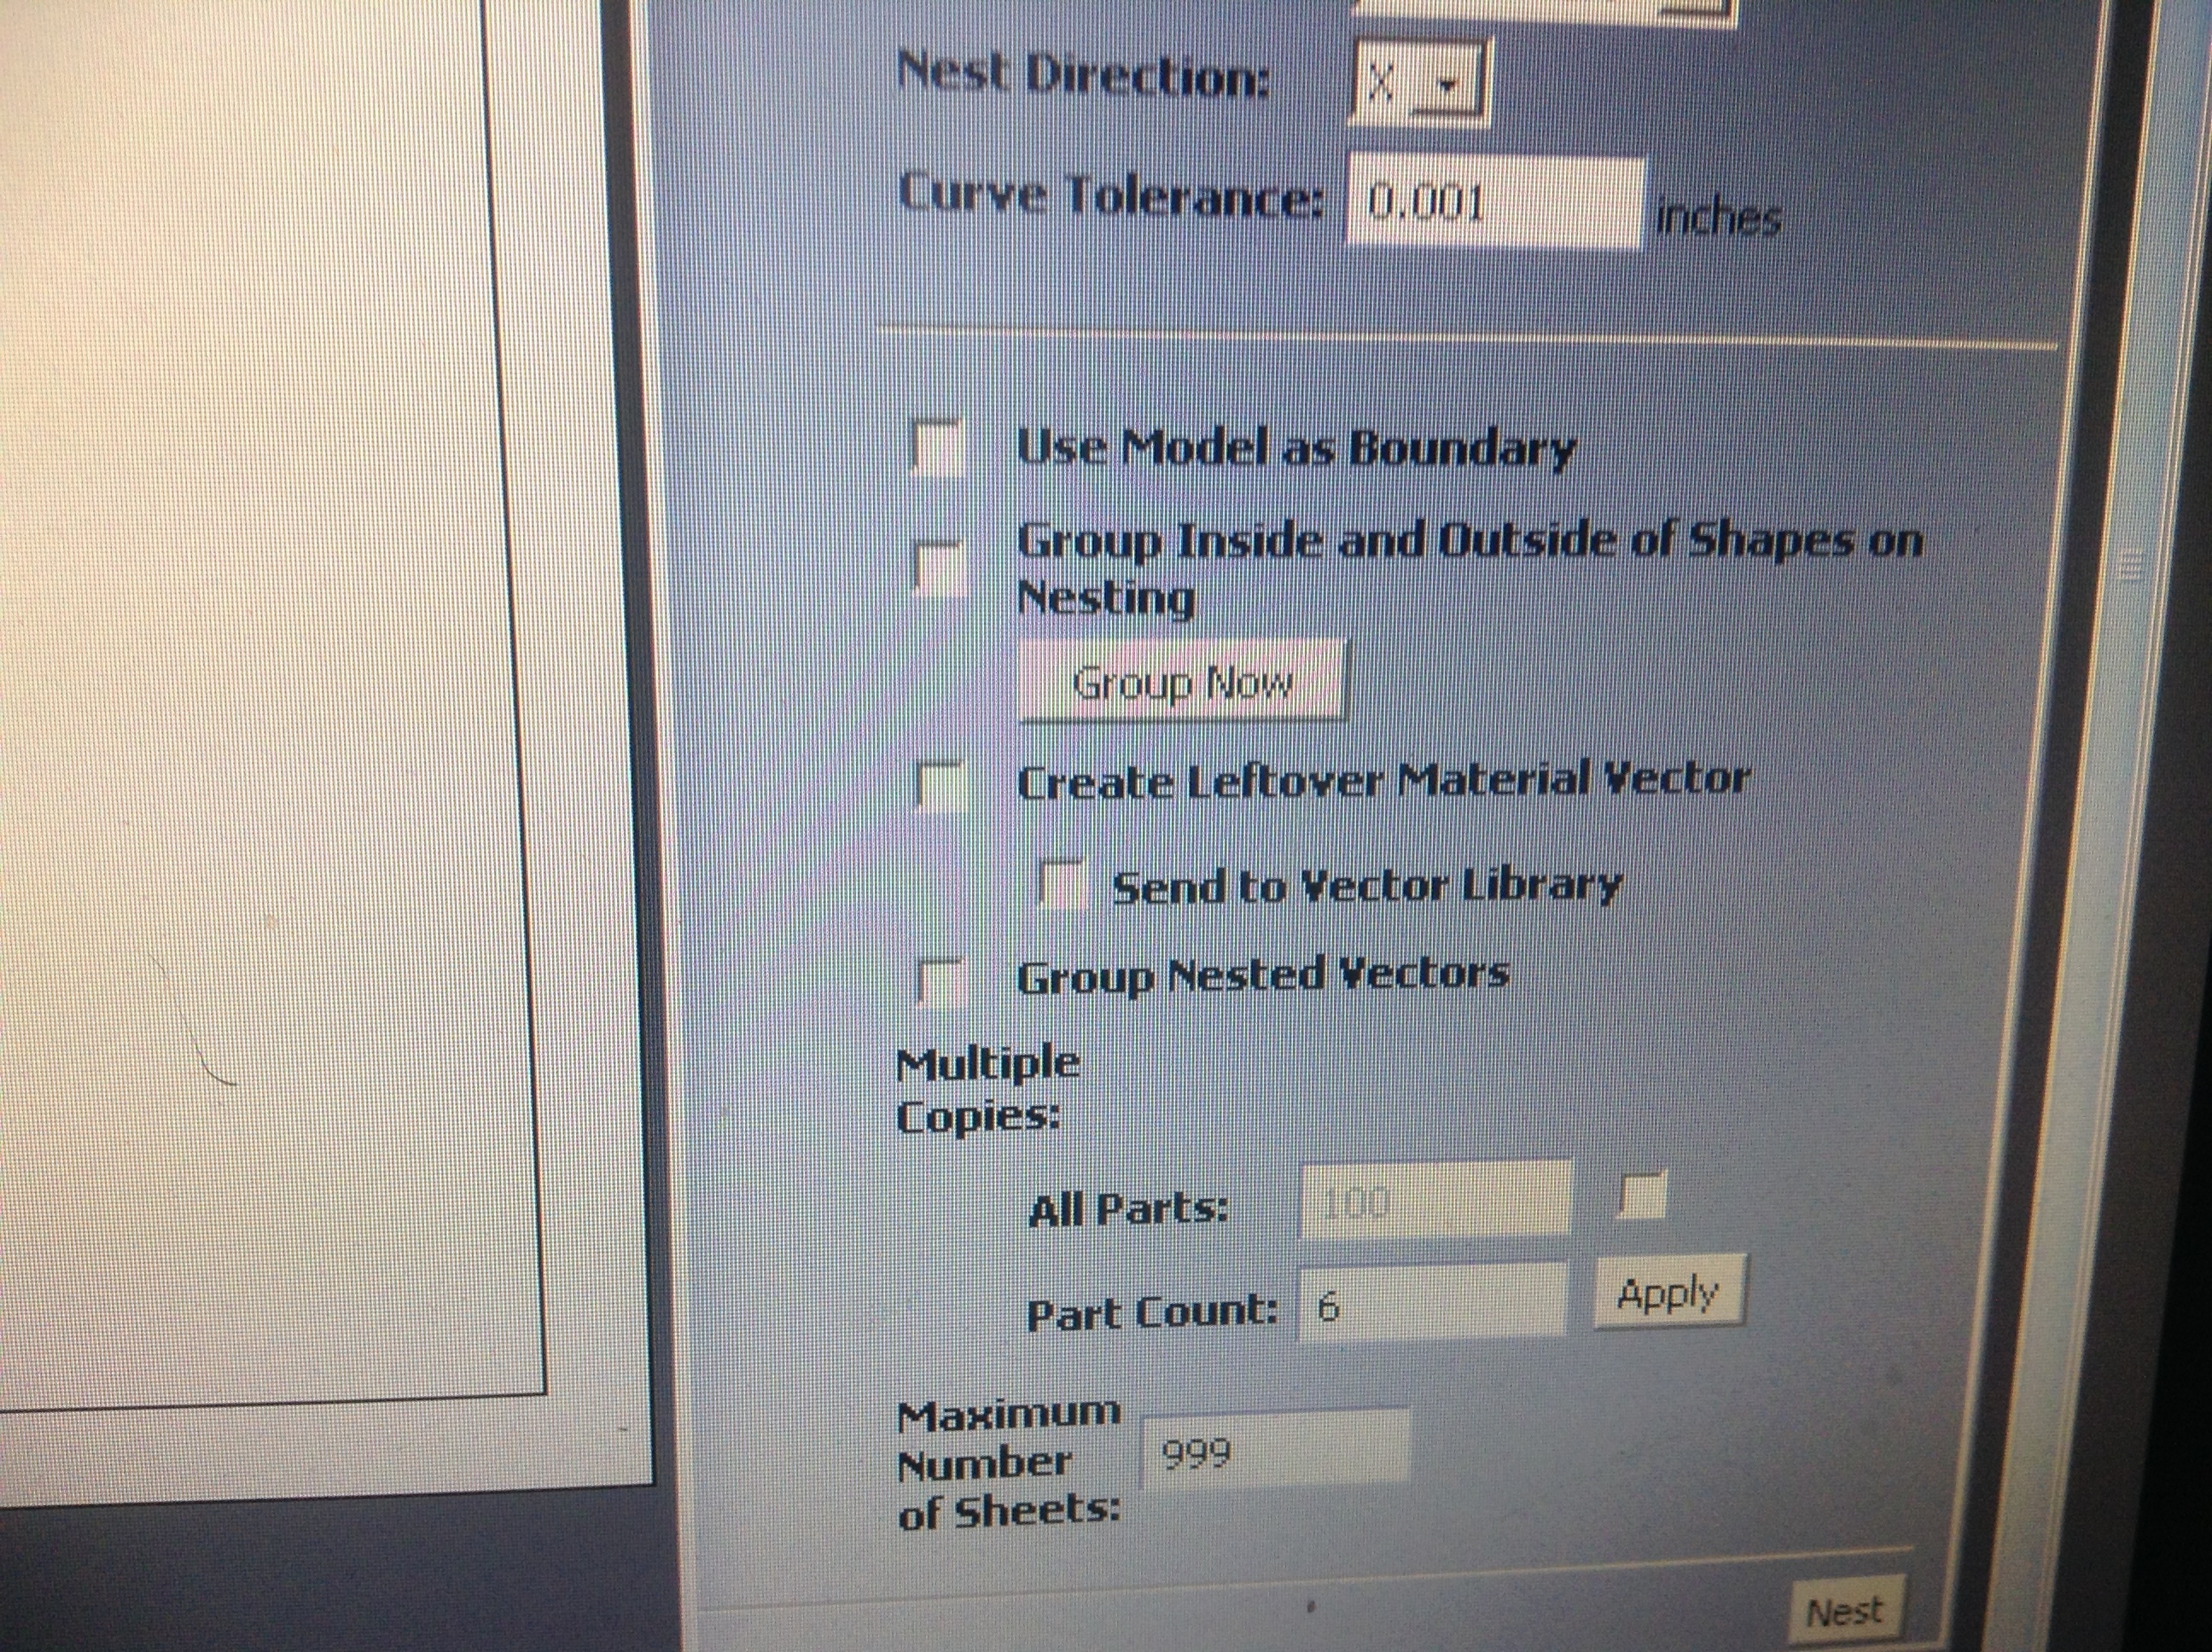
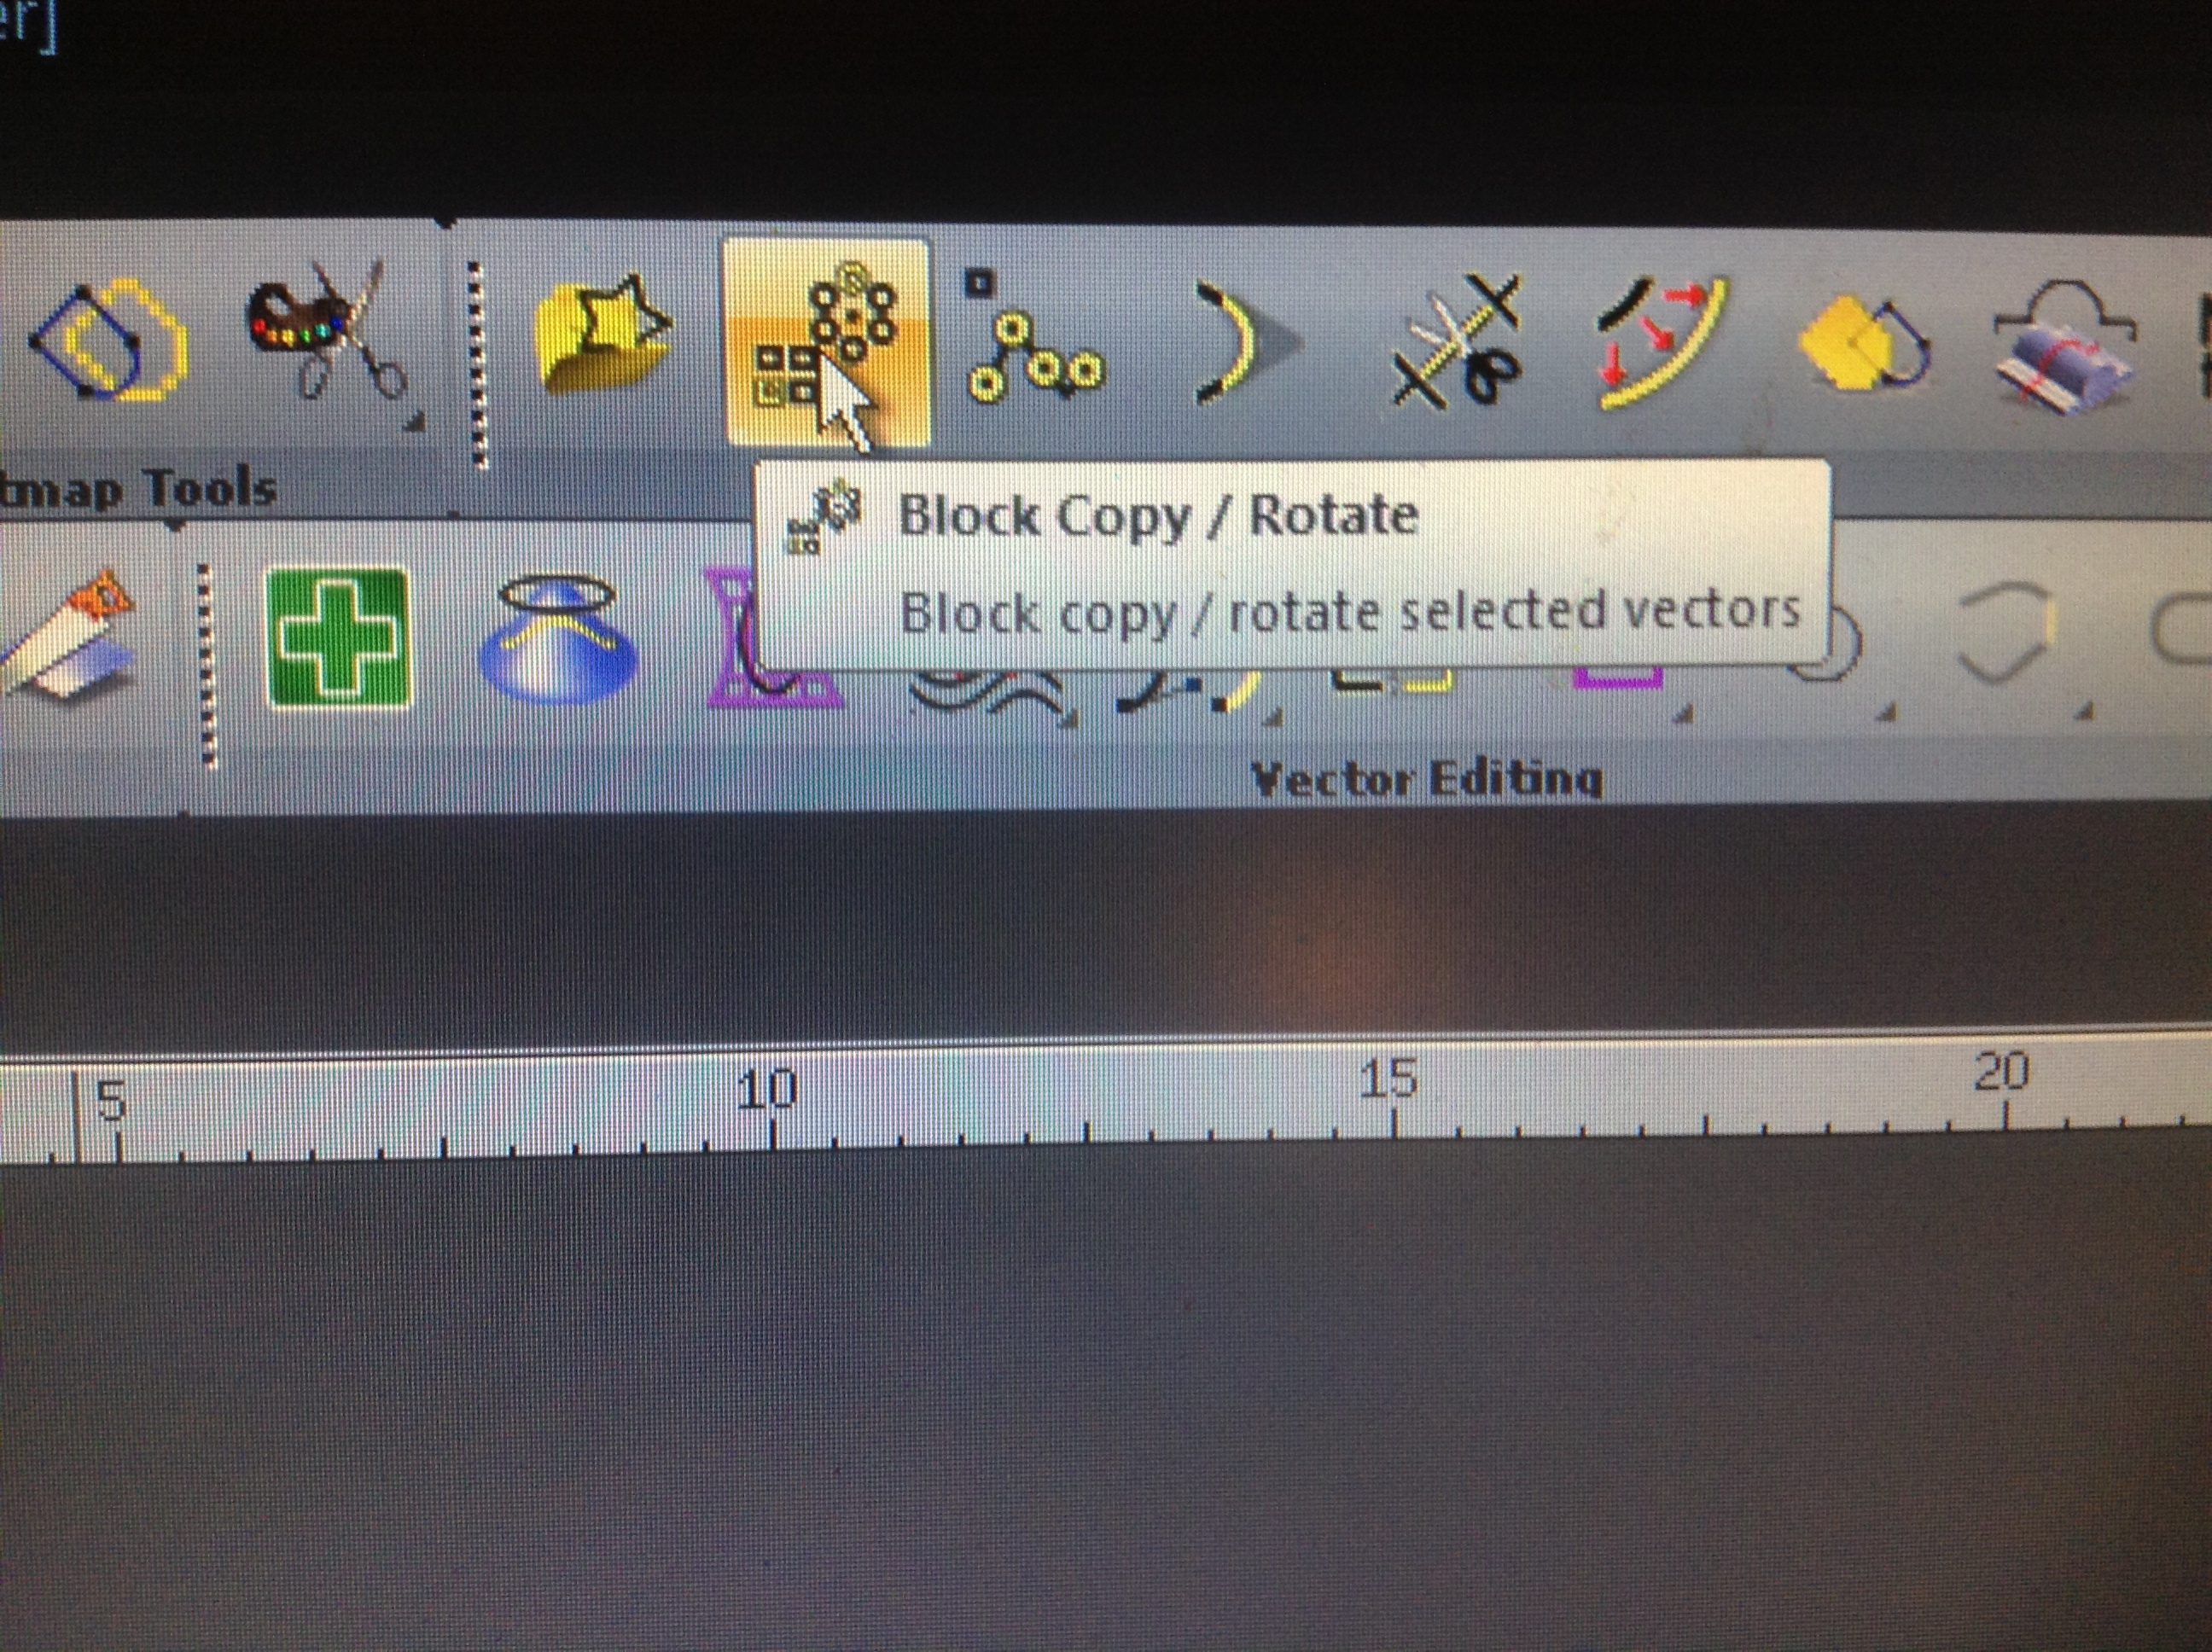
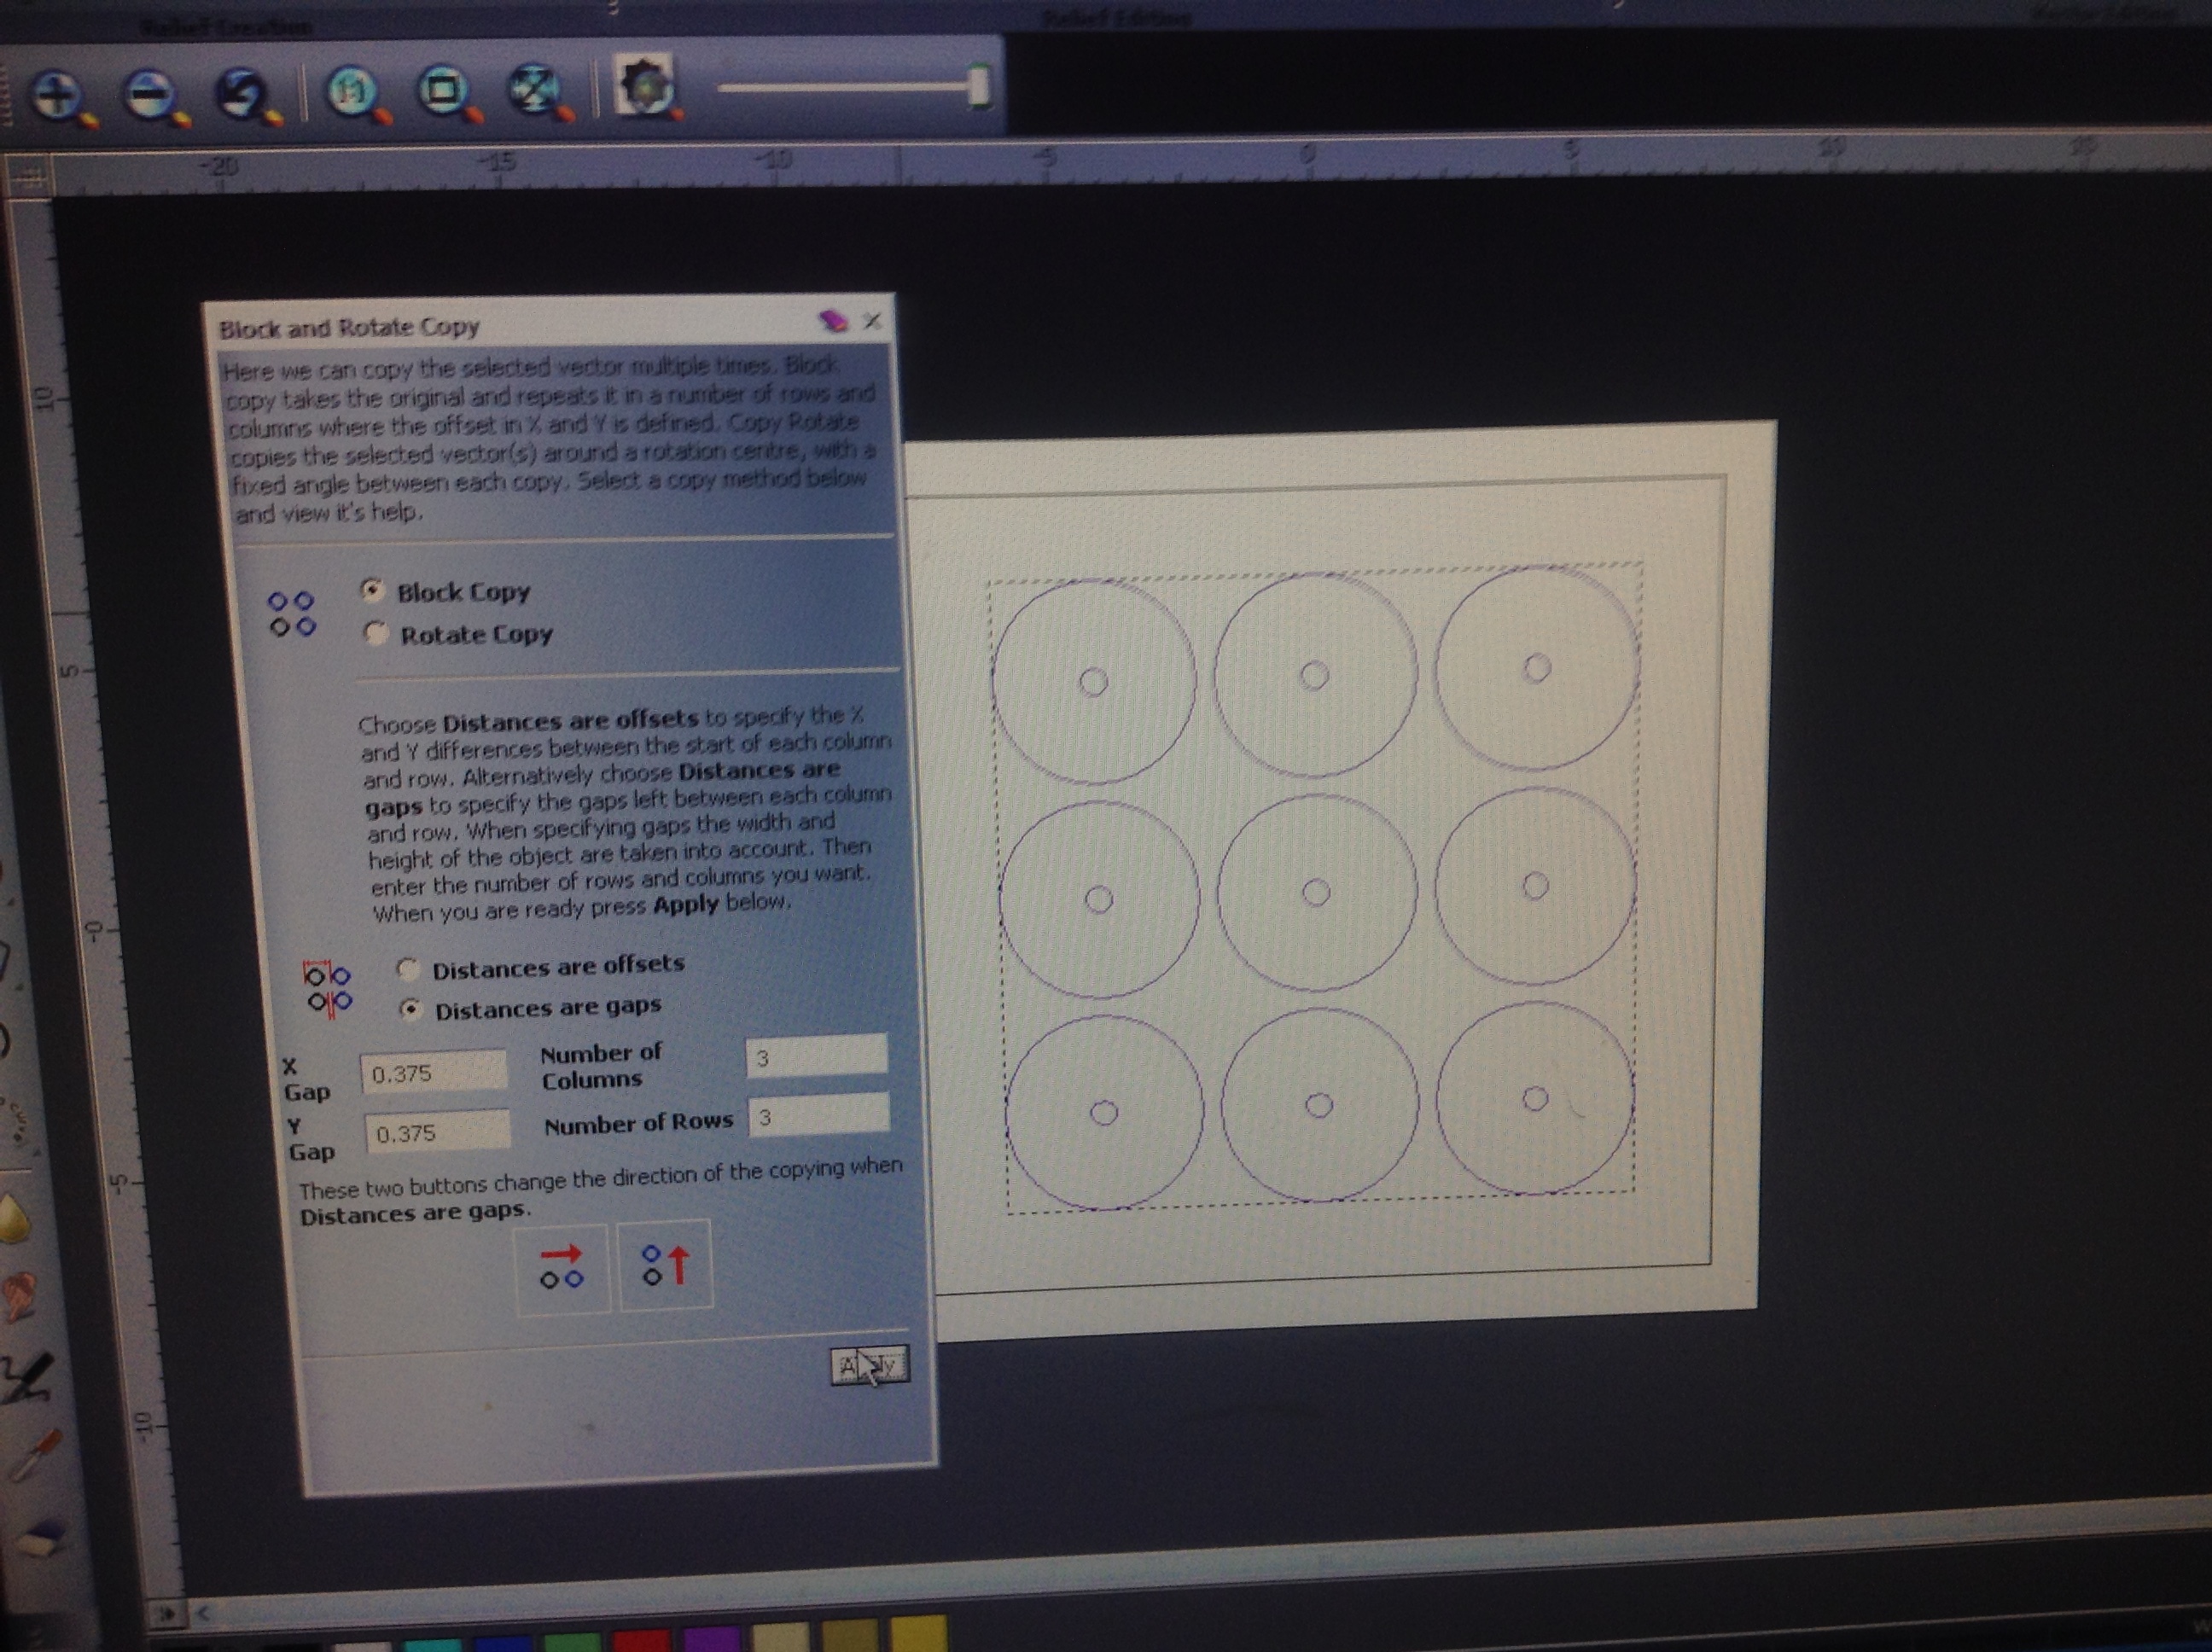
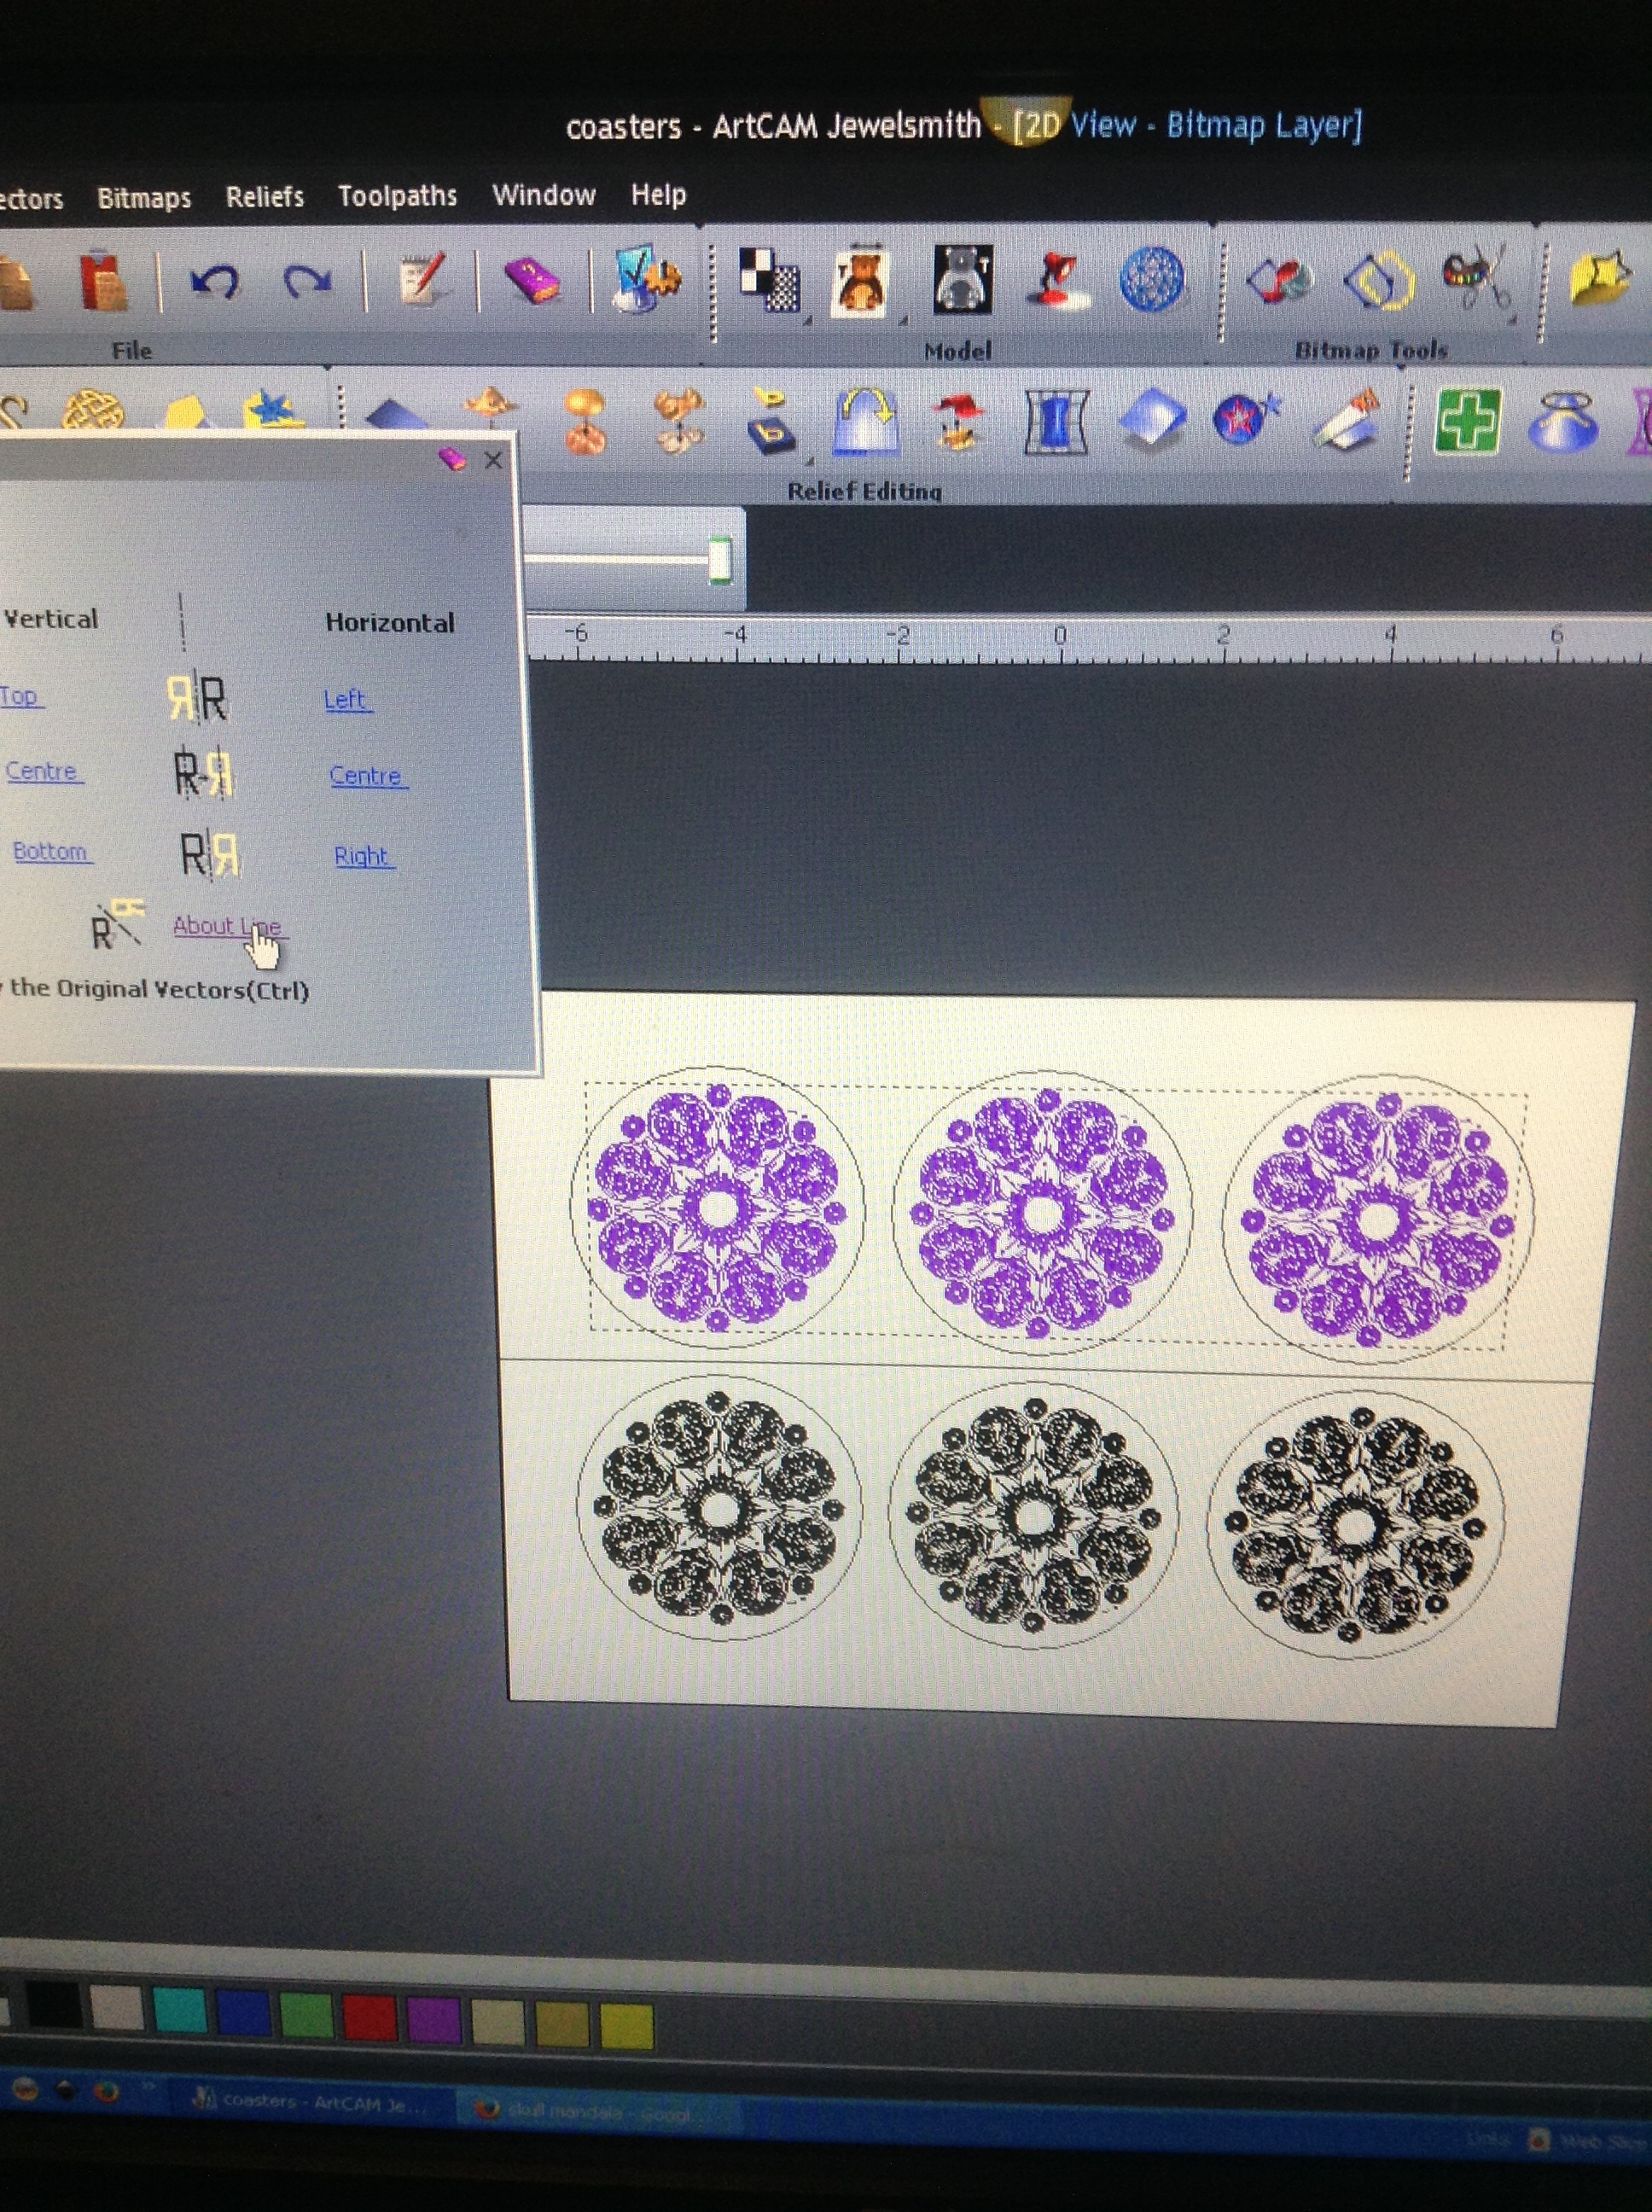
You use the “Block, copy, rotate” button, then hit F9 to center everything.


I know the picture shows 9. I ungrouped, deleted 3, and re centered and regrouped.
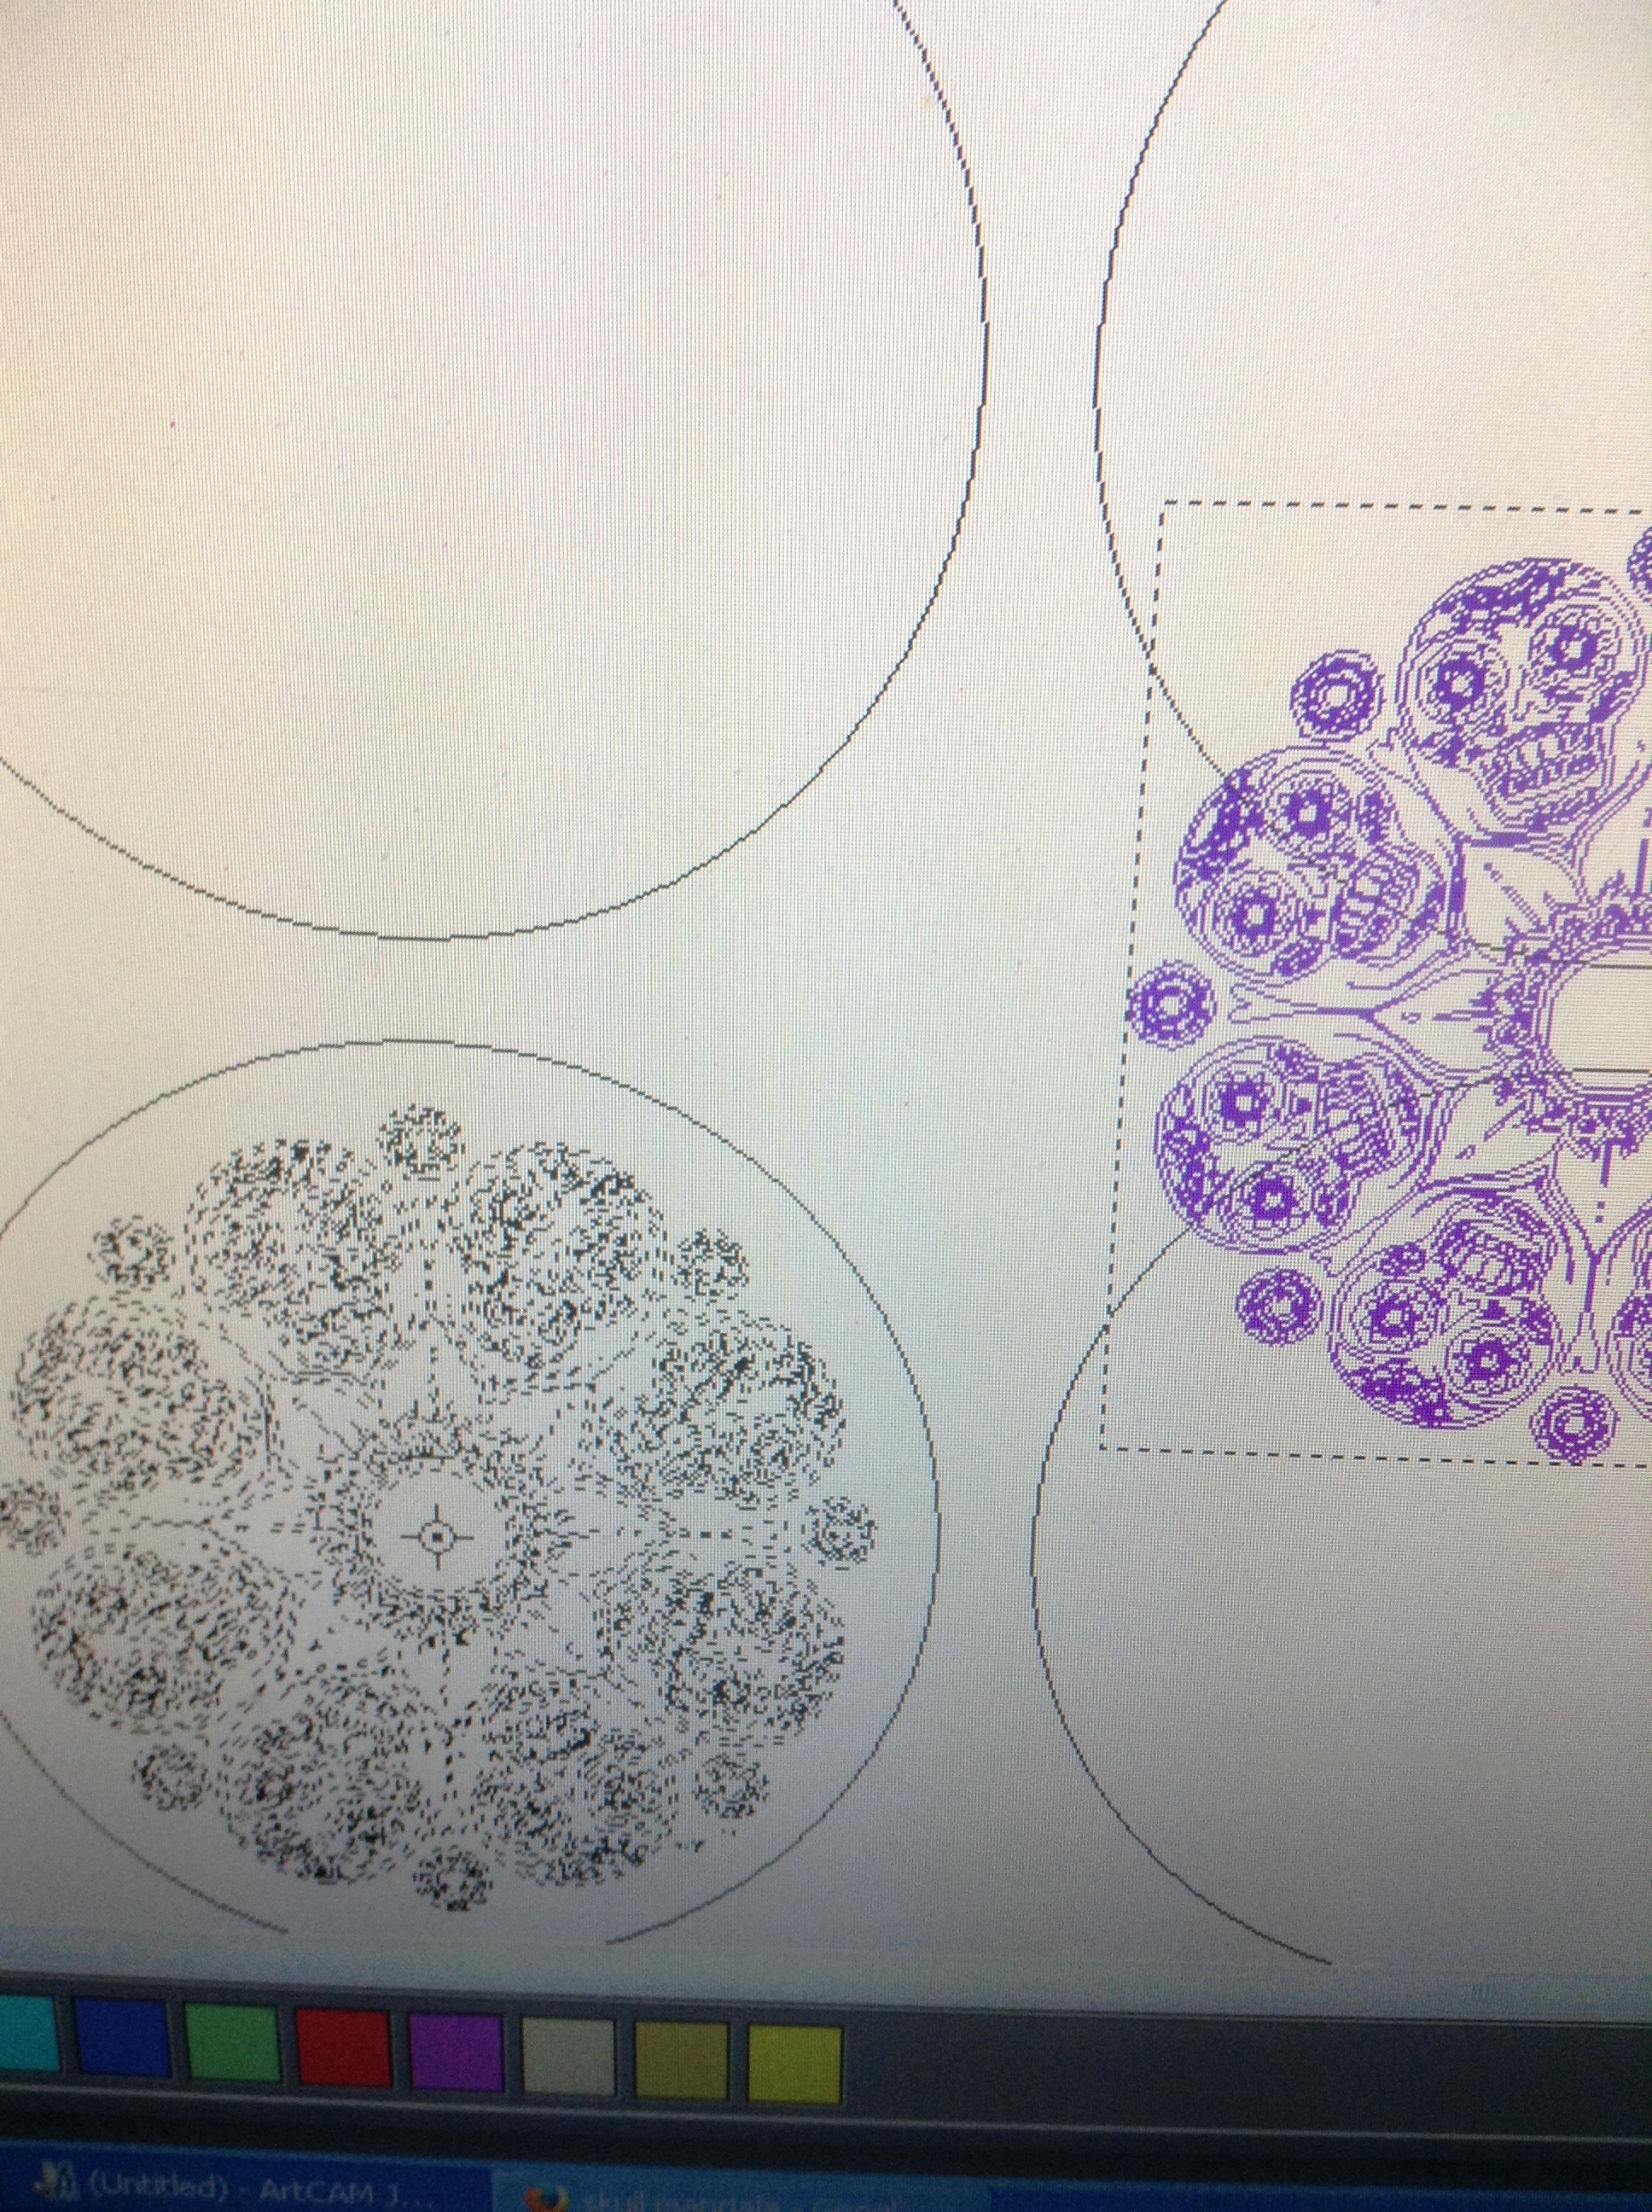
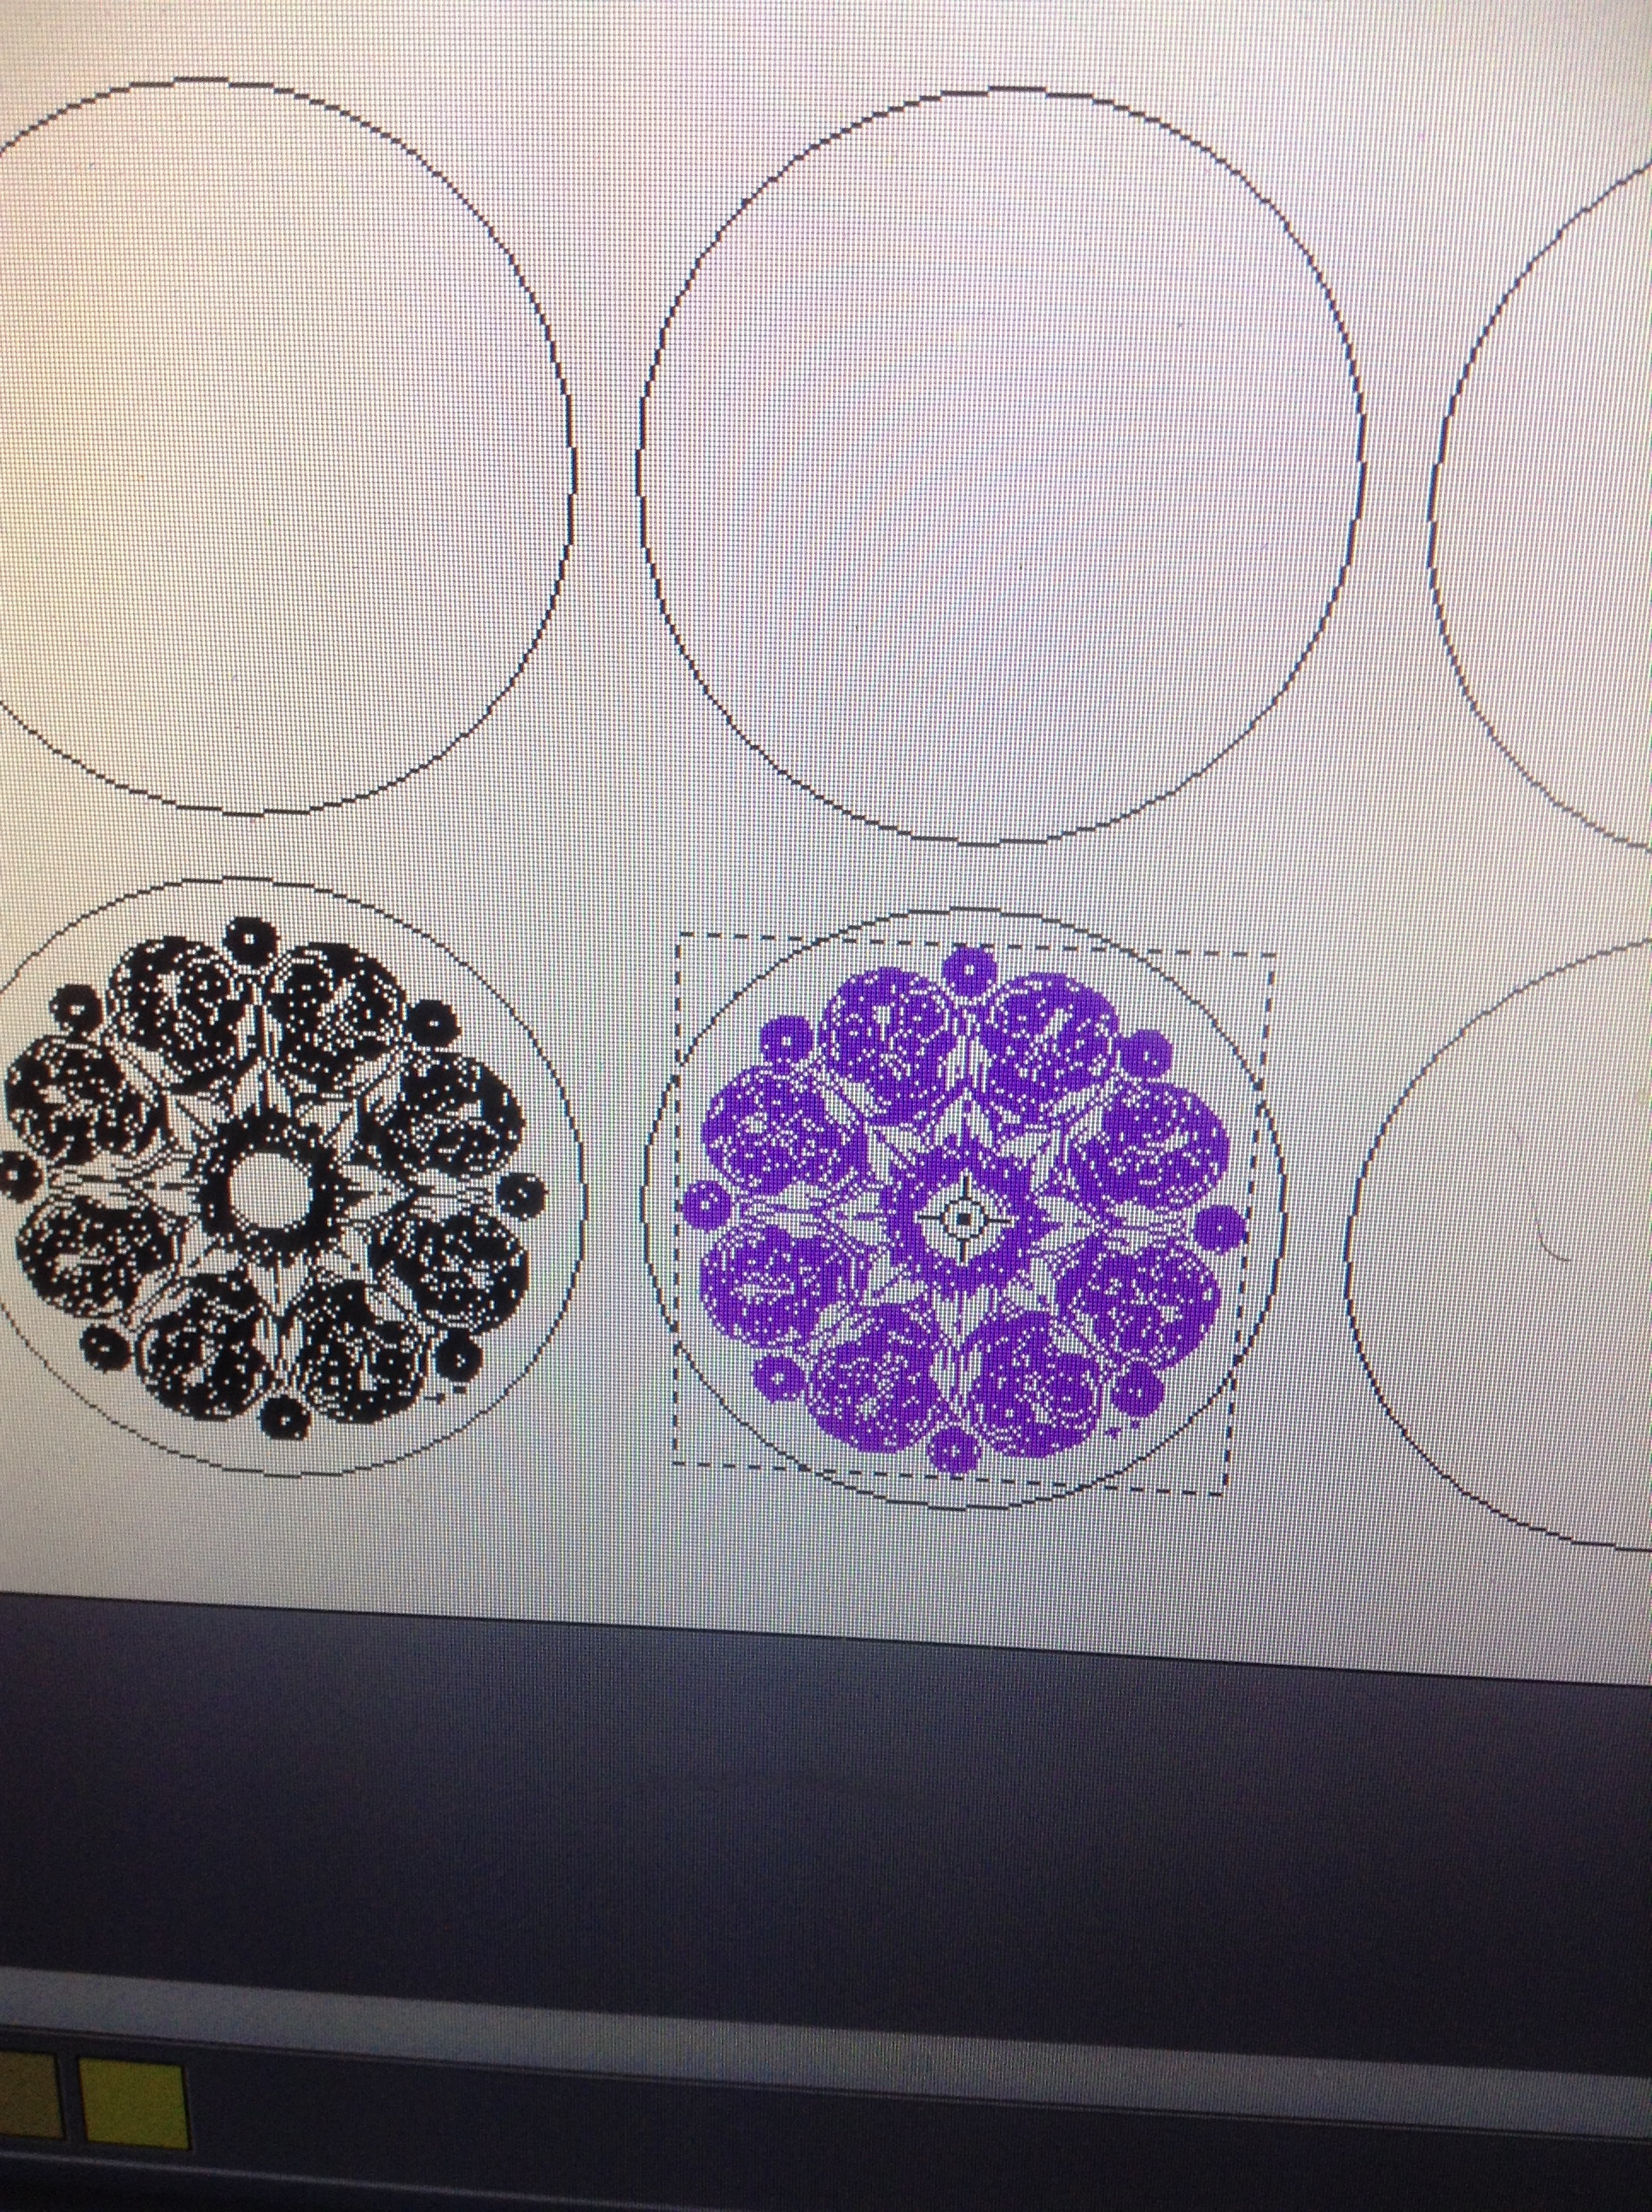
I then saved the vector layer so I could open a new model and load this layer and paste the mandala vectors on top.

One Thing I Would’ve done differently is work with one circle and mandala, AND THEN block-copy-rotate.
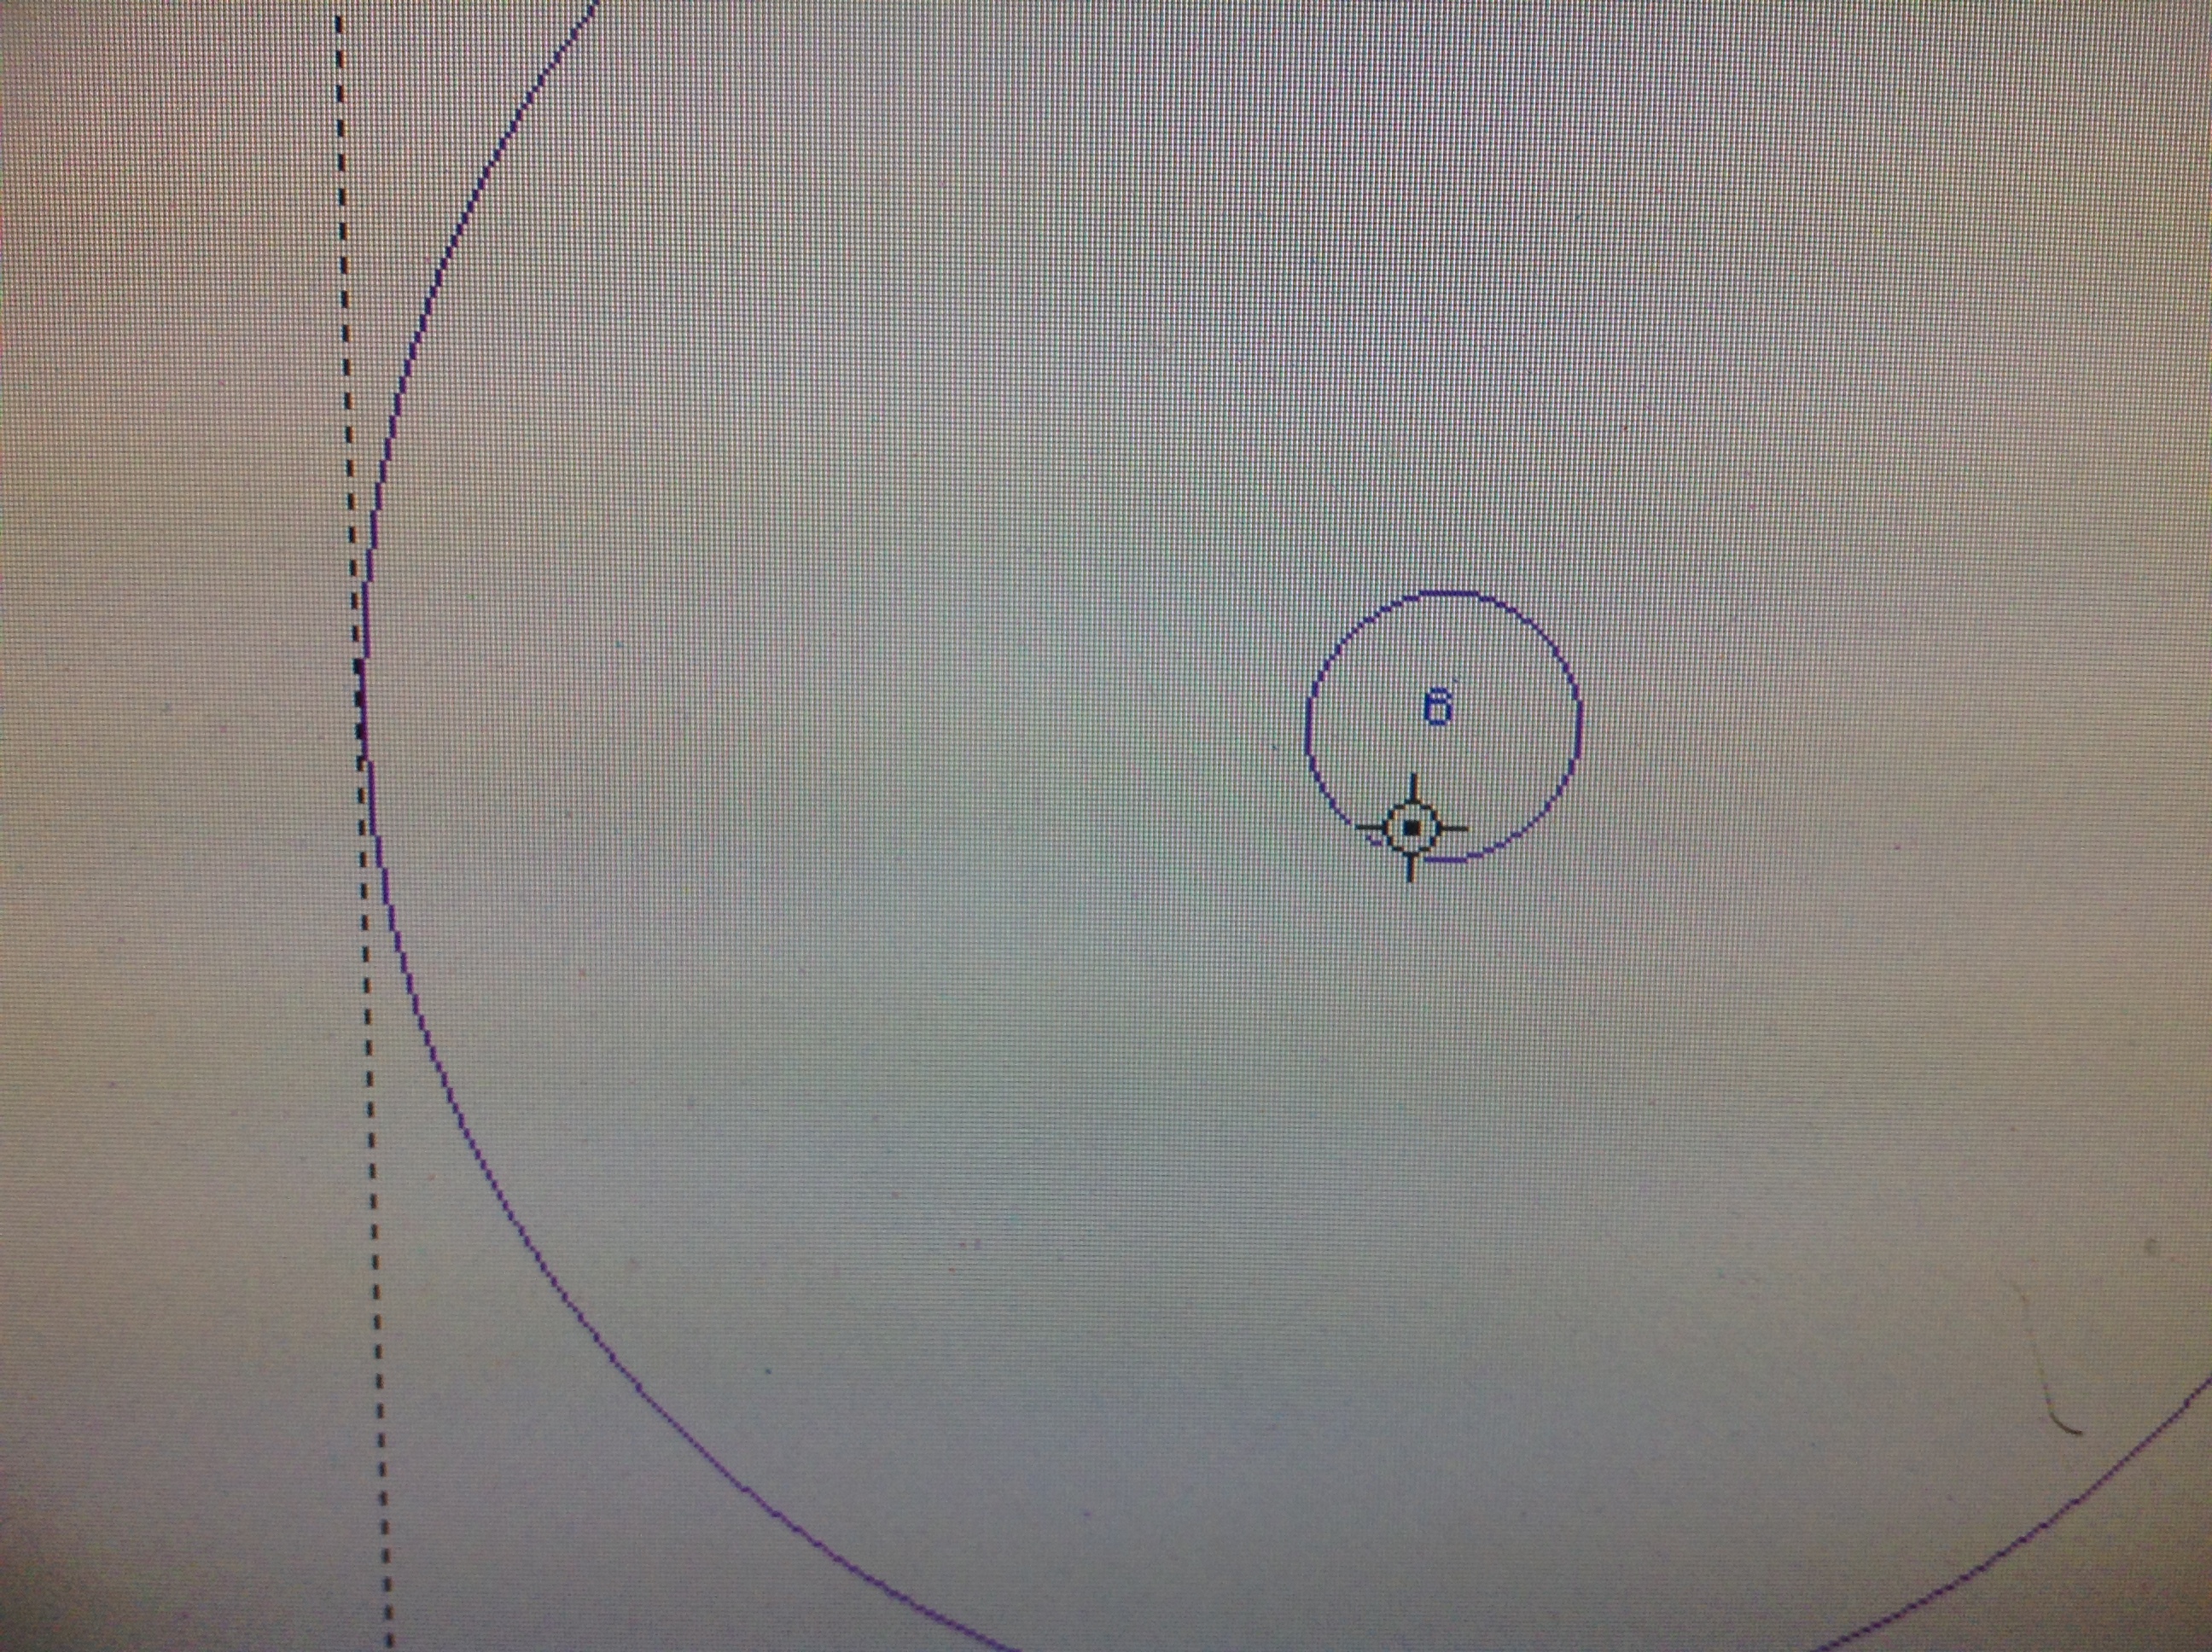
I had to mouse click in the center of the mandala and snap it to the center of each circle in one row, and then mirror, which can lead to minor mistakes. If you look closely at the previous pictures of the finnished coasters, you can see its not perfectly centered on some coasters.

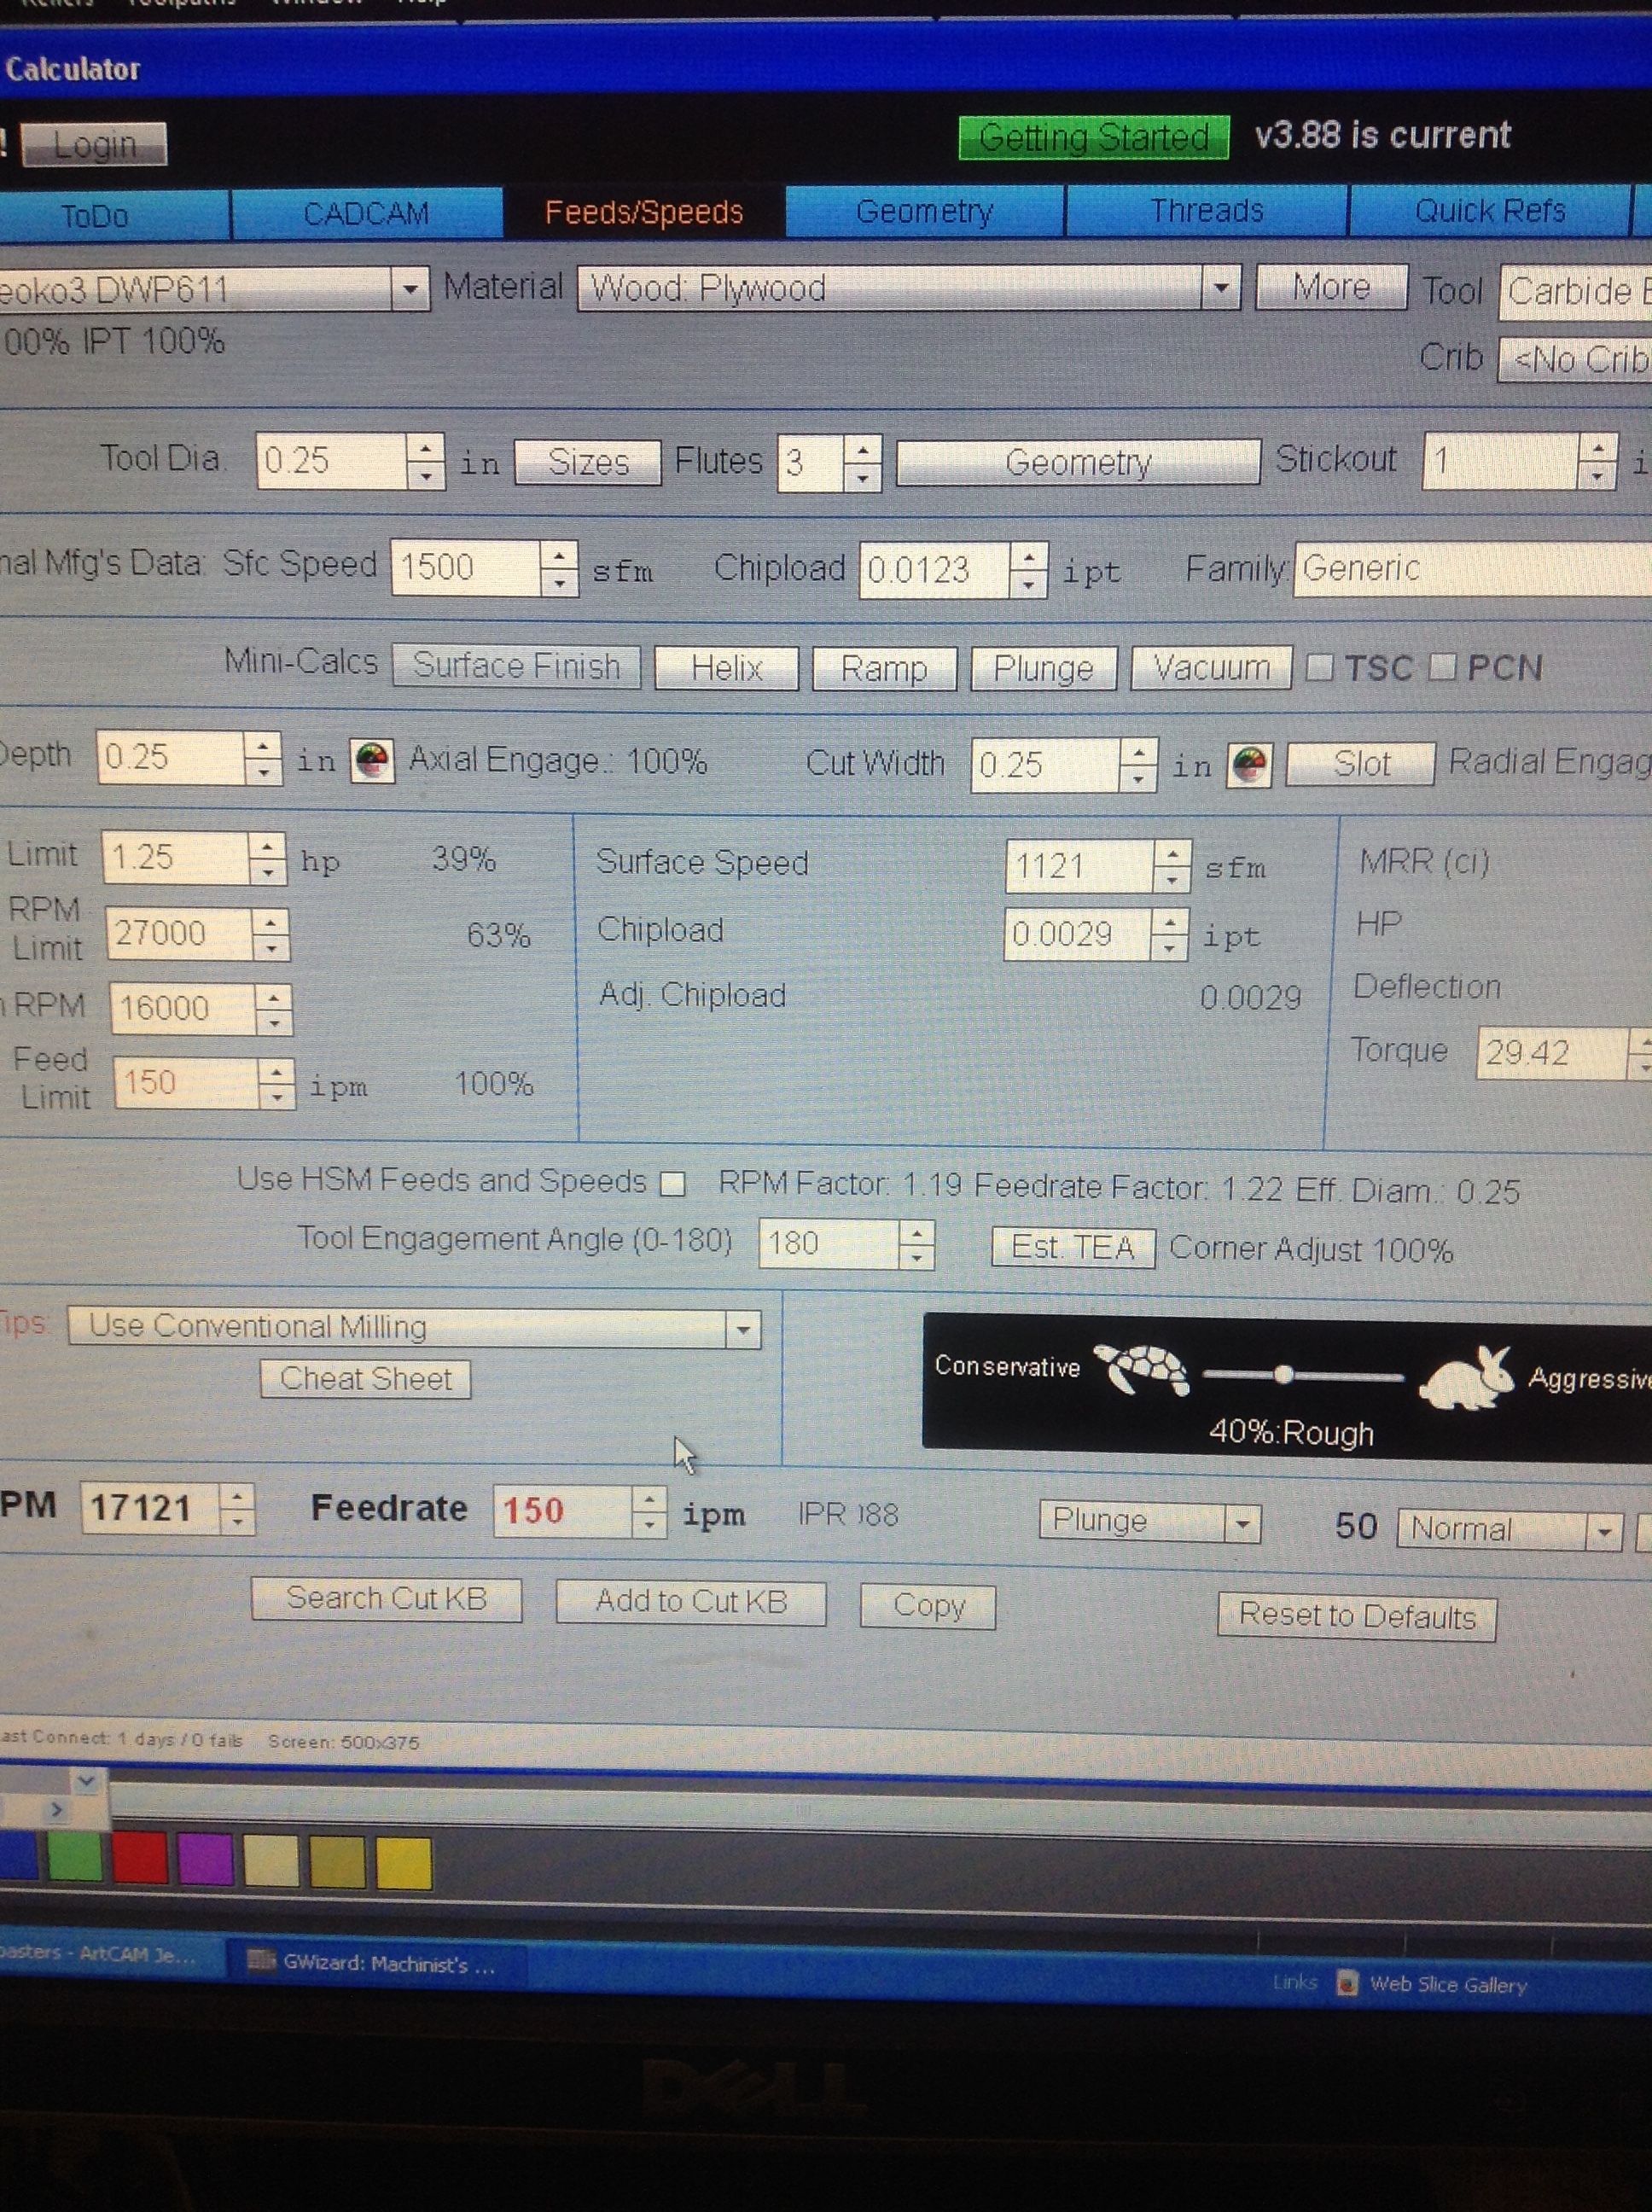
Those circles are for the cut out and a .135" by 1/2" pocket for the magnets. Here’s the tool paths. Feeds and speeds are conservative.
I’ve been using Gwizard for the Shapeoko. Wood feeds and speeds are a whole new ball game to me.
This is what I got for 1/4". Remember I’m being conservative.
I’ve had some bad crashes lately.
I guess I like to break things first, then slow down till they quit breaking. That way you become expert on your equipements limitations lol.


I thought I had more feeds and speeds pictures.
The 60 deg. v bit went 150IPM (My max I have set), and 75IPM plunge.

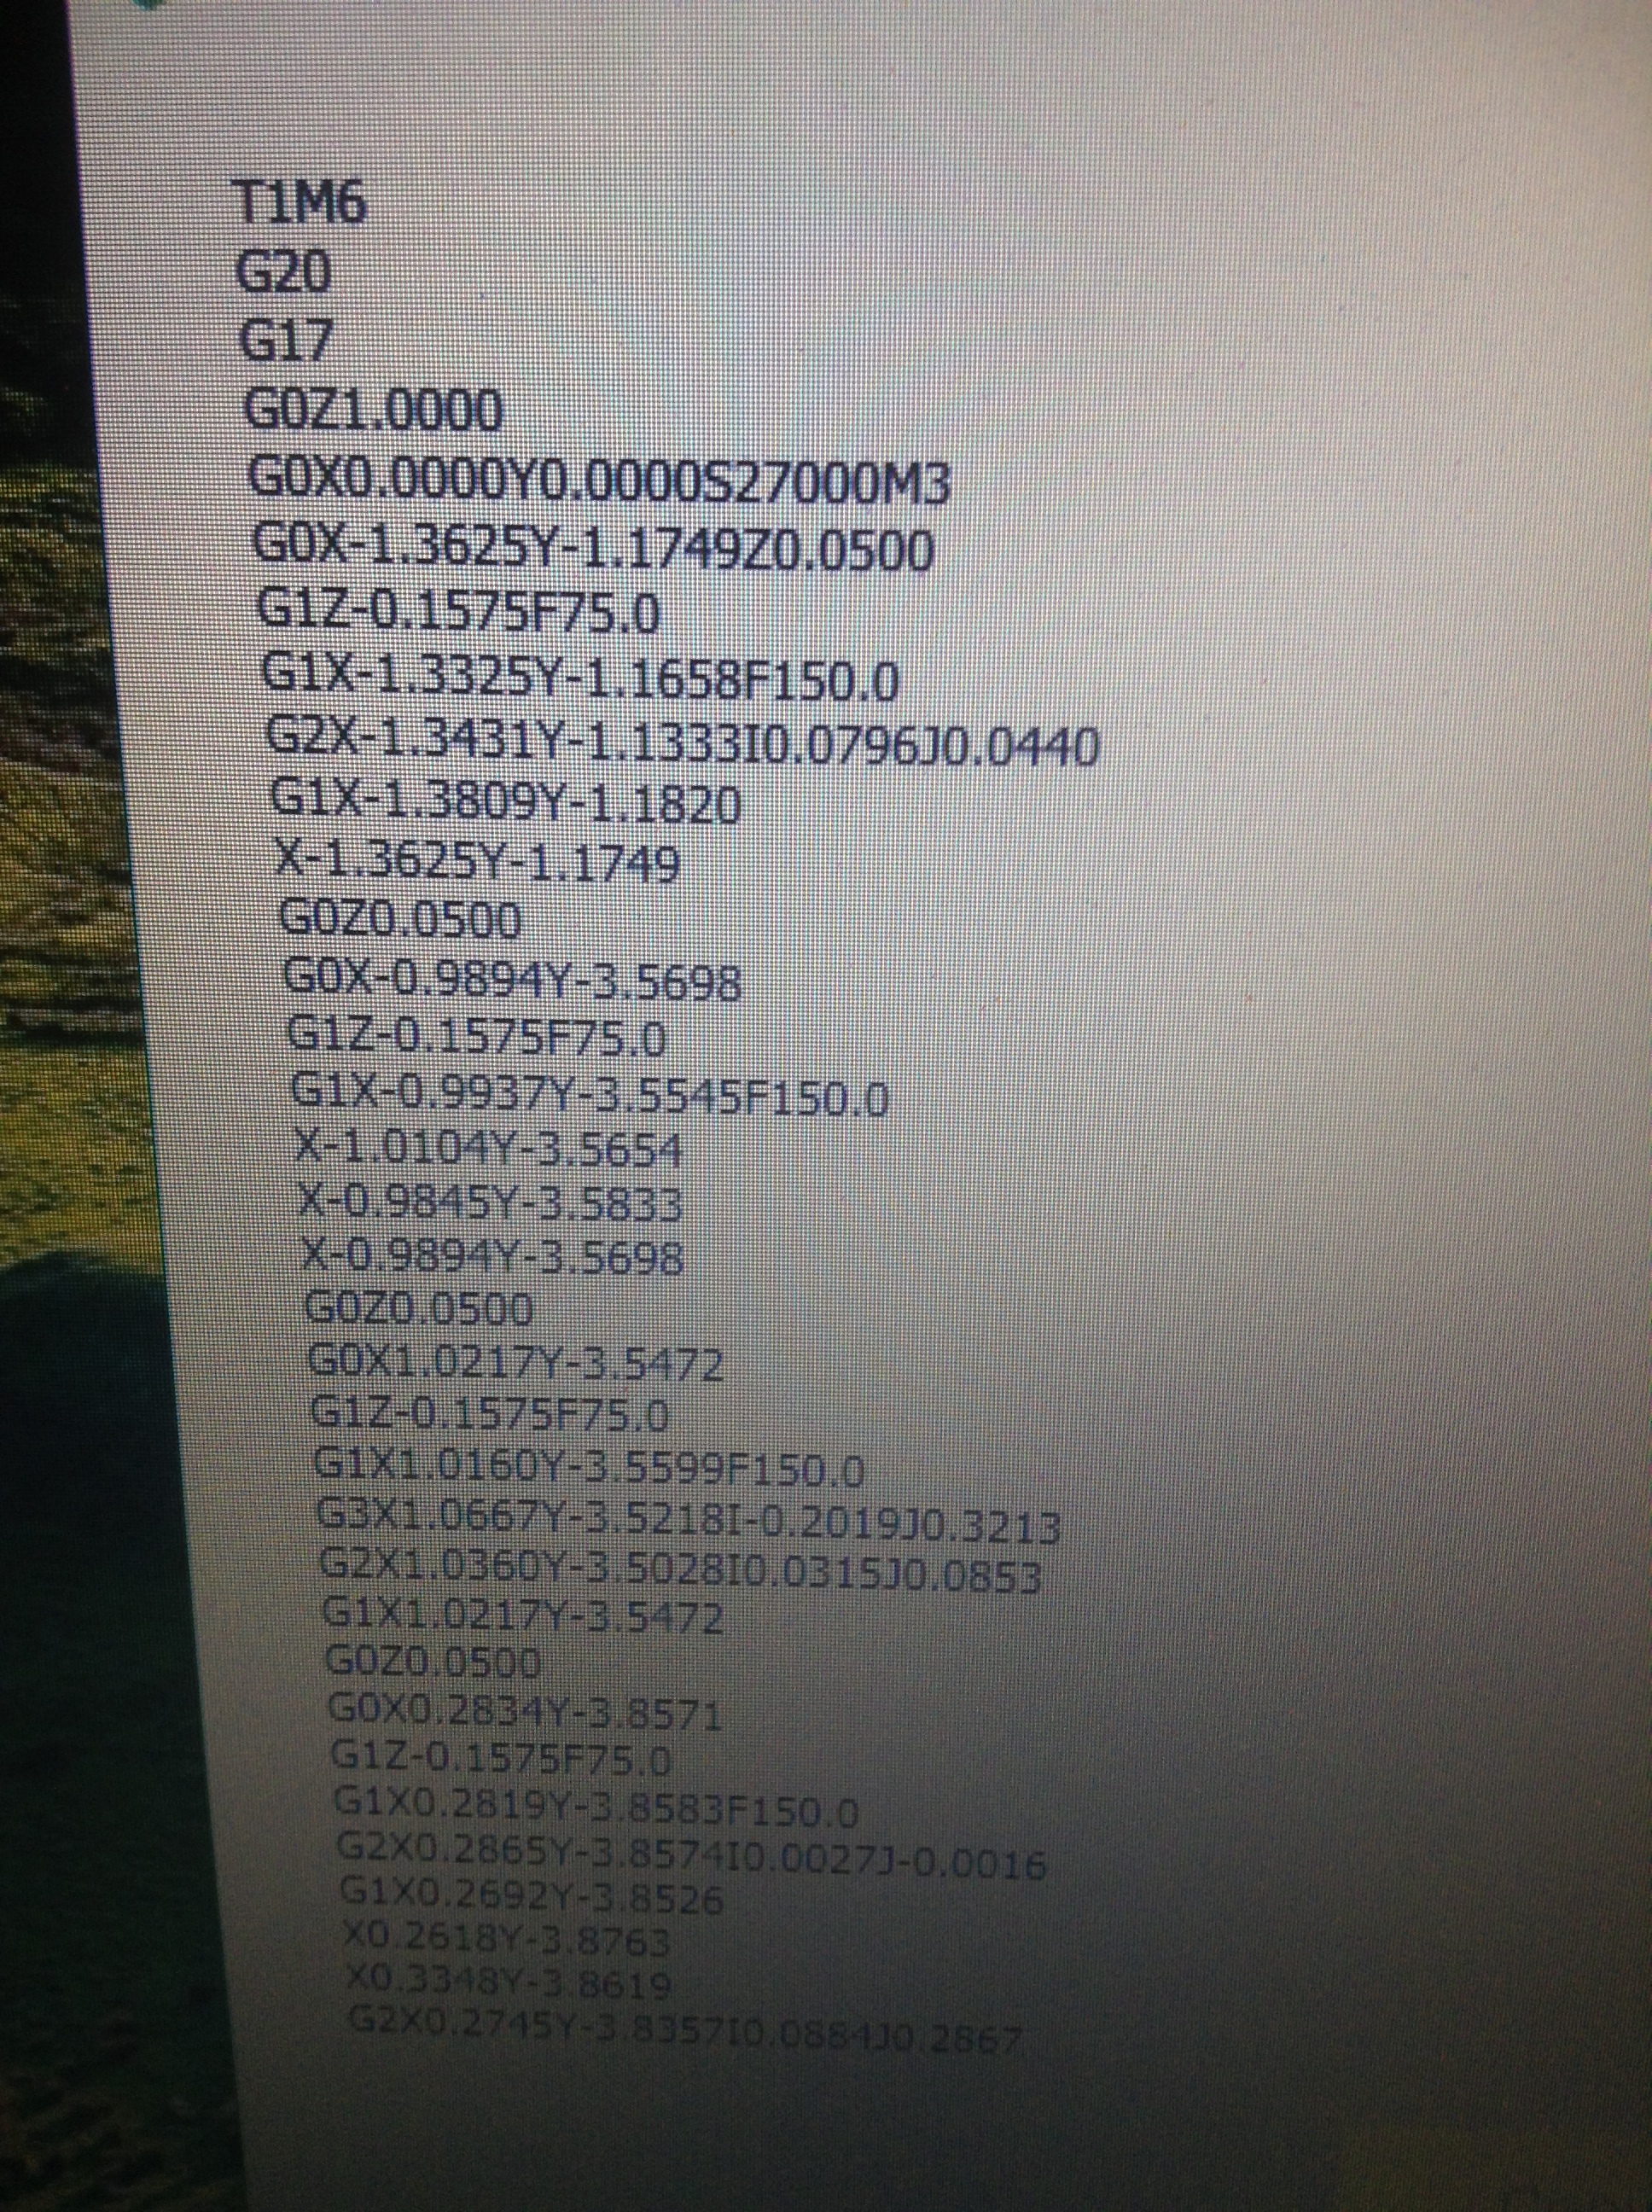
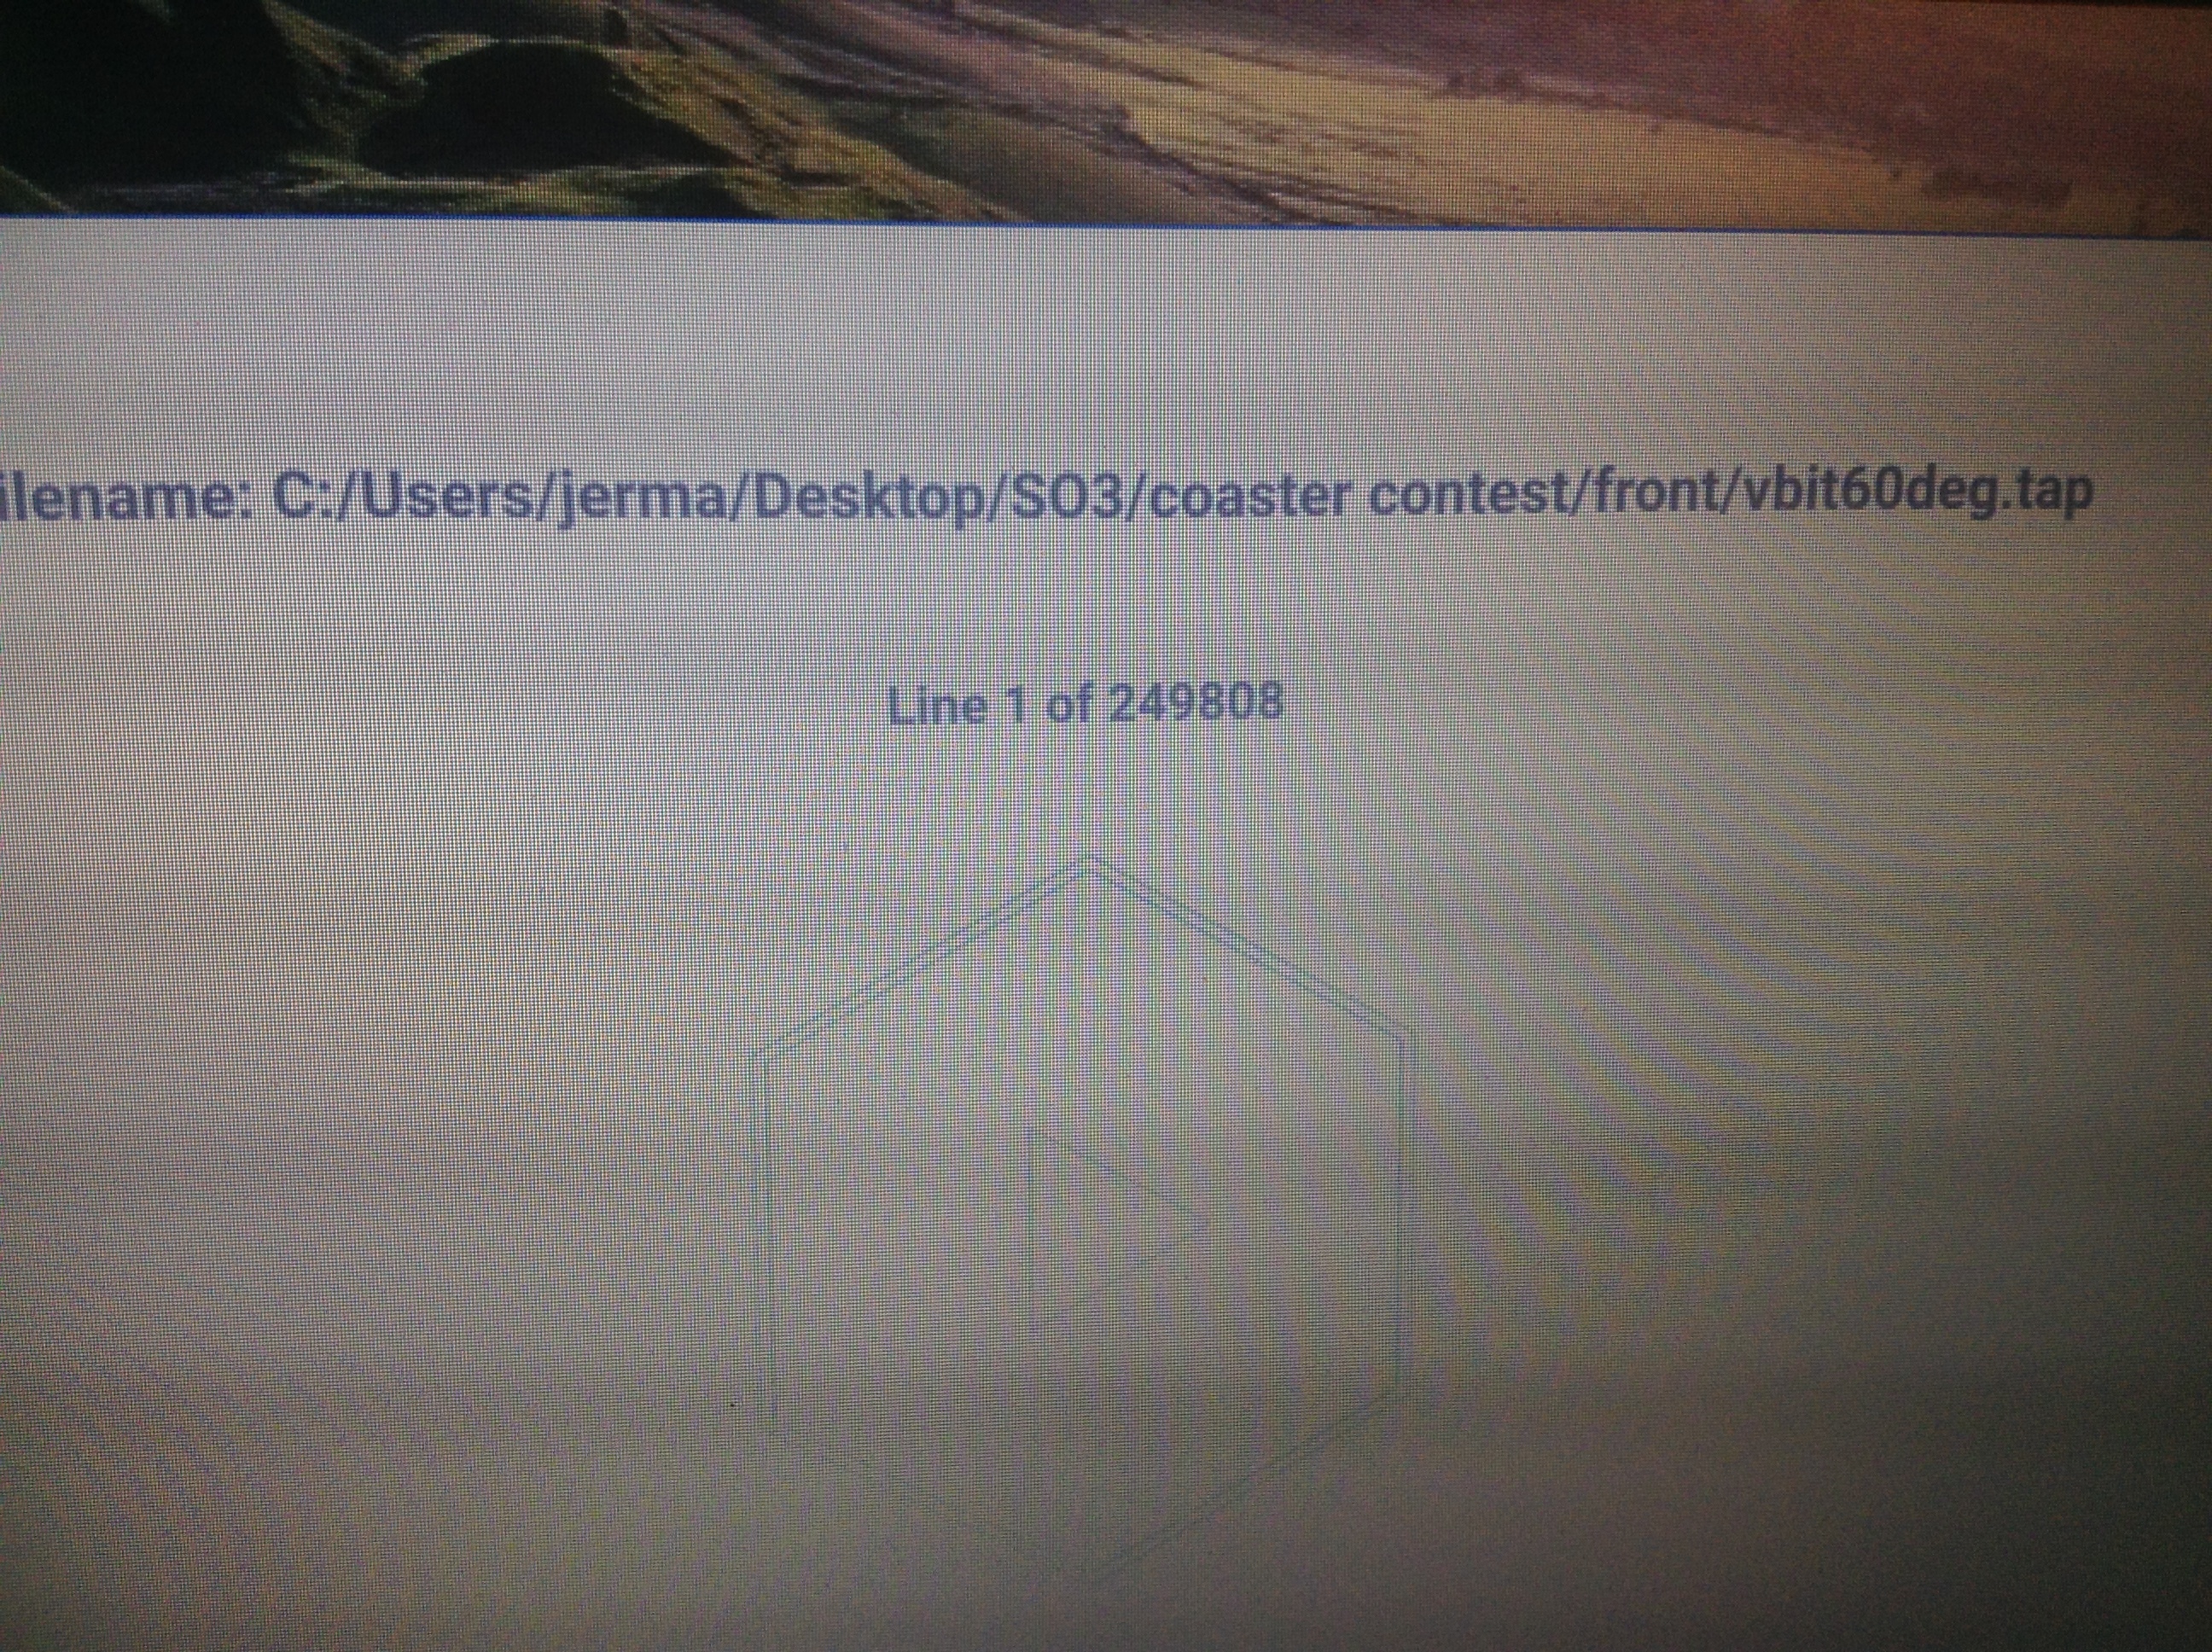
I usually forget what my speeds (RPM) are when I run a program, and my post processor in my cam doesn’t add the G20 (for inch), So I ALWAYS check my code first, for the G20 and the S word (spindle rpm) toward the beginning of the code.


250000 lines! Took a couple minutes to load :slight_smile:
I printed the router’s dial numbers’ RPMs on some sticky labels and stuck them around the shop.
http://carbide3d.com/shapeoko/feedandspeed/

This is how I flipped the sheet accurately.
First I cut out a sheet with the Shapeoko so it would be accurate, and I used 2 studs on the side (also drilled by the shapeoko, so they’re true, and 2, 3" aluminum flat bars on the bottom edge of the waste board where I surfaced it in the past.

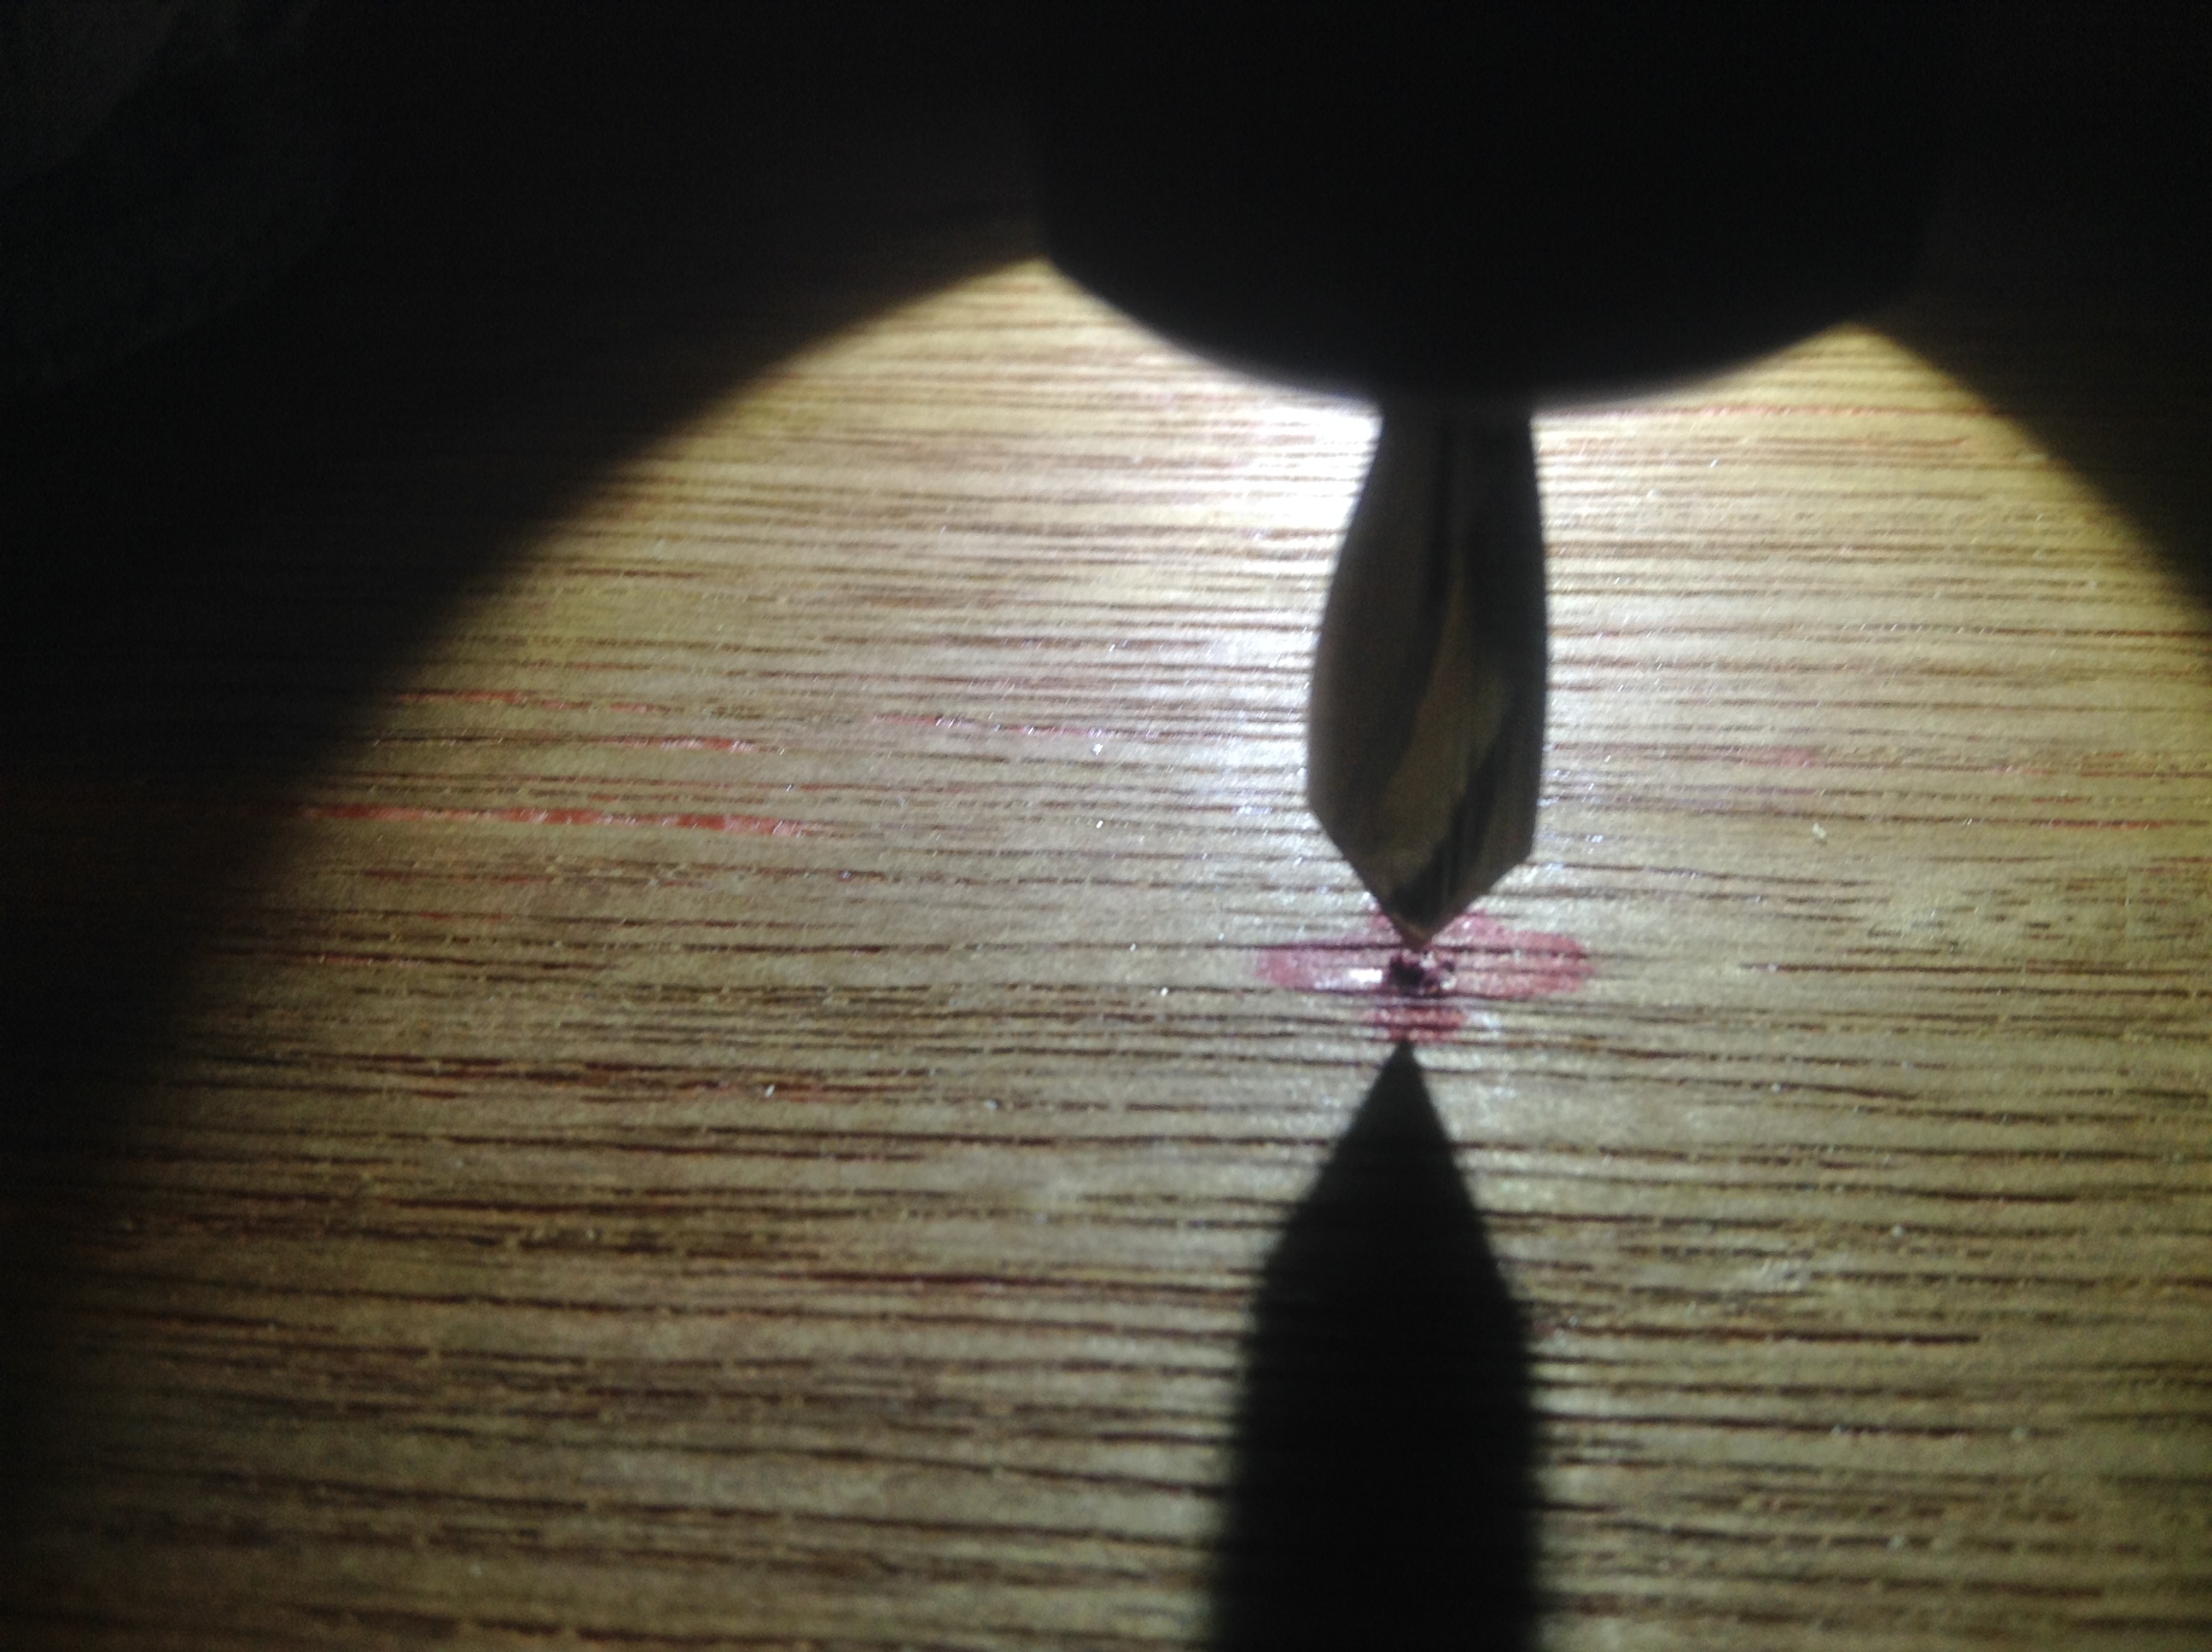
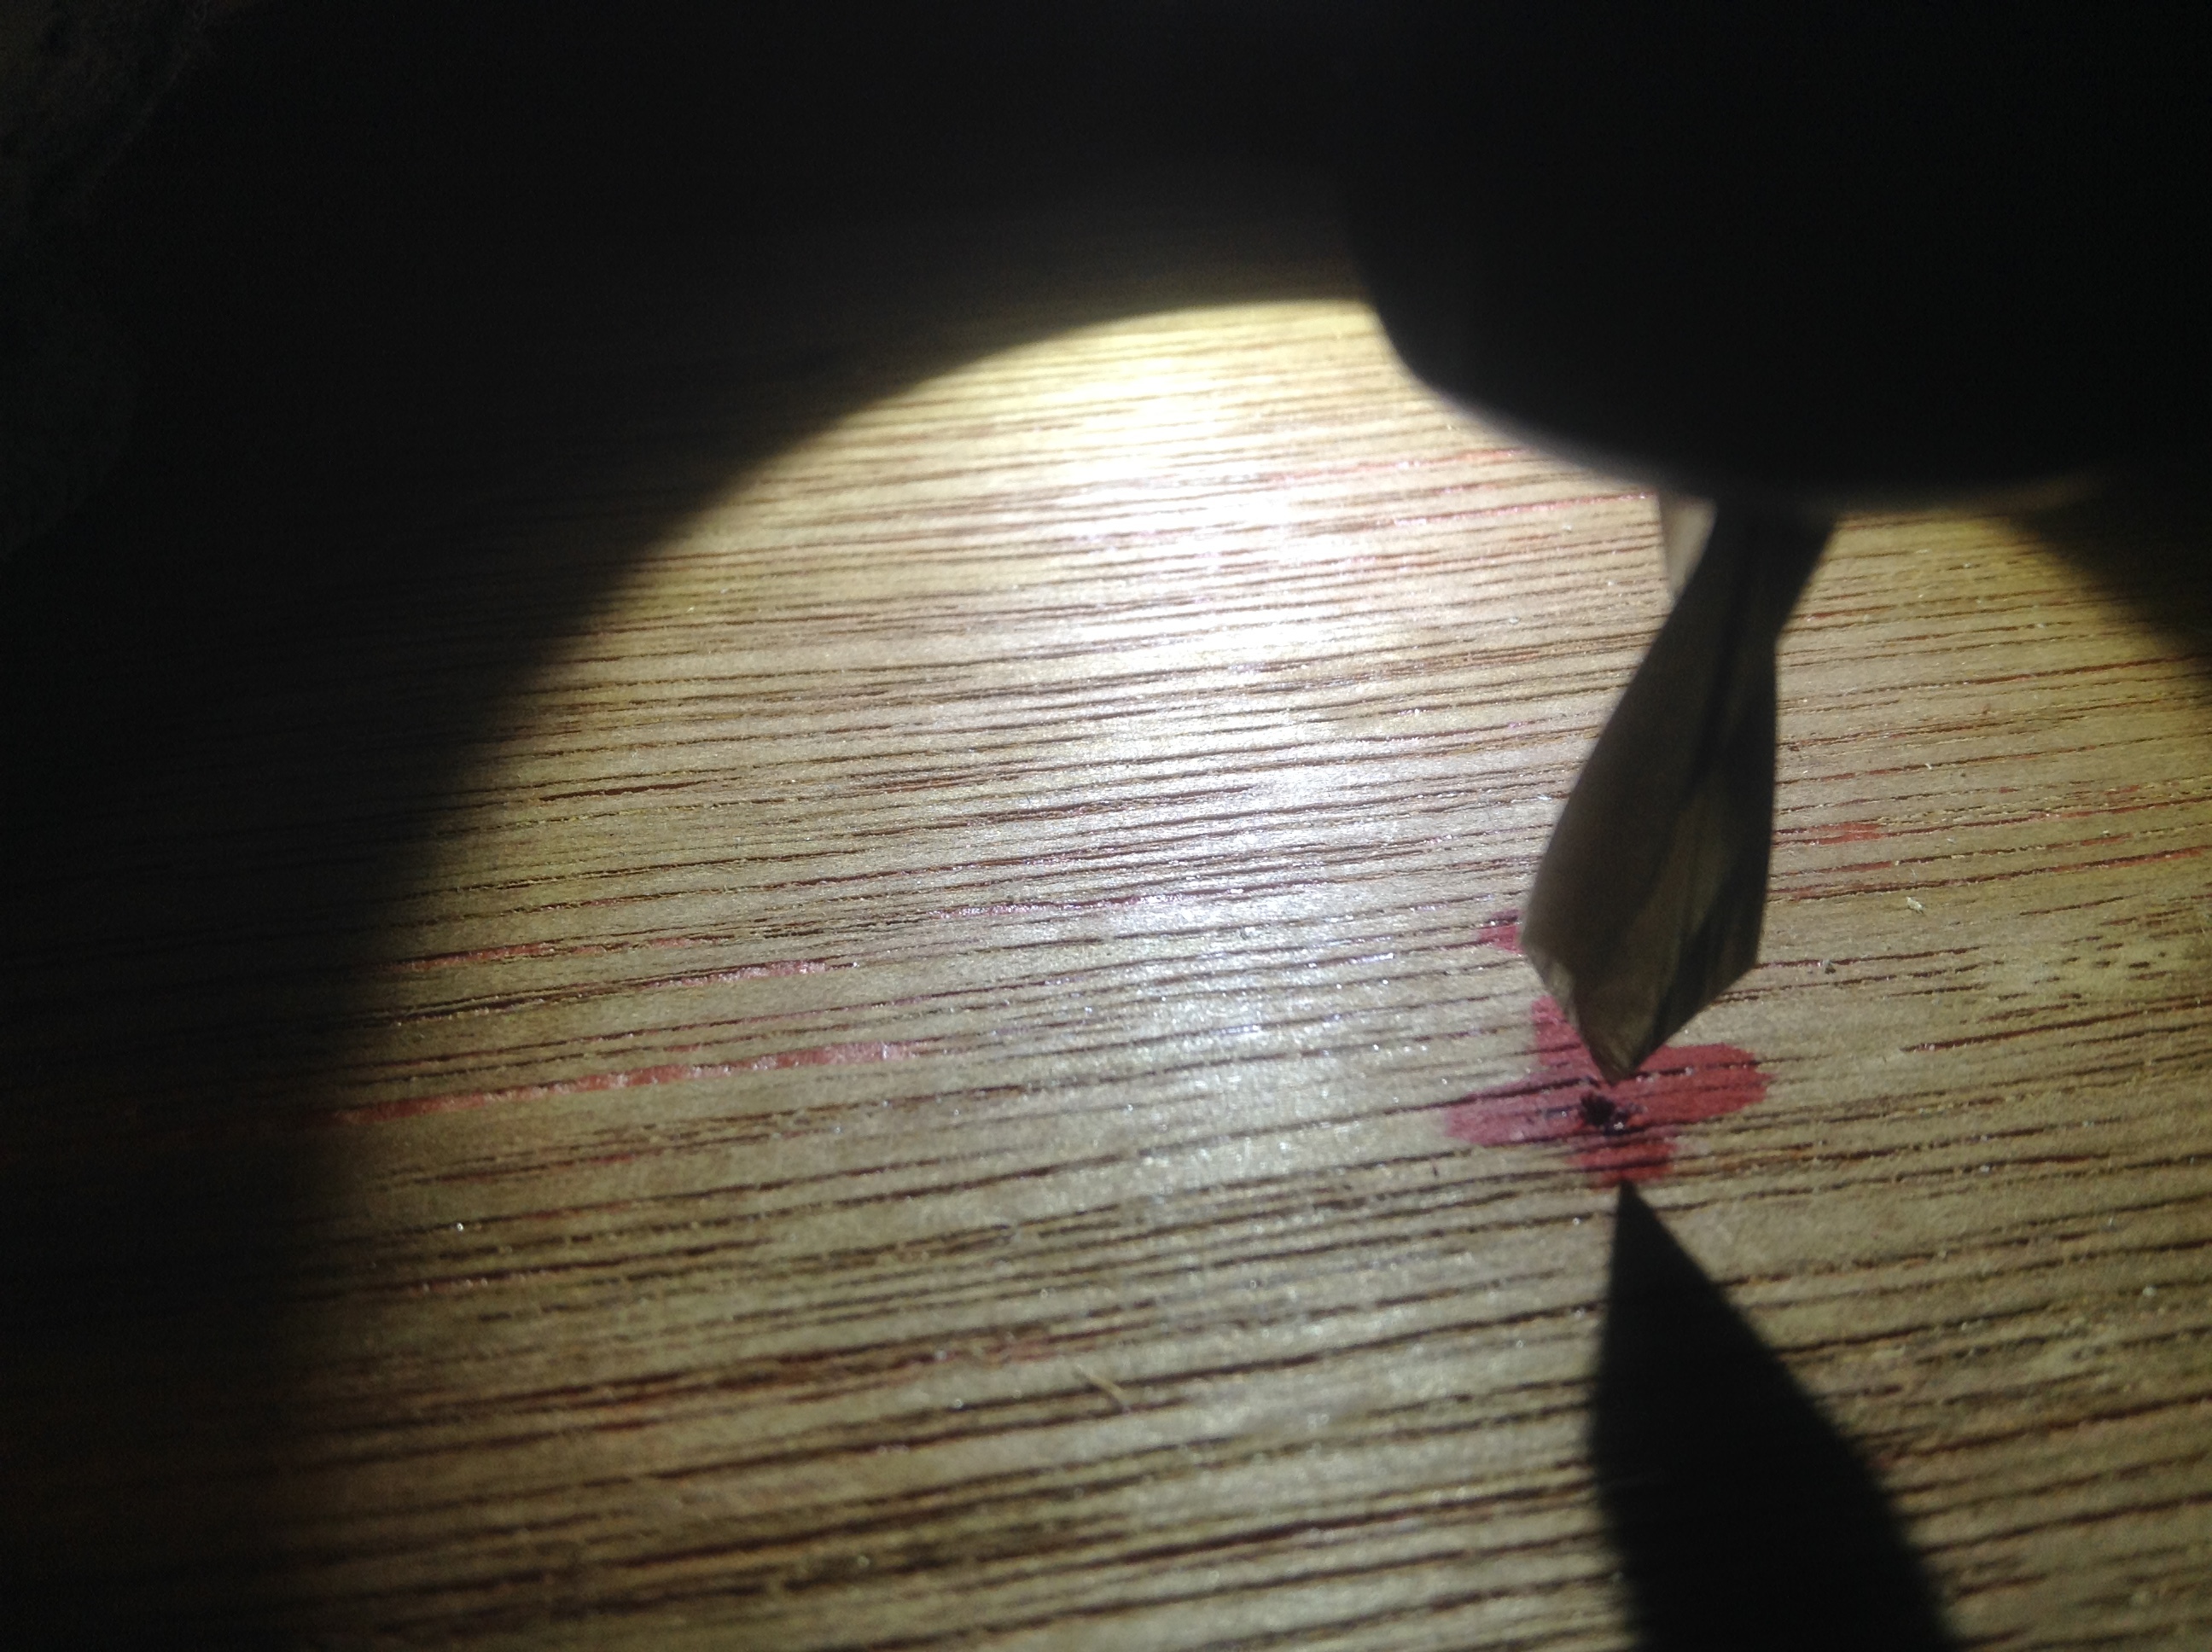
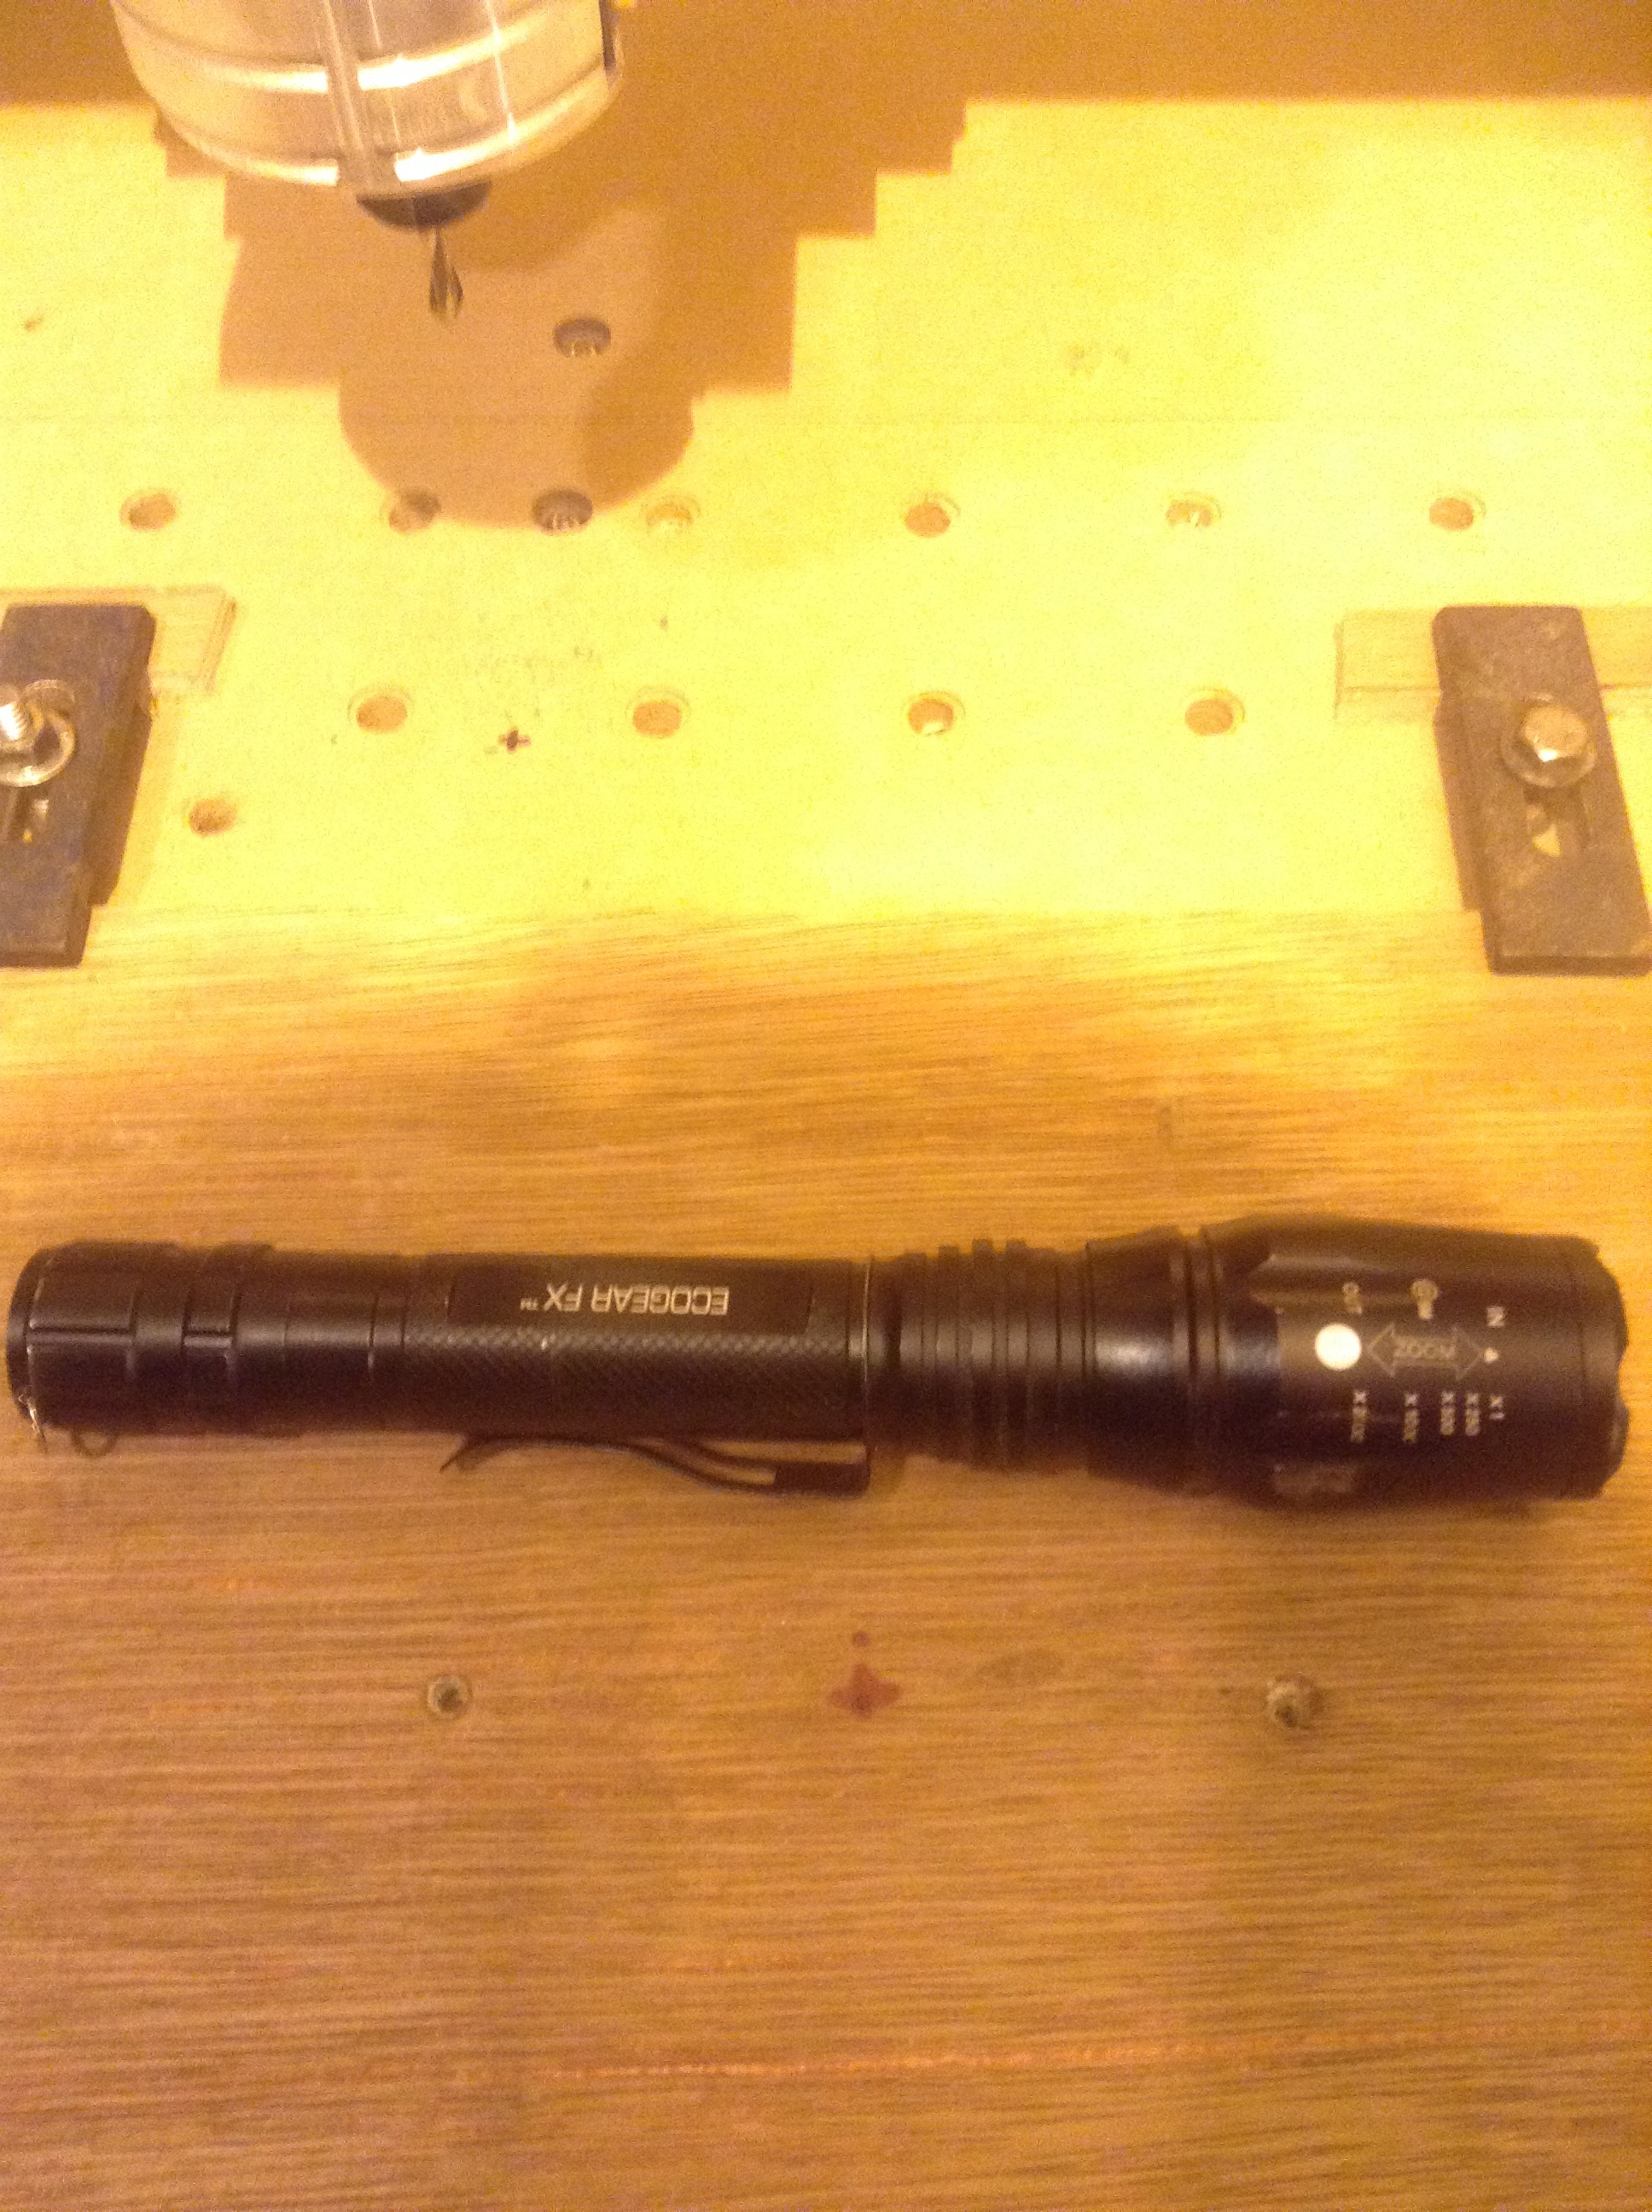
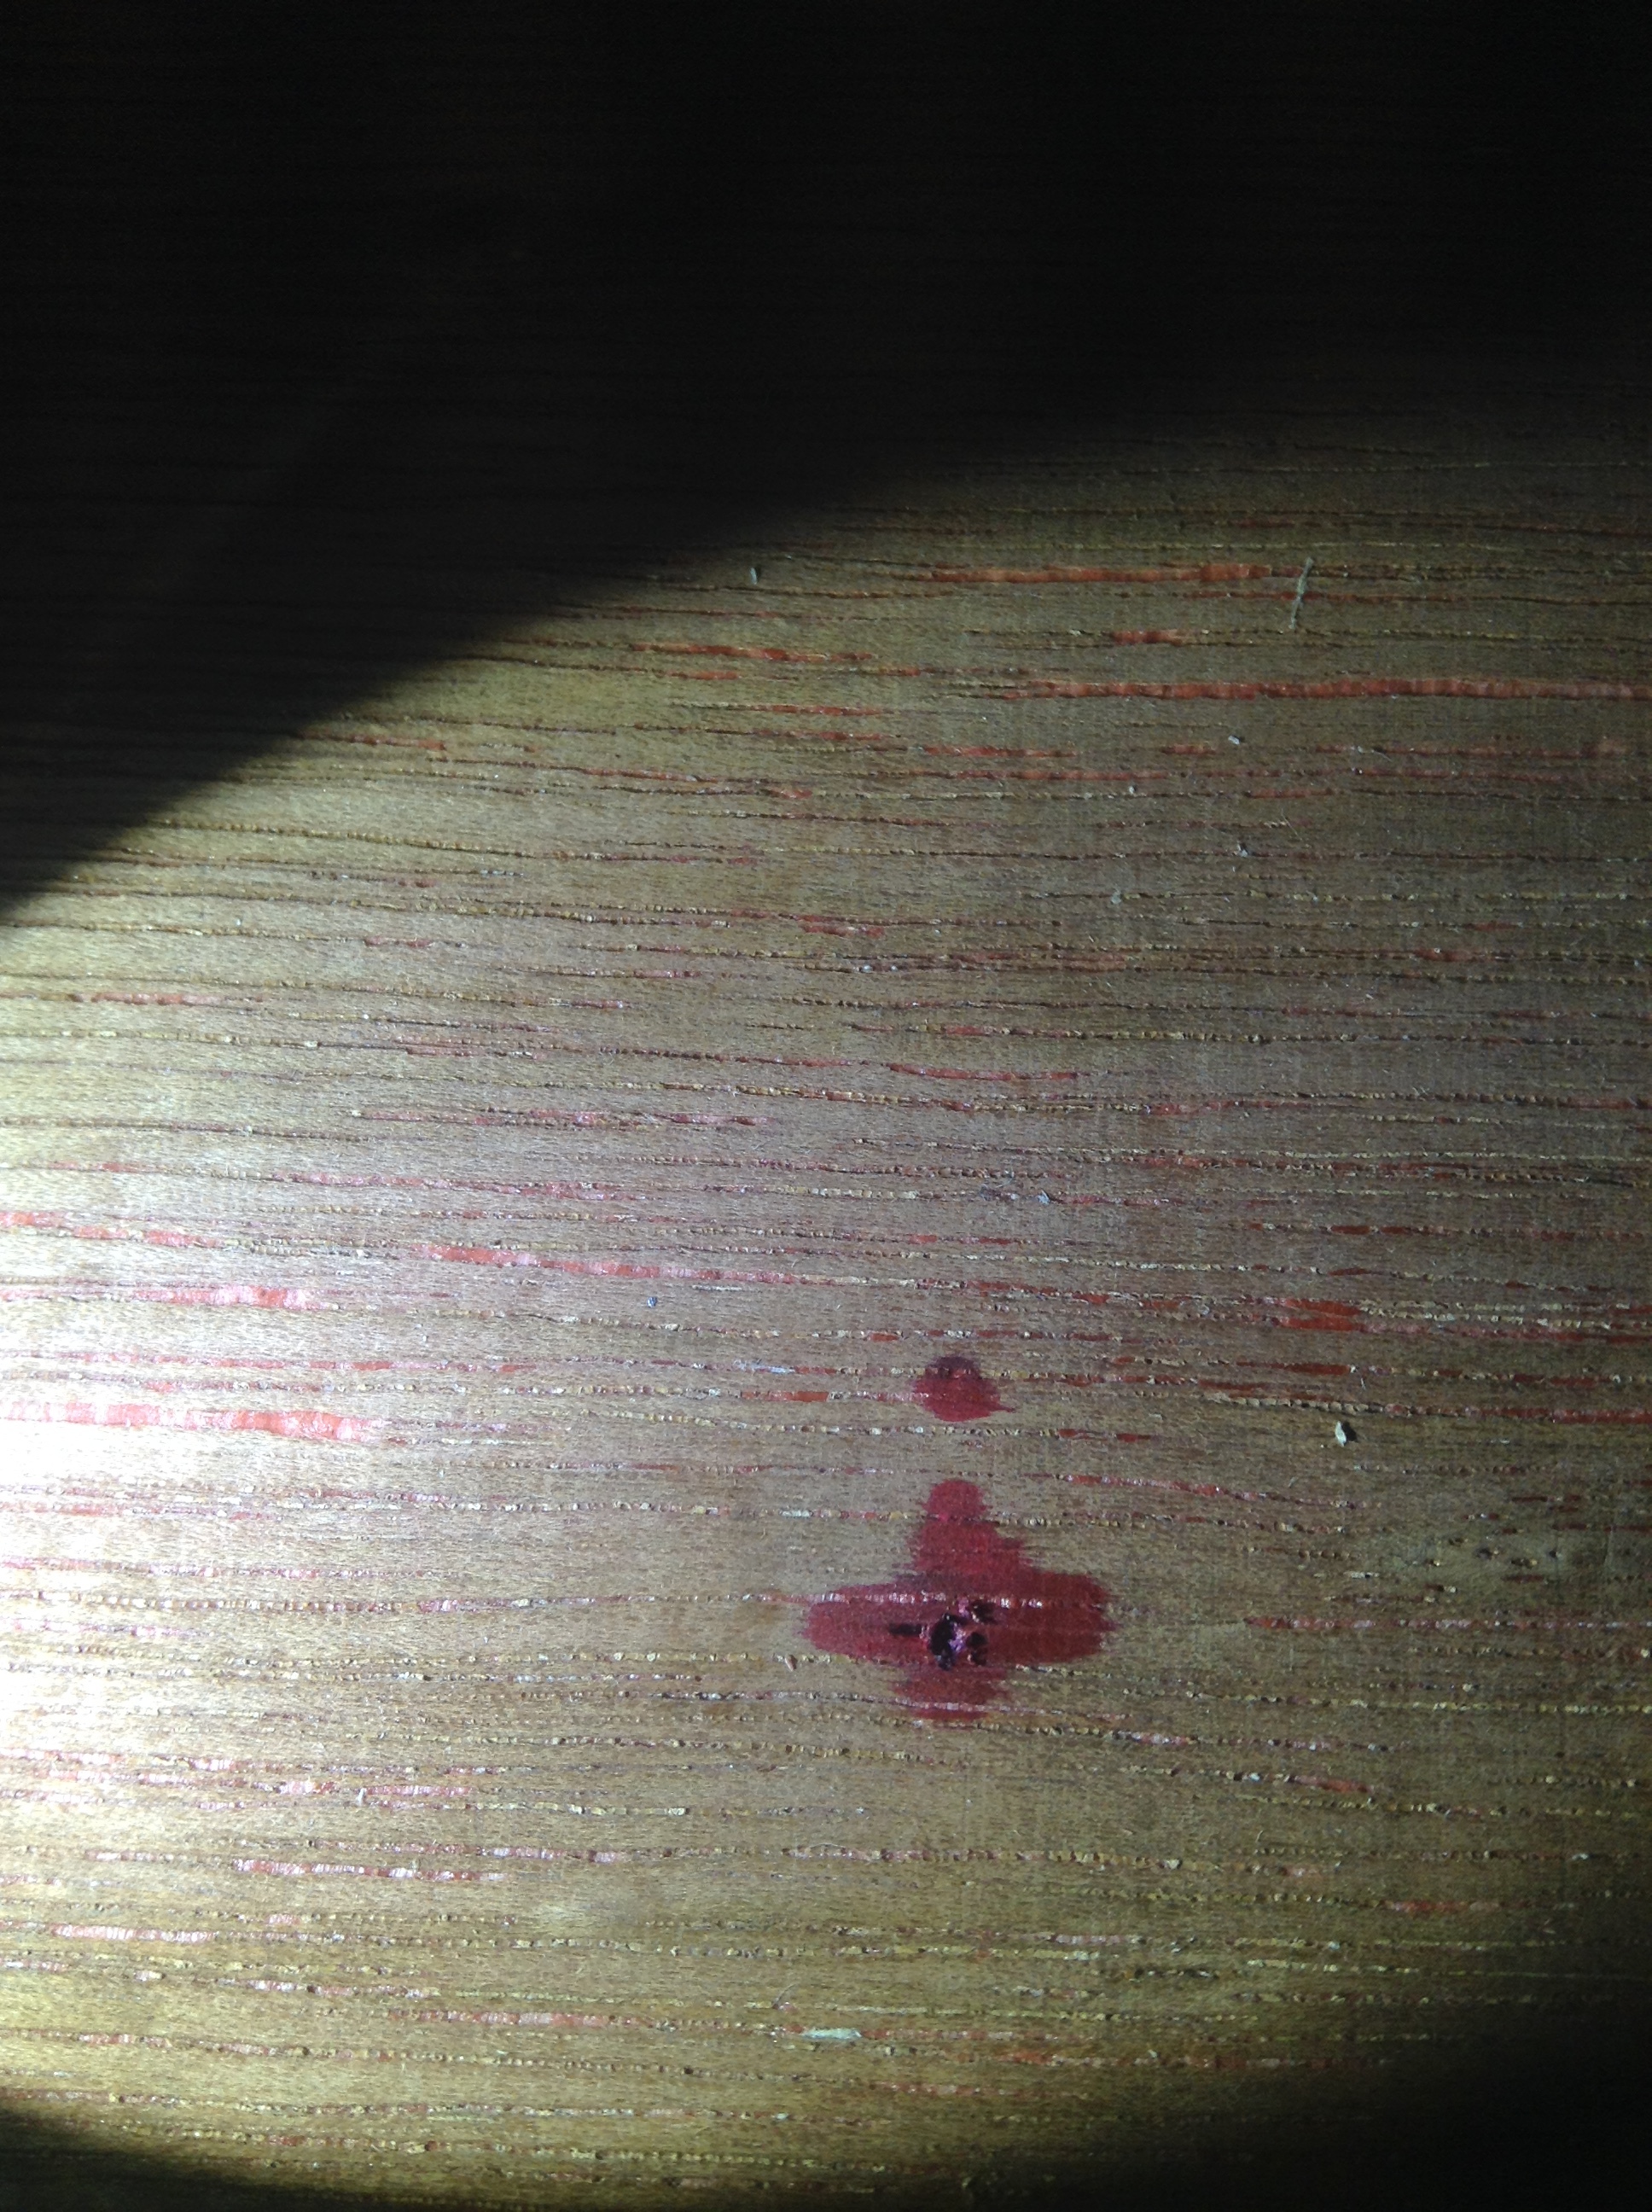
I find a flashlight very handy when locating the center.
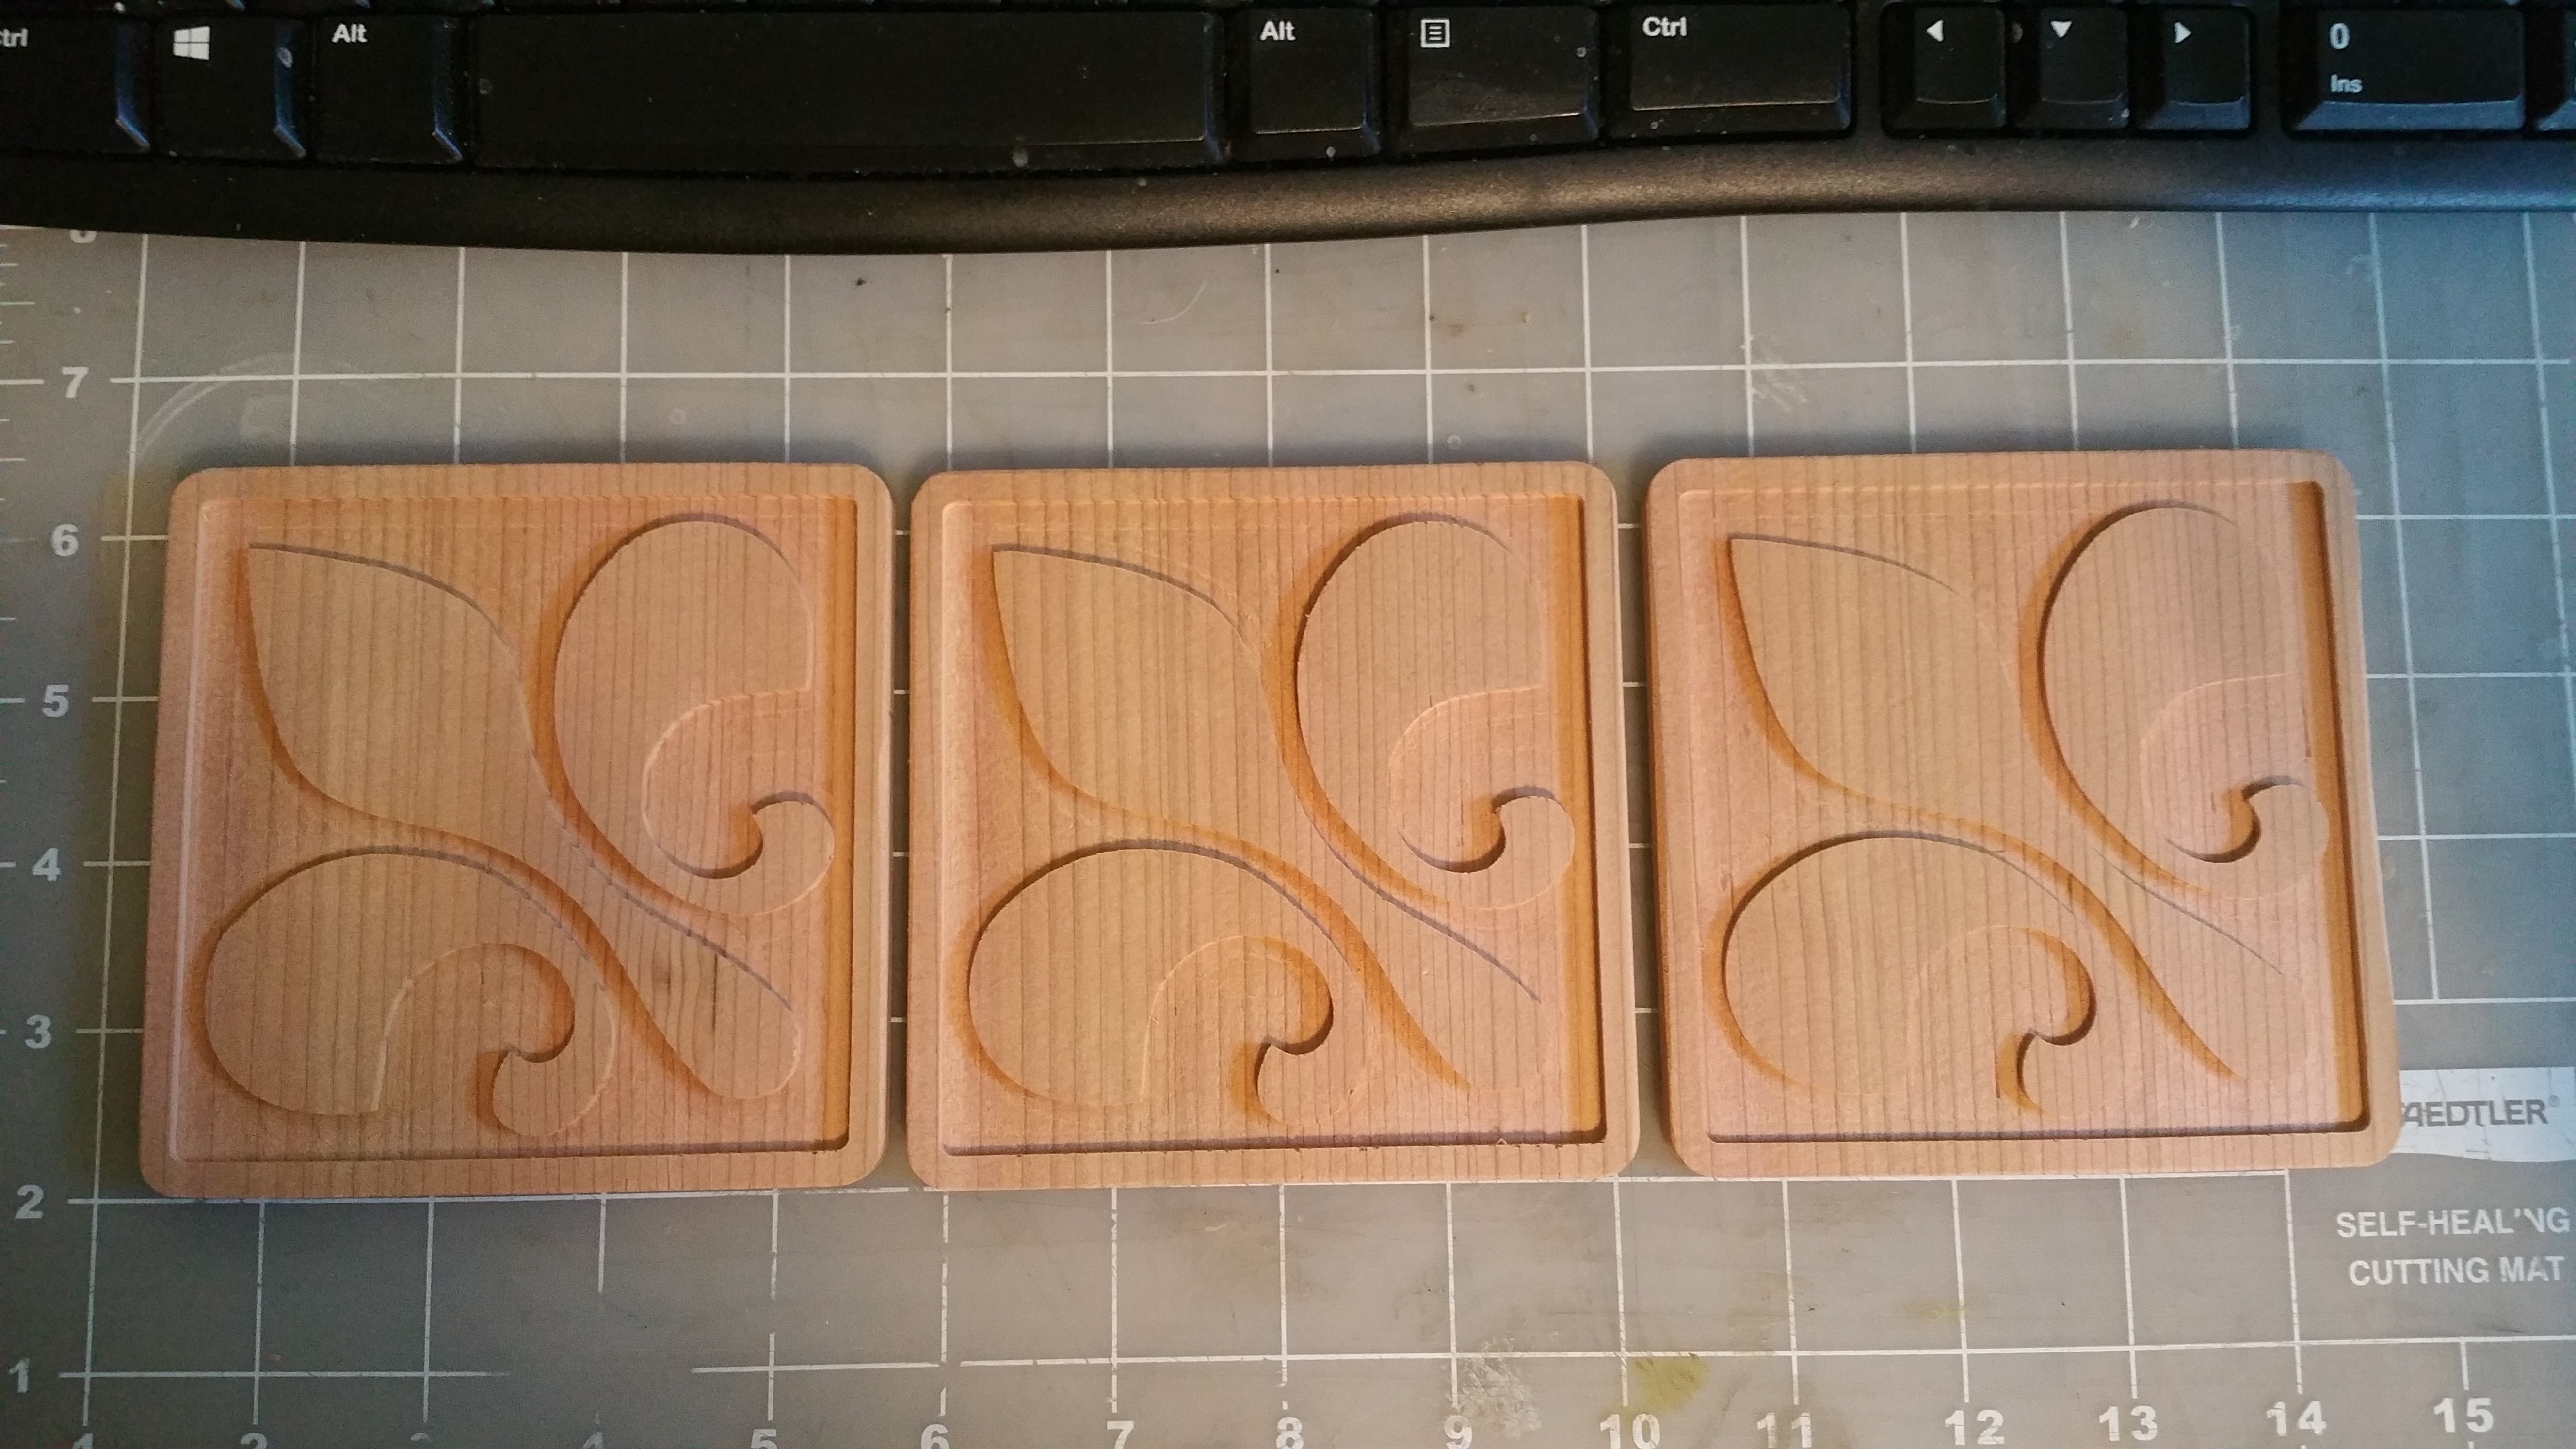
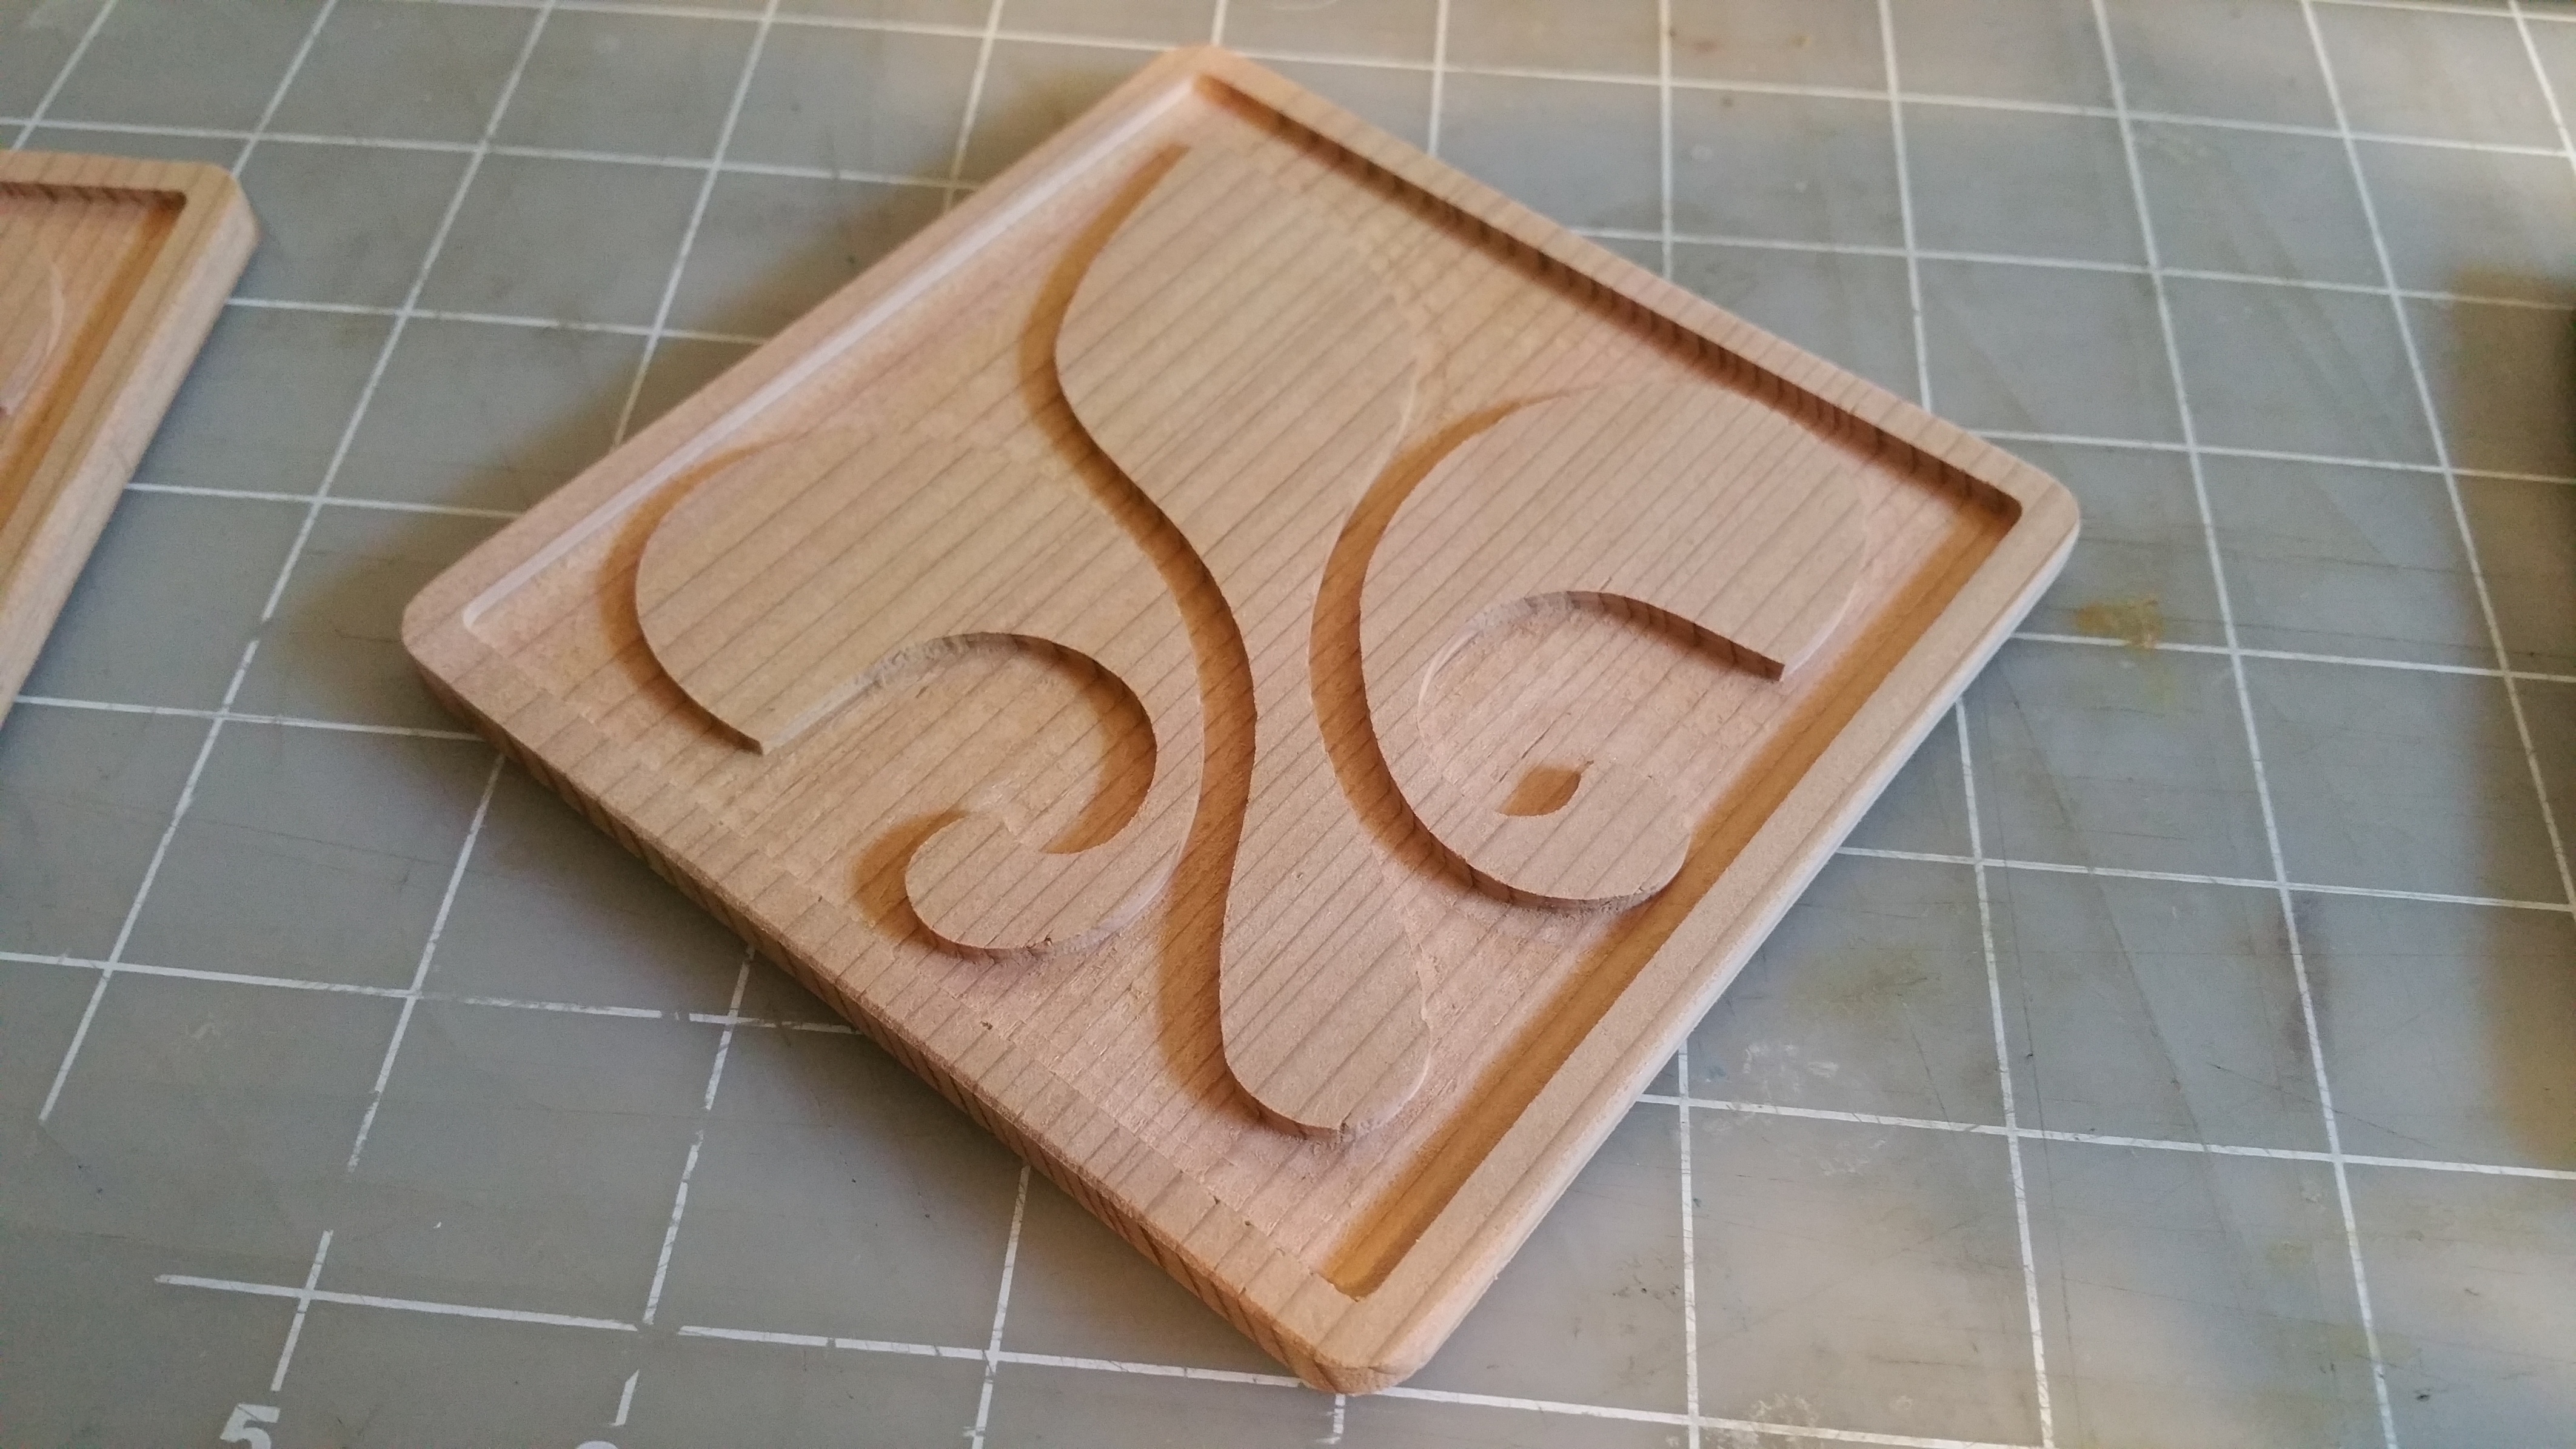
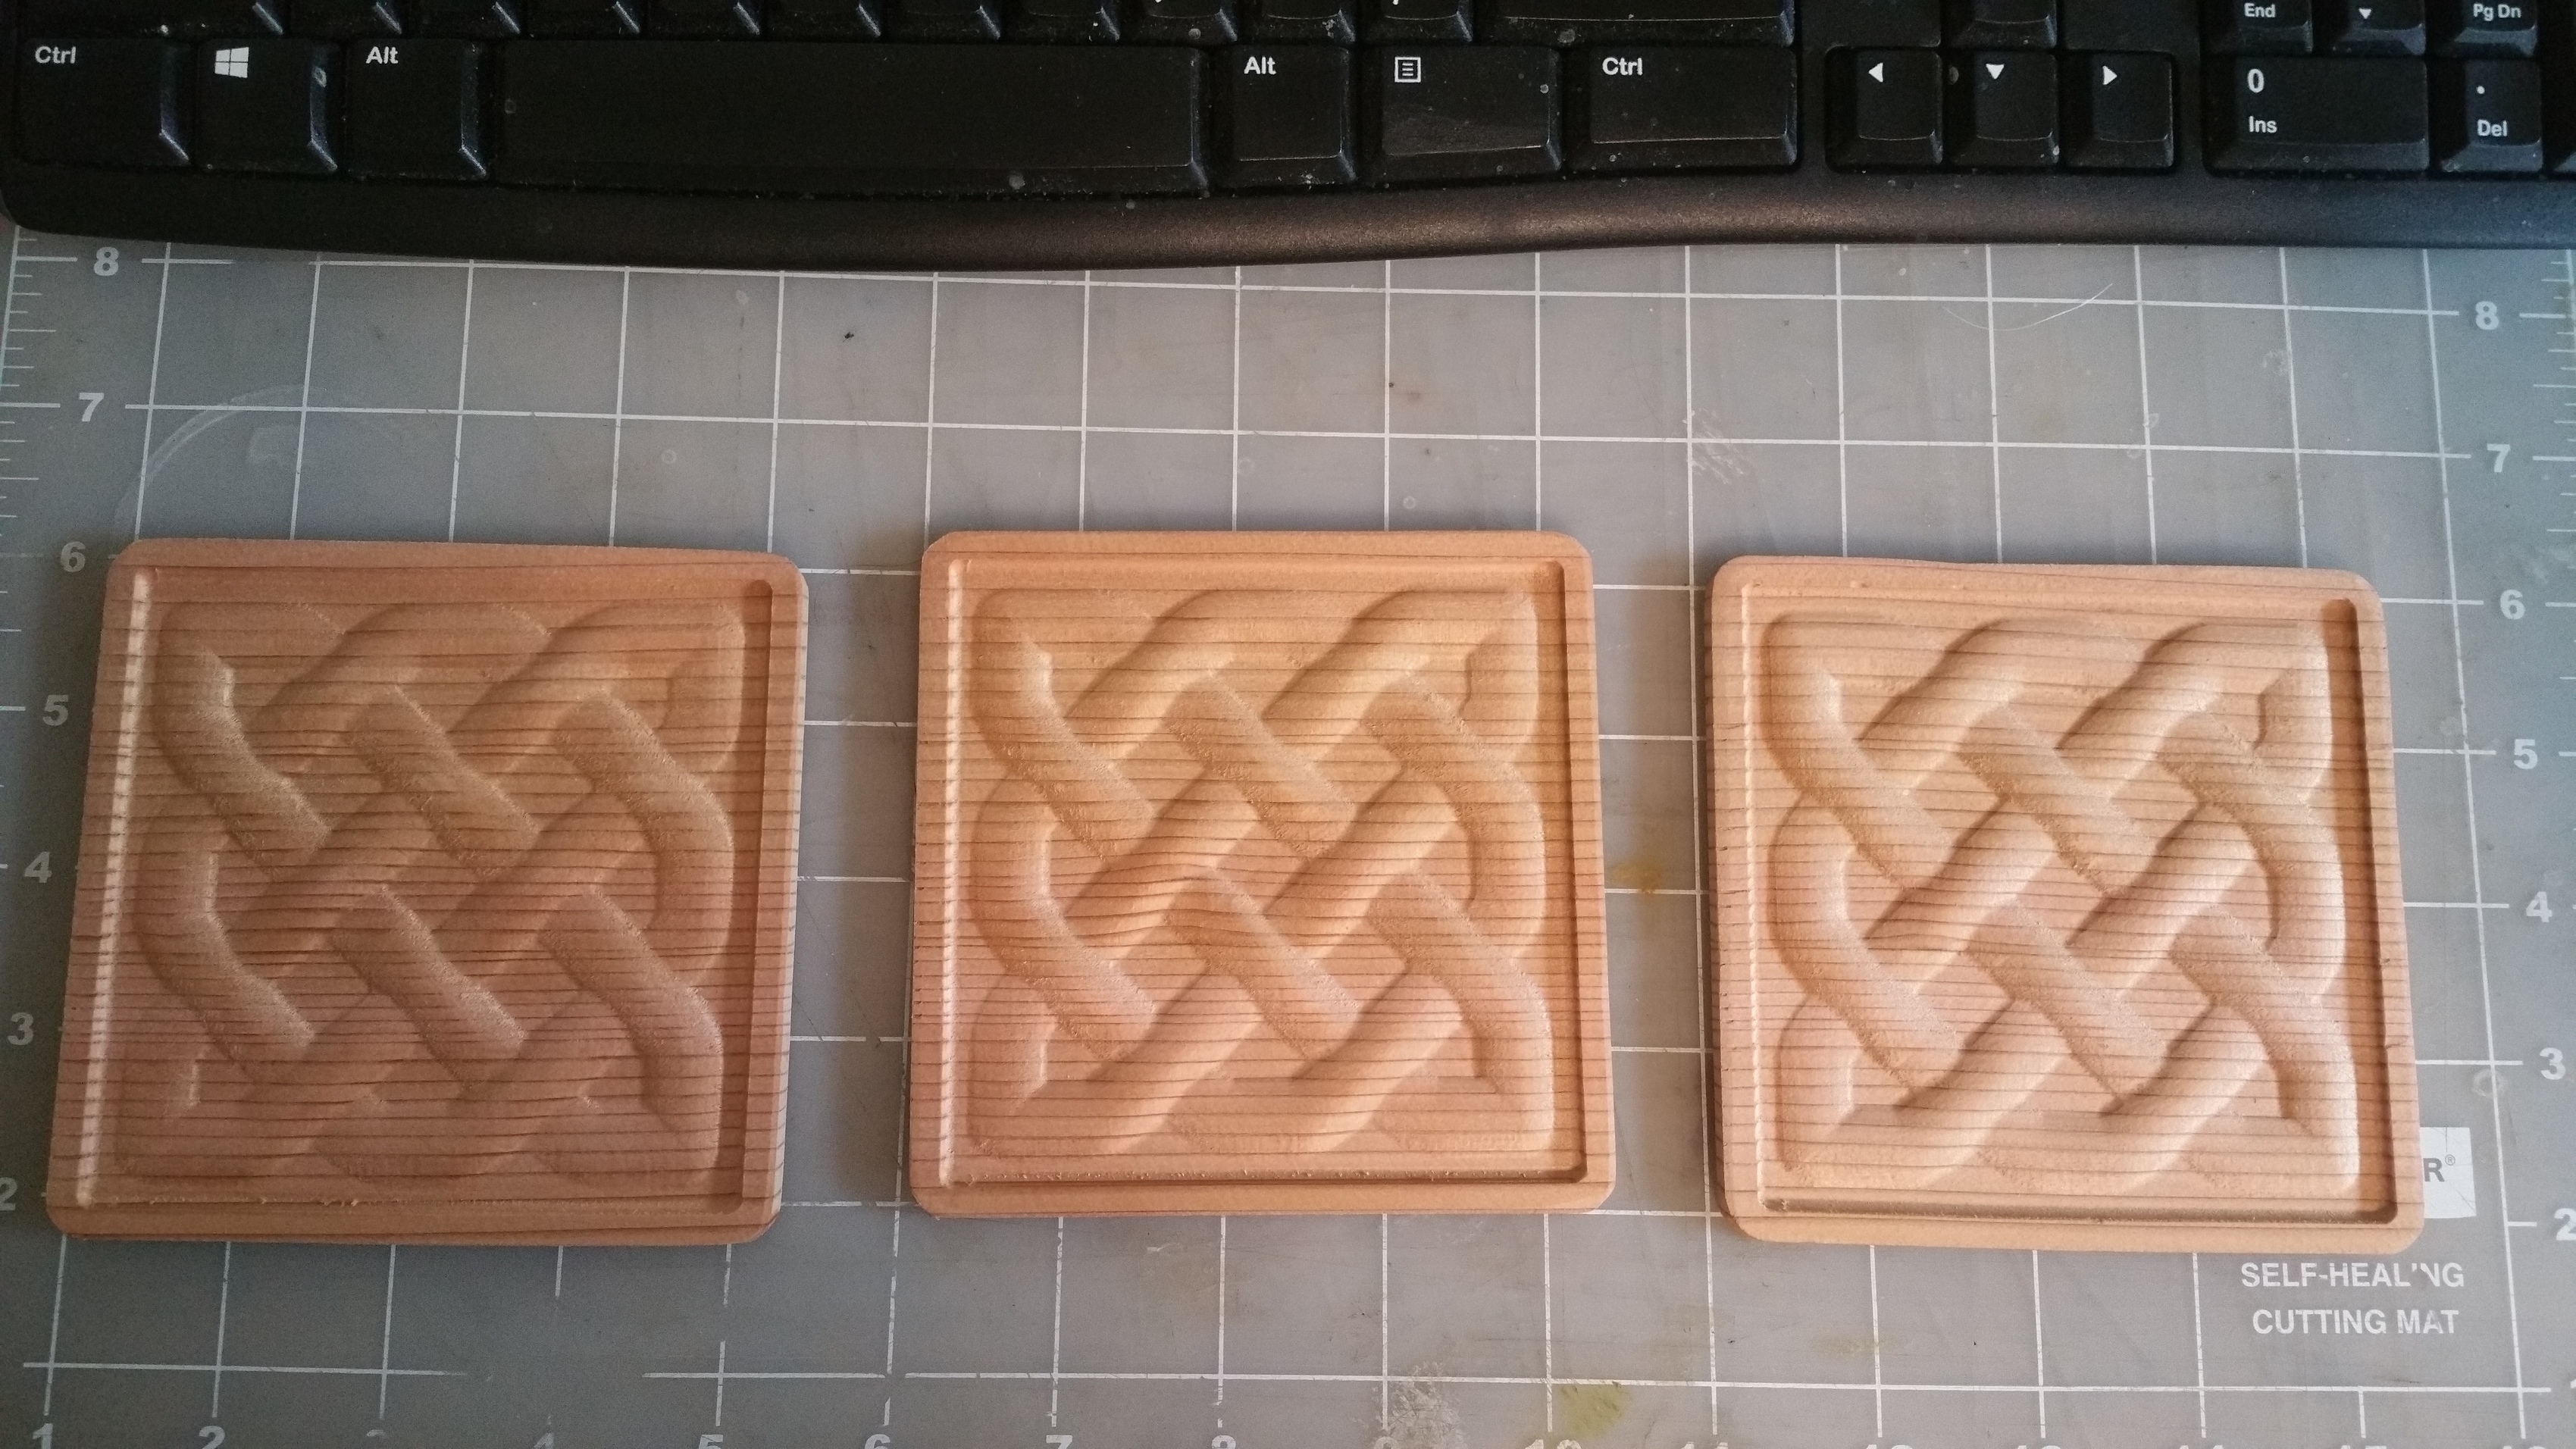
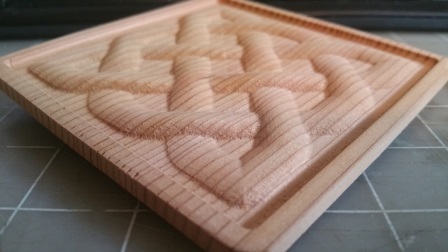
10 Likes

It’s me again :slight_smile:
I made 2 of those sheets, so I didn’t want to waste the other one.
I did the same thing, but with a weird, smiling, frog.
I also just realized that people have different sized machines, so I would be glad to make some one the G code files to make these 2 V carvings as single coasters.
Here is new photos. They would look a lot better with good, flat wood.

I added new photos of the finished ones above, as well.

4 Likes

Everyone please take the time to vote with the heart for the project you like most,Only a few days left if you have a project please post it soon.