I’m thinking I’m going to make one more spoil board for myself, now that I know more what I’d like. I still have my heart set on the aluminum table but not quite ready to pull the trigger.
And there is the possibility of a separate XXL in my future, so I figure whatever I learn making this spoil board may come in handy down the road.
I’ve made two spoil boards so far. The original (I got the machine used) was in bad shape. I used the holes in that one as a template for a transfer punch, to make holes on my new one. That worked okay but was very tedious. Combined with struggling with the screws under the extrusions, it just took too long.
This 2nd time around, I use the existing holes as a template again, but this time just placed my drill bit in the holes. The concern with that approach is, if my bit skates, I might destroy my template.
If I had a metal lathe, I’d make a steel bushing that registers off the counterbore. I do not have a metal lathe, however.
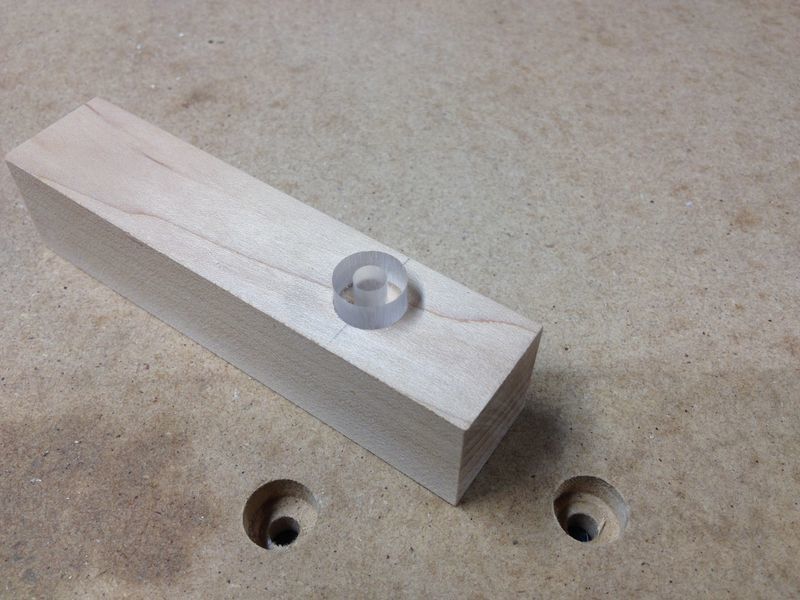
Shapeoko 3 to the rescue. I made acrylic bushings with a 13/64" ID and an OD just a wee bit smaller than the spoil board’s counterbores.
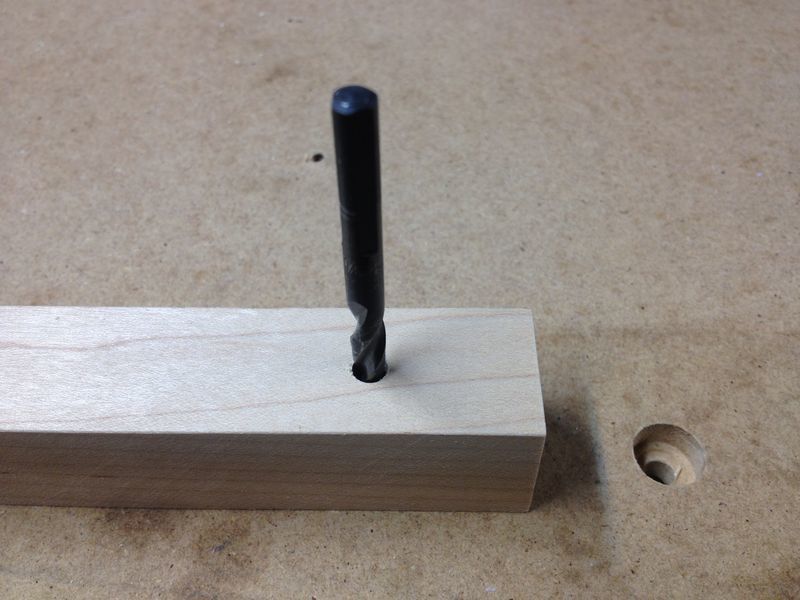
I also made a block that has a 15/32" D hole for the spacer, and a center hole that is 13/64 for the drill bit (I don’t have metric bits, the 13/64" bit is what I’ve used until now to drill the hole for the 5mm screws).
So I can clamp my original messy spoil board on top of new stock, place my spacer in each of the counterbores, place the block on top of the spacer, and drill my holes.
One neat thing about this project is that I’ve got the Shapeoko dialed-in enough that the first bushing I made measured to within .003" of what I drew, and fit well enough that I didn’t bother changing a thing. I simply cut another few of them to put into my Shapeoko hardware assortment box for future use.
Here are some pics of my contraption. Should make creating new spoil boards a snap.
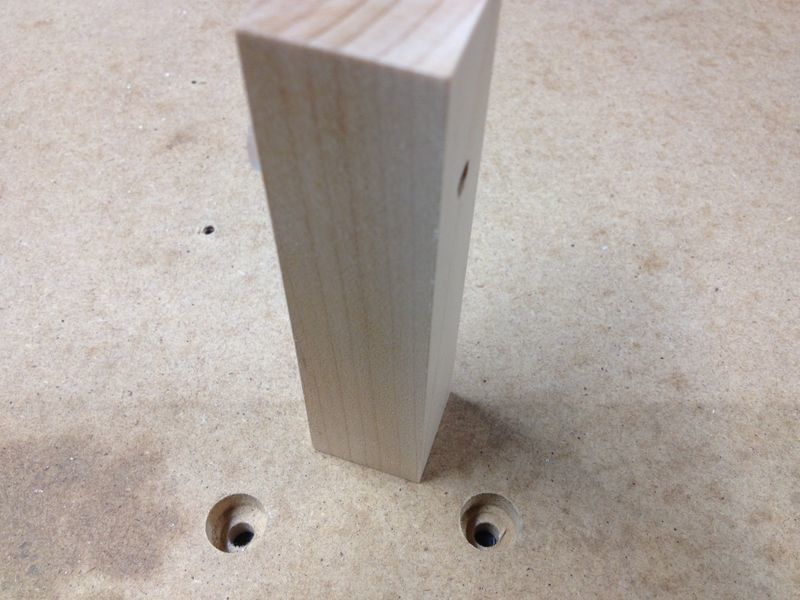
Unit upside down:
I tried to capture both sides so you can see the concentric holes for the drill bit, and the bushing:
With a bit, as intended for use:
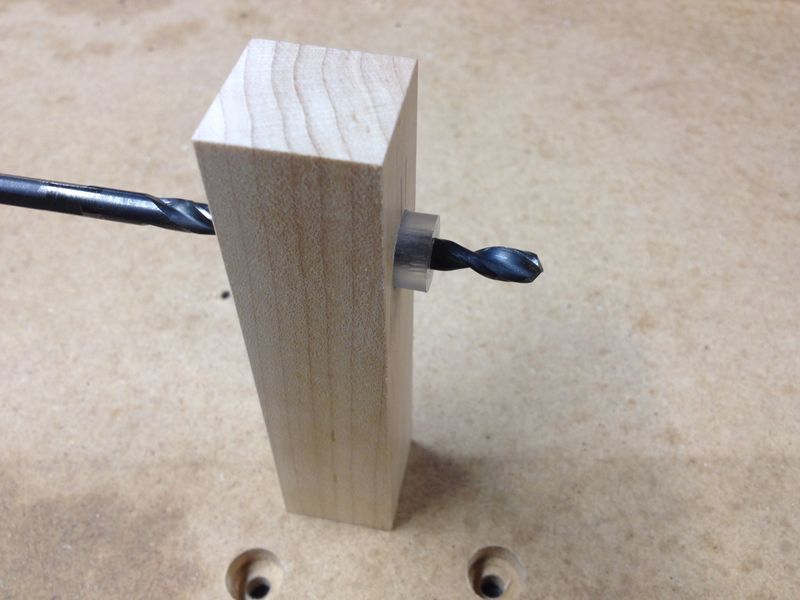
Placed over one of the existing spoil-board holes: