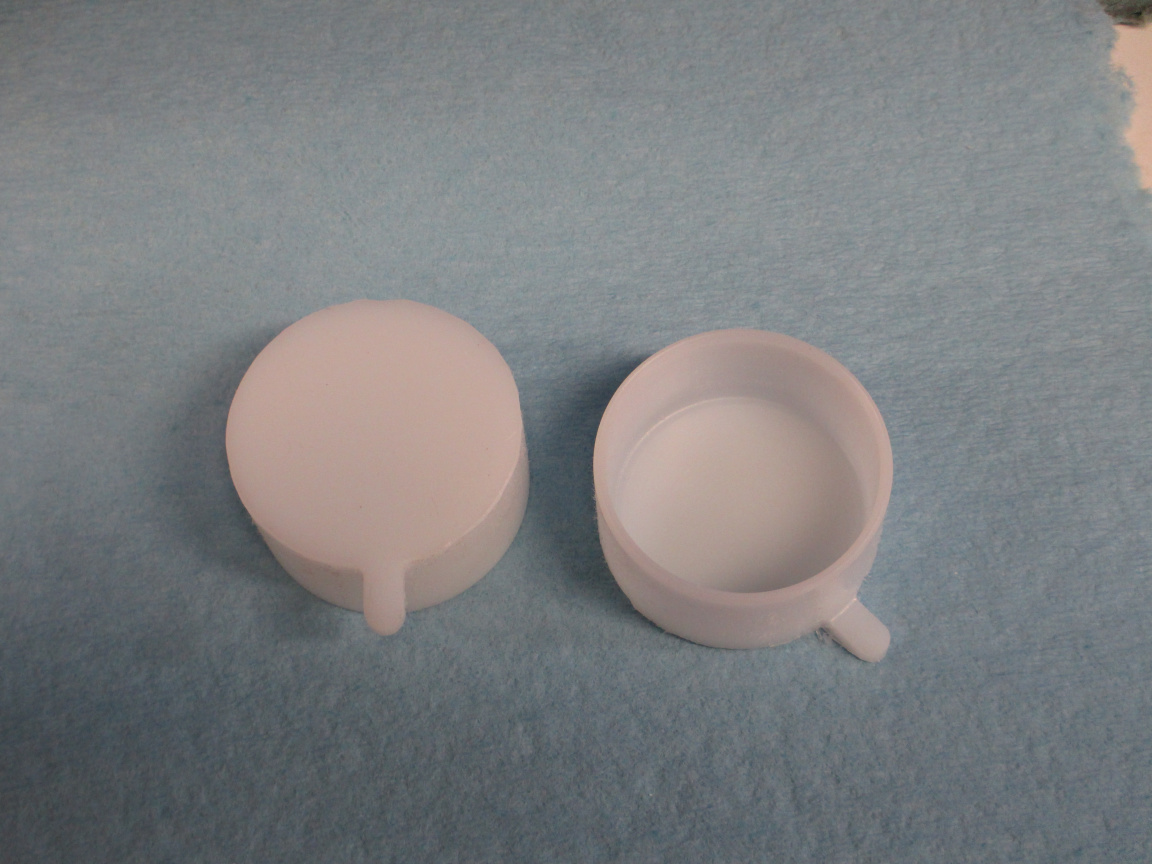
Had the day due to weather, so, among the other things to do when the power came back was a set of dustcaps for the shop microscope. The cover does ok, but a little more protection, in particular from the inevitable coolant mists and from the shop cat, became needed. Given the recent questions with regard to workholding, I took a few shots of the setup.
The stock is 25mm thick HDPE. The ID of the caps is 45.5mm to be a loose fit on the eye cups and the OD of the caps is 50mm. The tab is in case I decide to use a string or chain on them. Not sure yet, s I didn’t drill the tabs.
The setup:
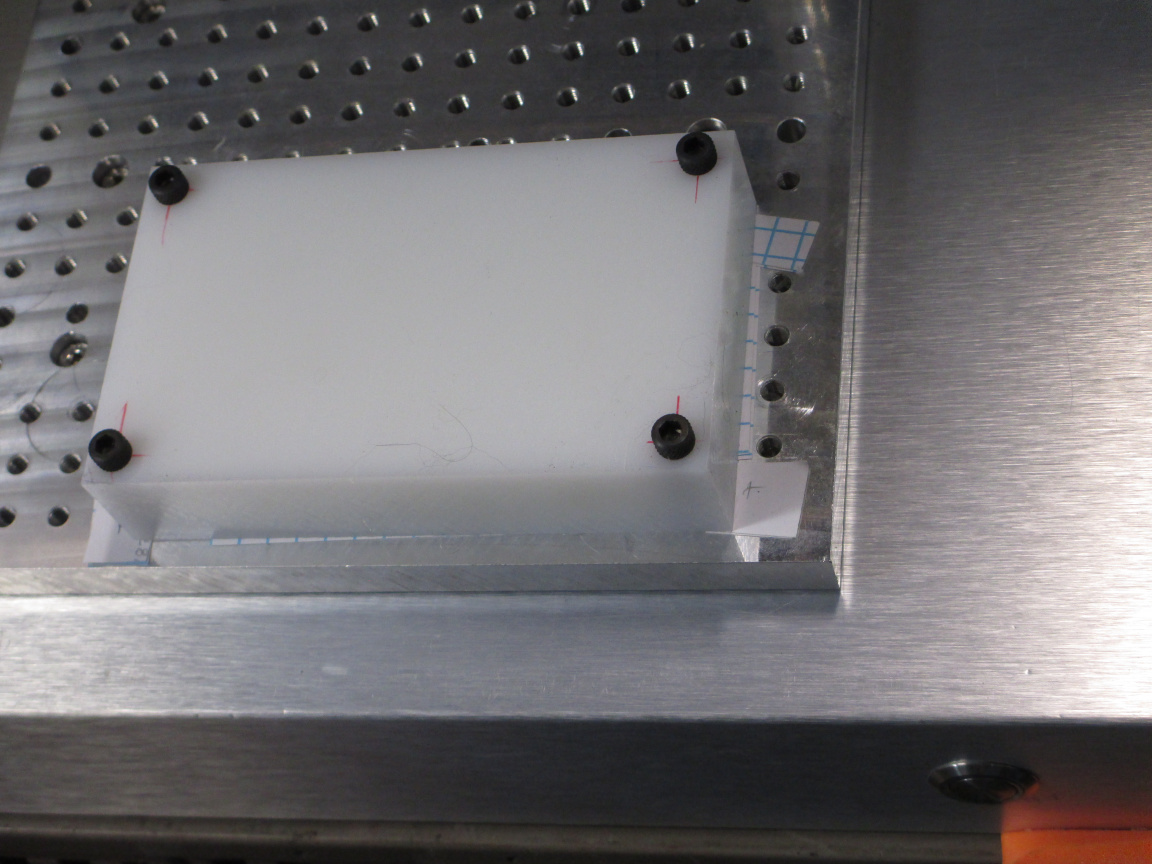
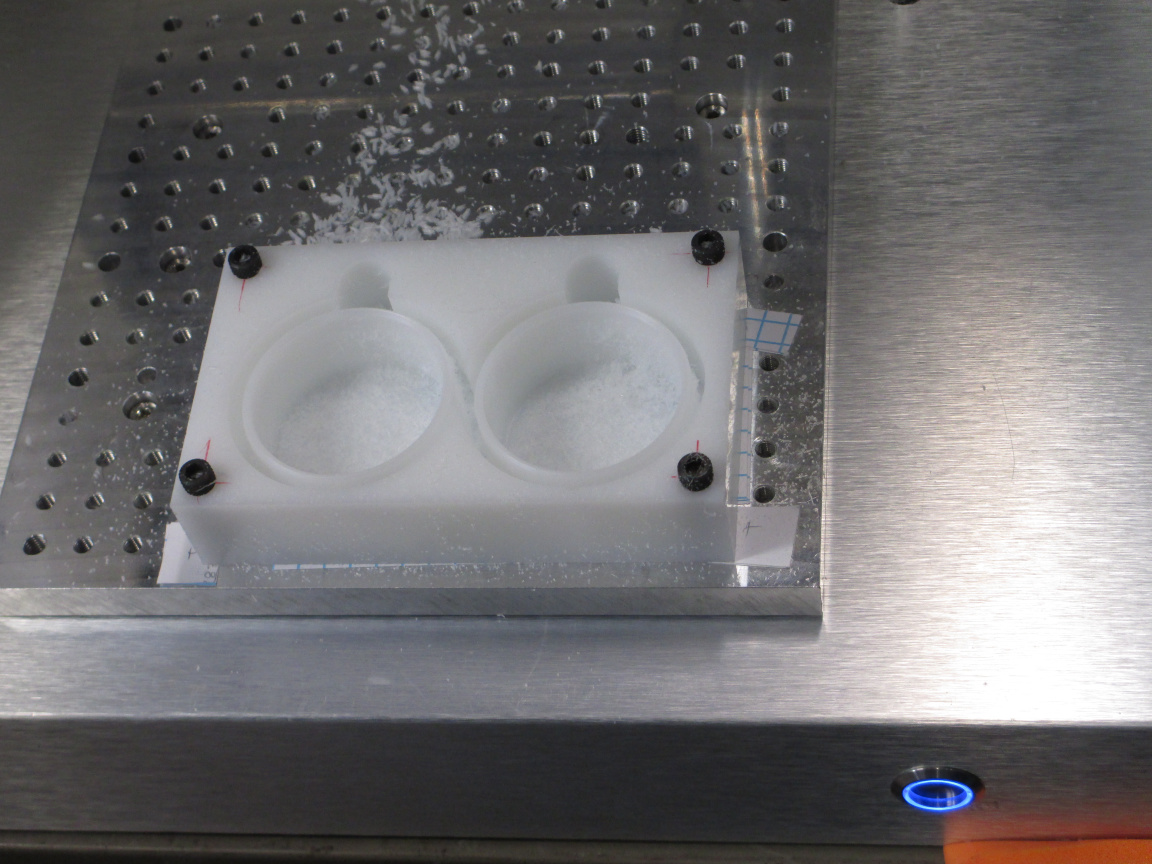
The stock was drilled at the corners and screwed down to the bed. Two file card were used as spacers (0.30mm total thickness) to protect the bed plate as the cut went all the way through. The stubs sticking out were the corners cut to make clearance for the screws. I put them in so that there is support substantially all around the screw point. Without this the material will tend to bow up as the screws pull the corners below the surface of the spacers. With these slipped back in for support, the material was flat to within 0.04mm, which is as good as it was s when supplied. Without these, the center was lifted 0.55mm above the corners. It wouldn’t be a bit deal for these parts, but it is still good practice to support the stock properly. An additional benefit to using hte card spacers is friction: the HDPE coldflows and is slippery against the aluminum bed. This is the best recipe for the material to shift during machining. The card stock adds a lot of friction and a little compliance. The stock will not move.
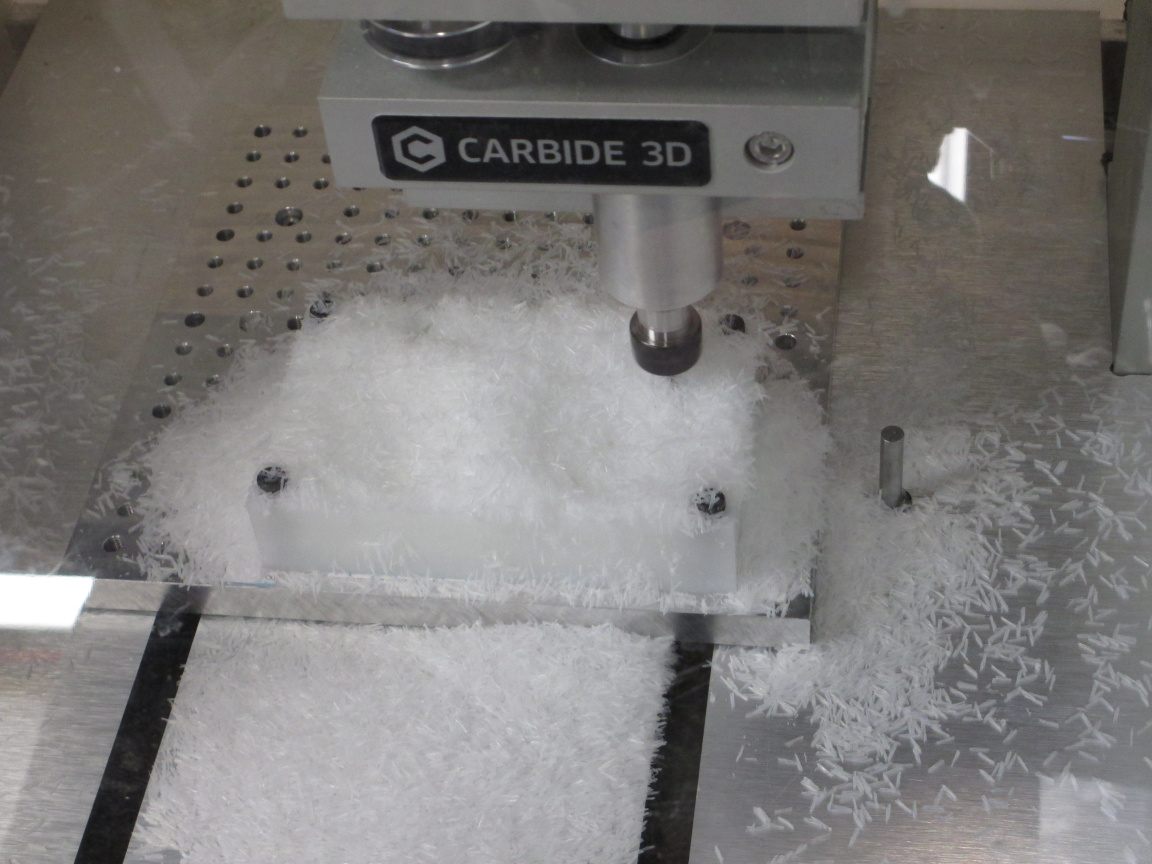
Mid job: The HDPE makes a lot of chip volume. The job was run with a 3.0mm flat end followed by a 3.0mm ball end, 10KRPM, 1800mm/minute. The radial depth of cut was 1.2mm, and the axial was 6mm (2 times diameter), using a good constant engagement strategy. The chips volume shown was what piled up in the time it took to position the camera, as I pulled the vacuum head out of the way. Figure 30 seconds.
The end of the cuts with the flat end tool. I do not like plowing grooves (it is hard on the tool and the machine, and requires follow up to get a good surface) but it was the most practical choice here. Tabs were left for support of the part. This heavy cutting was done before this, since tabs do not provide the support and rigidity the solid stock does.
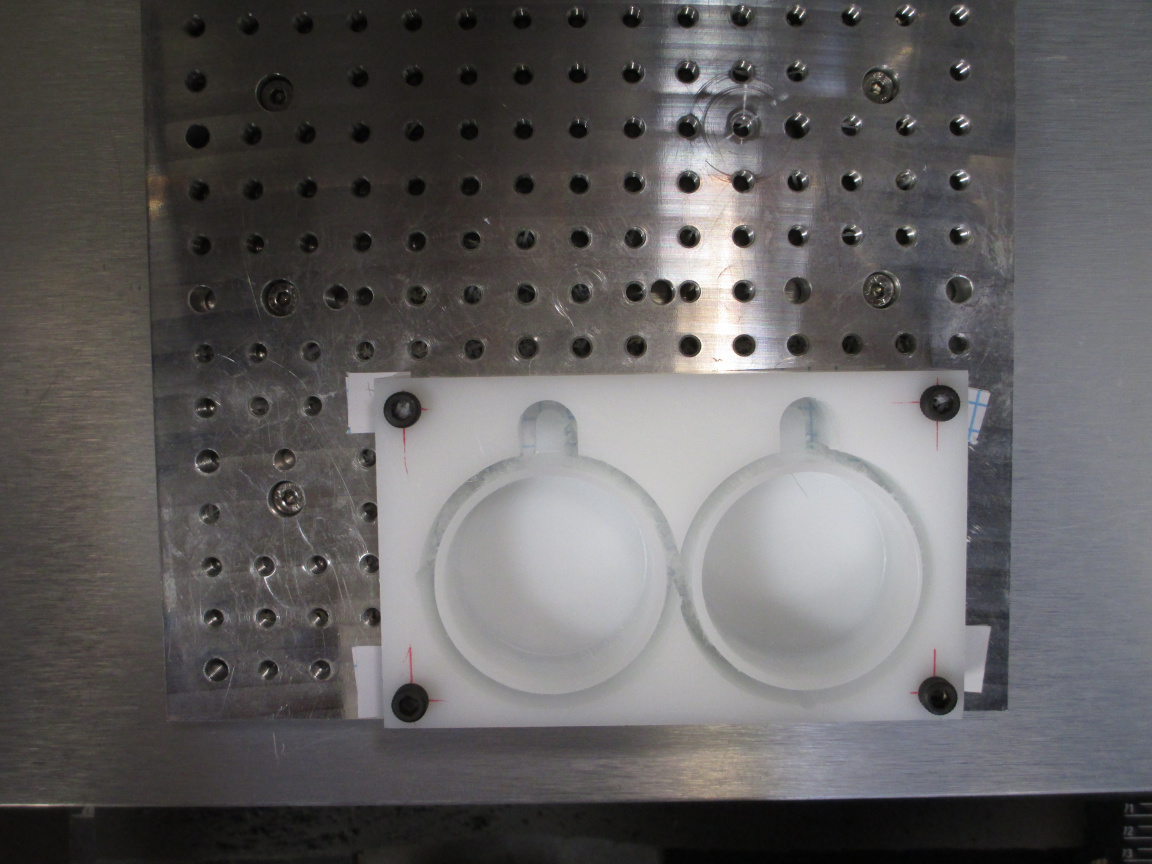
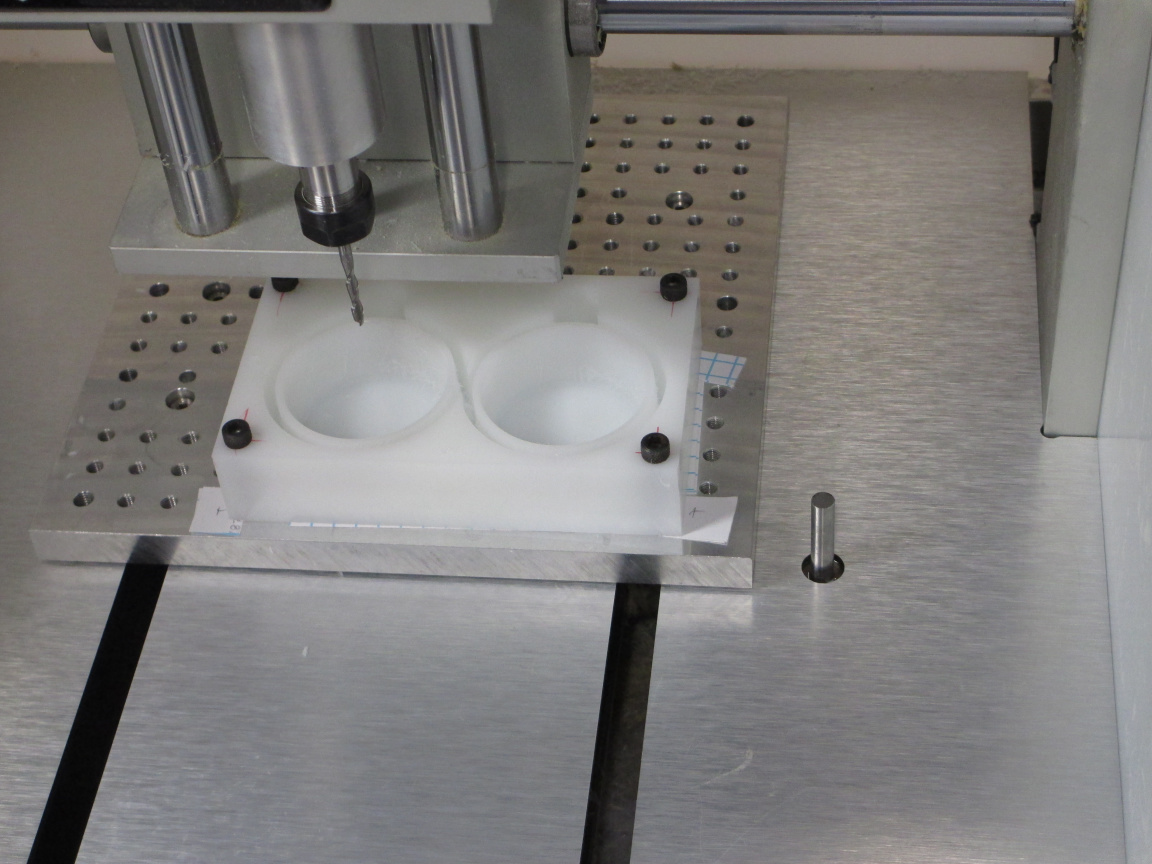
The finished job, after running the ball end to finish the internal fillet (at the bottom of the cup) and the chamfers on the exposed edges. In the second shot, you can see the gridlines on the file card used as a spacer. The depth hit just about dead on. In a few spots, the tool just fuzzed the card surface. The holding tabs are also visible. 3mm wide by 0.8mm, spaced at 18mm around the circumference.
Cutting the parts free took a minute with a scalpel, and then a quick pass with a vixen file to chamfer the corner at the blind end. The finish on the OD isn’t great, but is ok for the job. This is due to plowing the groove without following with a finish pass as well as the long stickout needed to let the screw heads clear the spindle end. I could have saved 6mm stickout by countersinking the heads, but, for this, it wasn’t an issue.