Thank you for taking the time to share,looks really nice 
1 Like
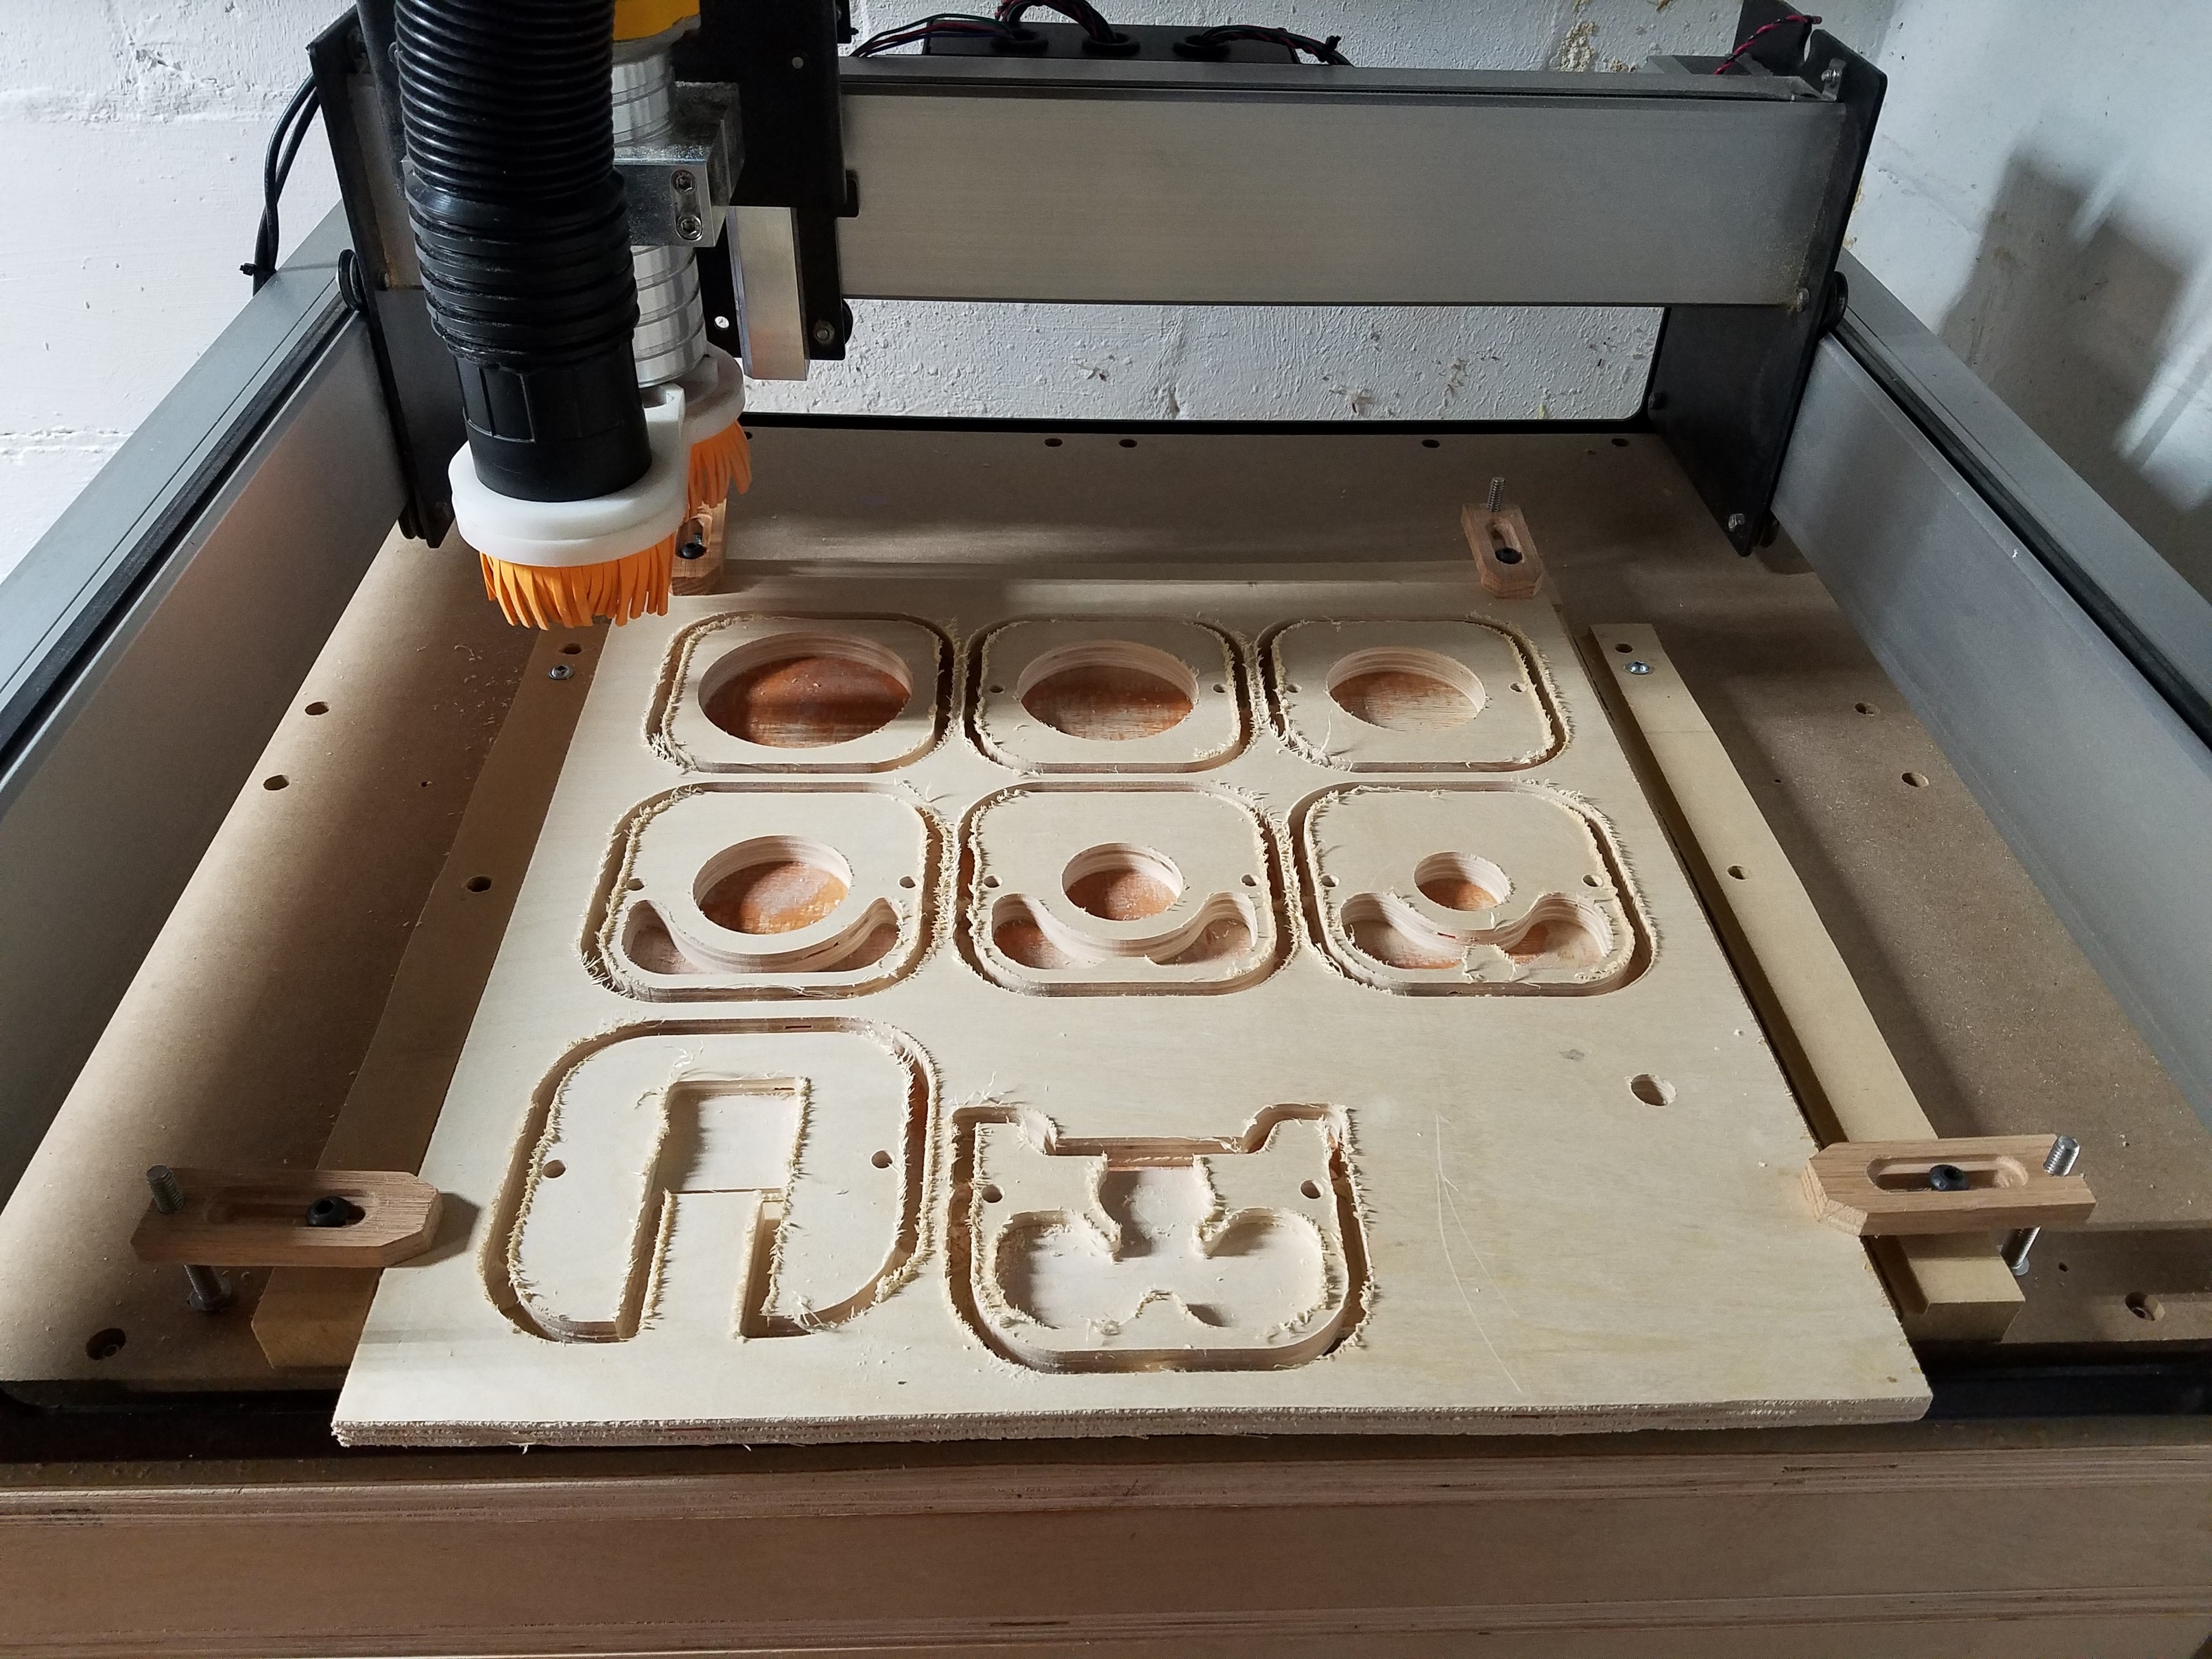
A couple months ago we repainted my daughter’s room using a unique chevron color pattern,
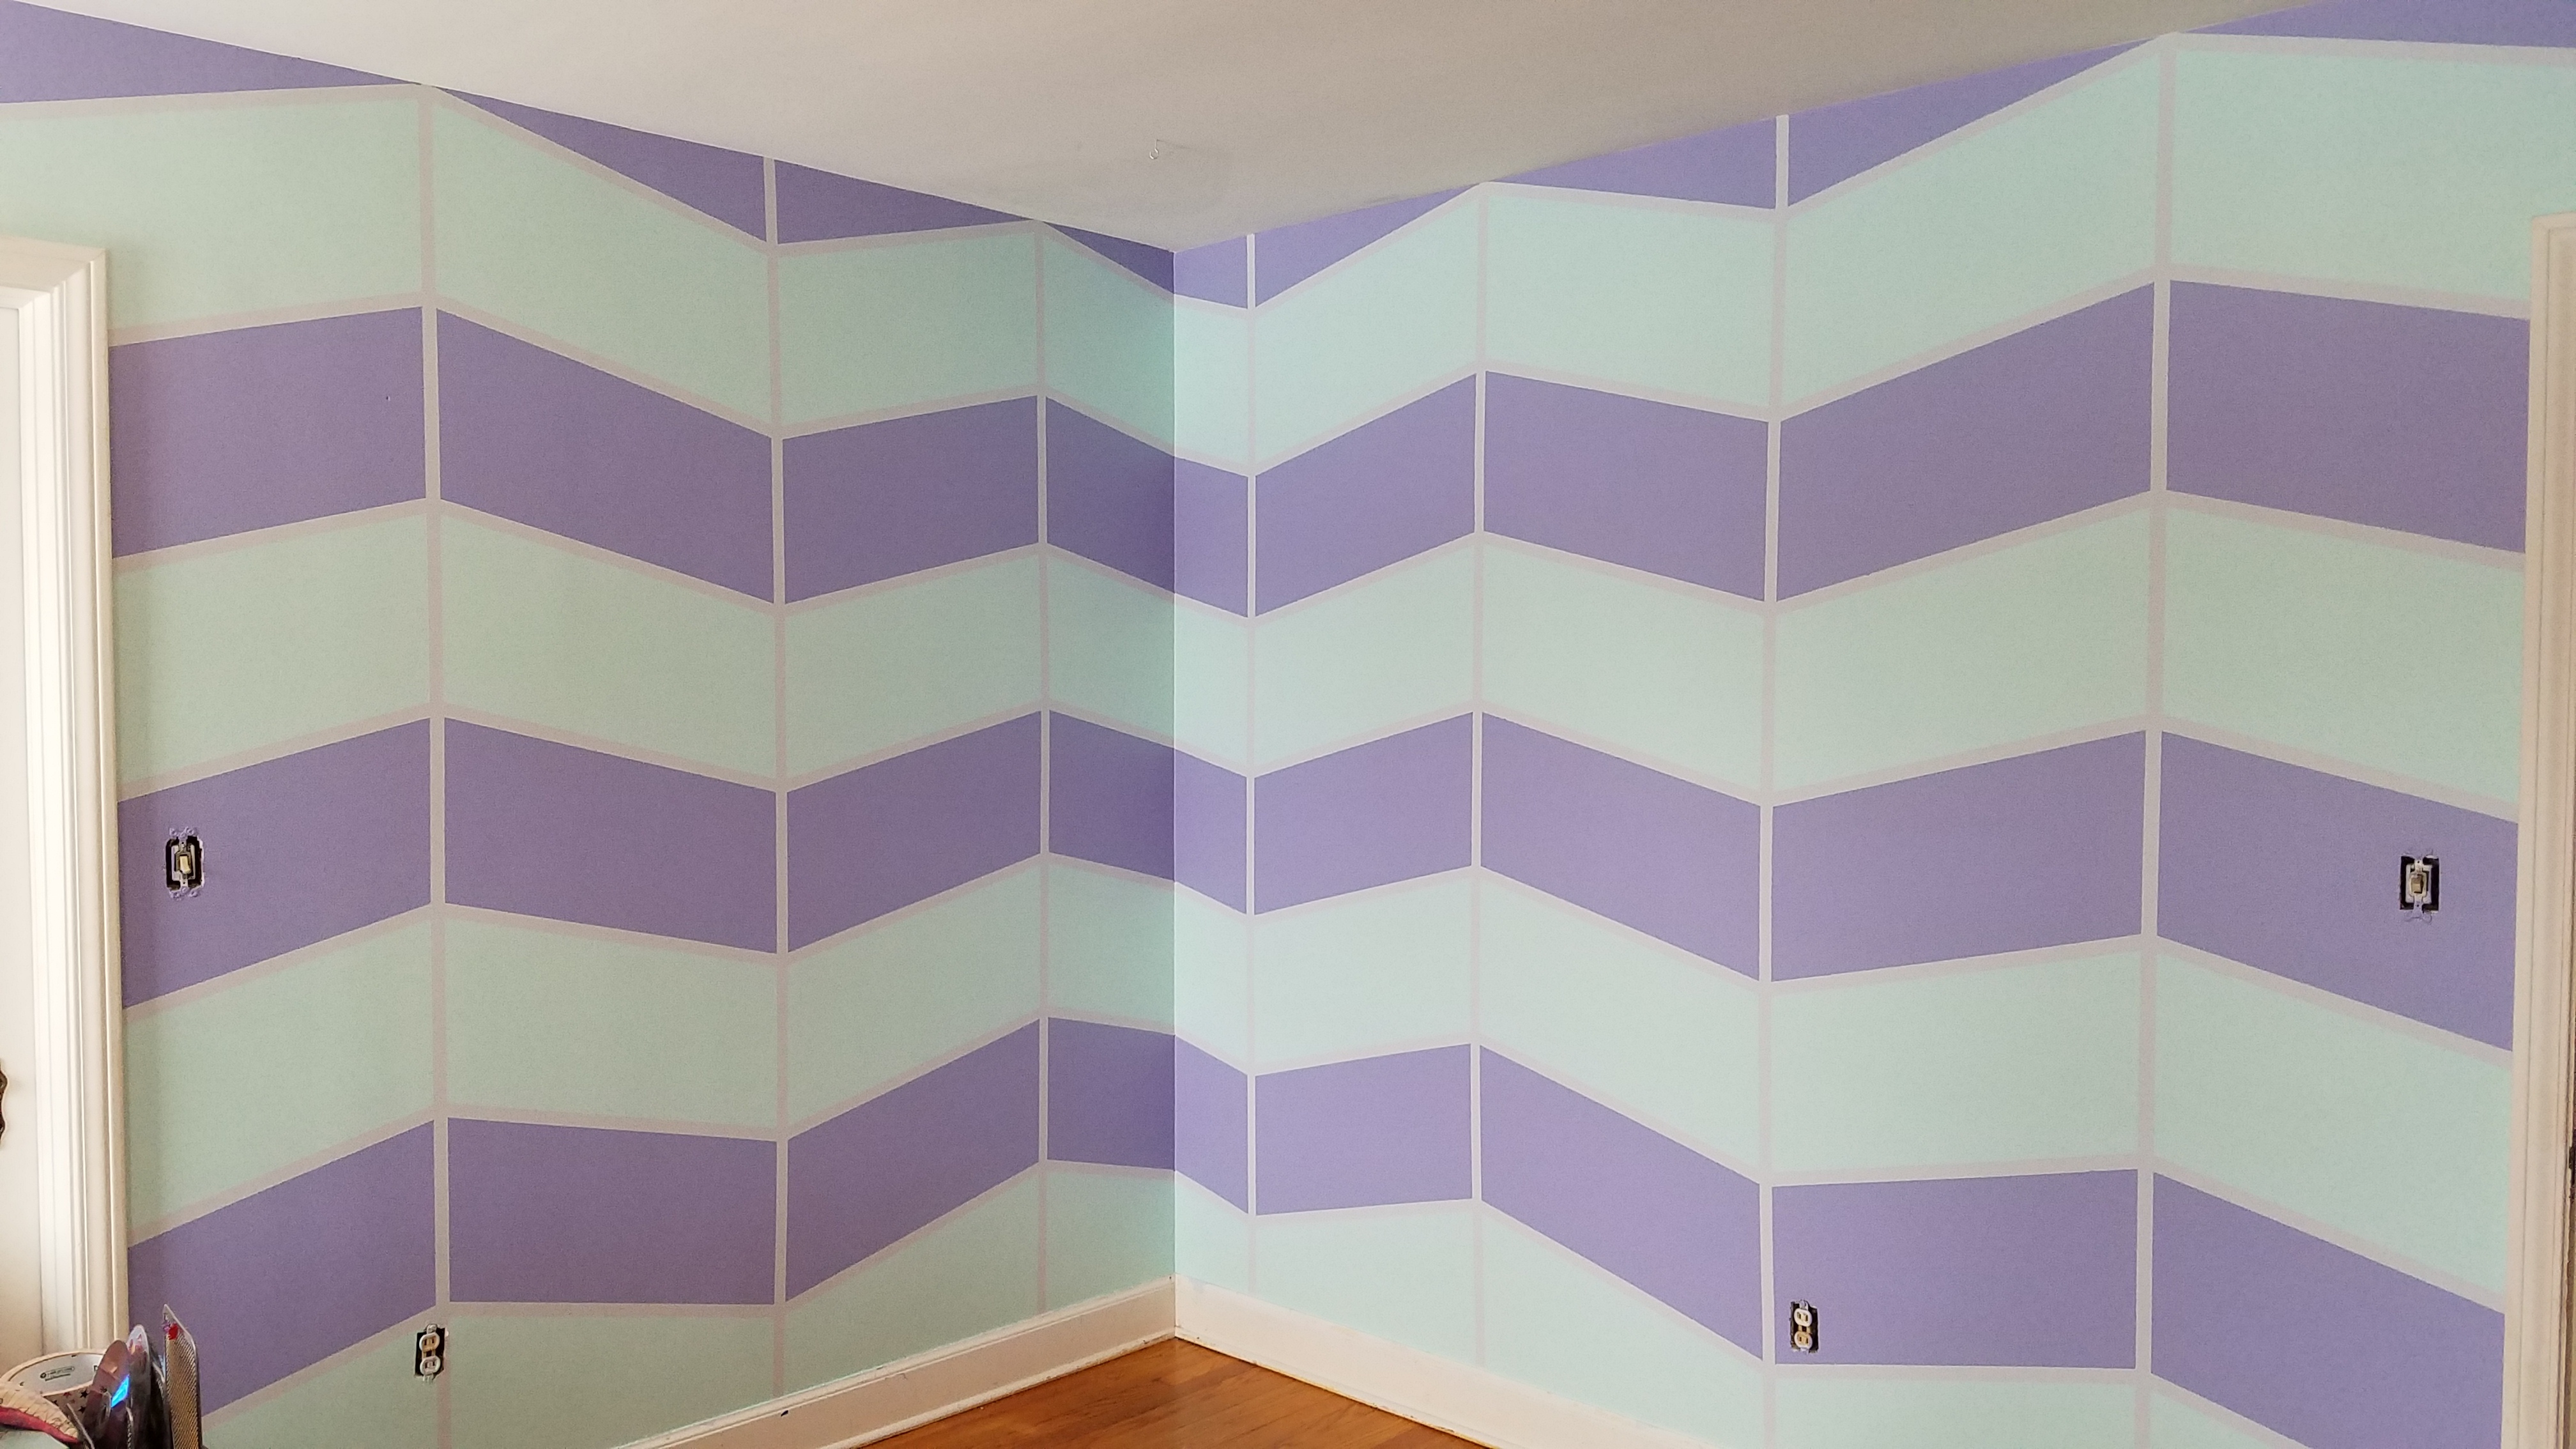
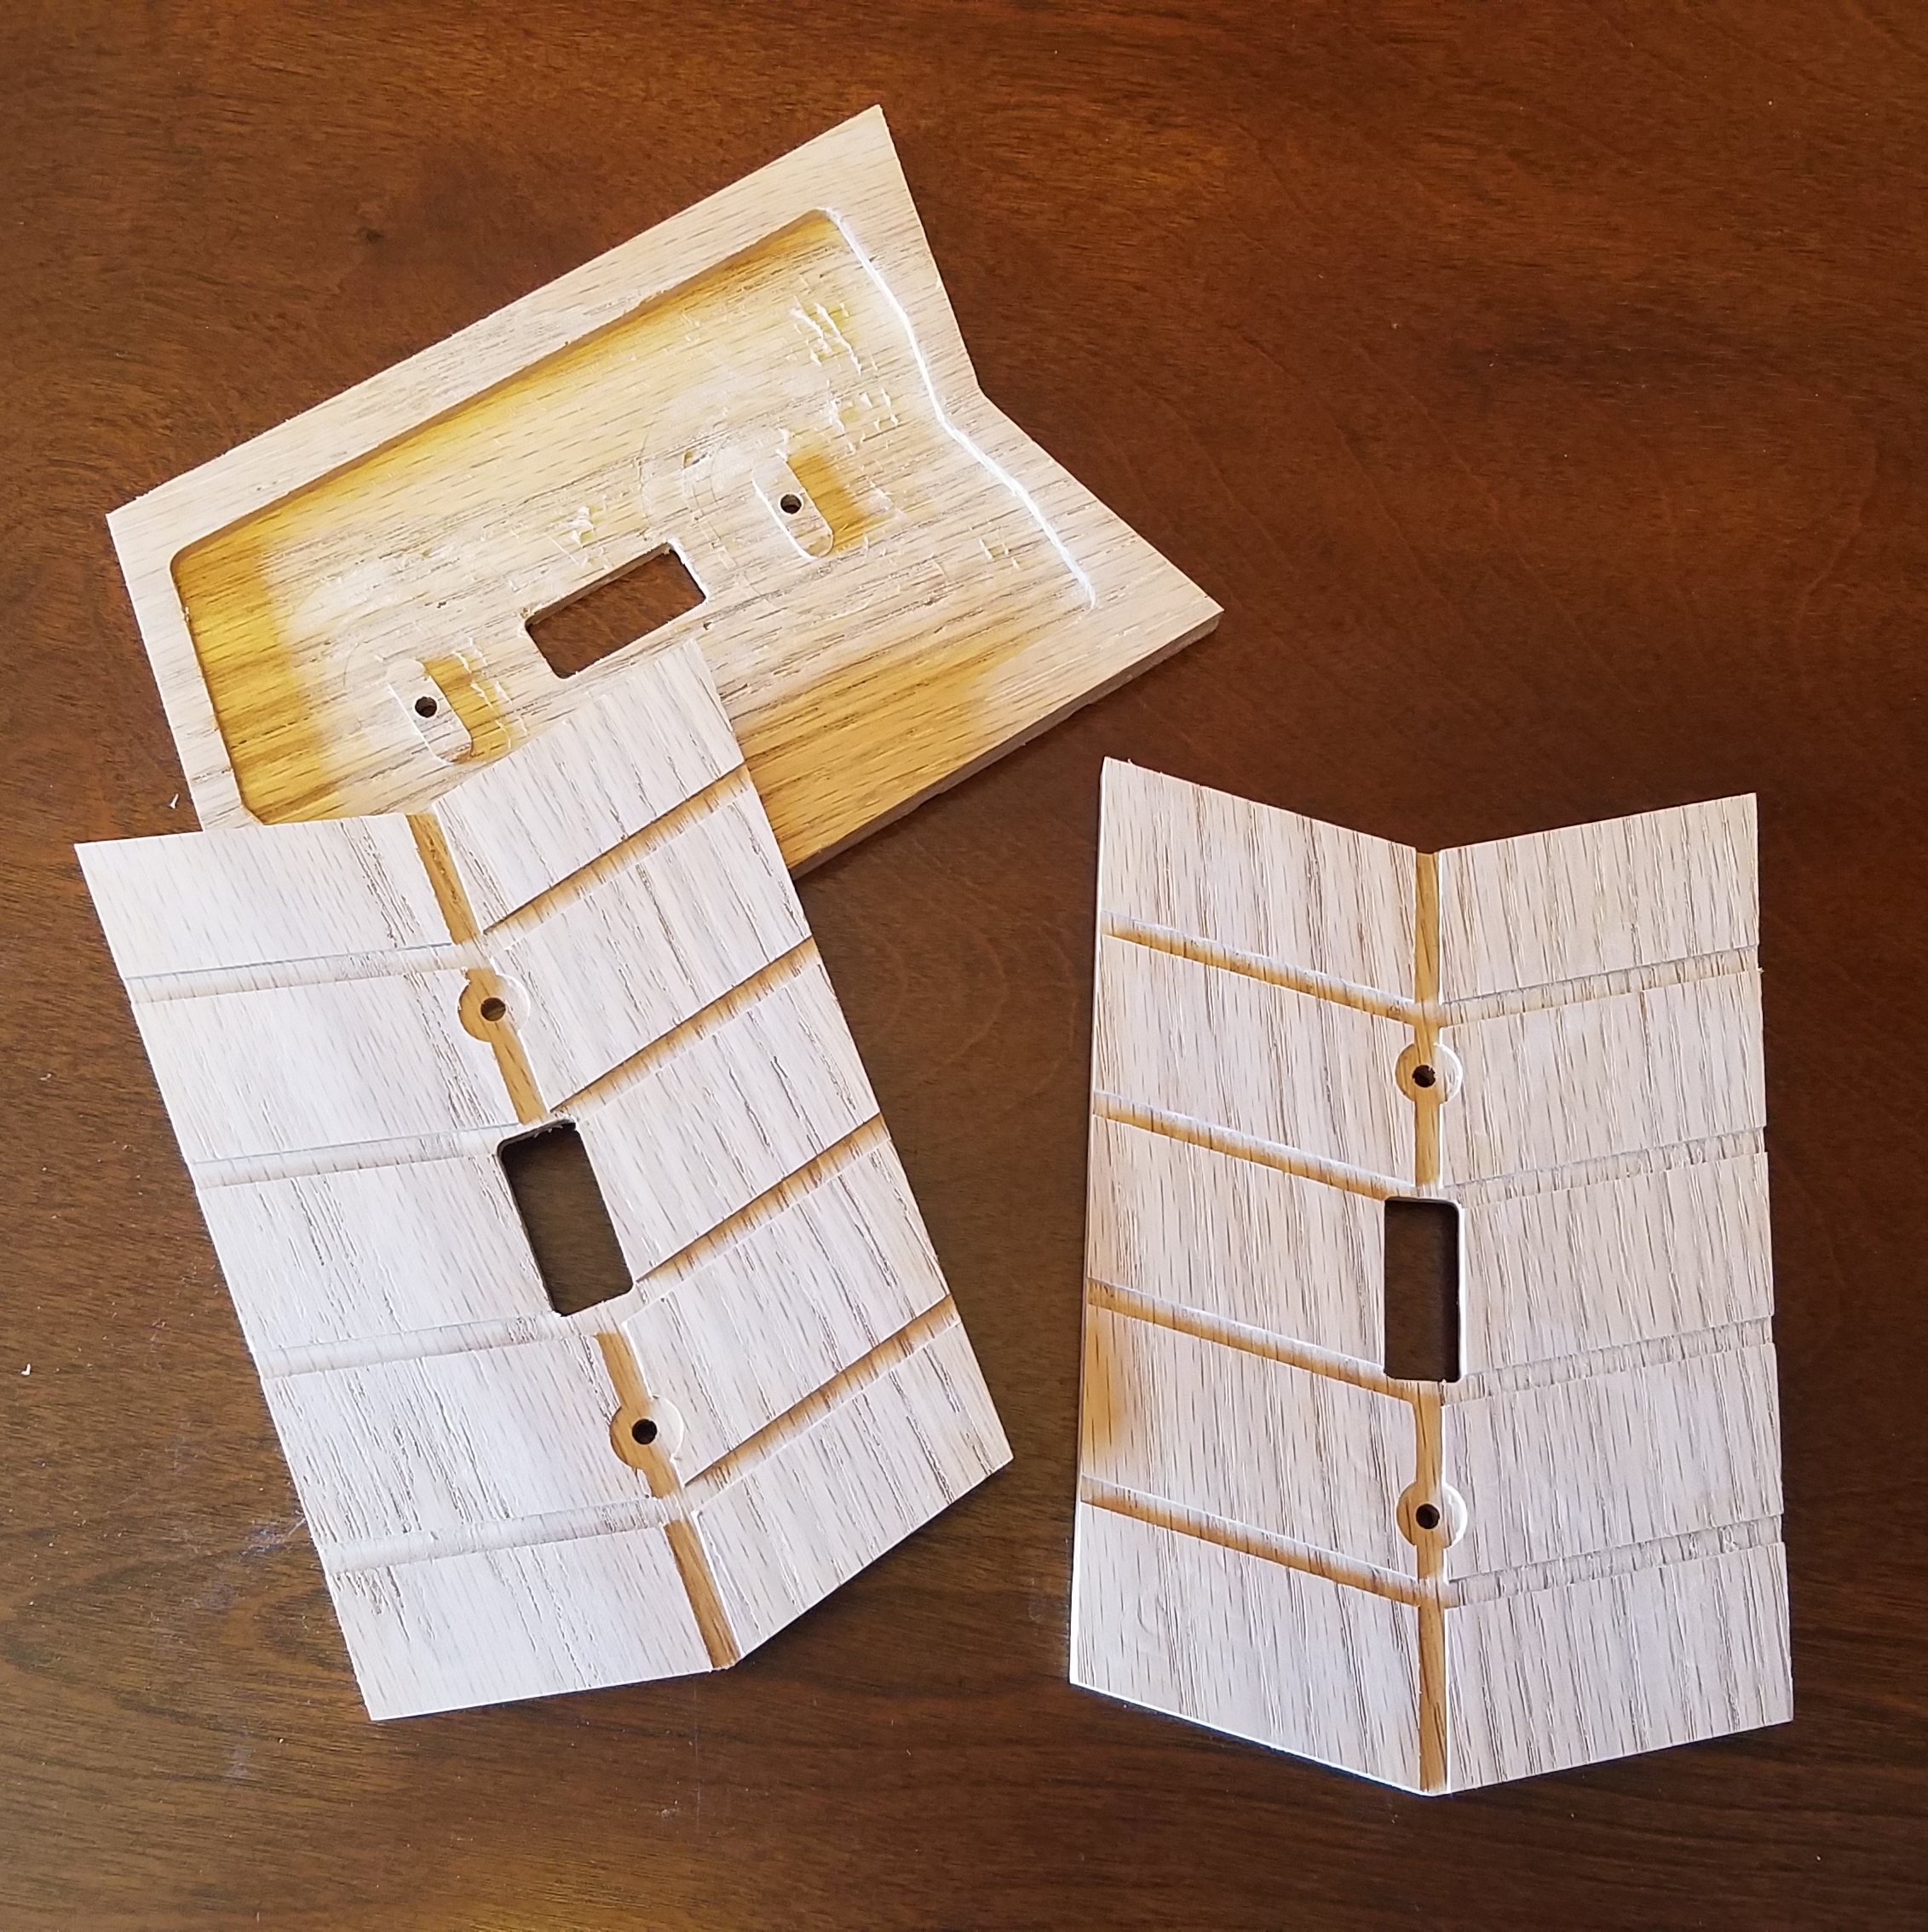
…and I decided that it needed lightswitch plates to match:
8 Likes
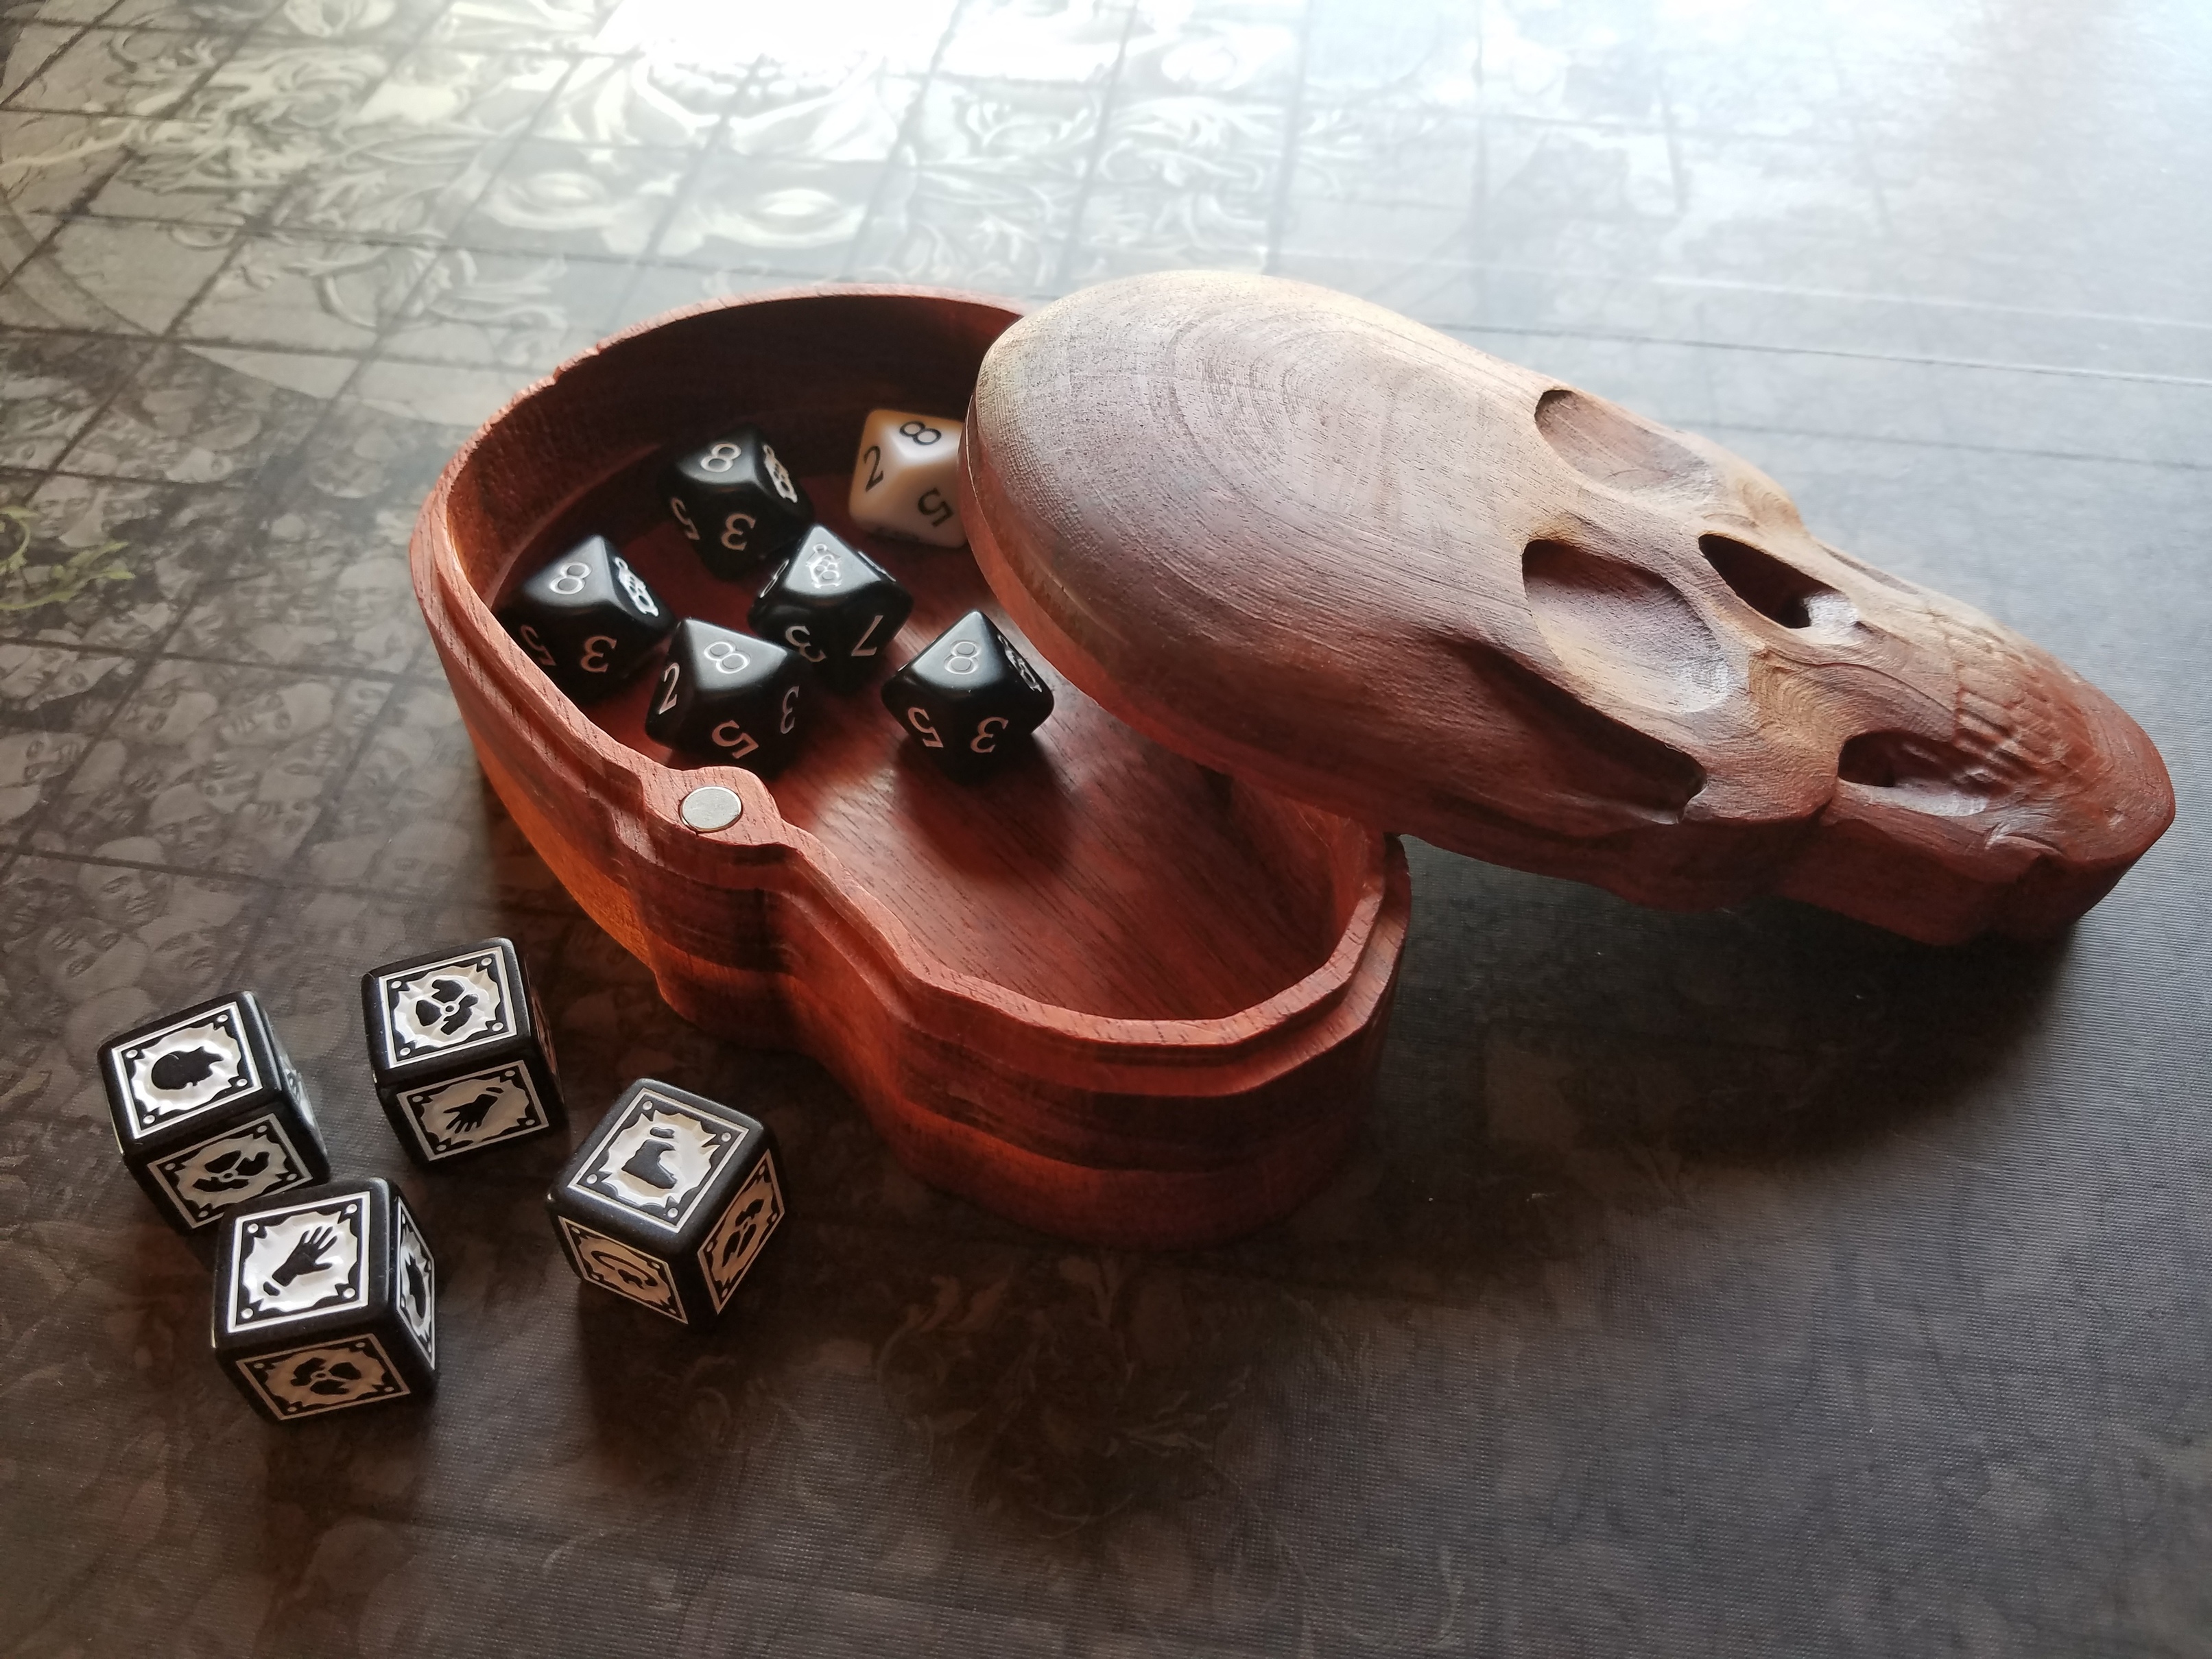
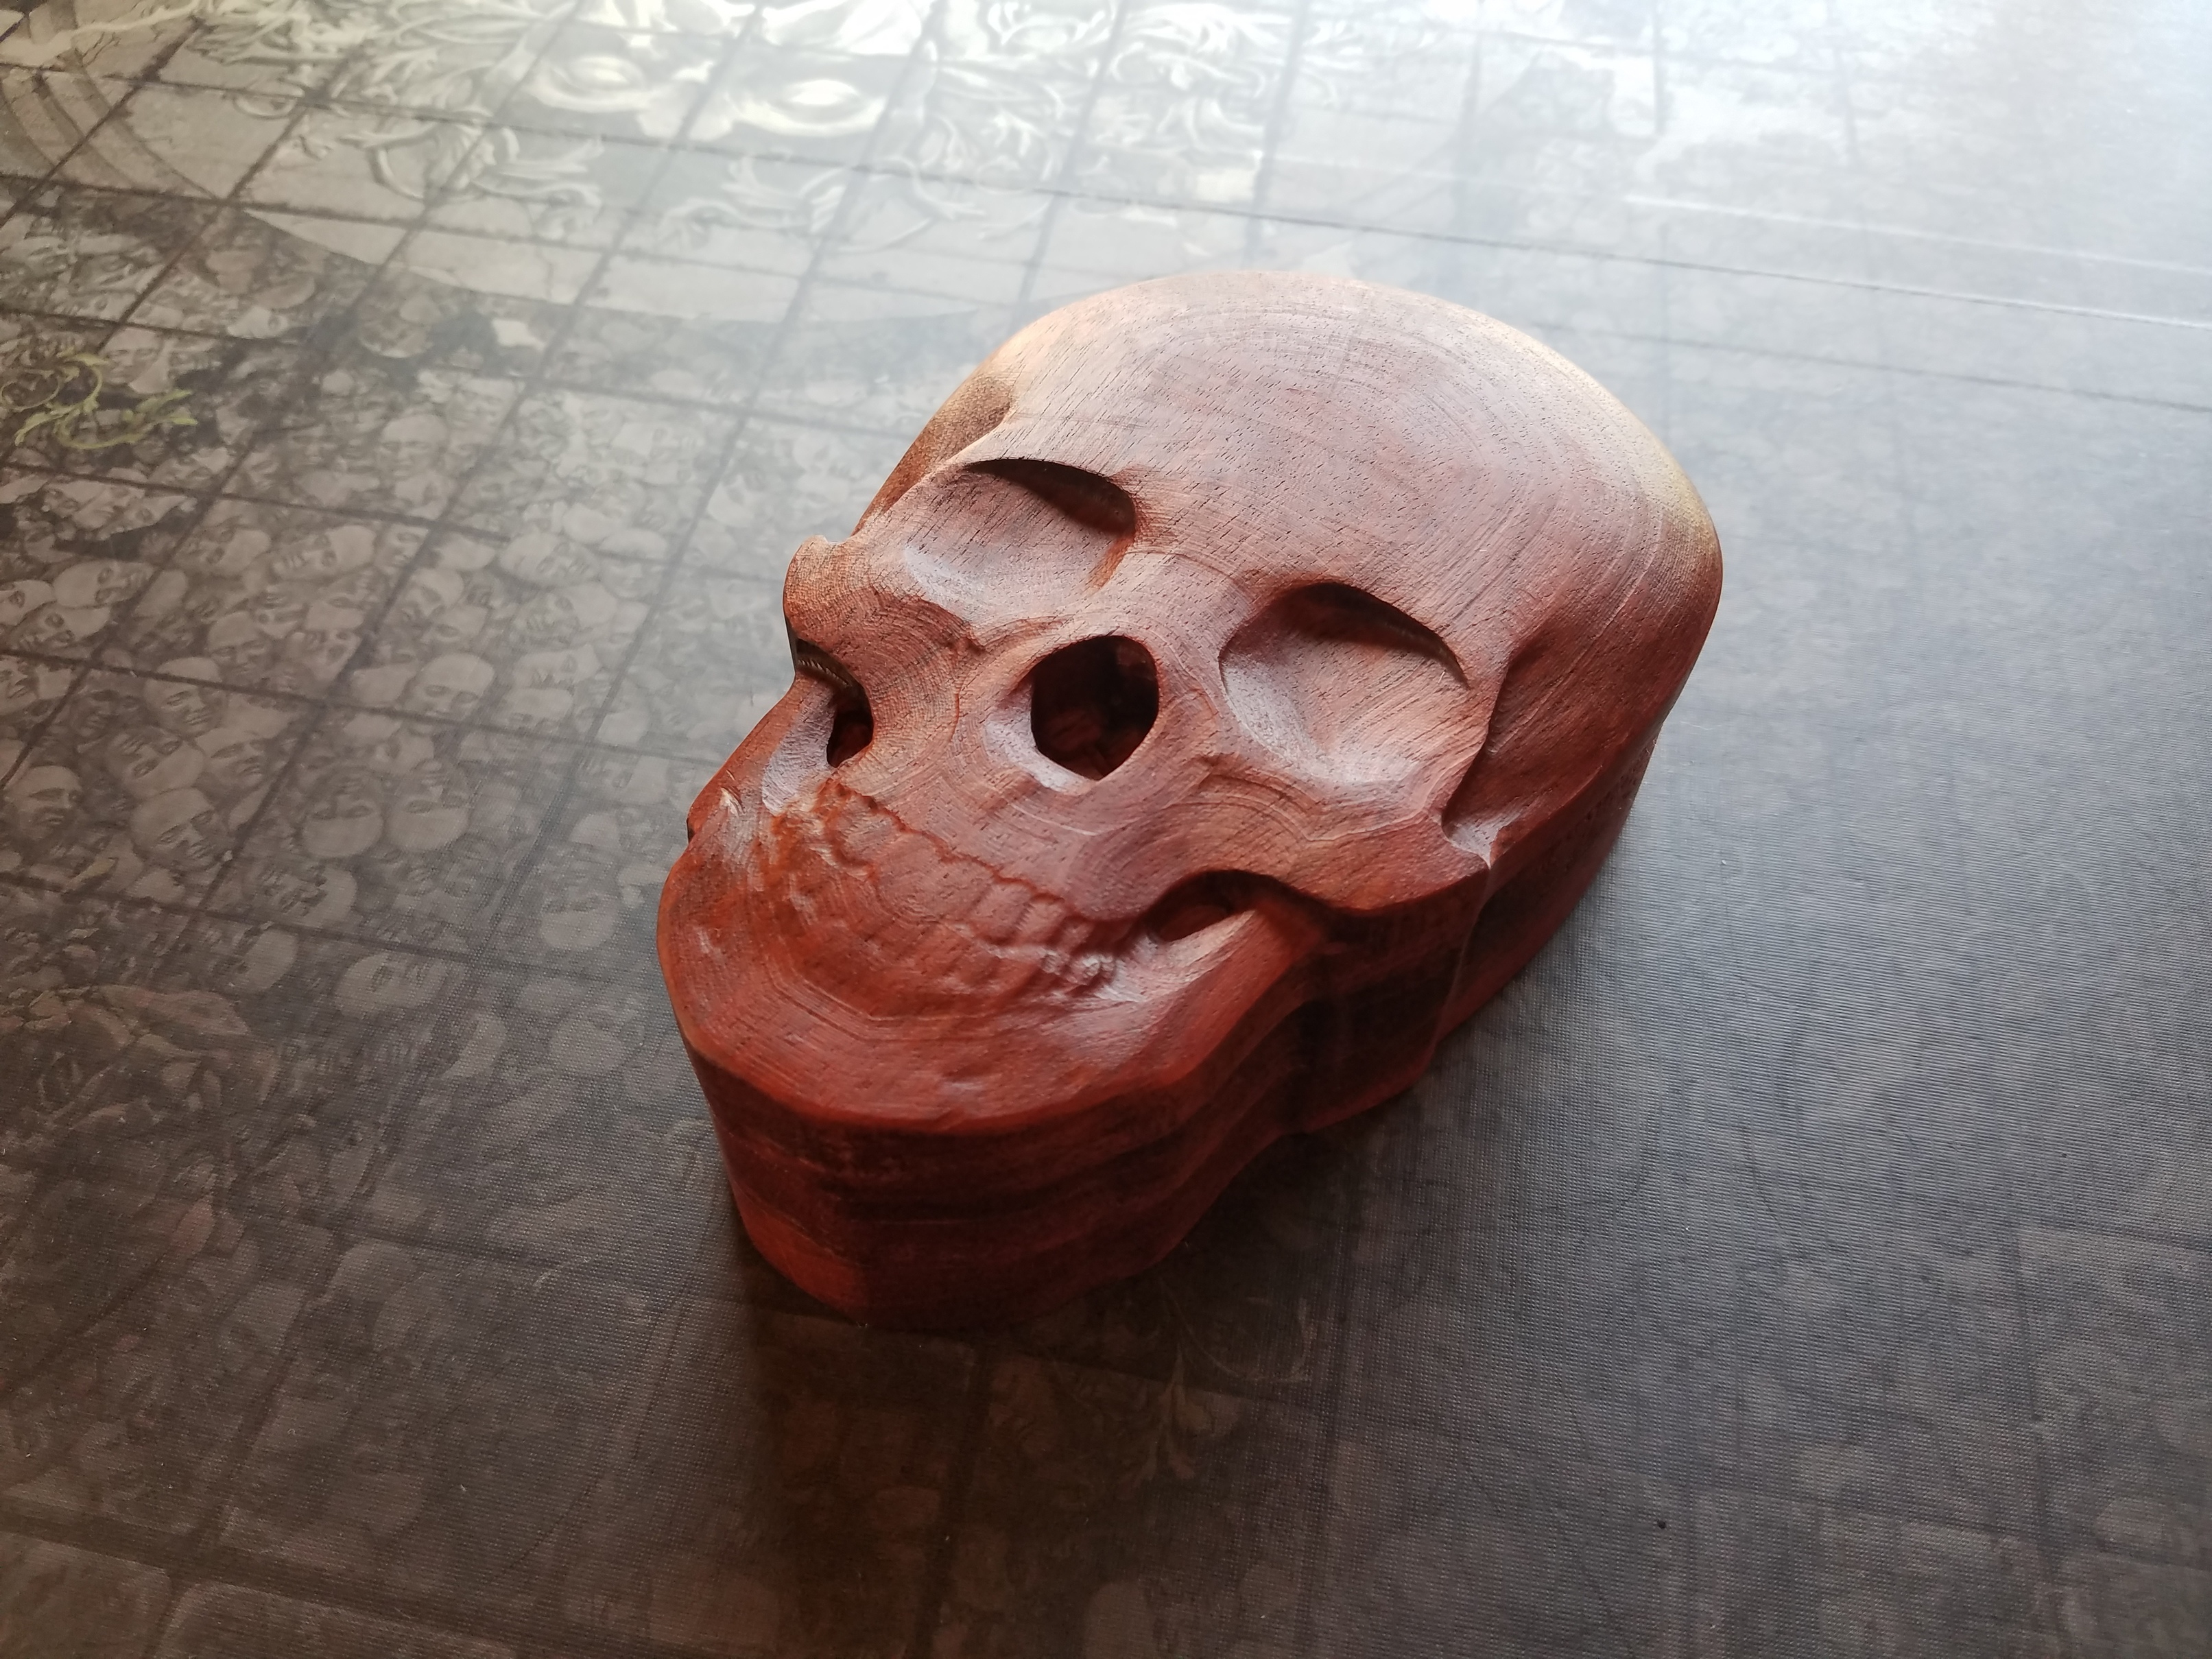
Because I never did post completed pics in that thread, here is the skull box that I carved for the first forum competition. I applied a Tung oil finish and will probably lacquer it the next time I am spraying.
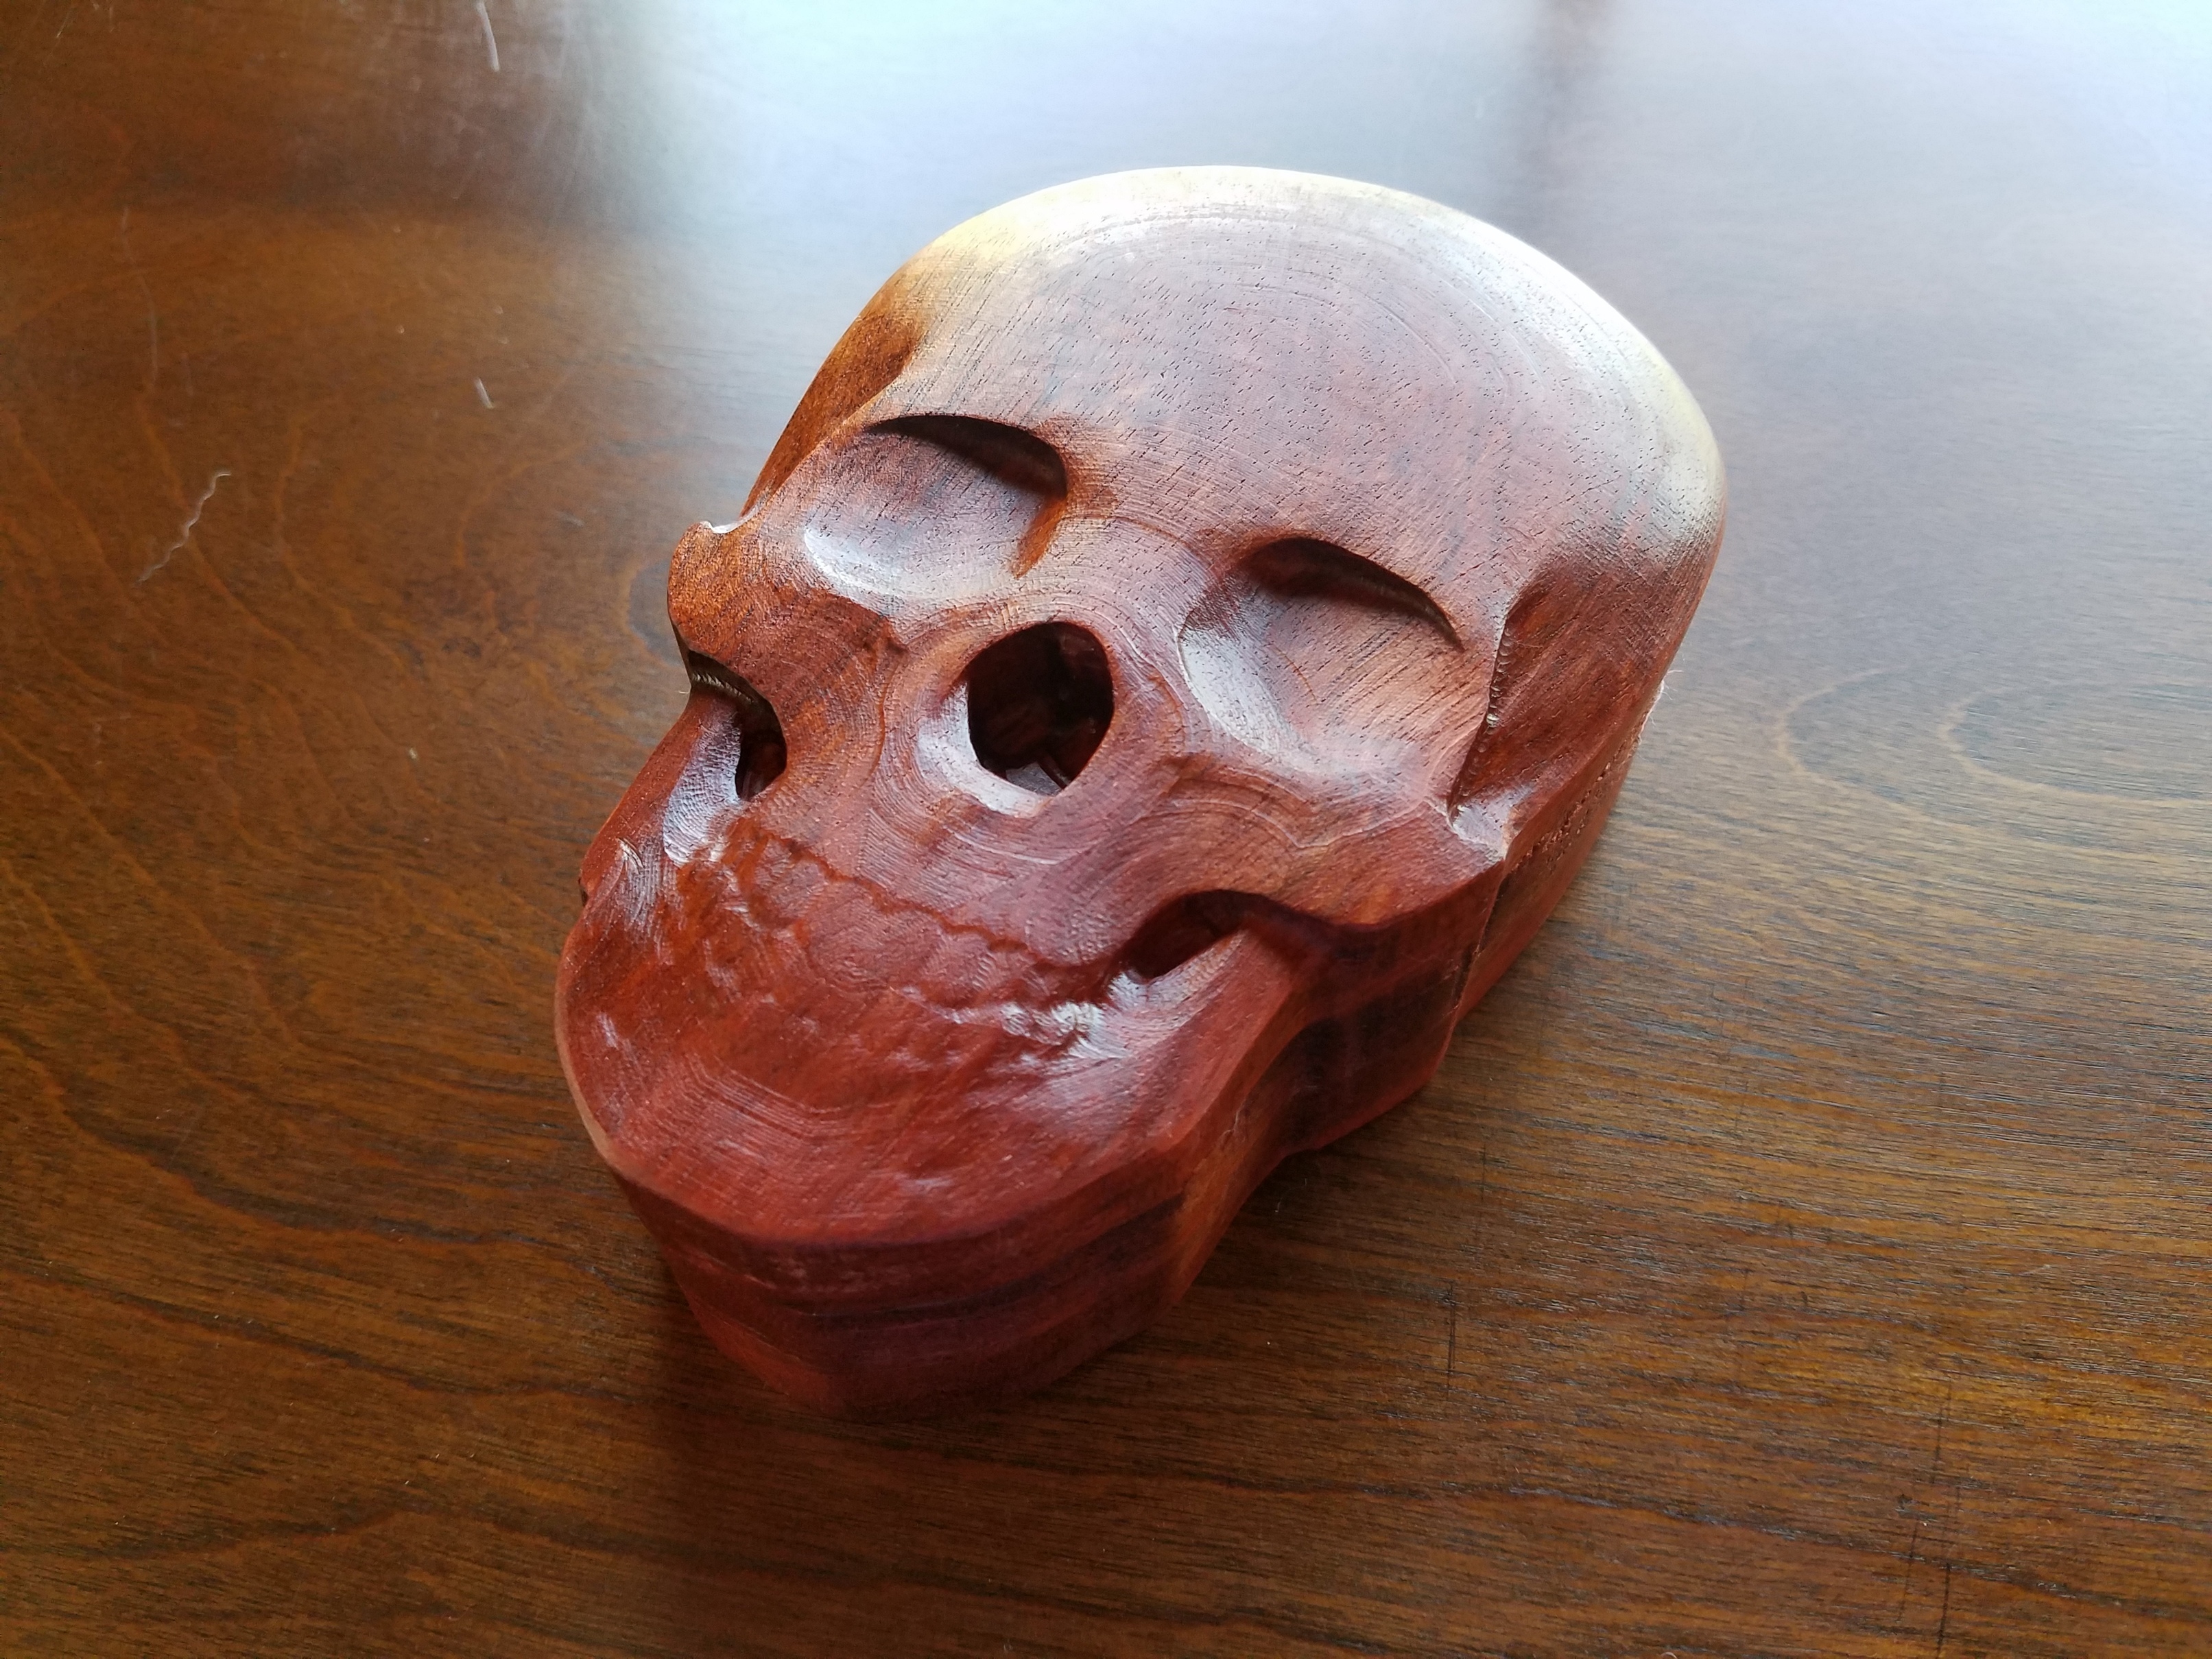
The lip in the lid and box top keeps it together on the shelf, but I intend to add magnets in the round holes to keep it closed while carried. It’s intended to be used as a die rolling tray/ dice storage.
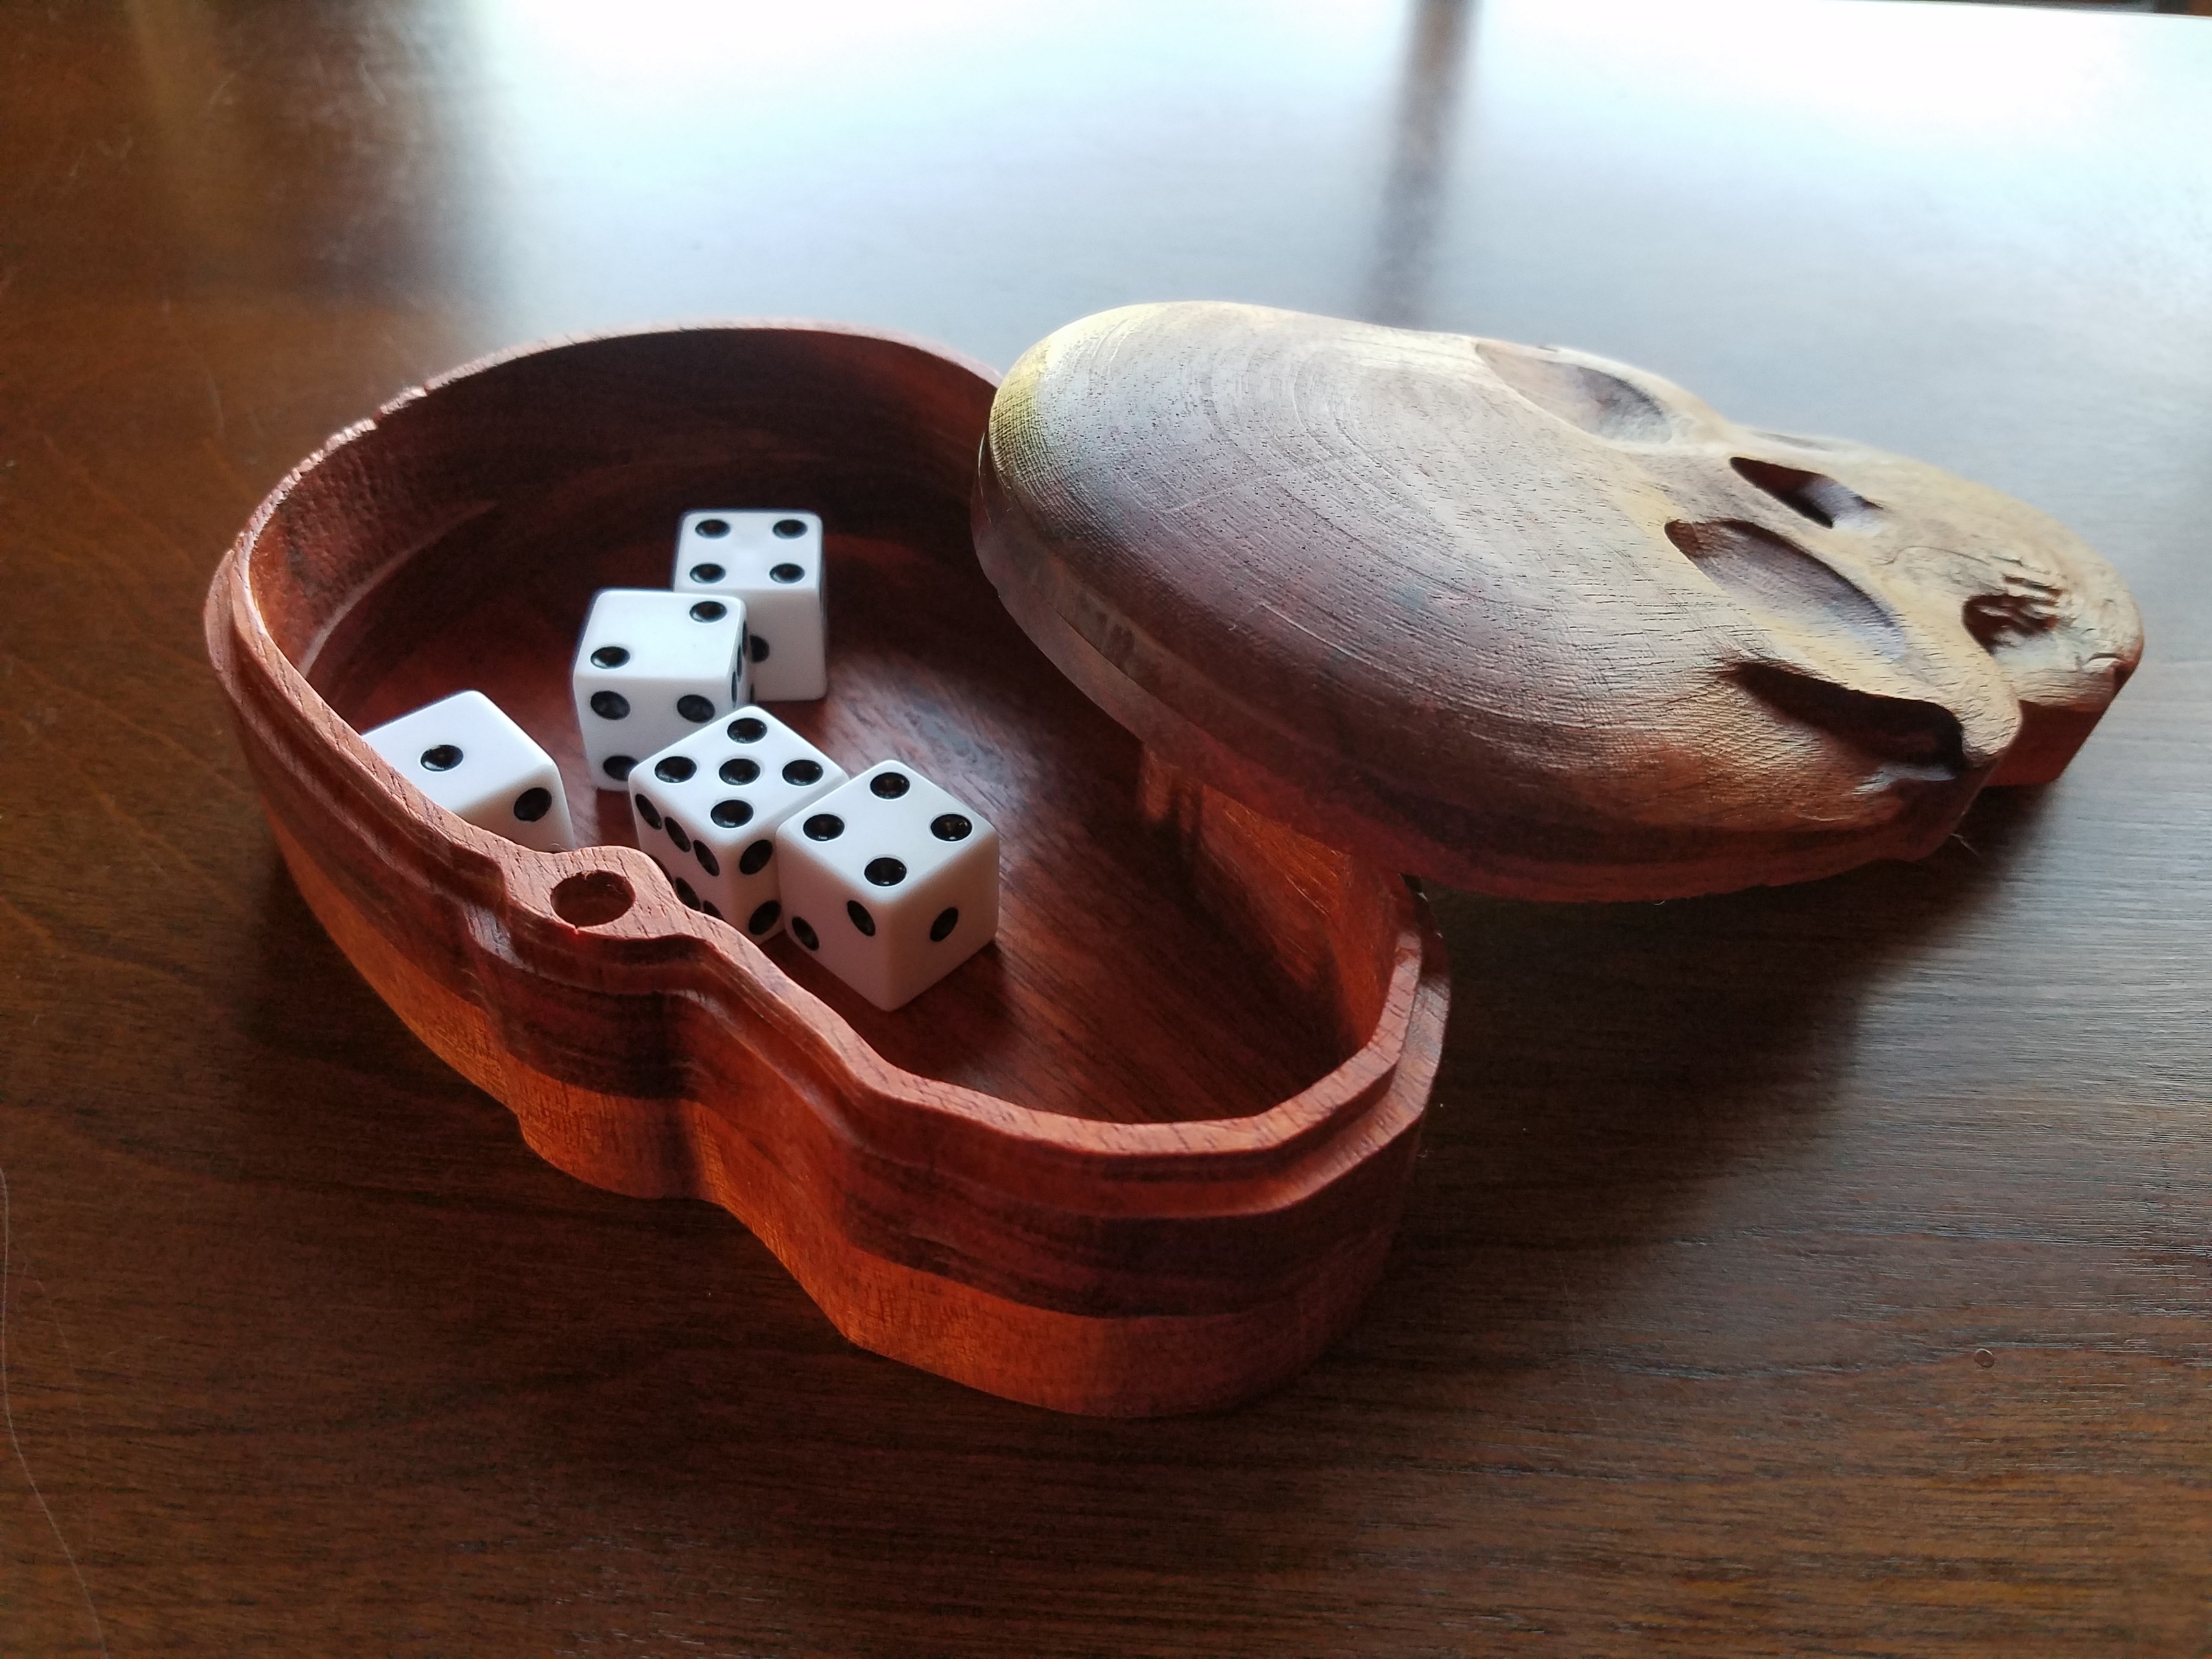
A couple more pics in it’s natural environment (Kingdom Death):
7 Likes
Very awesome! I like skulls.
2 Likes
Yes finally!!! you made me wait months and I love it.Thanks for updating us on this
1 Like
Was wondering how the skull box turned out! Looks awesome, you could sell those.
3 Likes
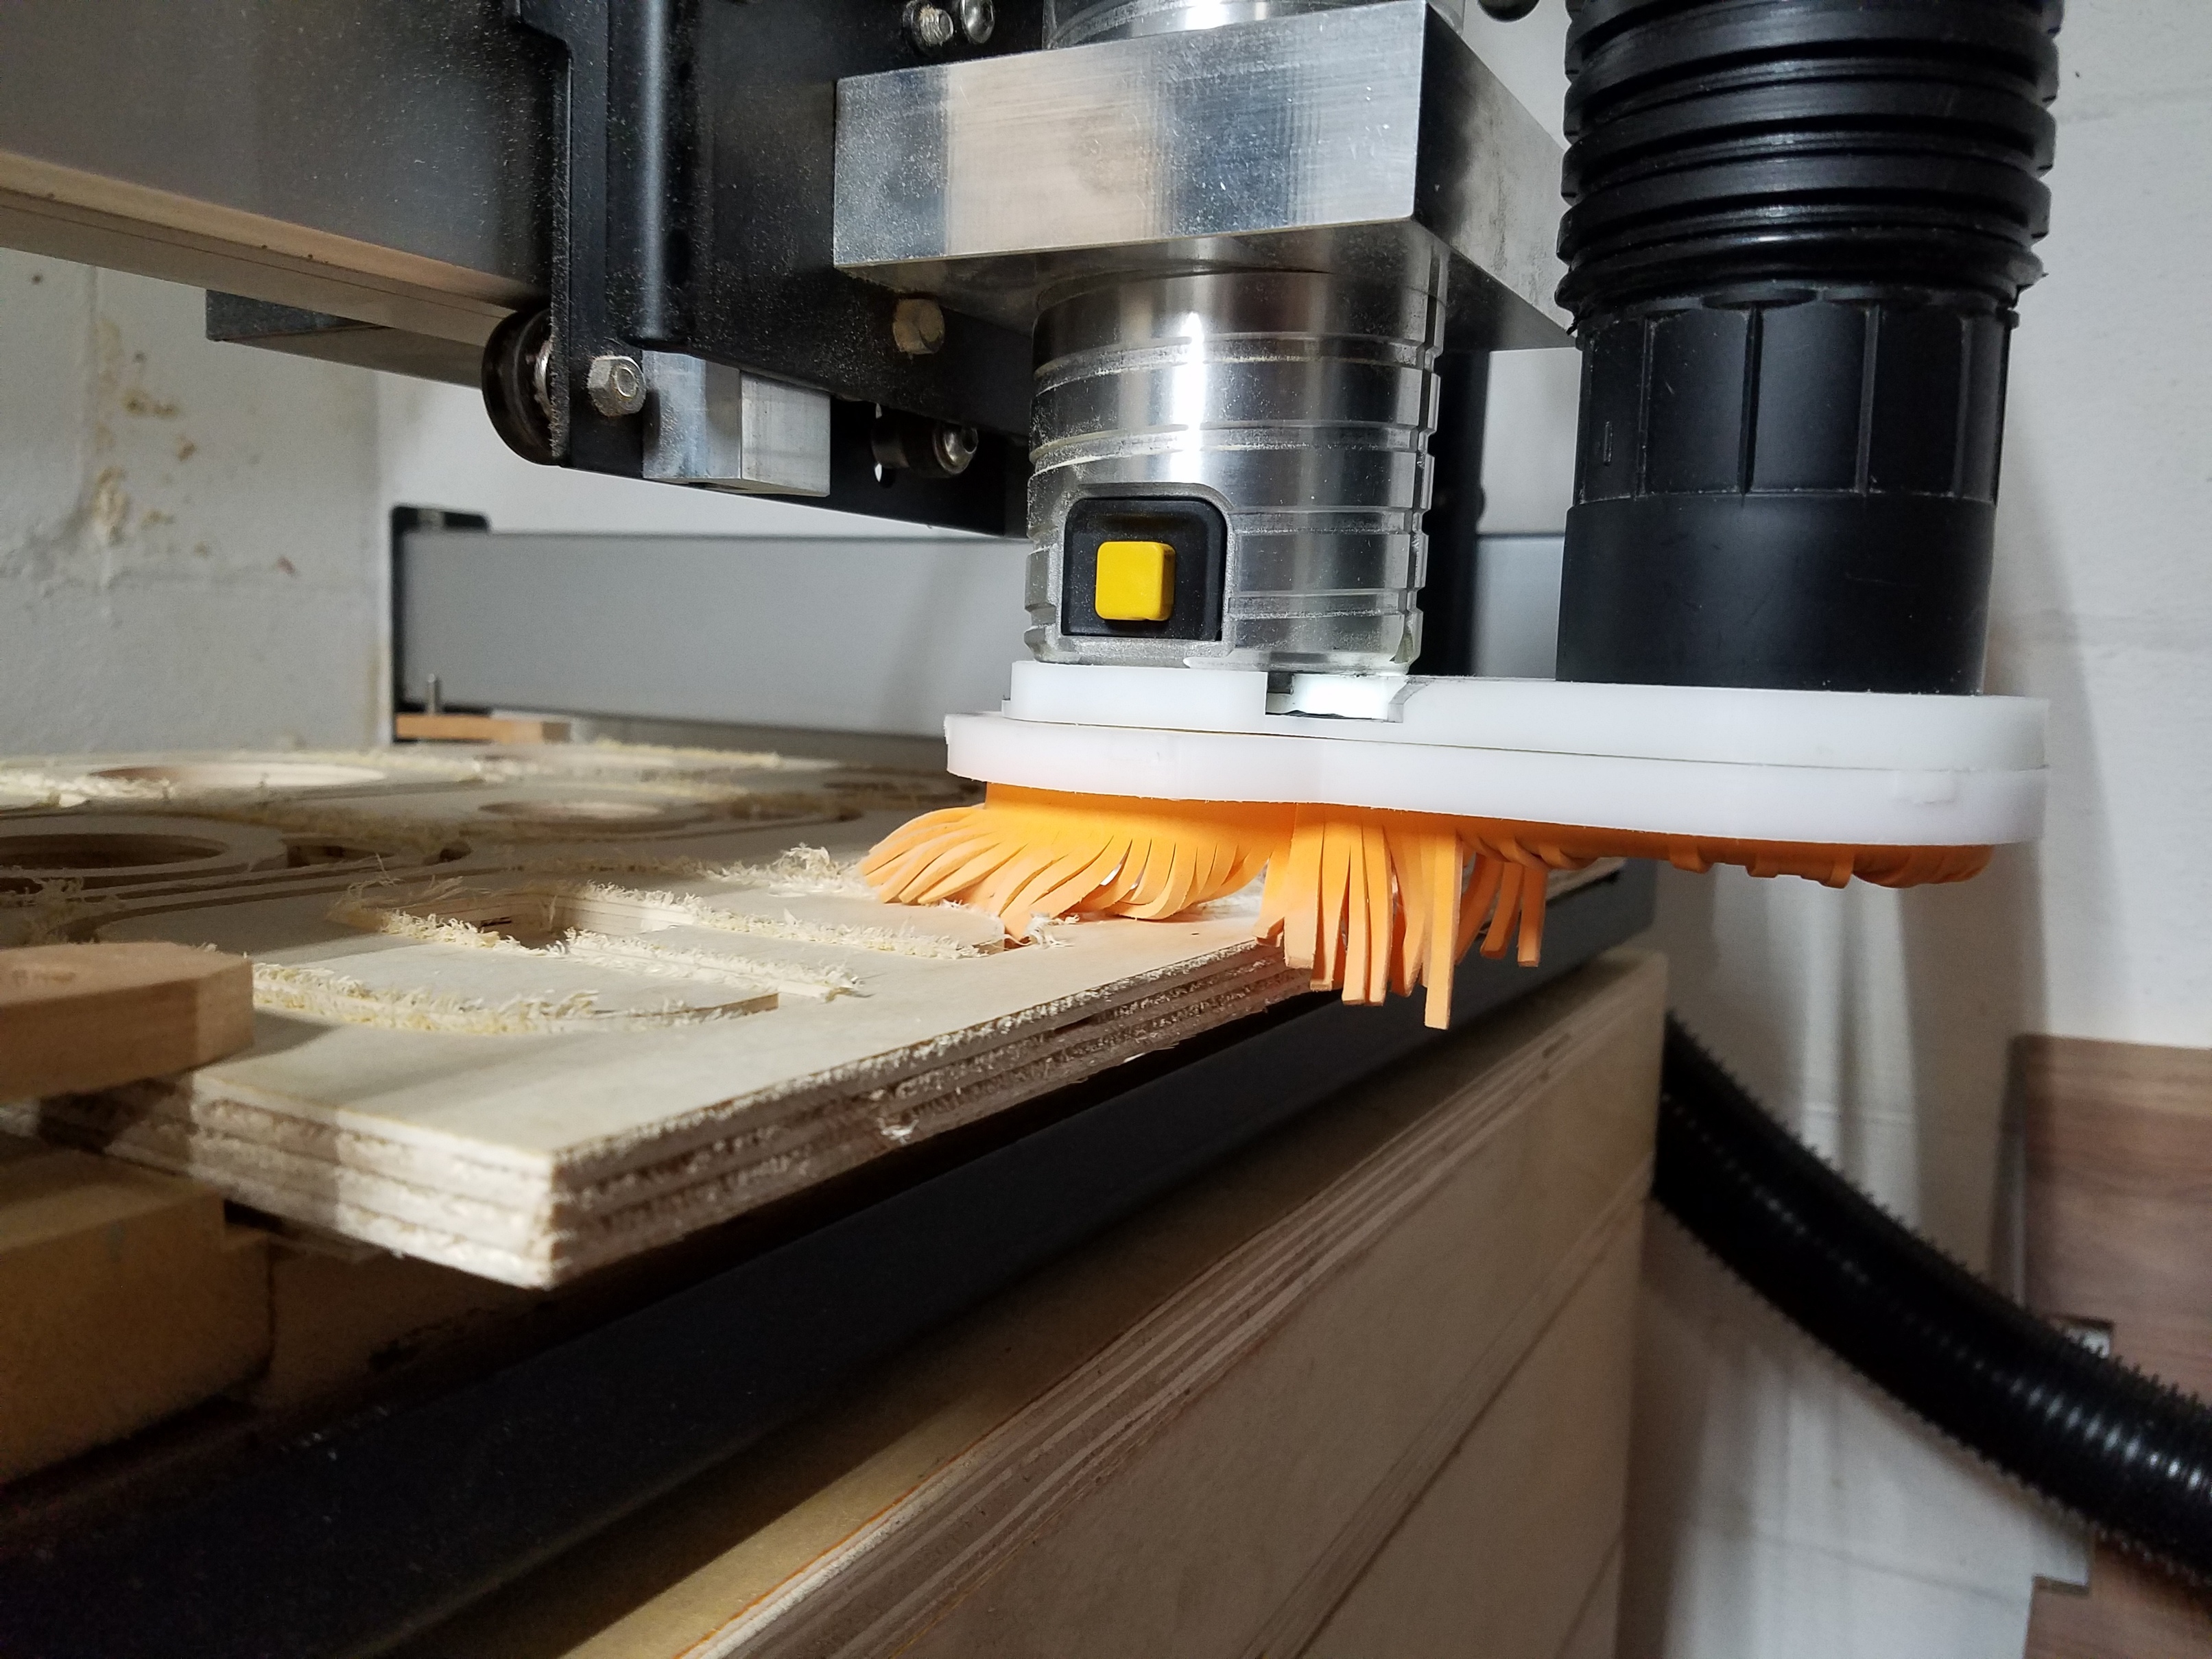
My latest project, pushing the size limits on my little machine:
Dust collection also doesn’t work so well when it’s hanging off the front of the table  :
:
Cellphone amplifier, first attempt… works extremely well, but that plywood is ugly. Planning to make a few changes, fix a few flaws in the design, and give it another go in the near future.
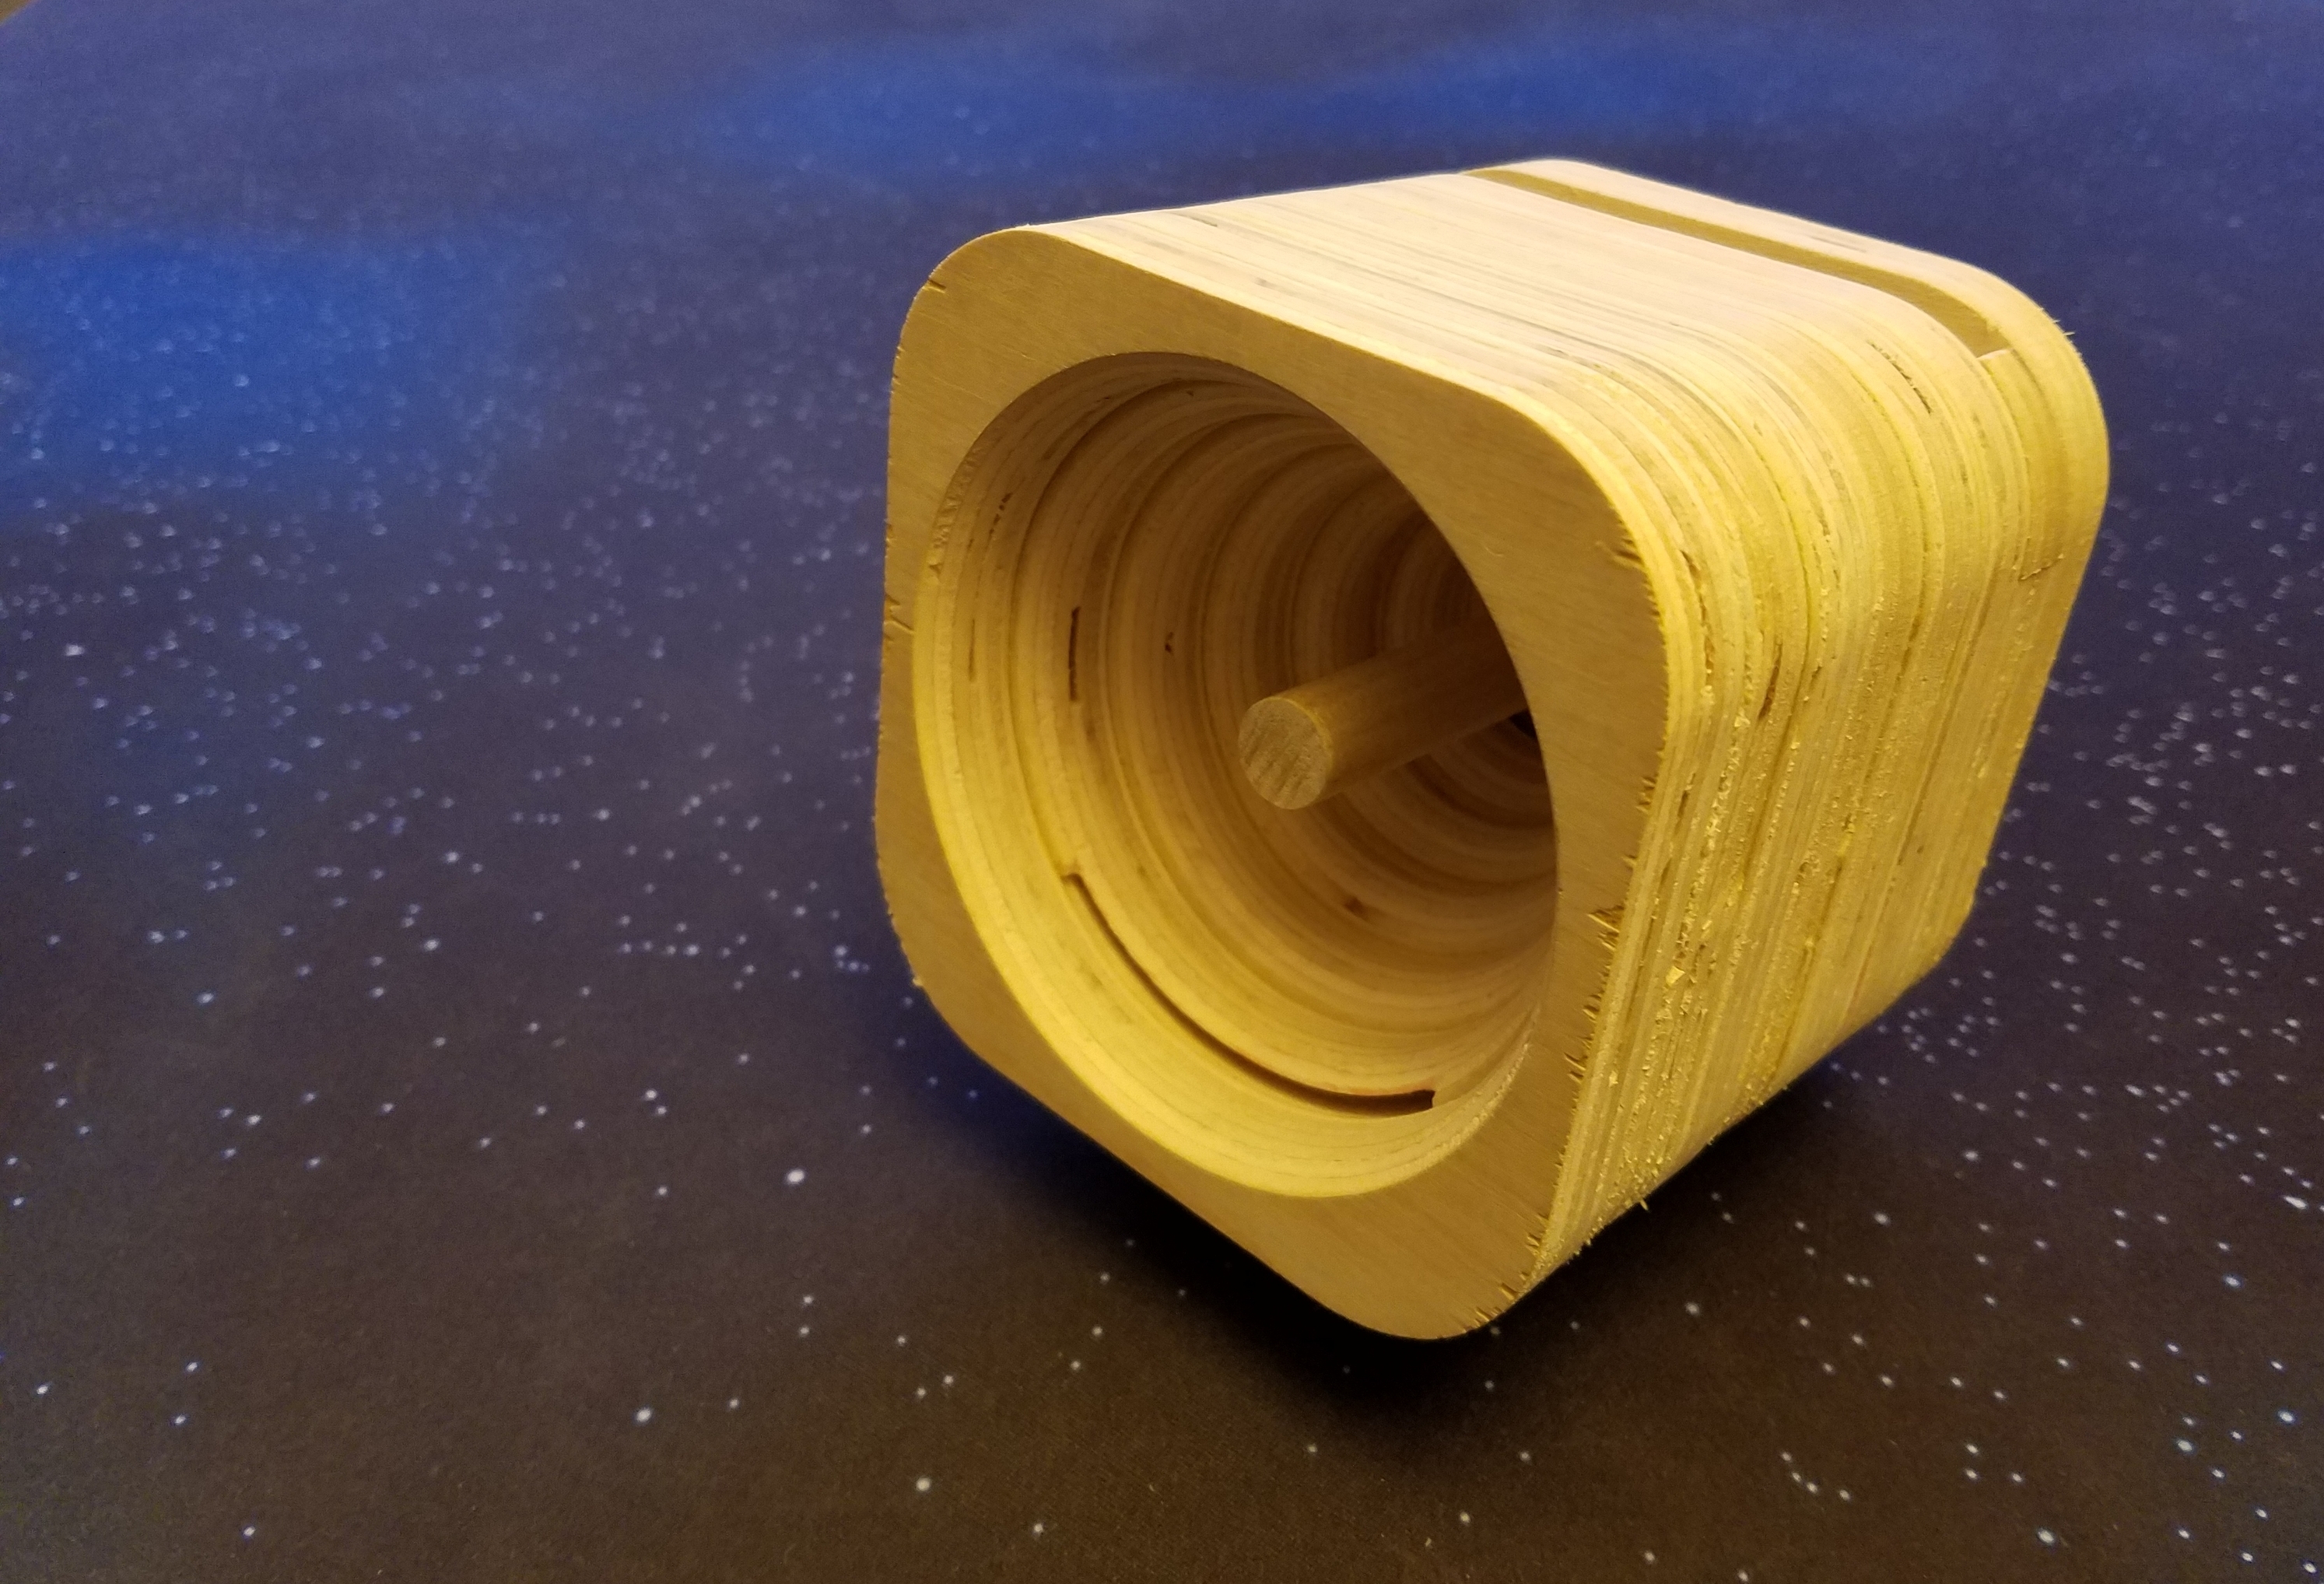
5 Likes
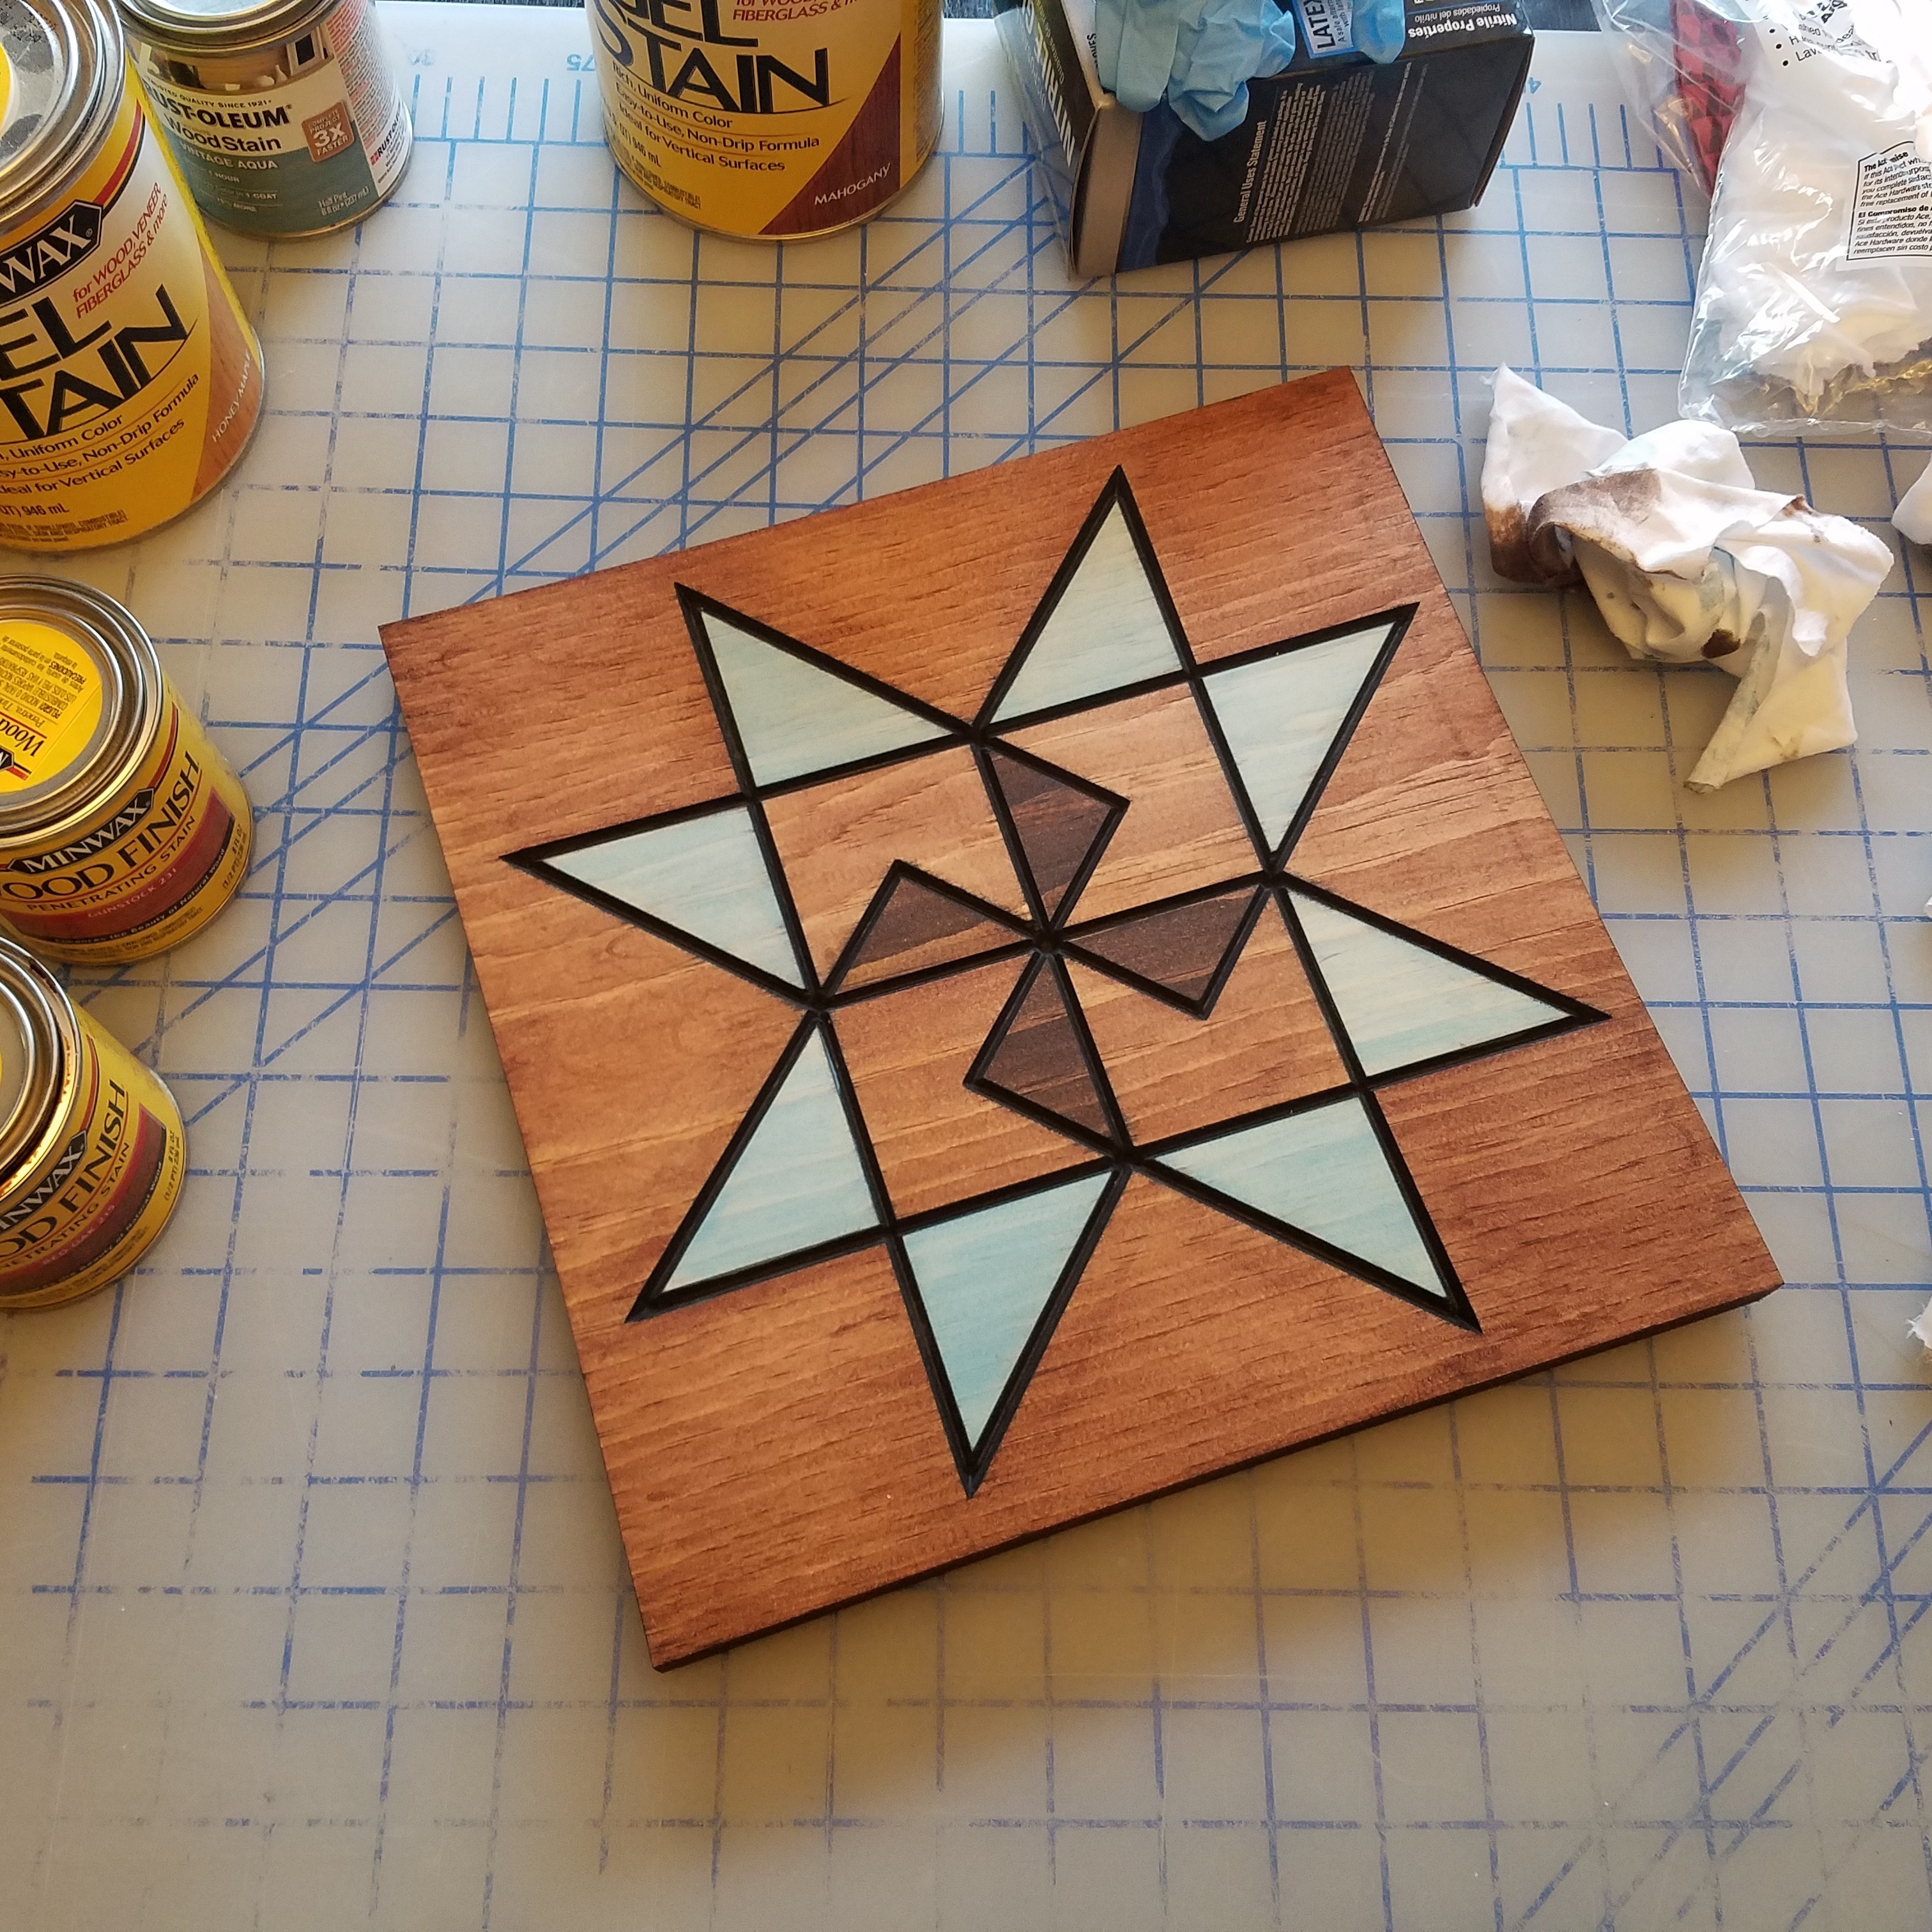
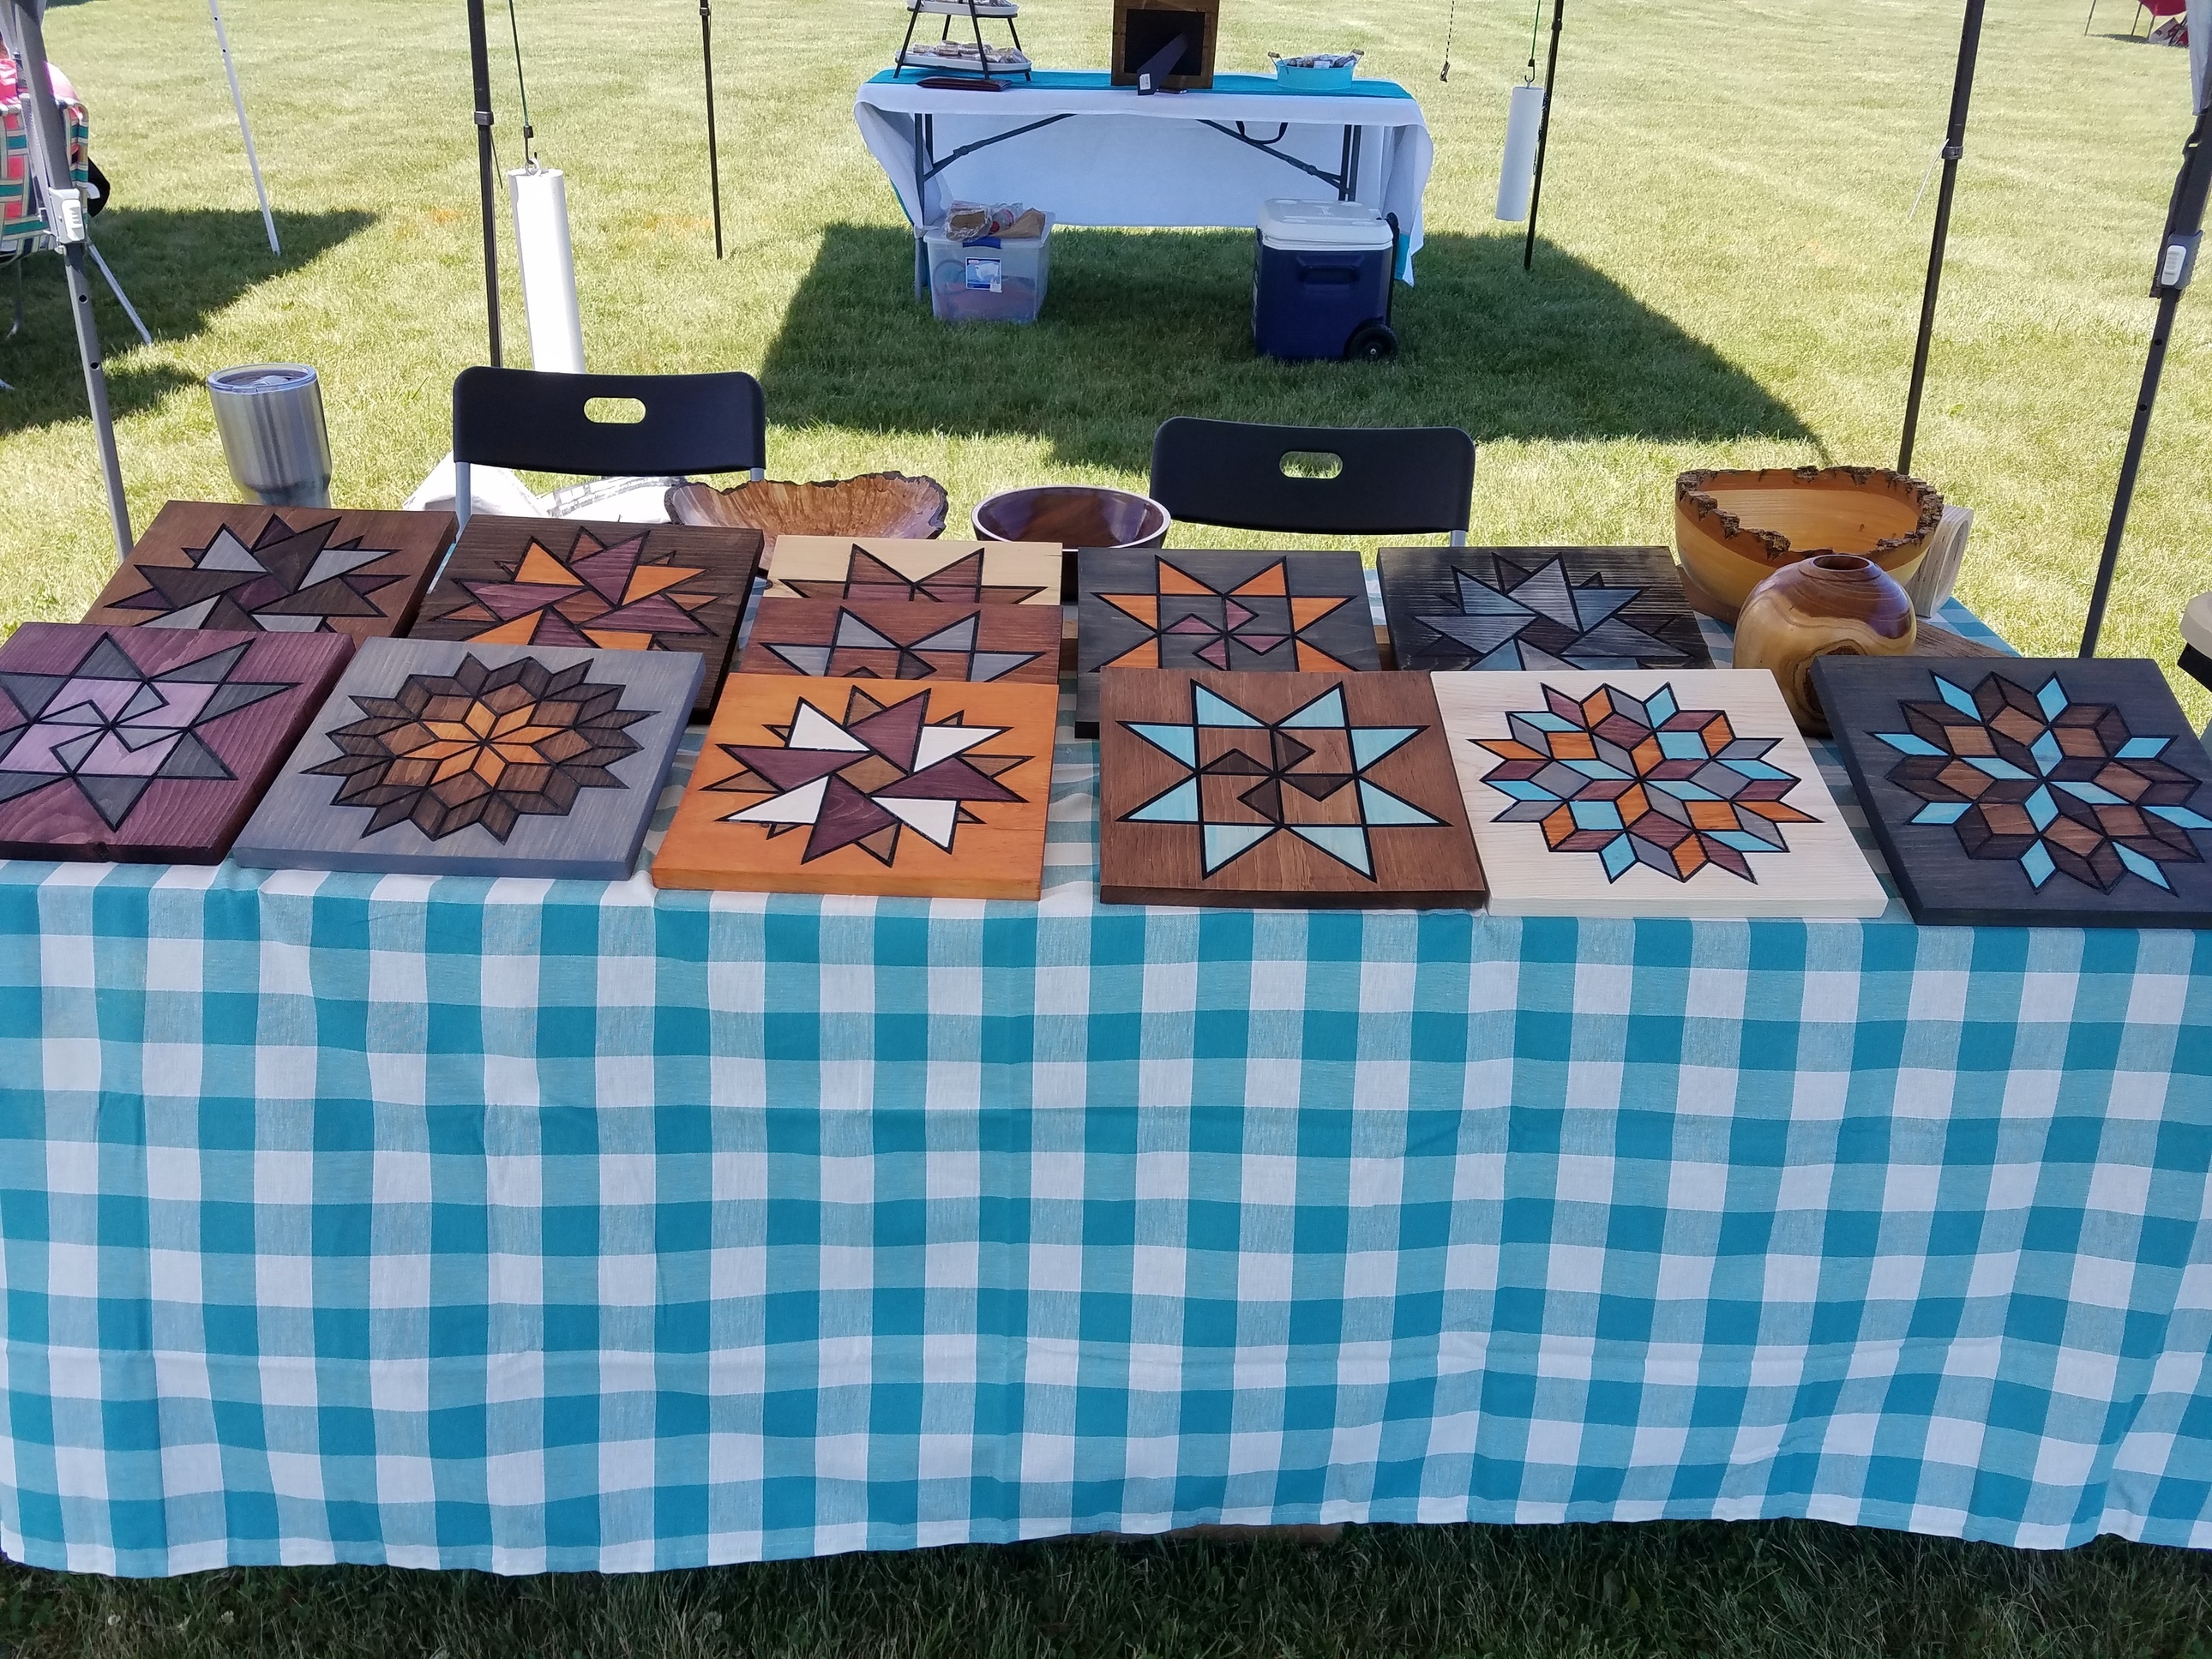
The barn quilt squares were a pretty good example of how quick you can turn out sellable work with one of these machines.
Yesterday there was an “Art in the Park” Quilting exhibit in a nearby town that had spaces for craft vendors. Without much advance warning, they asked me to attend as they had not filled all of their space (I am a graphic designer; I am known in the area for producing signs and apparel).
Friday morning I did not have much ready for this show (work and personal life interfering with my plans; And not much product of a craft/art nature in stock as it has been years since I have attended an event like this).
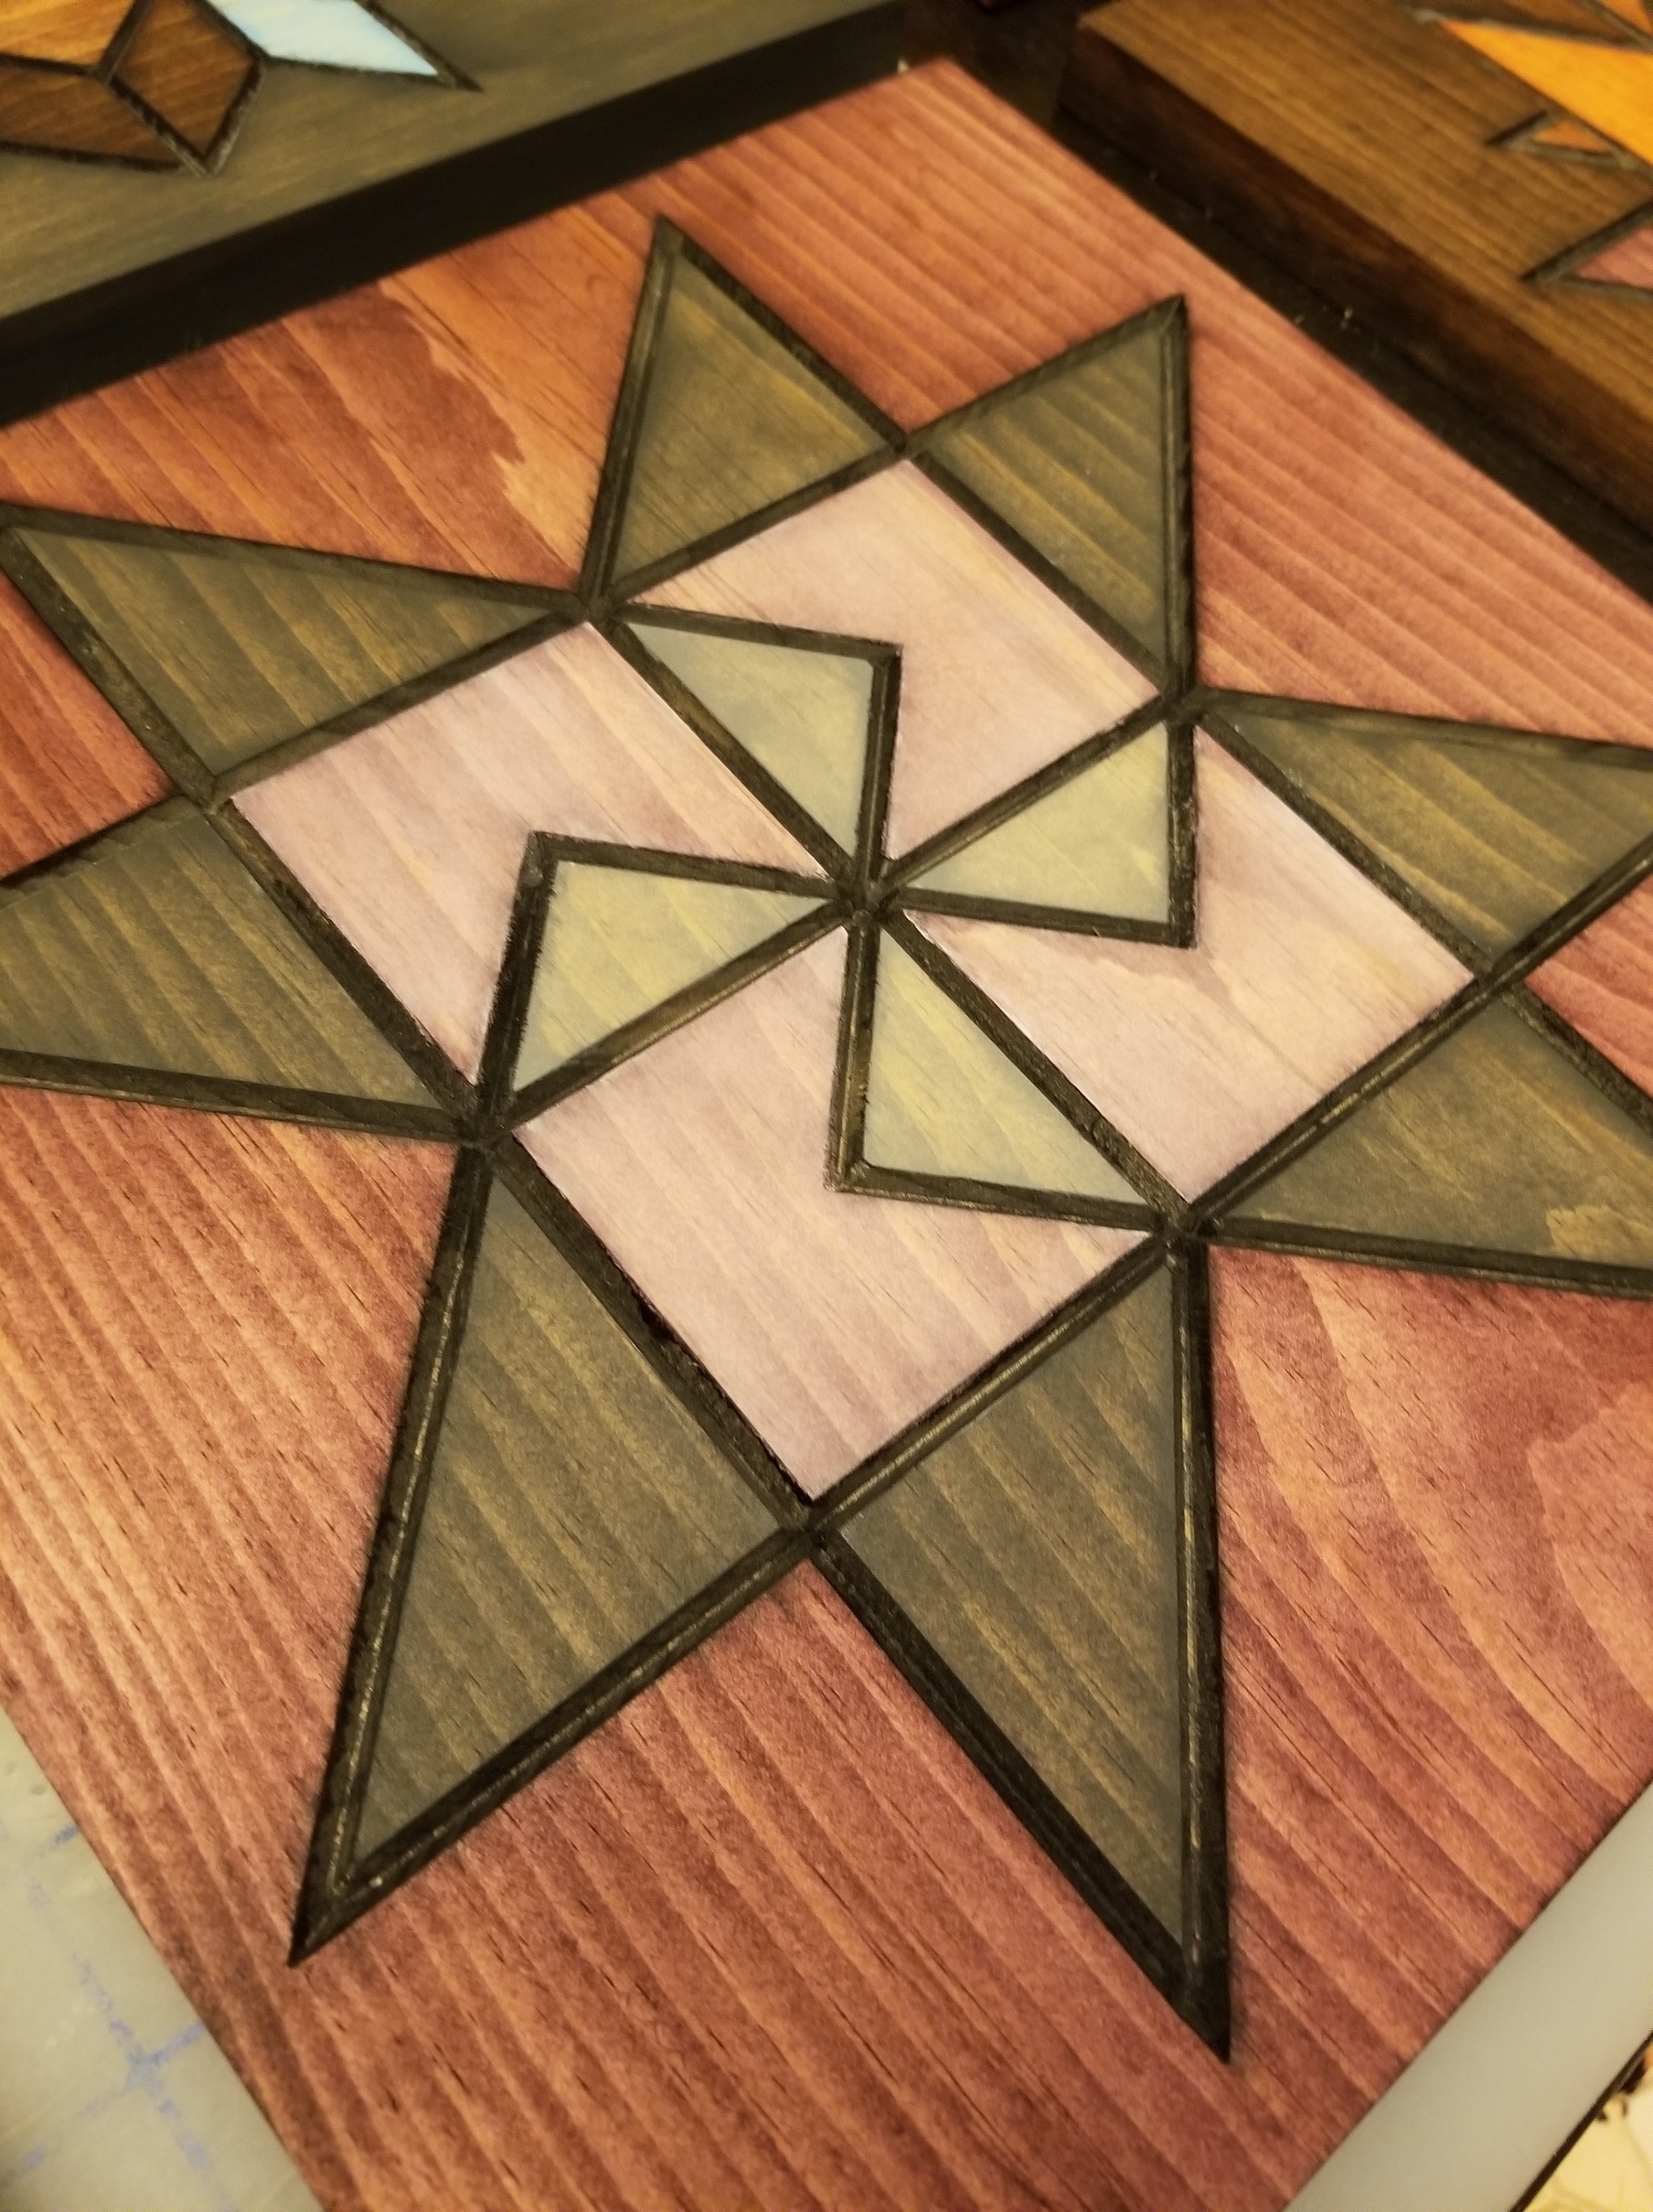
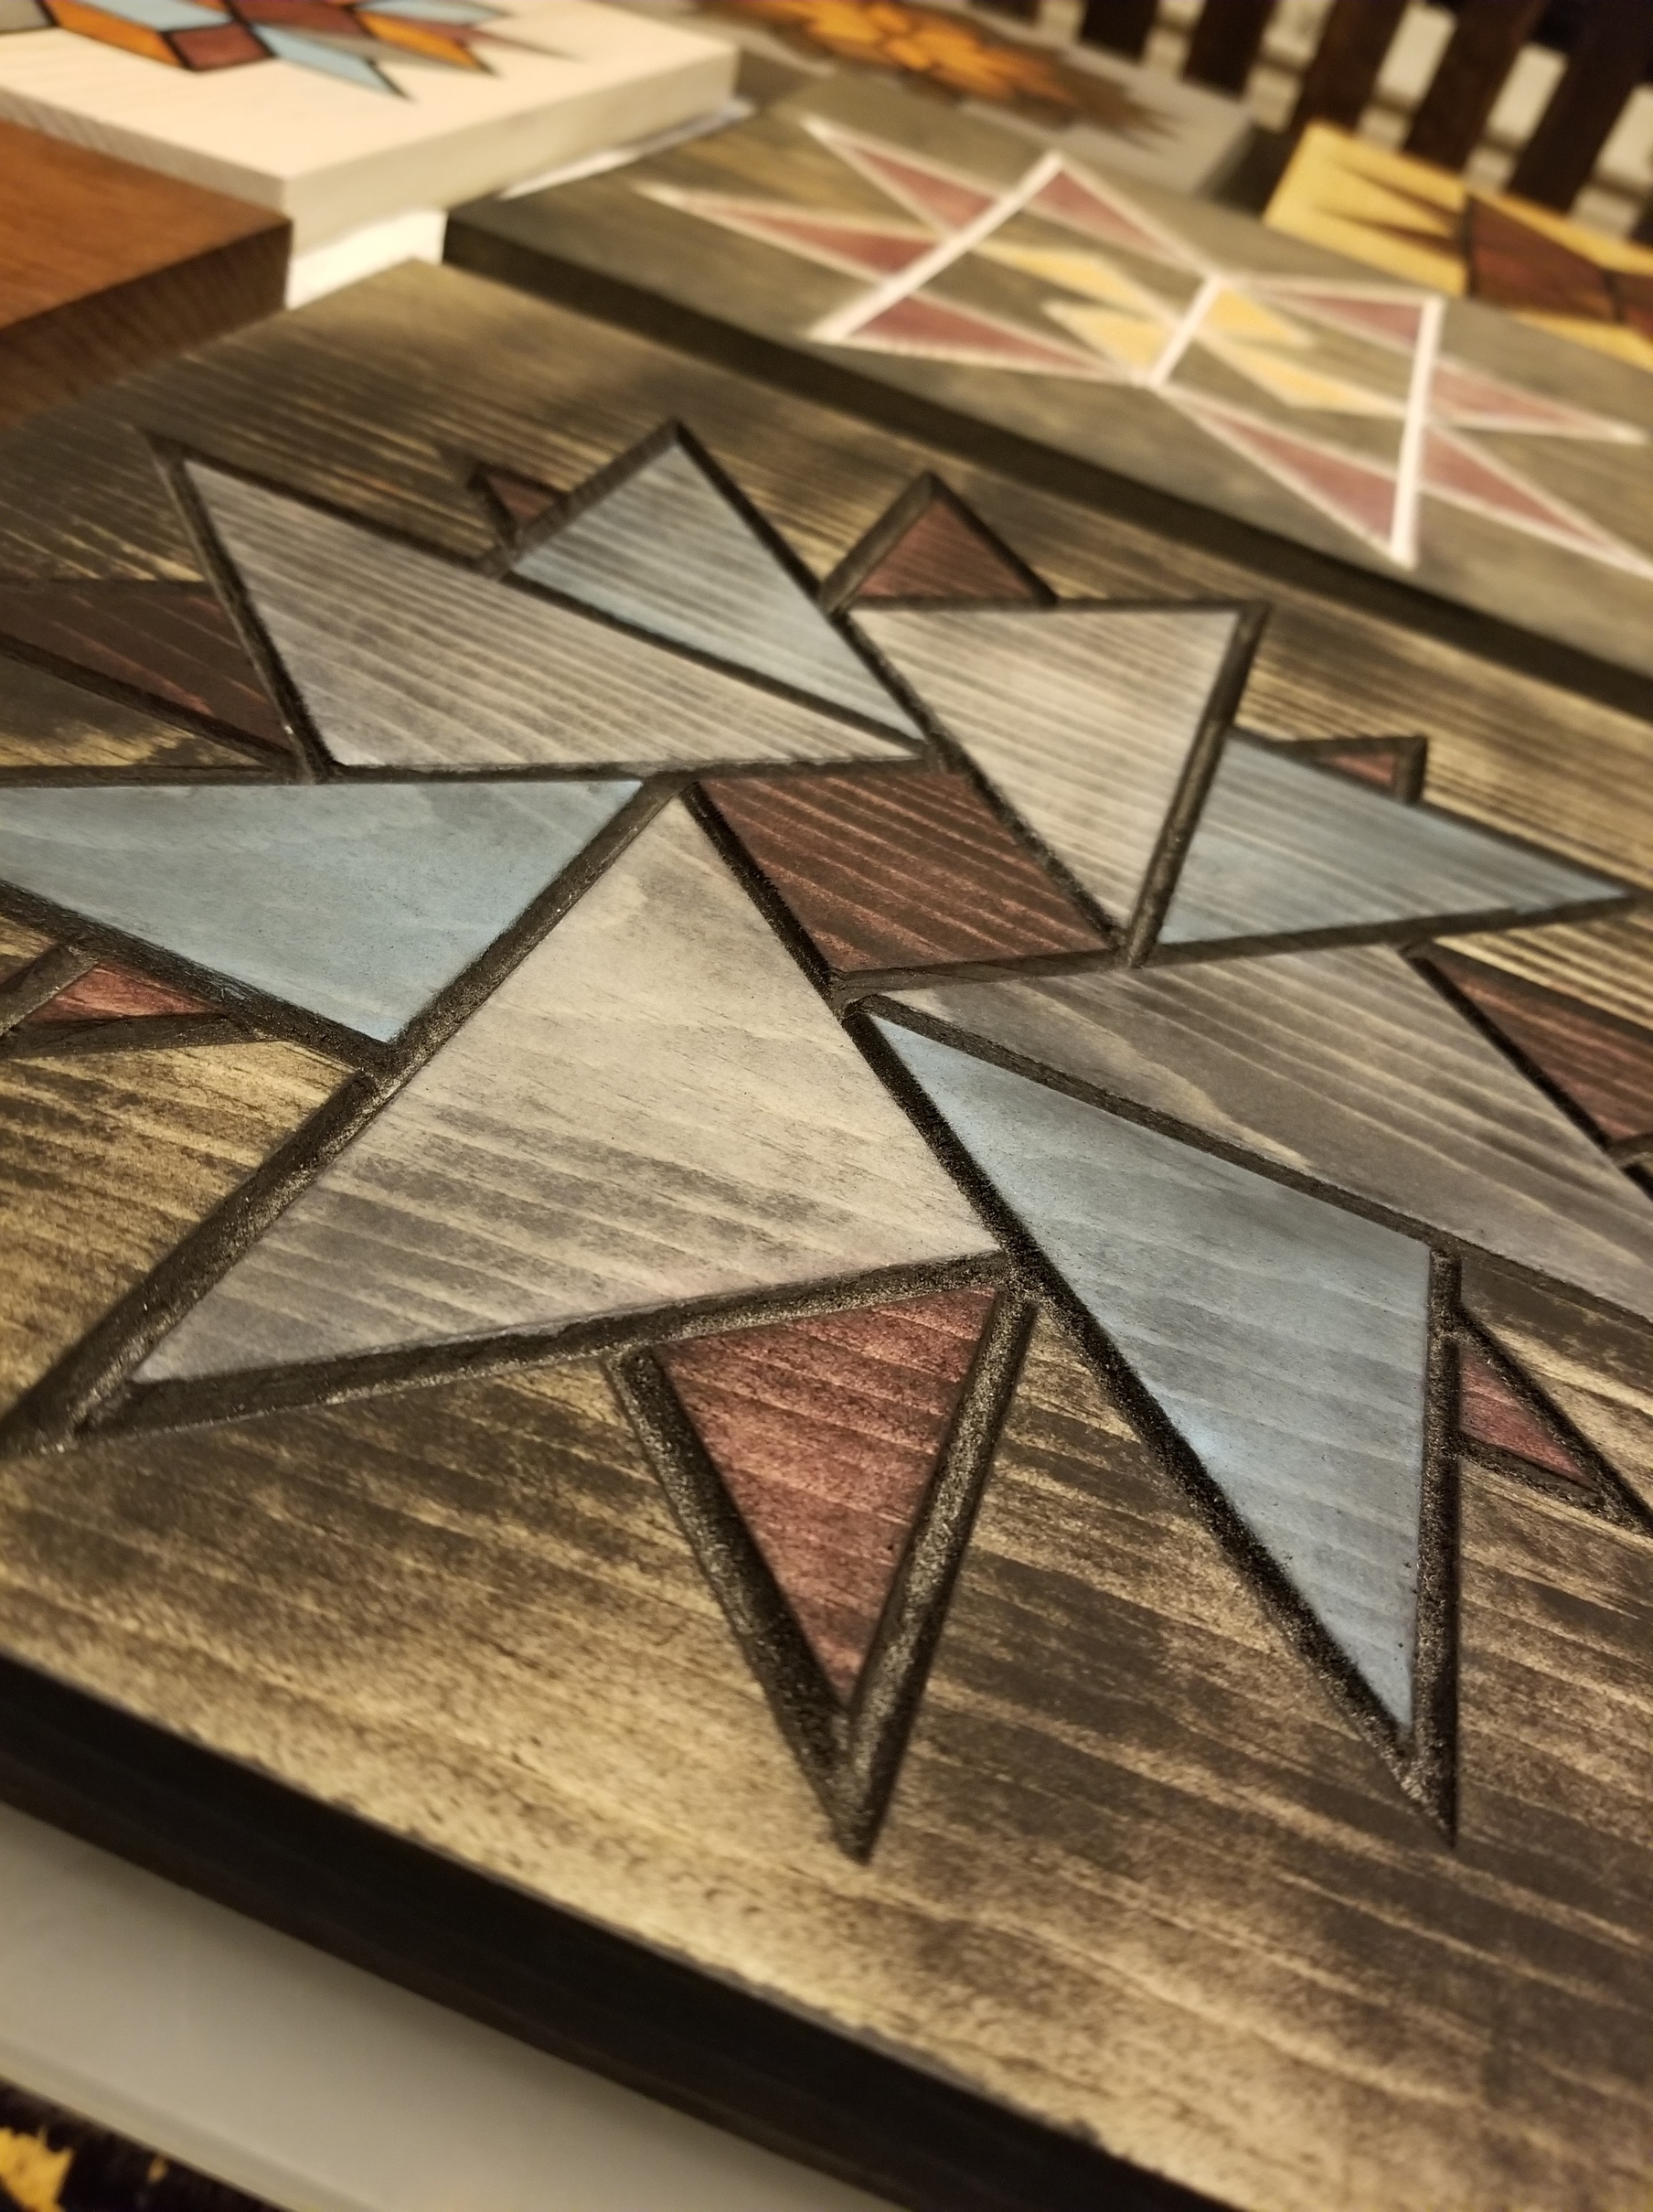
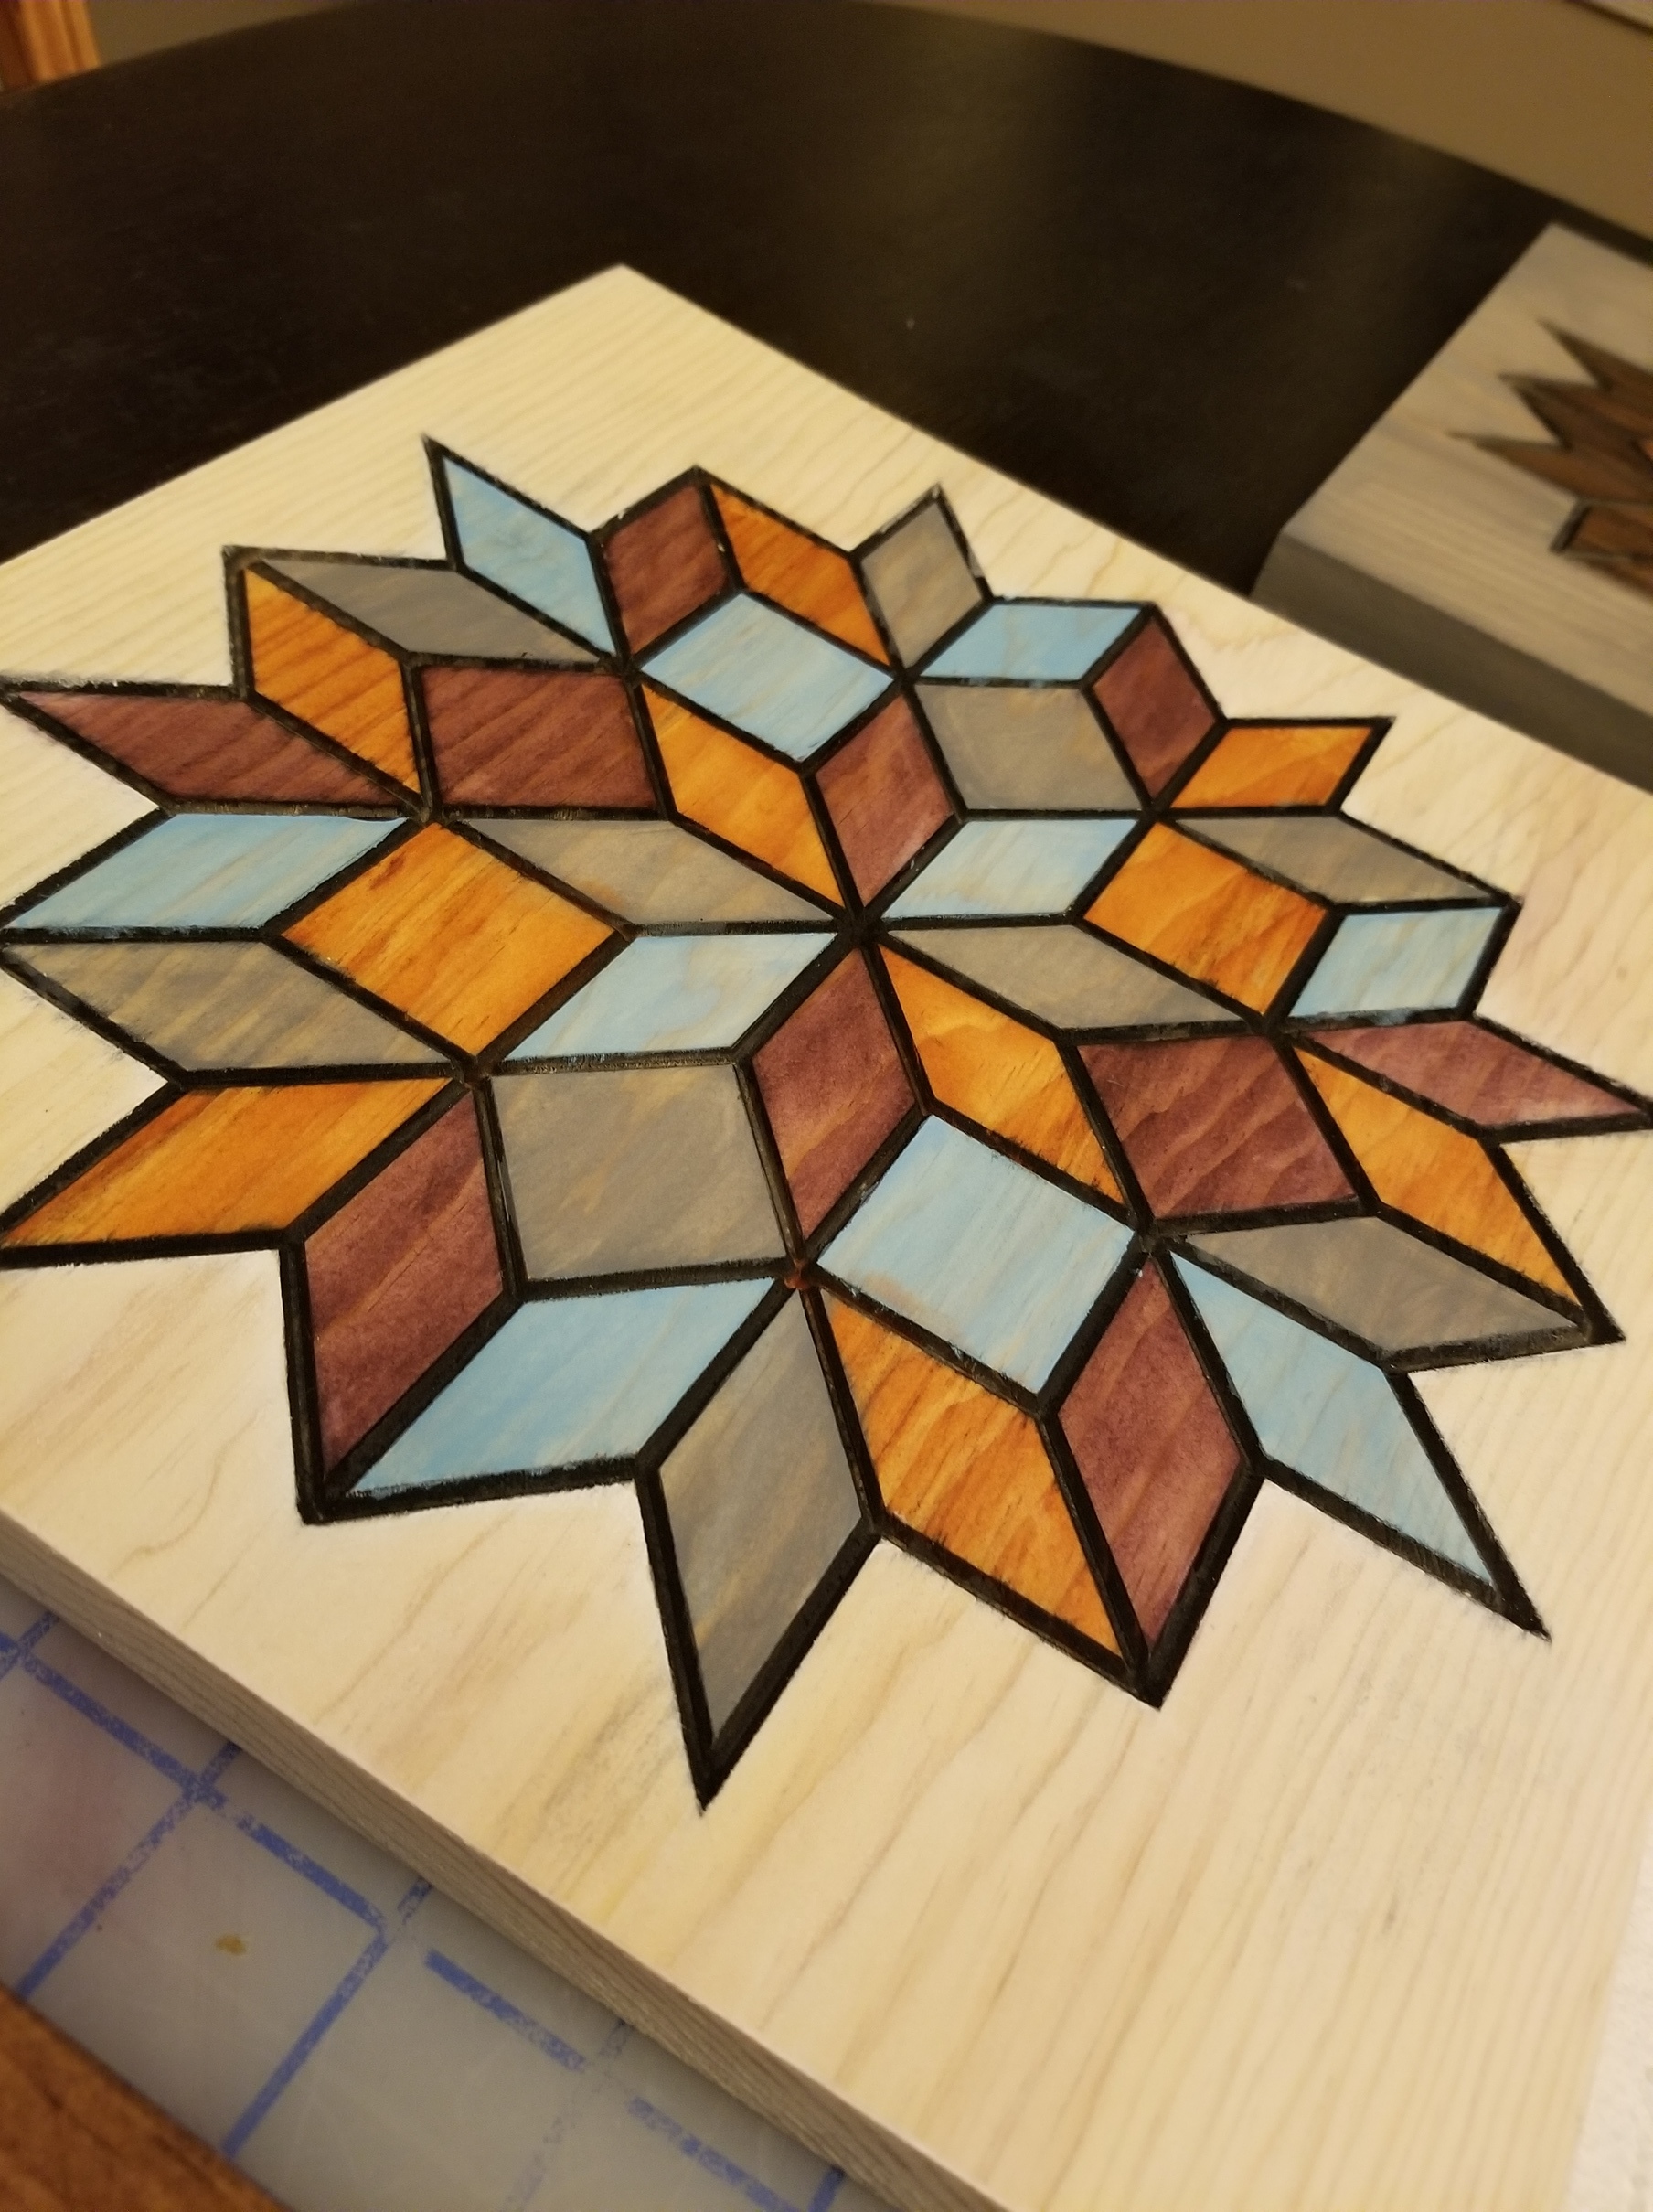
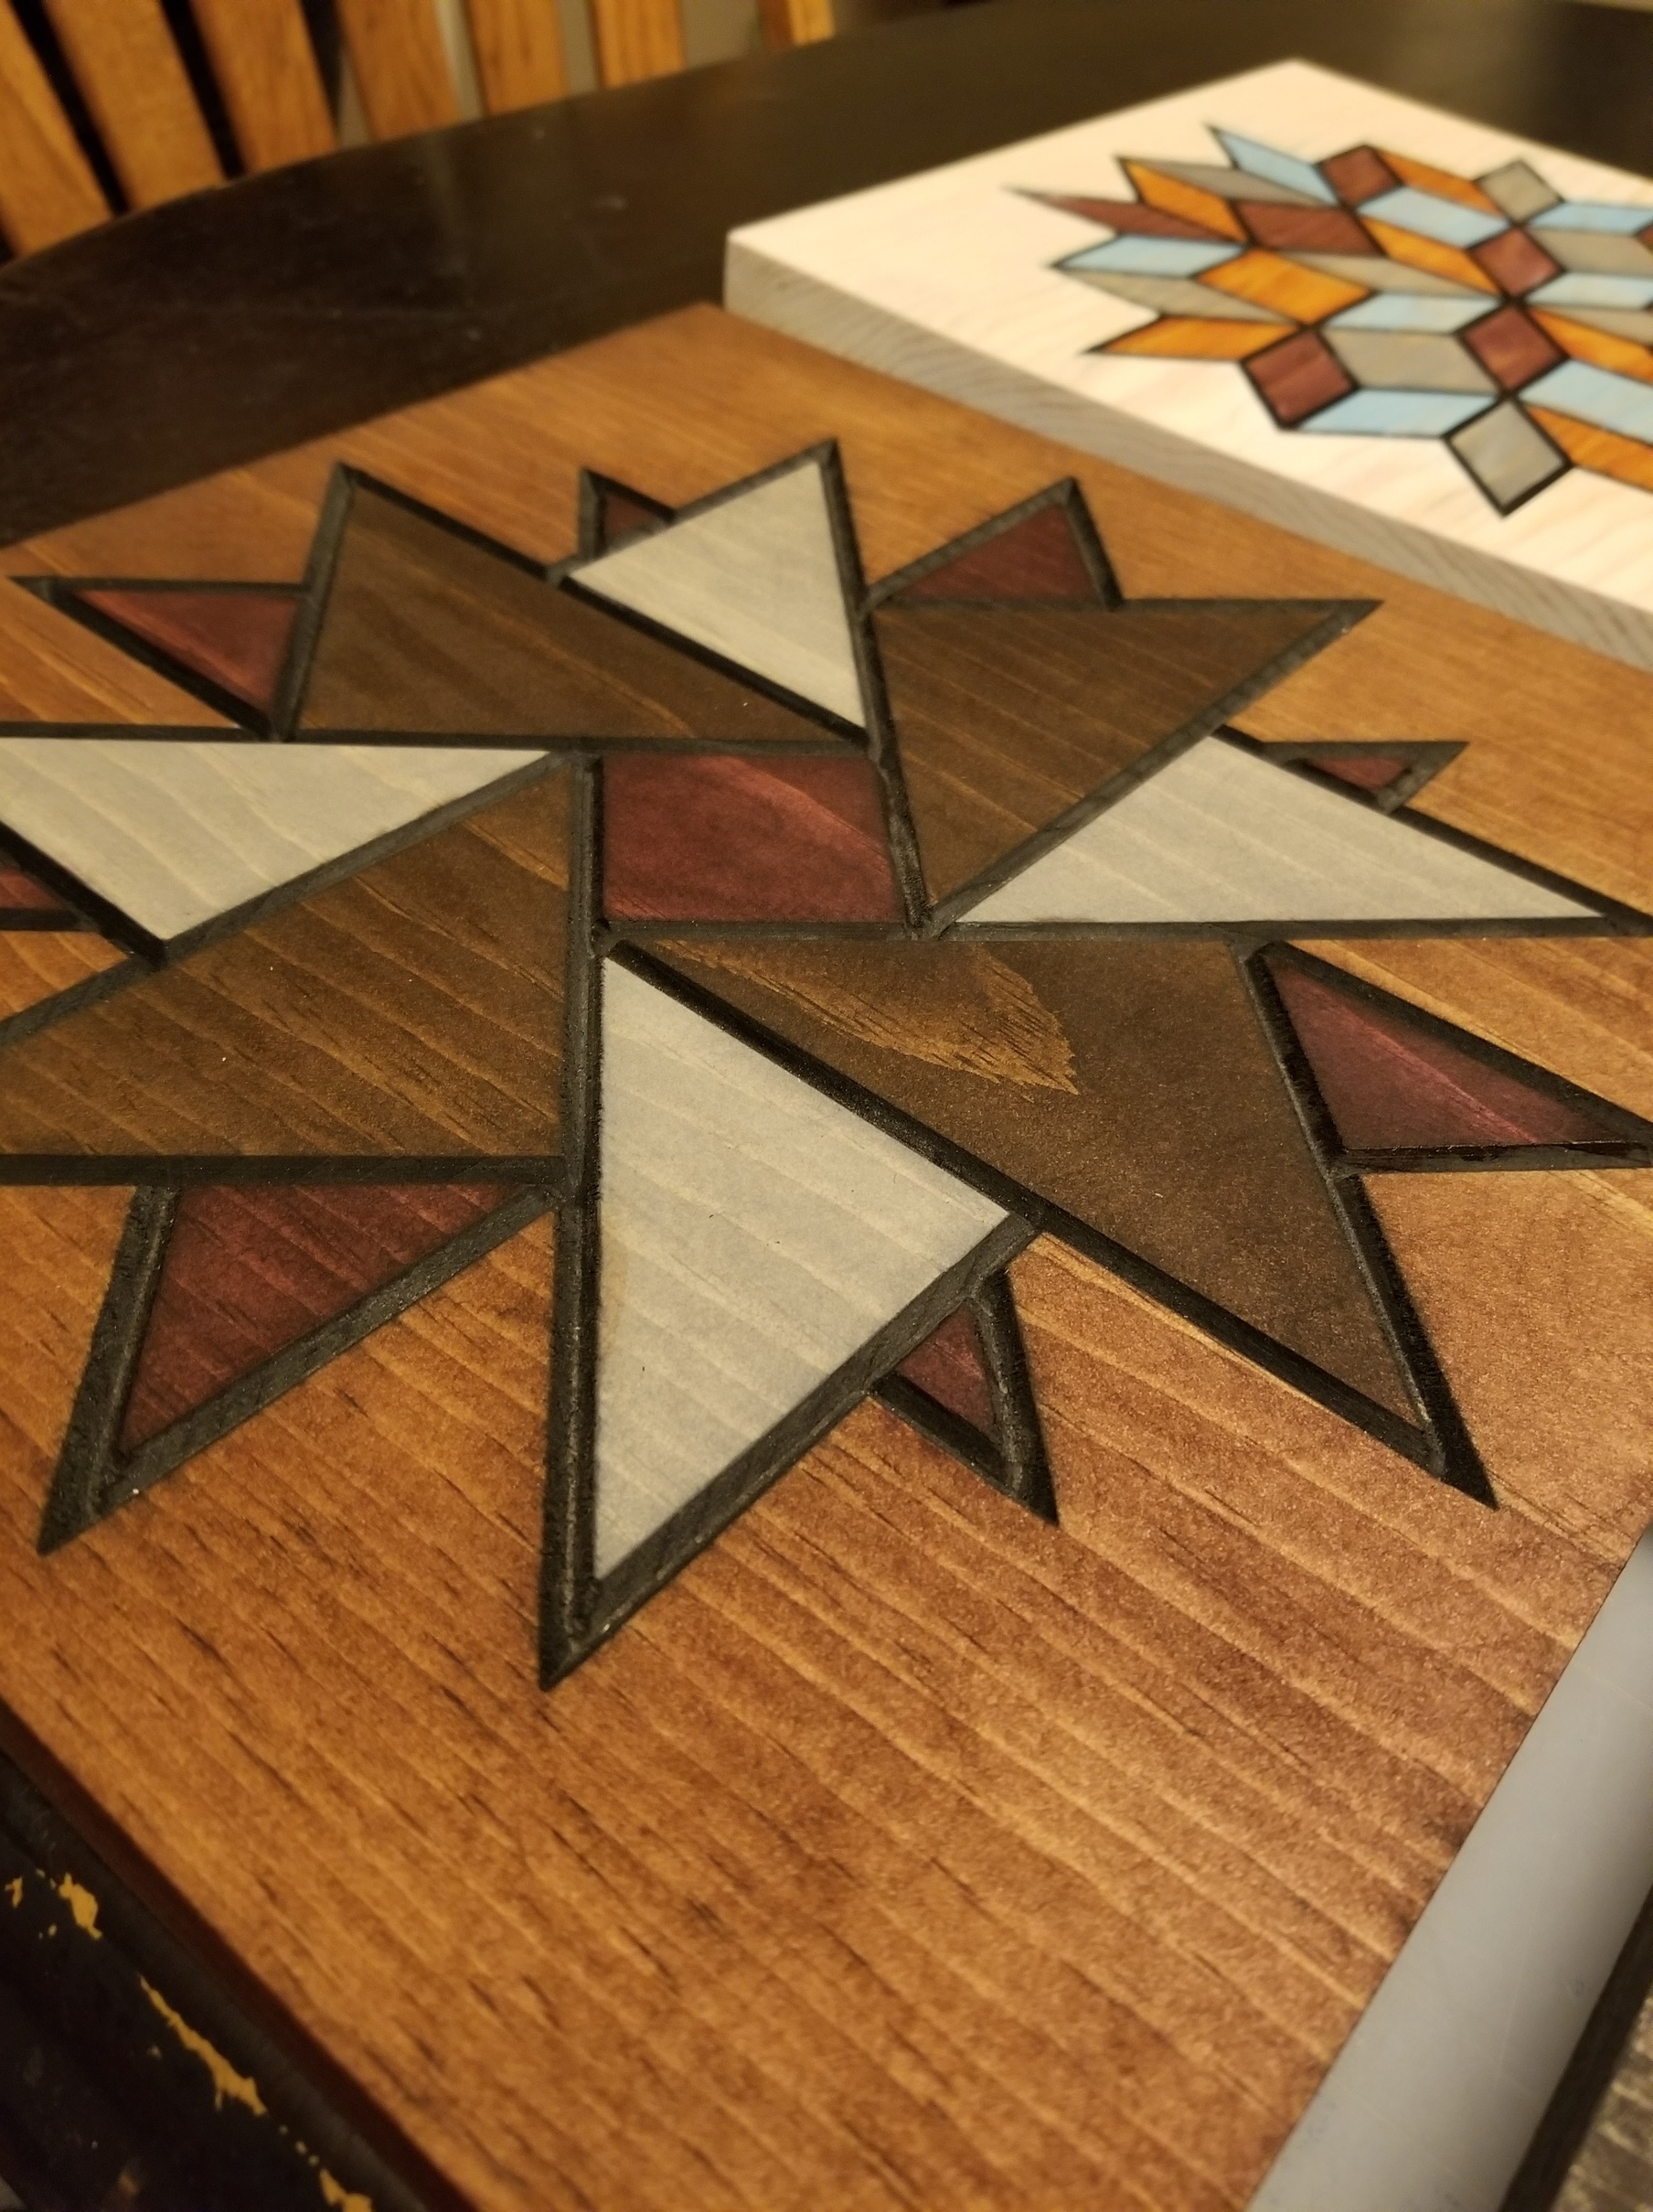
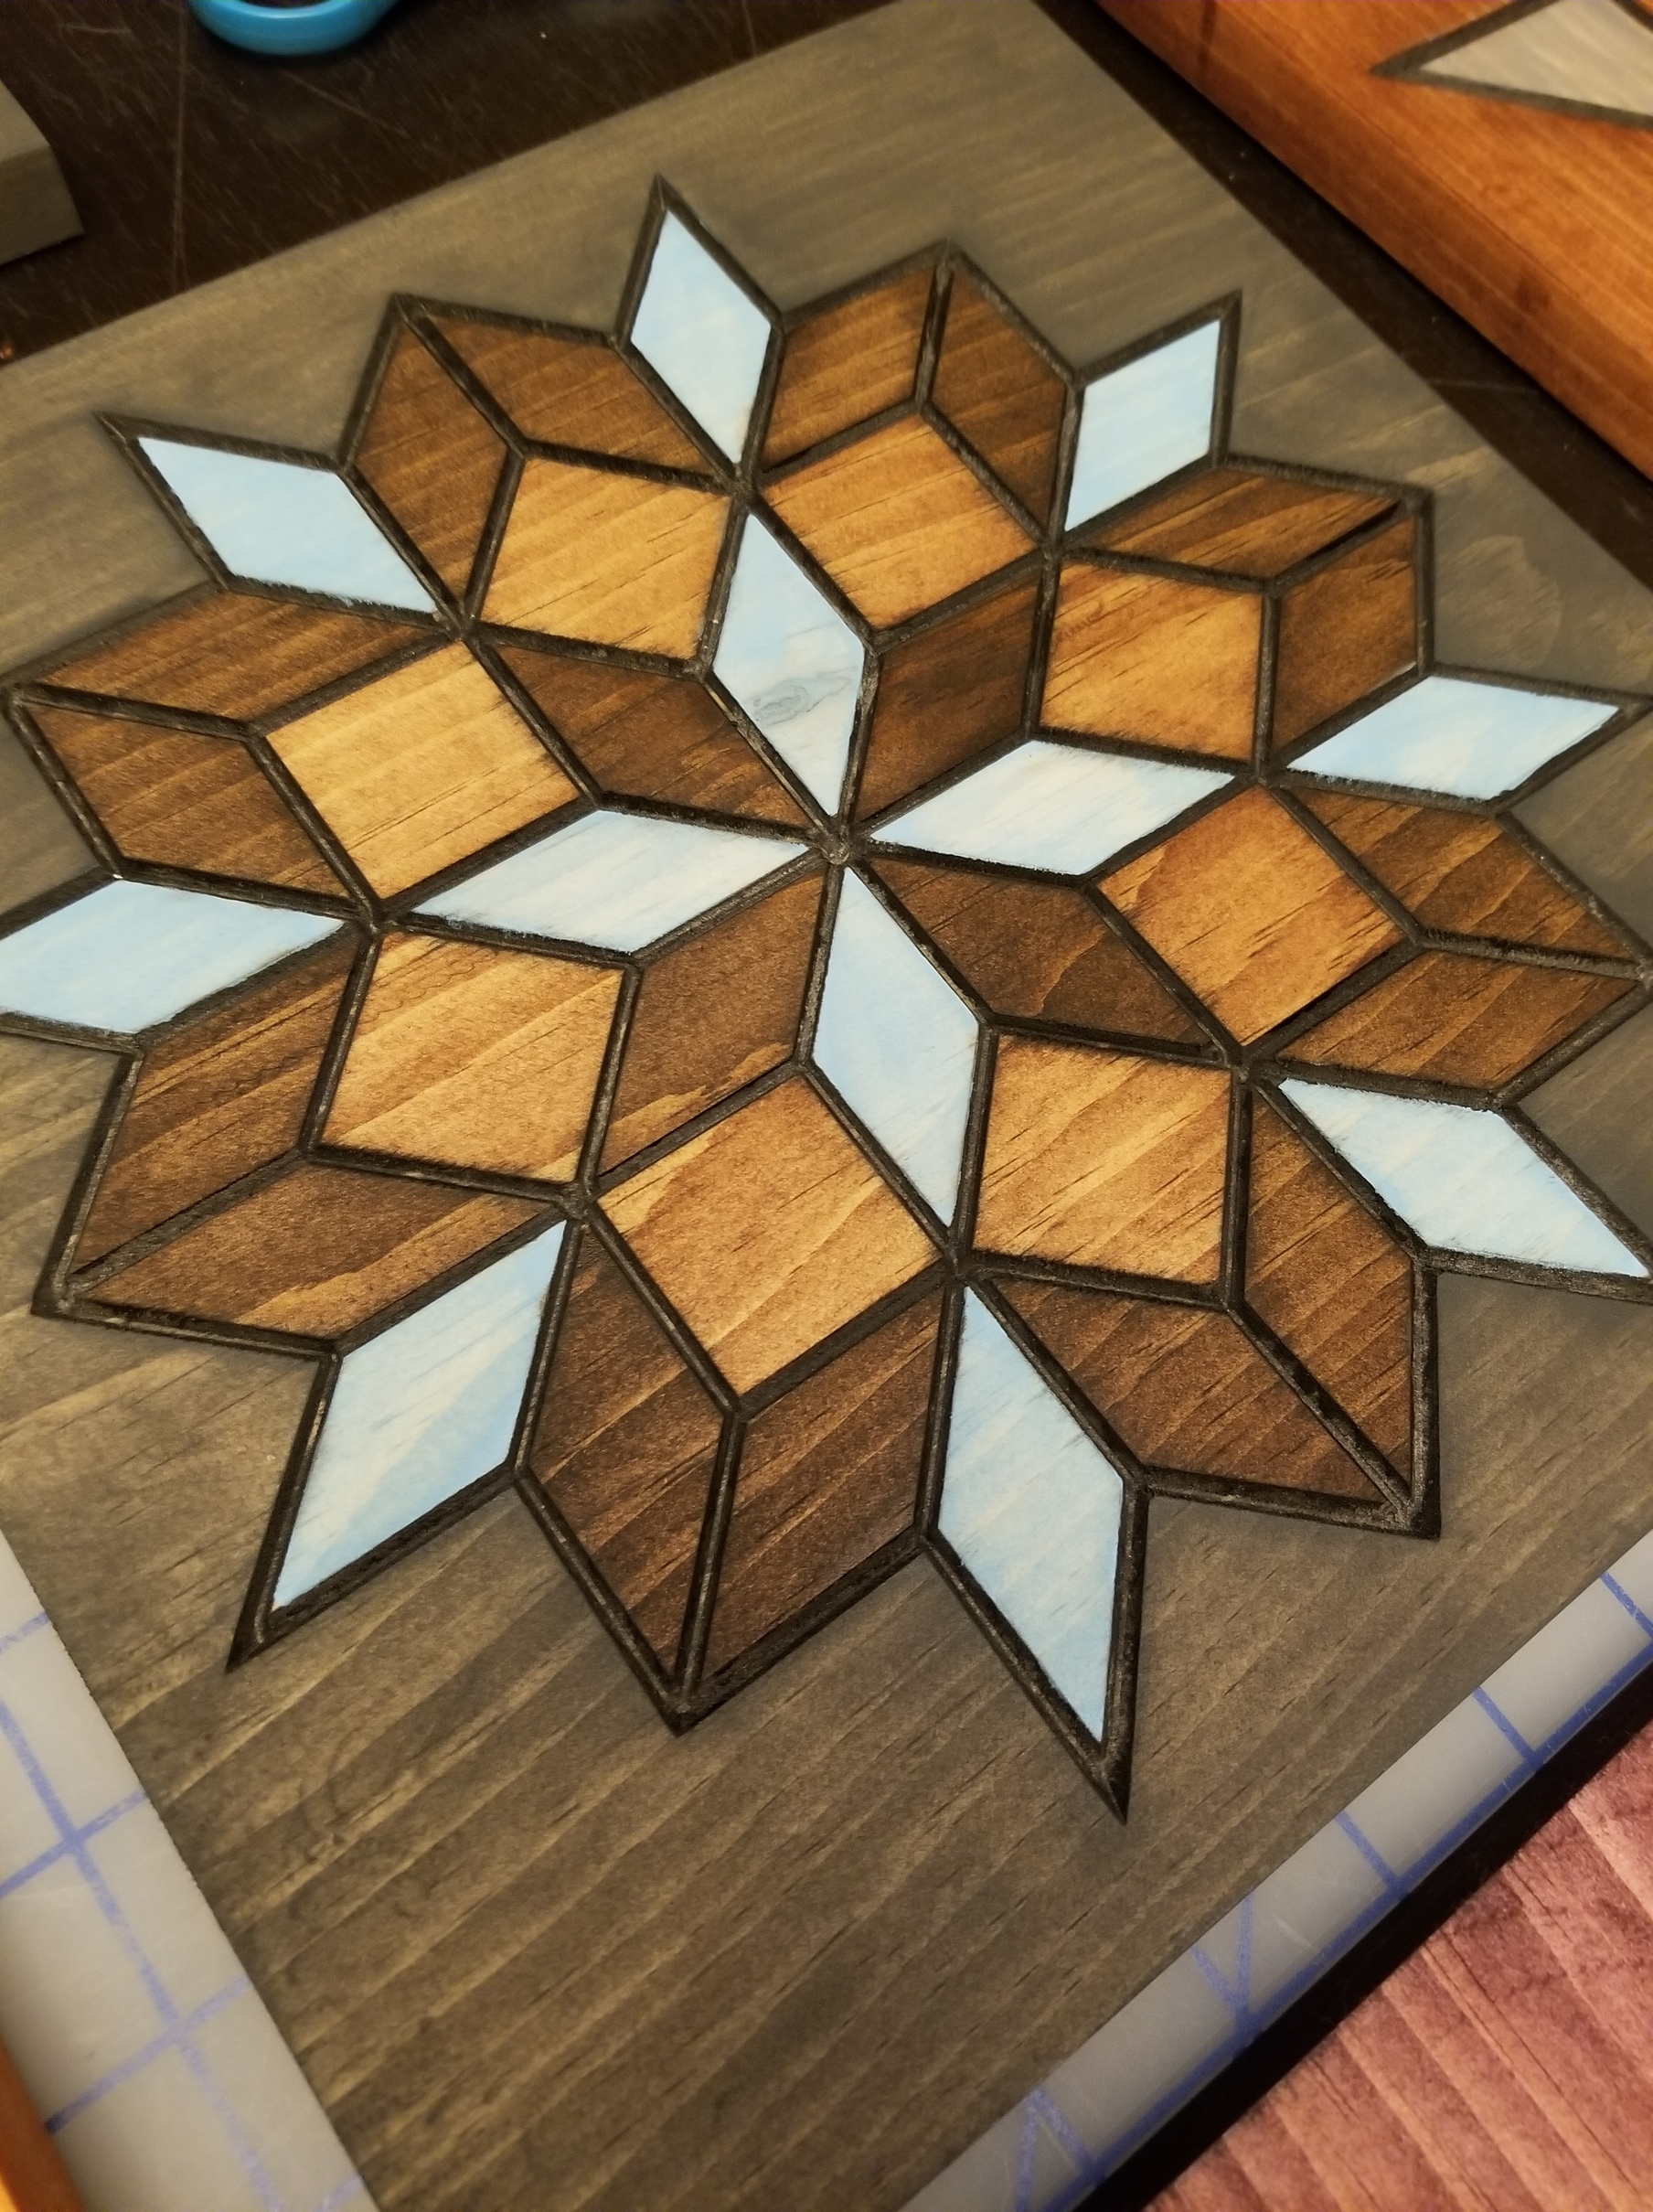
So within a day, and keeping with the “quilting” theme of the nearby main exhibit, we designed (the squares are modelled after 3 classic quilting square patterns), carved, sanded and stained a bunch of these.
Only 6-8 minutes of carving per square using a Vbit in 1x12 Select Pine.
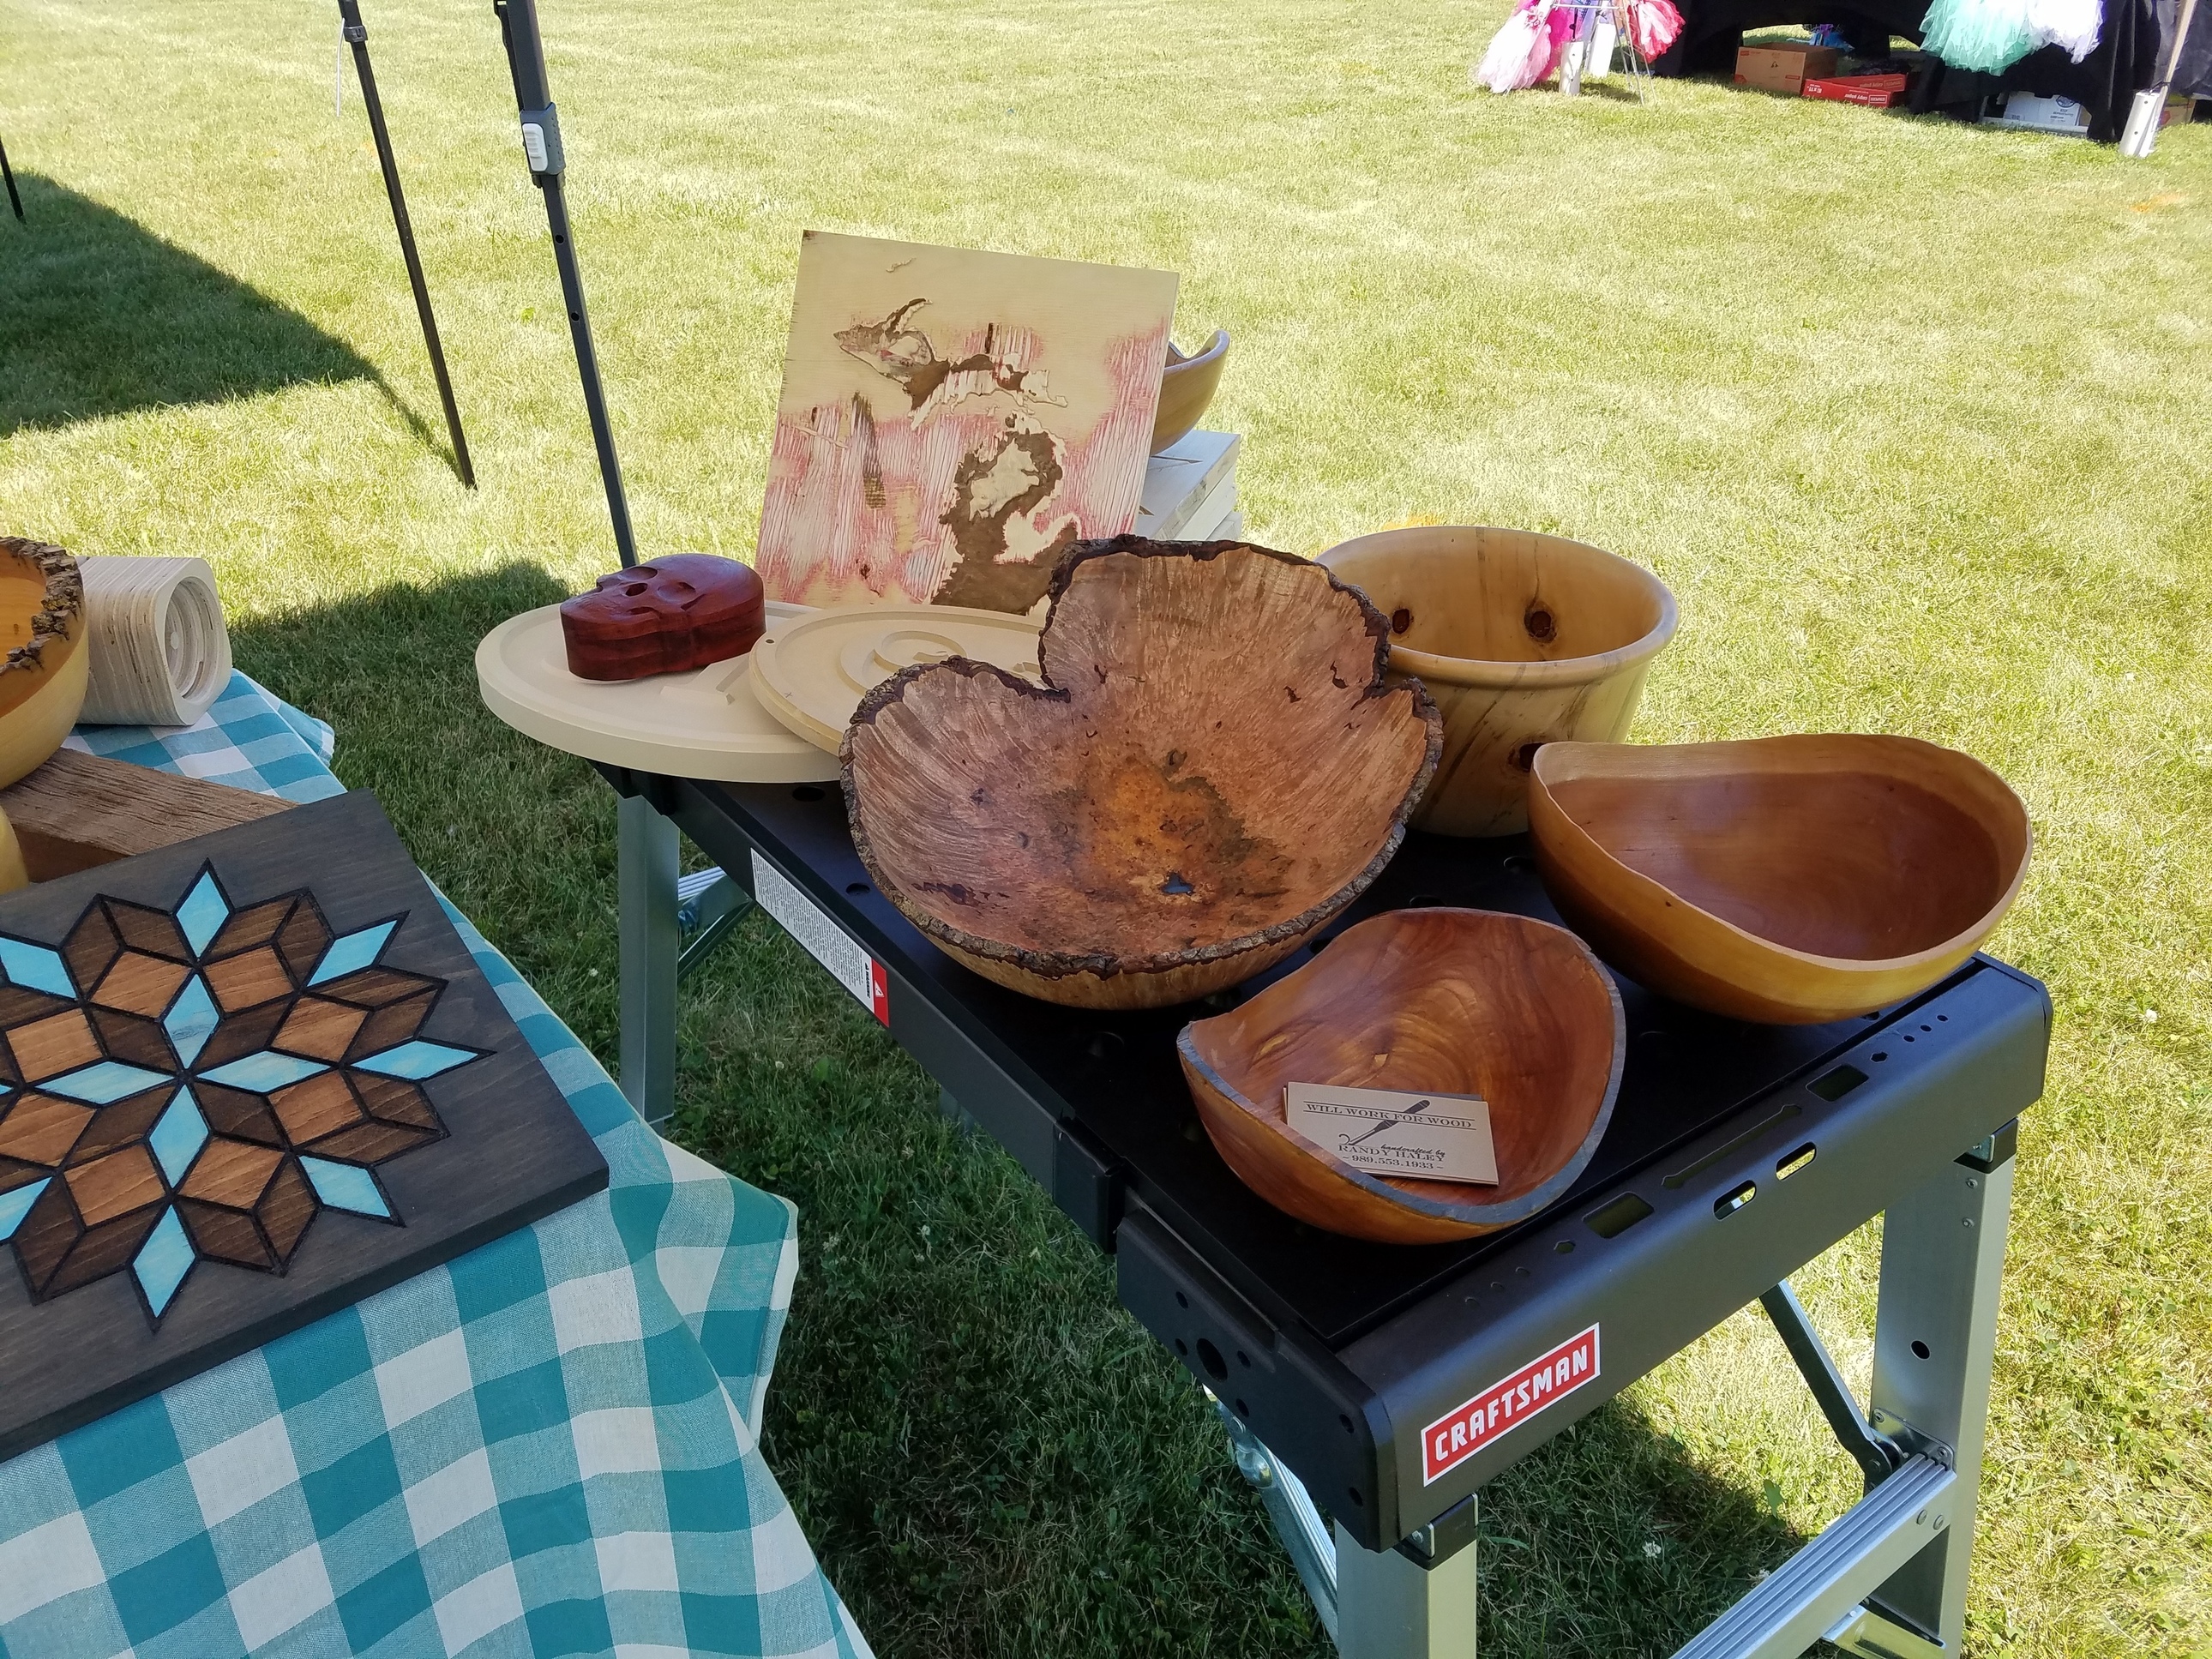
Our booth with the Mini Barn Quilts, some shirts I printed up early Saturday morning, and examples of other work and unfinished projects (always nice to have examples laying around of what can be done in order to make contacts for future orders):

6 Likes
Amazing collection of wares @Kopah!
Beautiful work and quite a prolific collection.
1 Like
Thanks Jim. 
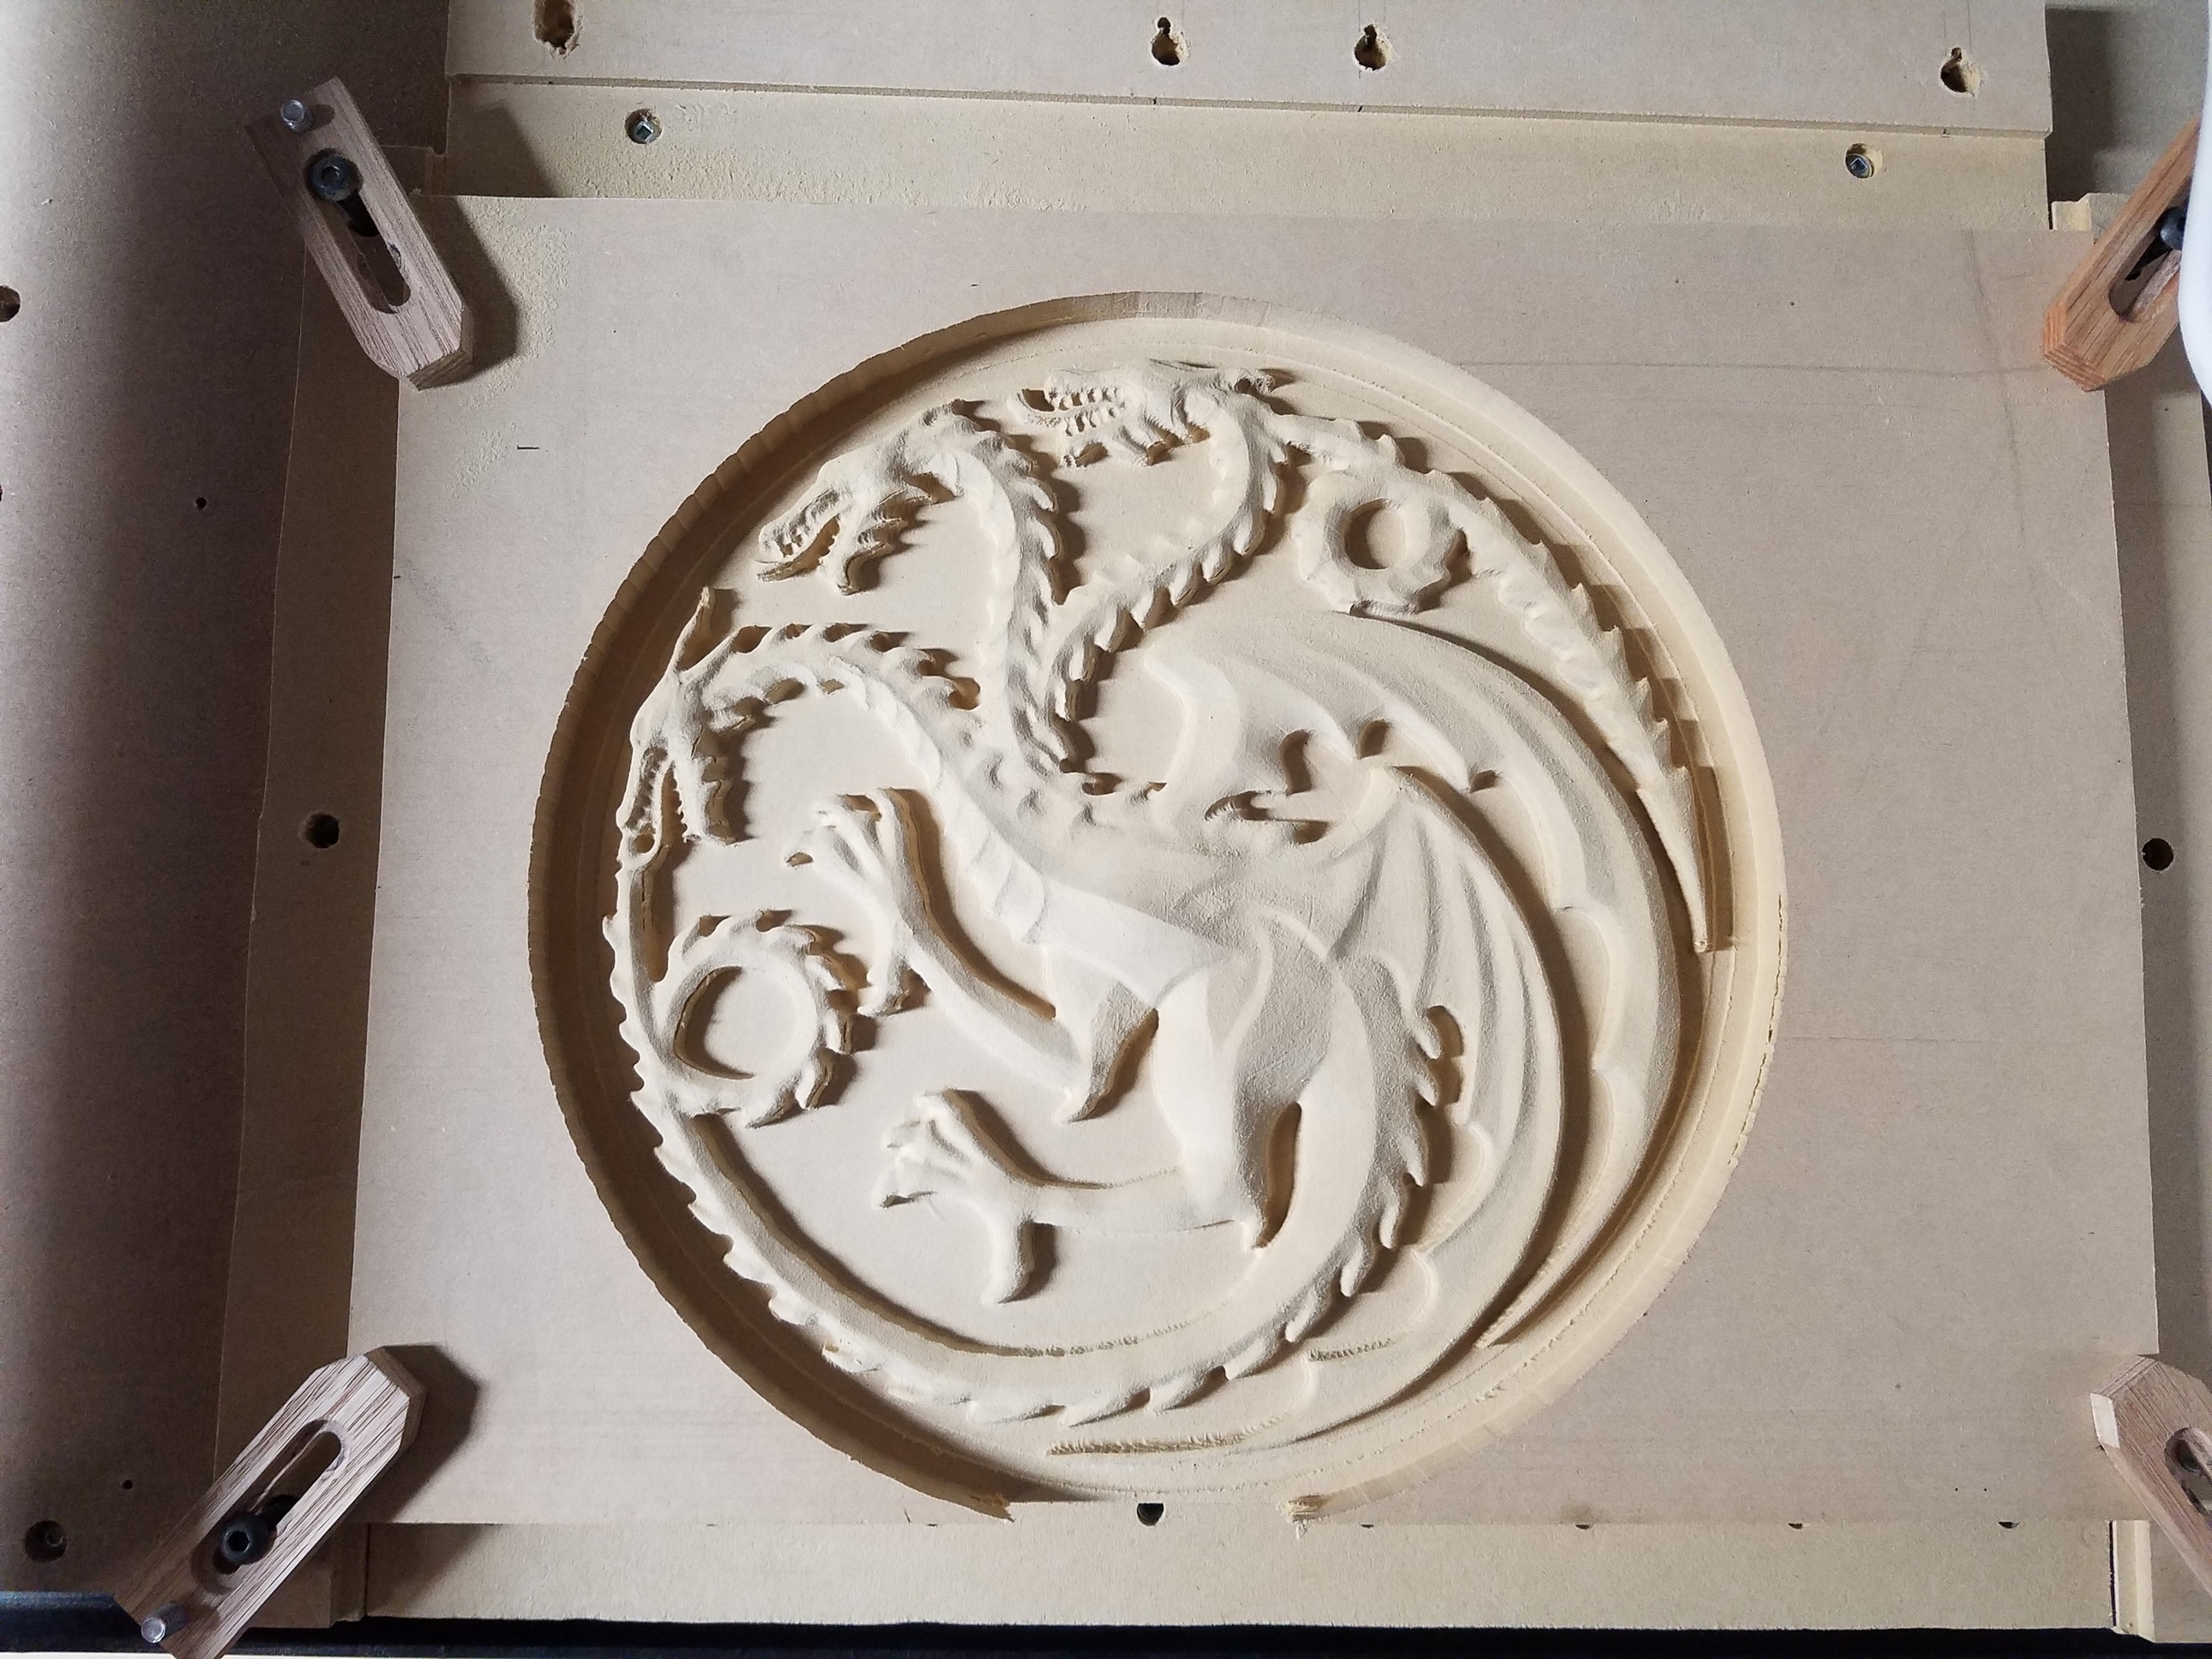
This evening’s project while I wait for a certain show to come on:
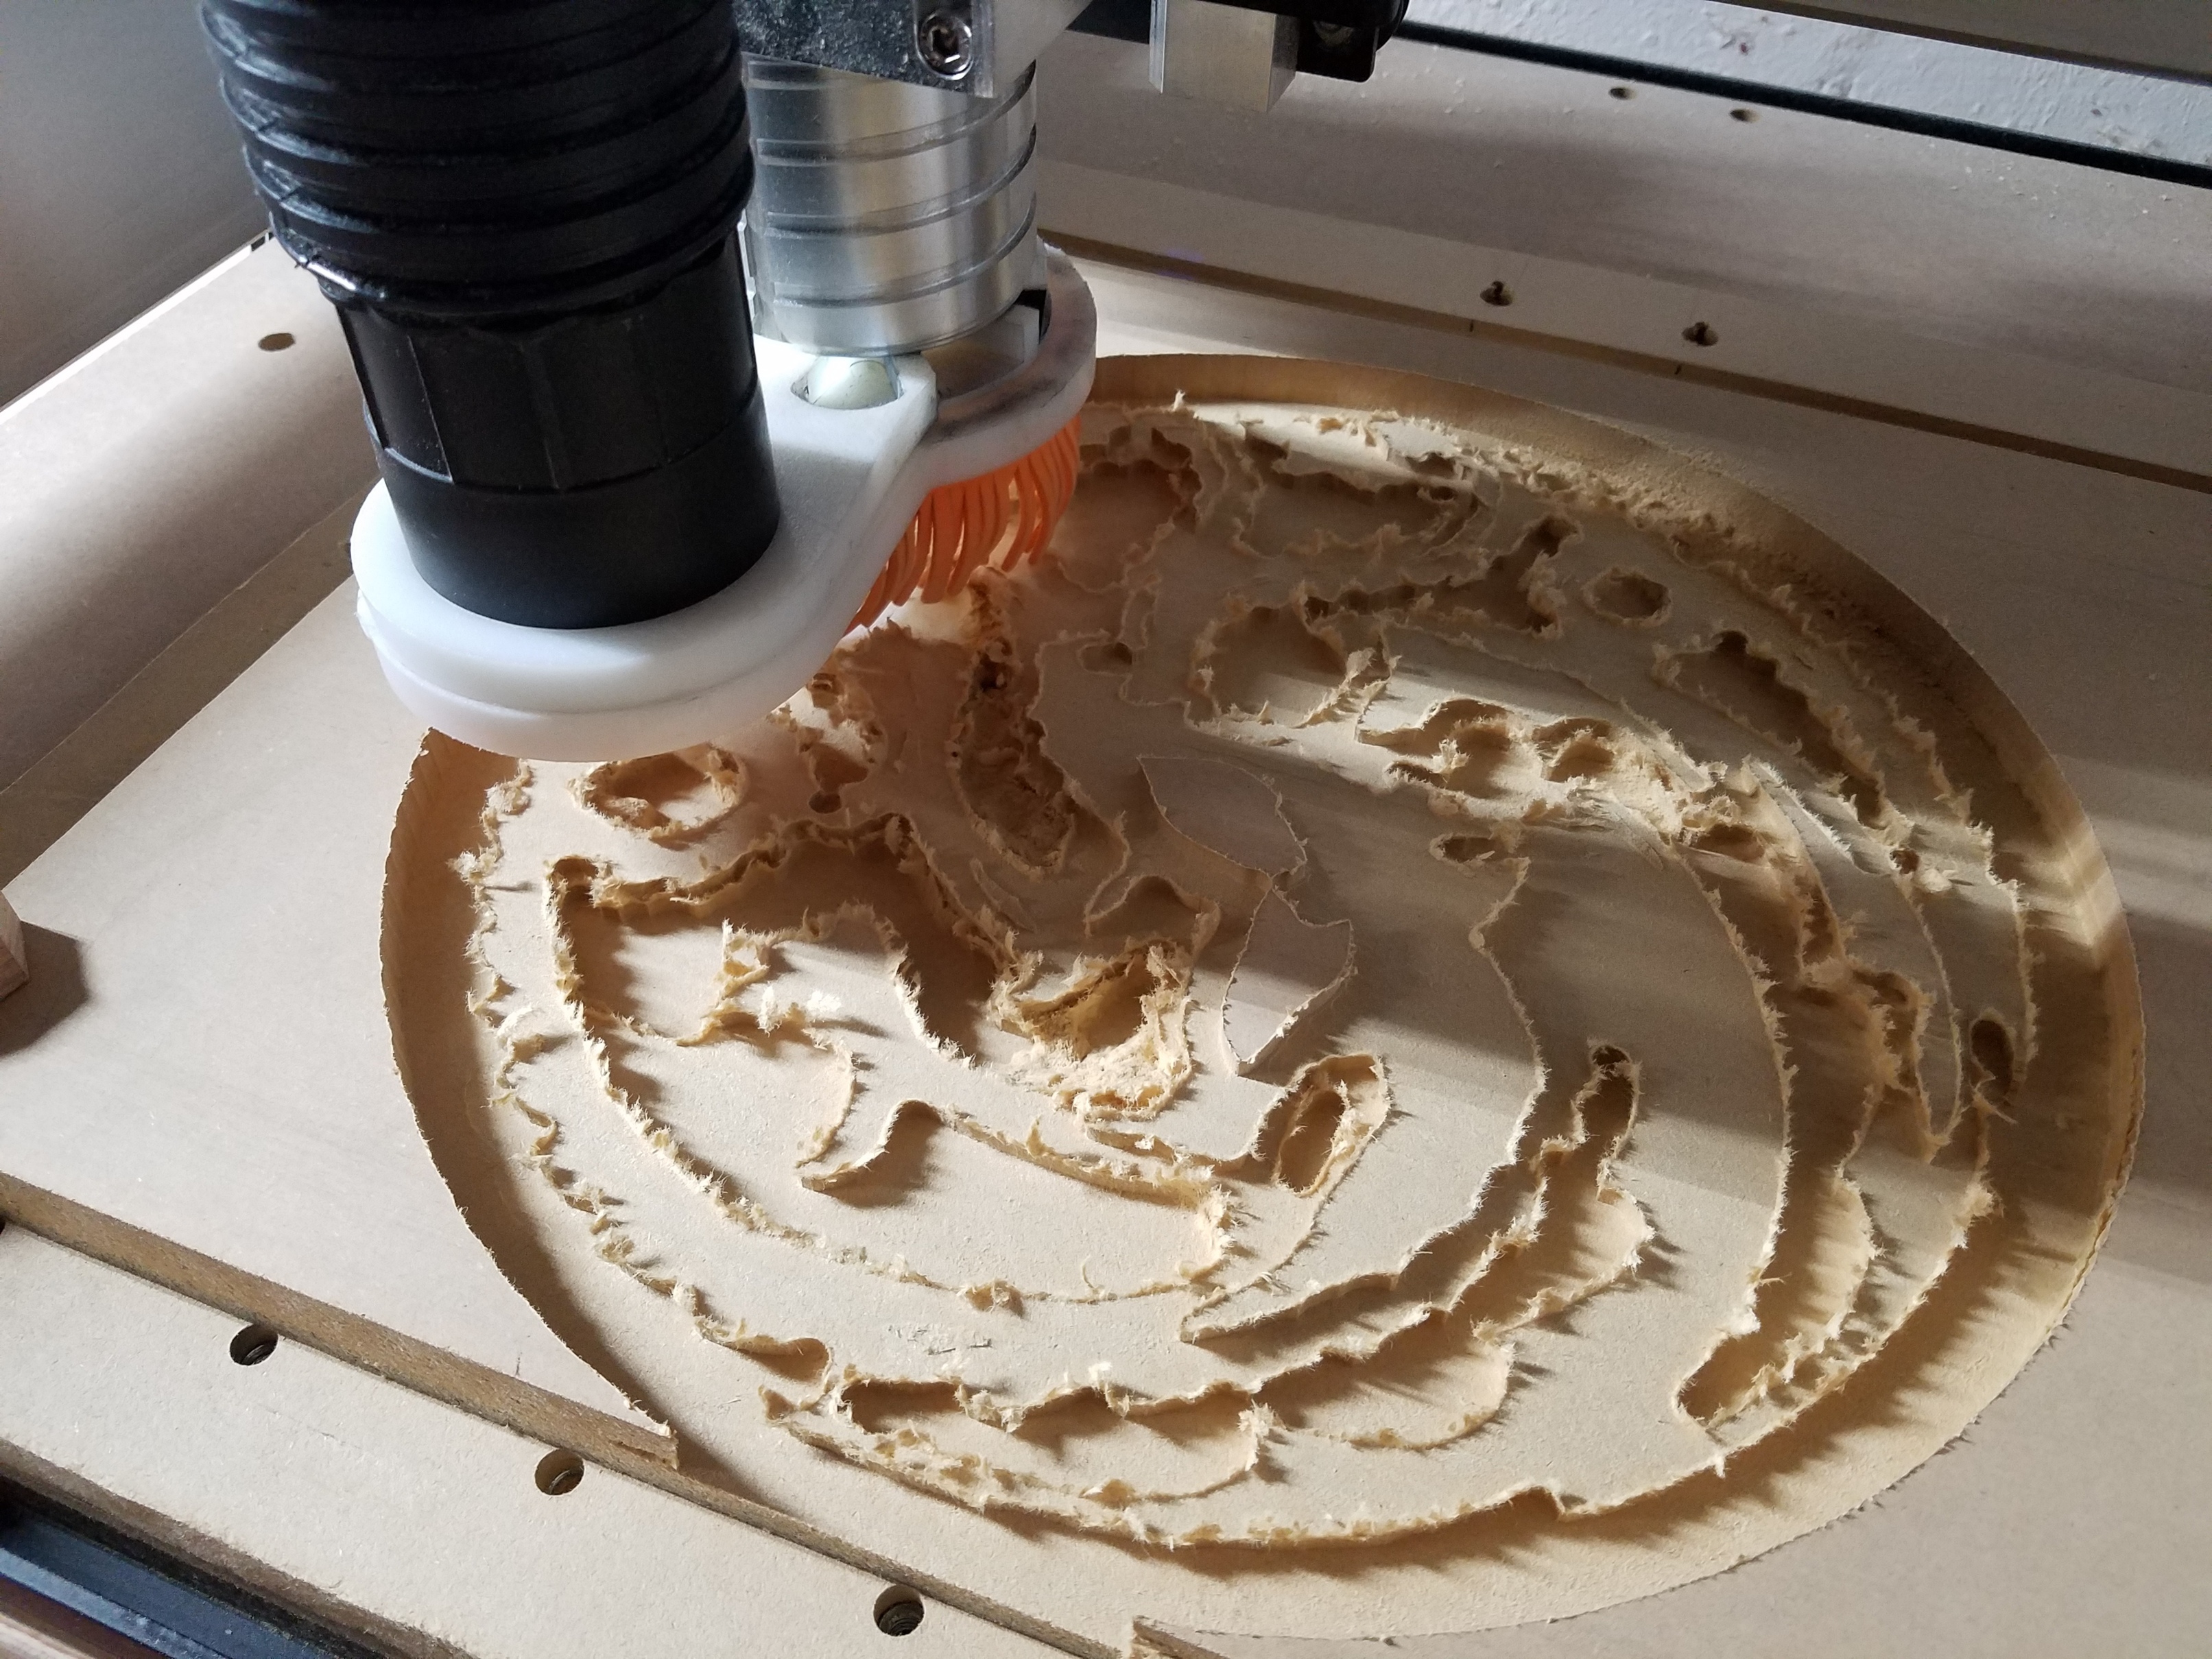
The finish pass may have to wait until tomorrow. This is the first time I have encountered a load bar in Carbide Motion when calling up a program.
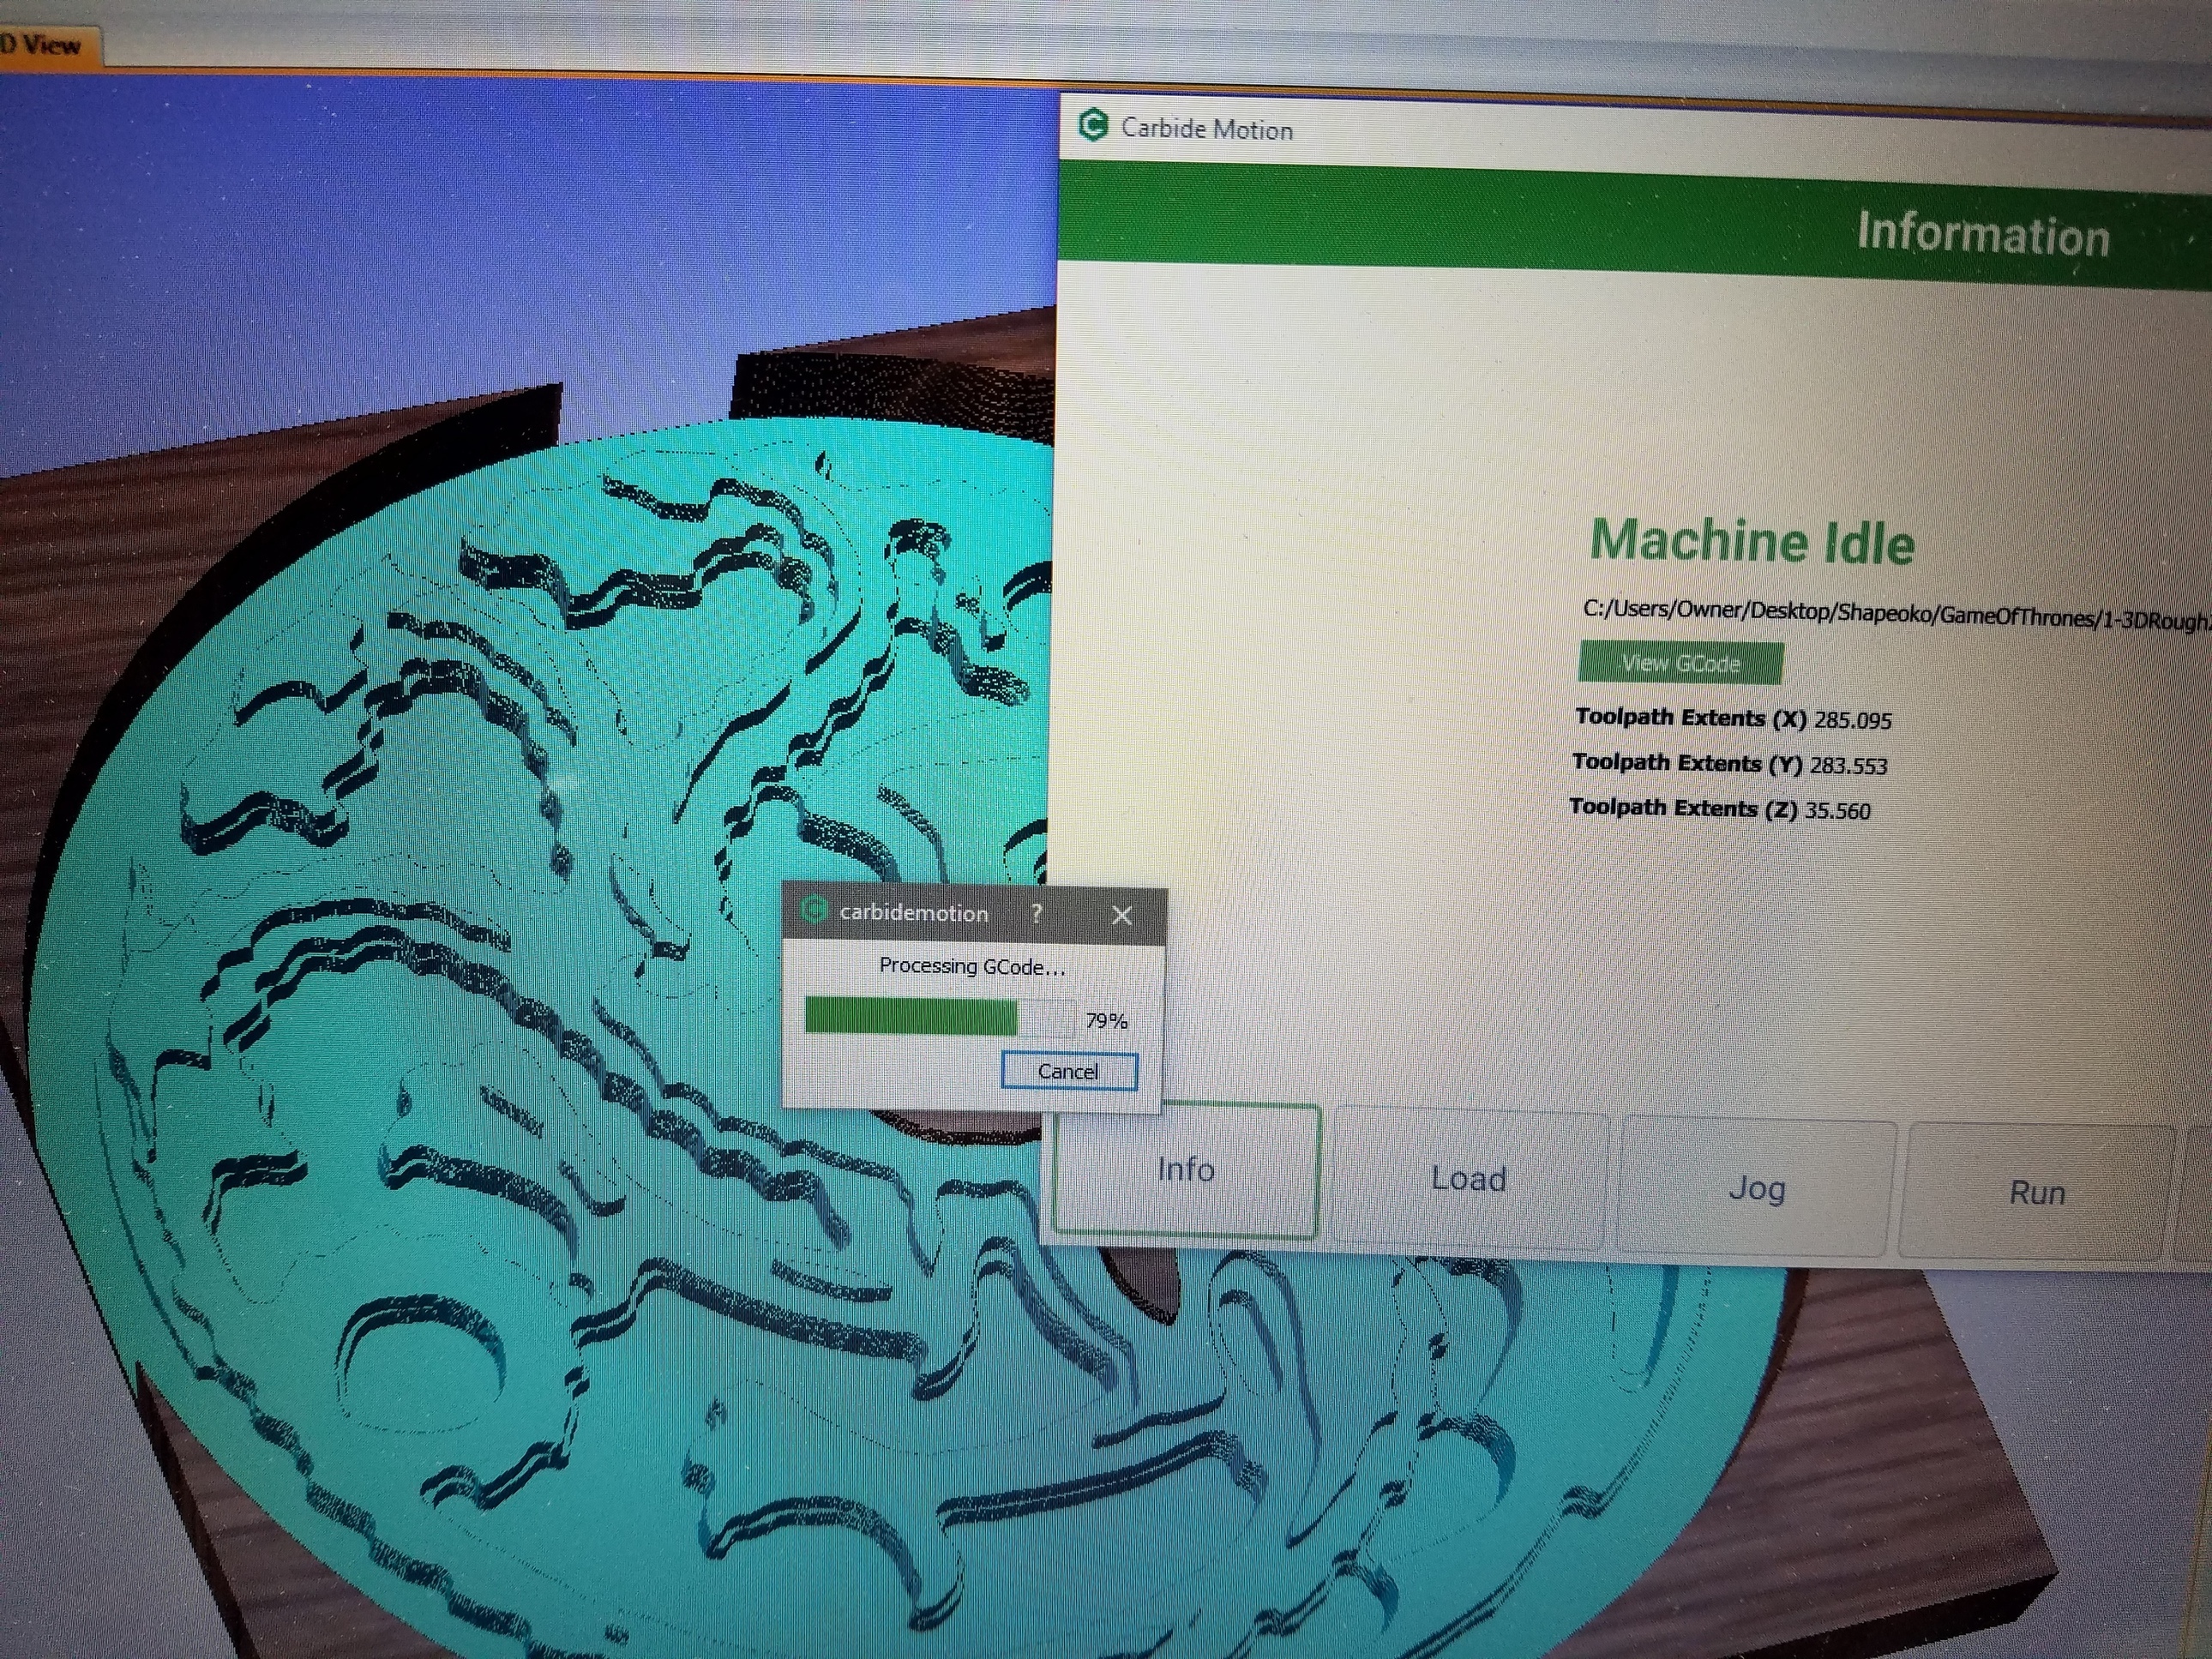
EDIT Just checked, and Aspire estmates ~4 hours on that 1/8" ball.
EDIT EDIT I am at 15% 30 minutes later. Decided to run my poor shop vac dust collection intermittently or I am afraid I may burn it out. Luckily the ball cutter doesn’t seem to kick up too much MDF dust.
8 Likes
You do very beautiful, and unique ideas.
Thanks!
2 Likes
4 Likes
This is a great thread Anthony. Thanks for keeping it updated for almost a year.
1 Like
Anthony, the other day I was at Lowe’s looking for something when I came across these small squares of rubber, about 4x4 inches and 1/8 inch thick. Could those be used for stamps? I believe the stamps I’ve seen at the hobby stores are all rubber. I wonder if rubber would mill on S03.
1 Like
Small section on the wiki: Shapeoko CNC Router, Rigid, Accurate, Reliable, and Affordable
1.5 mm endmill
500 mm/min feedrate
1 mm depth increment[216]
One option for parts which can be cut quickly is to freeze the rubber (with dry ice or even colder temperatures) before cutting.
https://m.youtube.com/watch?v=-xhfiS_Q1aw&feature=youtu.be
https://www.youtube.com/watch?v=0Yvcizt83DA [217]
1 Like
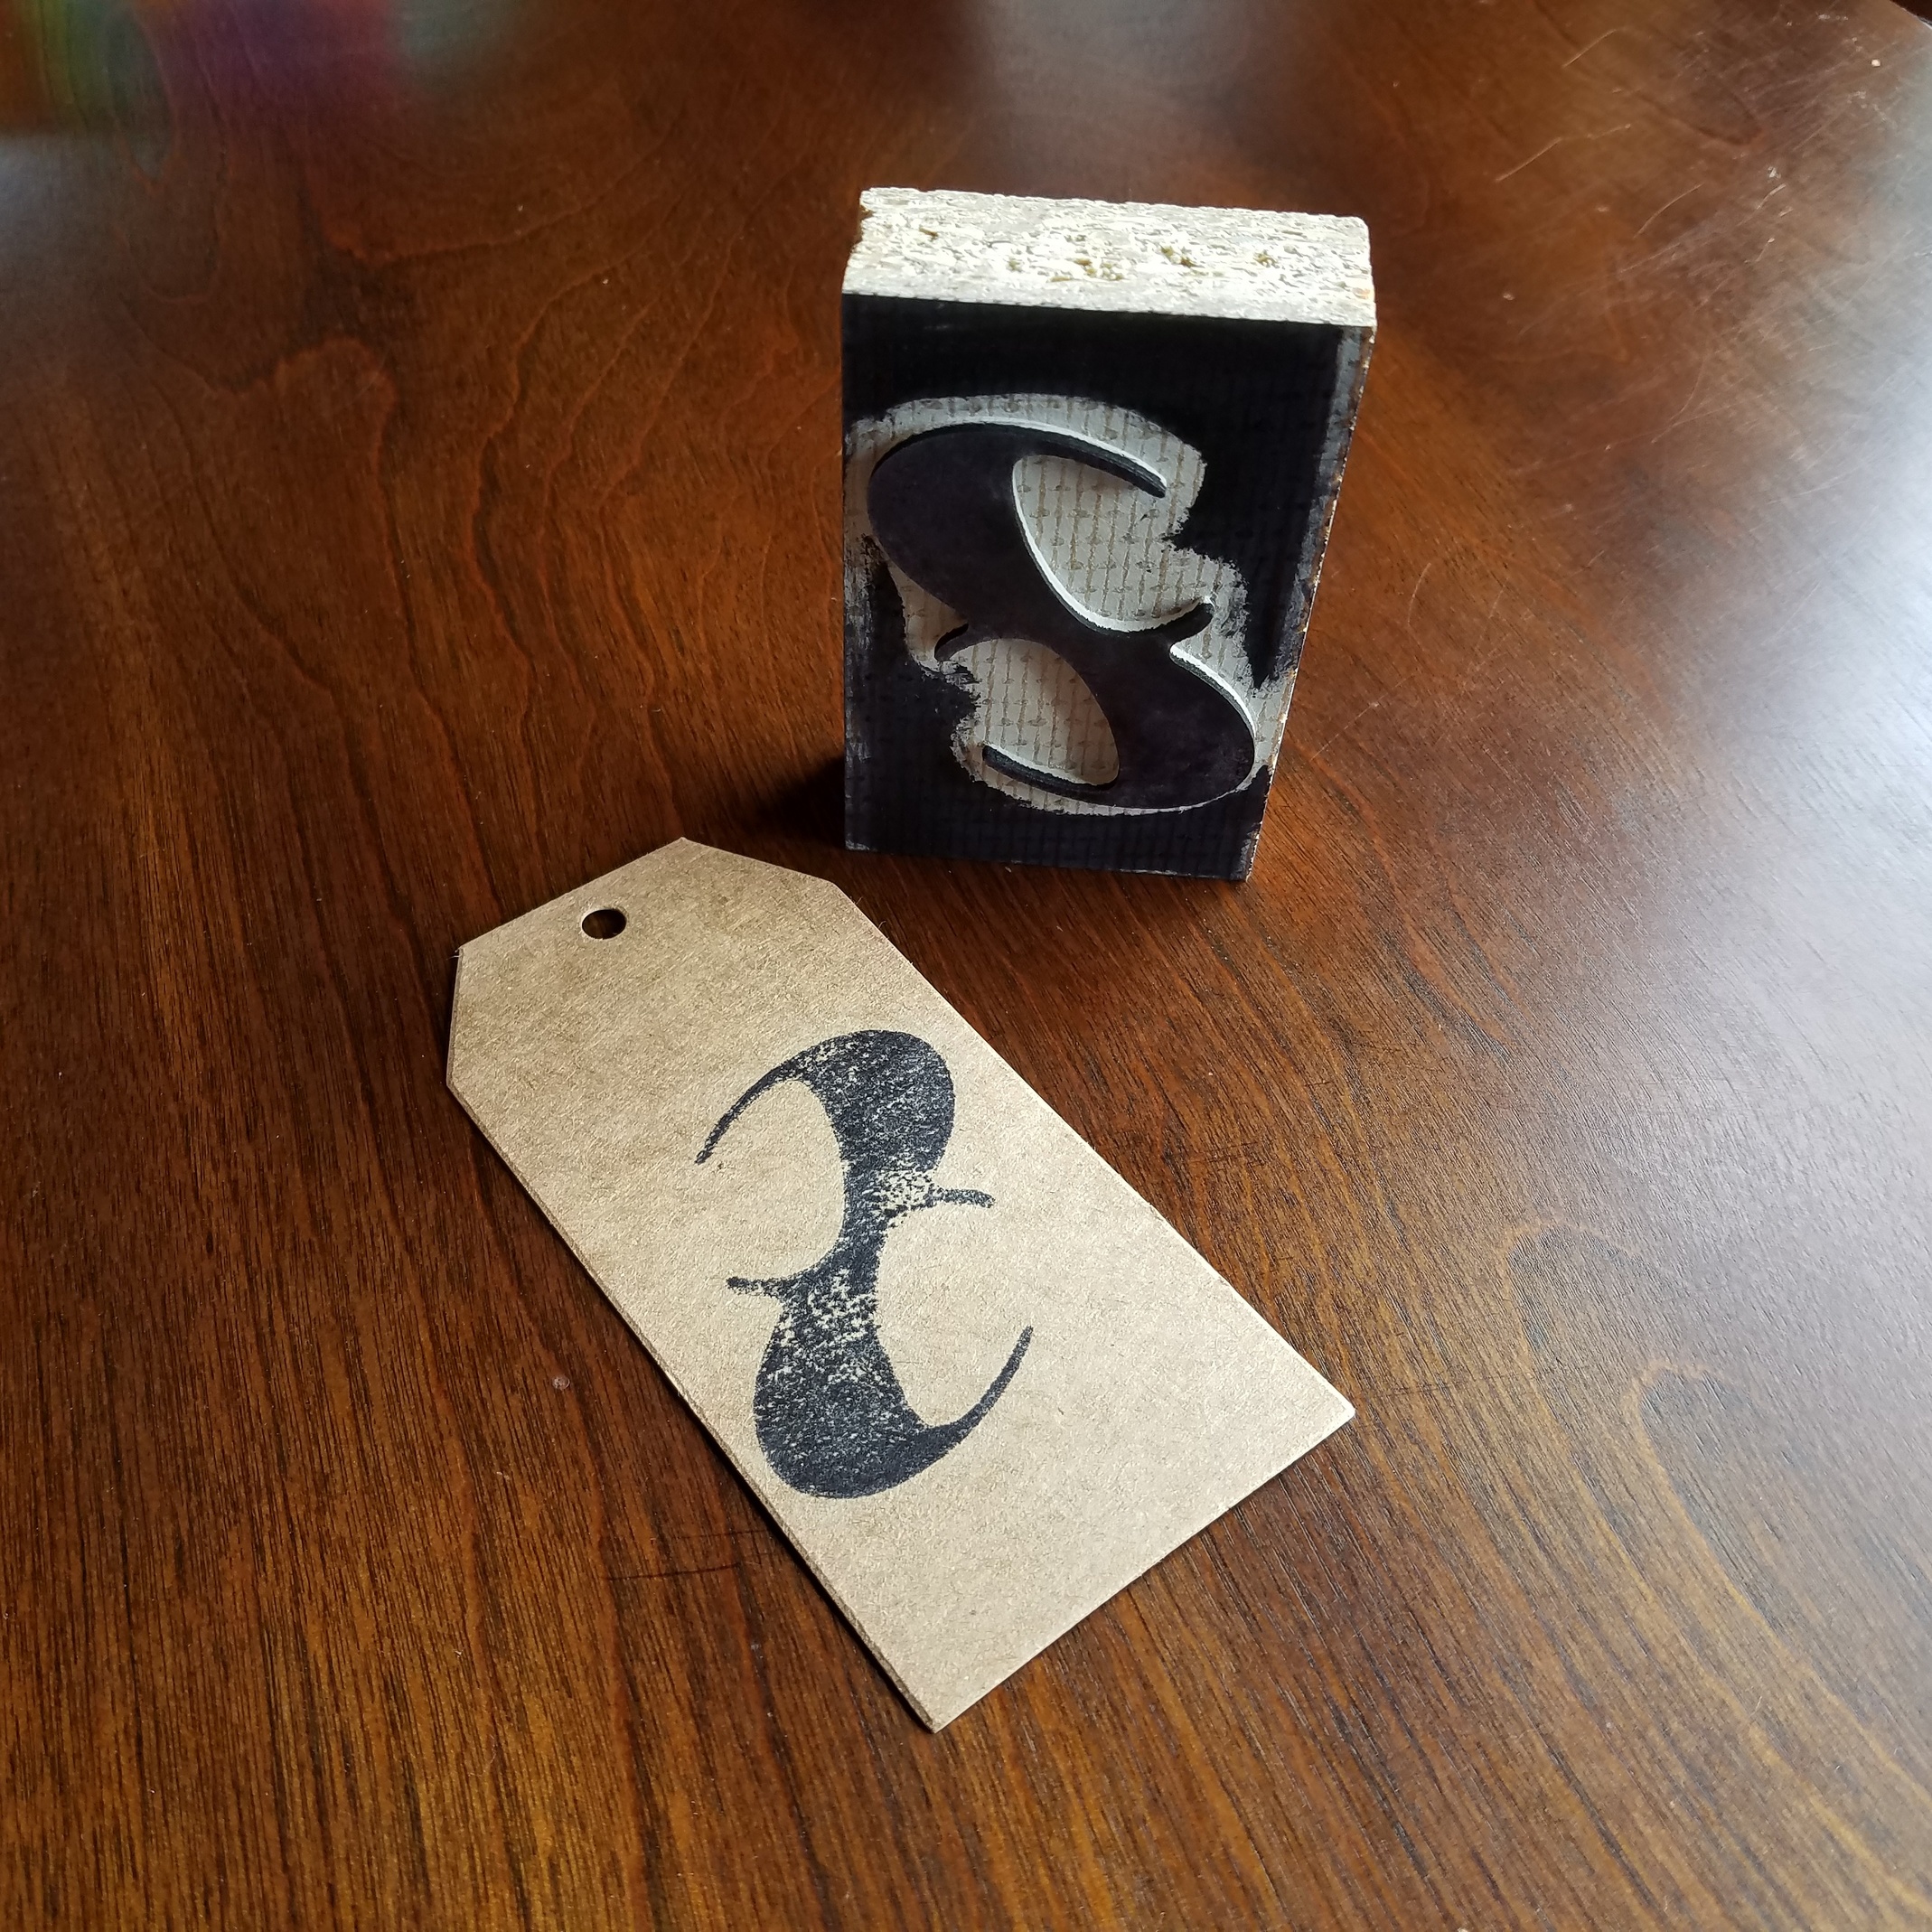
Rubber would definitely be harder to mill than Lino.
I am not a stamp making expert by any means, but linoleum would also seem to hold better detail due to being denser/harder.
Rubber would probably give you a cleaner impression when stamping though, if that is what you are looking for (personally, I wanted that hand stamped/ linocut/ letterpress look).
You can get pre-mounted blocks of linoleum for next to nothing from art supply sources like Blick.
EDIT Wanted to check that Carbide 3D didn’t sell stamping materials before posting a link:
http://www.dickblick.com/products/blick-battleship-gray-linoleum/
1 Like
I don’t have a need to do stamps. I was just wondering about the rubber thing I found in the plumbing section at Lowe’s. I bought the thing because it was less than $2, if I remember correctly, but I don’t know what I might use it for. I wonder if a drag knife could be used for cutting it.
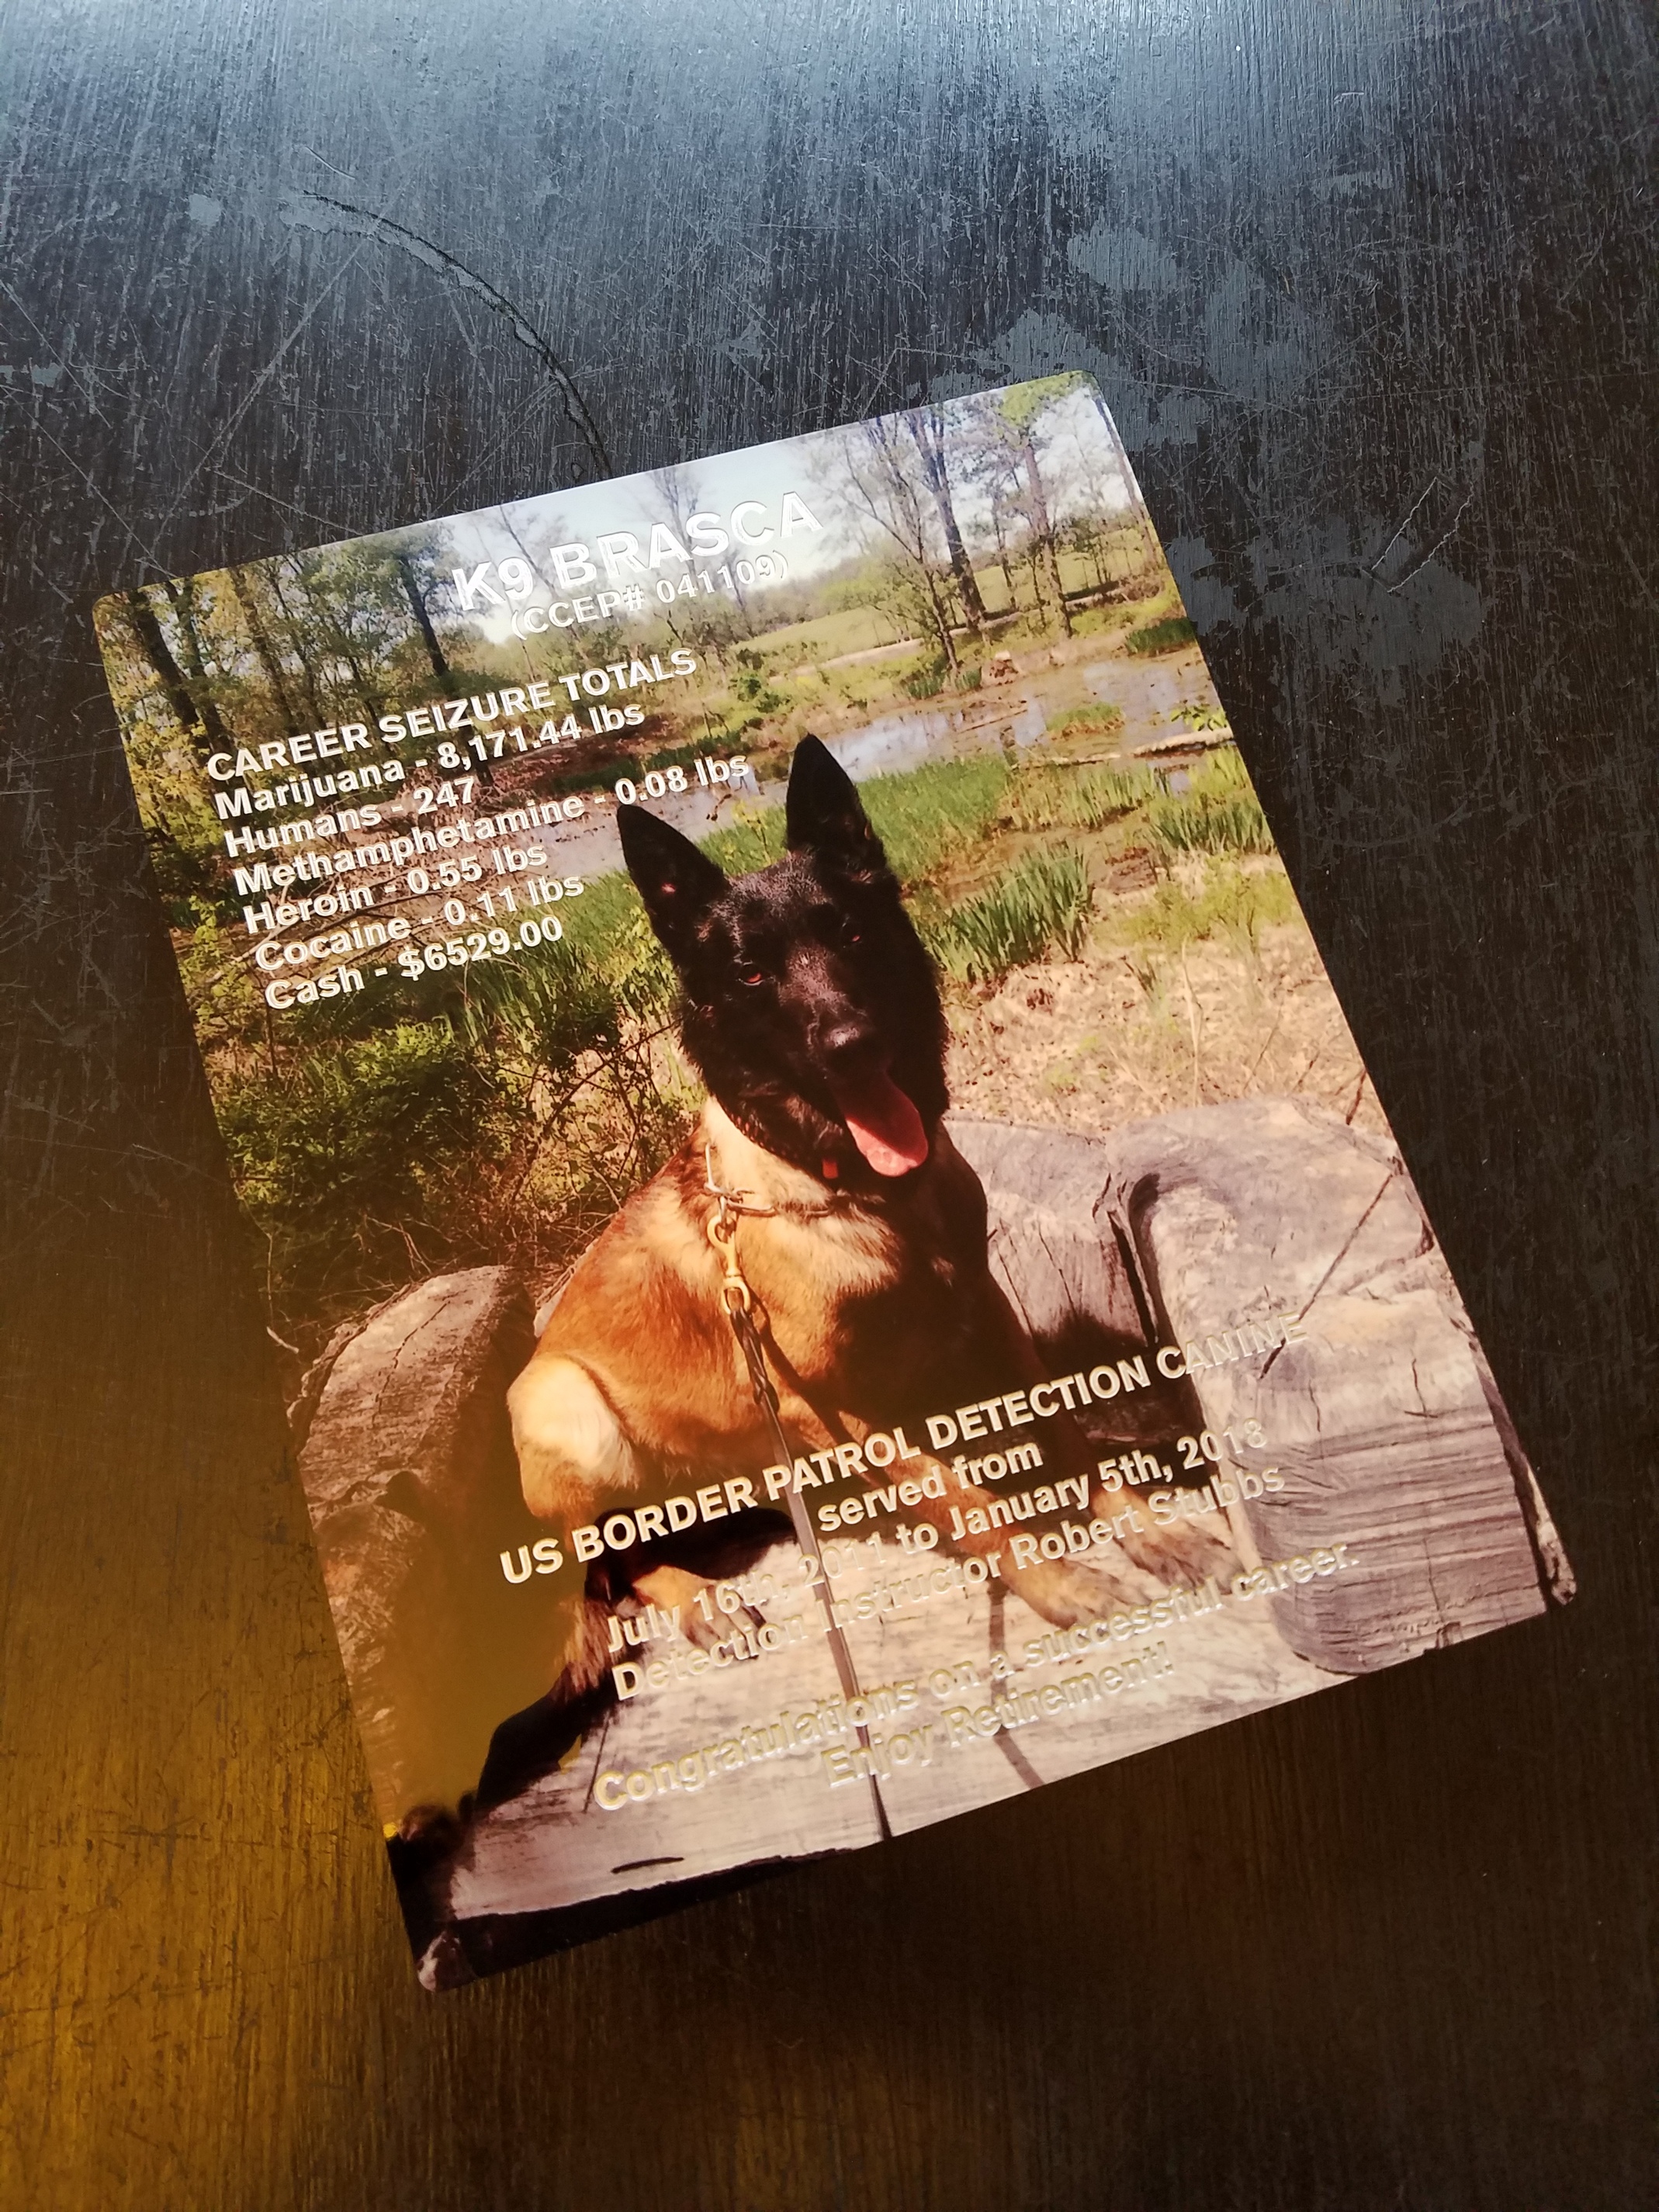
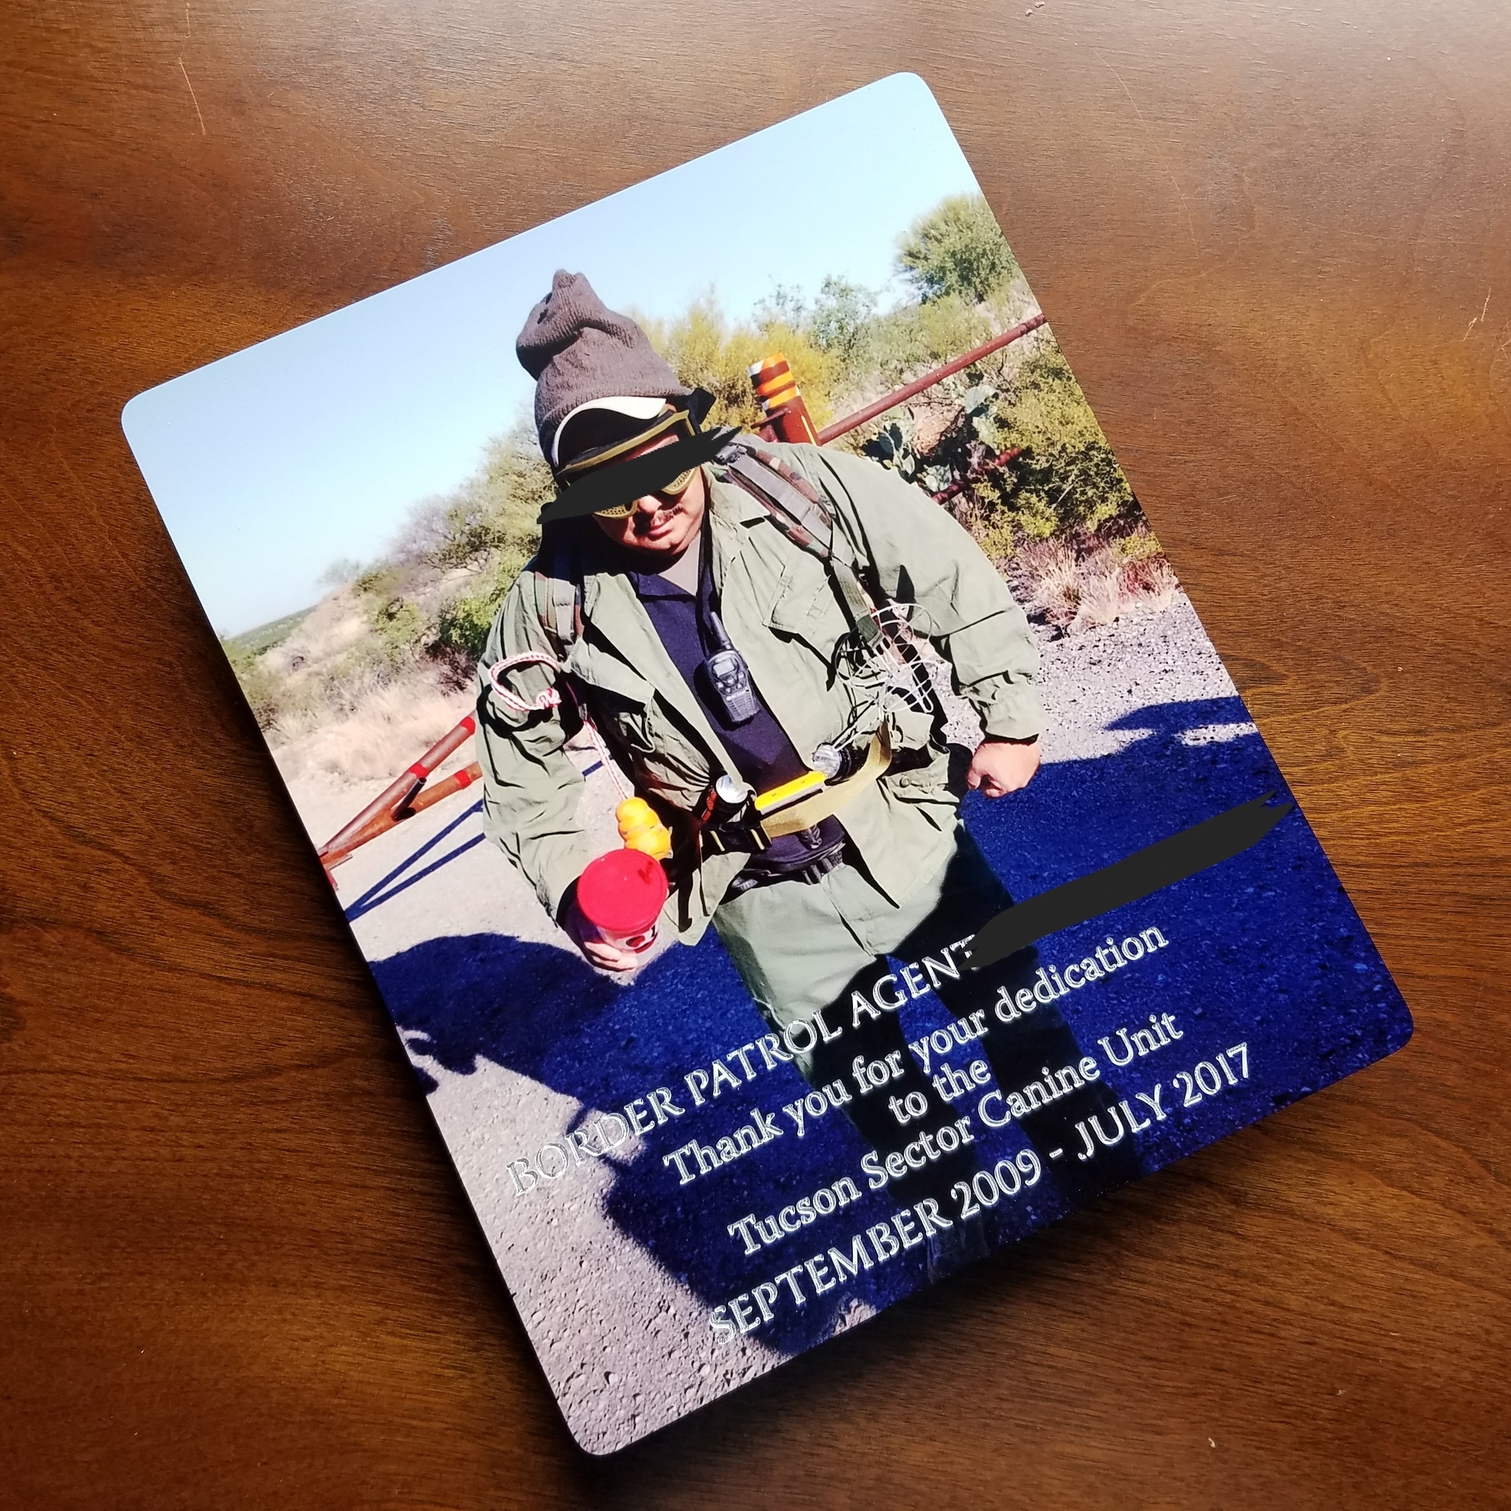
First attempt at engraving text into aluminum (it is an 8x10 metal print). Going away gift for a border patrol agent from his buddies.
Censor bars to protect this poor guy’s identity. 
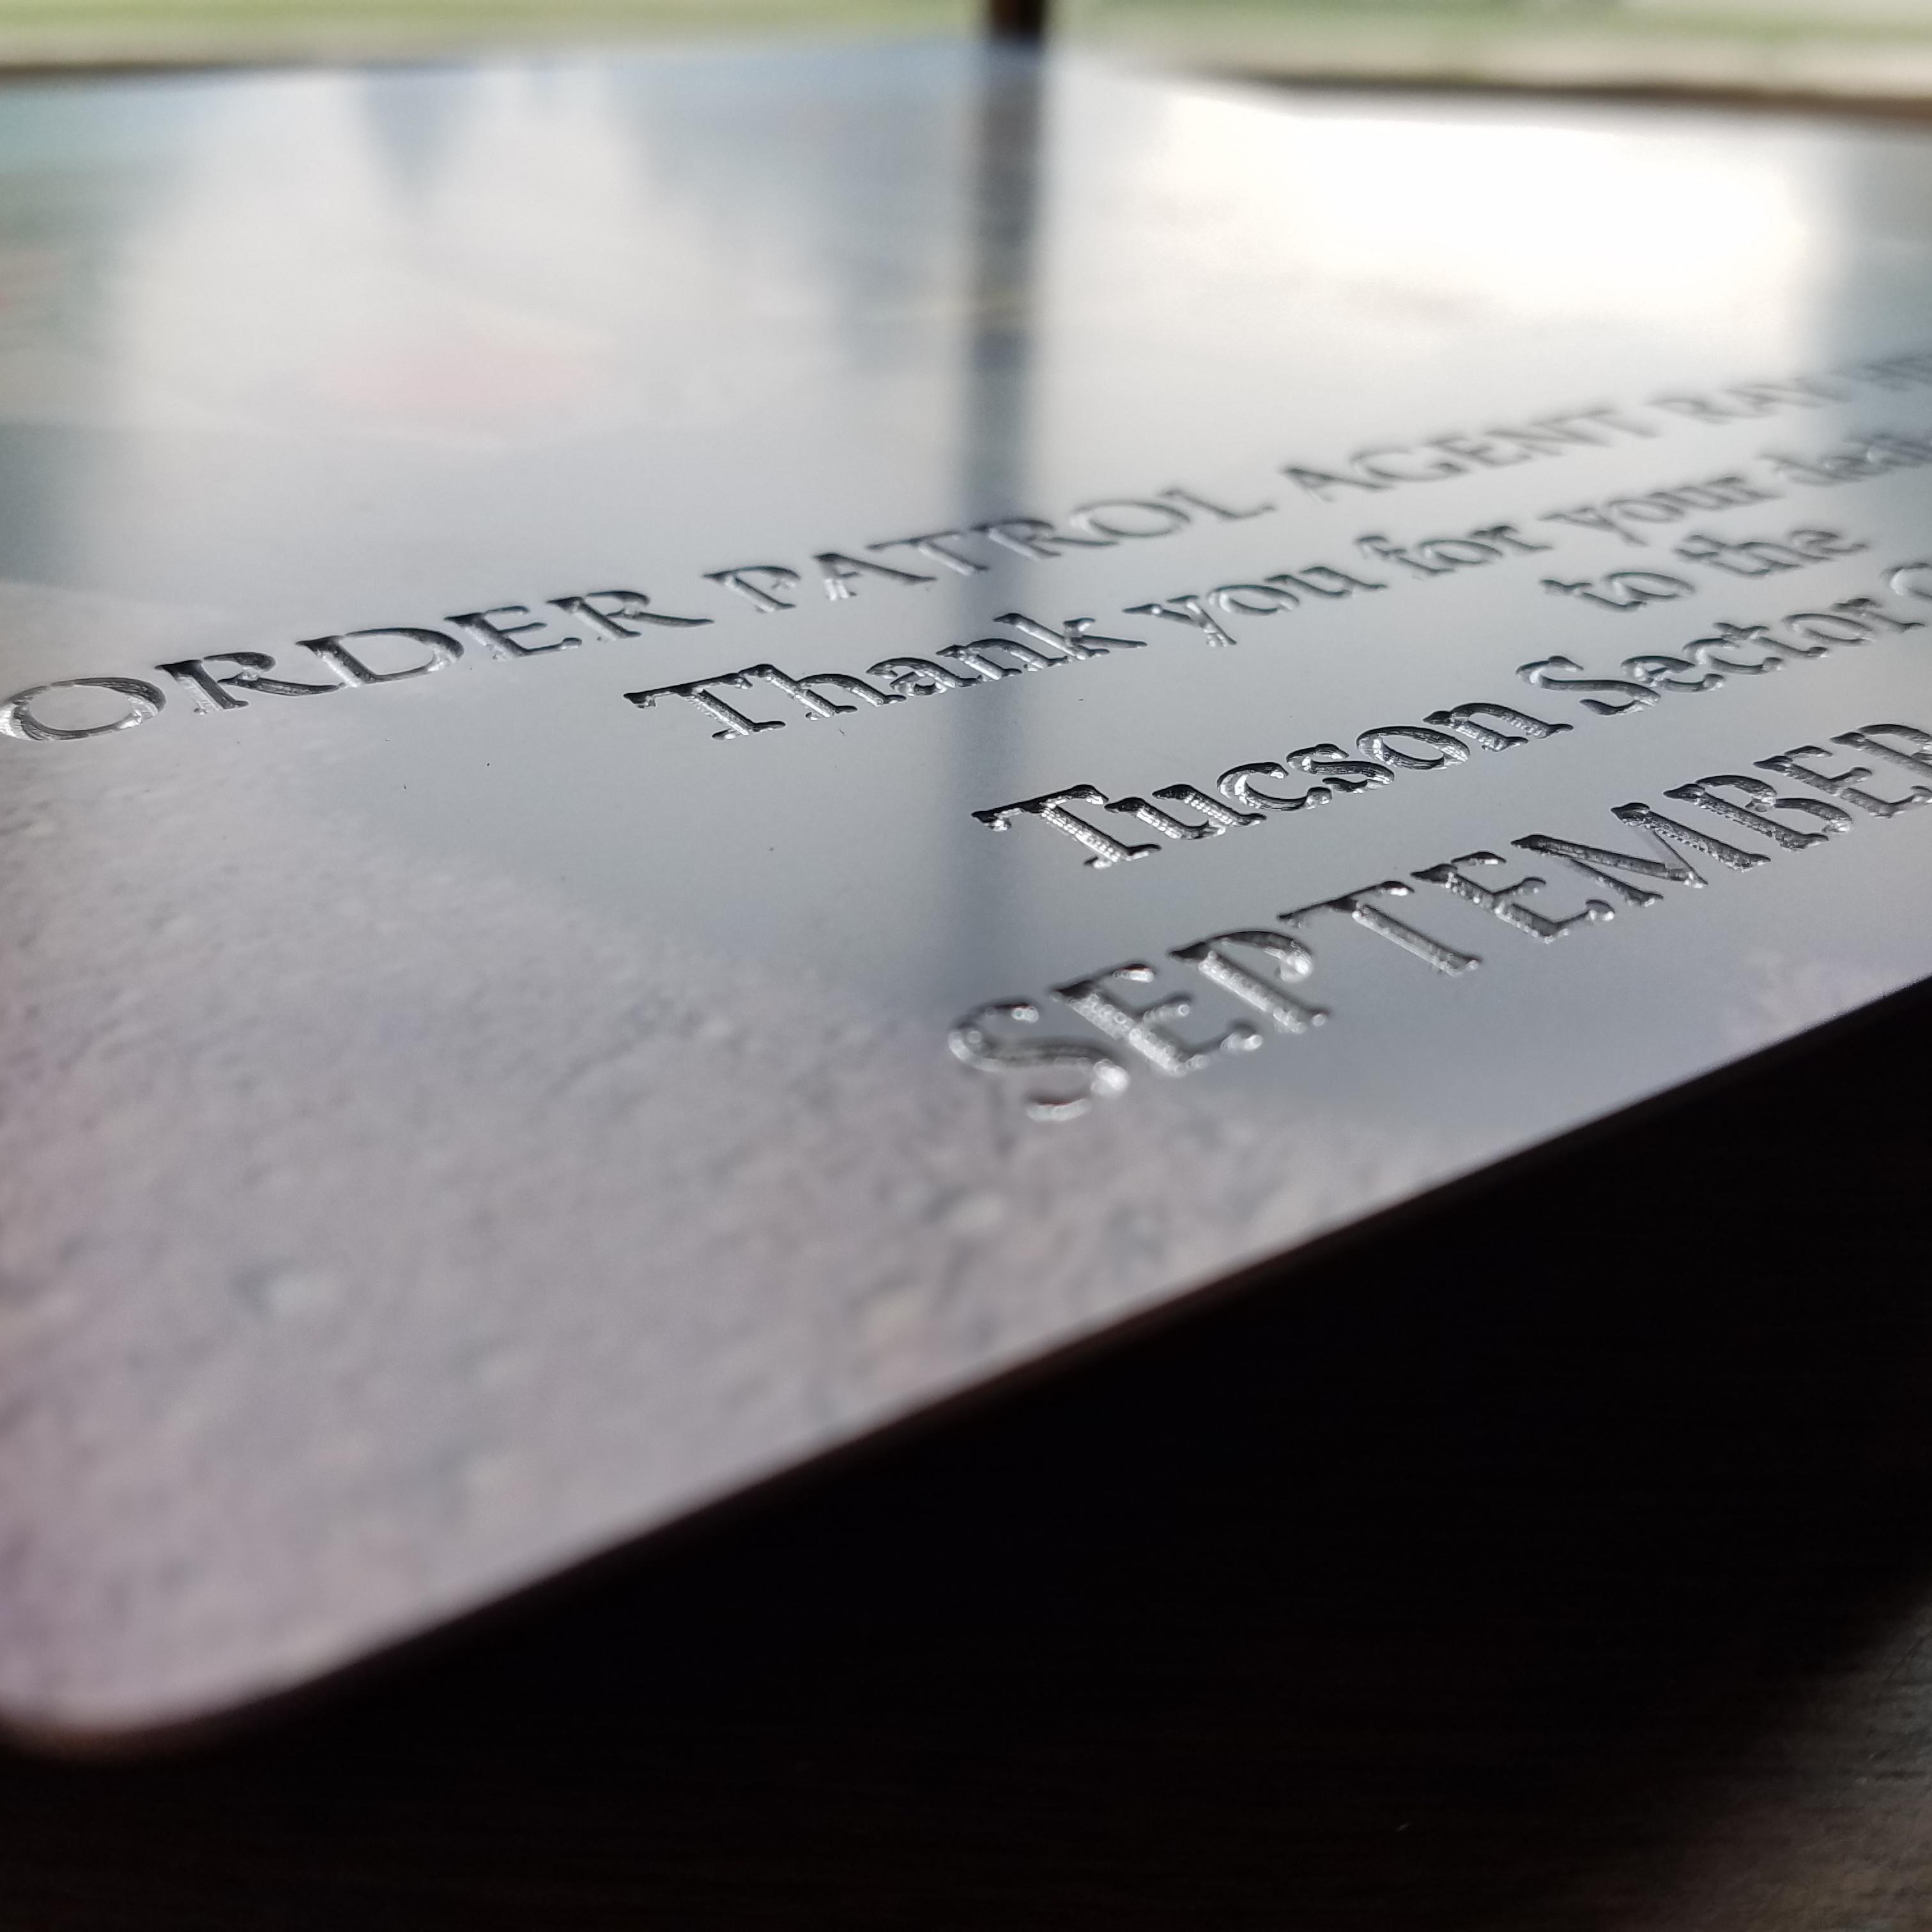
Not the cleanest work, but it did the job. Choosing a more suitable font and using a better engraving tool than the chinese 30 degree ones I bought off of Amazon may improve future cuts. The DeWalt router doesn’t slow to the speeds that these should be run at either, so if anyone has some good speed/feed/DoC settings they would be willing to share, it would be much appreciated.
I ran the 1/8" 30 degree 0.01" tip diameter engraving tool in a V-Carve toolpath at .005 a pass, 35ipm feed and as slow as the DWP611 would spin (about 16.5k rpm).
1 Like