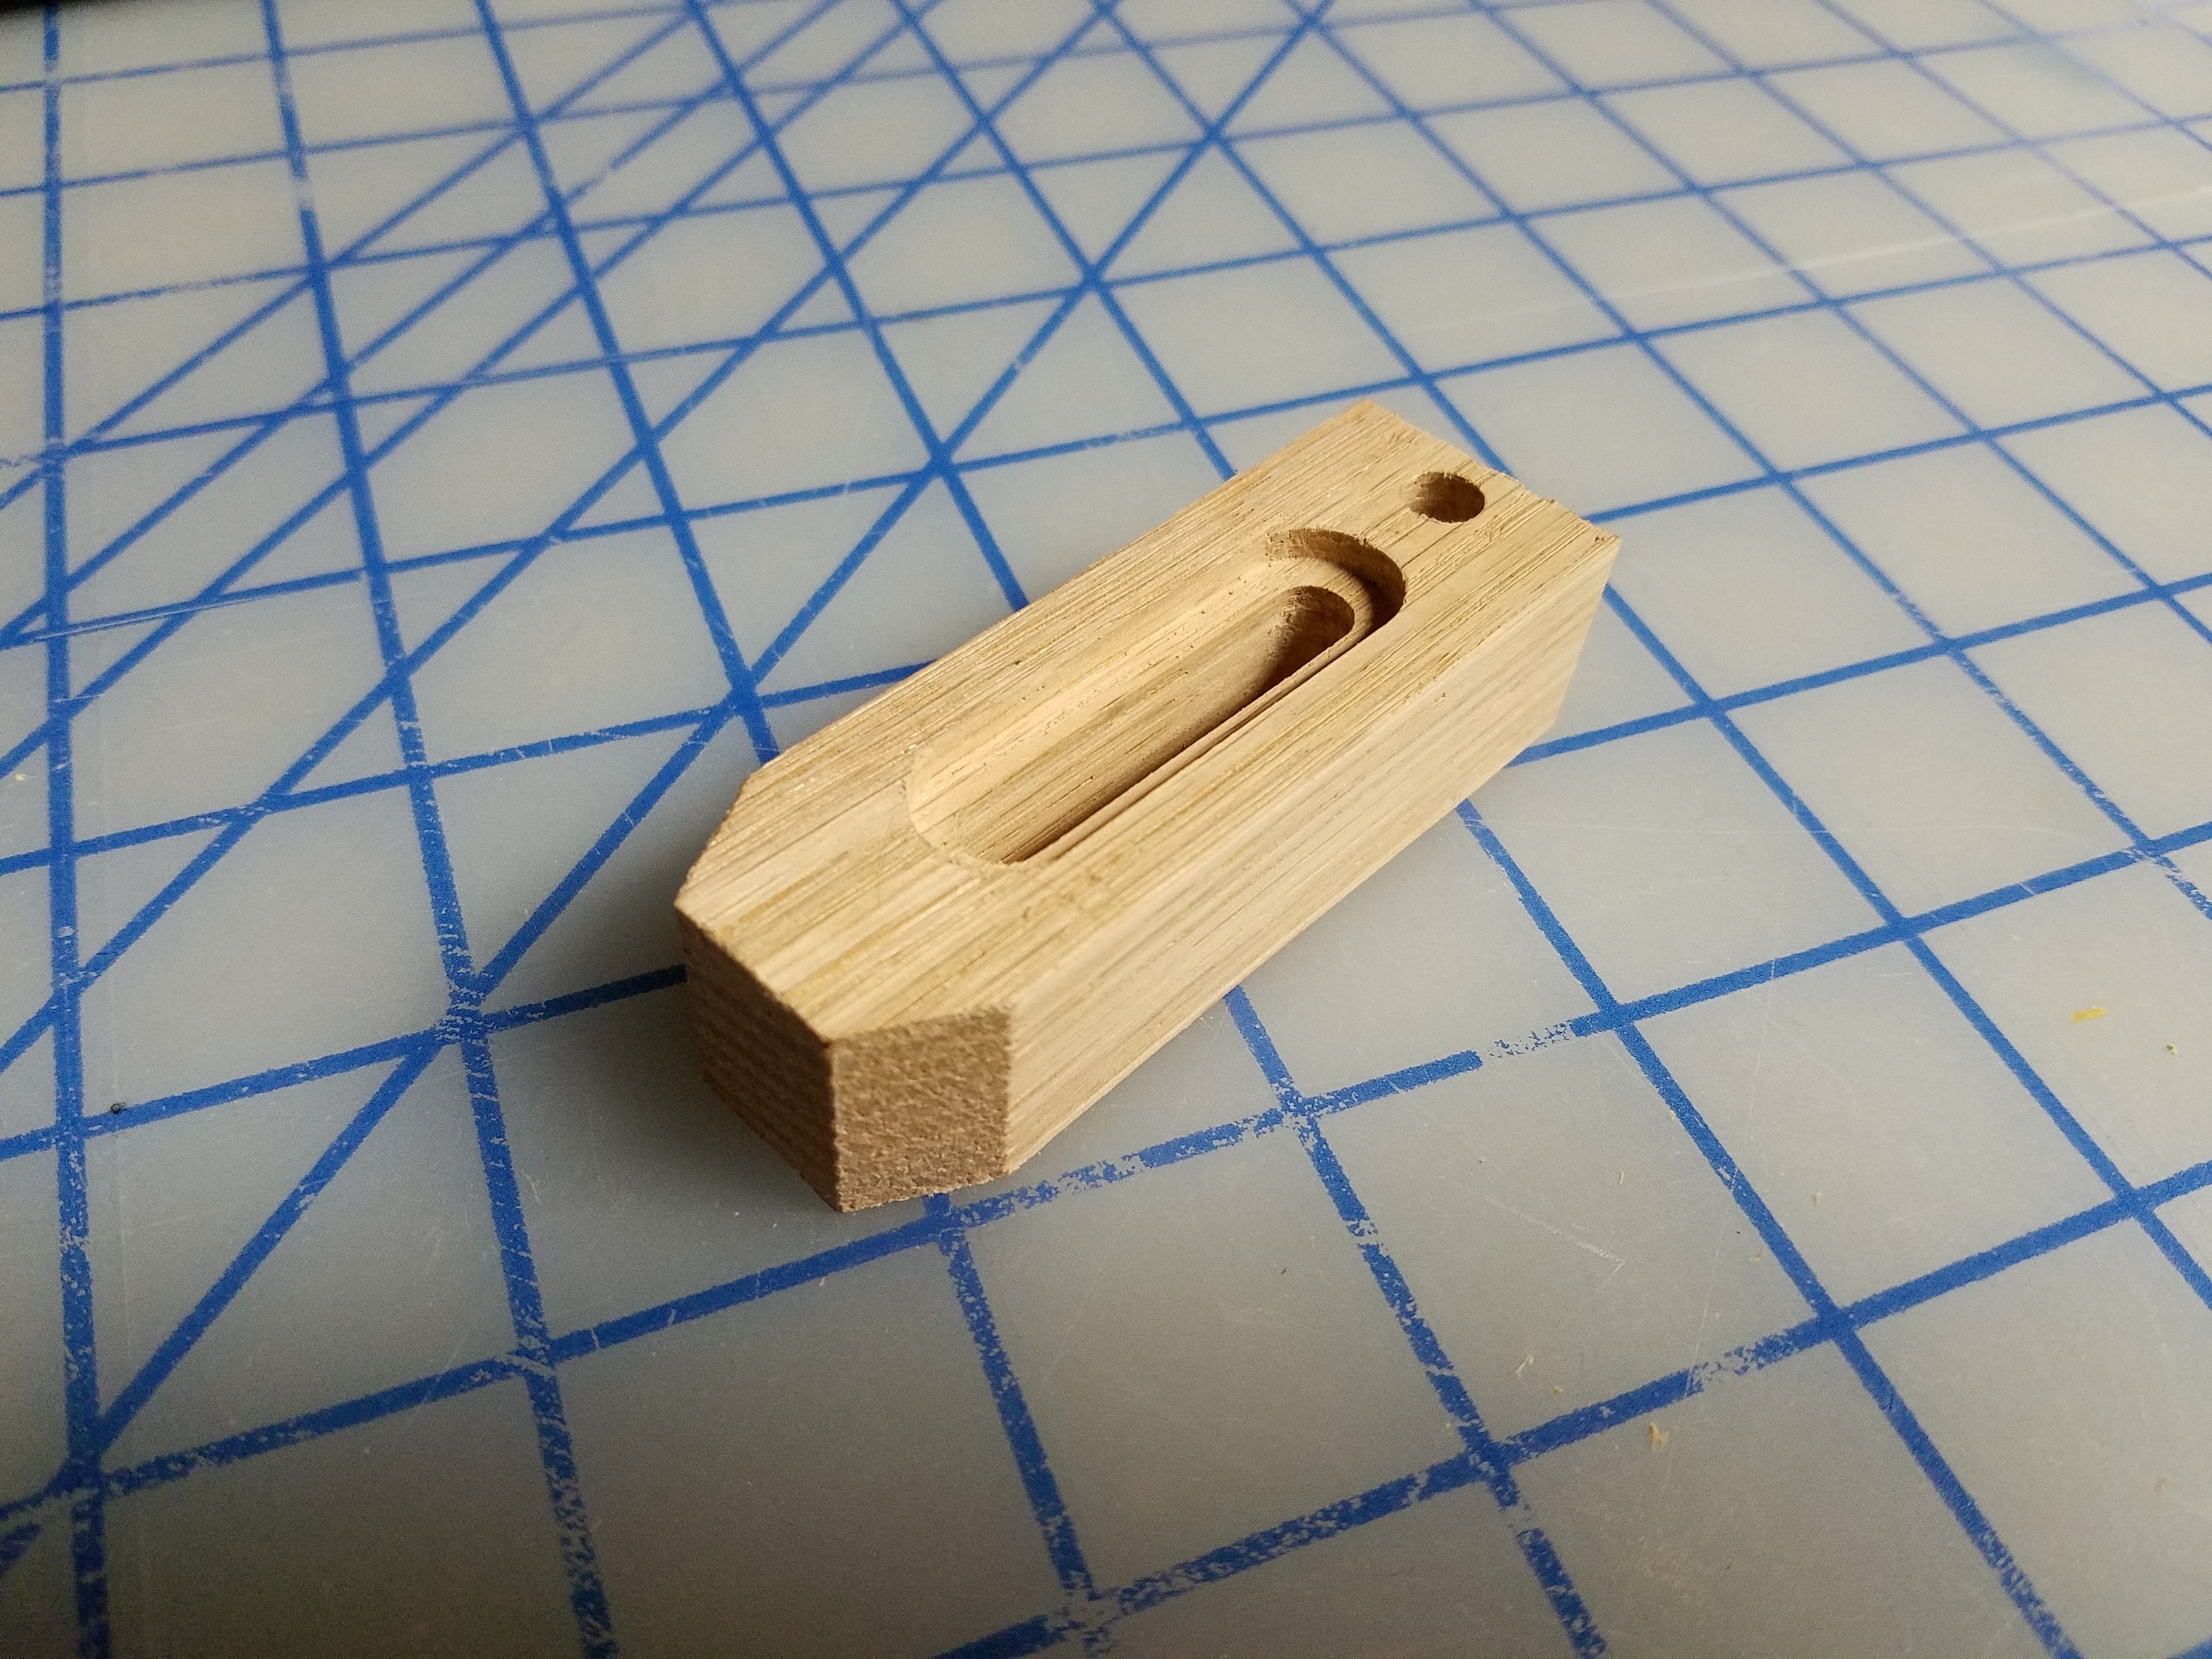
Finally found some time to sit down and play with my S03. Started by carving the usual clamps out of oak (3/4" is all I had on hand, will have to bandsaw them in half later):
8 Likes
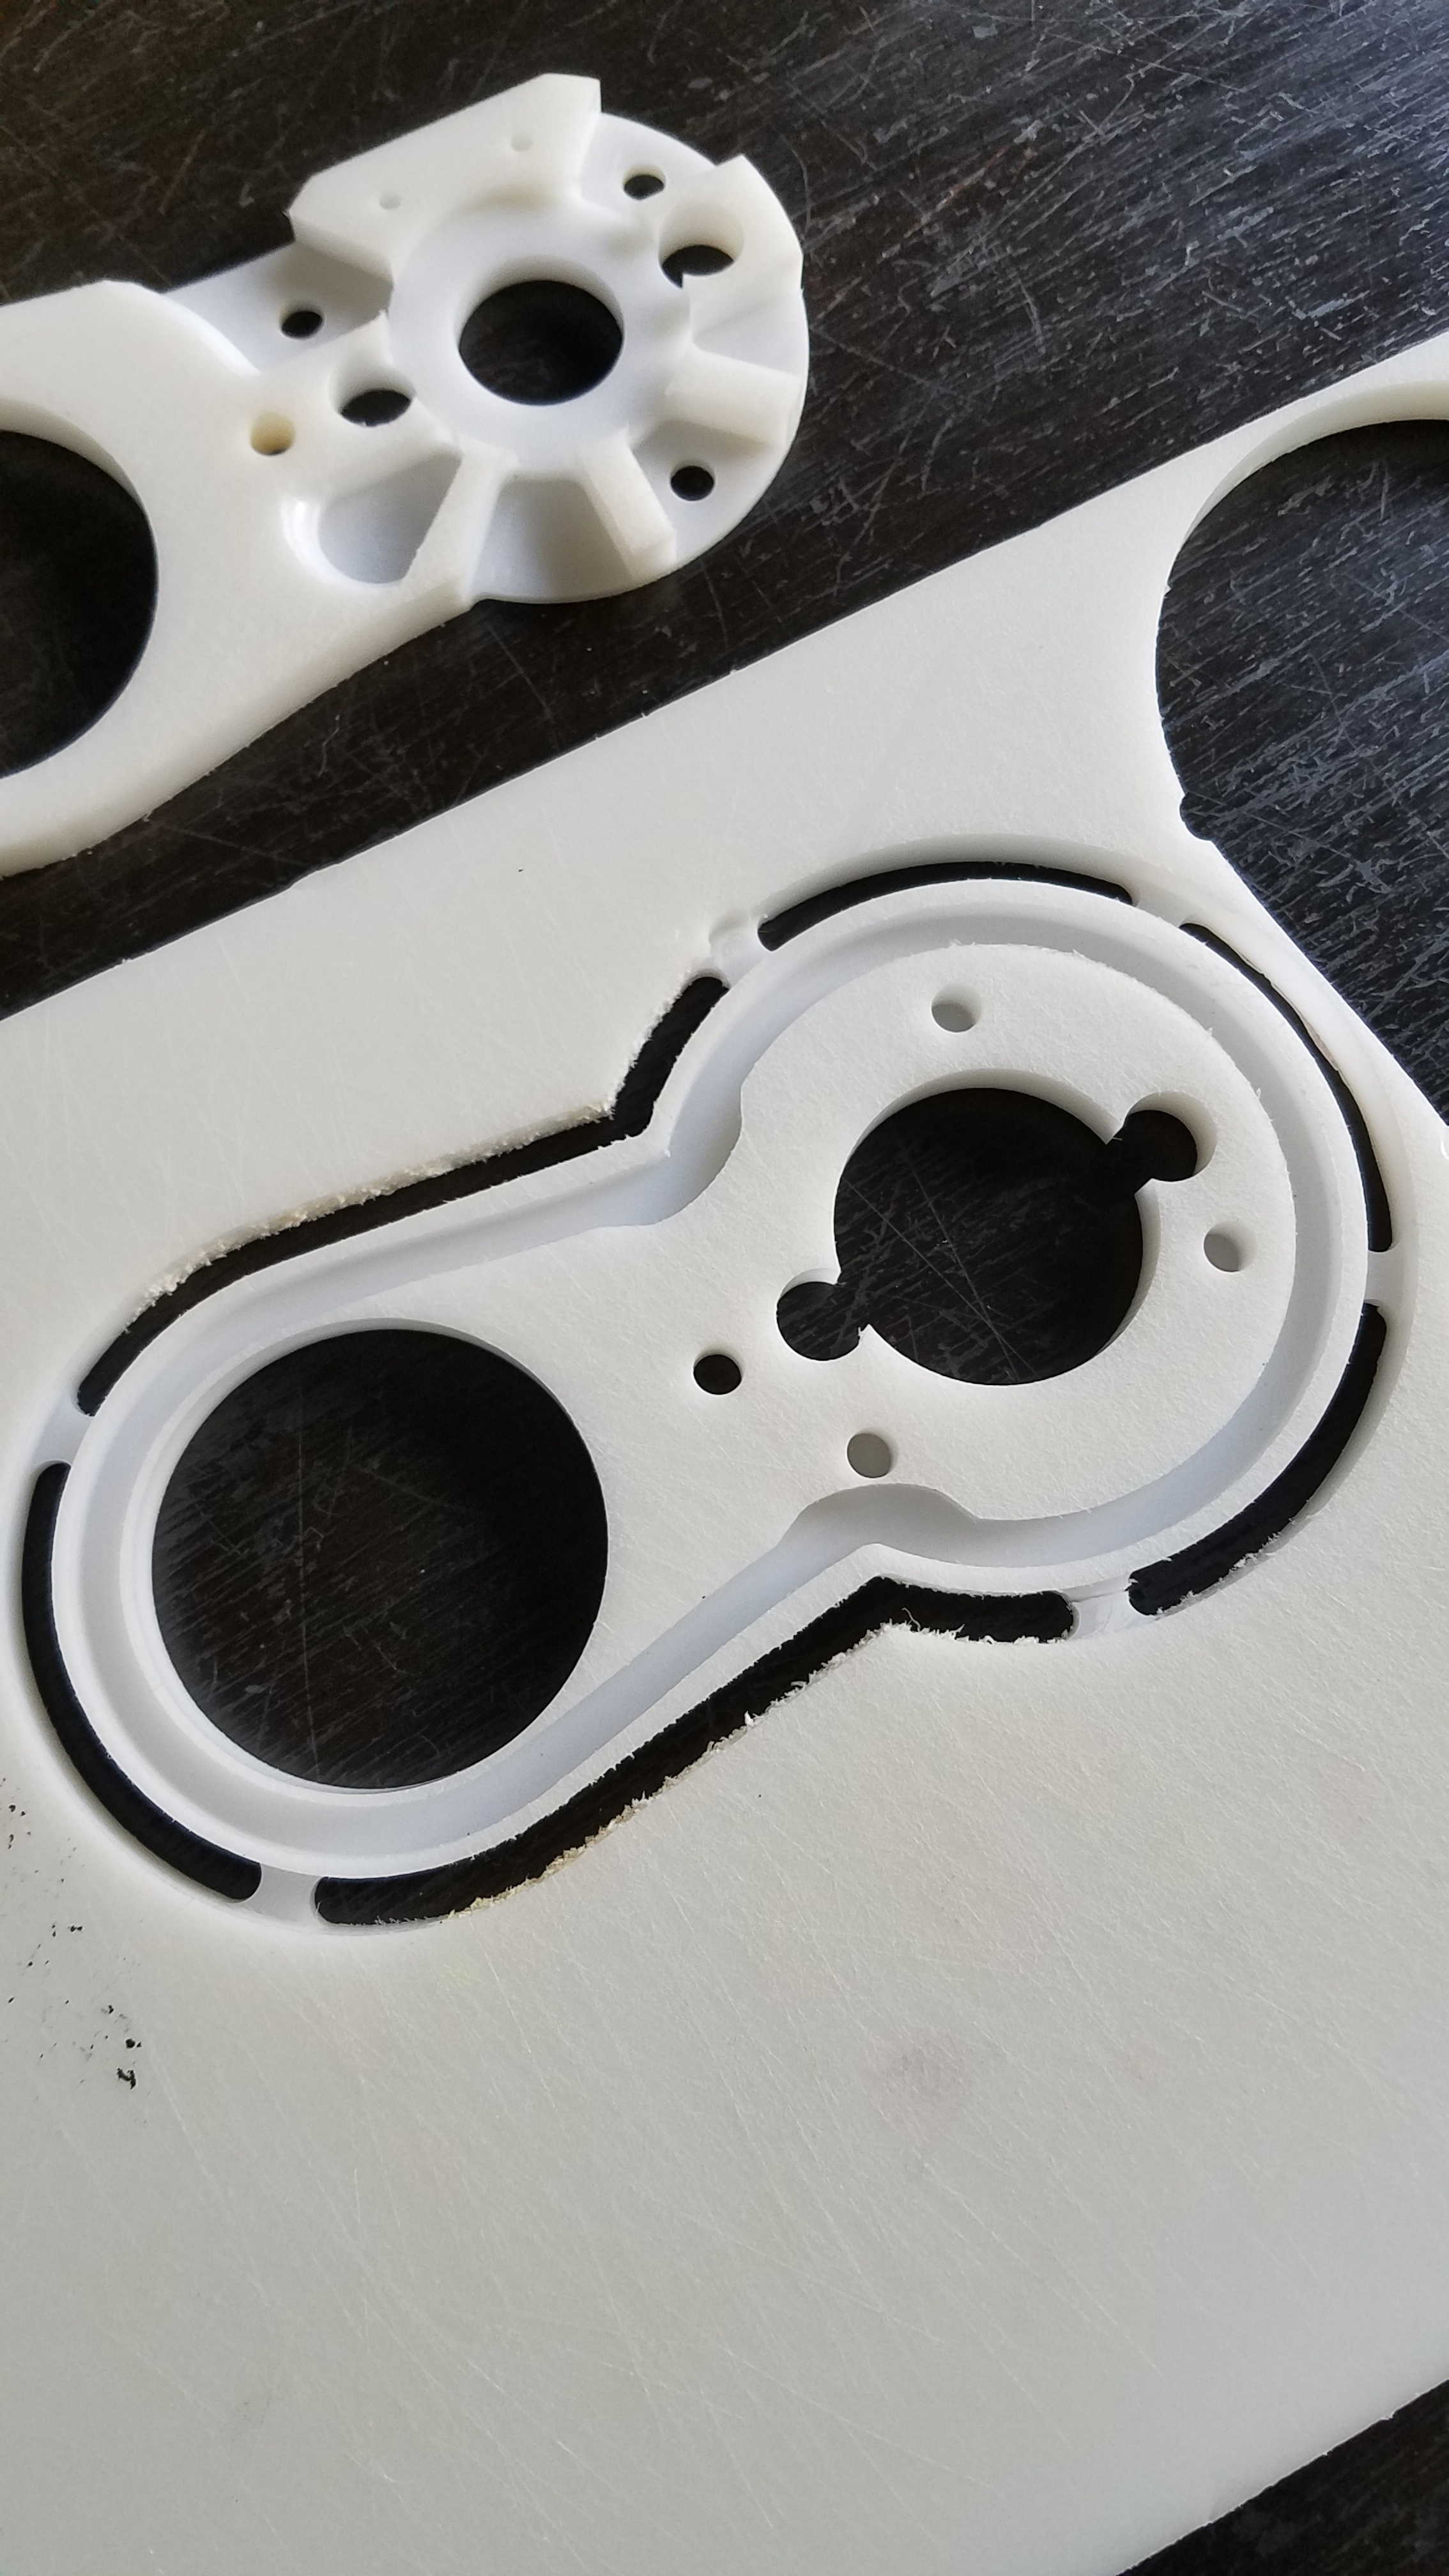
Carved the dust shoe design from SimplyAccomplished out of an old HDPE cutting board that I had lying around:
6 Likes
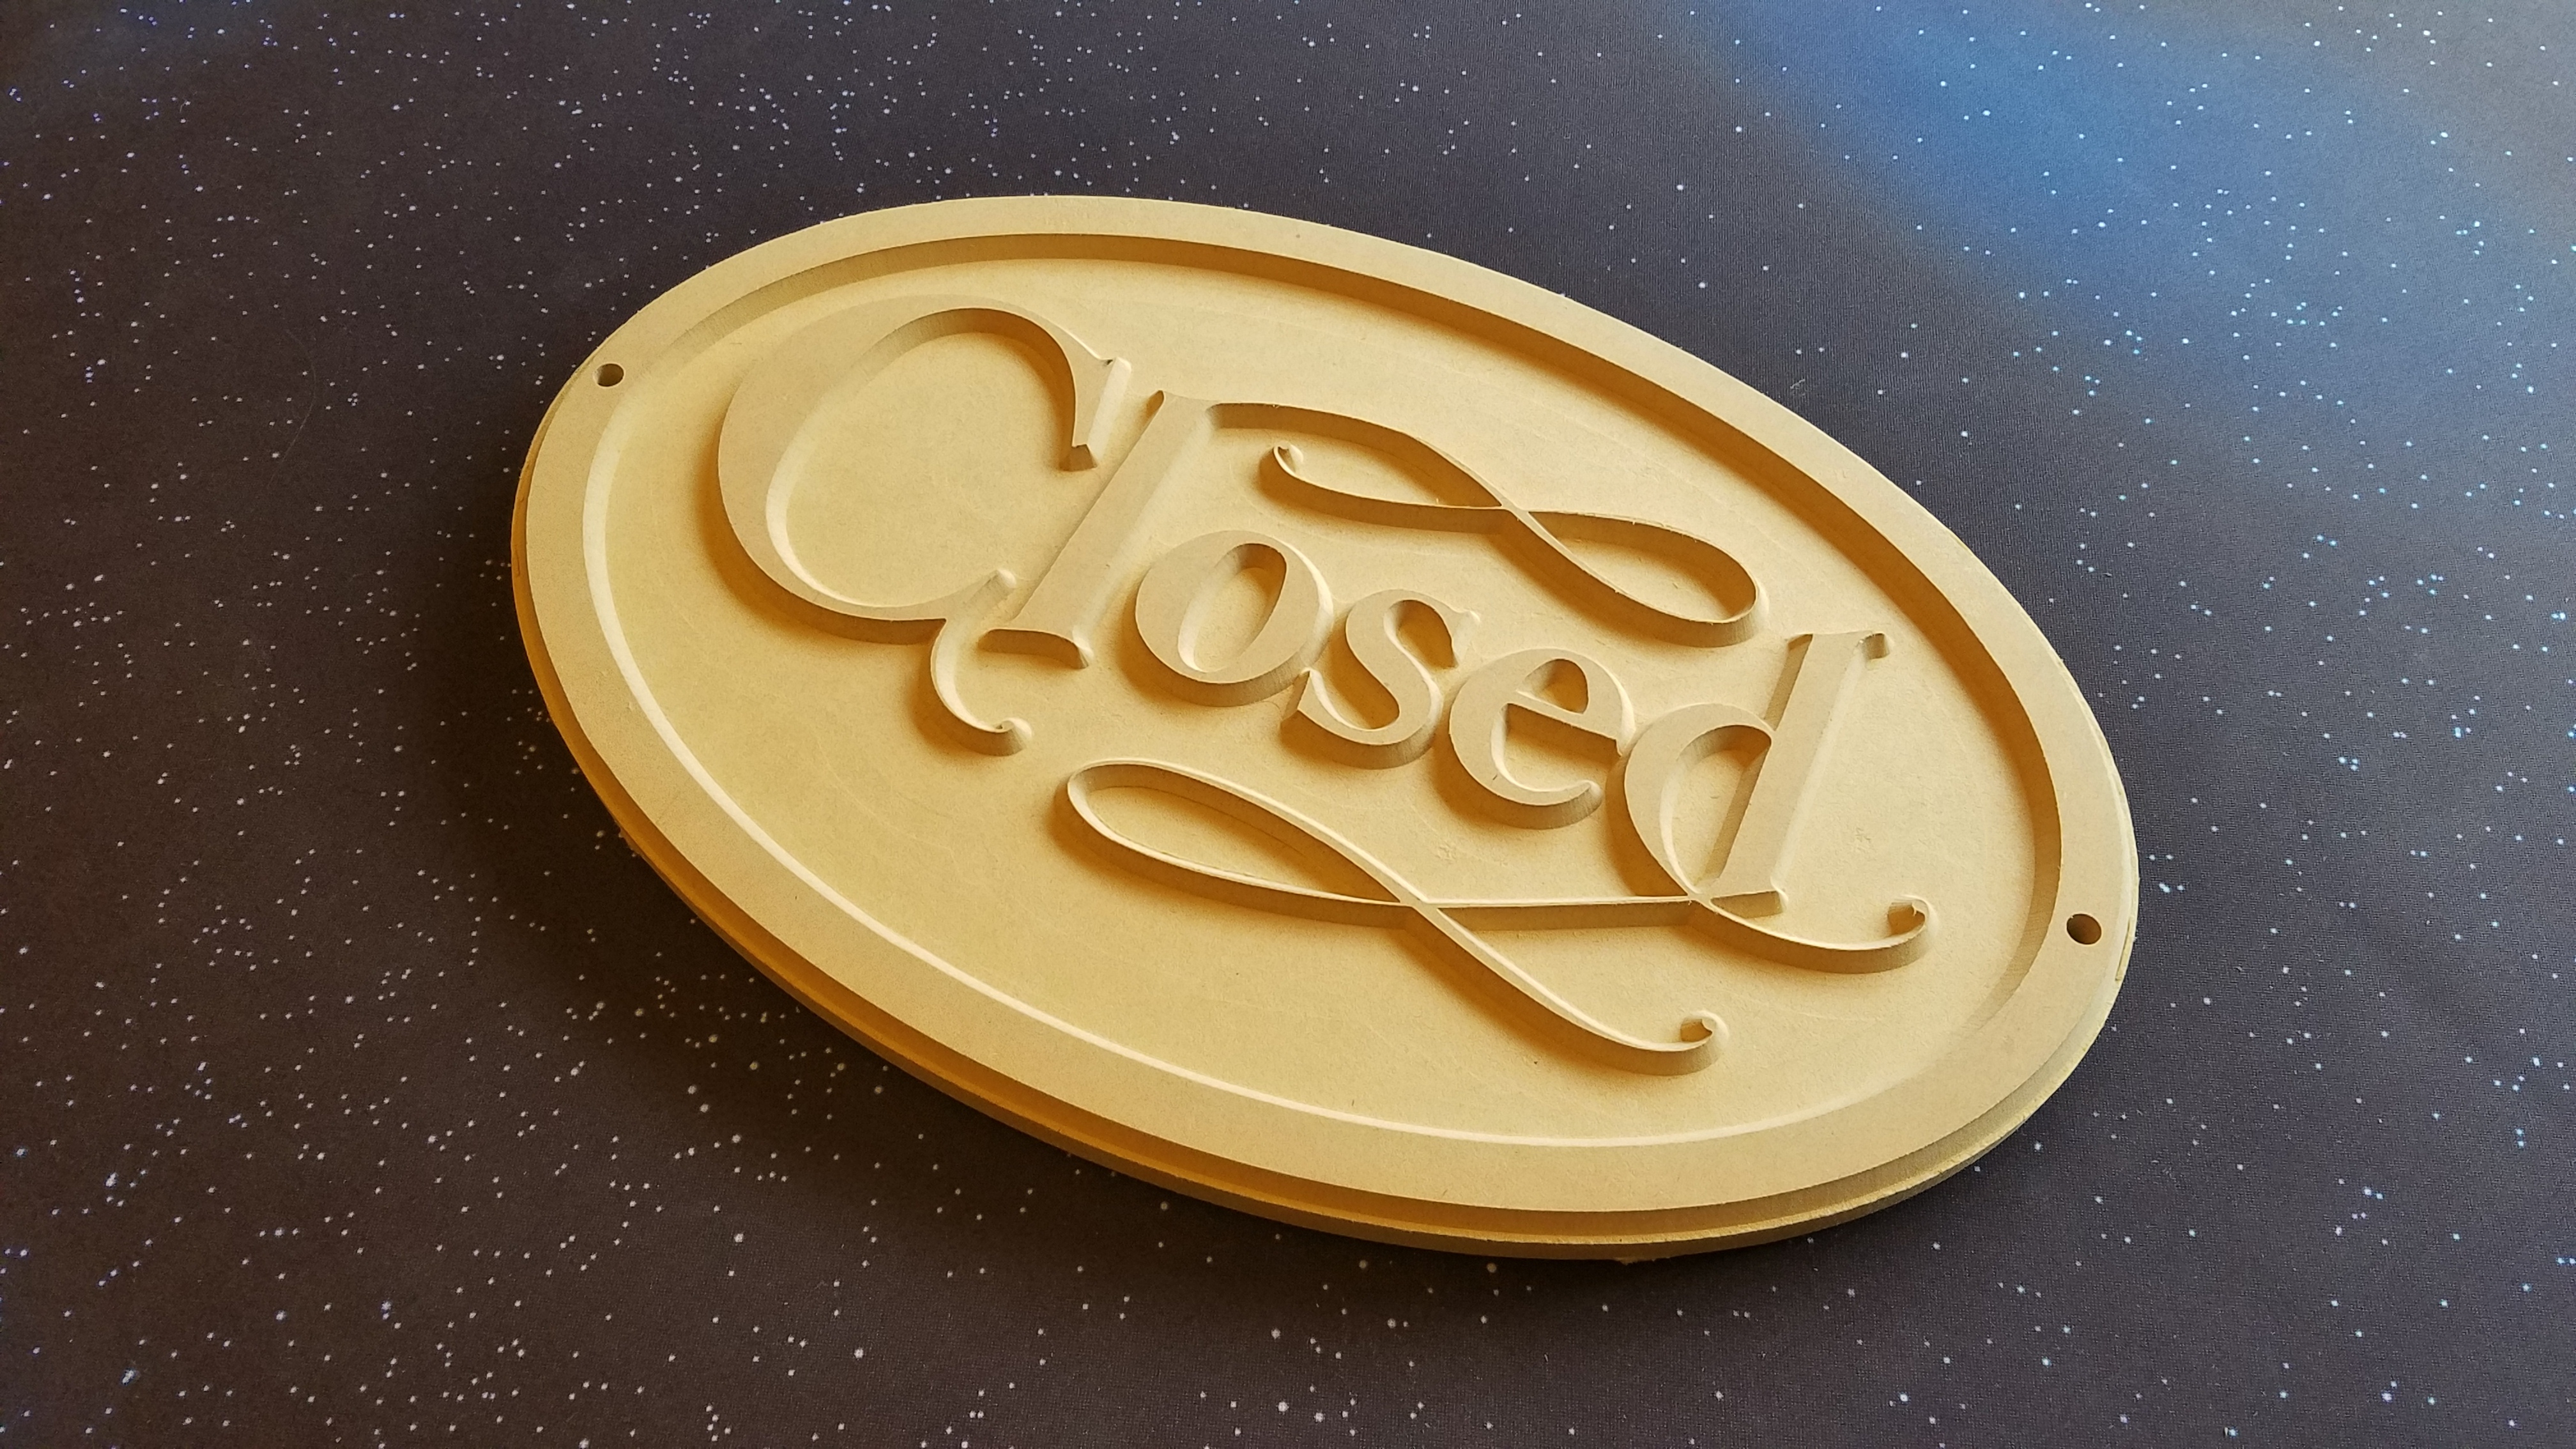
Followed a Vectric tutorial to carve an “Open” sign out of MDF:
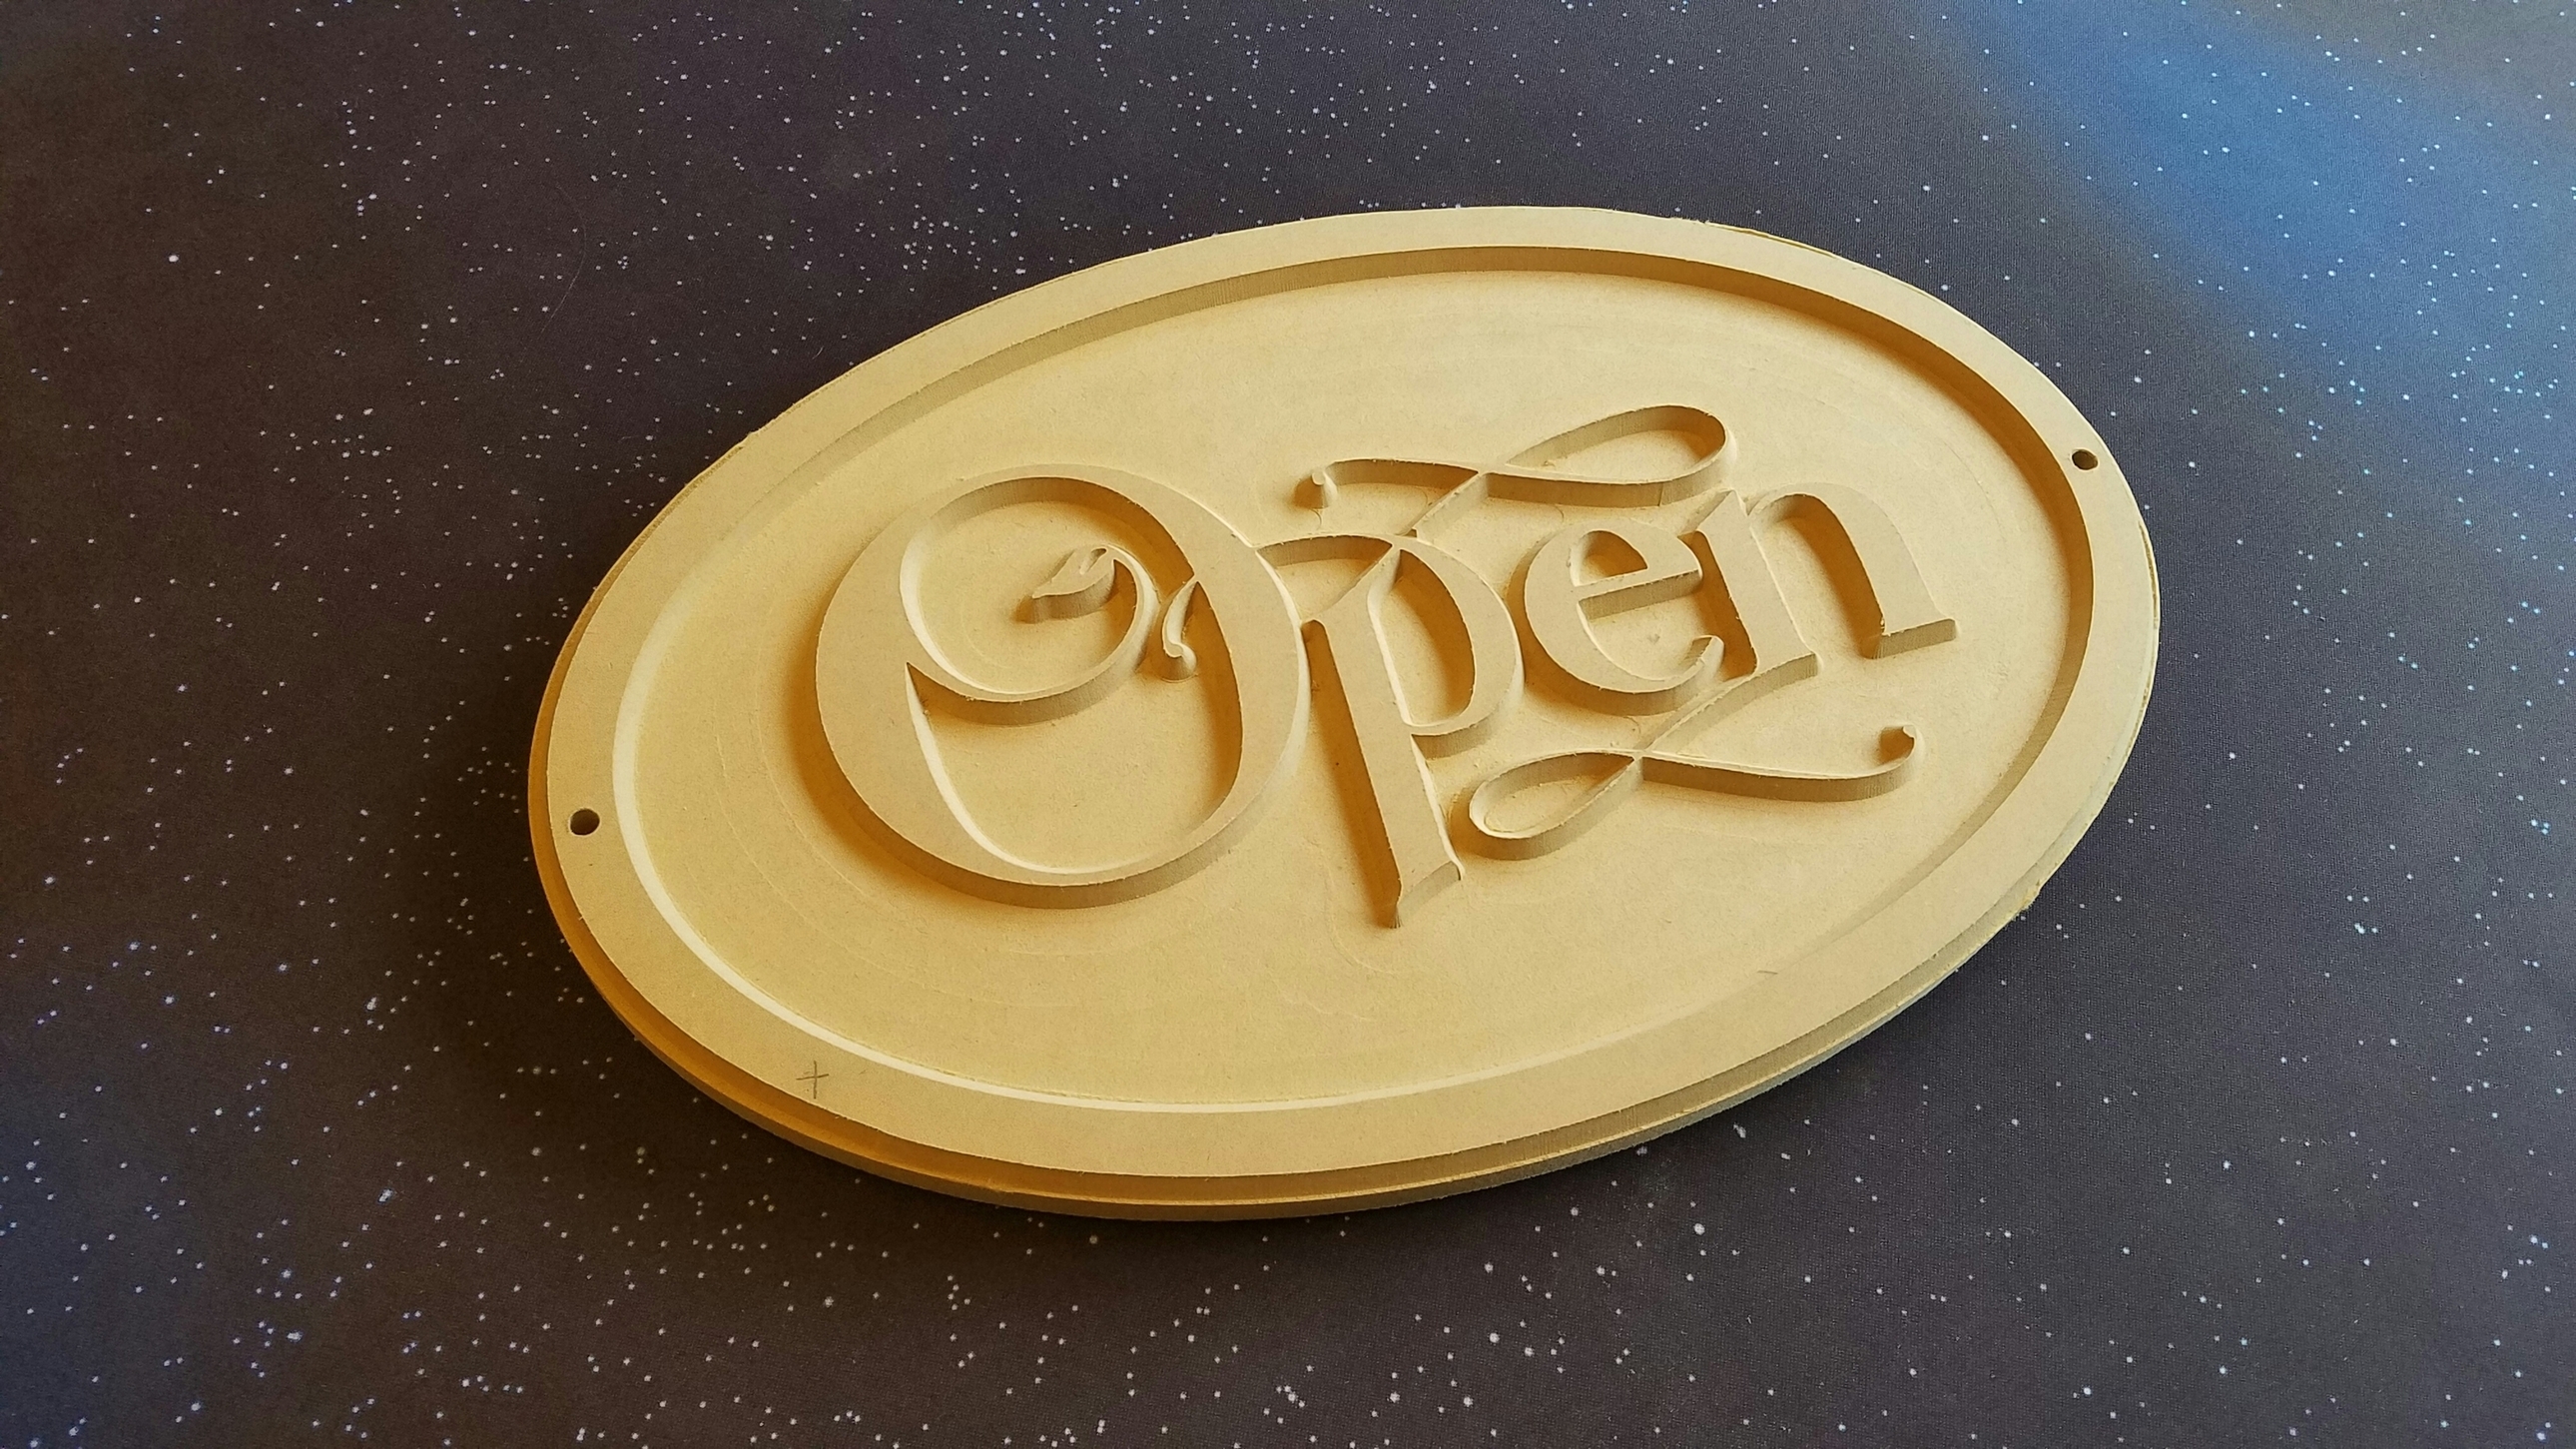
…and feeling a bit more confident with the machine and software, flipped it and added “Closed” to the other side:
10 Likes
Having an S03 and Vectric software on hand, it felt like a shame if I didn’t give something a bit more complex a try… so I cut the topography of Michigan (my home state) into a 12"x12"x3/4" chunk of cabinet grade birch plywood:
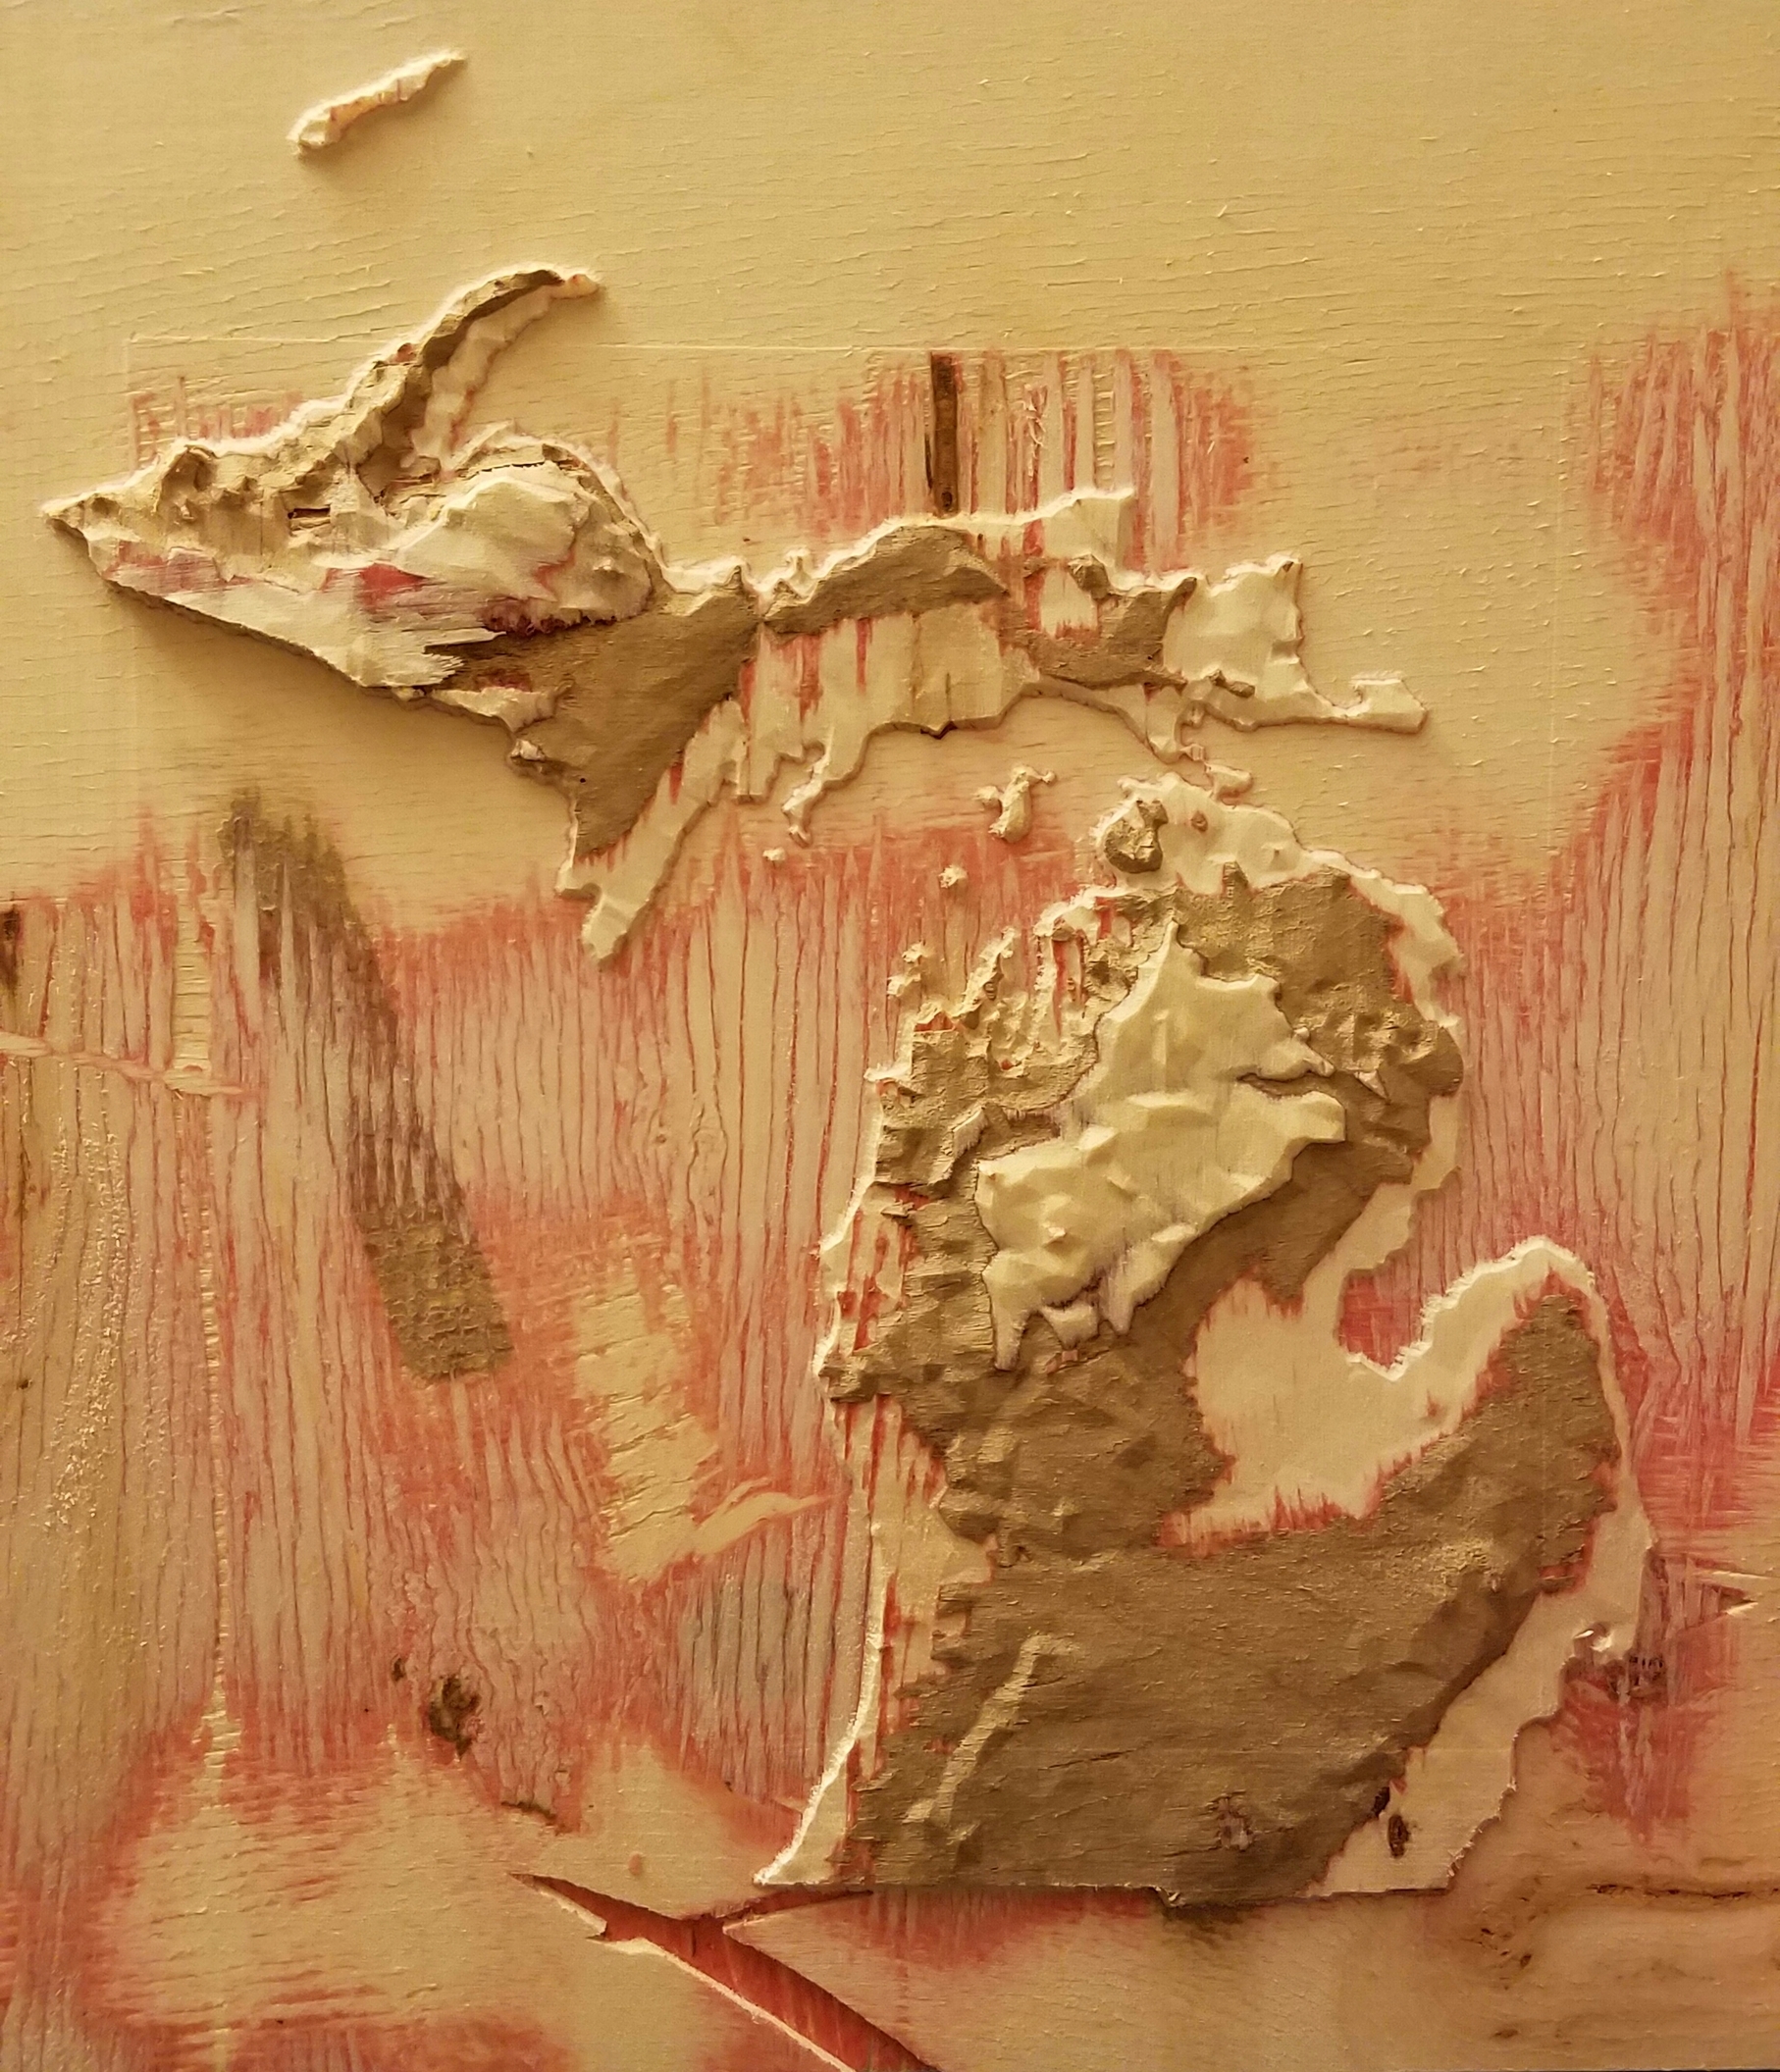
Unfortunately, even quality birch plywood has some voids and you can see a cutter mark where I had to reclamp the piece half way through the finishing pass… this will probably get recut at some point, but I do like the odd coloring.
5 Likes
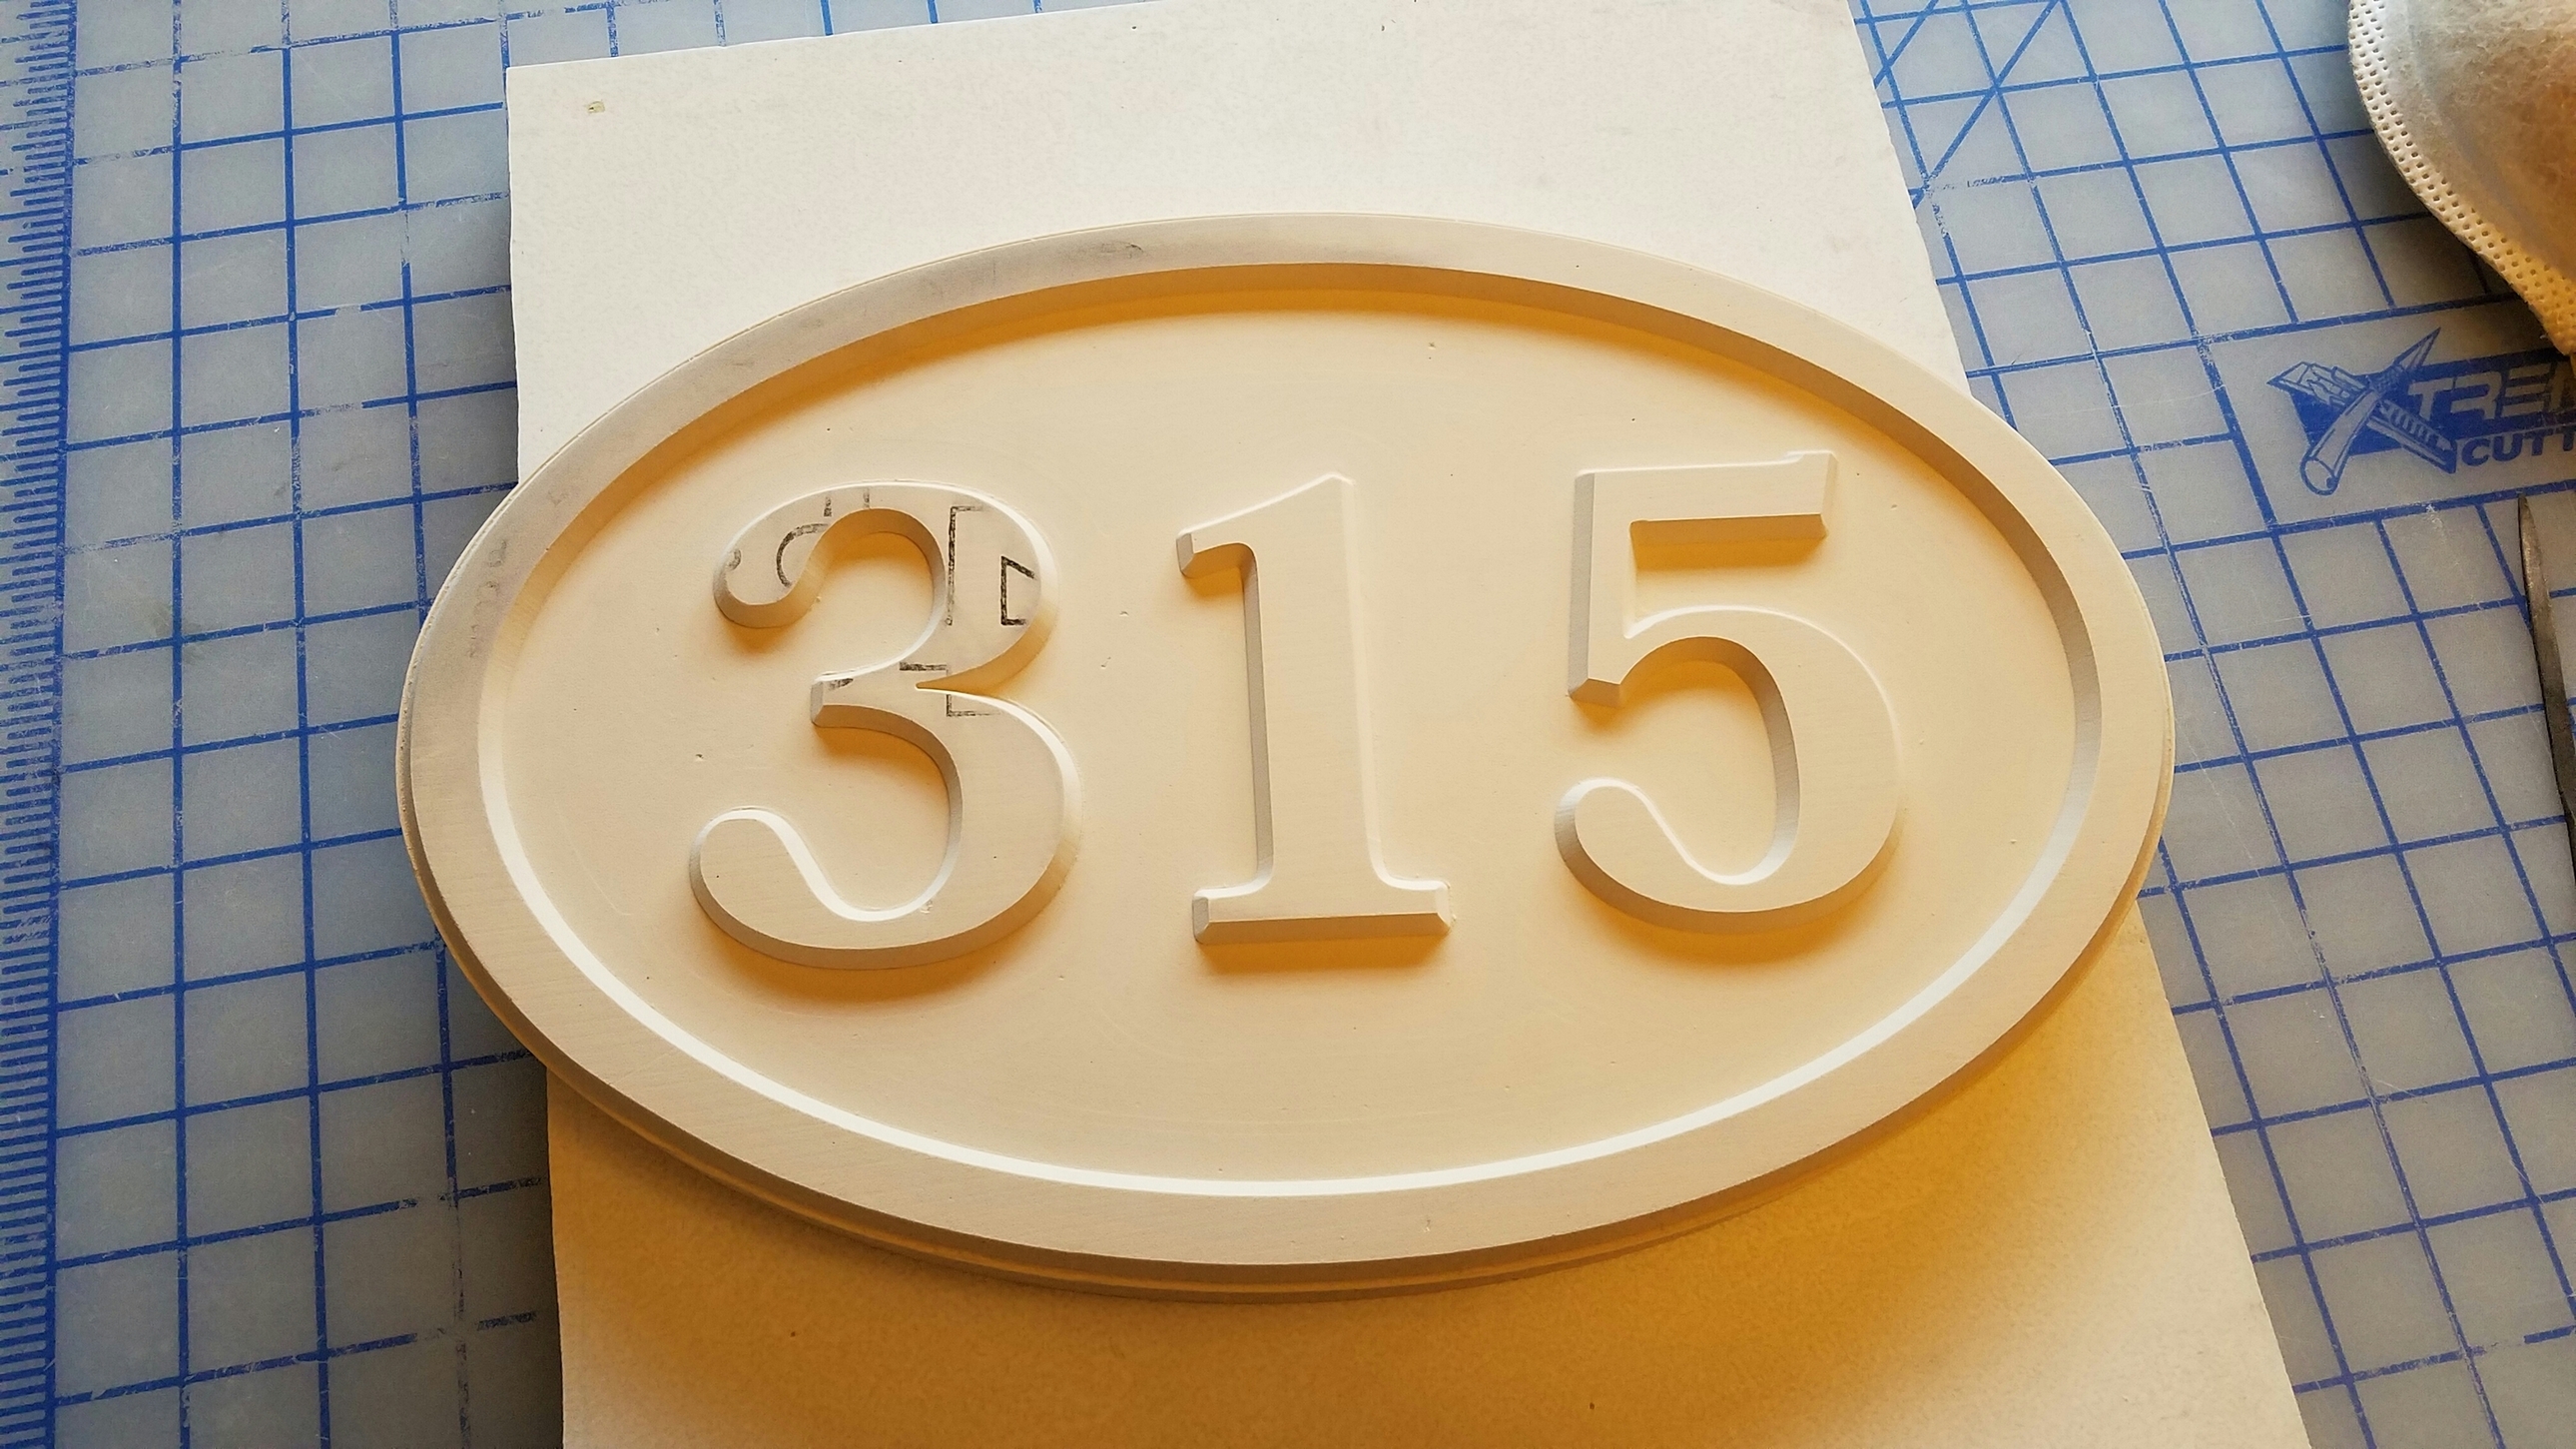
Wanting to carve something out of HDU sign foam (I normally sand blast dimensional signs), I changed my earlier Open sign program to cut my house numbers.
HDU has to be the nicest carving material ever made.
6 Likes
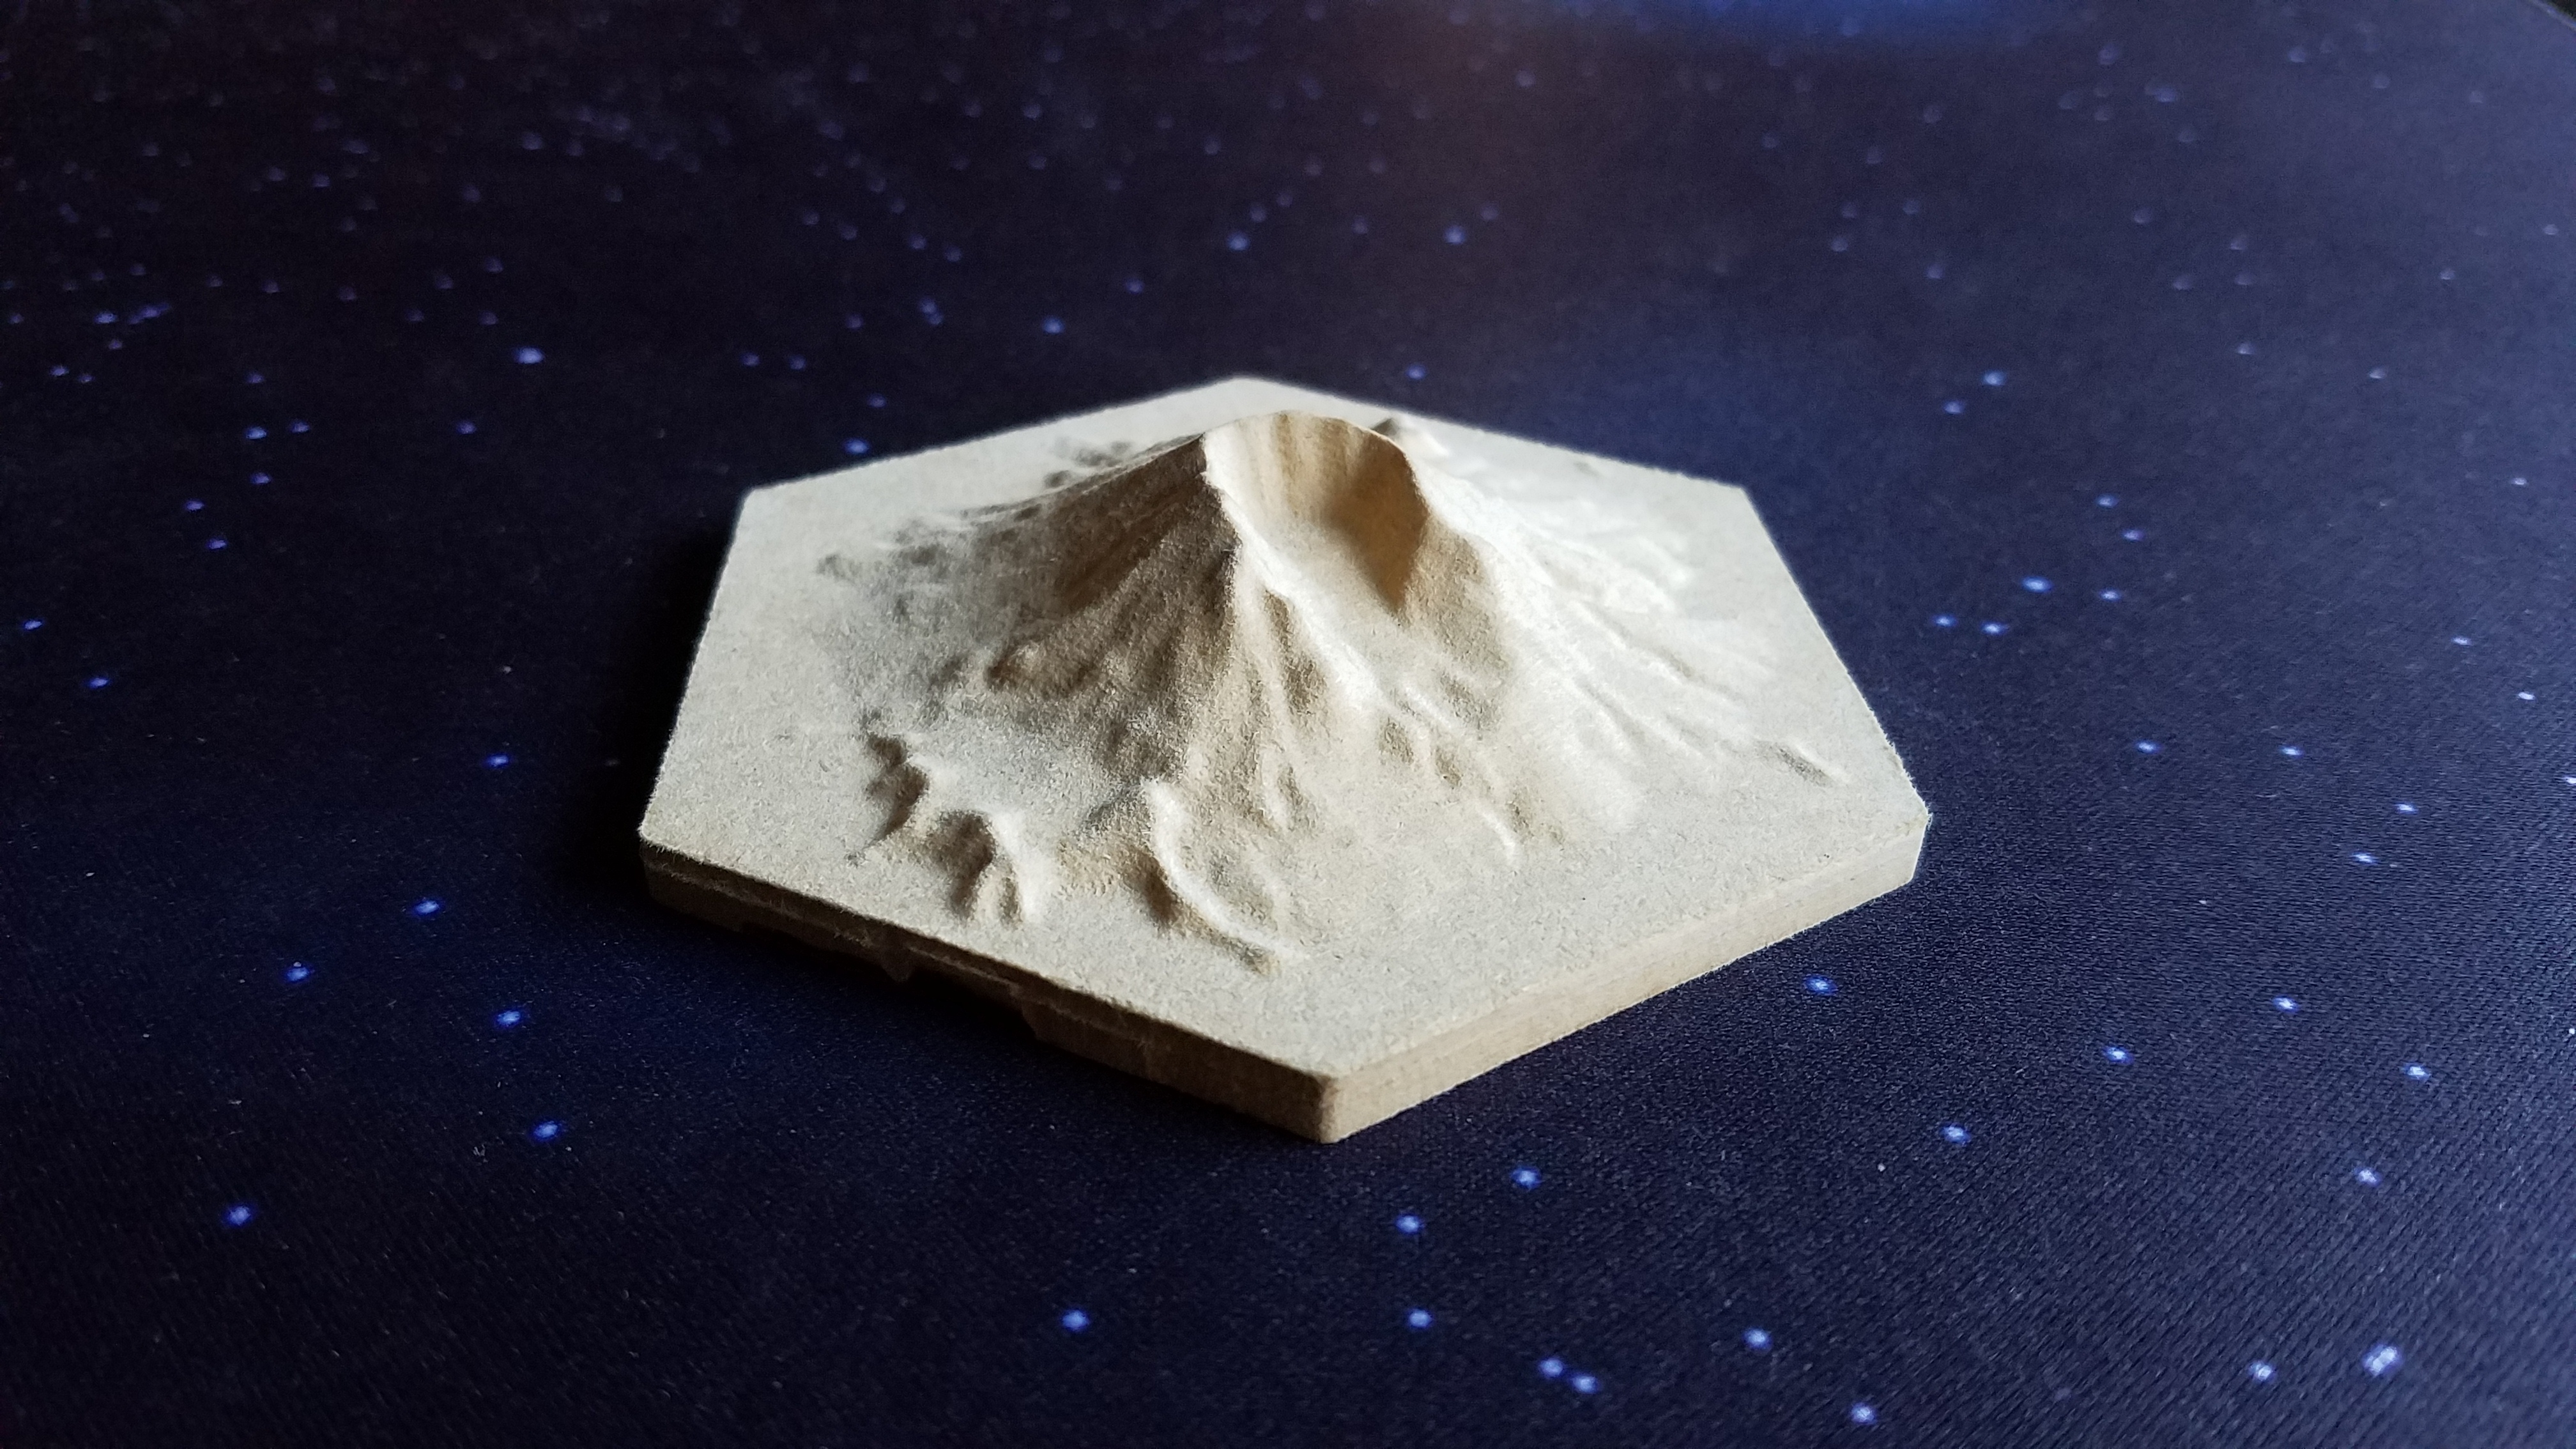
Nice work. The Mount Saint Helens tile would be awesome for a custom Catan board.
2 Likes
Very nice! V-Carve is good kit eh? Nothing I can’t throw at it and get great results…
F
3 Likes
Funny you should mention that… let’s just say that it’s not a coincidence that I carved it at that size. 
I have a few more tiles that I have been working on that I’ll be able to show soon. The mountains are actually the easiest because I just pilfered real world topography for them…
1 Like
Yeah, it really unlocks the full potential of what is possible with the machine. 
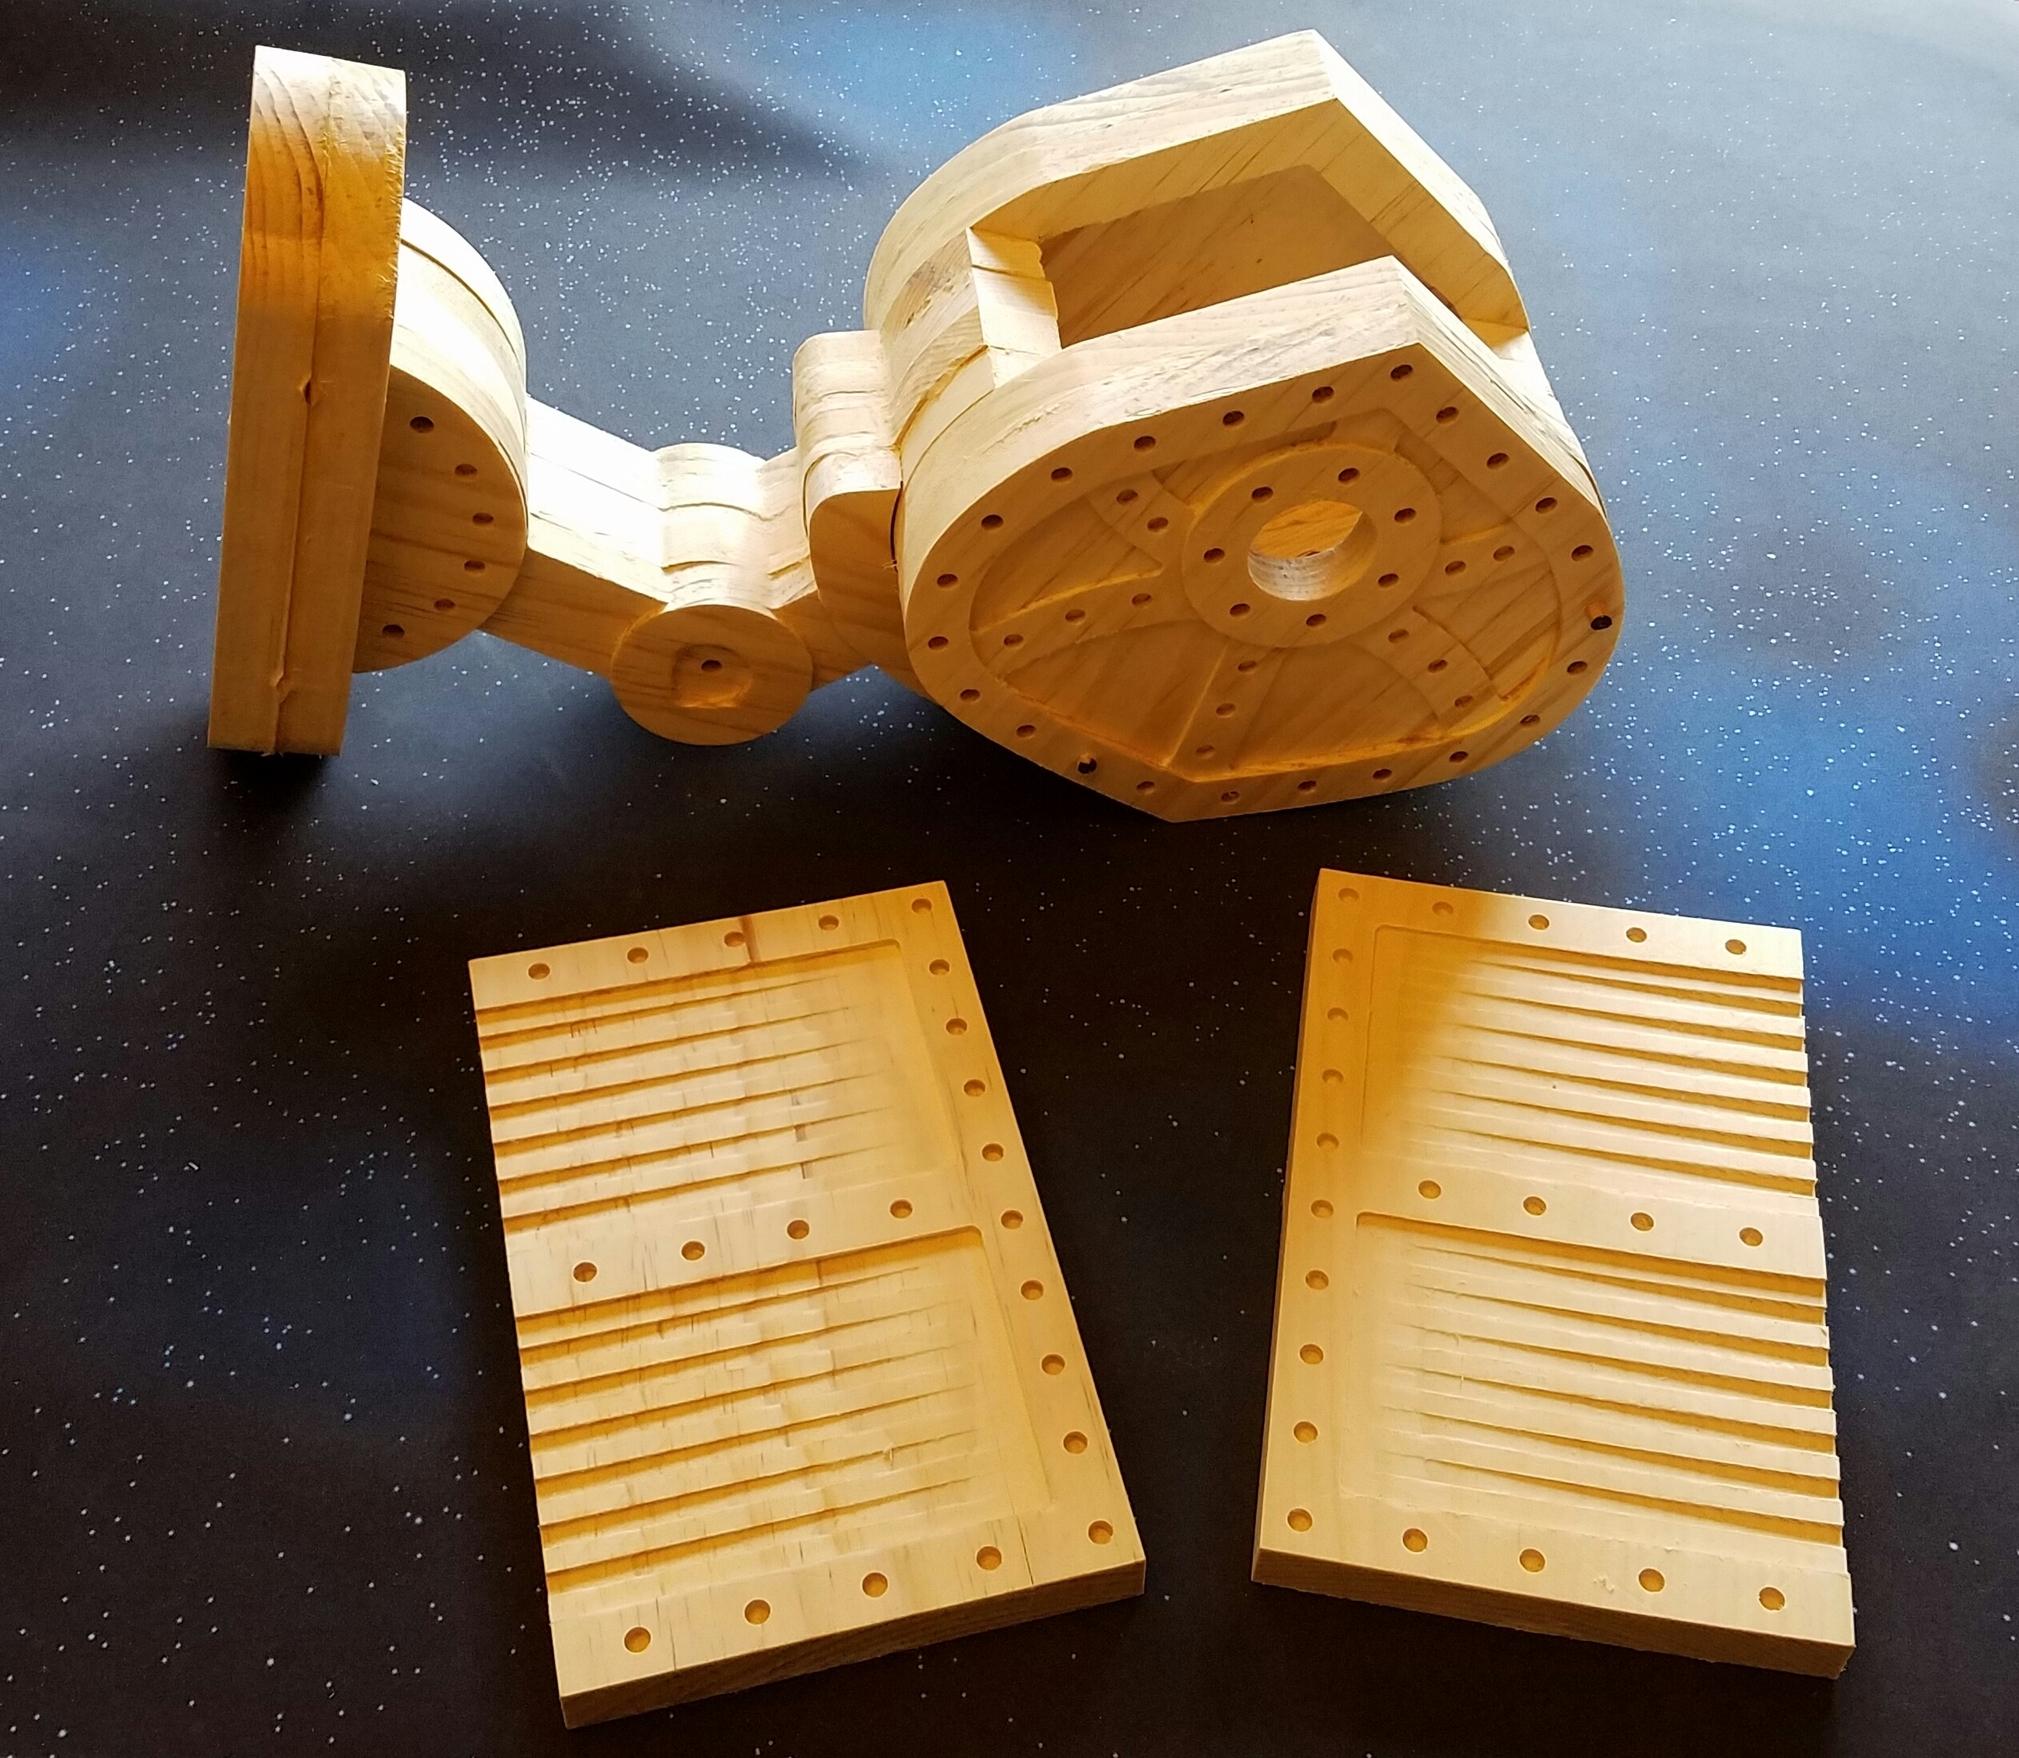
Took Vectric’s free “Ornithological Abode” files and broke them apart to fit on a standard Shapeoko 3. The largest parts are just under 16" long, so this ran the full area of the machine.
The alignment of the larger parts starts to show how out of square my machine is (something that wasn’t an issue when I was running smaller items).
4 Likes
Based on similar cases I have seen online, a test cut of a D&D Player’s case in MDF (I have a nice chunk of dark walnut that I will finish this in). Compartments for a pen/pencil, the standard set of 7 polyhedral dice, and a miniature with up to a 30mm base:
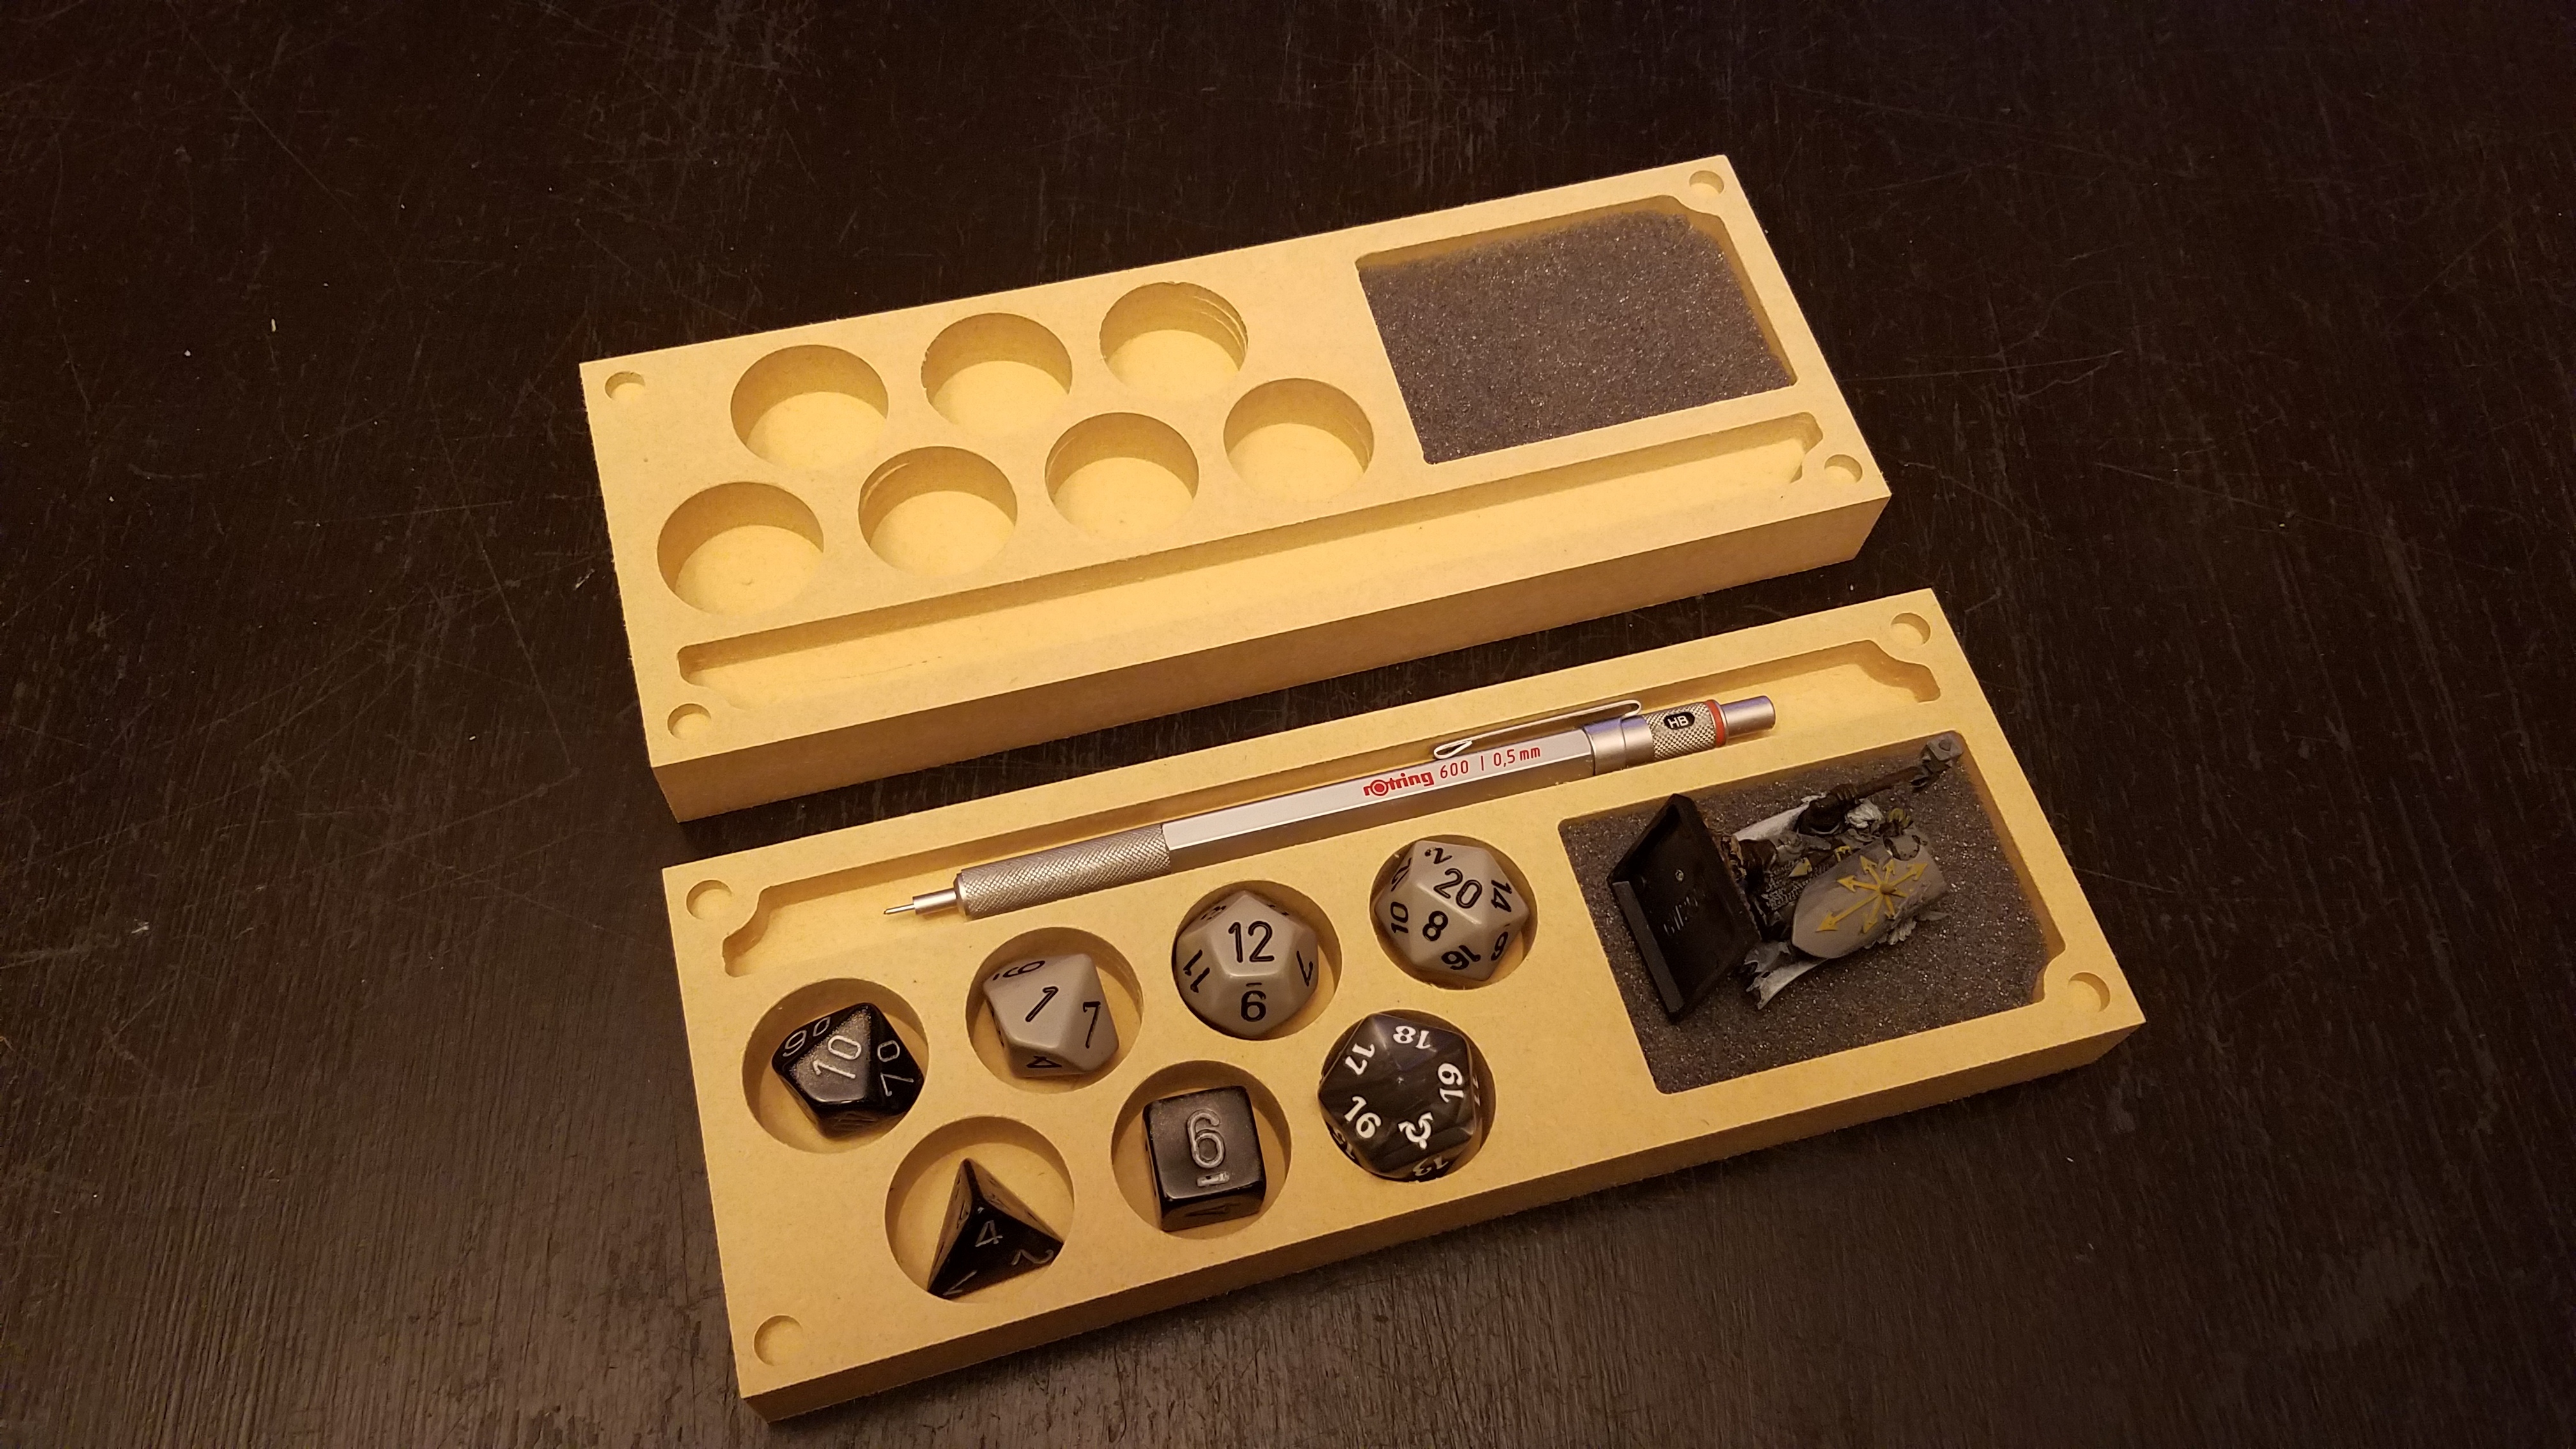
The two halves will be joined by 1/4" magnets in the corners and I am working up a design in Zbrush to carve on the top face.
9 Likes
It’s been a while since I’ve had time to play with my S03, so I took a swing (and a miss) at carving an 8 dent heddle for a loom I am also working on.
I began with a 60 degree vbit and was going to open up the holes with a 1/32 endmill, but my program was running way too long (about 50 minutes a slot) so I need to go back and reprogram how this runs…
I also finally grew tired of standing next to it with a vacuum hose and decided to finish up my dust boot. Unfortunately, I seem to have run into a slight problem there too…
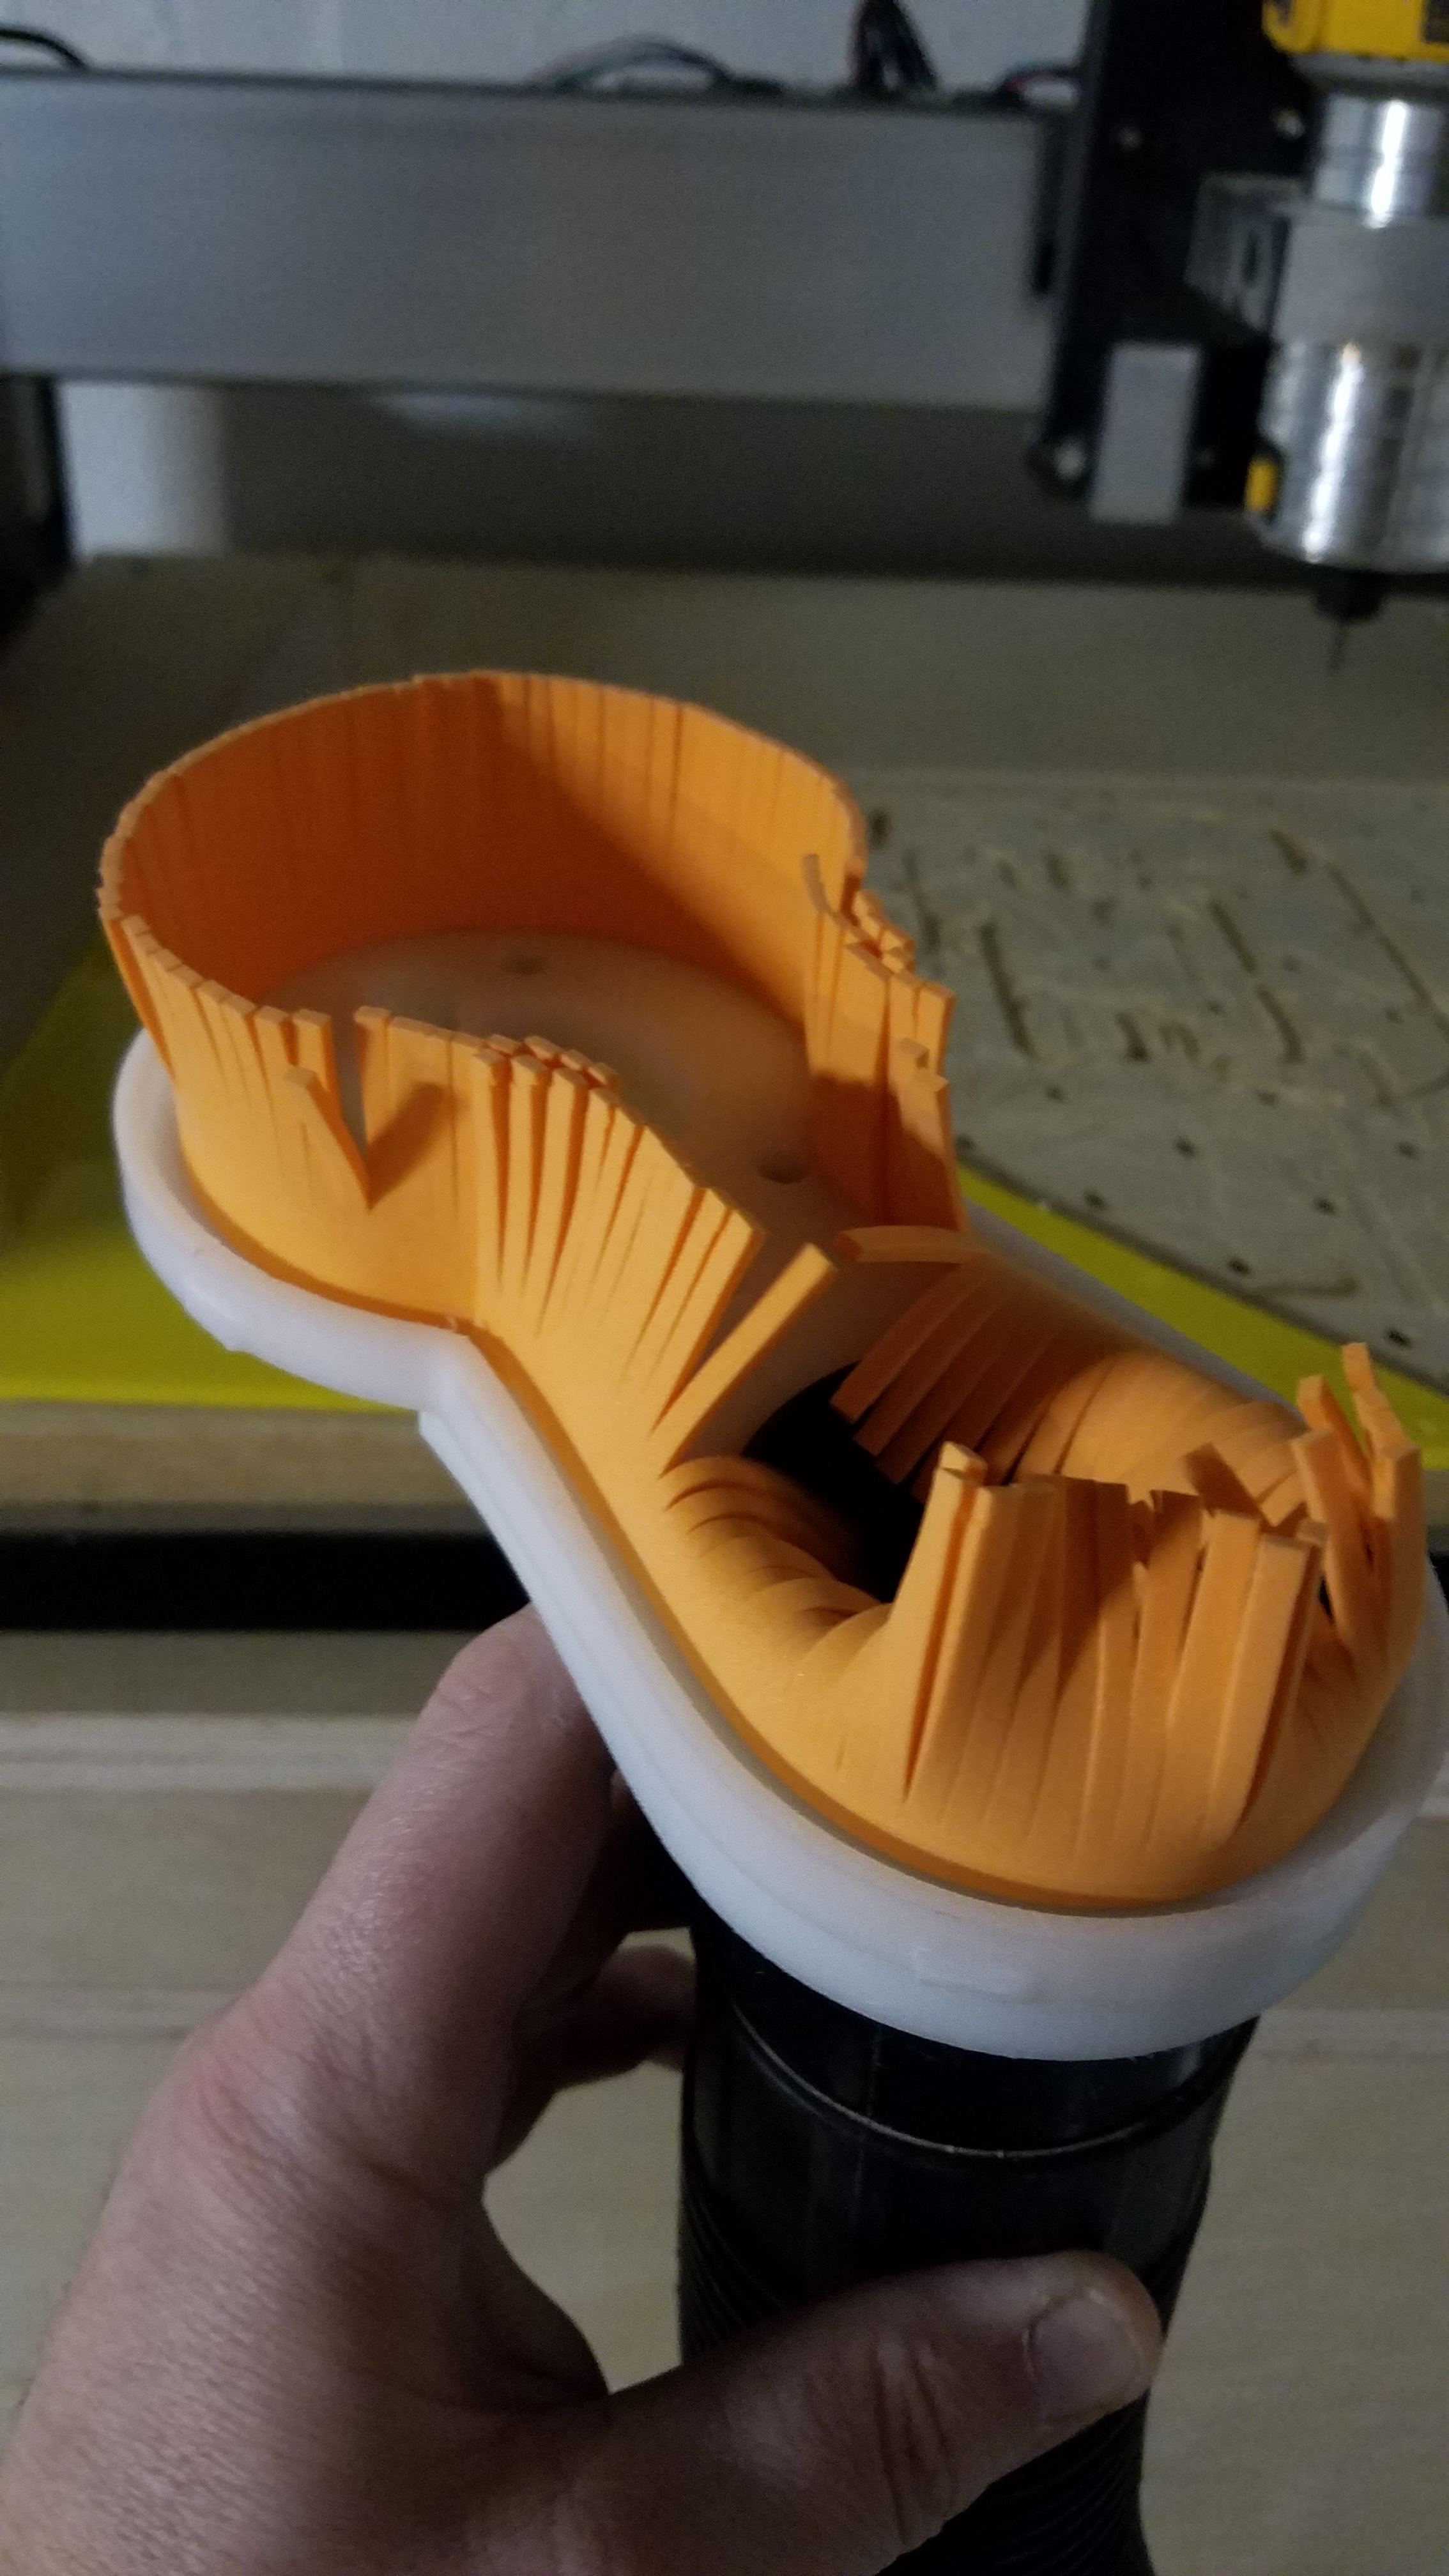
I tell ya… somedays…
4 Likes
Have you the file for Mt St Helens?
You can get any terrain you want to cut by using the nifty
http://jthatch.com/Terrain2STL/
Added it to: http://www.shapeoko.com/wiki/index.php/Online_resources#Geography — there’s a second app listed there.
2 Likes
As Will said above, terrain2stl is an excellent resource for carving topography. I just combined Mt. St. Helens with a simple hex in my Vectric software to get my Catan tile. If you are looking for something to scale, my file is probably also going to be a bit off as I remember I had to either squash or stretch it to be no thicker than the 3/4" sheet of MDF I was using…
I haven’t attempted it yet, but later today I can see if Vectric will let me export the combined model into a new STL (pretty sure I’ve seen something like that in there before) to upload here.
1 Like
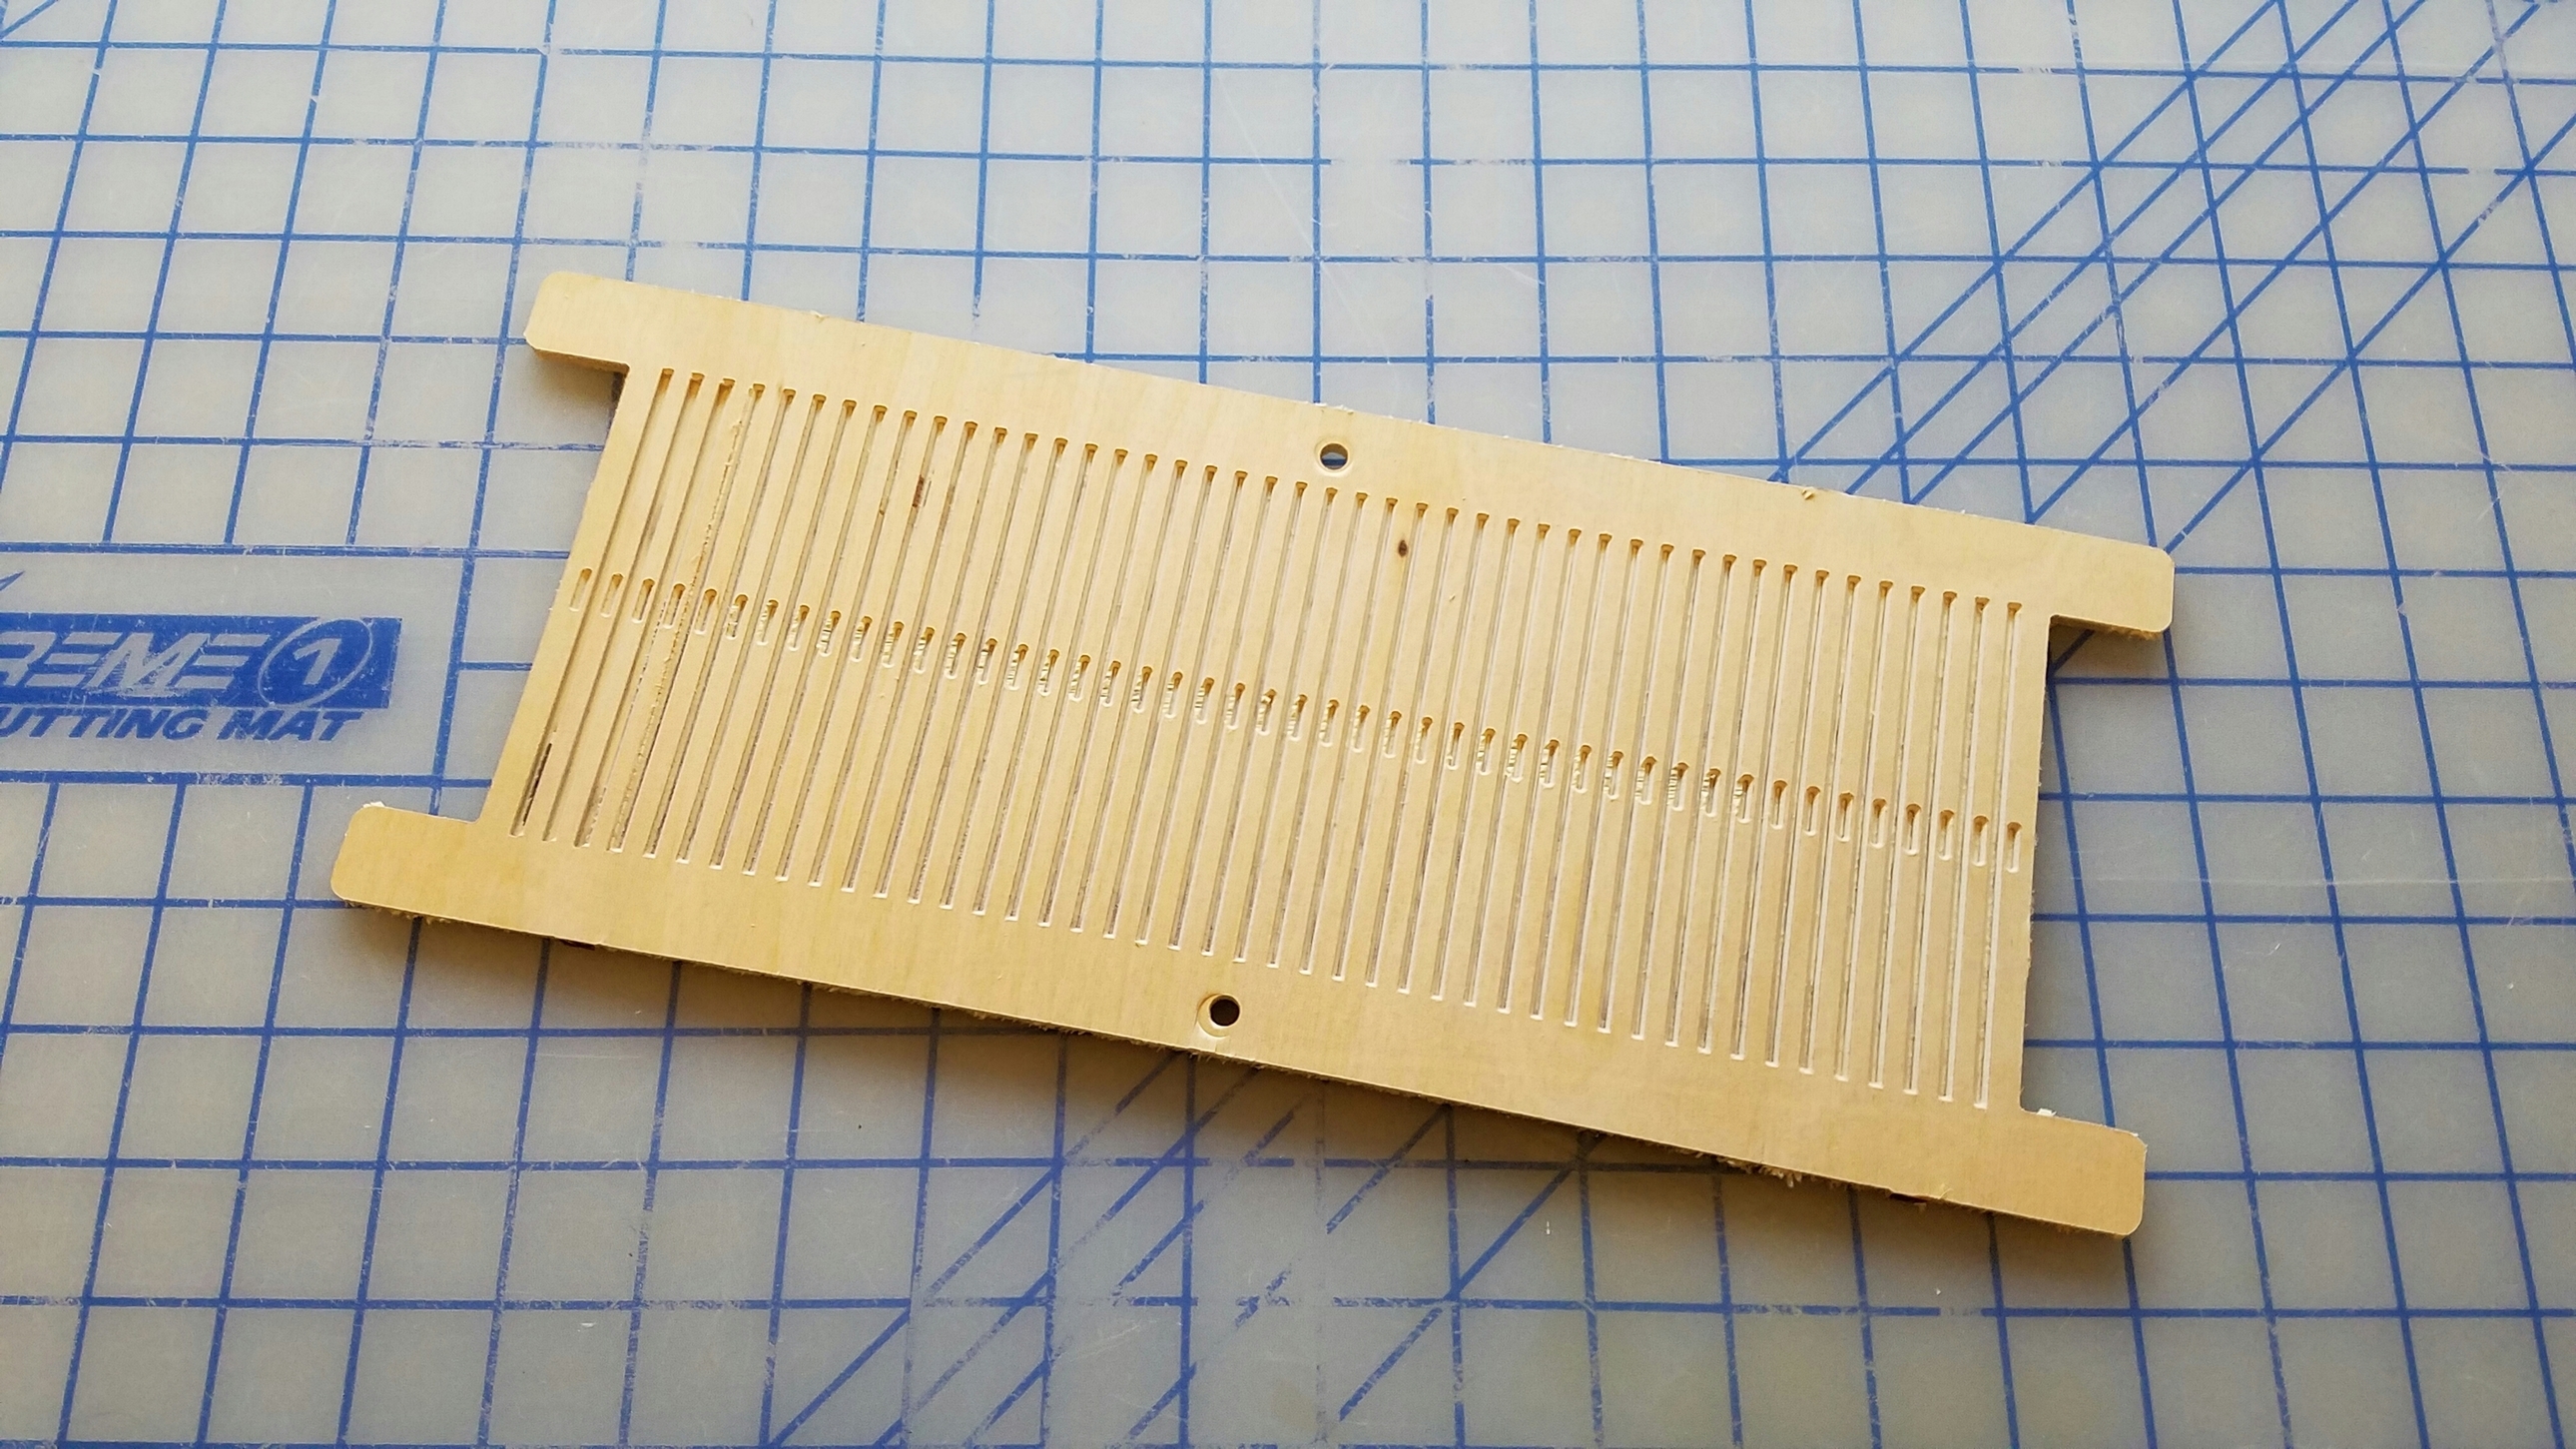
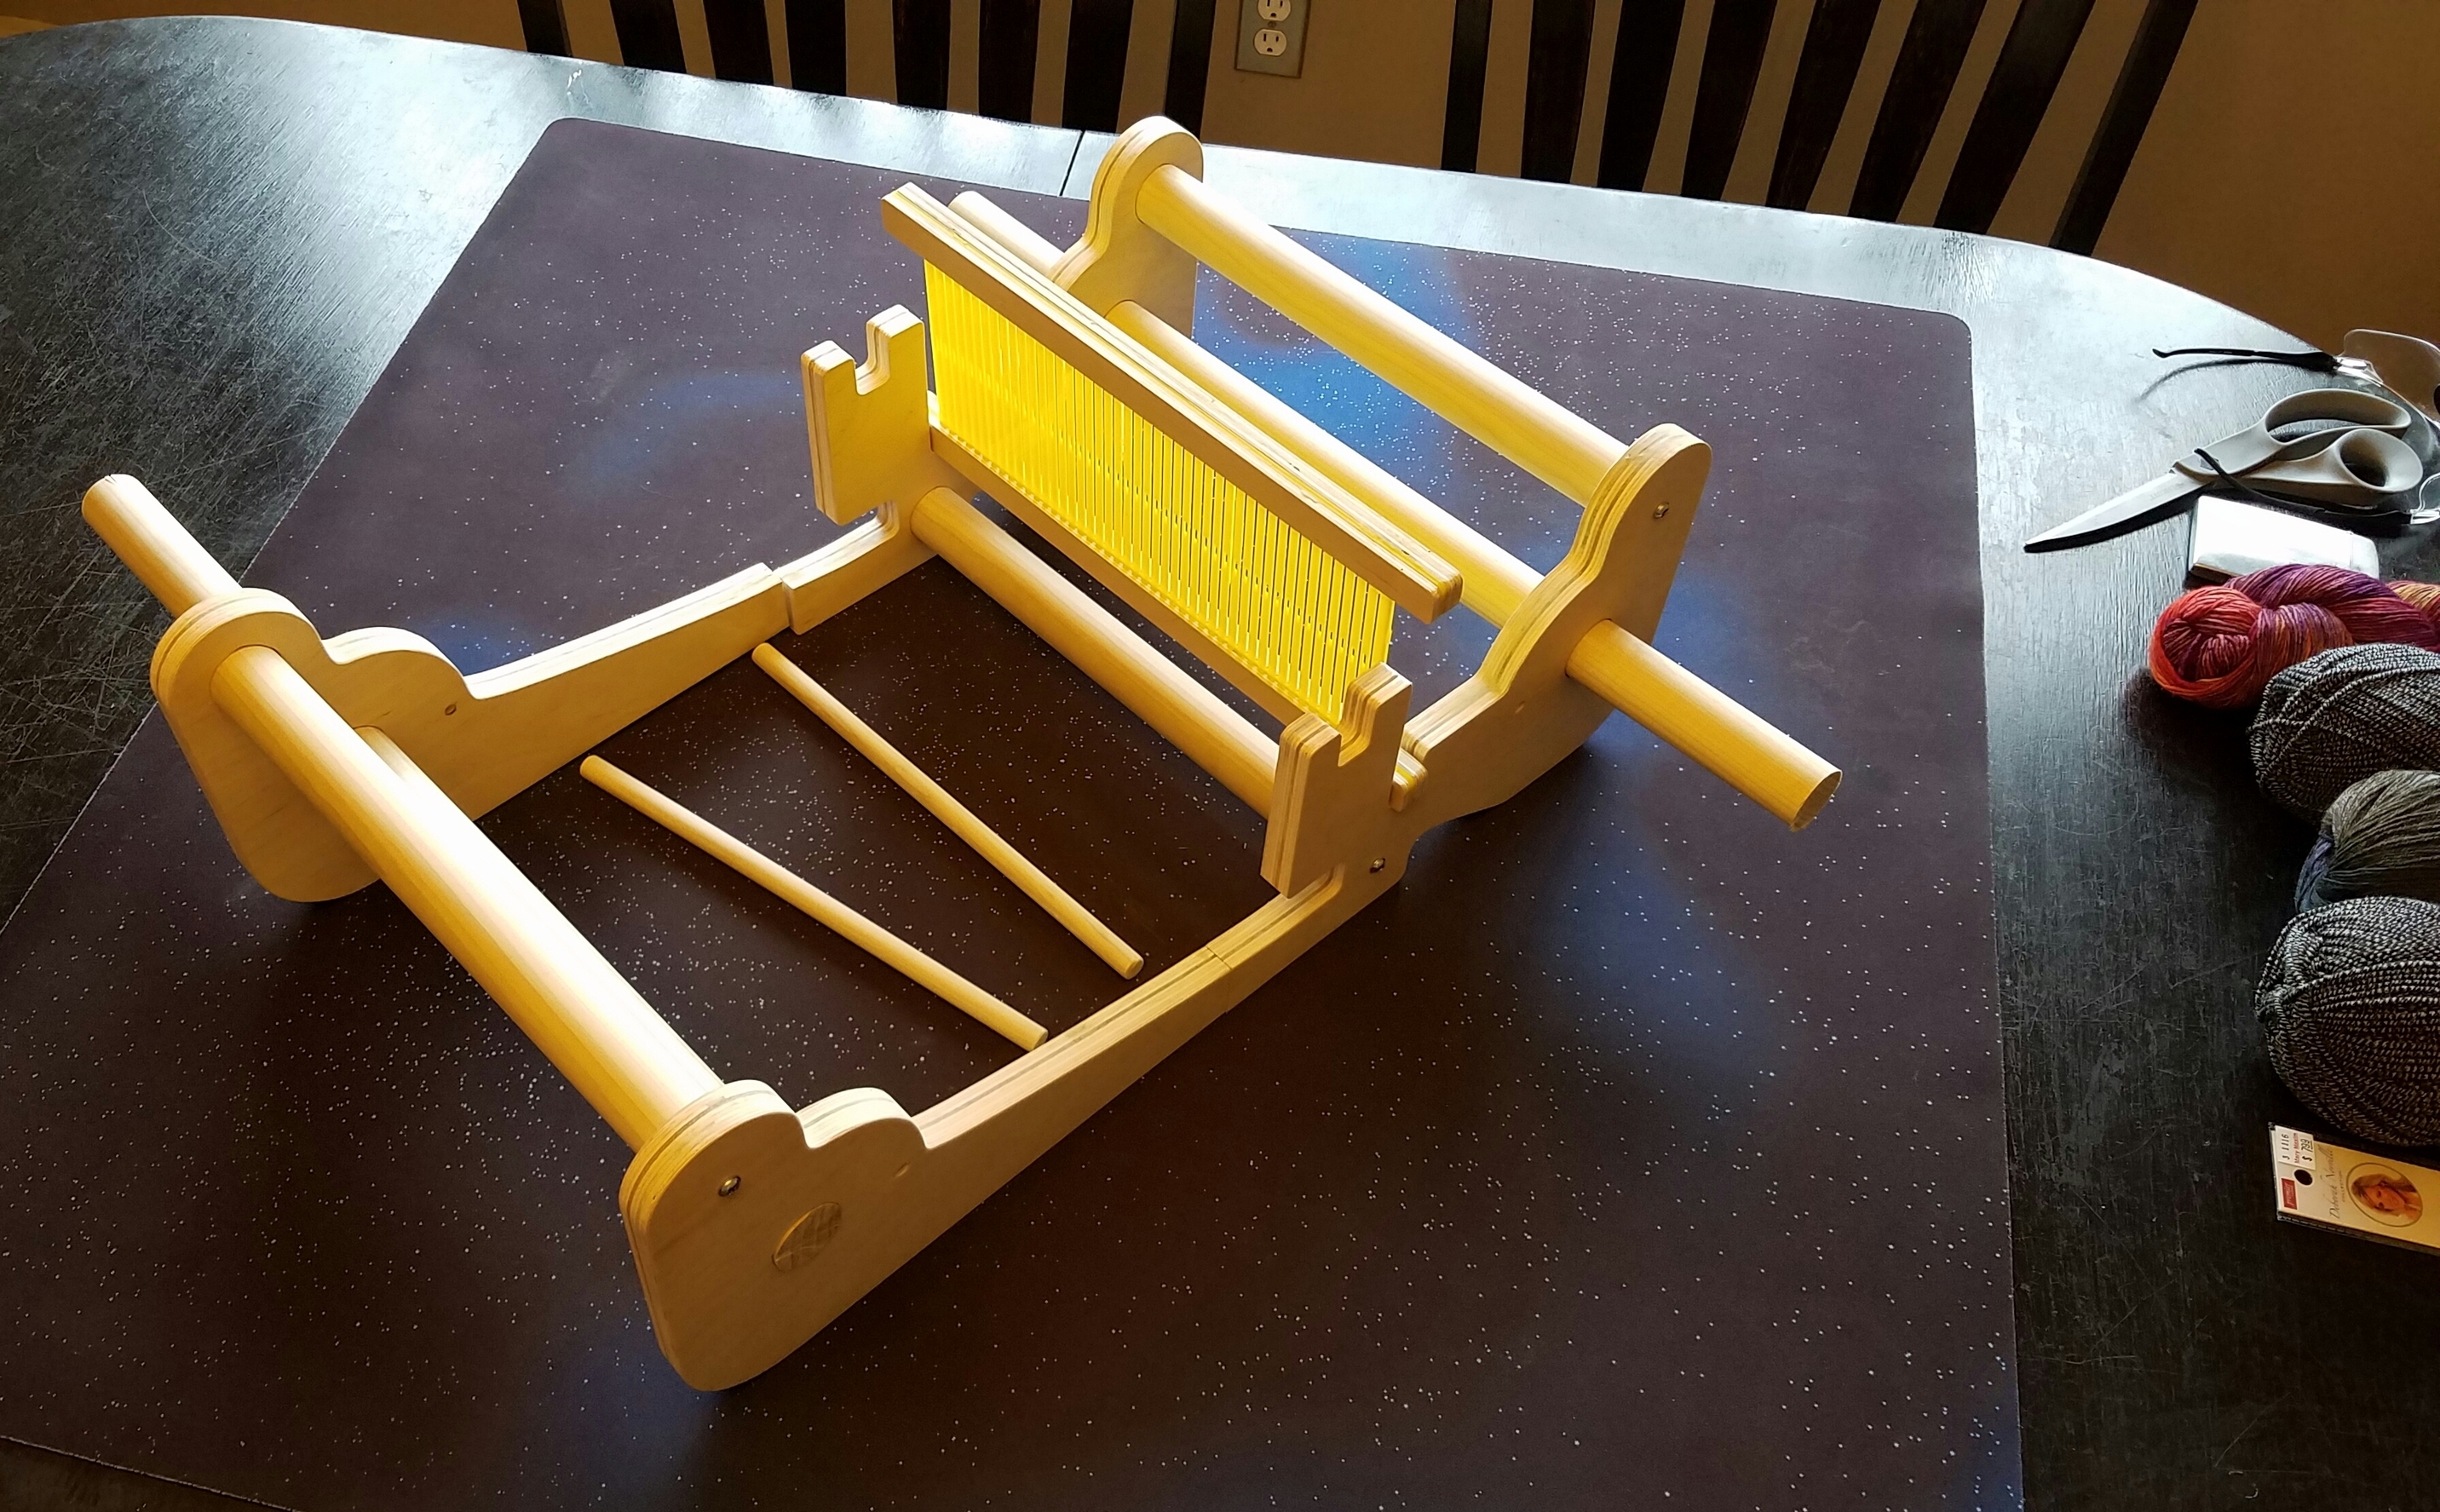
Here is the rigid heddle loom that I had mentioned I was carving before (everything except the dowels were carved on my SO3). Birch plywood just wasn’t working for the heddle slots (which are only ~.070" wide) so I used some cast acrylic that I had left over from a sign job. Took nearly 8 hours to carve the 8 dent heddle (meaning there are 8 holes or slots every inch; it is designed for worsted weight yarn) out with a 60 degree vbit and a 1/32 endmill. Today’s project is to trim down the dowels, string it, and carve some ratcheting gears from the same cast acrylic as the heddle board.
5 Likes
Months late (oops), but here is that St. Helens Catan tile in .stl format that I had promised.  MtStHelensCatan.stl (2.3 MB)
3 Likes
Pretty simple stuff, but here is my first go at making fidget spinners.
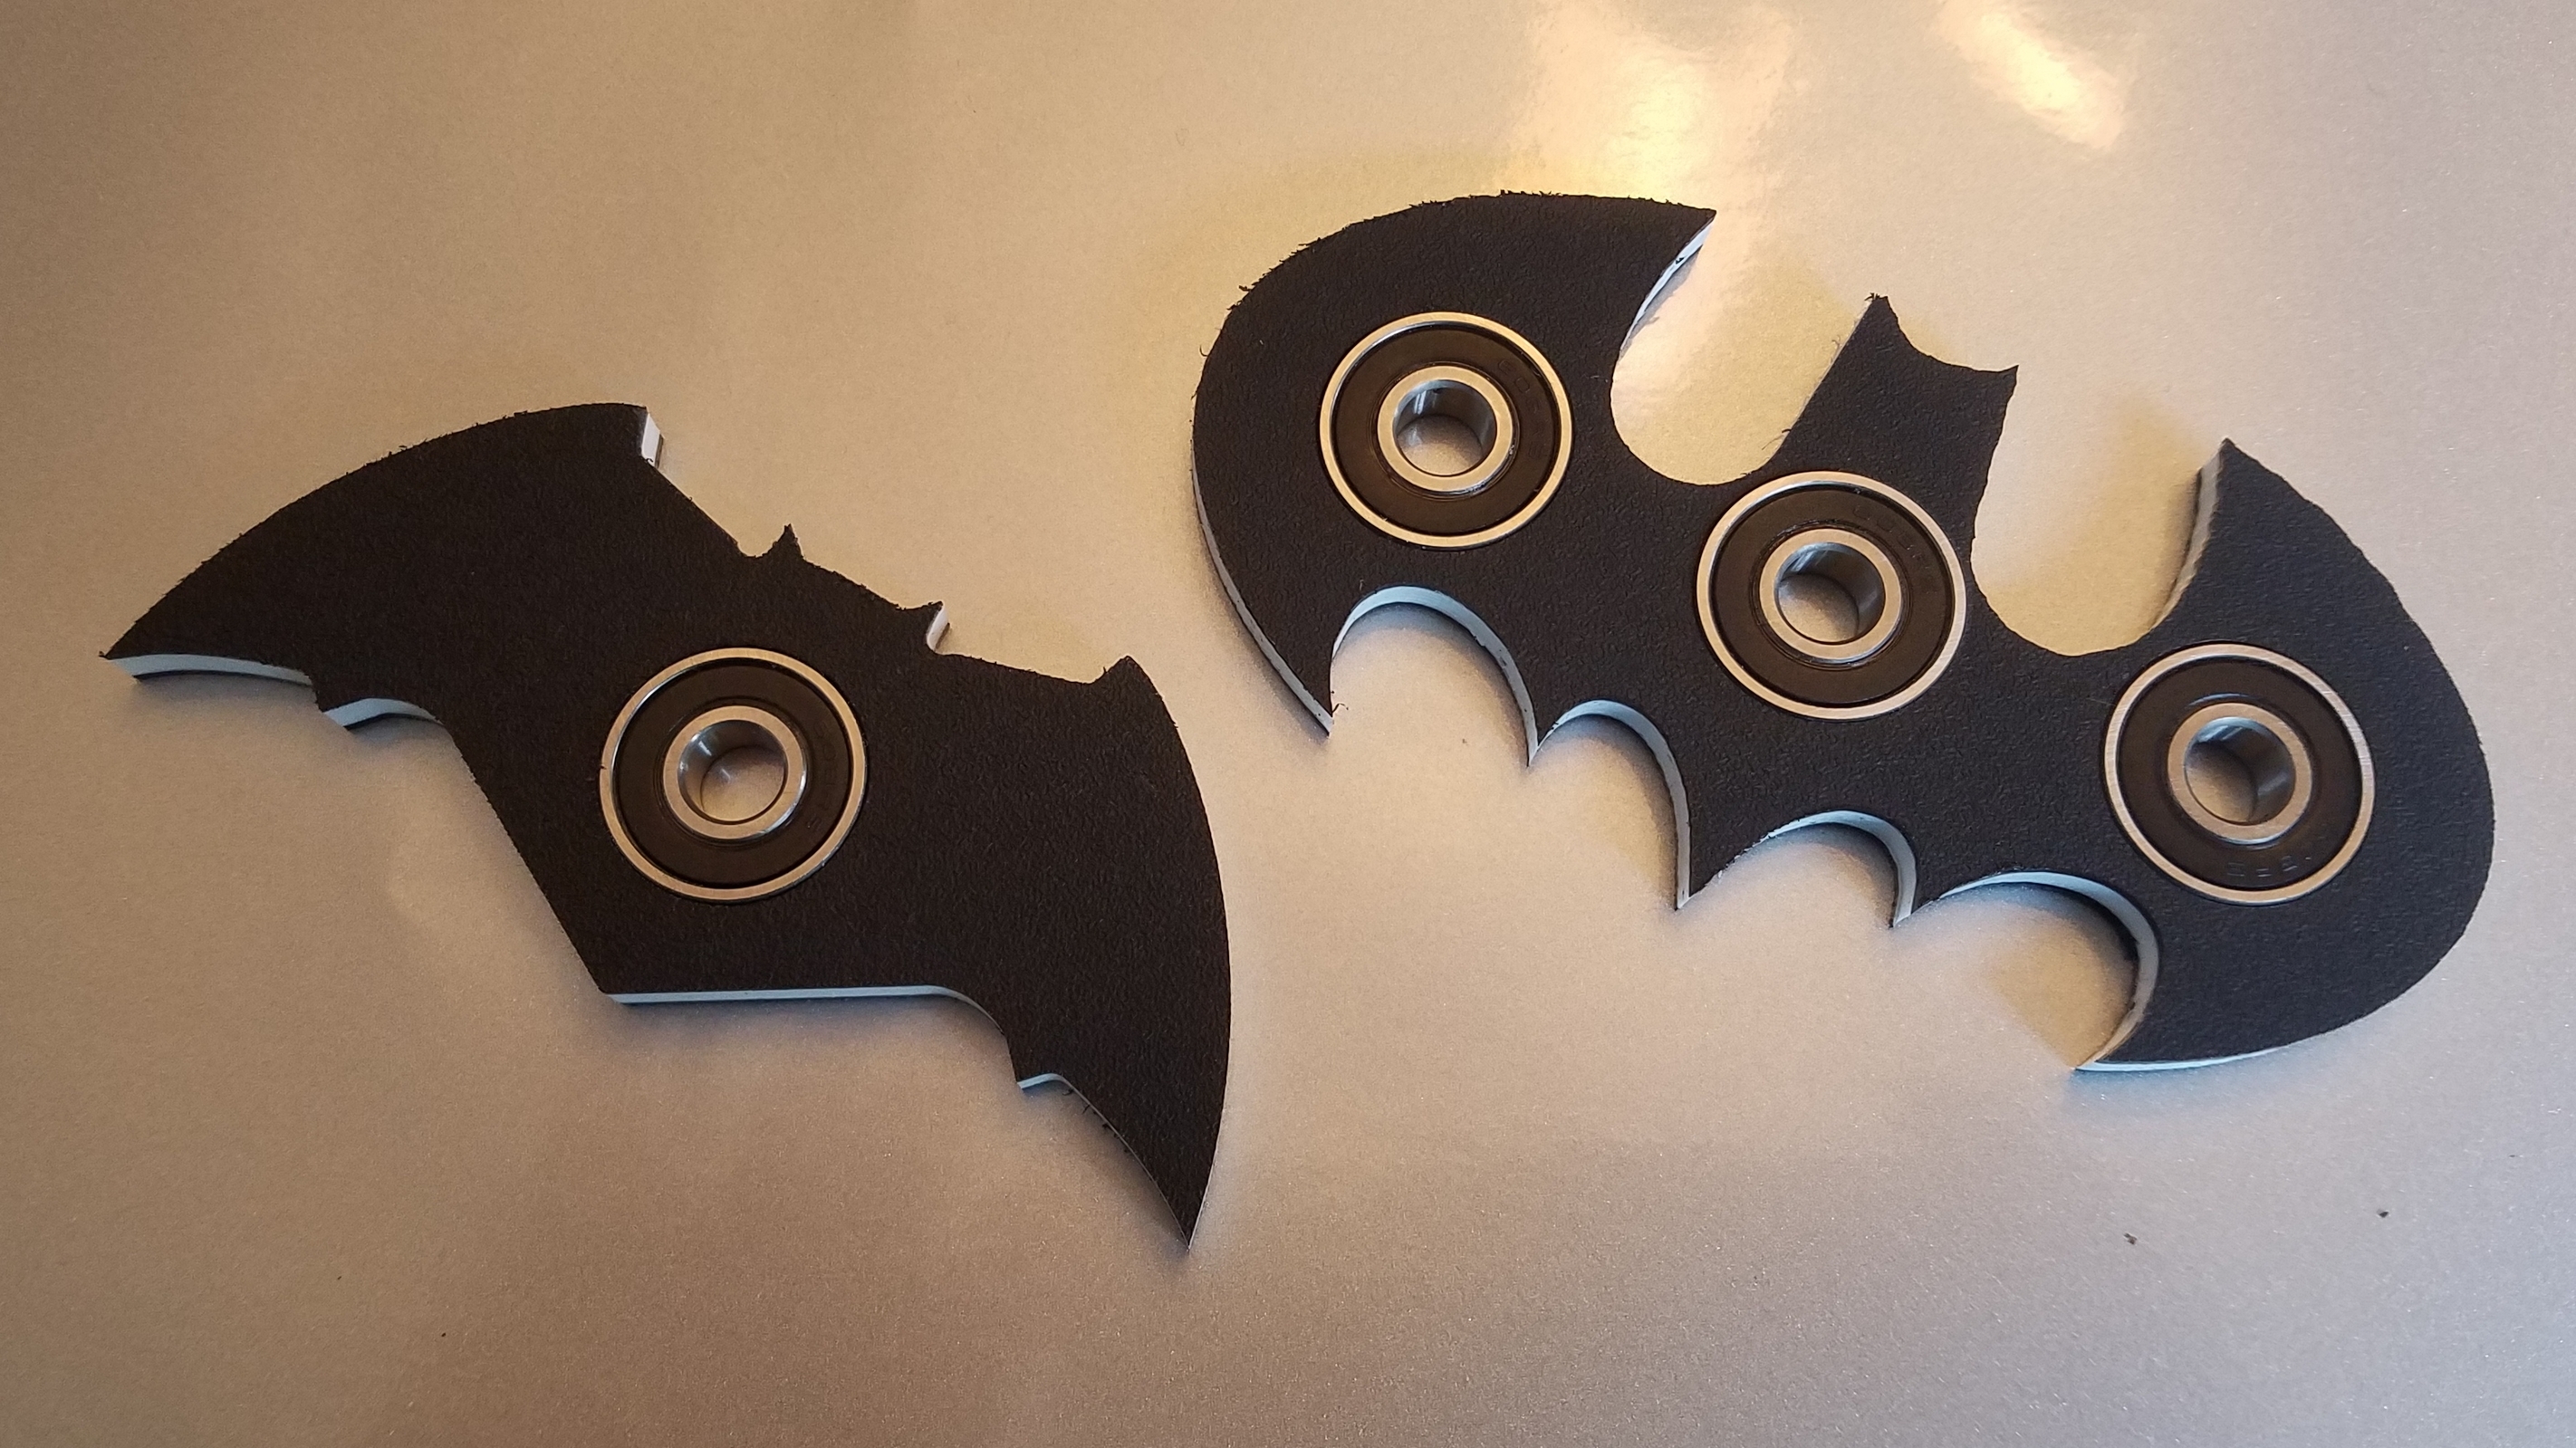
My endmill came loose (inspiring me to toss the 1/8" sleeve and finally order a proper collet) while cutting the classic logo, so the finish is a bit choppy.
I can’t say that I get the appeal, but the kids like them. I have some other shapes I want to try and need to cut some bearing caps yet.
4 Likes
Looking through some of my Facebook albums today, I realized that I never shared by S03 build log here, and as this thread has become something of a log of my experiences with the machine, I figured it wouldn’t hurt to post them here.
Most of these aren’t going to be anything new to anyone who owns the machine…
The unboxing:
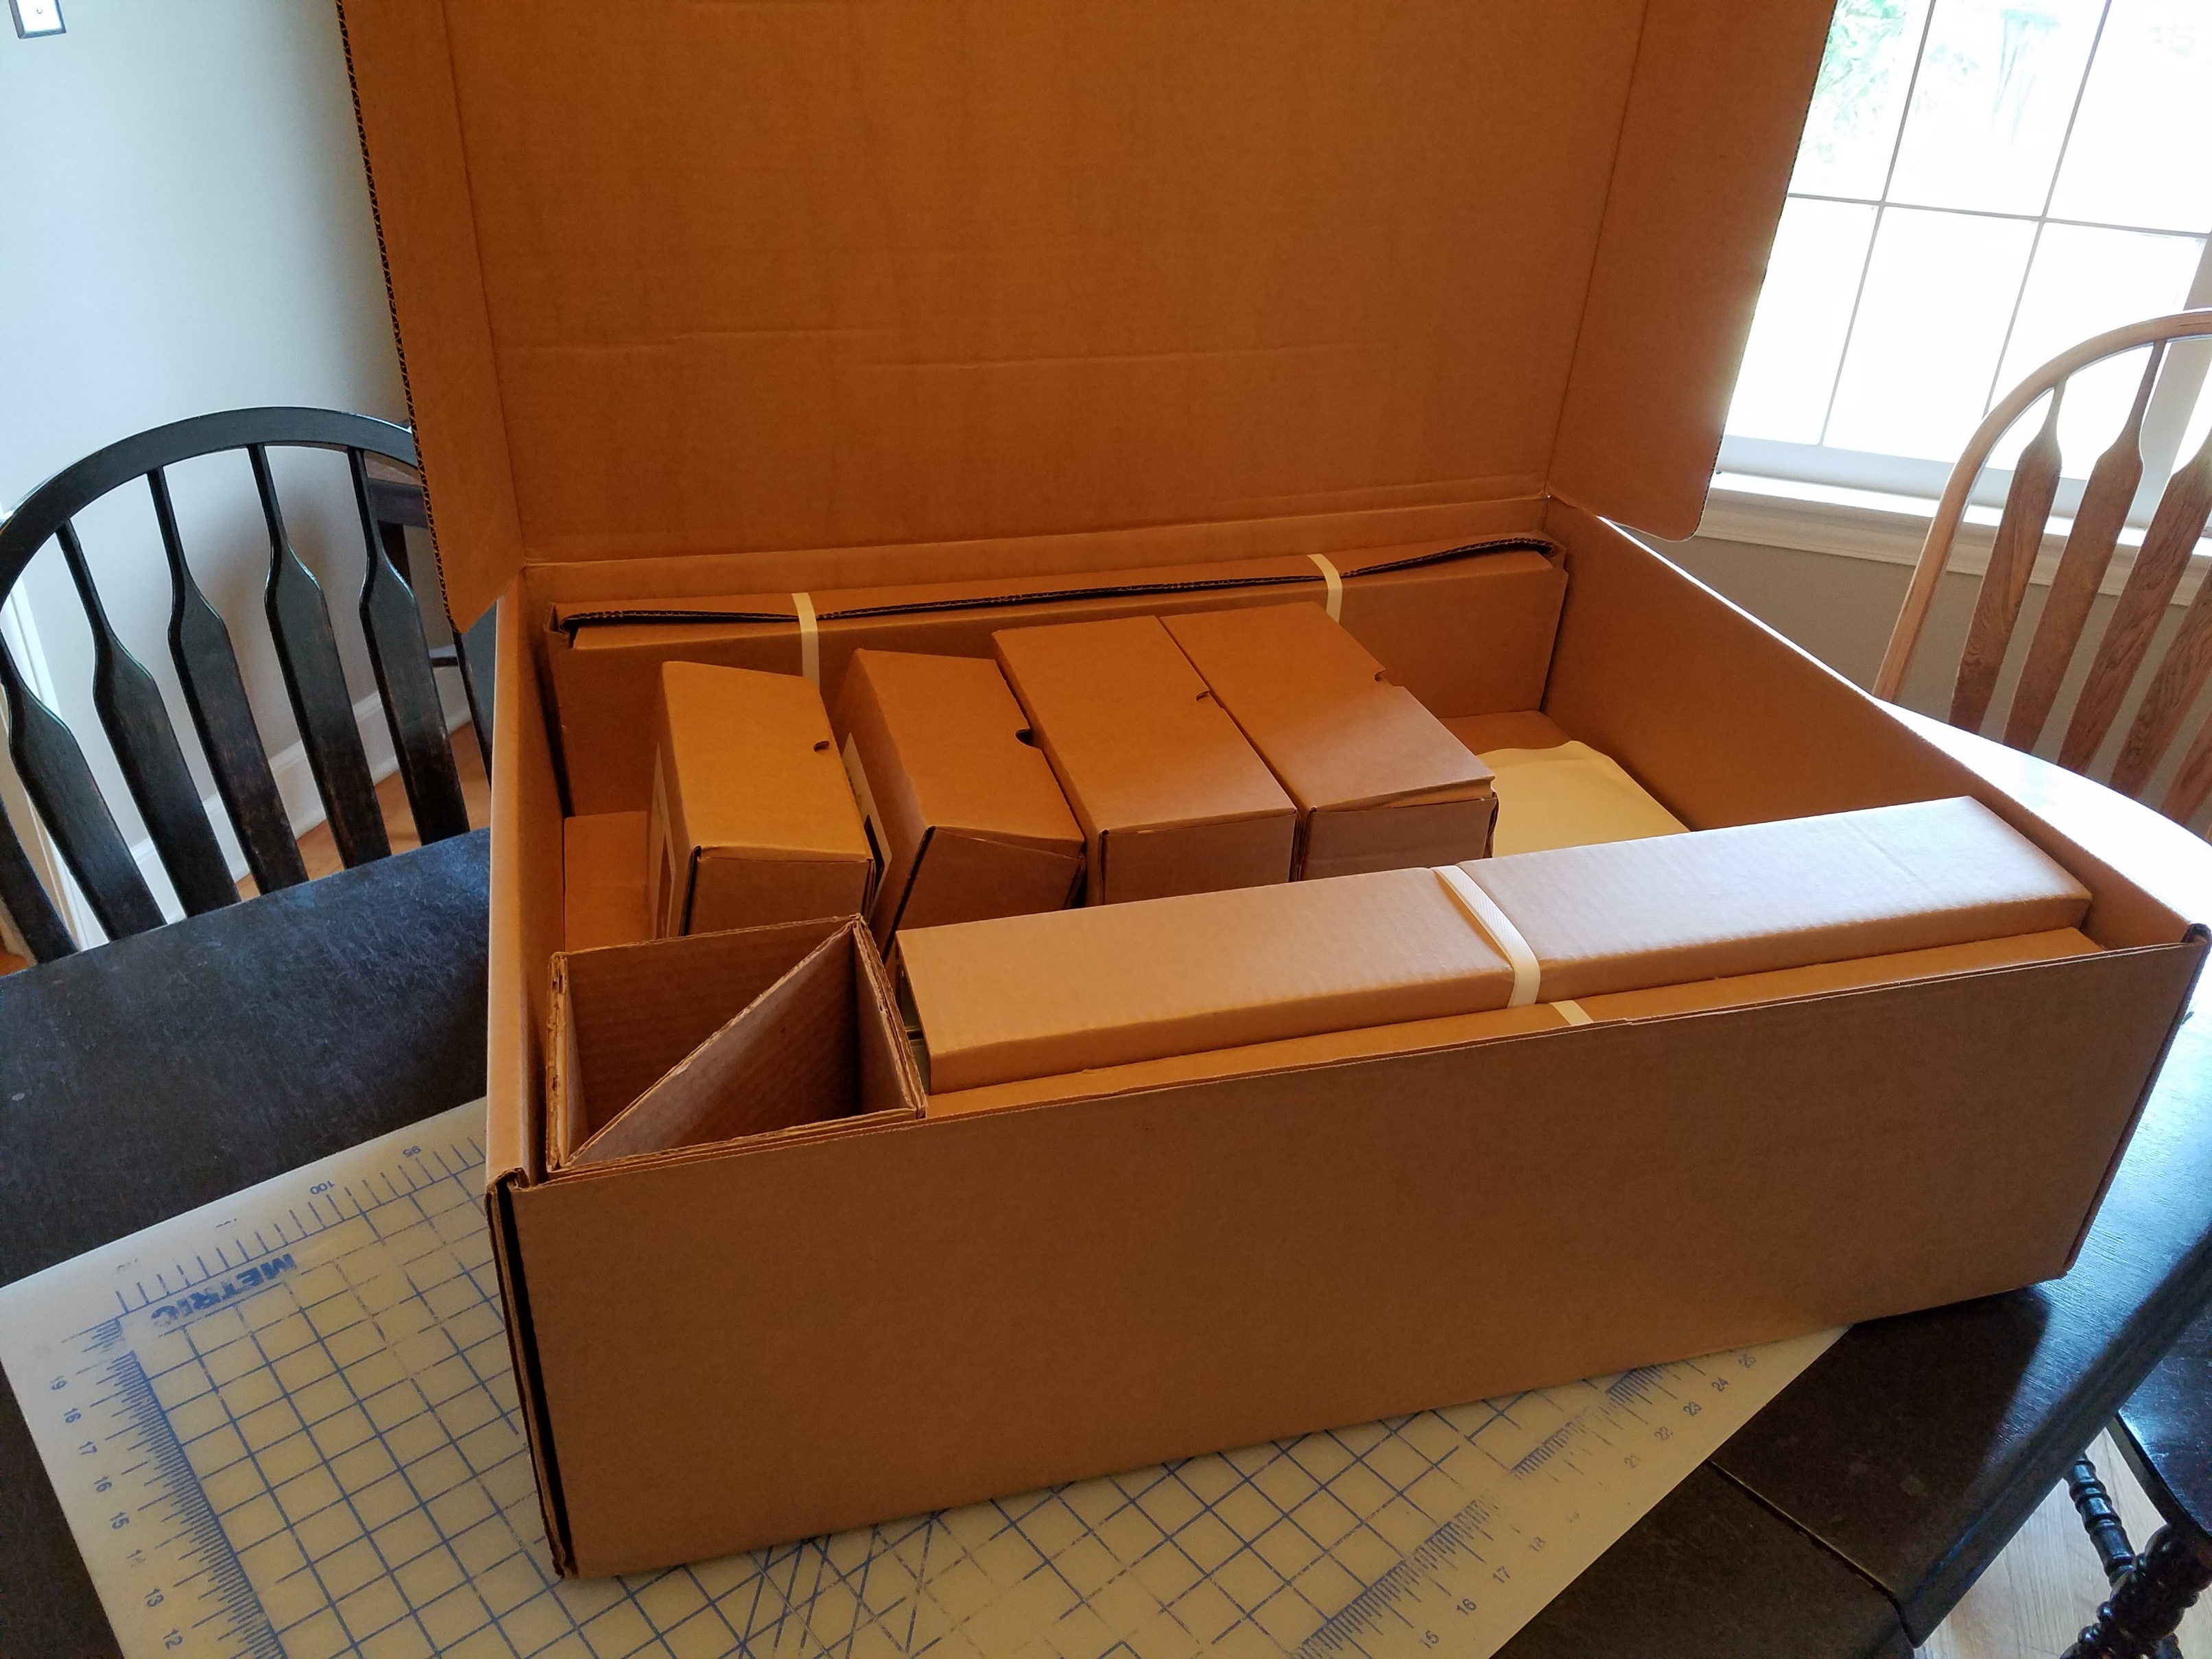
The contents (the preassembled plates made assembly much quicker than I thought it would be when I ordered it) plus a DeWalt 611 trim router:
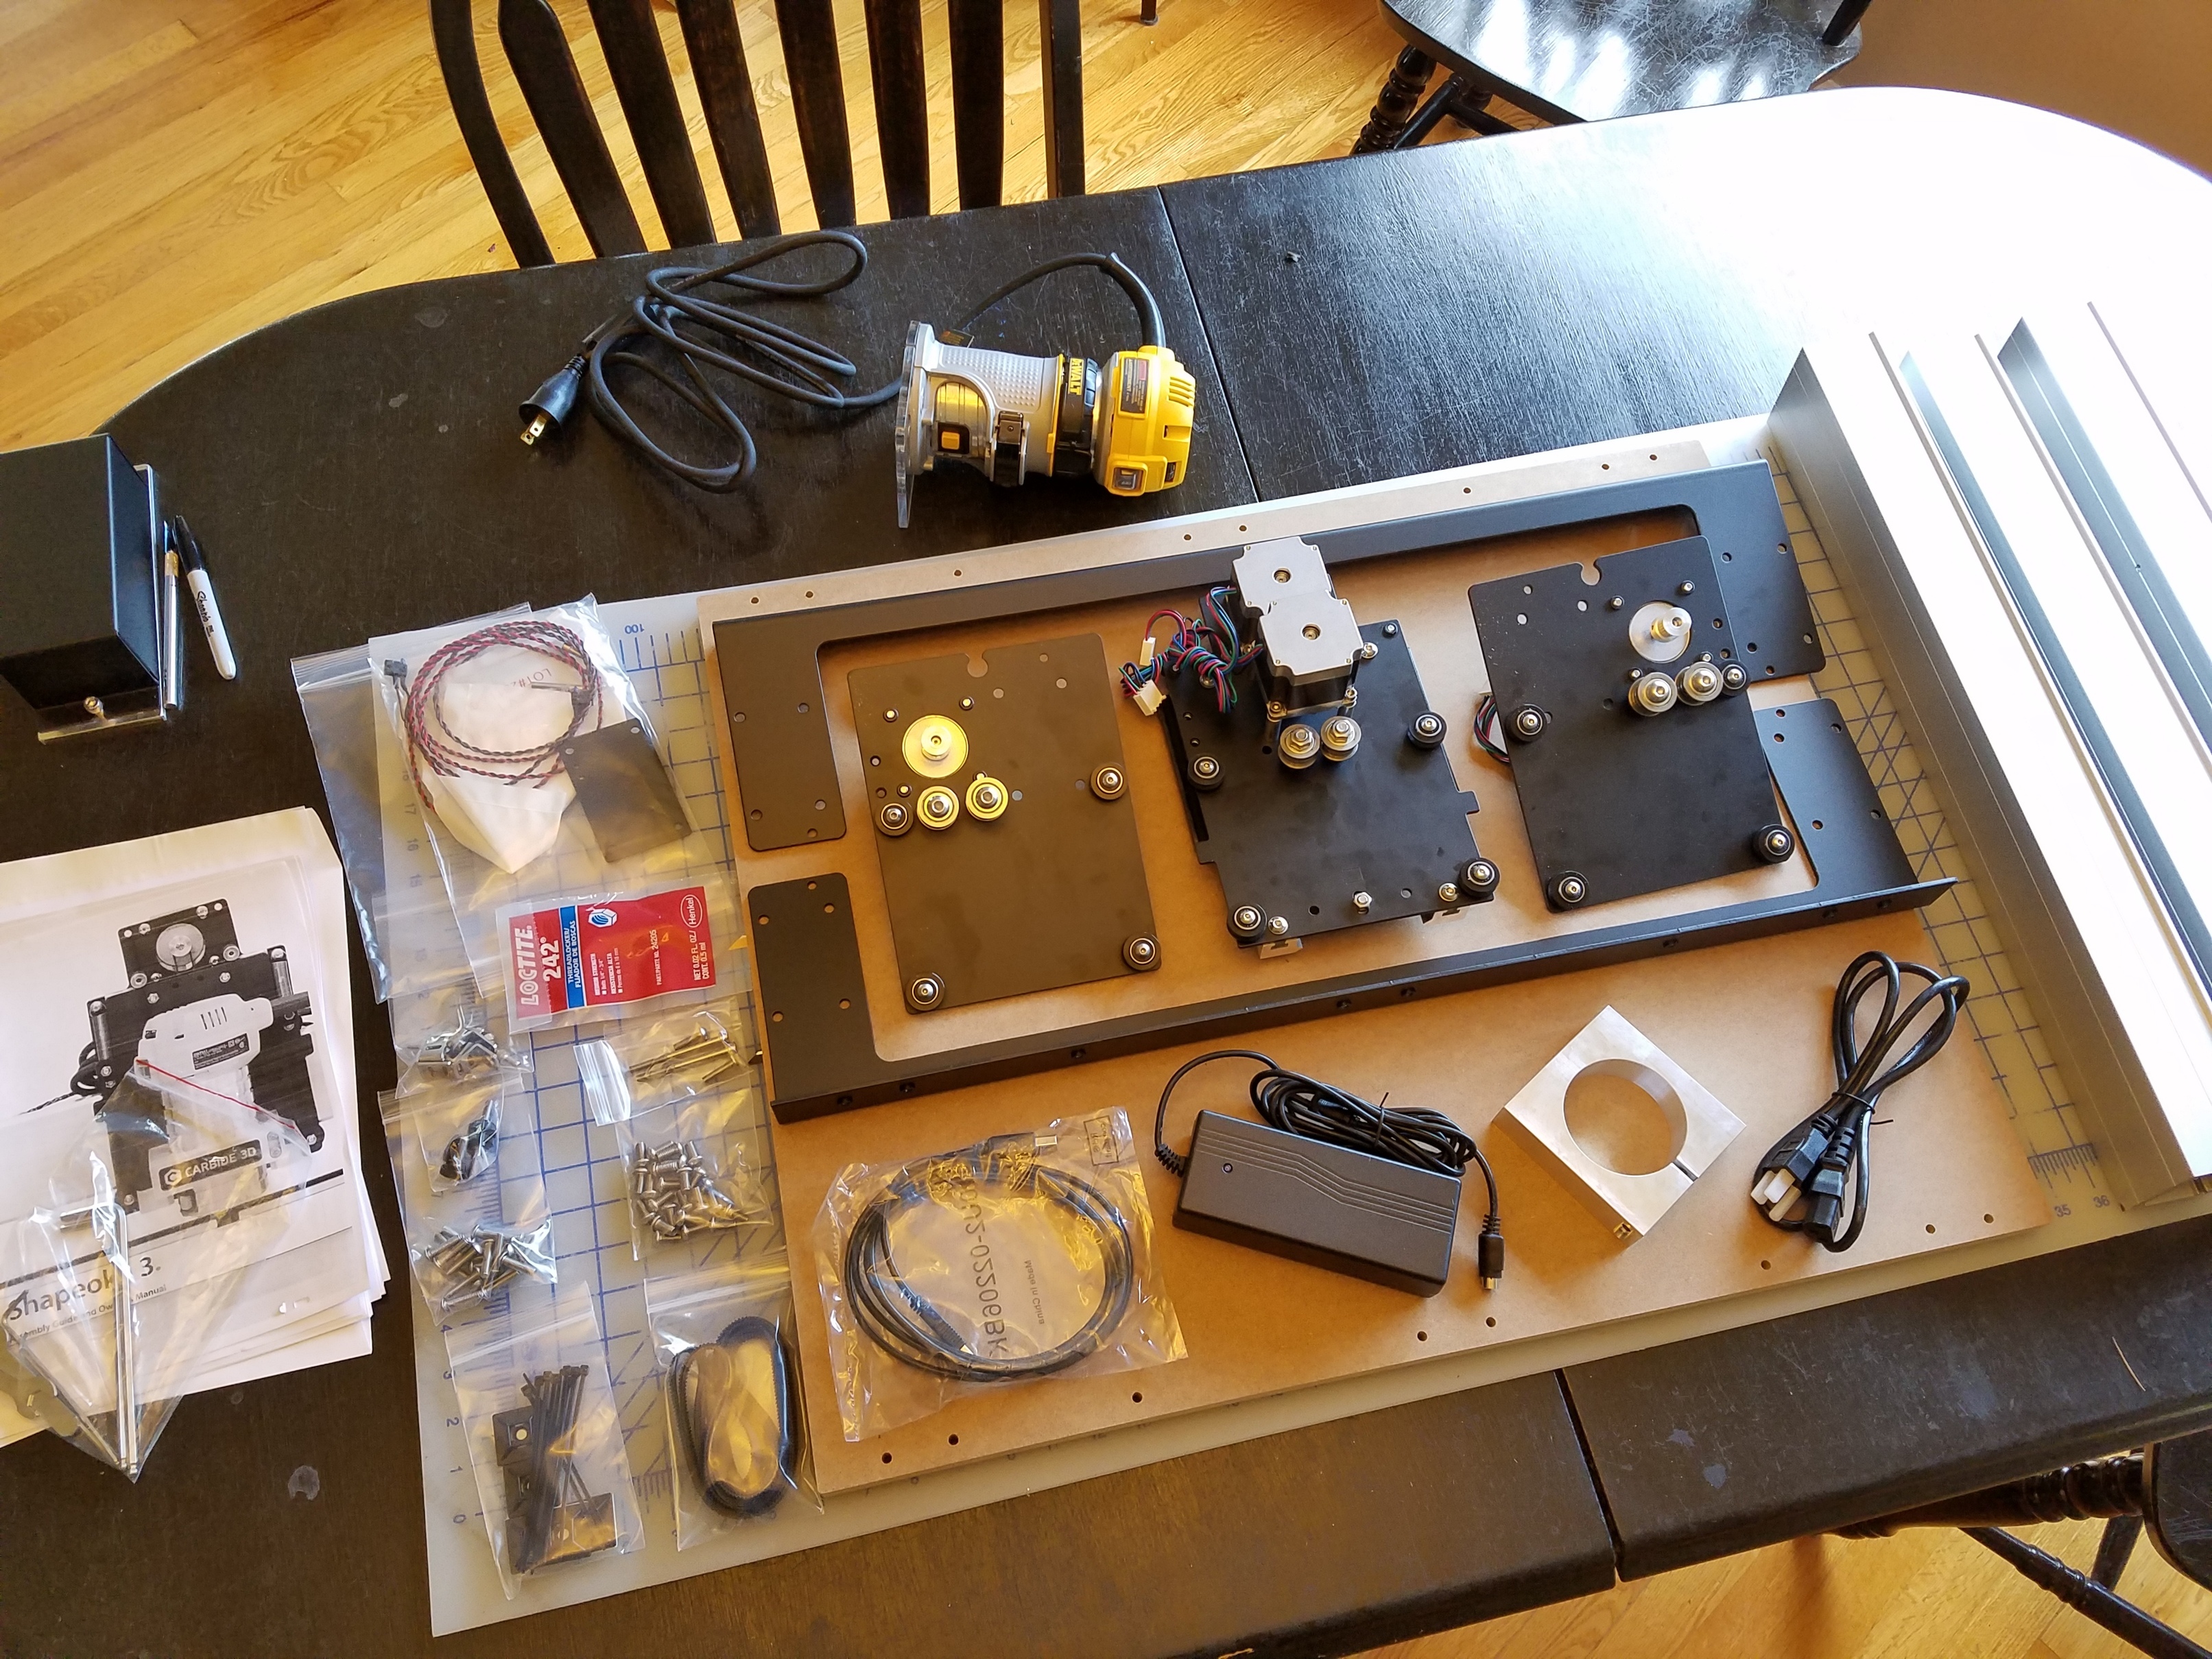
The assembly and instruction printouts:
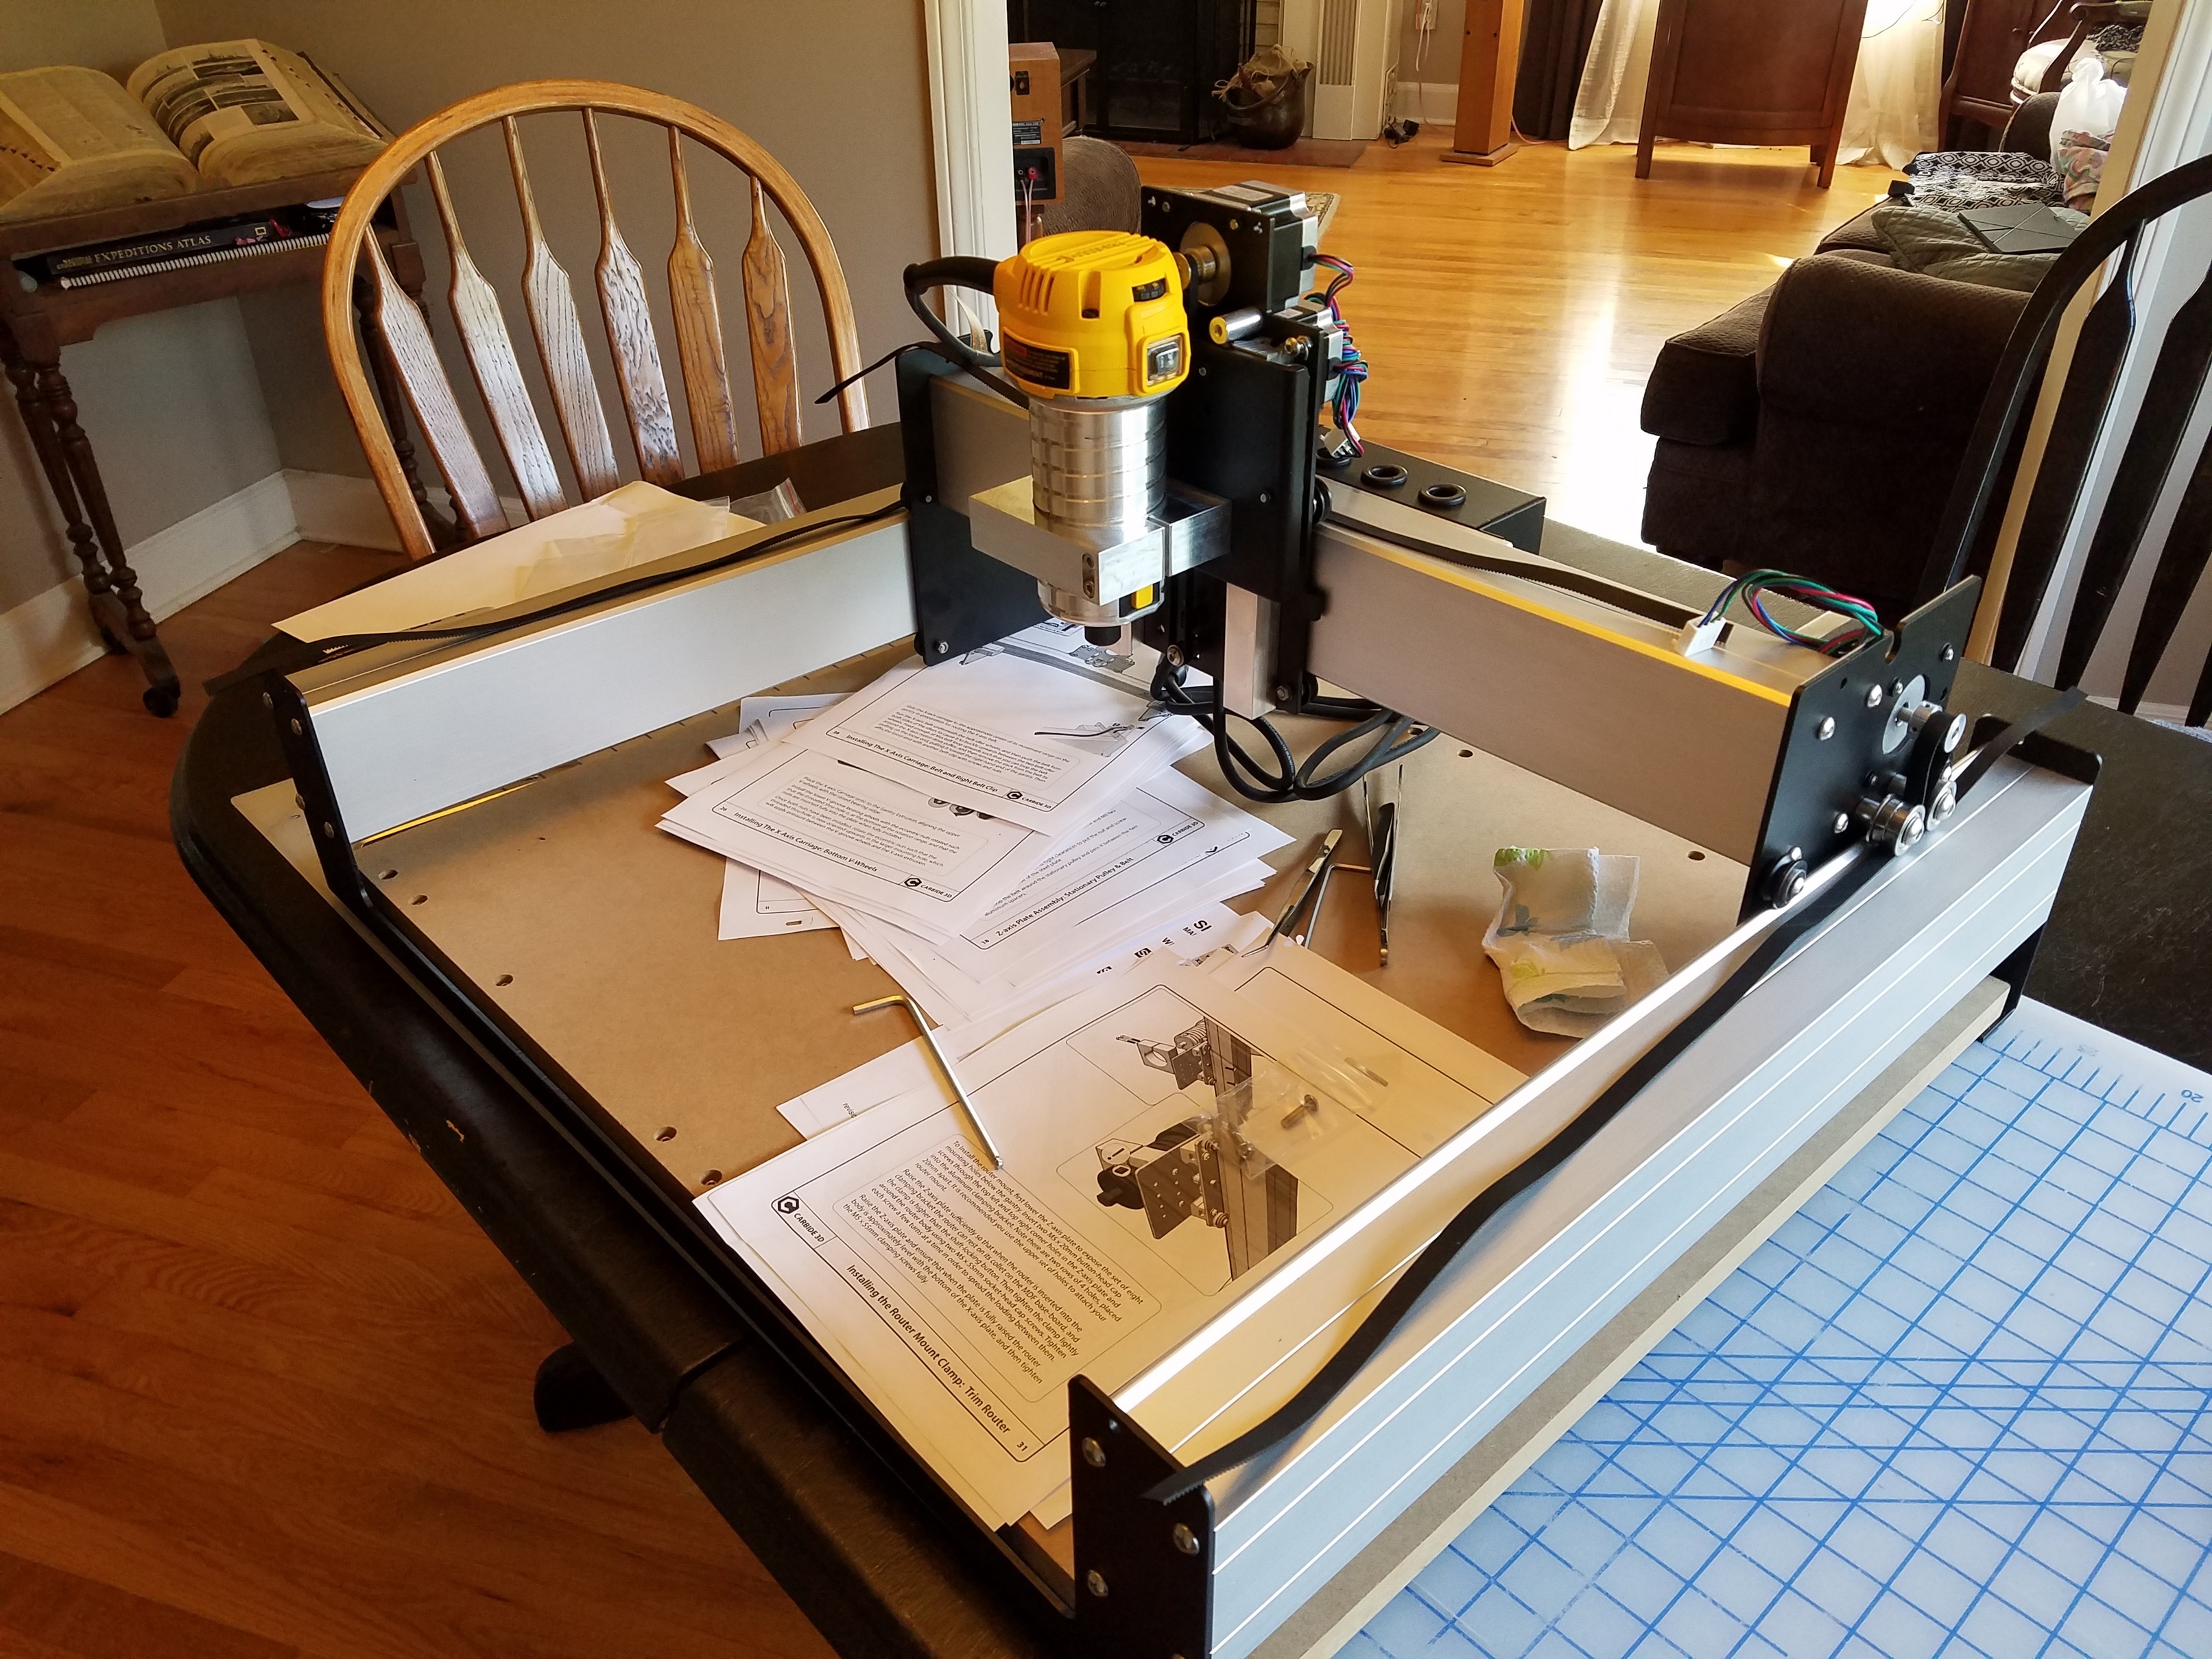
Wiring (which is nothing more complicated than plugging connectors onto the correct pins):

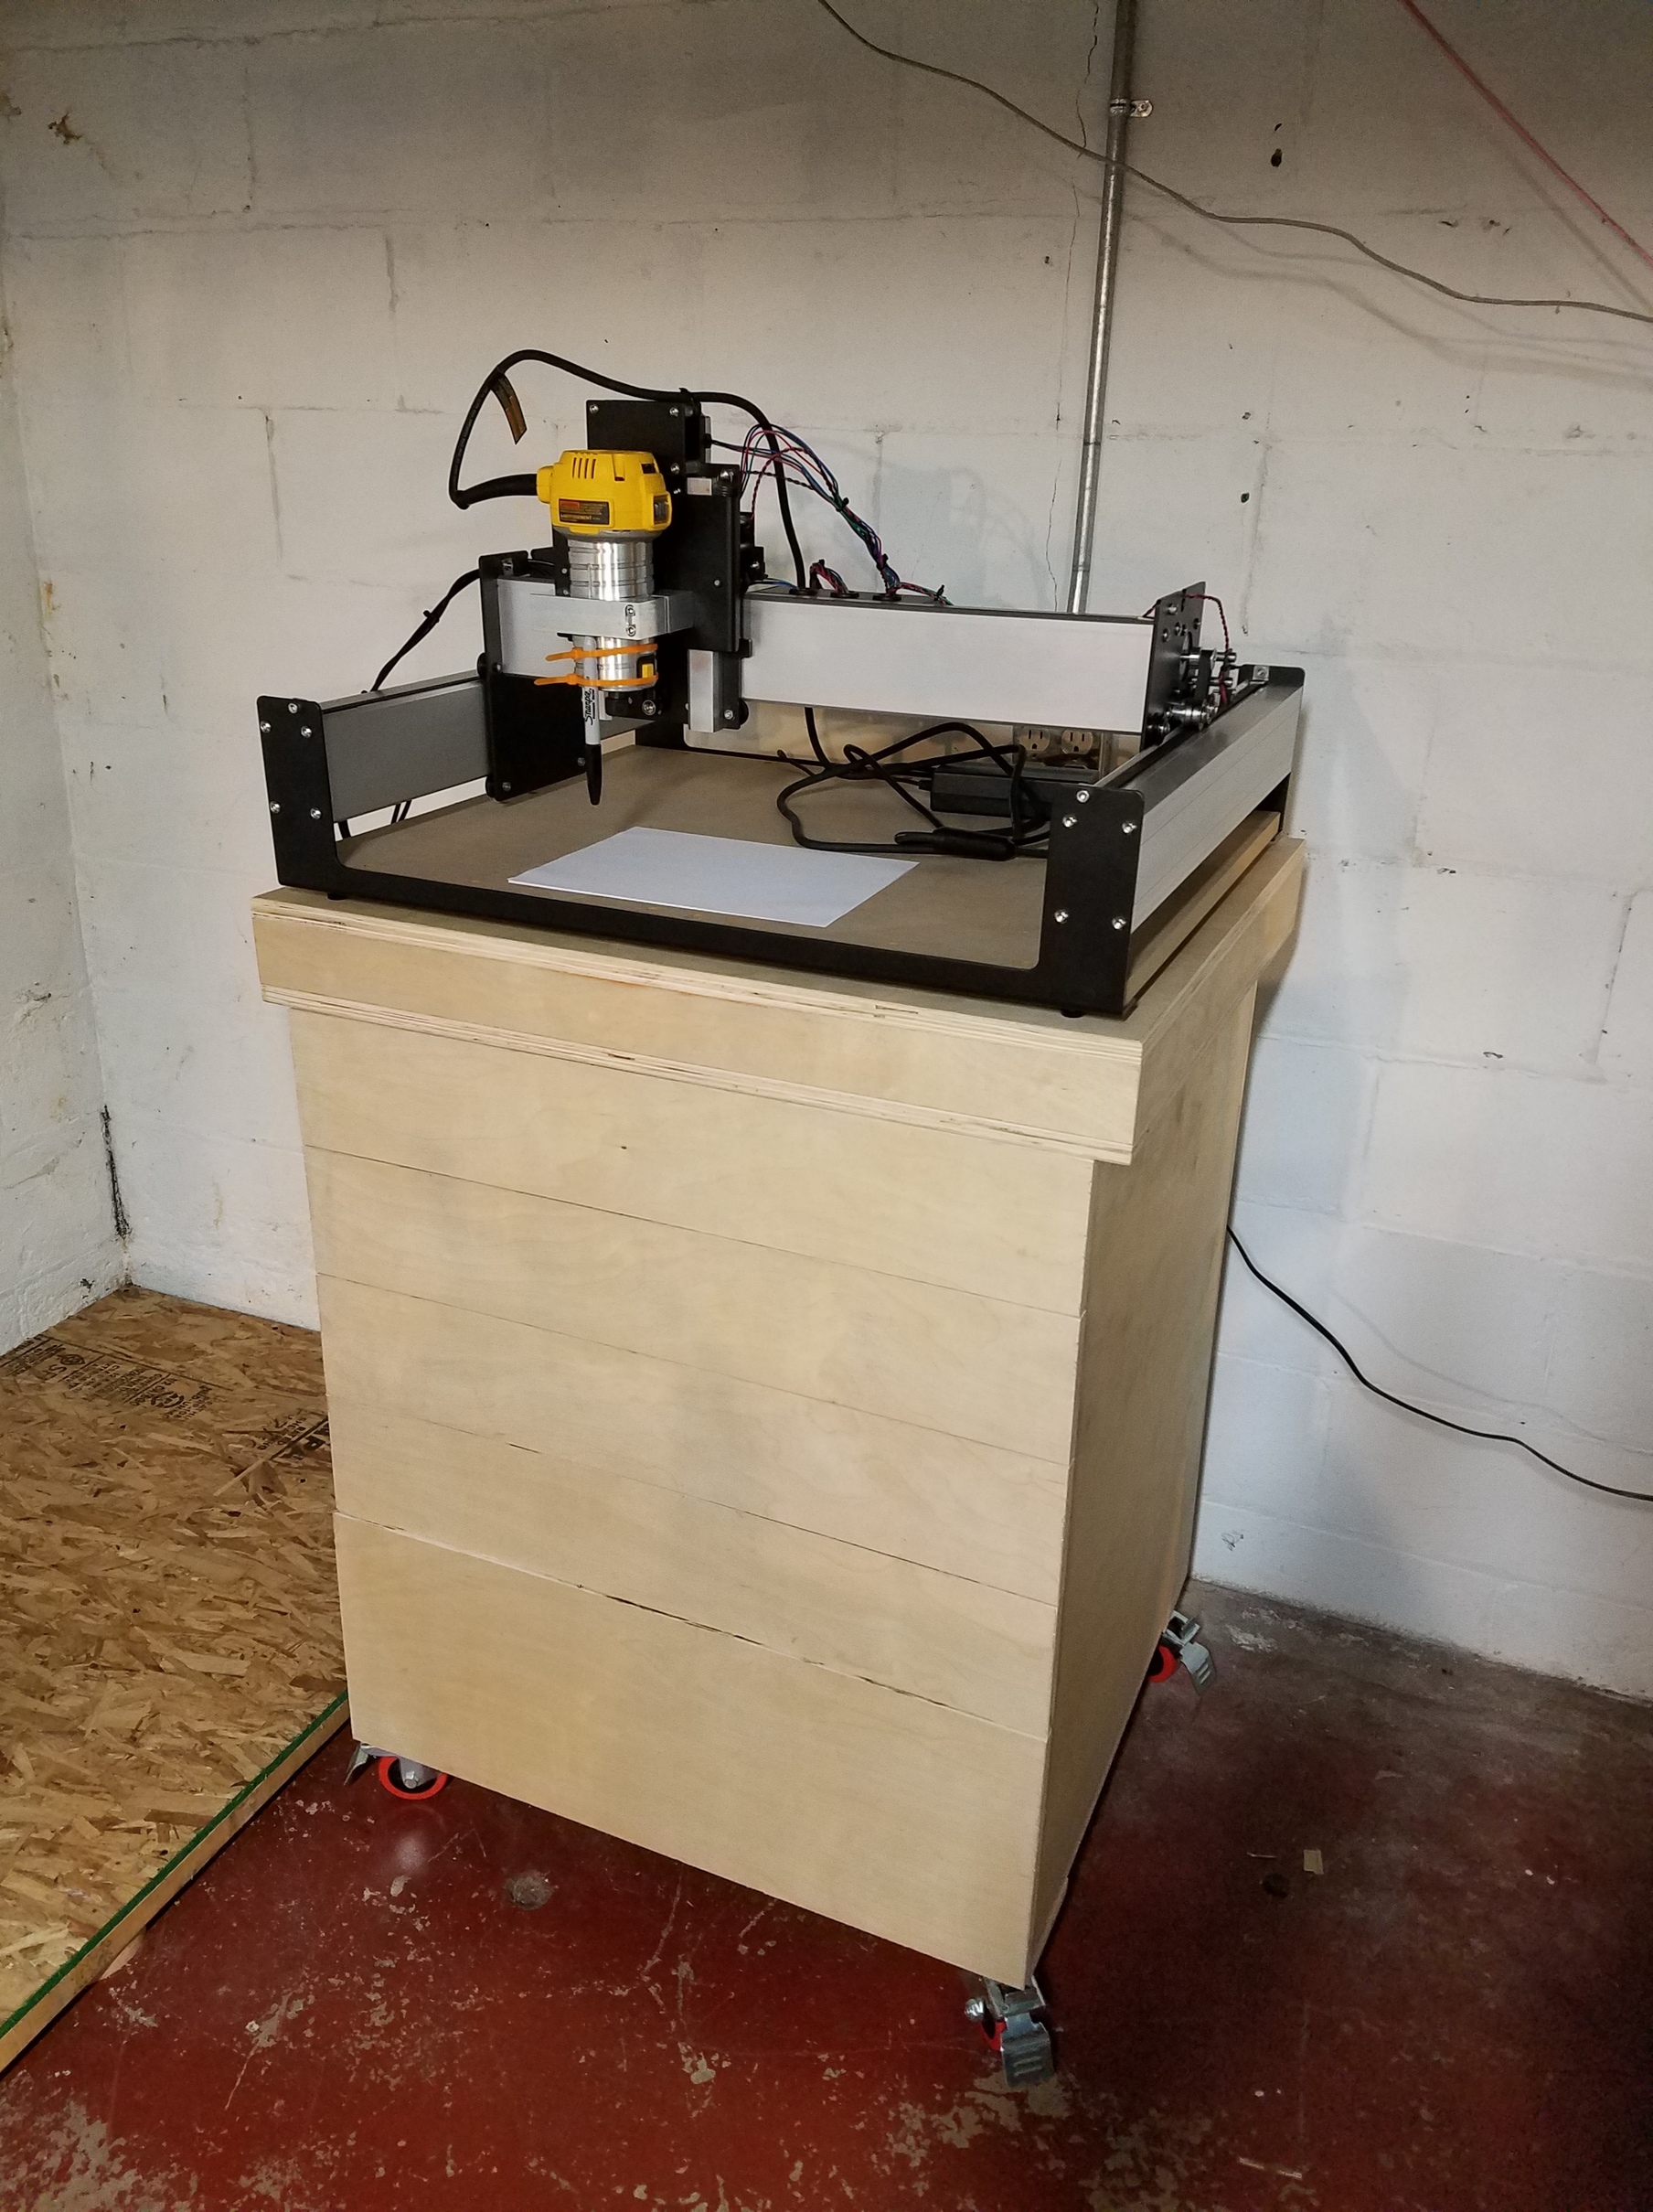
At this point I realized that I would need somewhere to put it besides my dining room table, and I had seen Jeff Ferguson’s youtube videos of the cabinet he built, so I purchased the plans he offered here:
…and set out to build one from Birch ply:
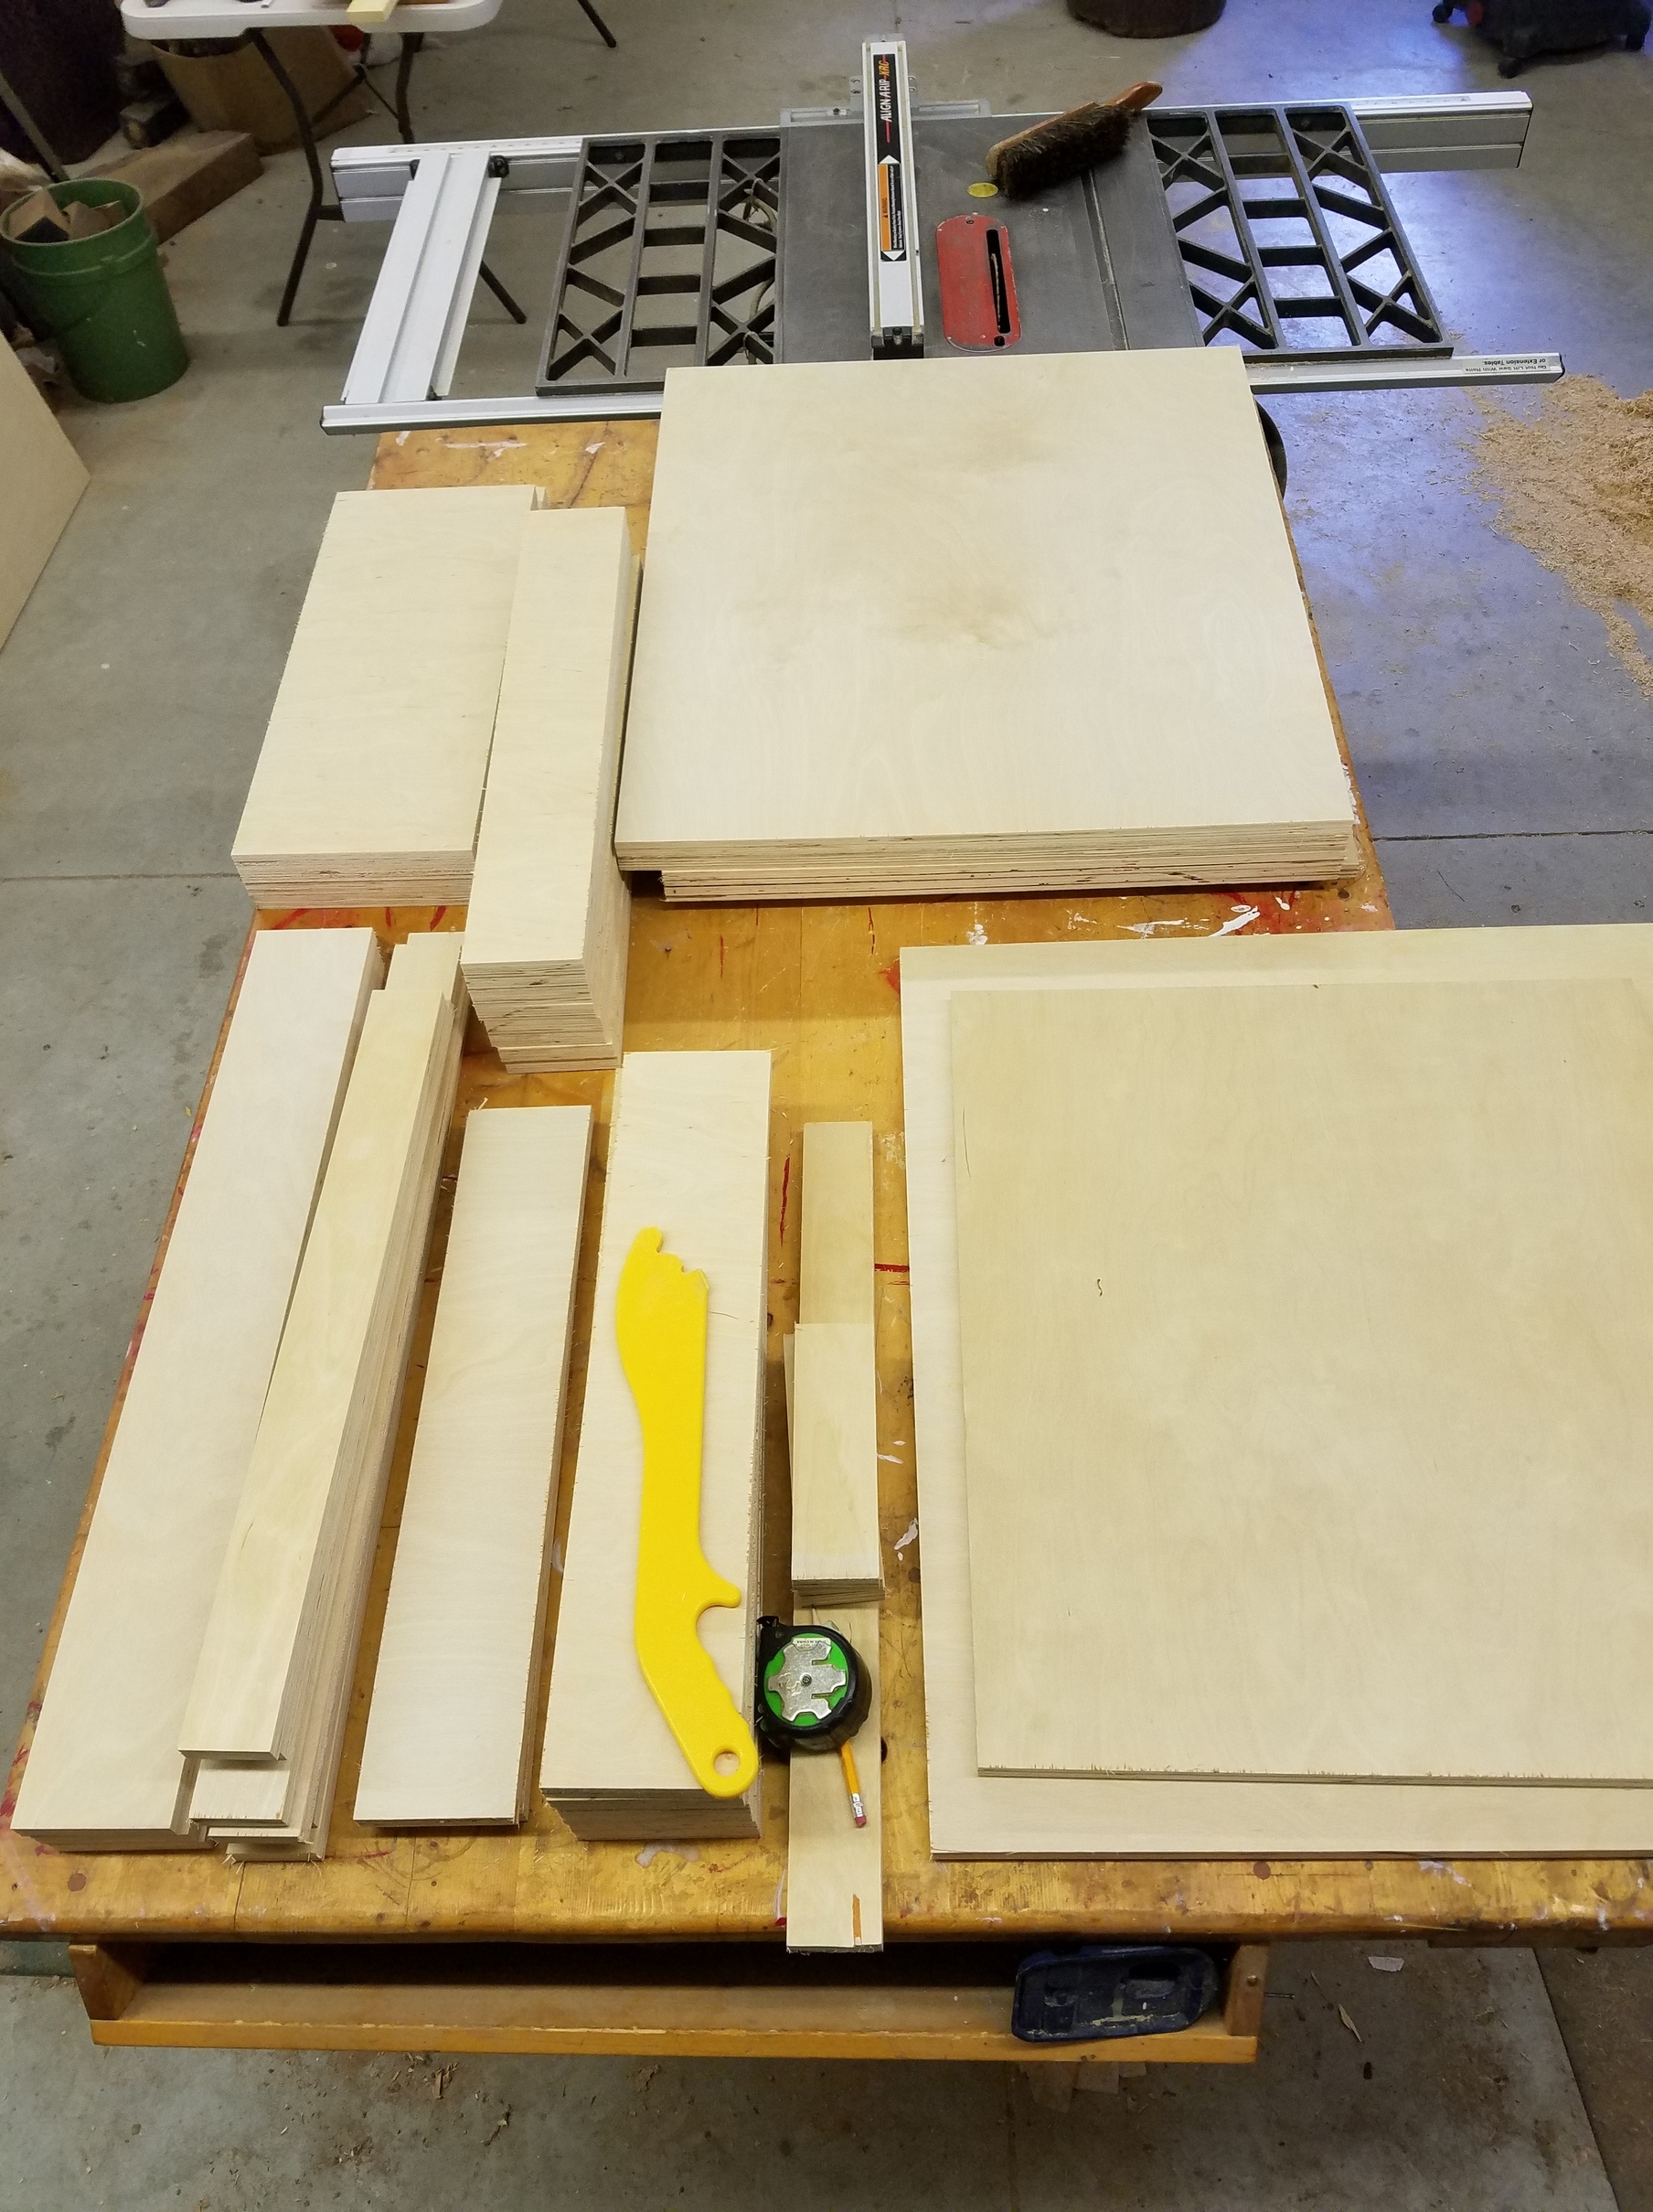
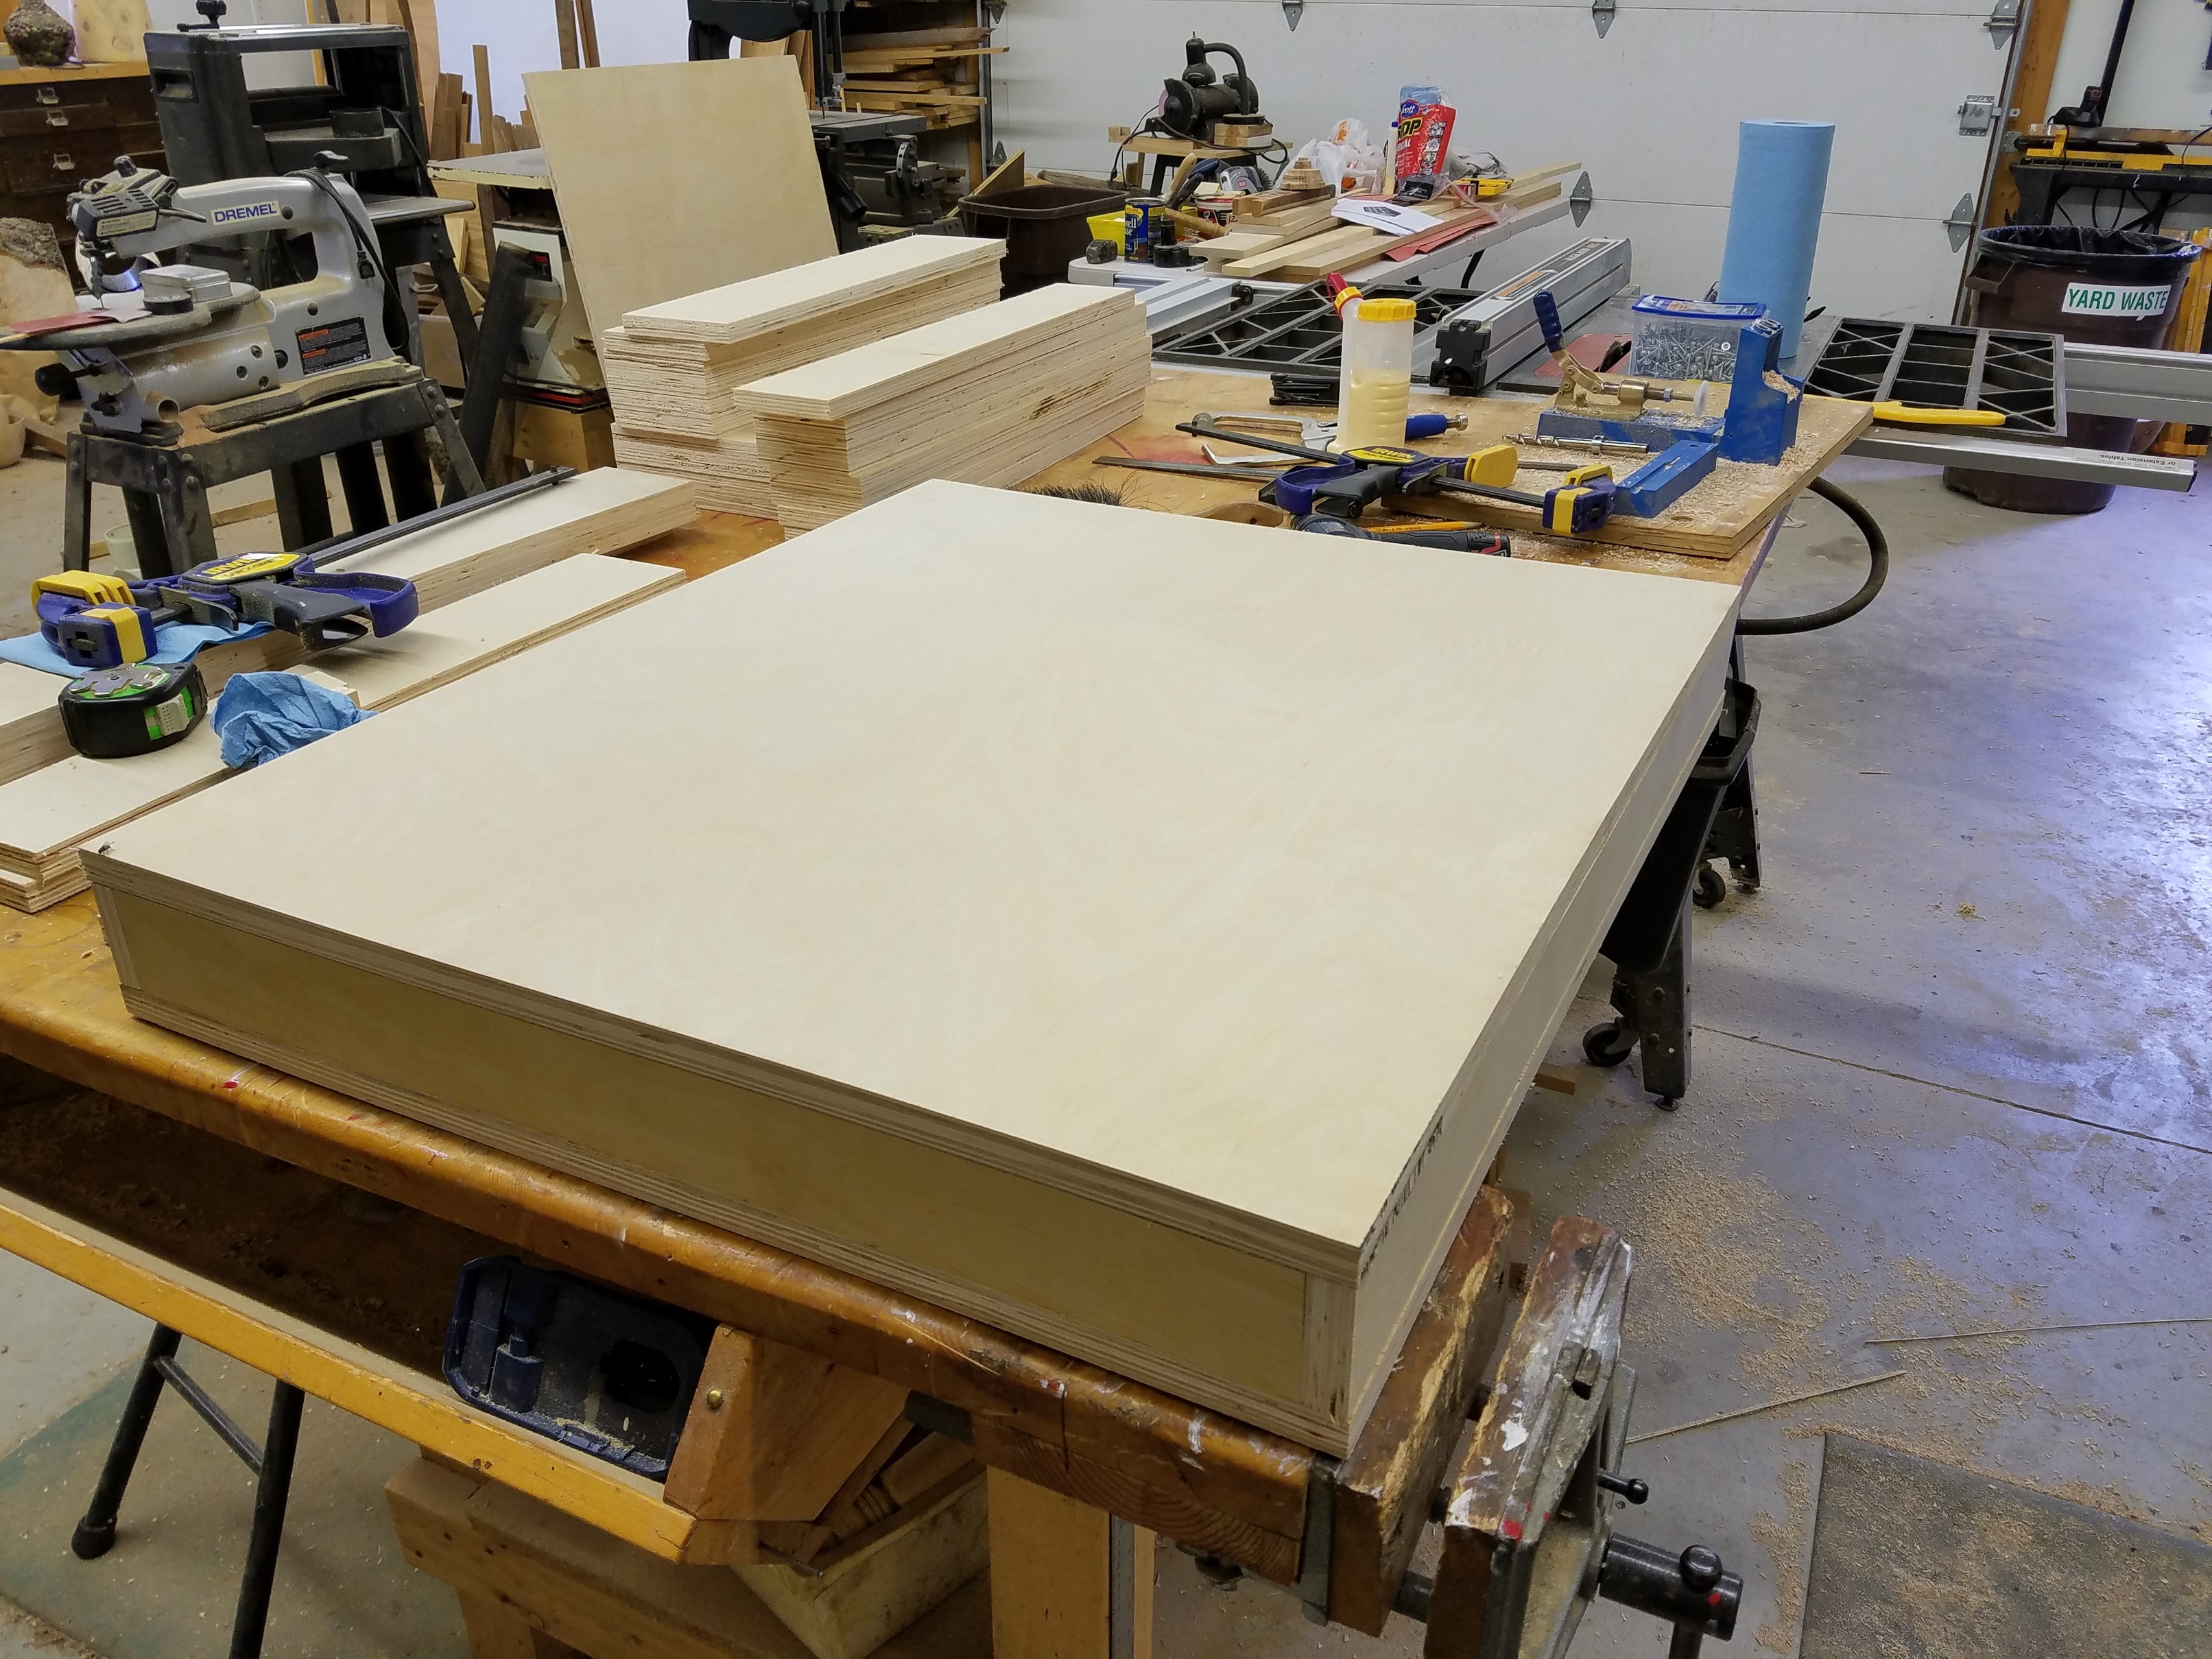
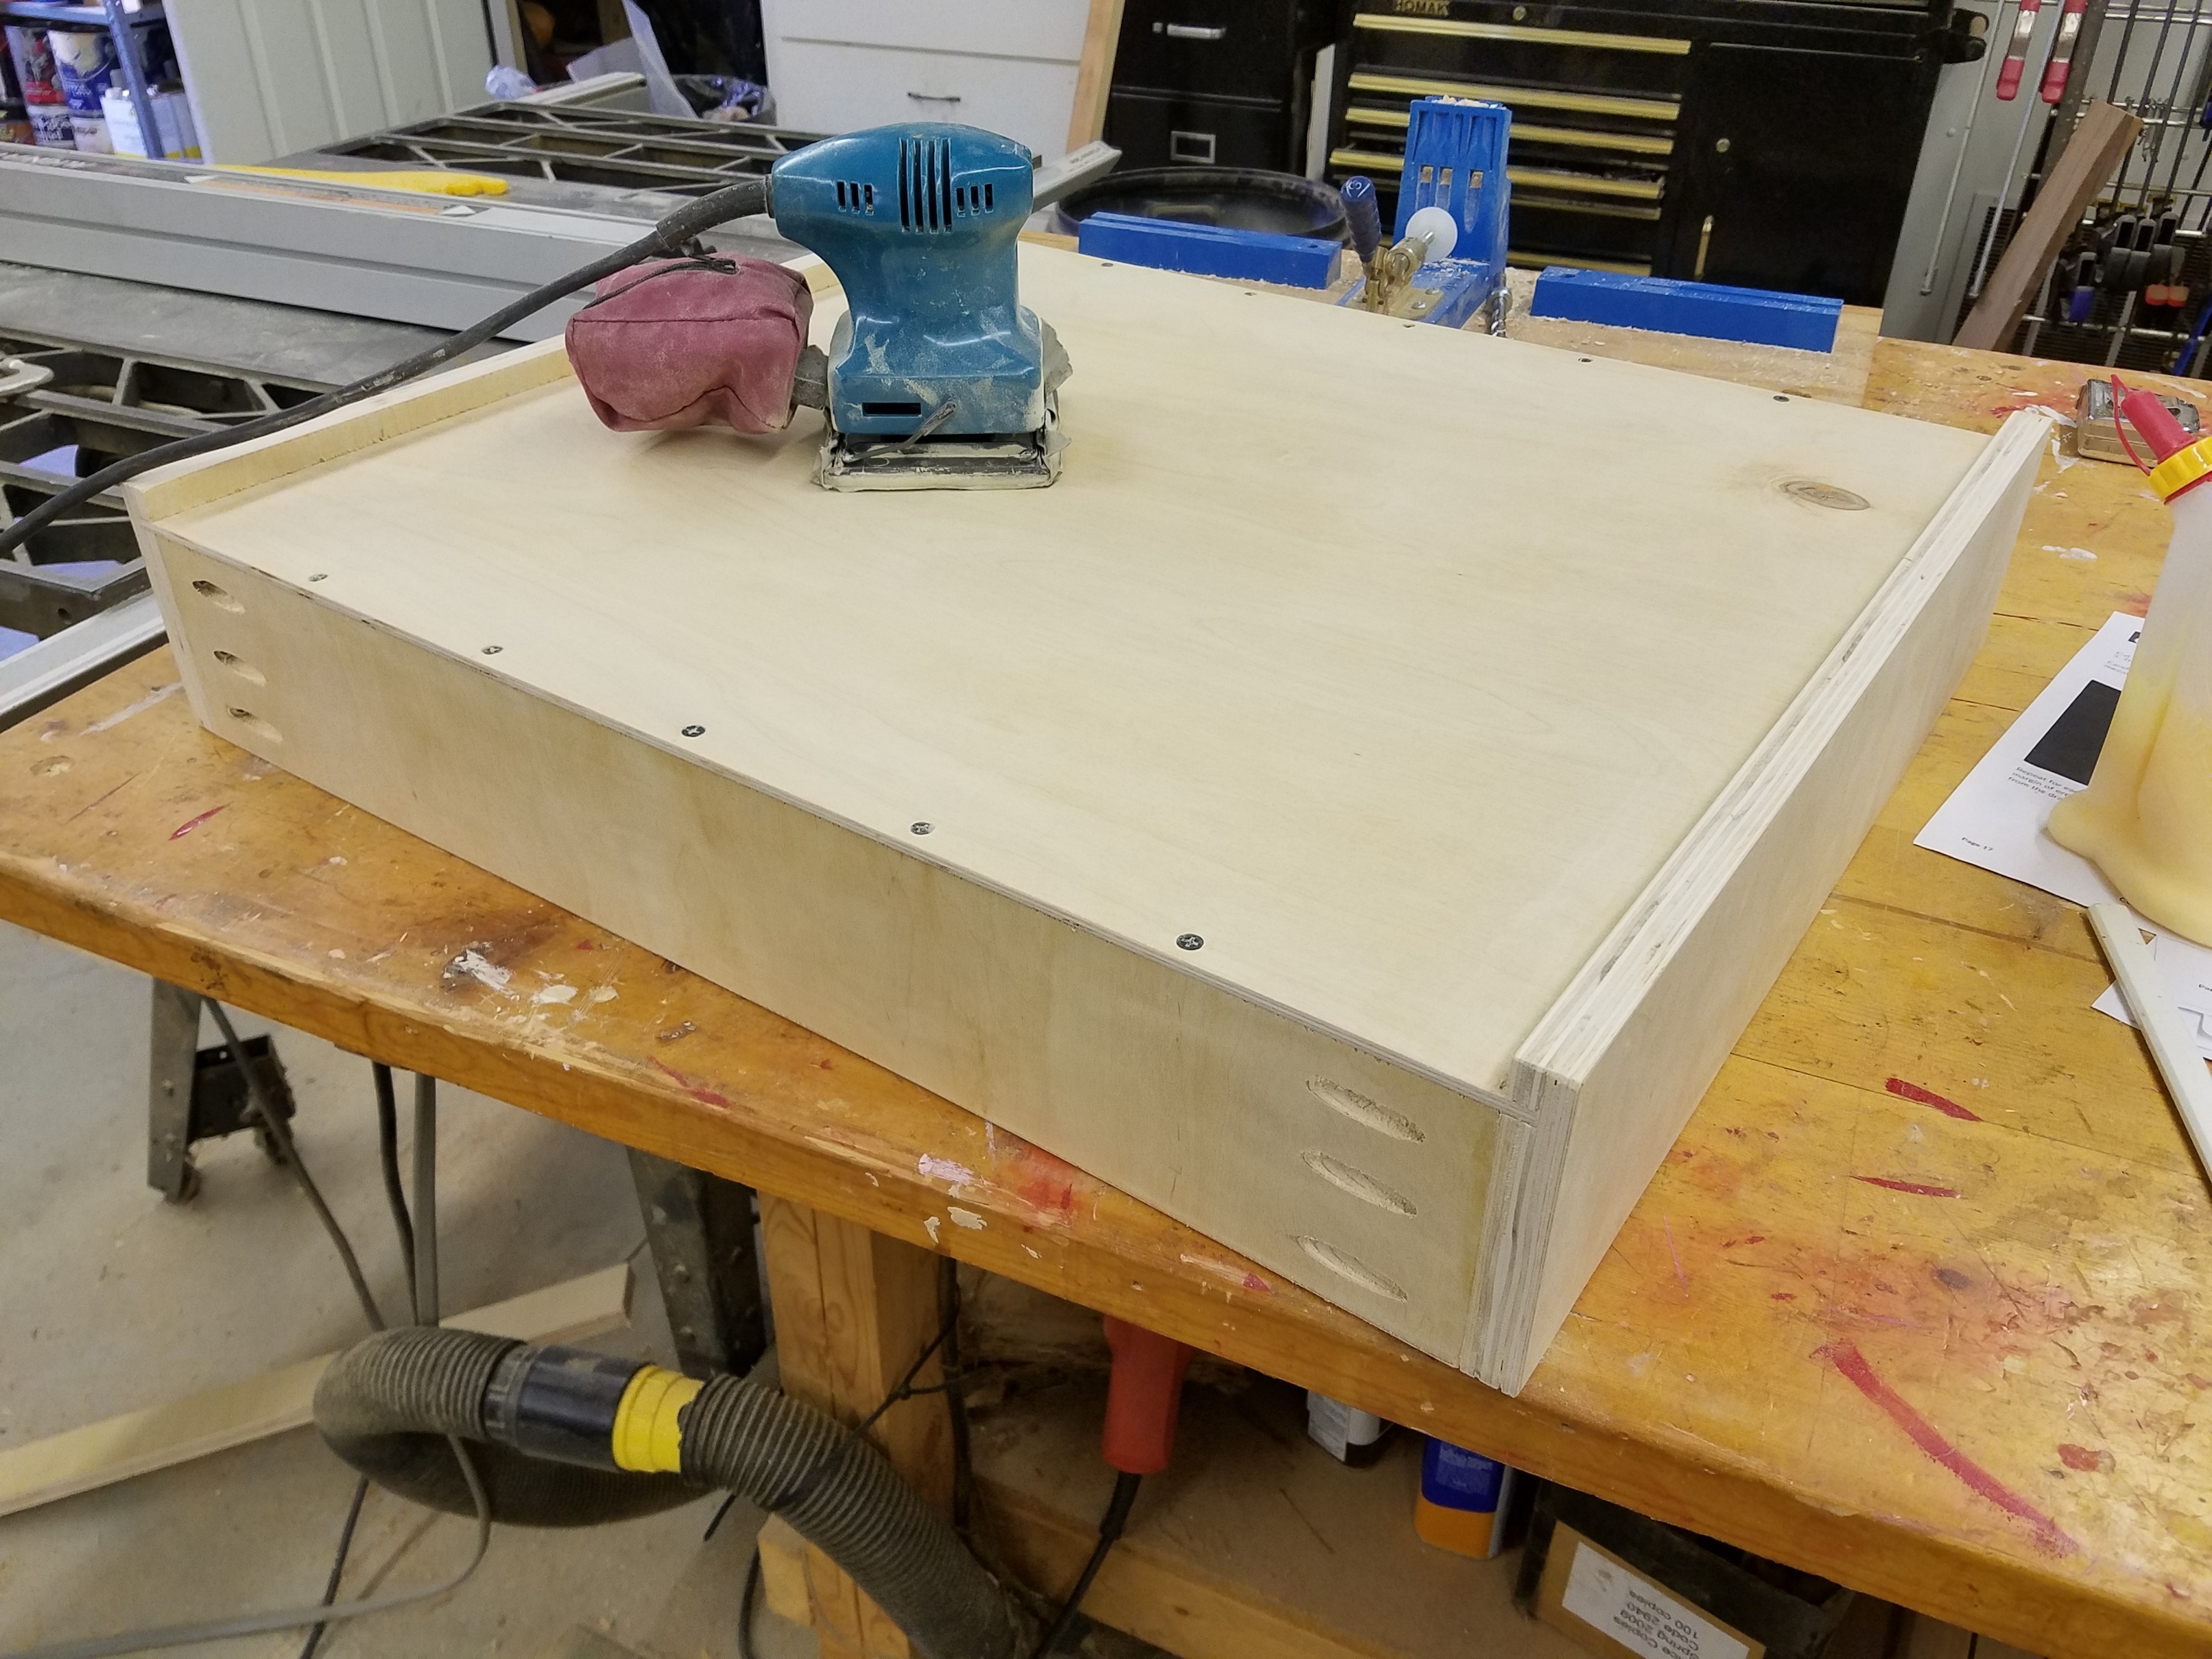
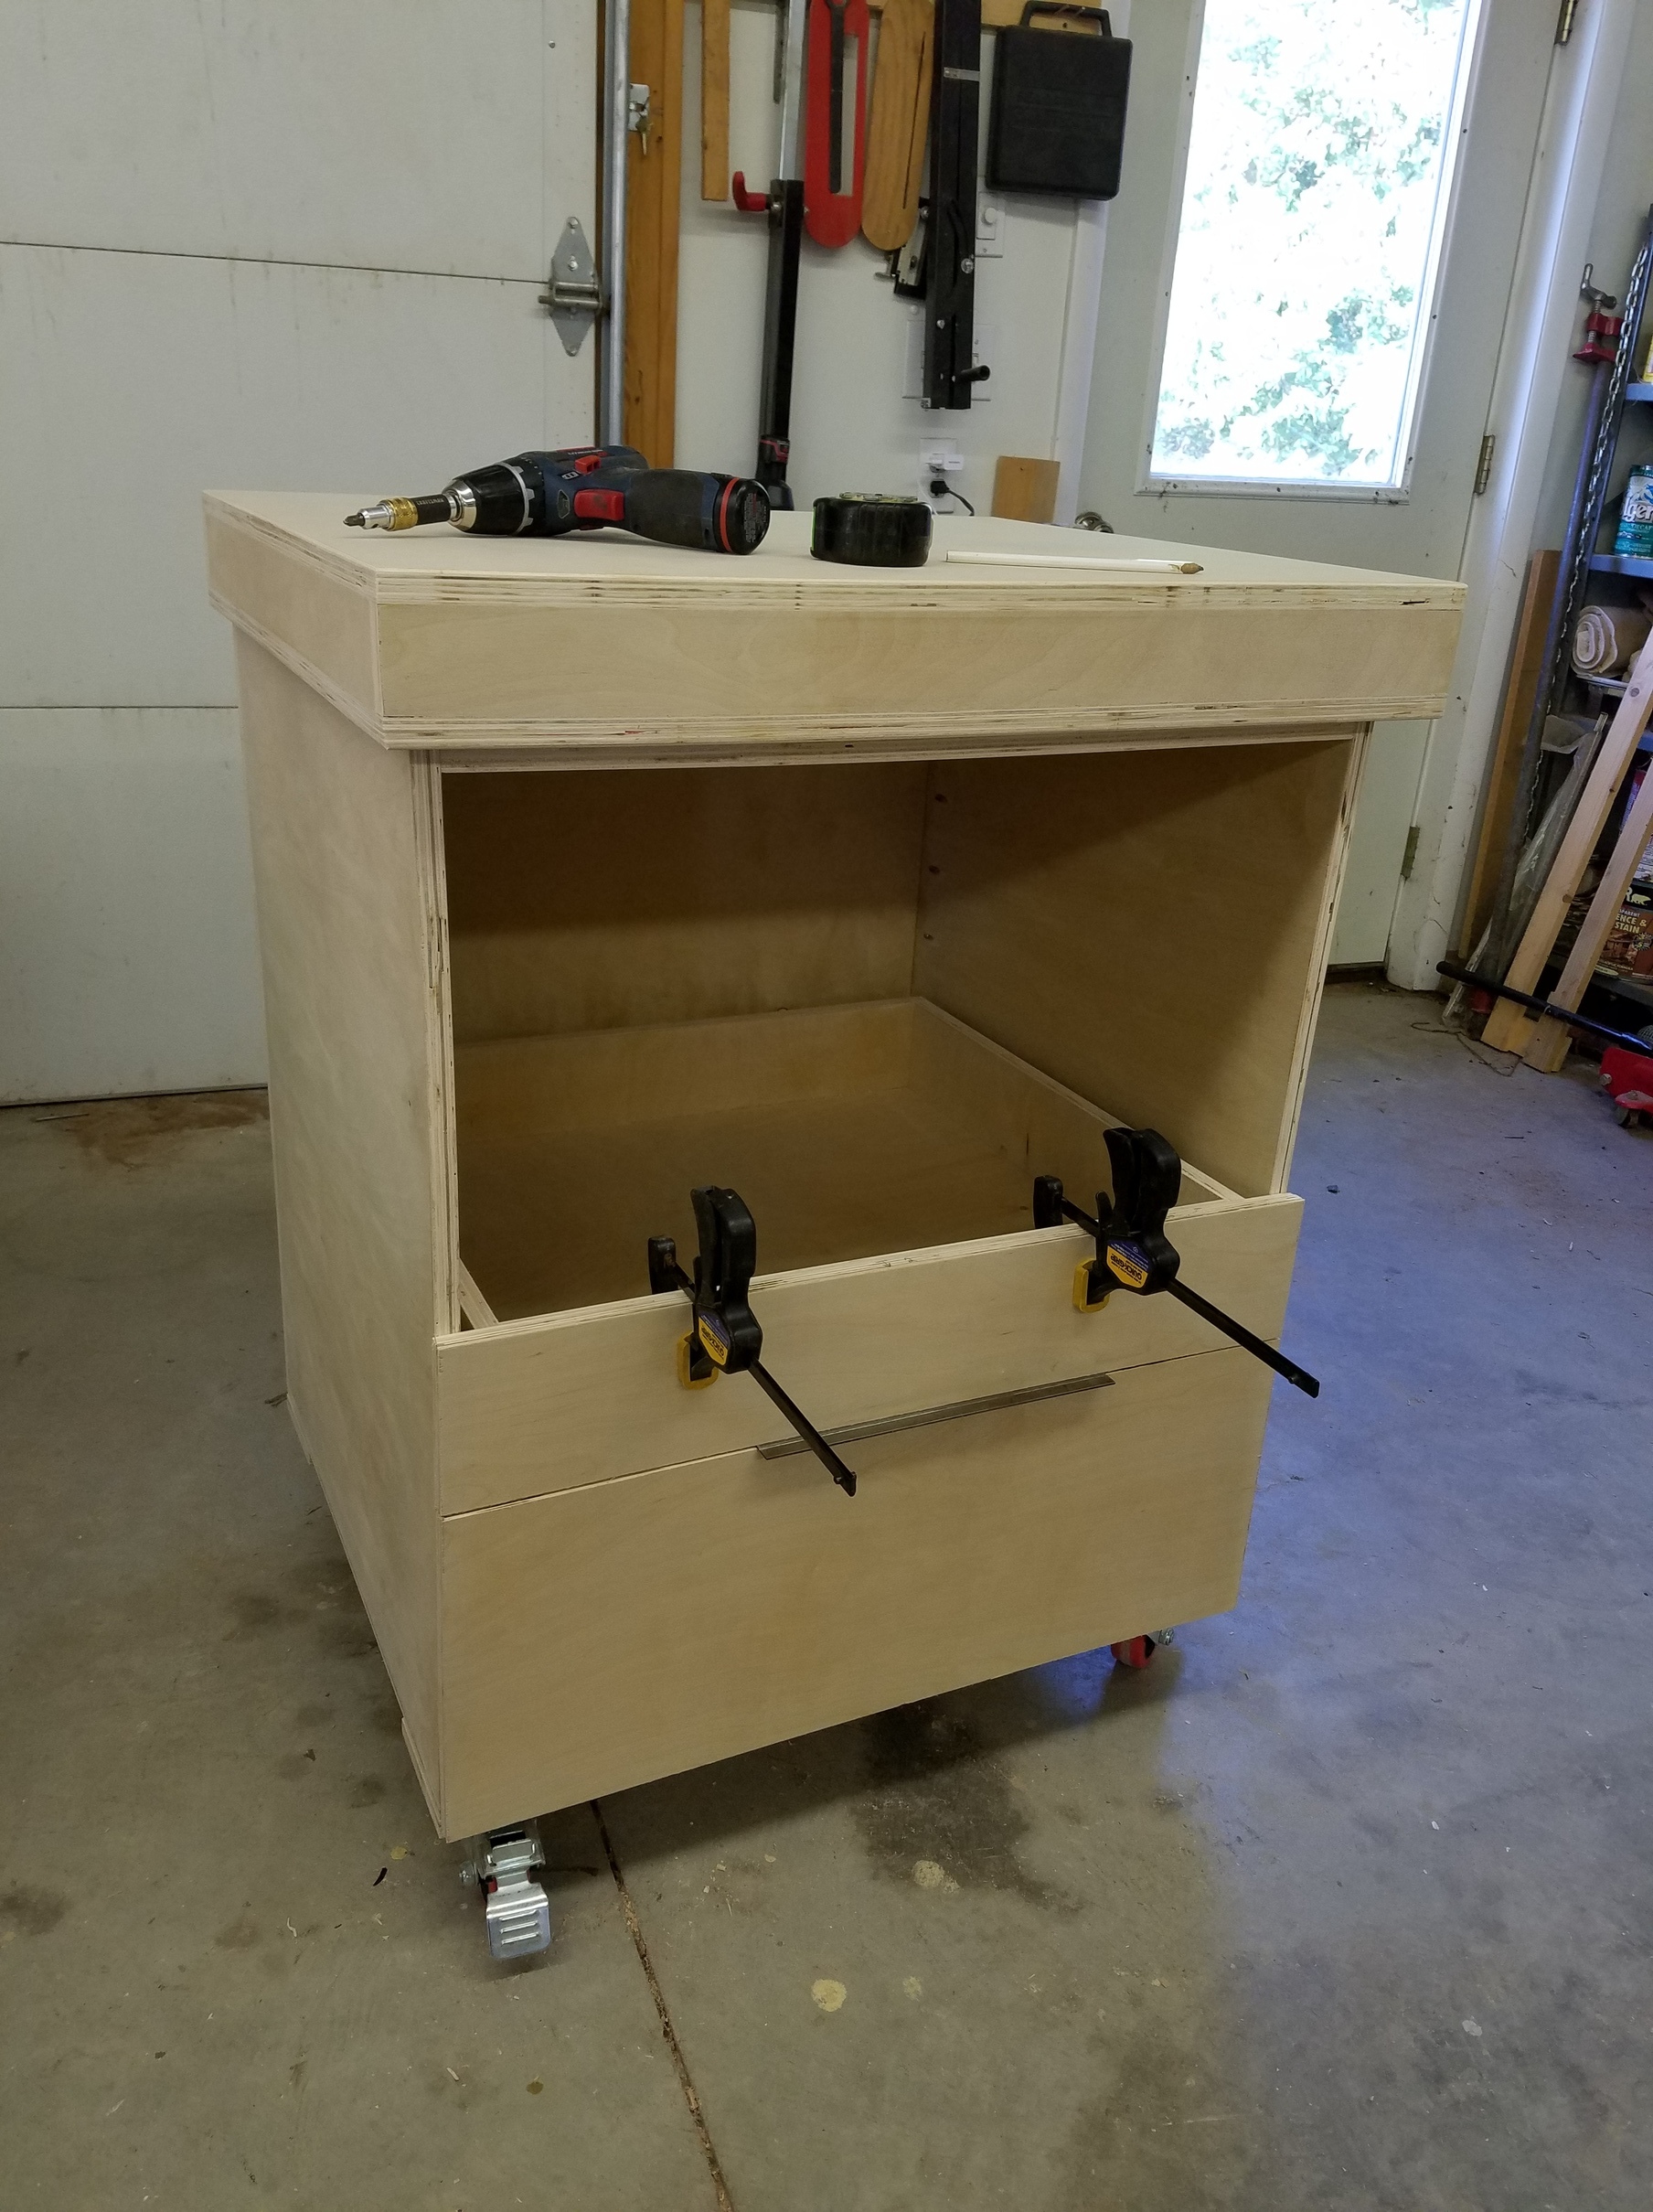
Building the torsion box top:
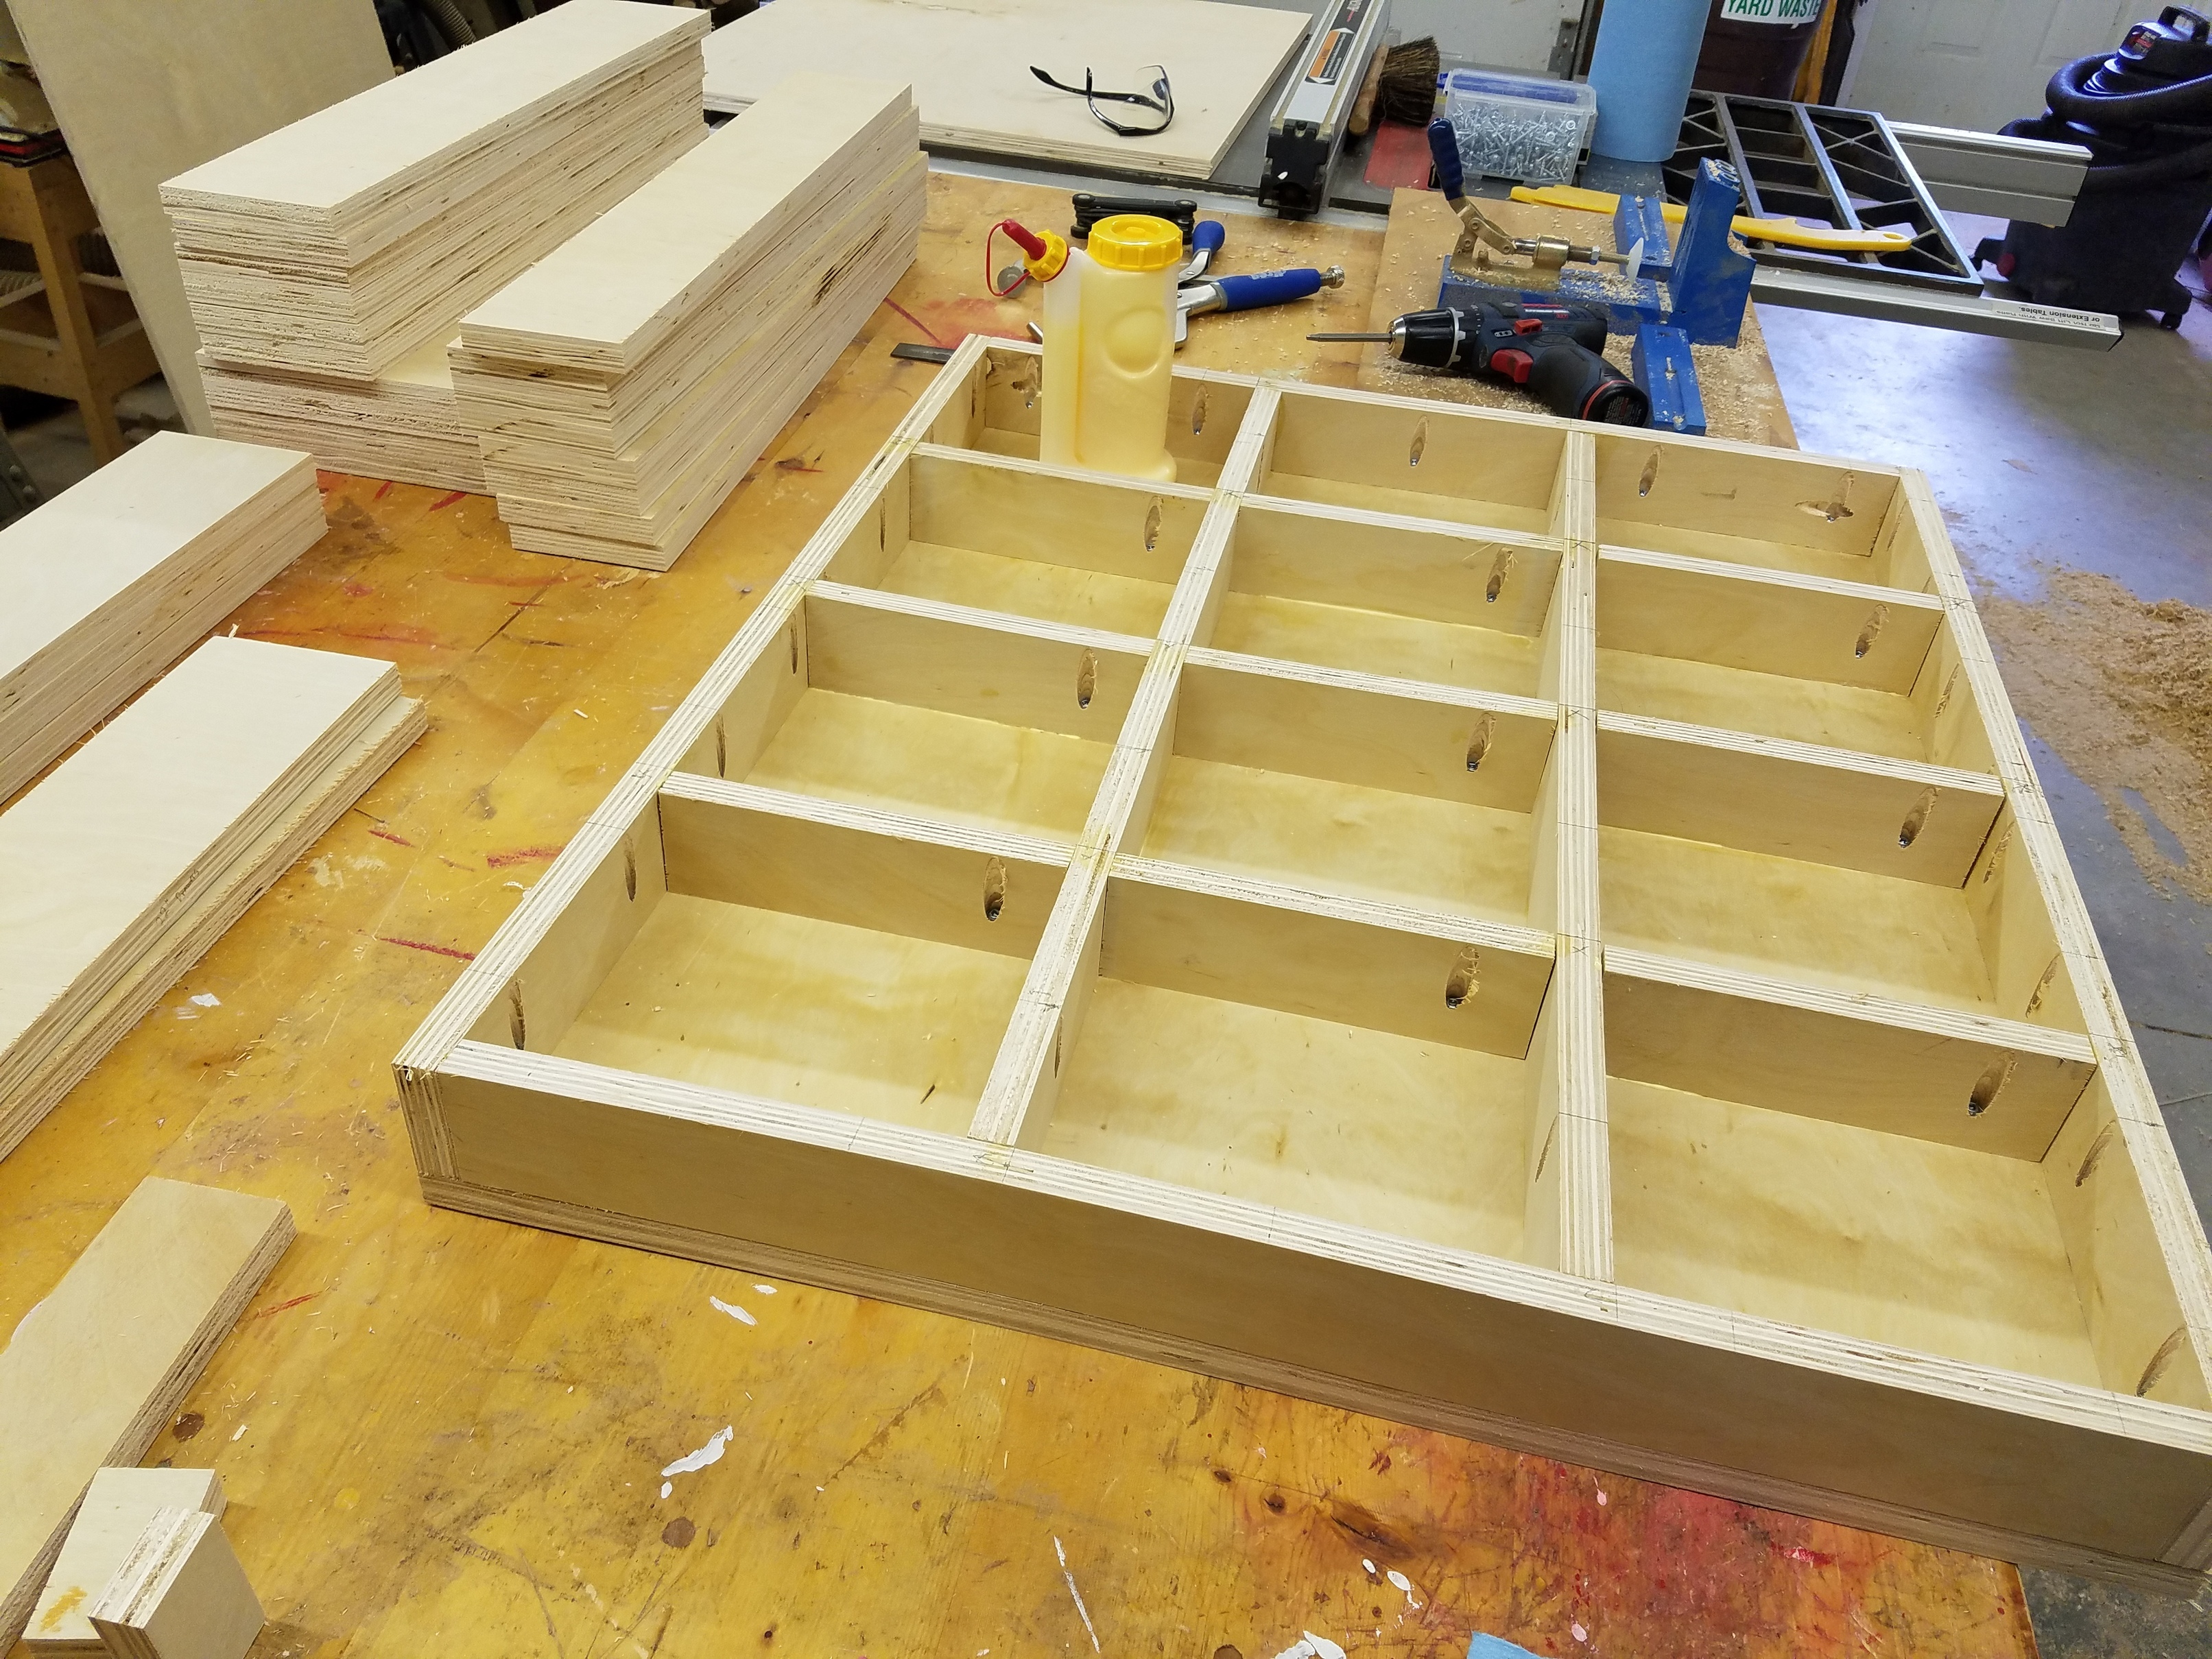
Putting together the slats and cabinet sides. I know, my side grain is running horizontally… I figured it was just a work cabinet and this way it would require less sheets of plywood.
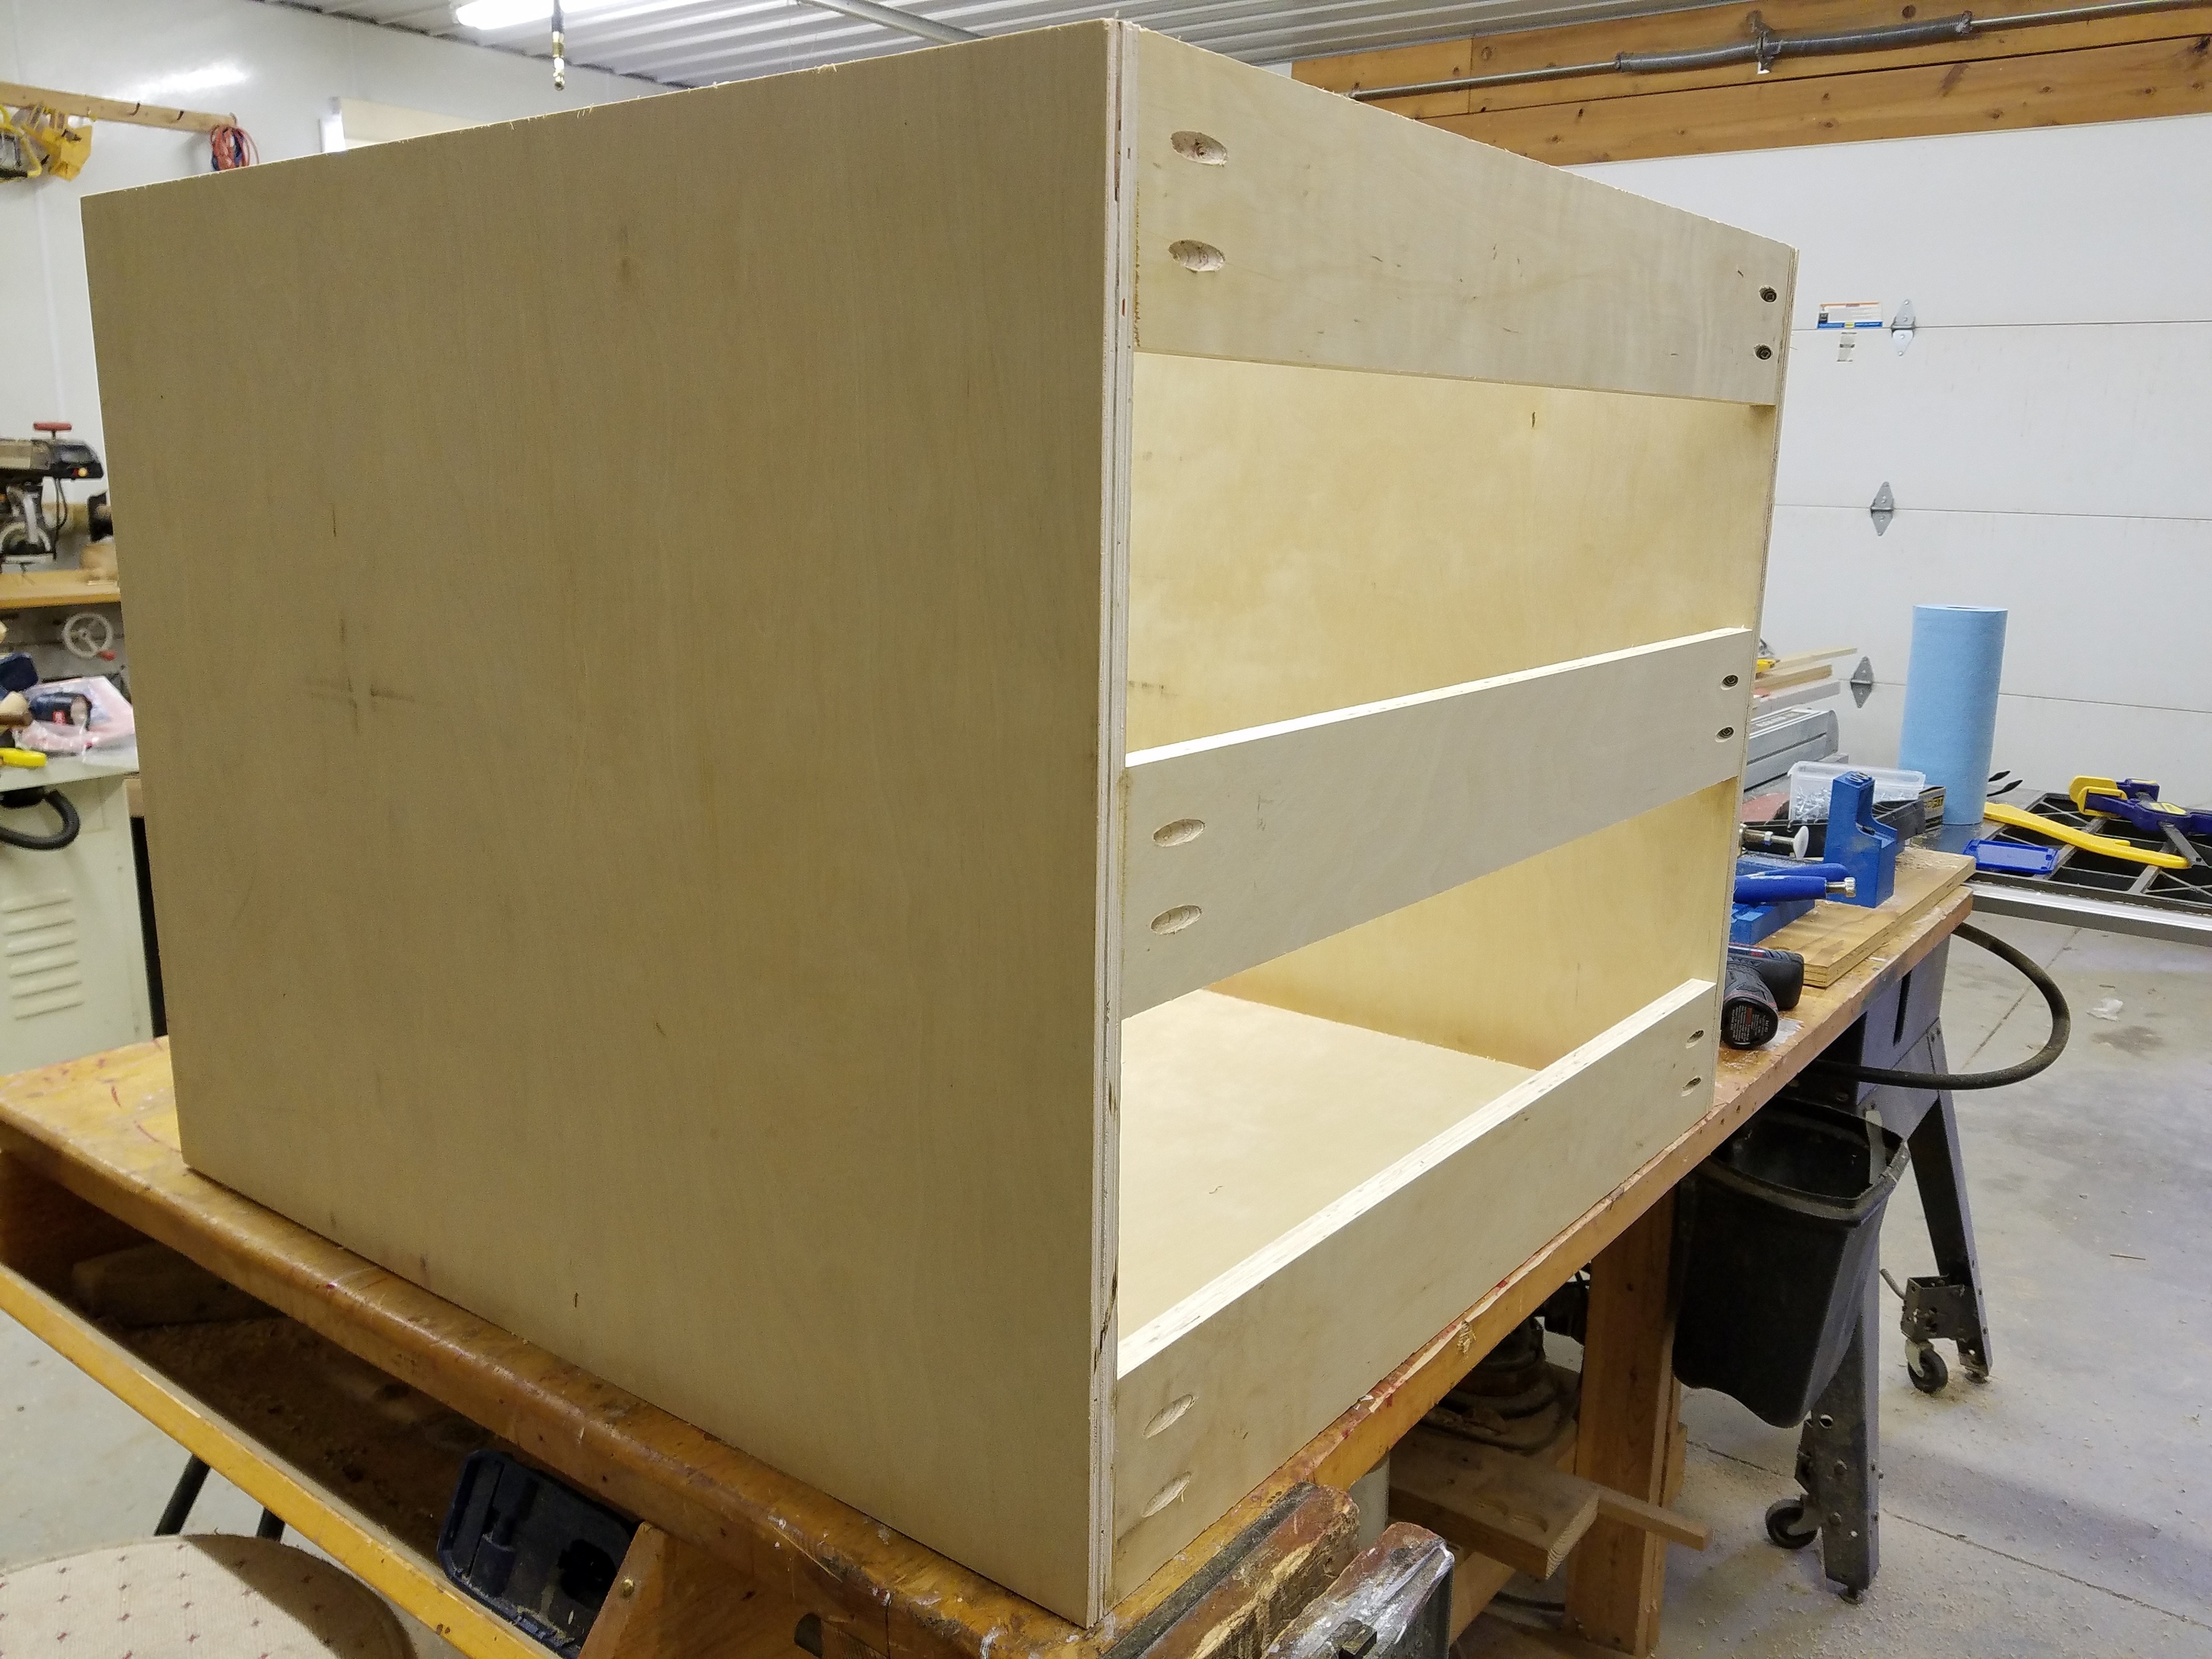
Full extension, 100lb. drawer slides (the smaller drawers are also soft close):
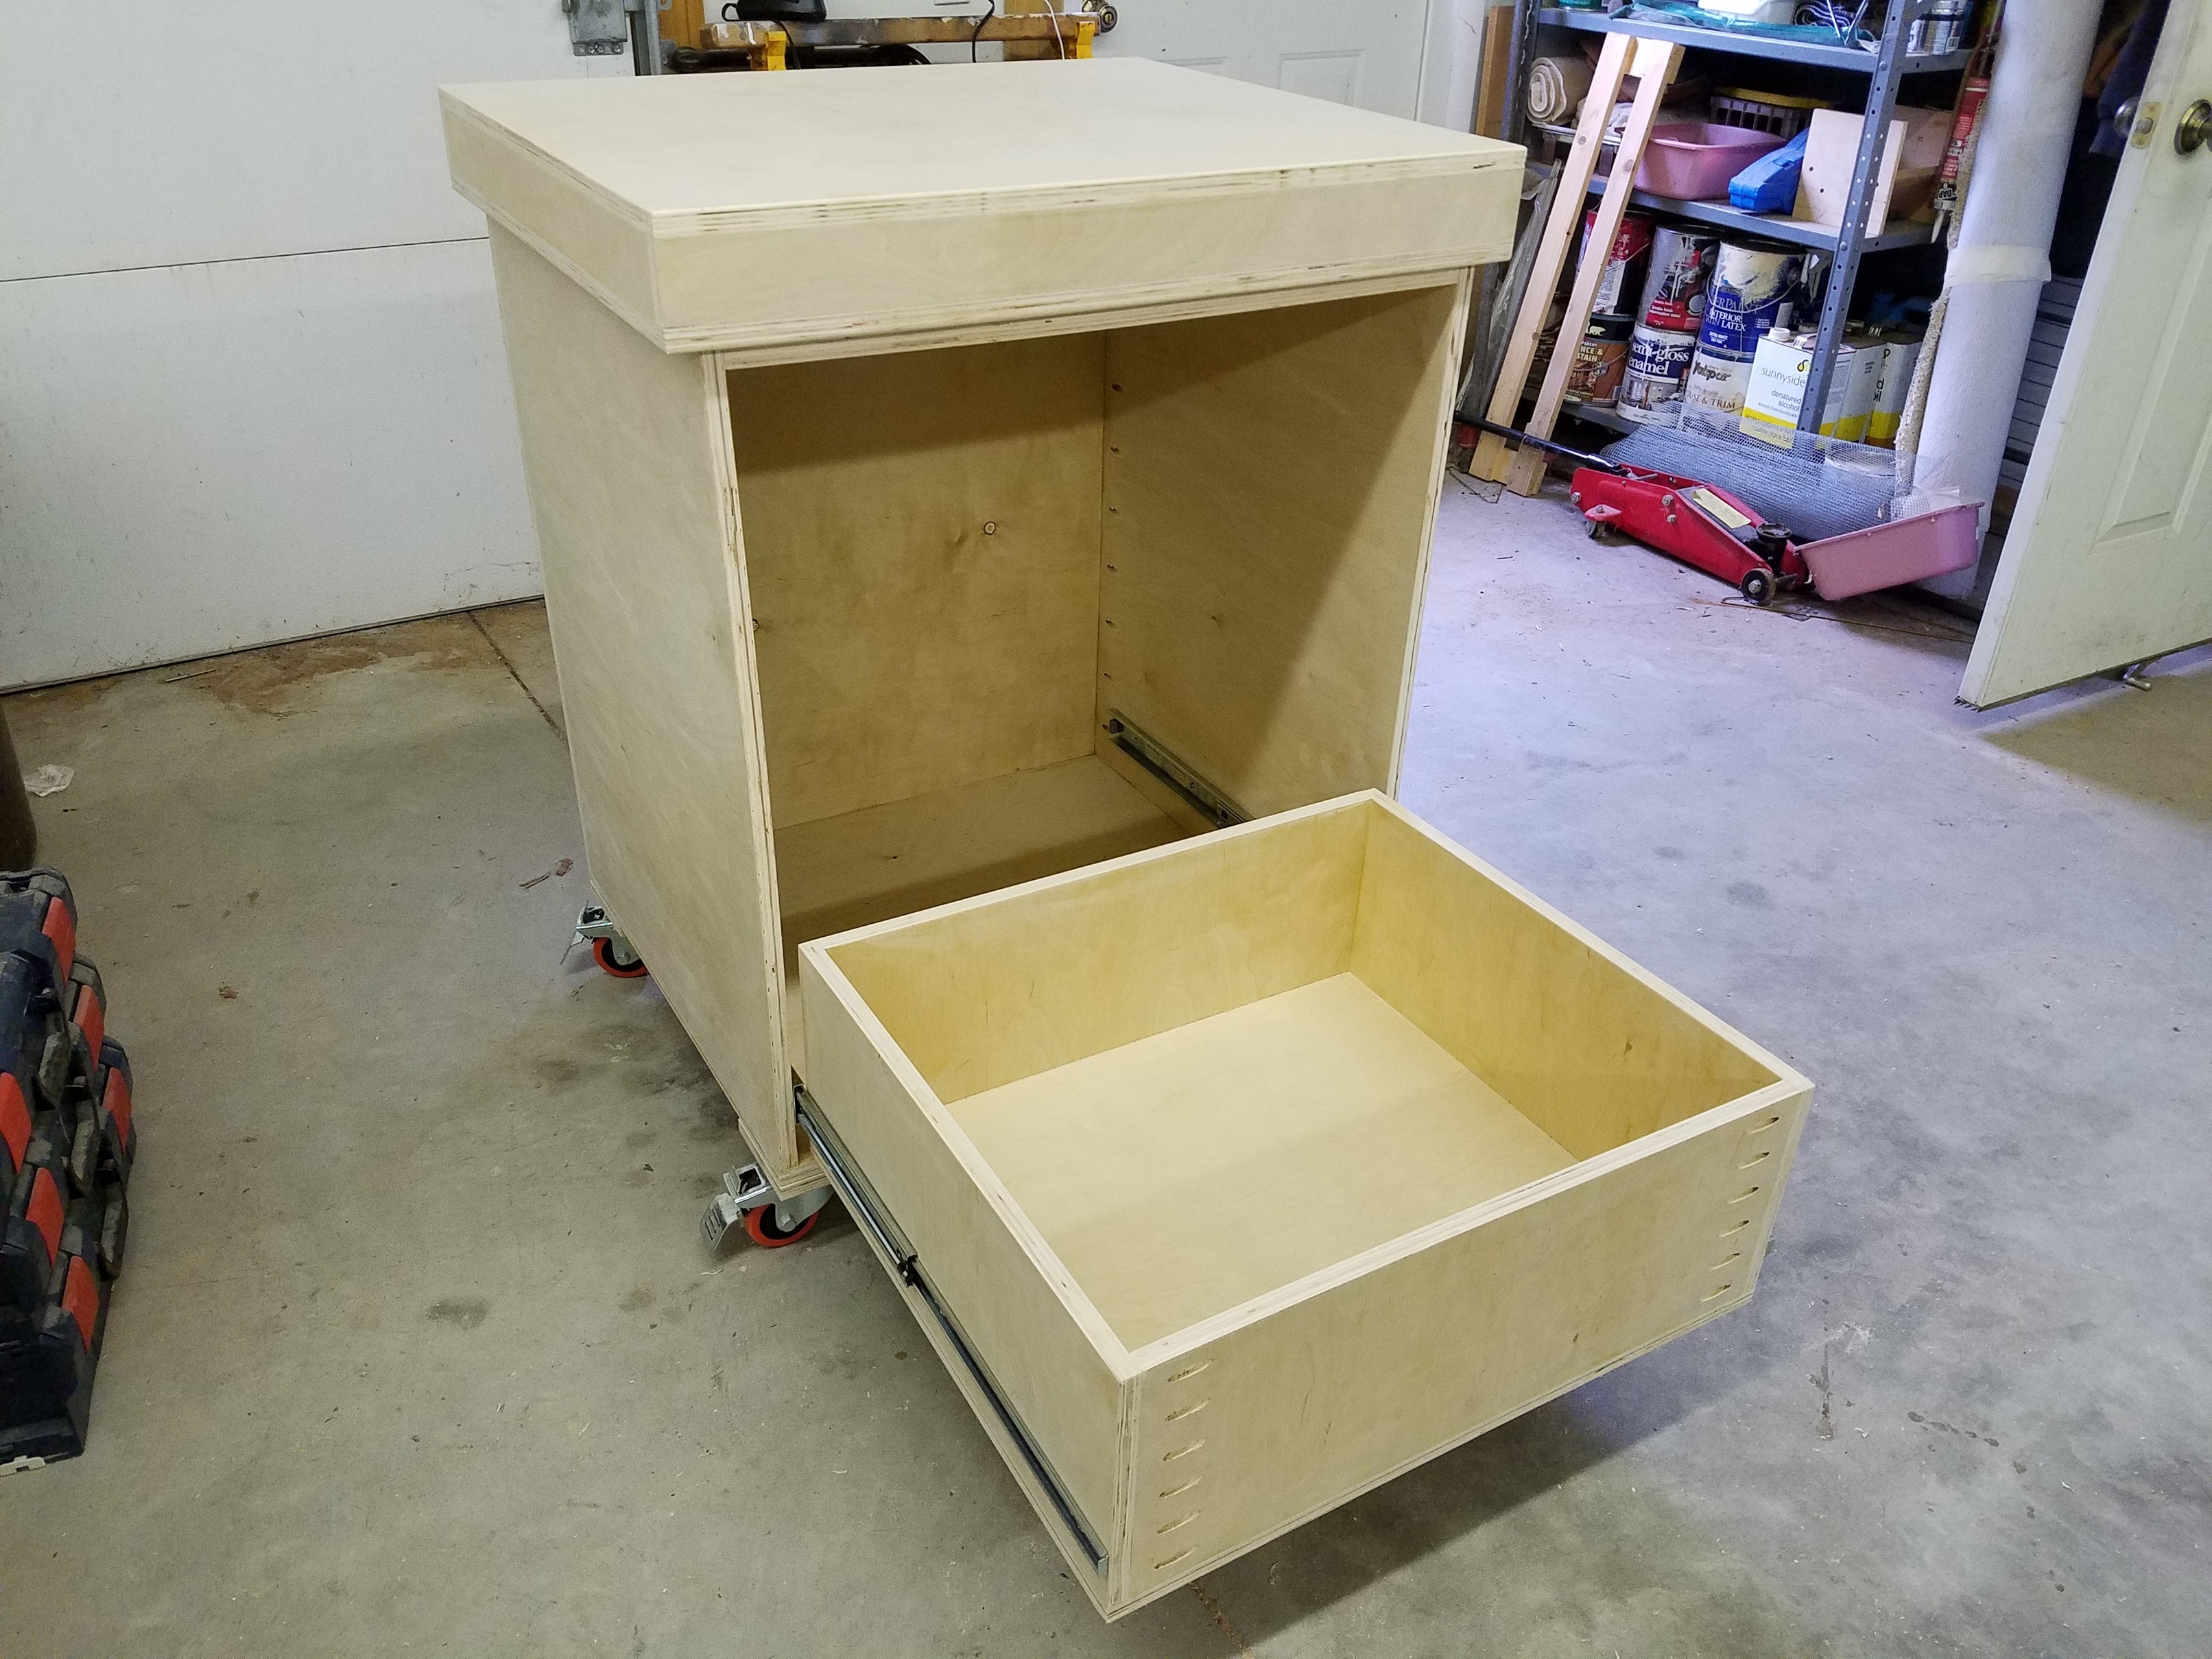
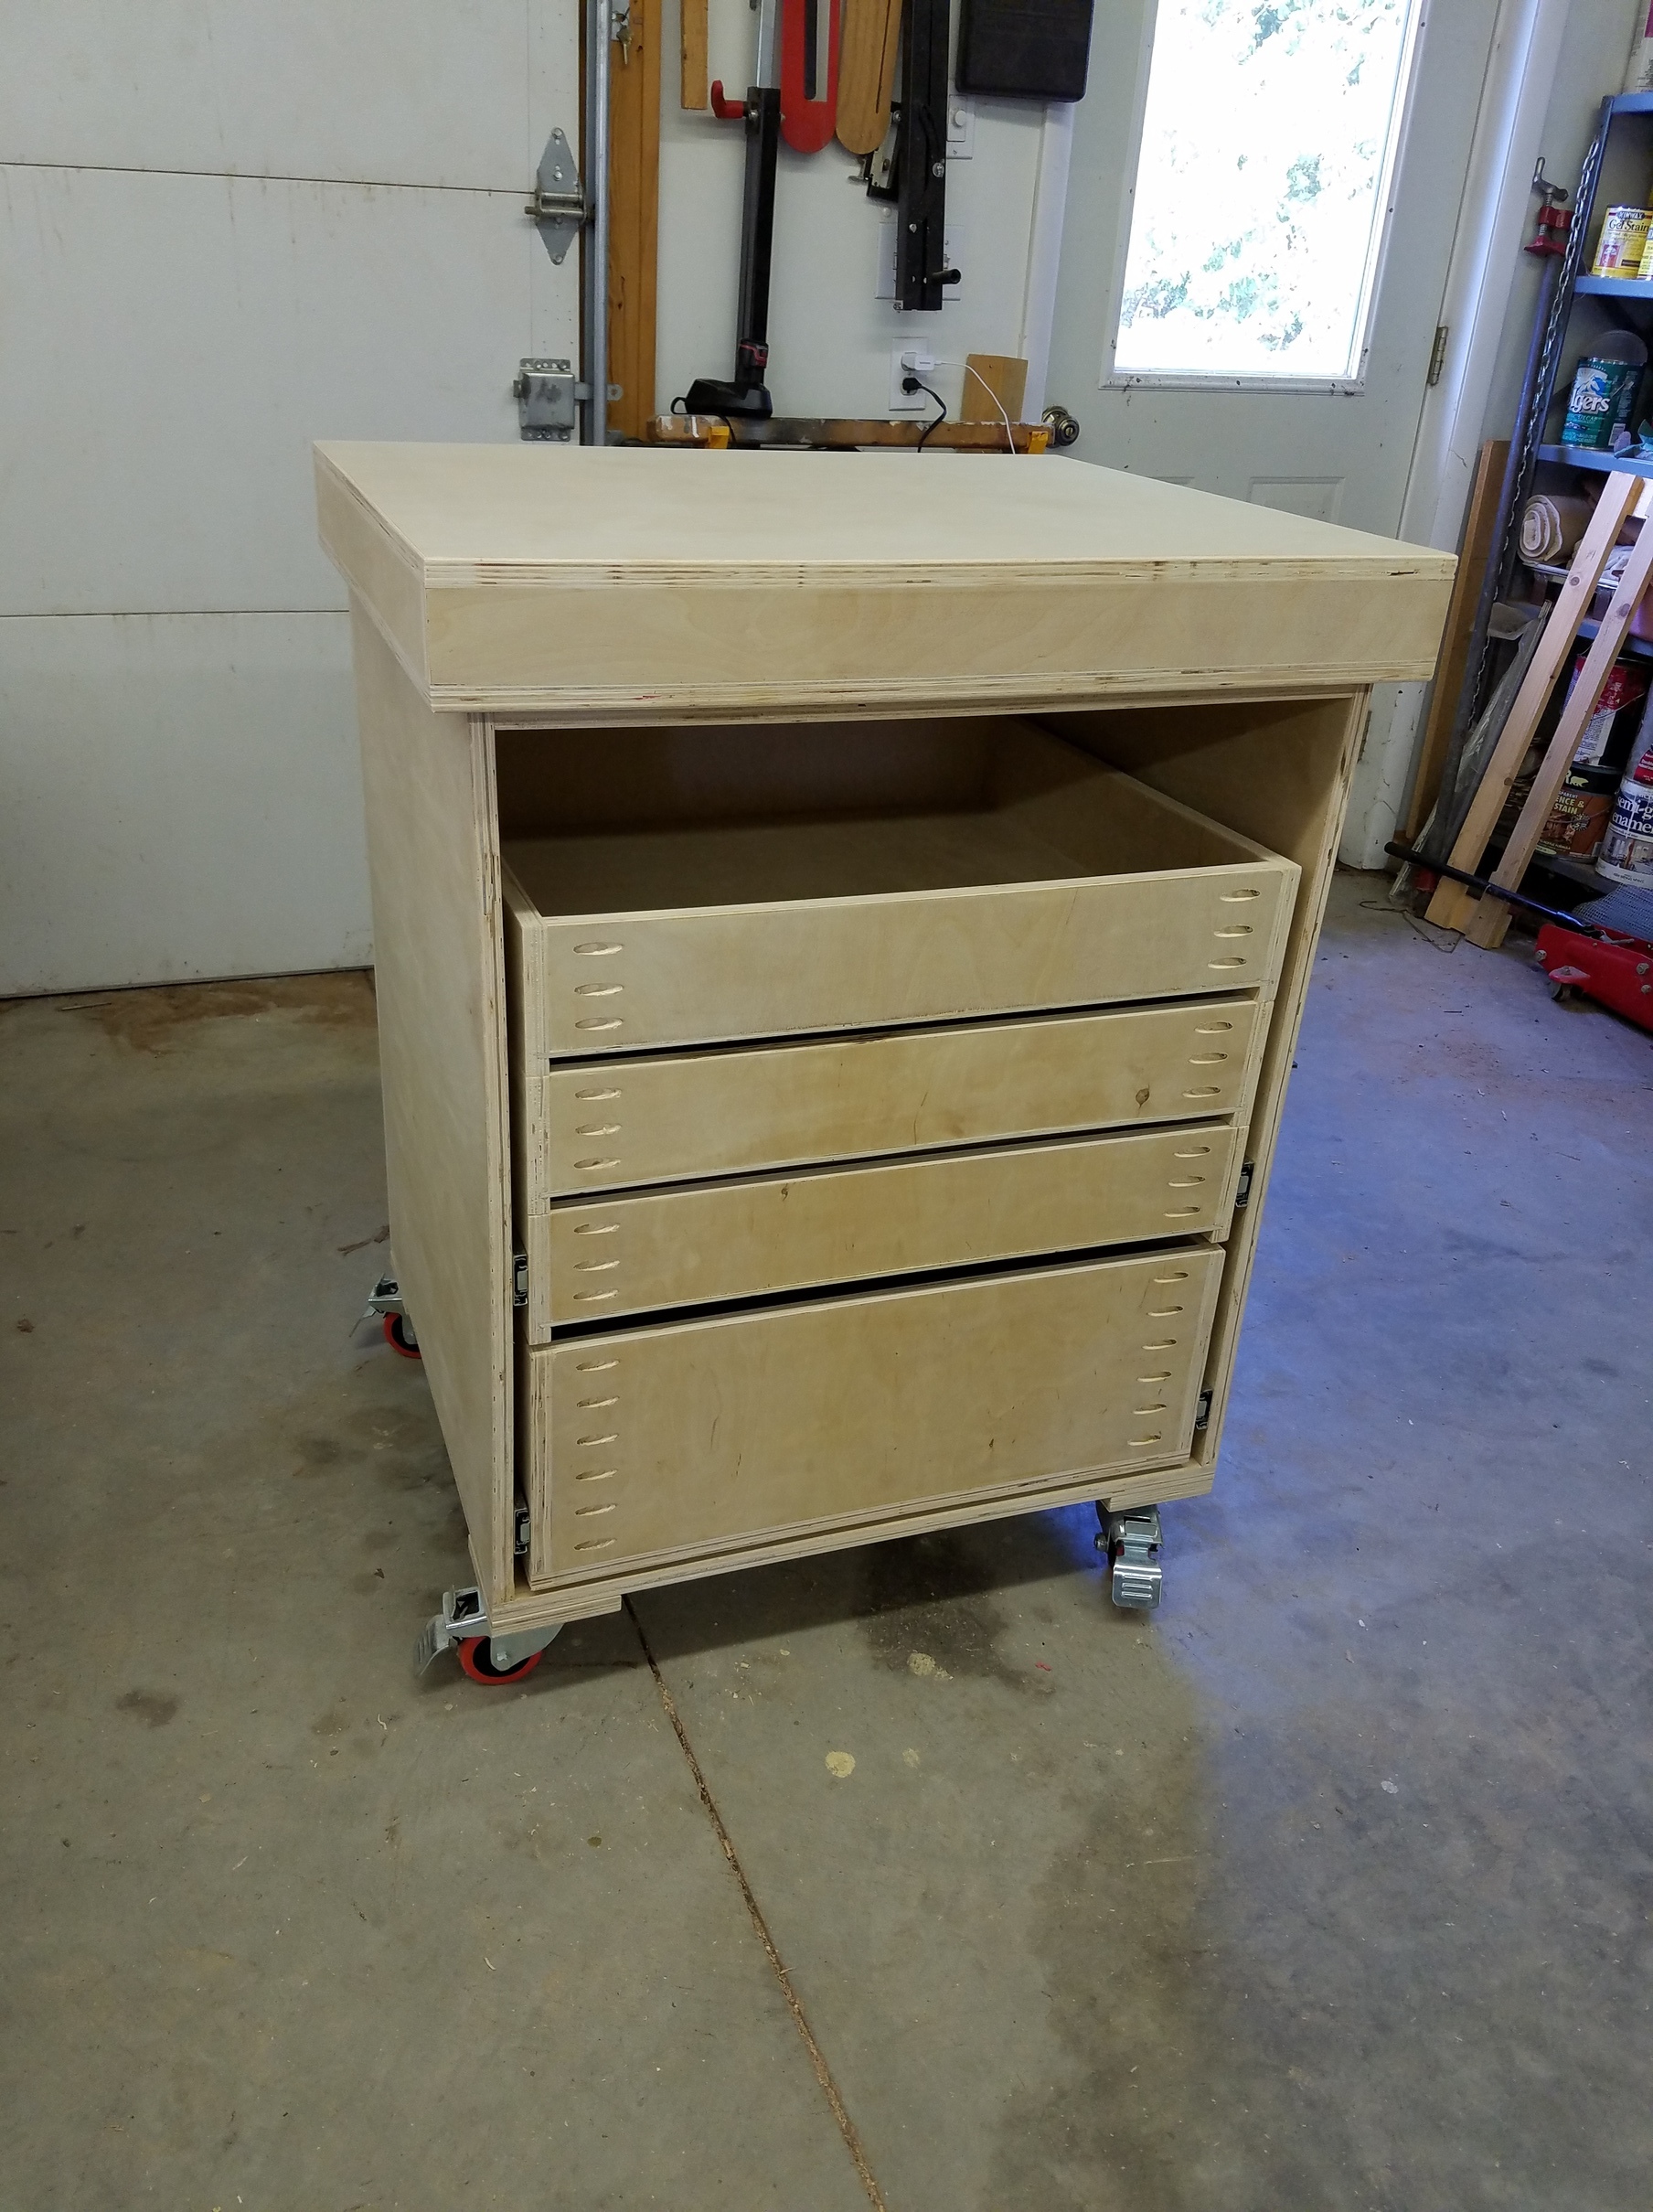
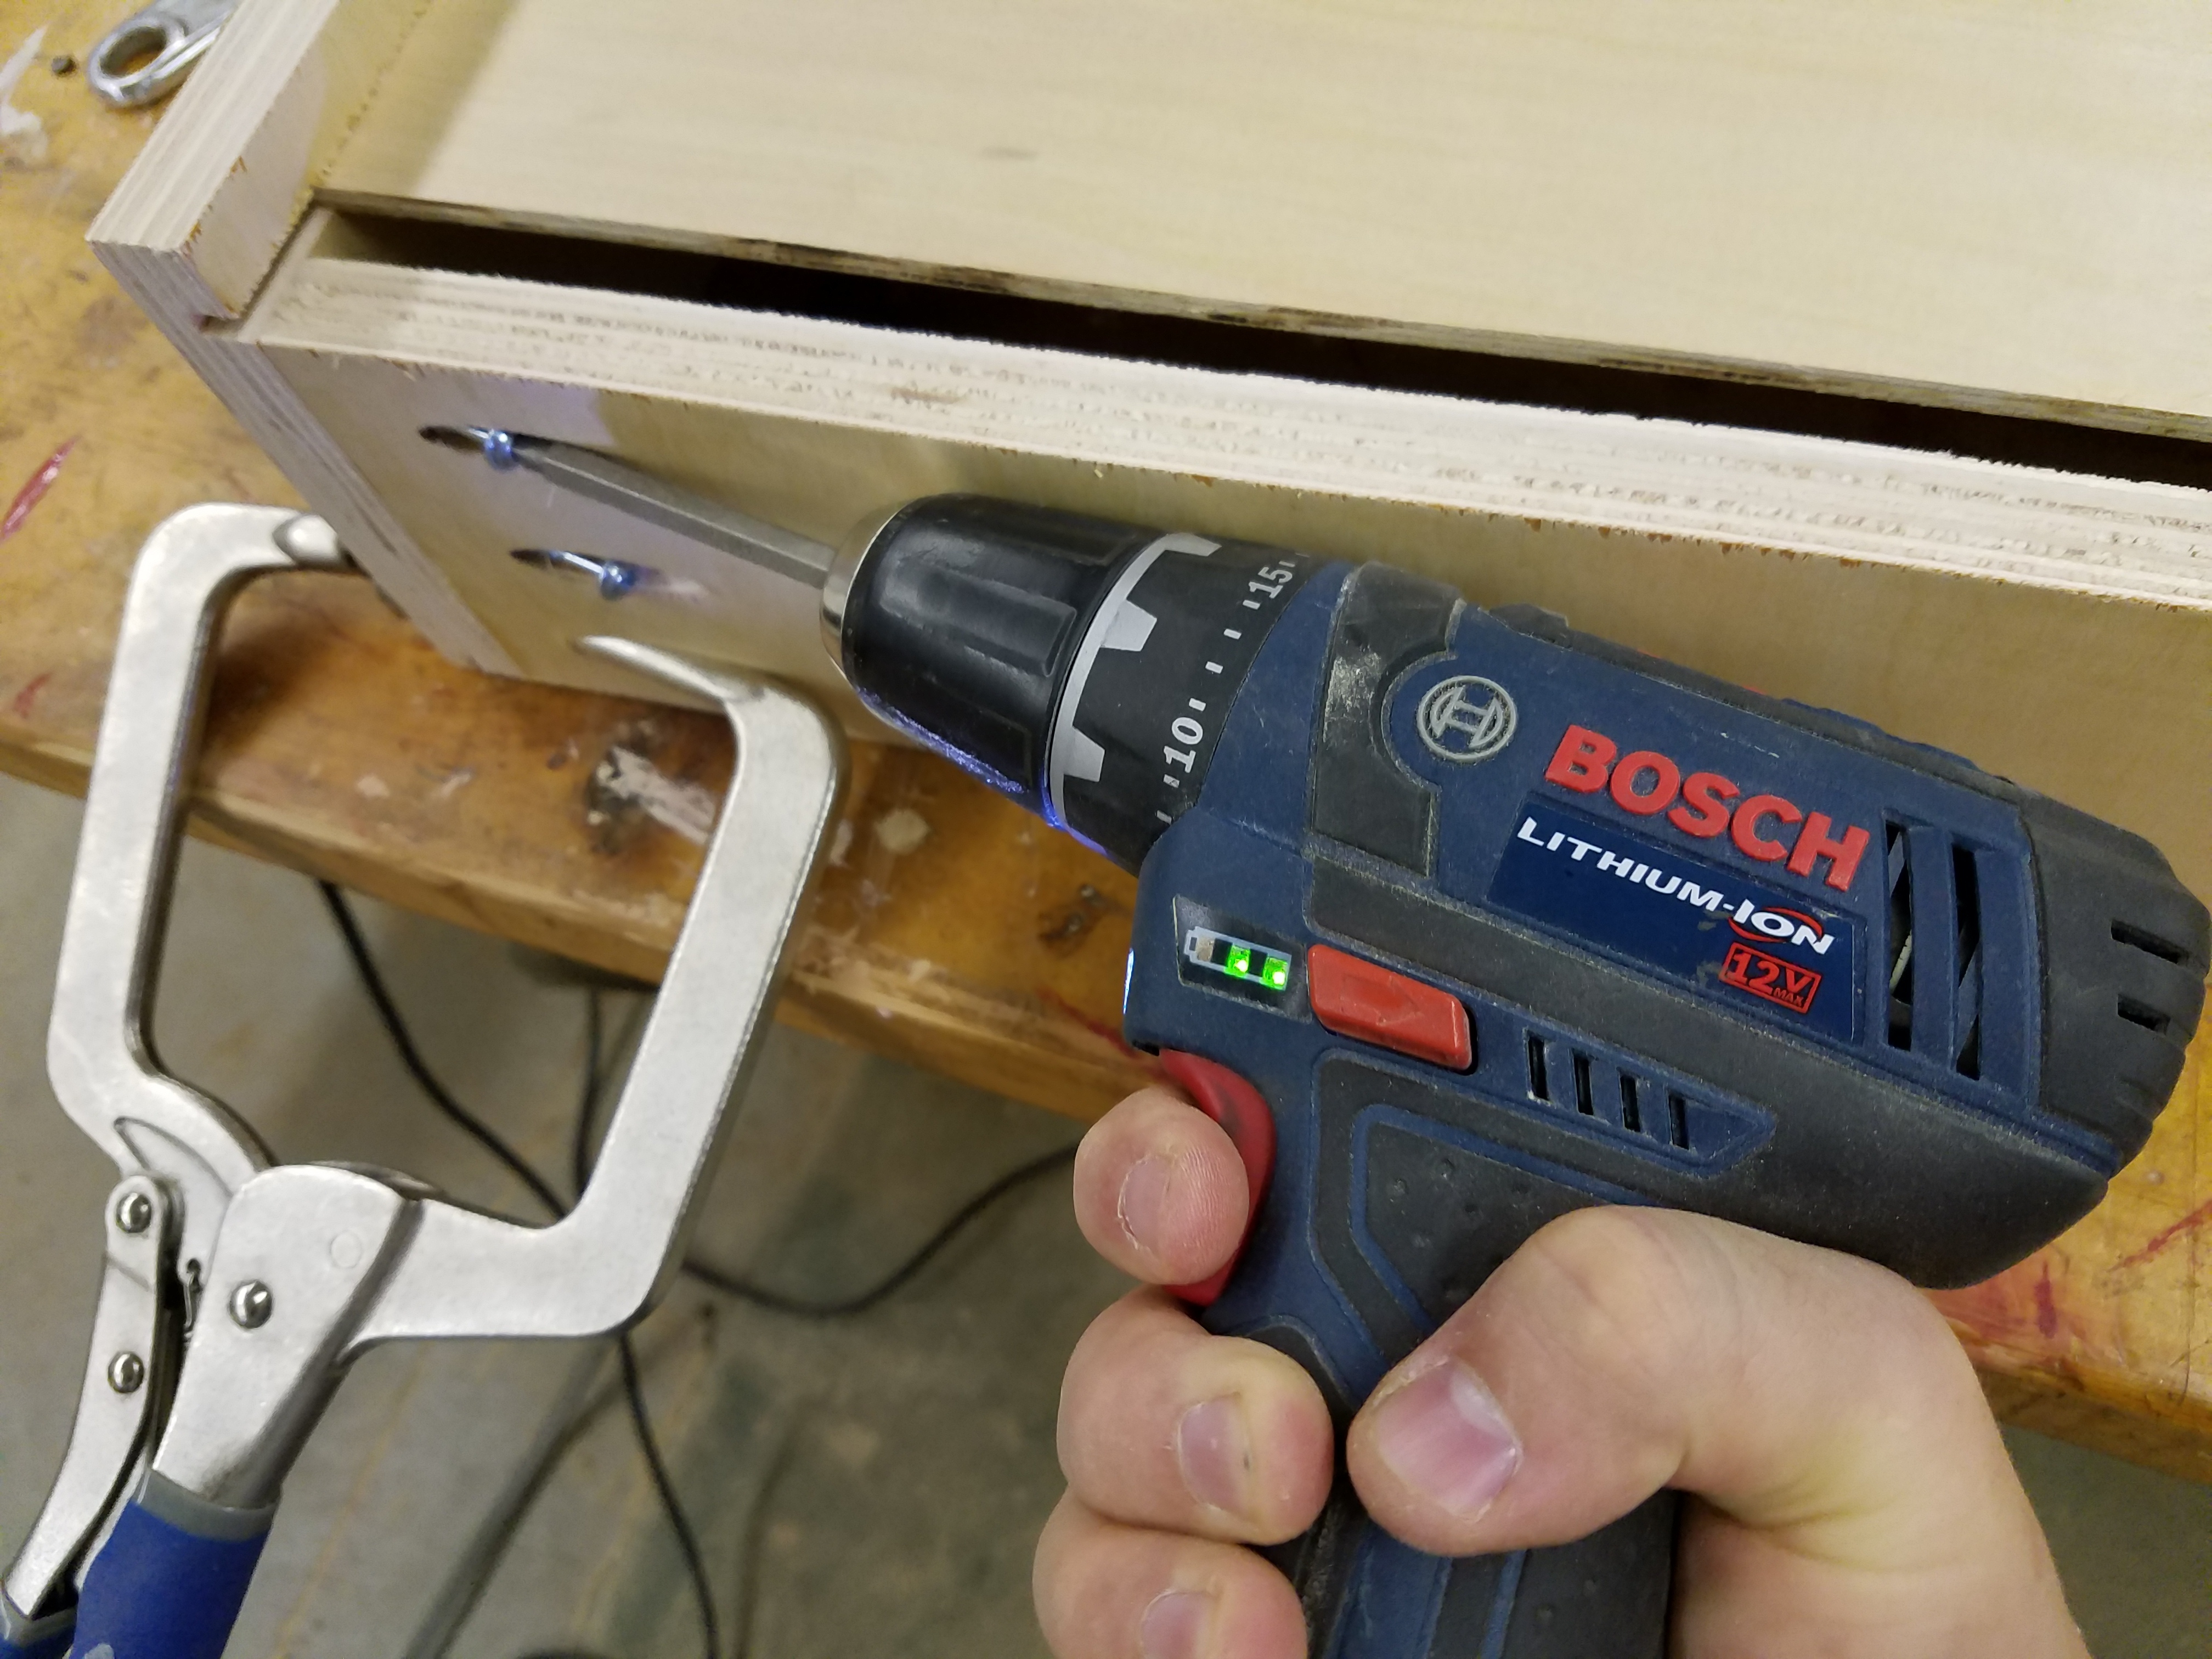
Pretty much all pocket hole screws makes things go together rather fast:
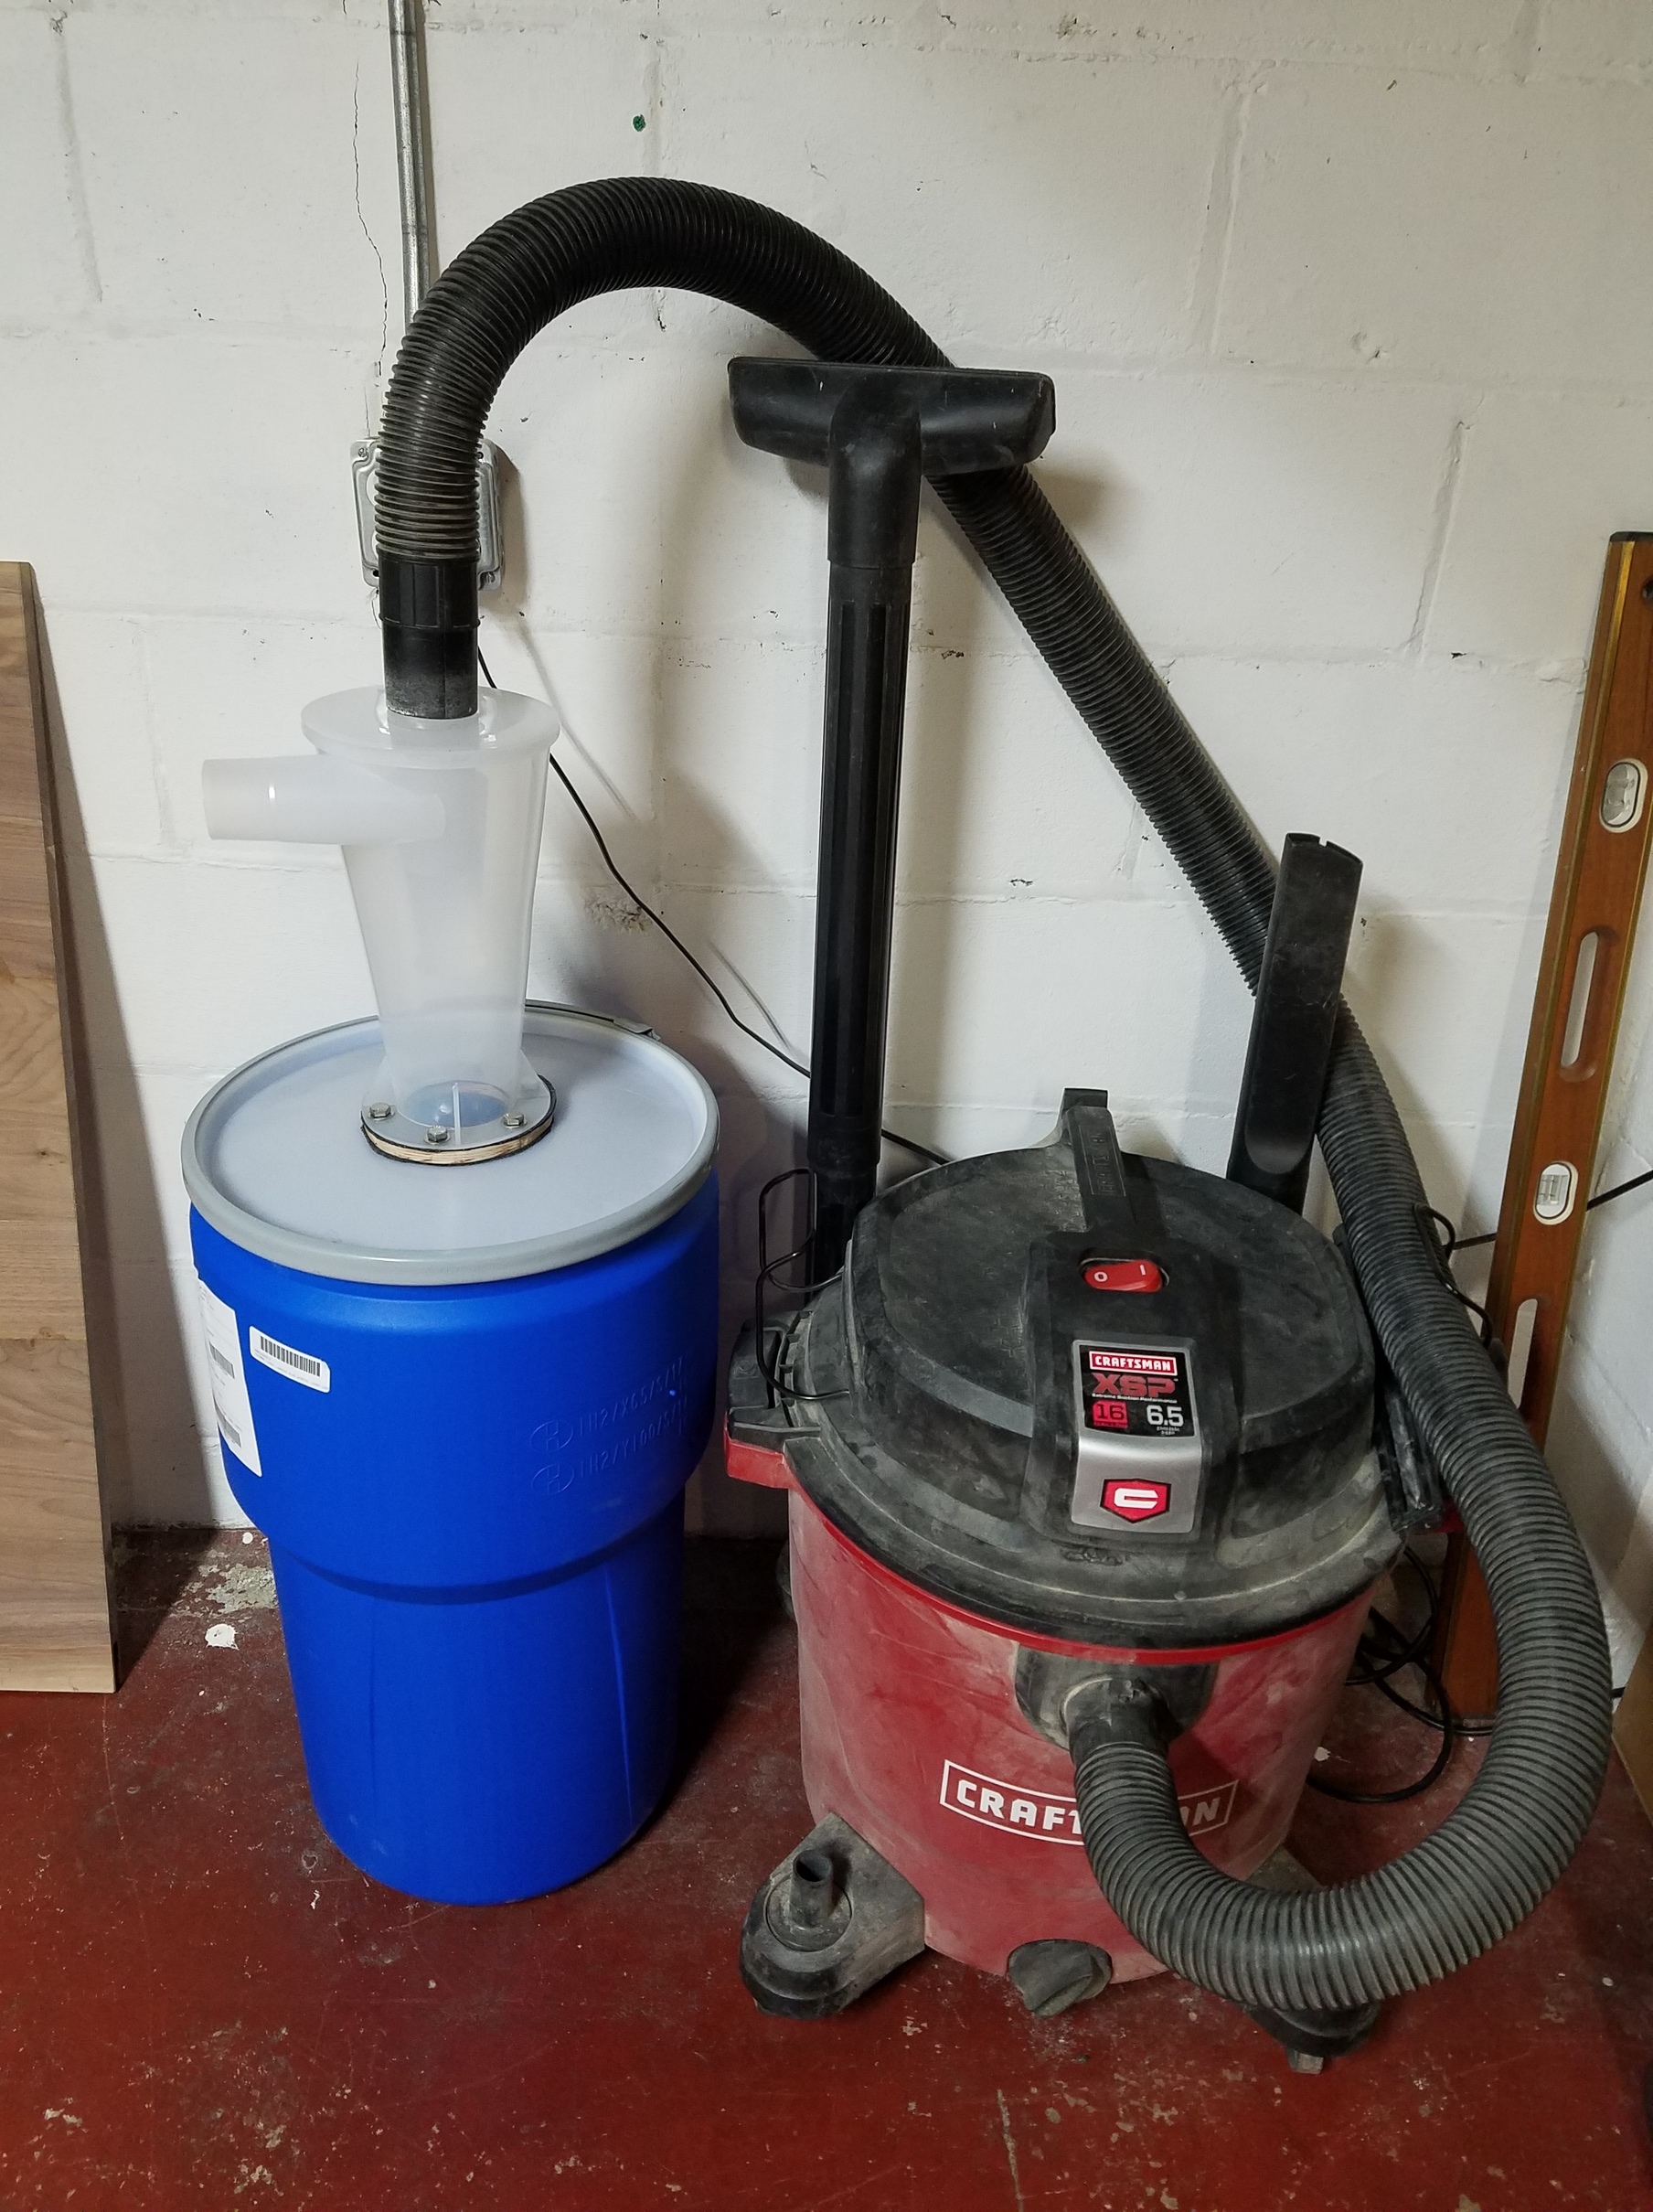
Putting together some dust collection. 16 gallon Craftsman vac with a 1 micron filter, a dust deputy cone, and a small 14 gallon HDPE drum.
6 Likes