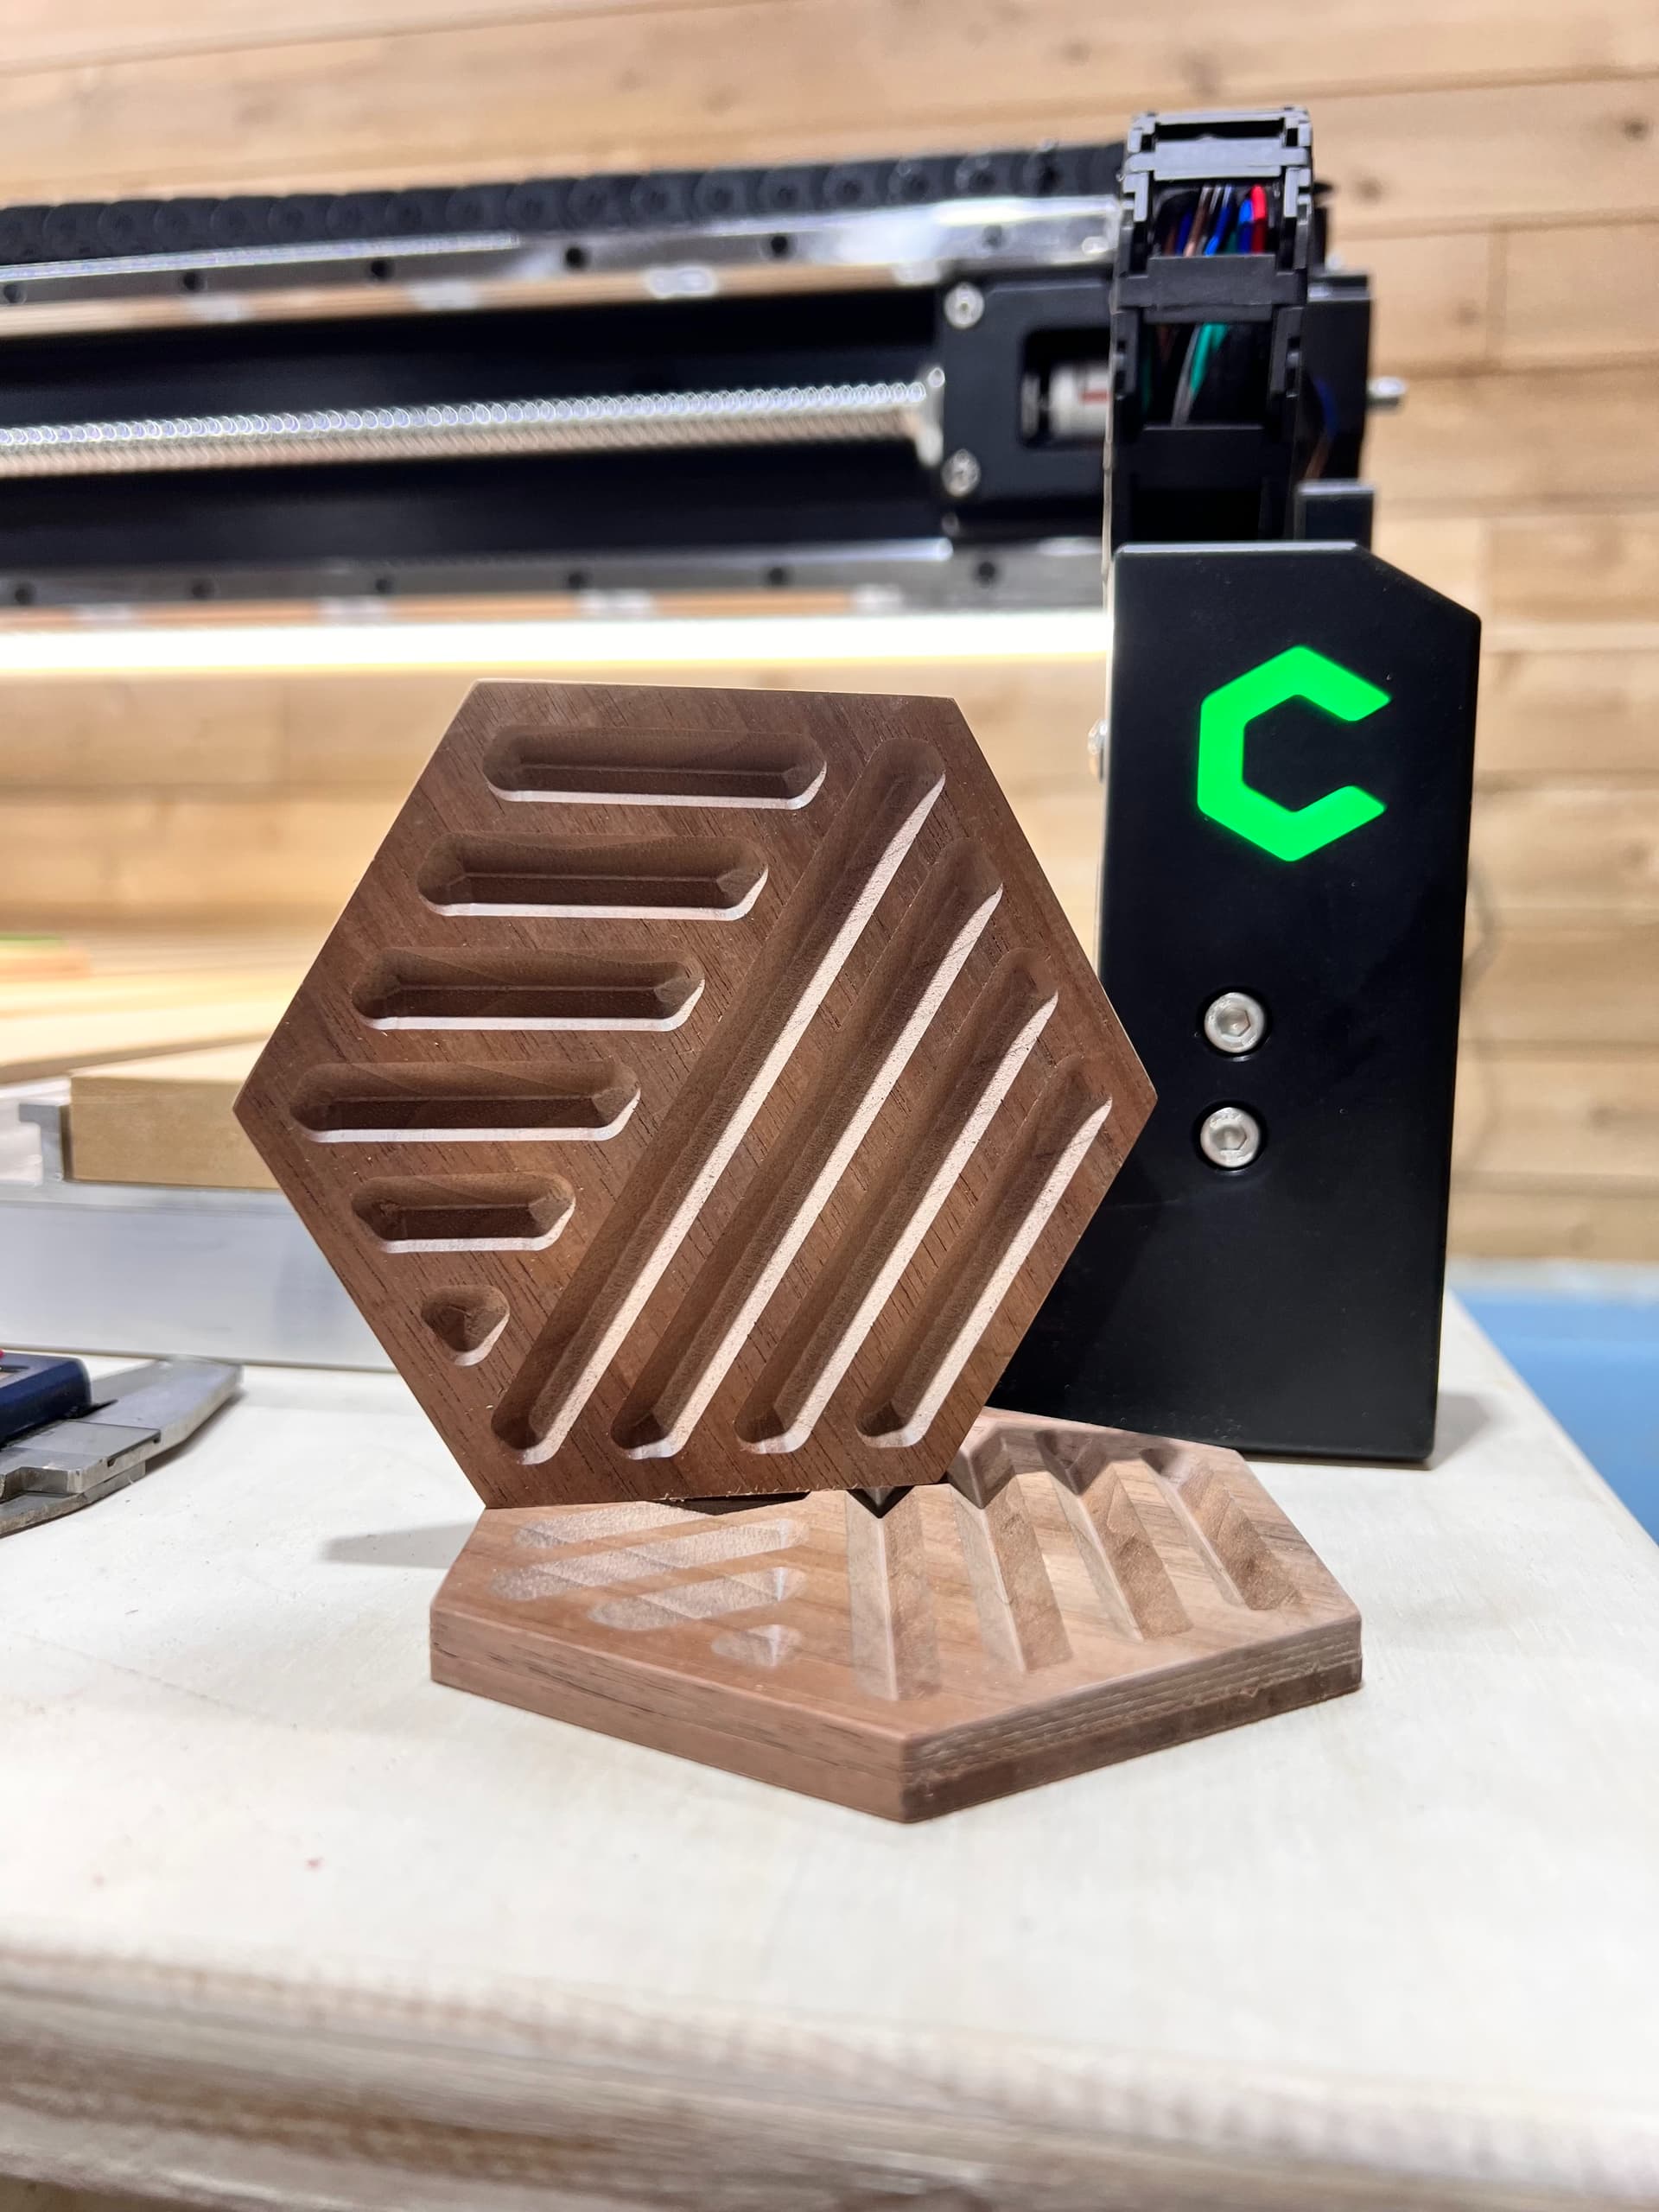
Glad to (finally) be one of you. Looked at all you’ve created for years, and finally decided to take the plunge and buy a CNC with my design studio. Just getting my feet wet with hexagon coasters. Used a Vbit 90 and the #201 endmill. Thougths / Feedback / Constructive criticism more than welcome!
Great first project. If you like the design then try flipping it over and have the design cut just over half way through at different angles. The only issue with wooden coasters is they adsorb the sweat from glasses. Be sure to finish it with polyurethane to avoid moisture absorption. The good news is you figured out the software and the hardware. On to bigger and better things.
So, what is the purpose of a coaster? I call this a functional design, and it happens to look very nice at the same time. And who doesn’t like a hexagon?
Coasters are supposed to hold water. Yours certainly does that, and as Guy says, apply some coats of water repelling finish to make it last a long time. I would use several coats of shellac (50/50), sanded smooth and then the poly, too. (I’ve even calculated the volume of the grooves so I could brag that my coaster holds so many milliliters of fluid! )
You’ve encompassed the whole of it into your coaster design. +1
Looking at the file, there was a ledge that was sanded off. If it will be sanded off, there may be no reason to include it.
To eliminate more sanding, a full depth finish pass on the edge (leaving the tabs), taking off about 1/32 inch (0.8 mm) will remove the tool marks caused by the contour steps.
Use of a compression bit in place of the 201 will favor a clean cut on the top and the bottom of the coaster (to eliminate more sanding).
The final toolpath was cutting deeper than the thickness of the stock. A depth of cut equal to stock thickness may be all that is needed.
Great job on your first project! If you want to fancy it up a little more, you could always do a slight outside offset and contour with a V-Bit to get a nice chamfer on the outside edge. Nice design and very functional!
Looks great! Nice work. As some have alluded to, moisture is going to be your enemy here, especially with the deep groves to hold it. And yes, poly will work. However, I have learned something really valuable from my boat building. Mix up a very thin epoxy (which is a vapor barrier) and coat them. Sand and then put on the poly. I know that seems like a bit of an undertaking and it may not be worth it to you in the end. Just a suggestion.
Thanks for the responds! Just a quick practice cut, as I love hexagons and wanted to see what the VBit did exactly. As you say… on to the bigger and better things! Cut a Laptop Stand by Tools Today today (cheated and bought plan, but had to rewrite SVG files in CC). Again, pretty happy with Shapeoko’s performance.
Right - this design was to be all about the shape Love hexagons. Thanks for tips on finishing. Was thinking maybe to scrap it an use with crayons and epoxy to add some colours to cutting boards, but now I may actually finish them up properly. Again, thanks for the tips!
WOW Much appreciate you taking the time to put this together for newbie me.
Yes there was a ledge. Started as design element but was too thin and flimsy. So will delete!
Thats a great tip, as the perfectionist in me didnt like the two lines you see. As for tabs, is .125 enough for thickness of a tab and what about width? Playing with it and wondering what everyone uses. Does it depend on item to be cut?
• must pick up a compression bit! Noted! I have a whole list in my shopping cart, but spreading out the $$$. What are the favorites for (mainly) wood? Is there a huge difference between chinese made, american made, the amada? What is the best investment?
Ok final should be equal. I was playing with this, as the wood was an offcut and not all thickness was the same. Most of mine are scrap from the menonites and all different shapes/sizes.
Again, so appreciate the feedback! This is how we learn.
Tabs: trial and error depending on the material, size of project, tool feeds and speeds. I may start with larger tabs about the size you mention but shrink them down over time as I optimize. For ~ 3 inch square puzzle pieces in 0.25 inch hardwood, tabs ended up 0.1 inch thick by 0.1 inch wide on four sides. This was cutting with 1/8 inch bits using CC default feeds/speeds.
Bits: dont buy a bunch you think you might need, accumulate them over time based on your actual needs.
I thought I needed big expensive bits, I bought some and broke some and never used some others. What I ended up needing for wood was a 201, 1/8 inch upcuts, 1/8 inch downcuts, 1/8 inch compression bits, 1/16 inch end mills, 1/32 inch end mills, 90, 60, 30 degree v bits, core box bits (1/16, 1/8, 1/4 inch), a key hole and a surfacing bit. I like to keep at least one back up for all of my frequently used bits. I tend to go very cheap on bits and treat them as disposable but this is a hobby . I generally make one or two replicates of something and move on. If I mainly ran optimized tool paths, over and over, to make a marketable product, I might put more money into bits.