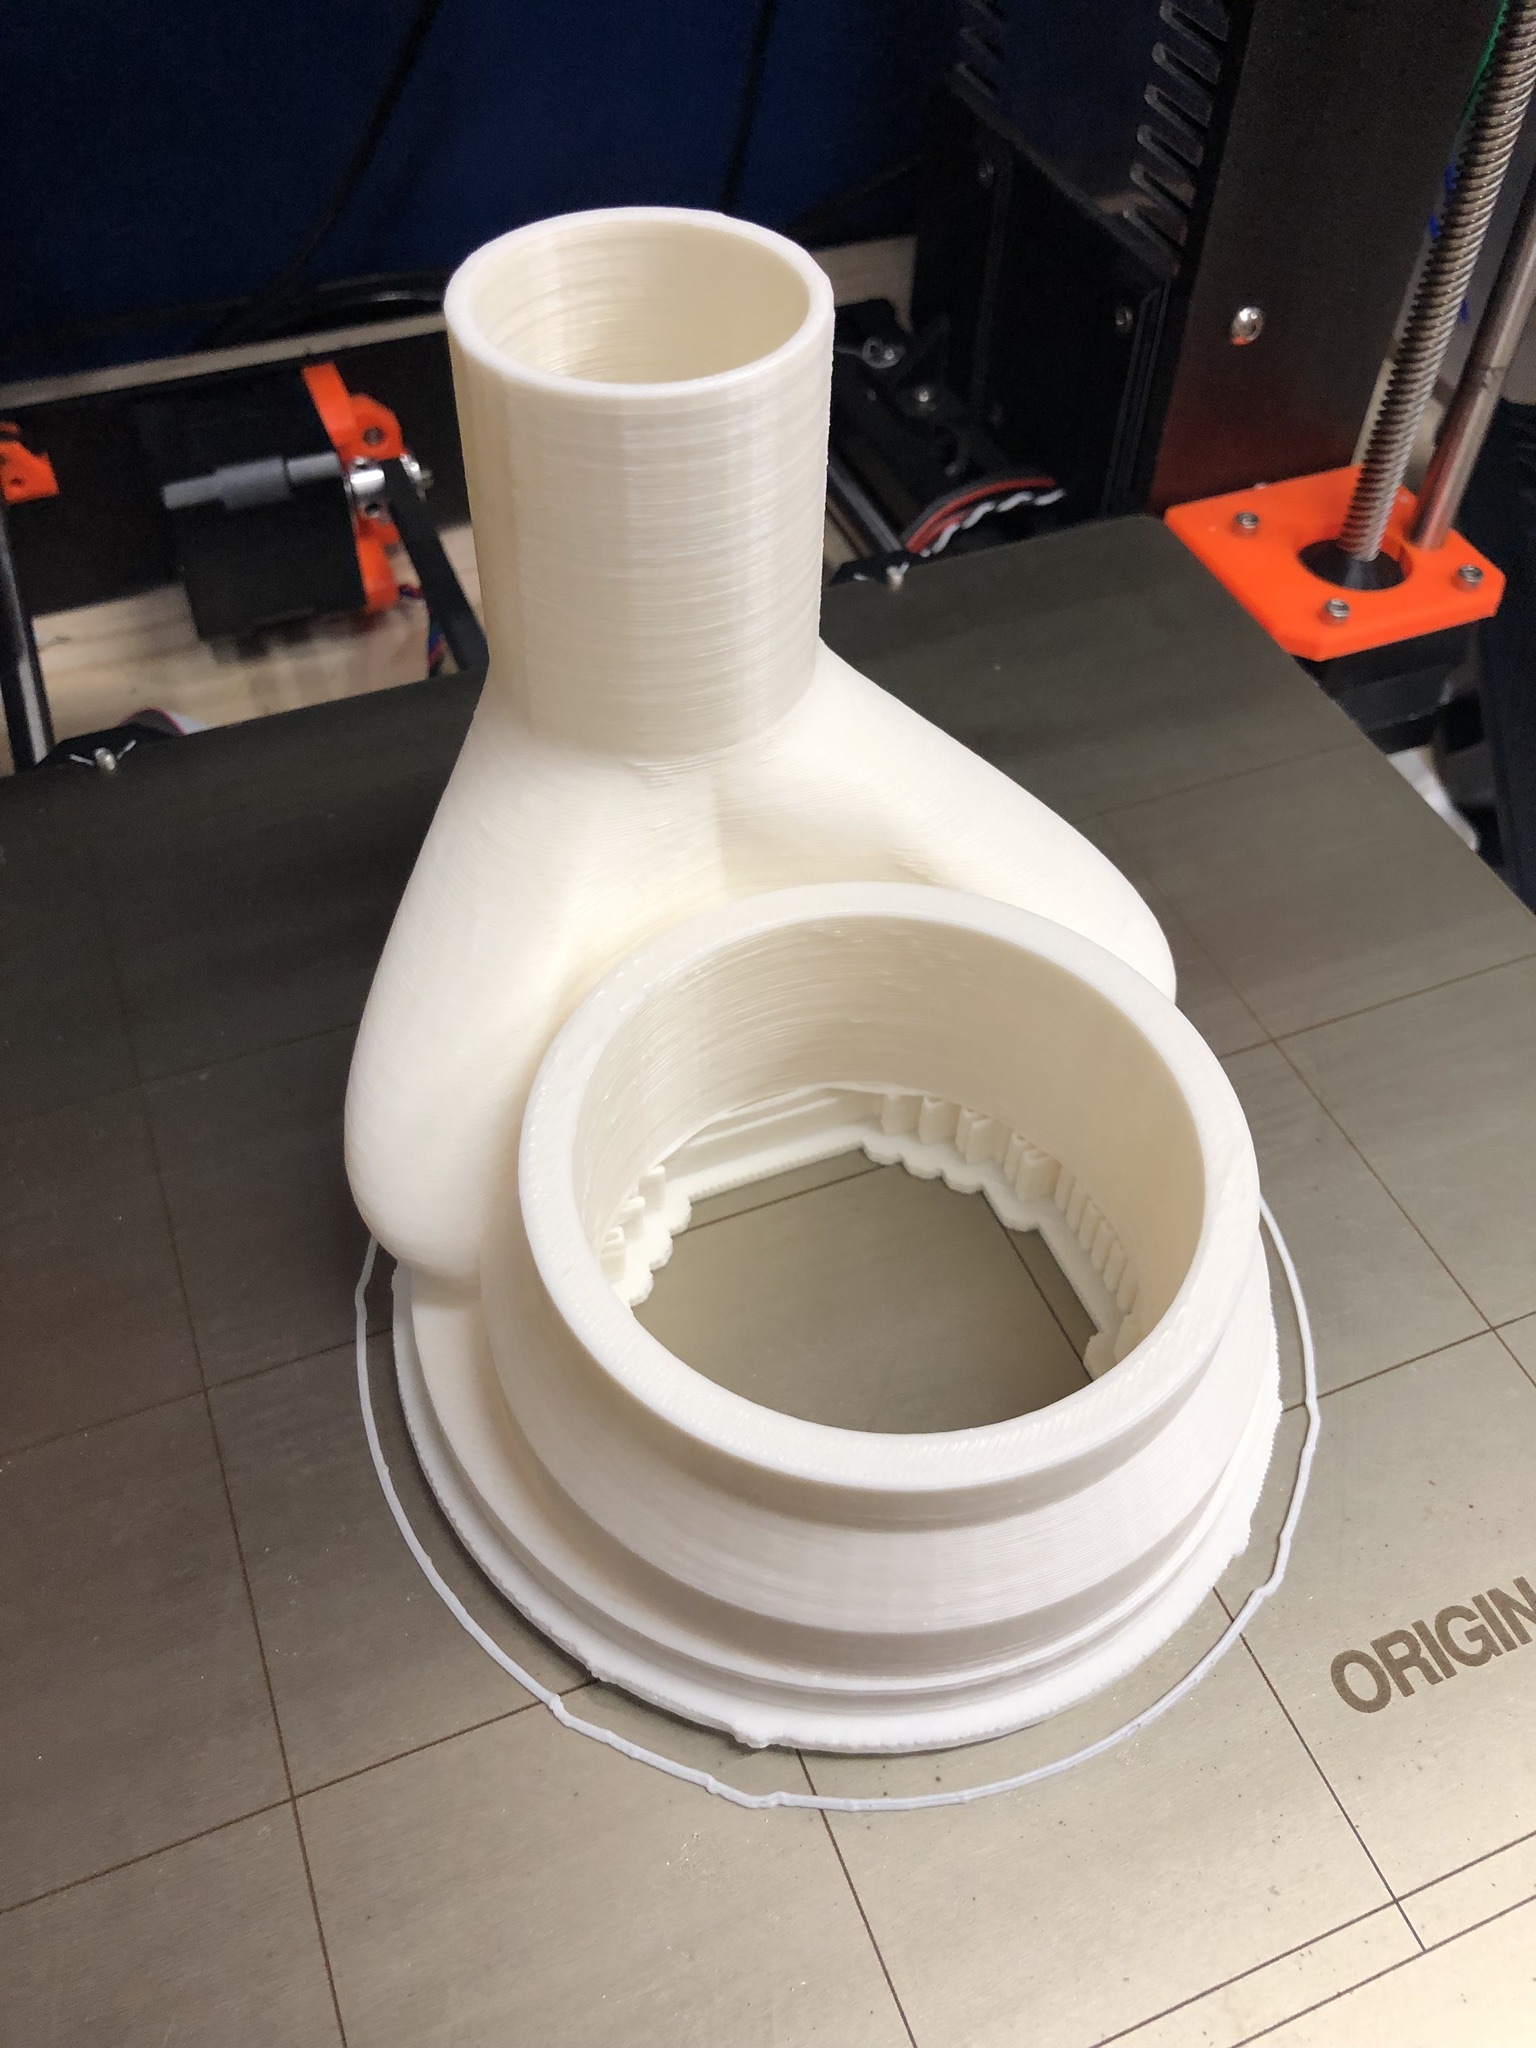
This is changed significantly from the original so I’m guessing its ok to share. Namely, the vacuum passage has been opened up and the lugs for the bolt/nut thickened. I’m no internet lawyer though, so any objections let me know.
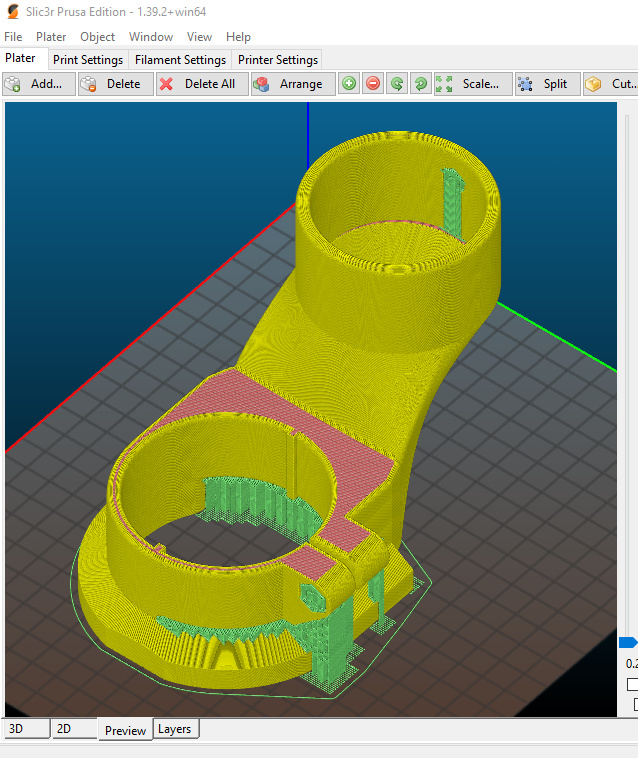
I am trying to find the time to get this part(or some revision) printed. Any tips/suggestions on the printing? Did you use supports throughout or just touching the build plate?
Griff
(Well crap, my hypometric precursor device is blown…)
23
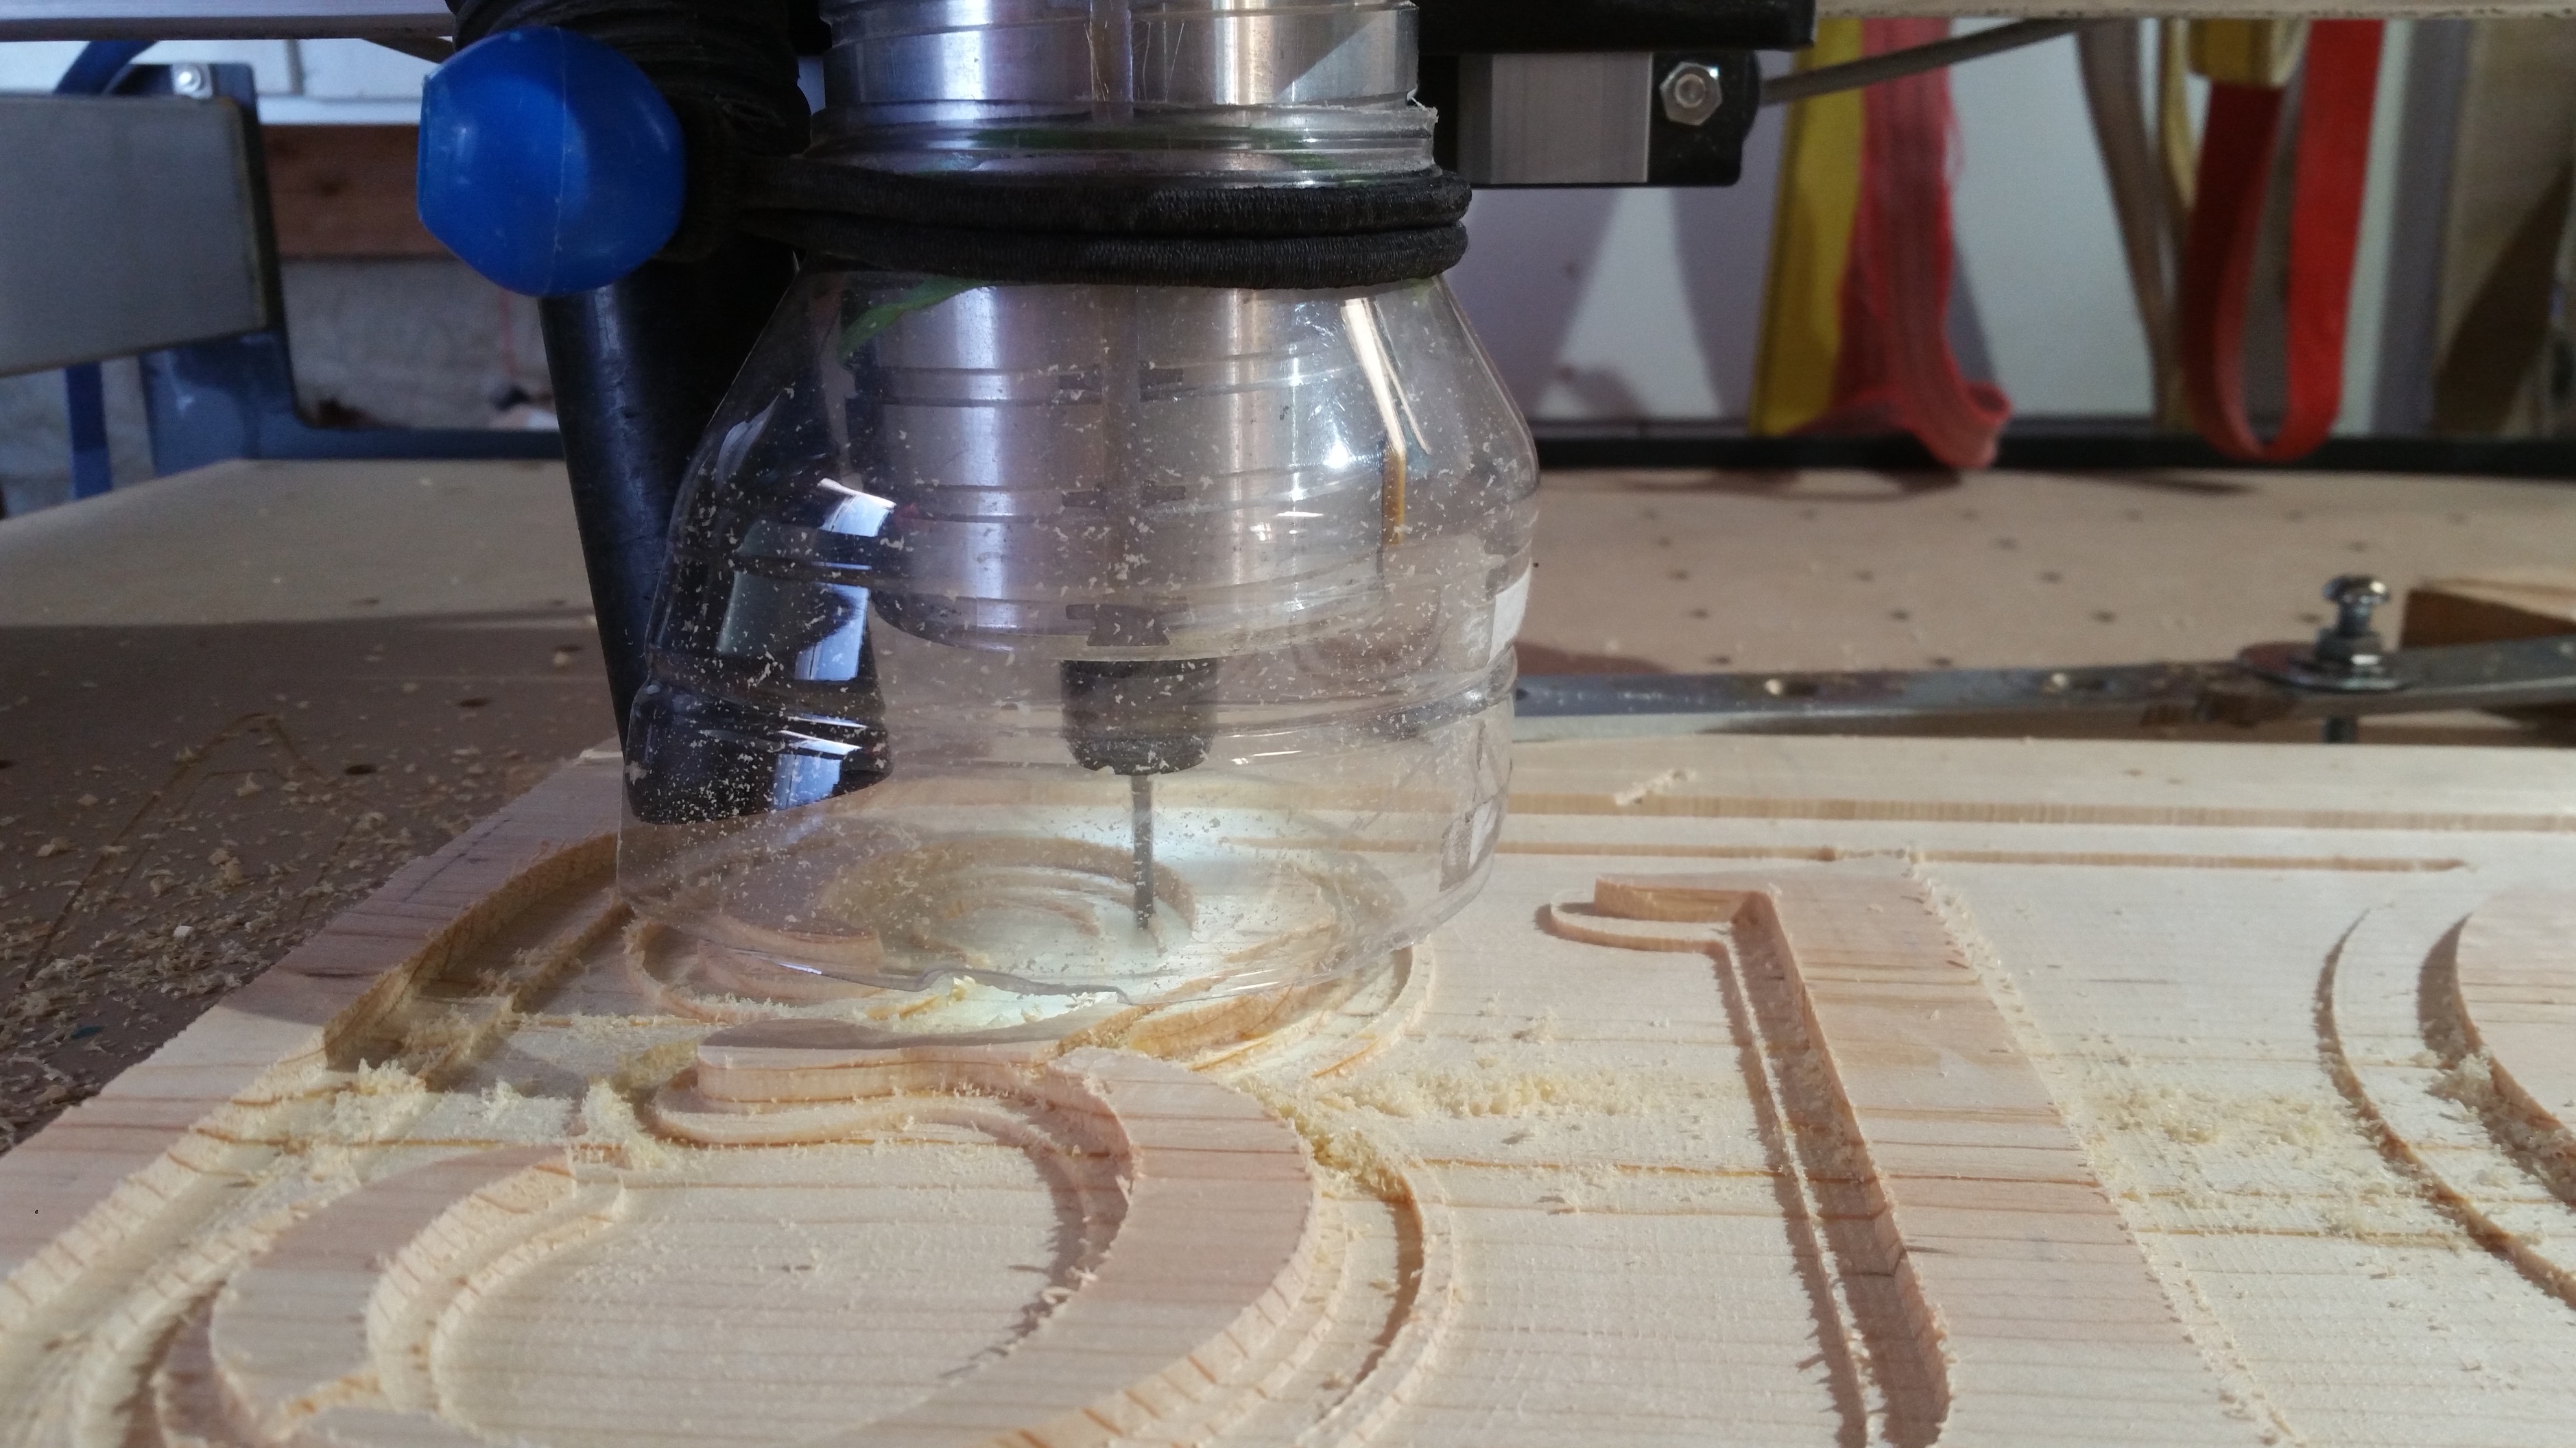
If you’re cheap and lazy. Don’t know if this qualifies as a dust shoe but…plastic mayonnaise jar trimmed down, split on one side, tarp tie-down to hold vacuum hose near spindle. Certainly not perfect, probably falls into that crude but effective category:wink:
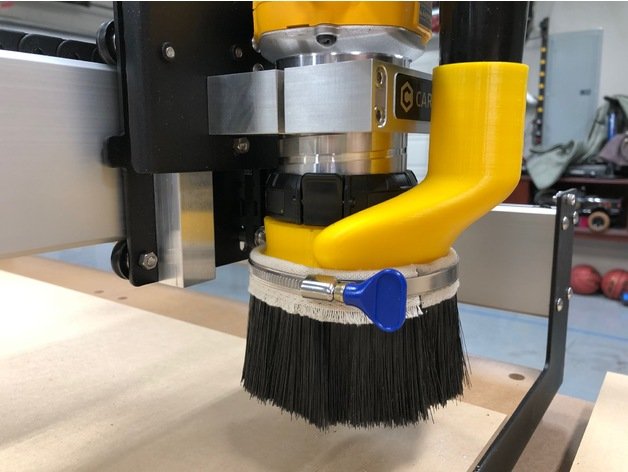
I did a remix of this one that was designed for the dewalt, gave it a little more lip on the top so you can drill/tap a screw to help secure it in place.
The most important: a new 2HP air-cooled brushless spindle: The Bosch was quiet for a router, but this spindle makes very low noise. If it wasn’t for the shop-vac, I could listen to music while operating the CNC. I strongly recommend to stop cutting using routers, they are not made for continuous use.
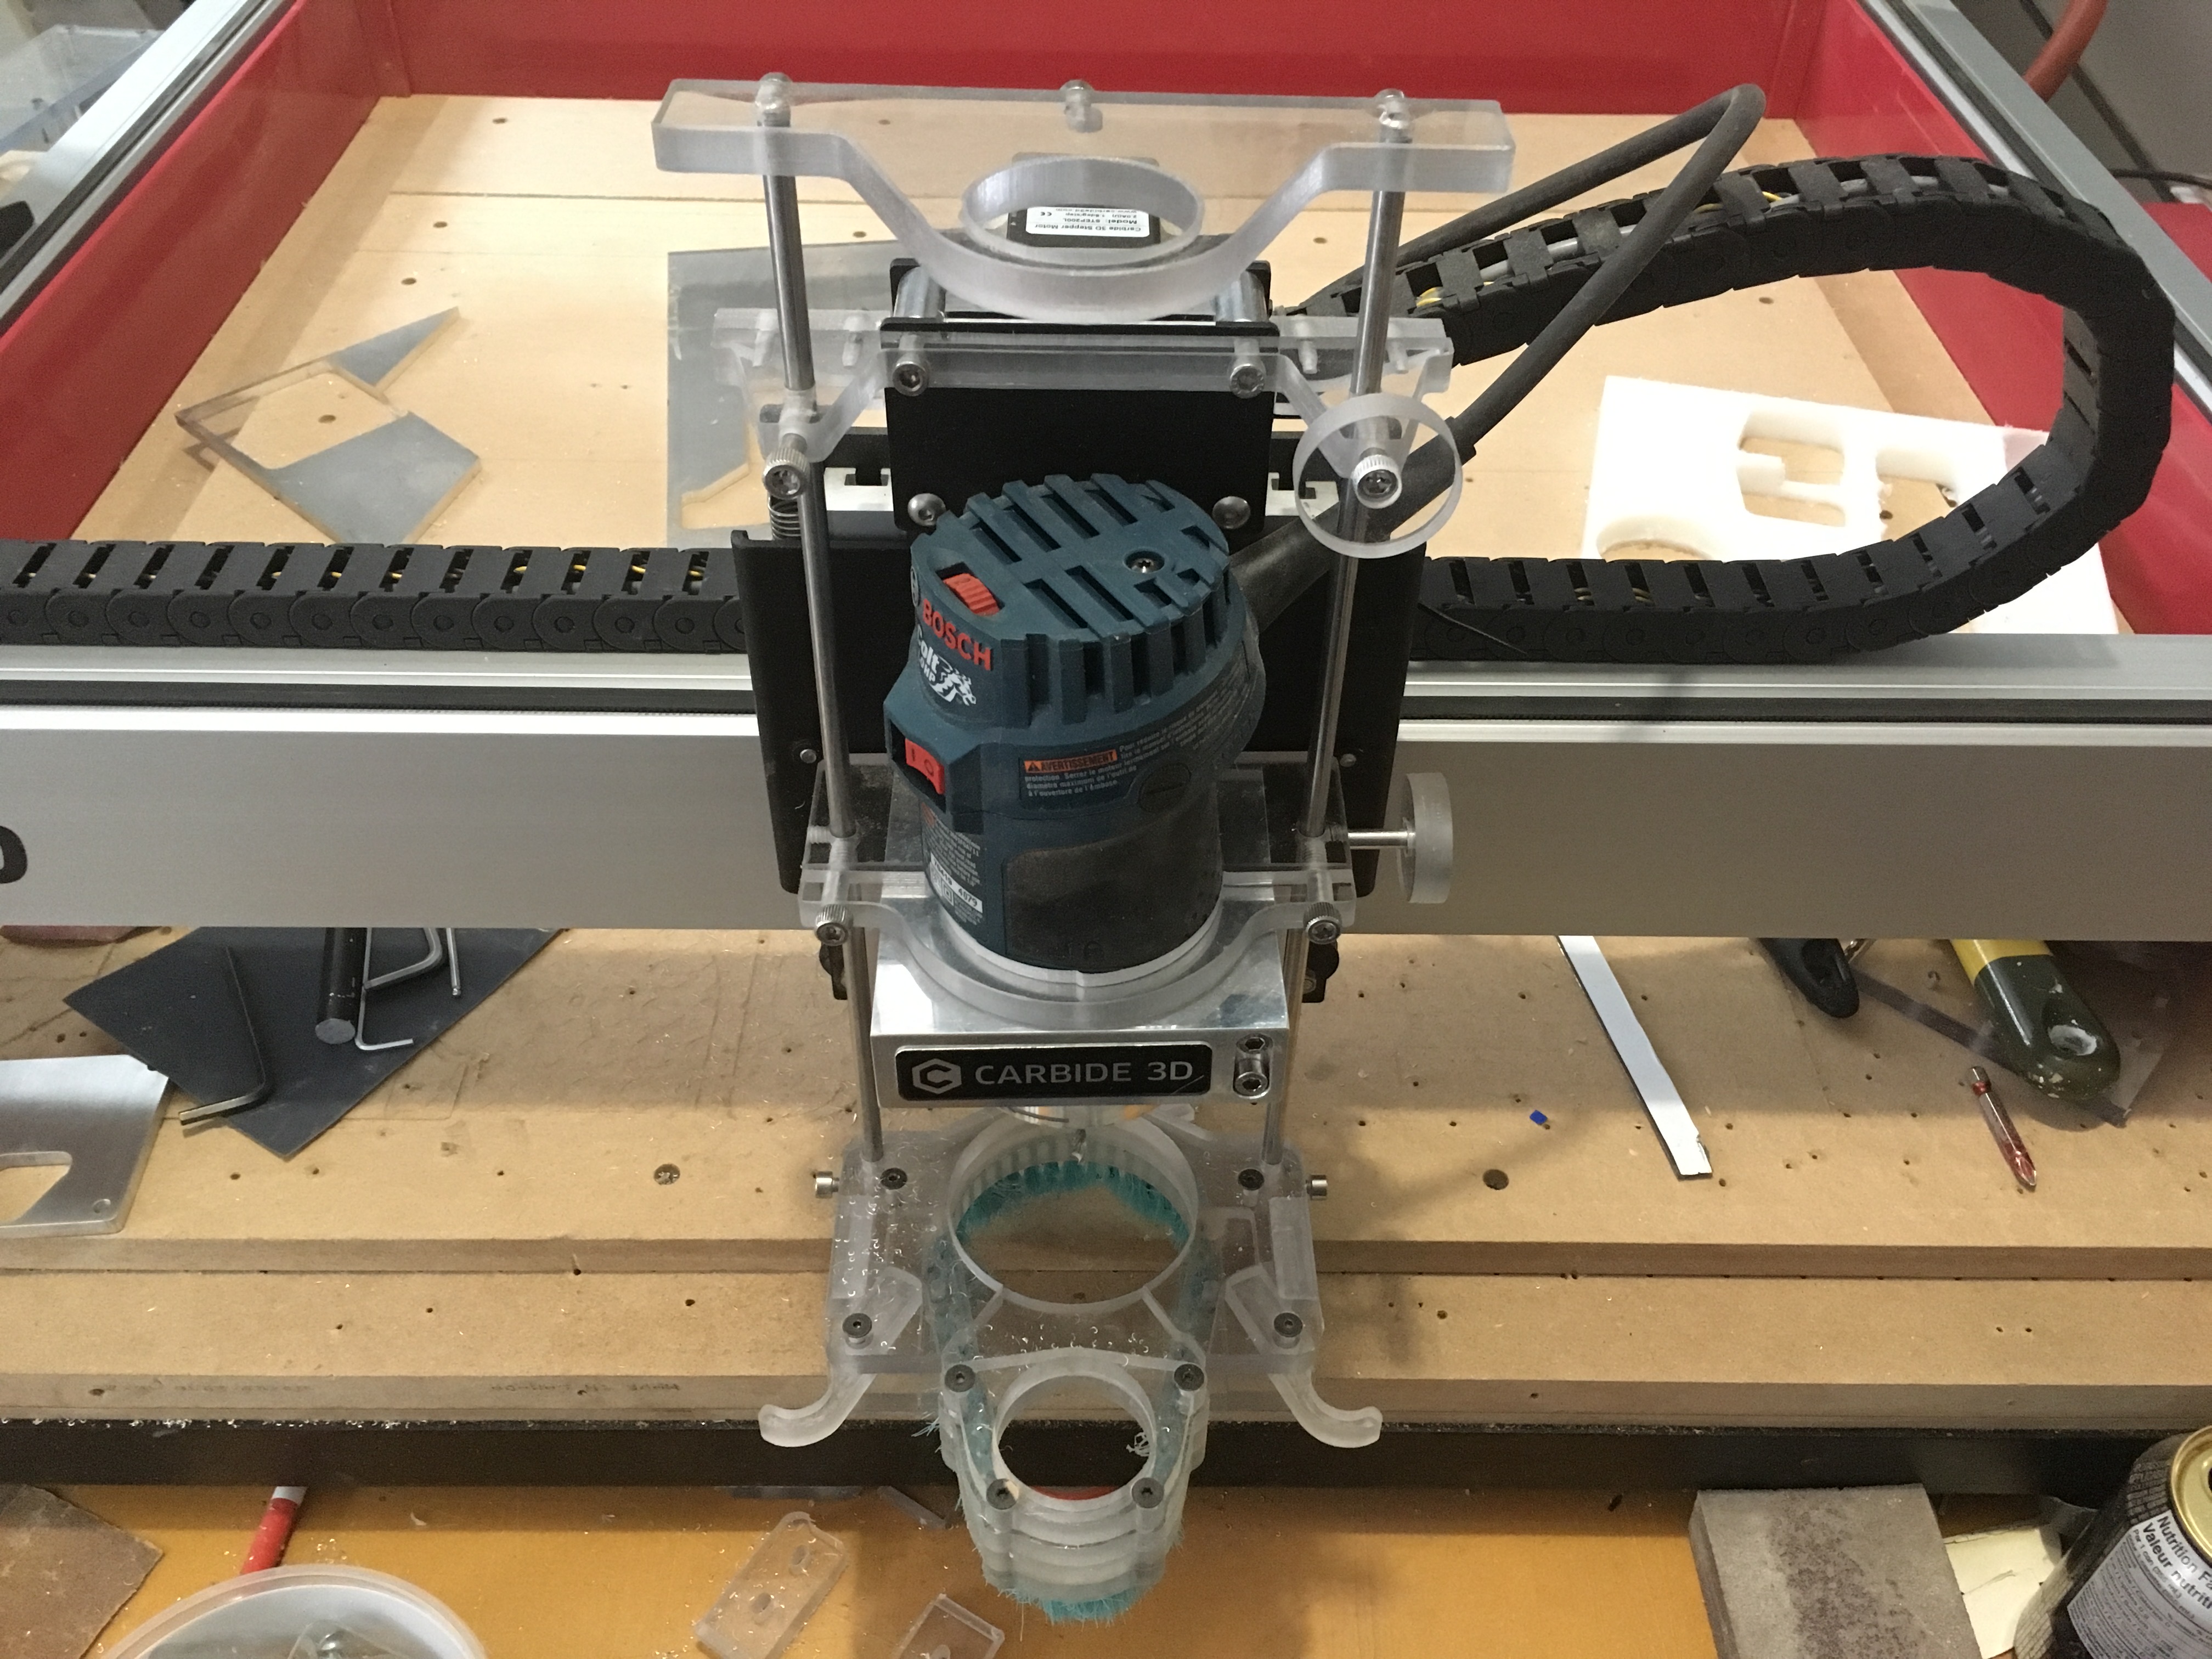
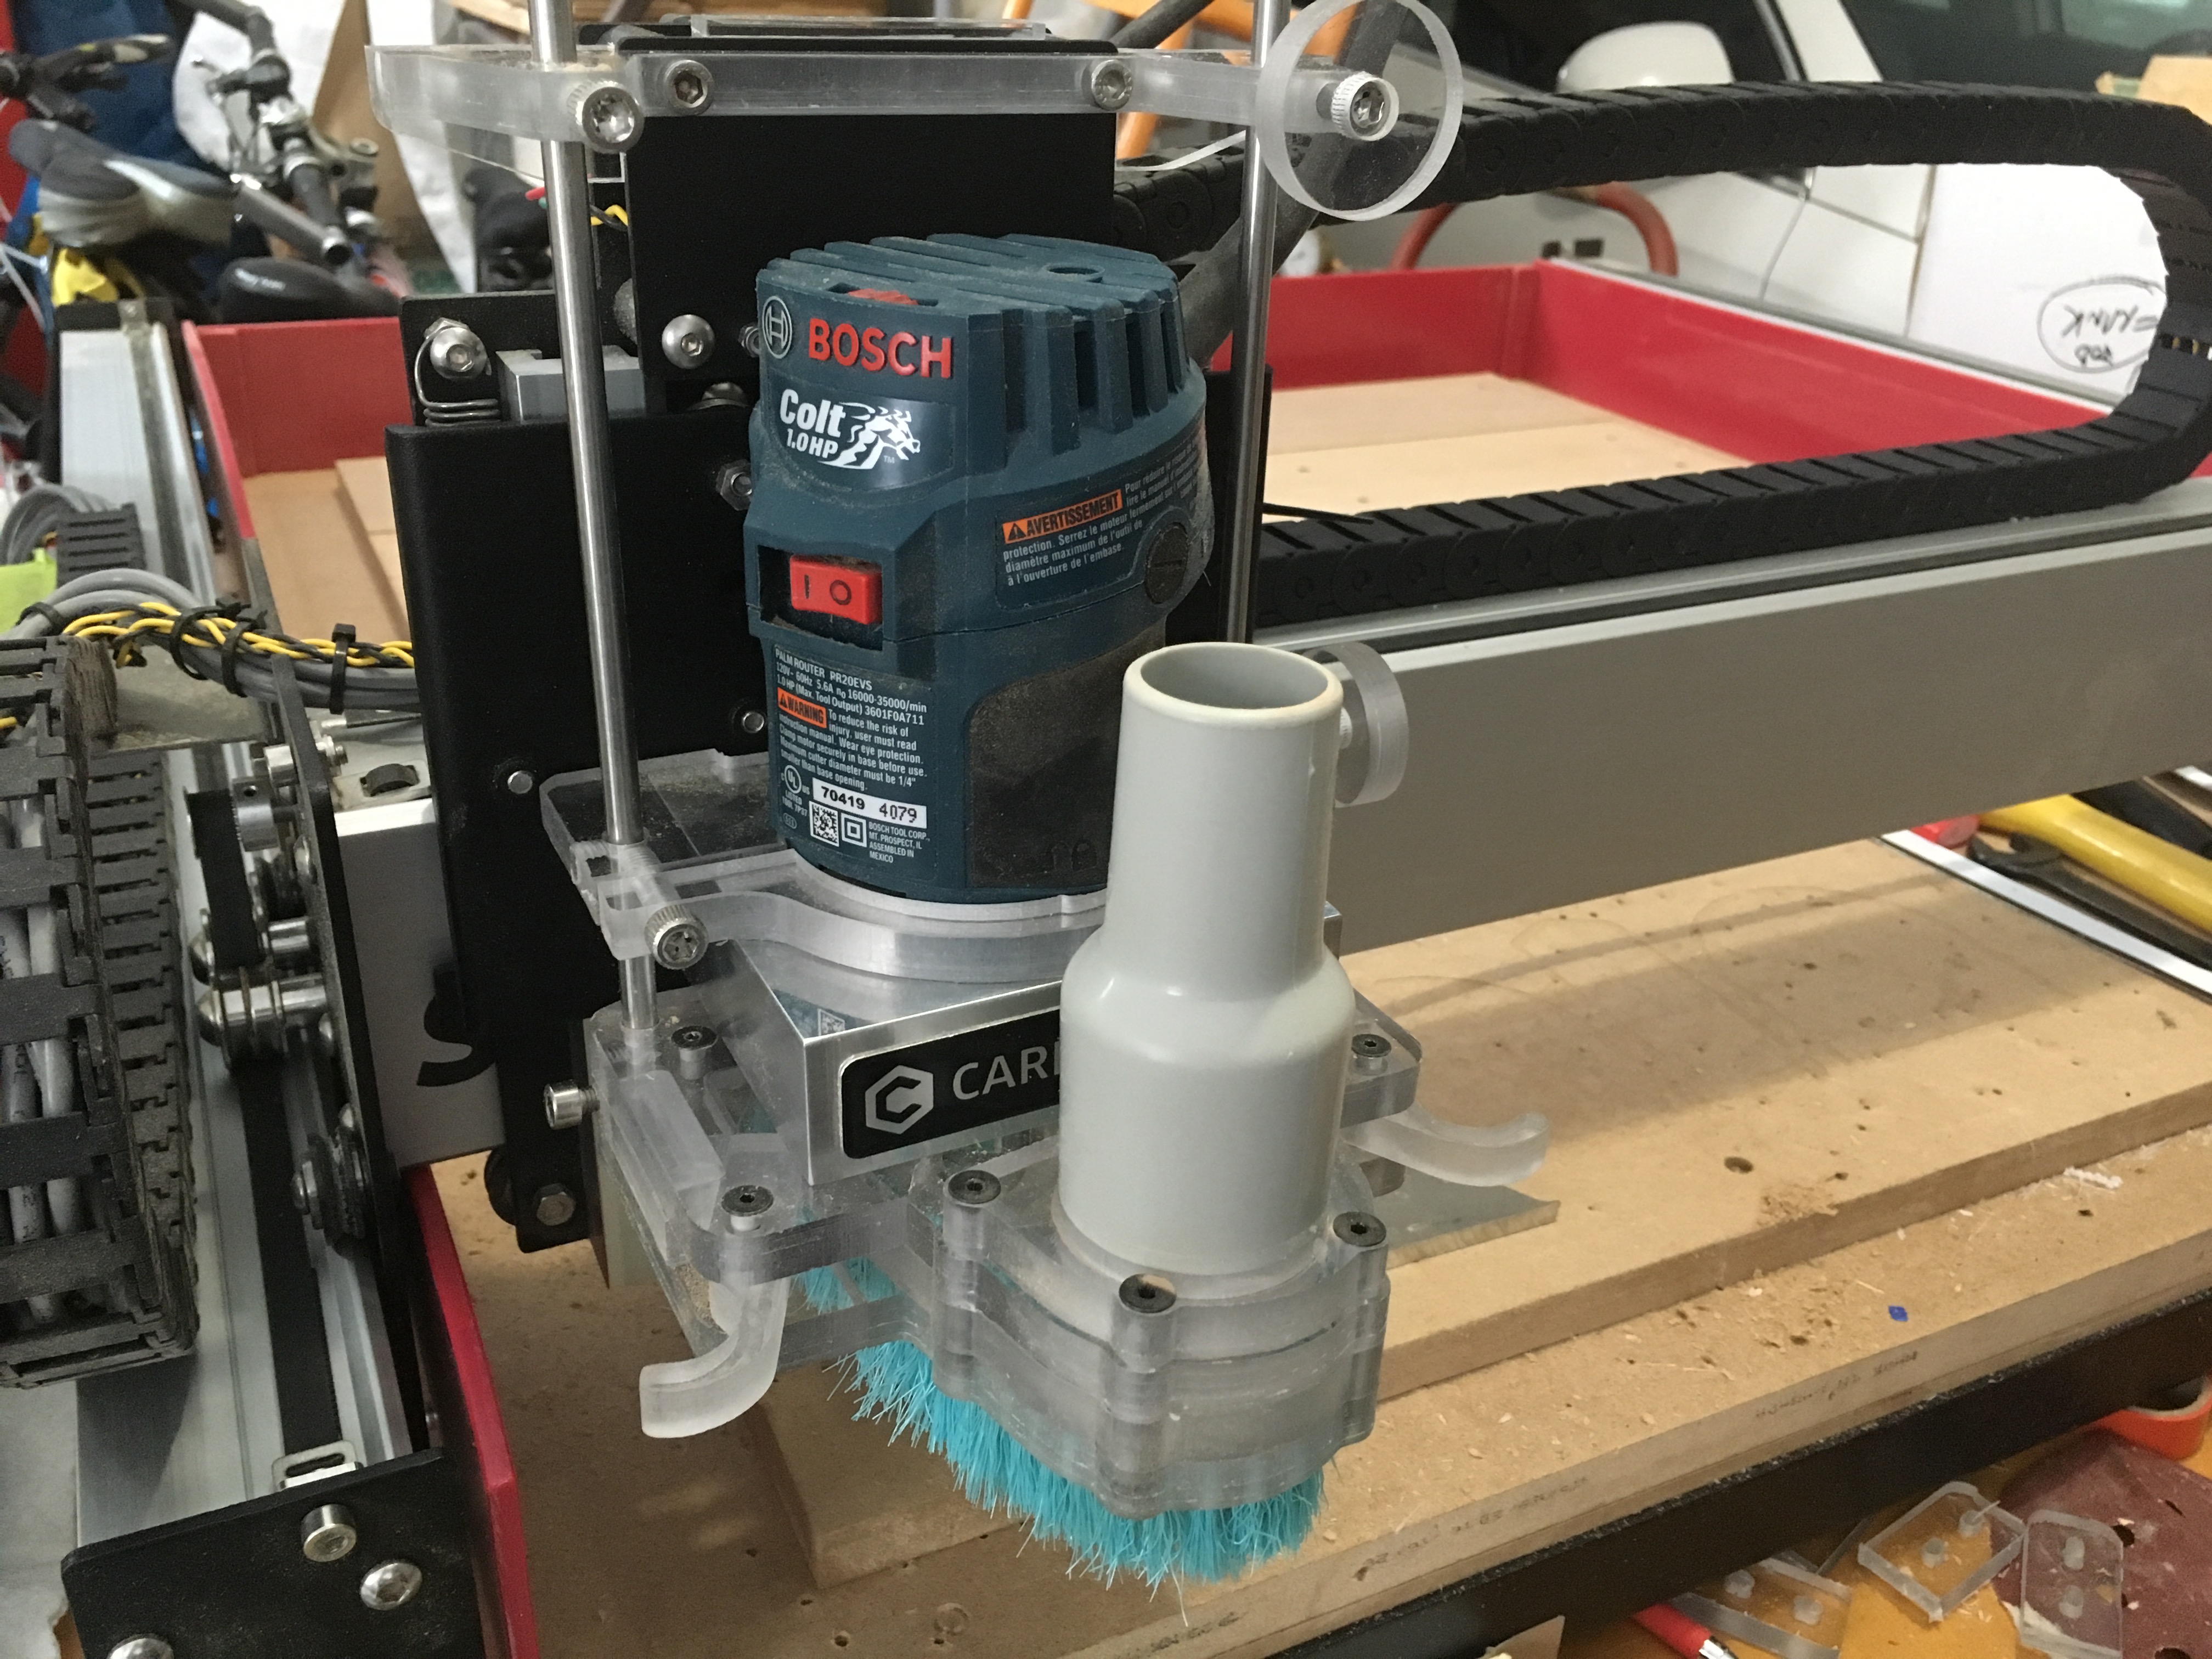
2nd most important - an updated dust shoe. This compact version is a improved version of the previous one I made for my Bosch router. Since I have updated my spindle, I had to make a new one. Same as before, this dust shoe has the main advantage that it could be set to travel or not on the Z axis. Most of the times I just set it to stay at a constant Z while the spindle travels up and down. This is very useful, because I could shorten the bristles to a minimum of 1" and so I optimize the suction of my shop-vac.
With the dust shoe, came the challenge of dust management. I designed and made a cyclone from two 5 gal buckets. This helps collecting the fine dust before it gets into the shop-vac. Lately I had to cut massive amounts of MDF. I can say I had no dust whatsoever on the dust shoe, so the laptop was spared as well.
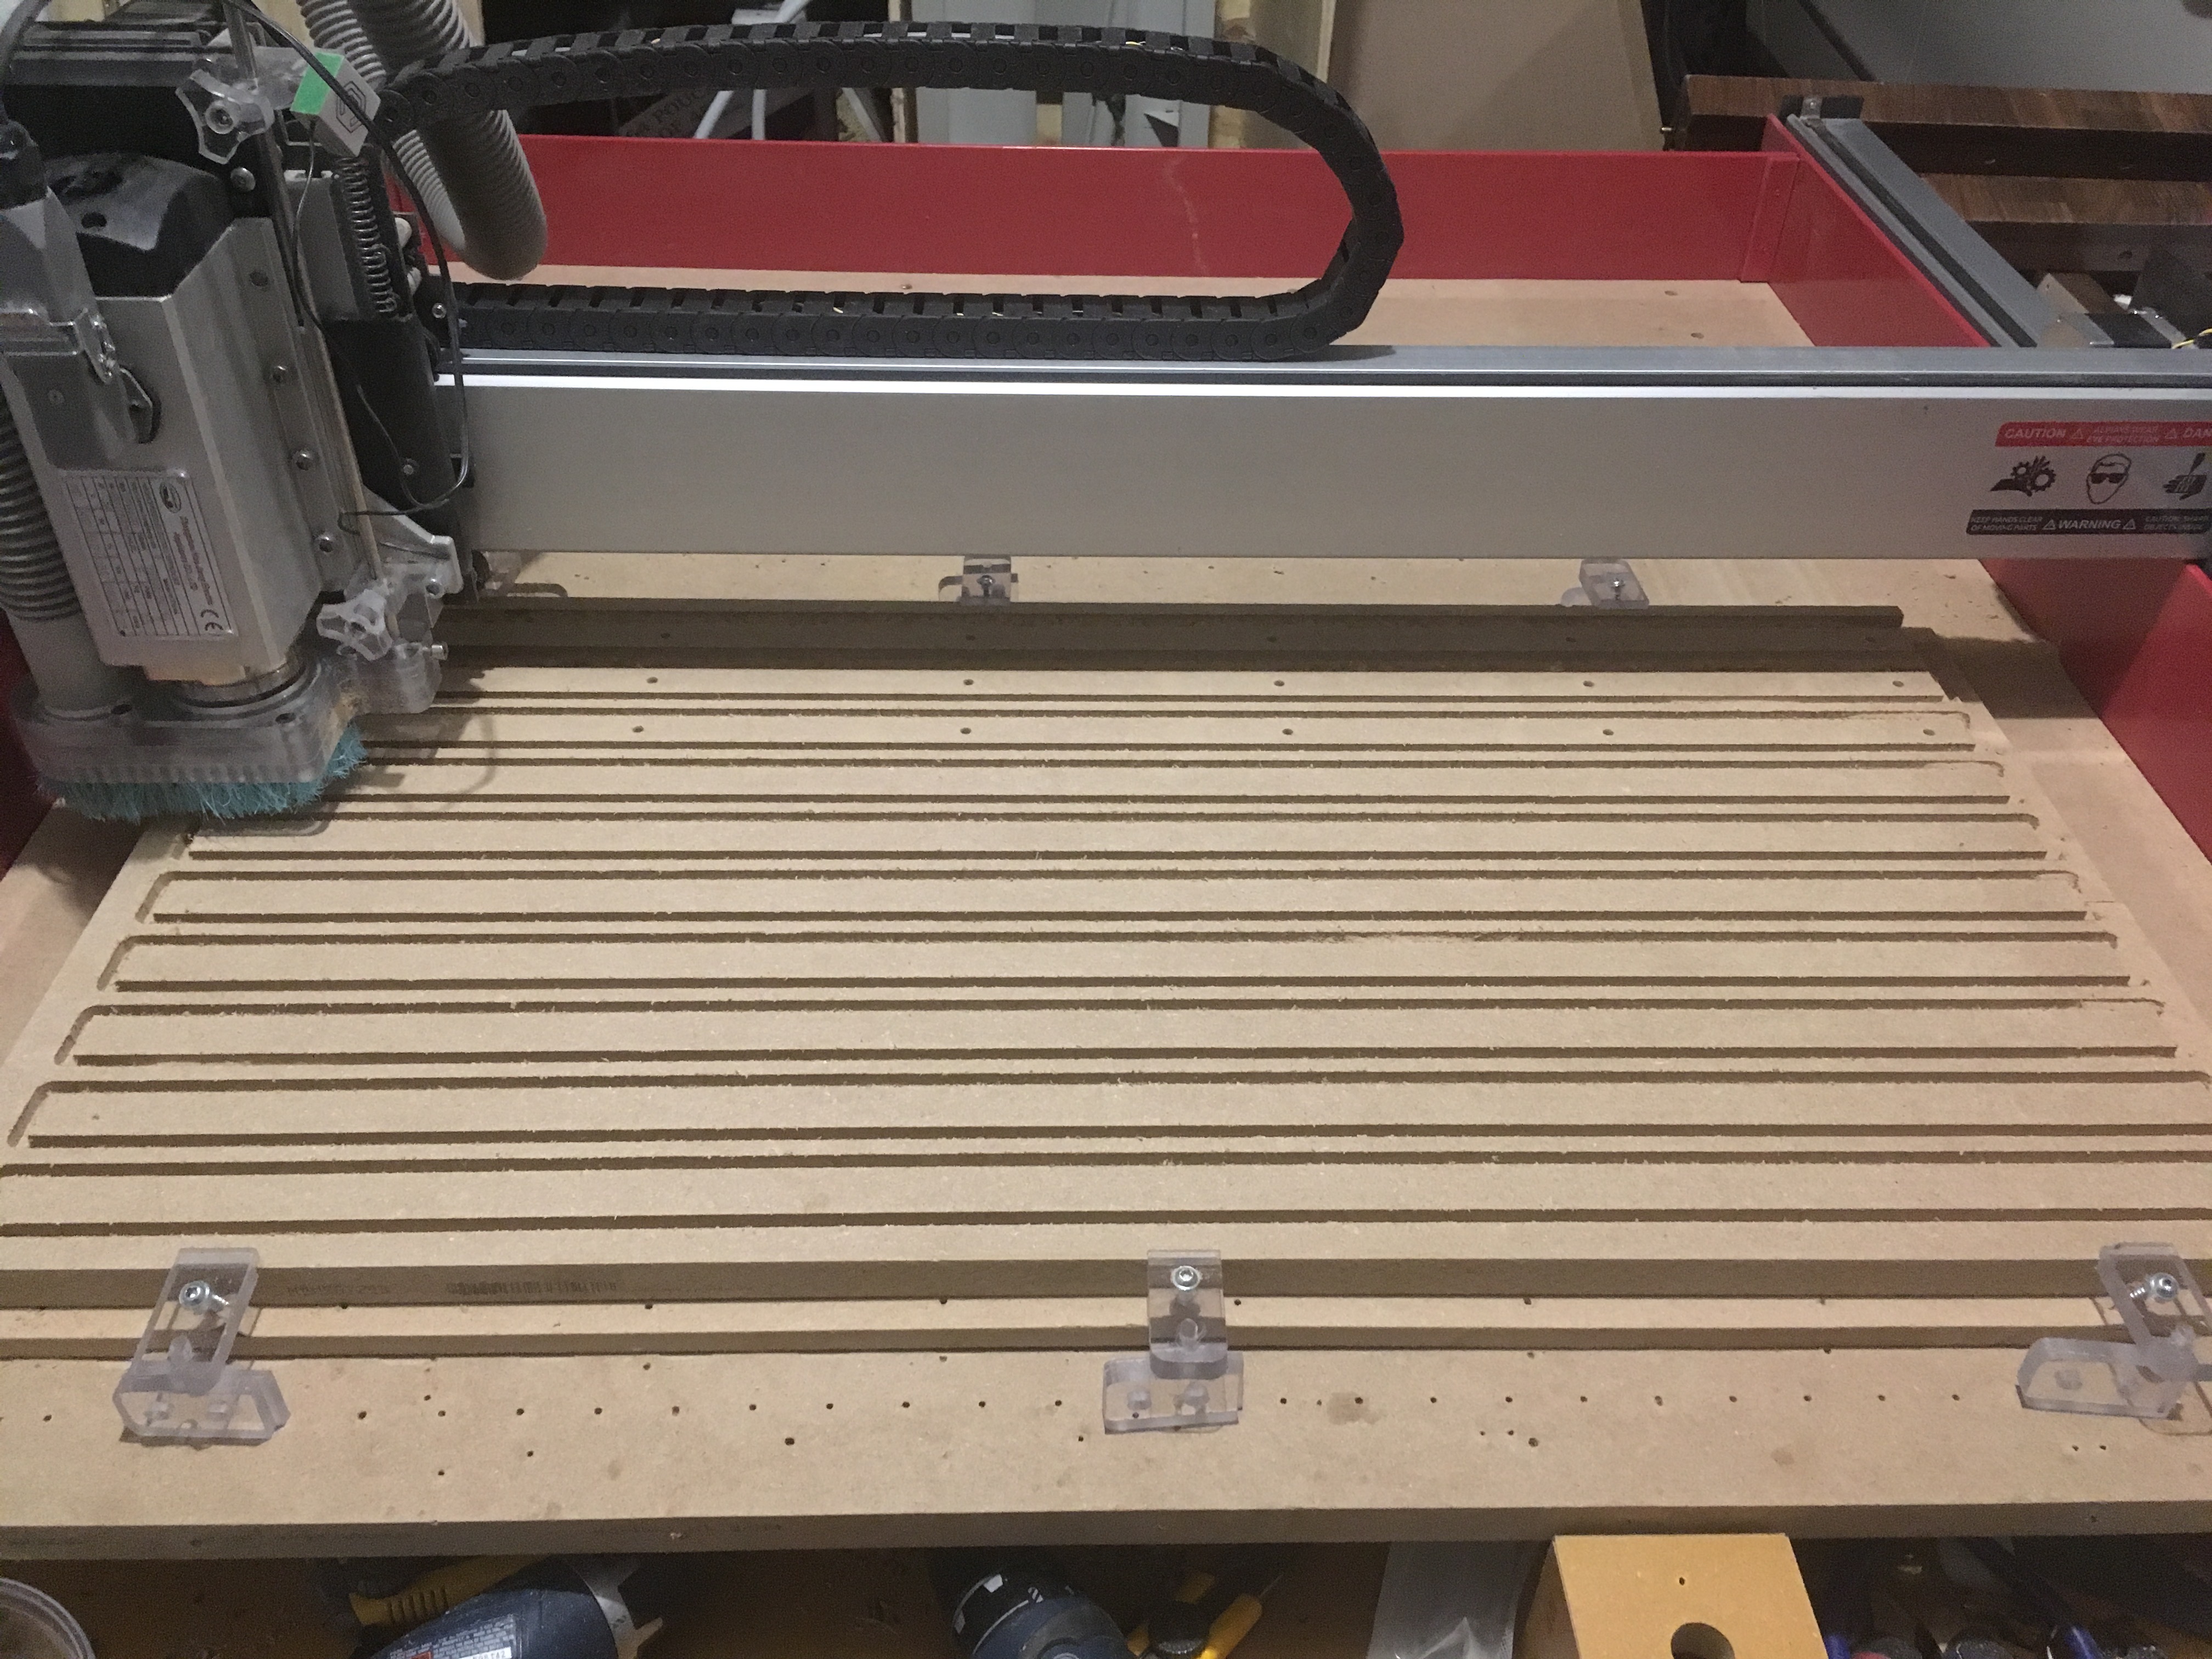
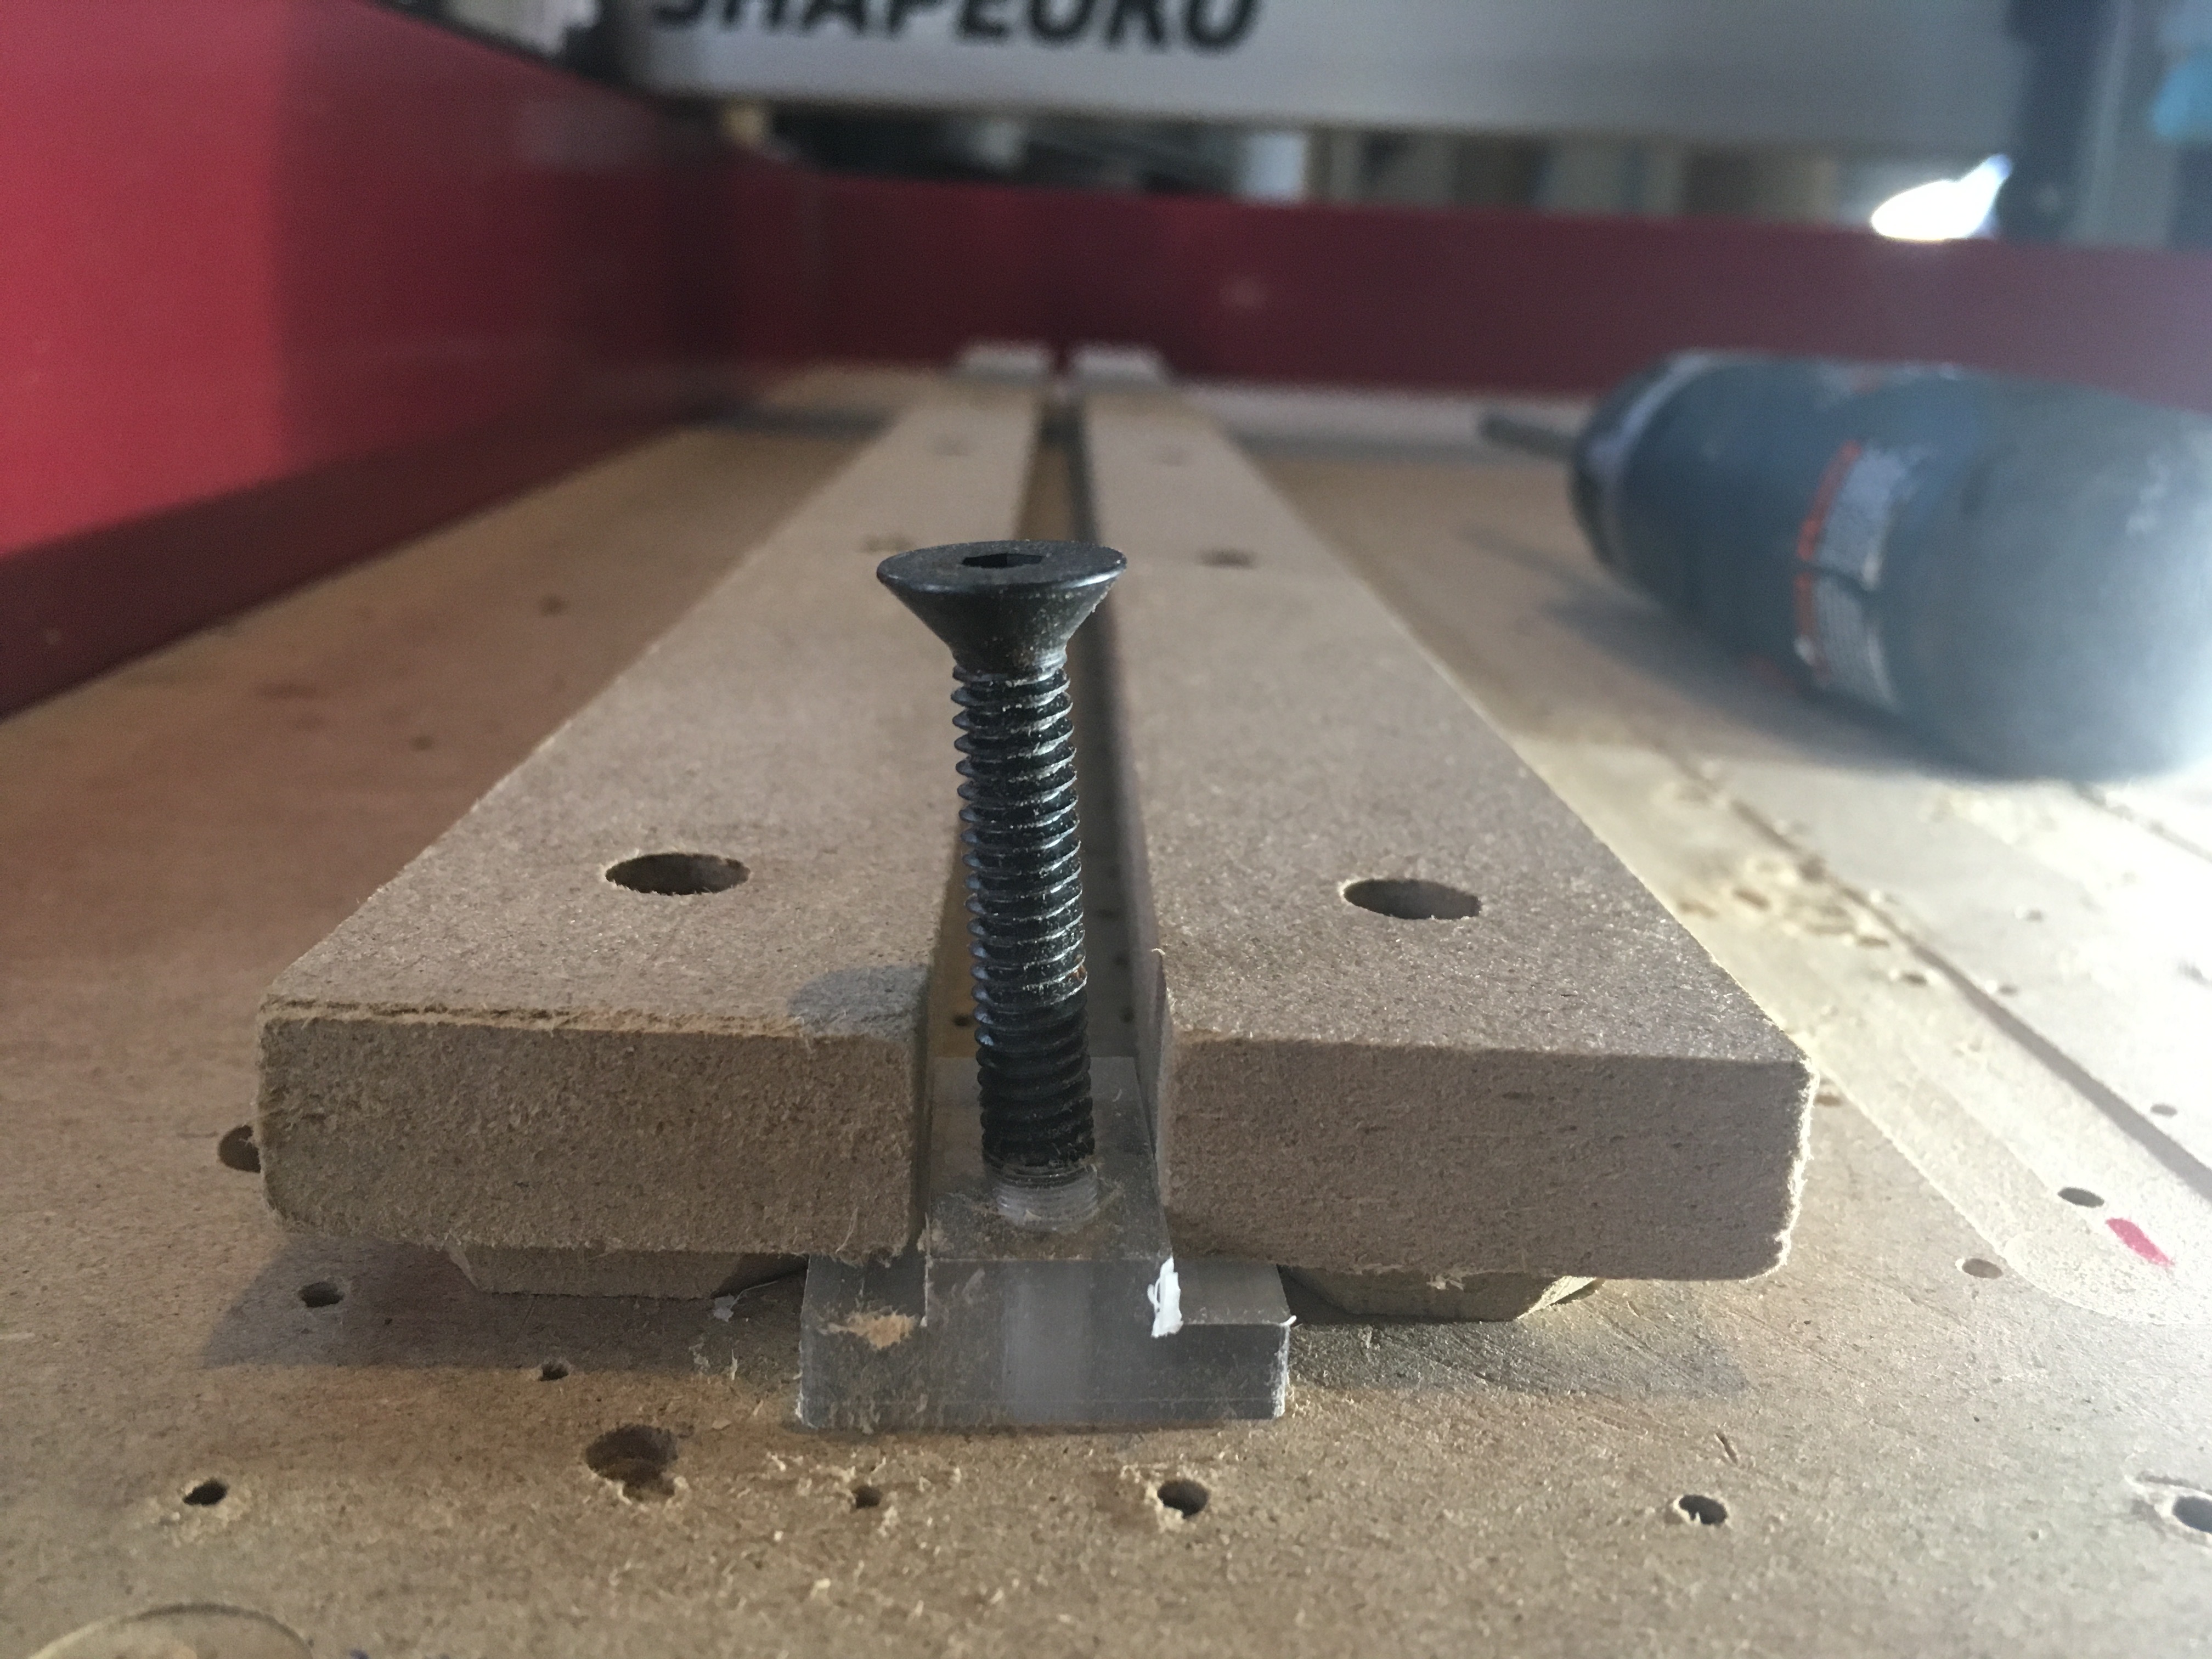
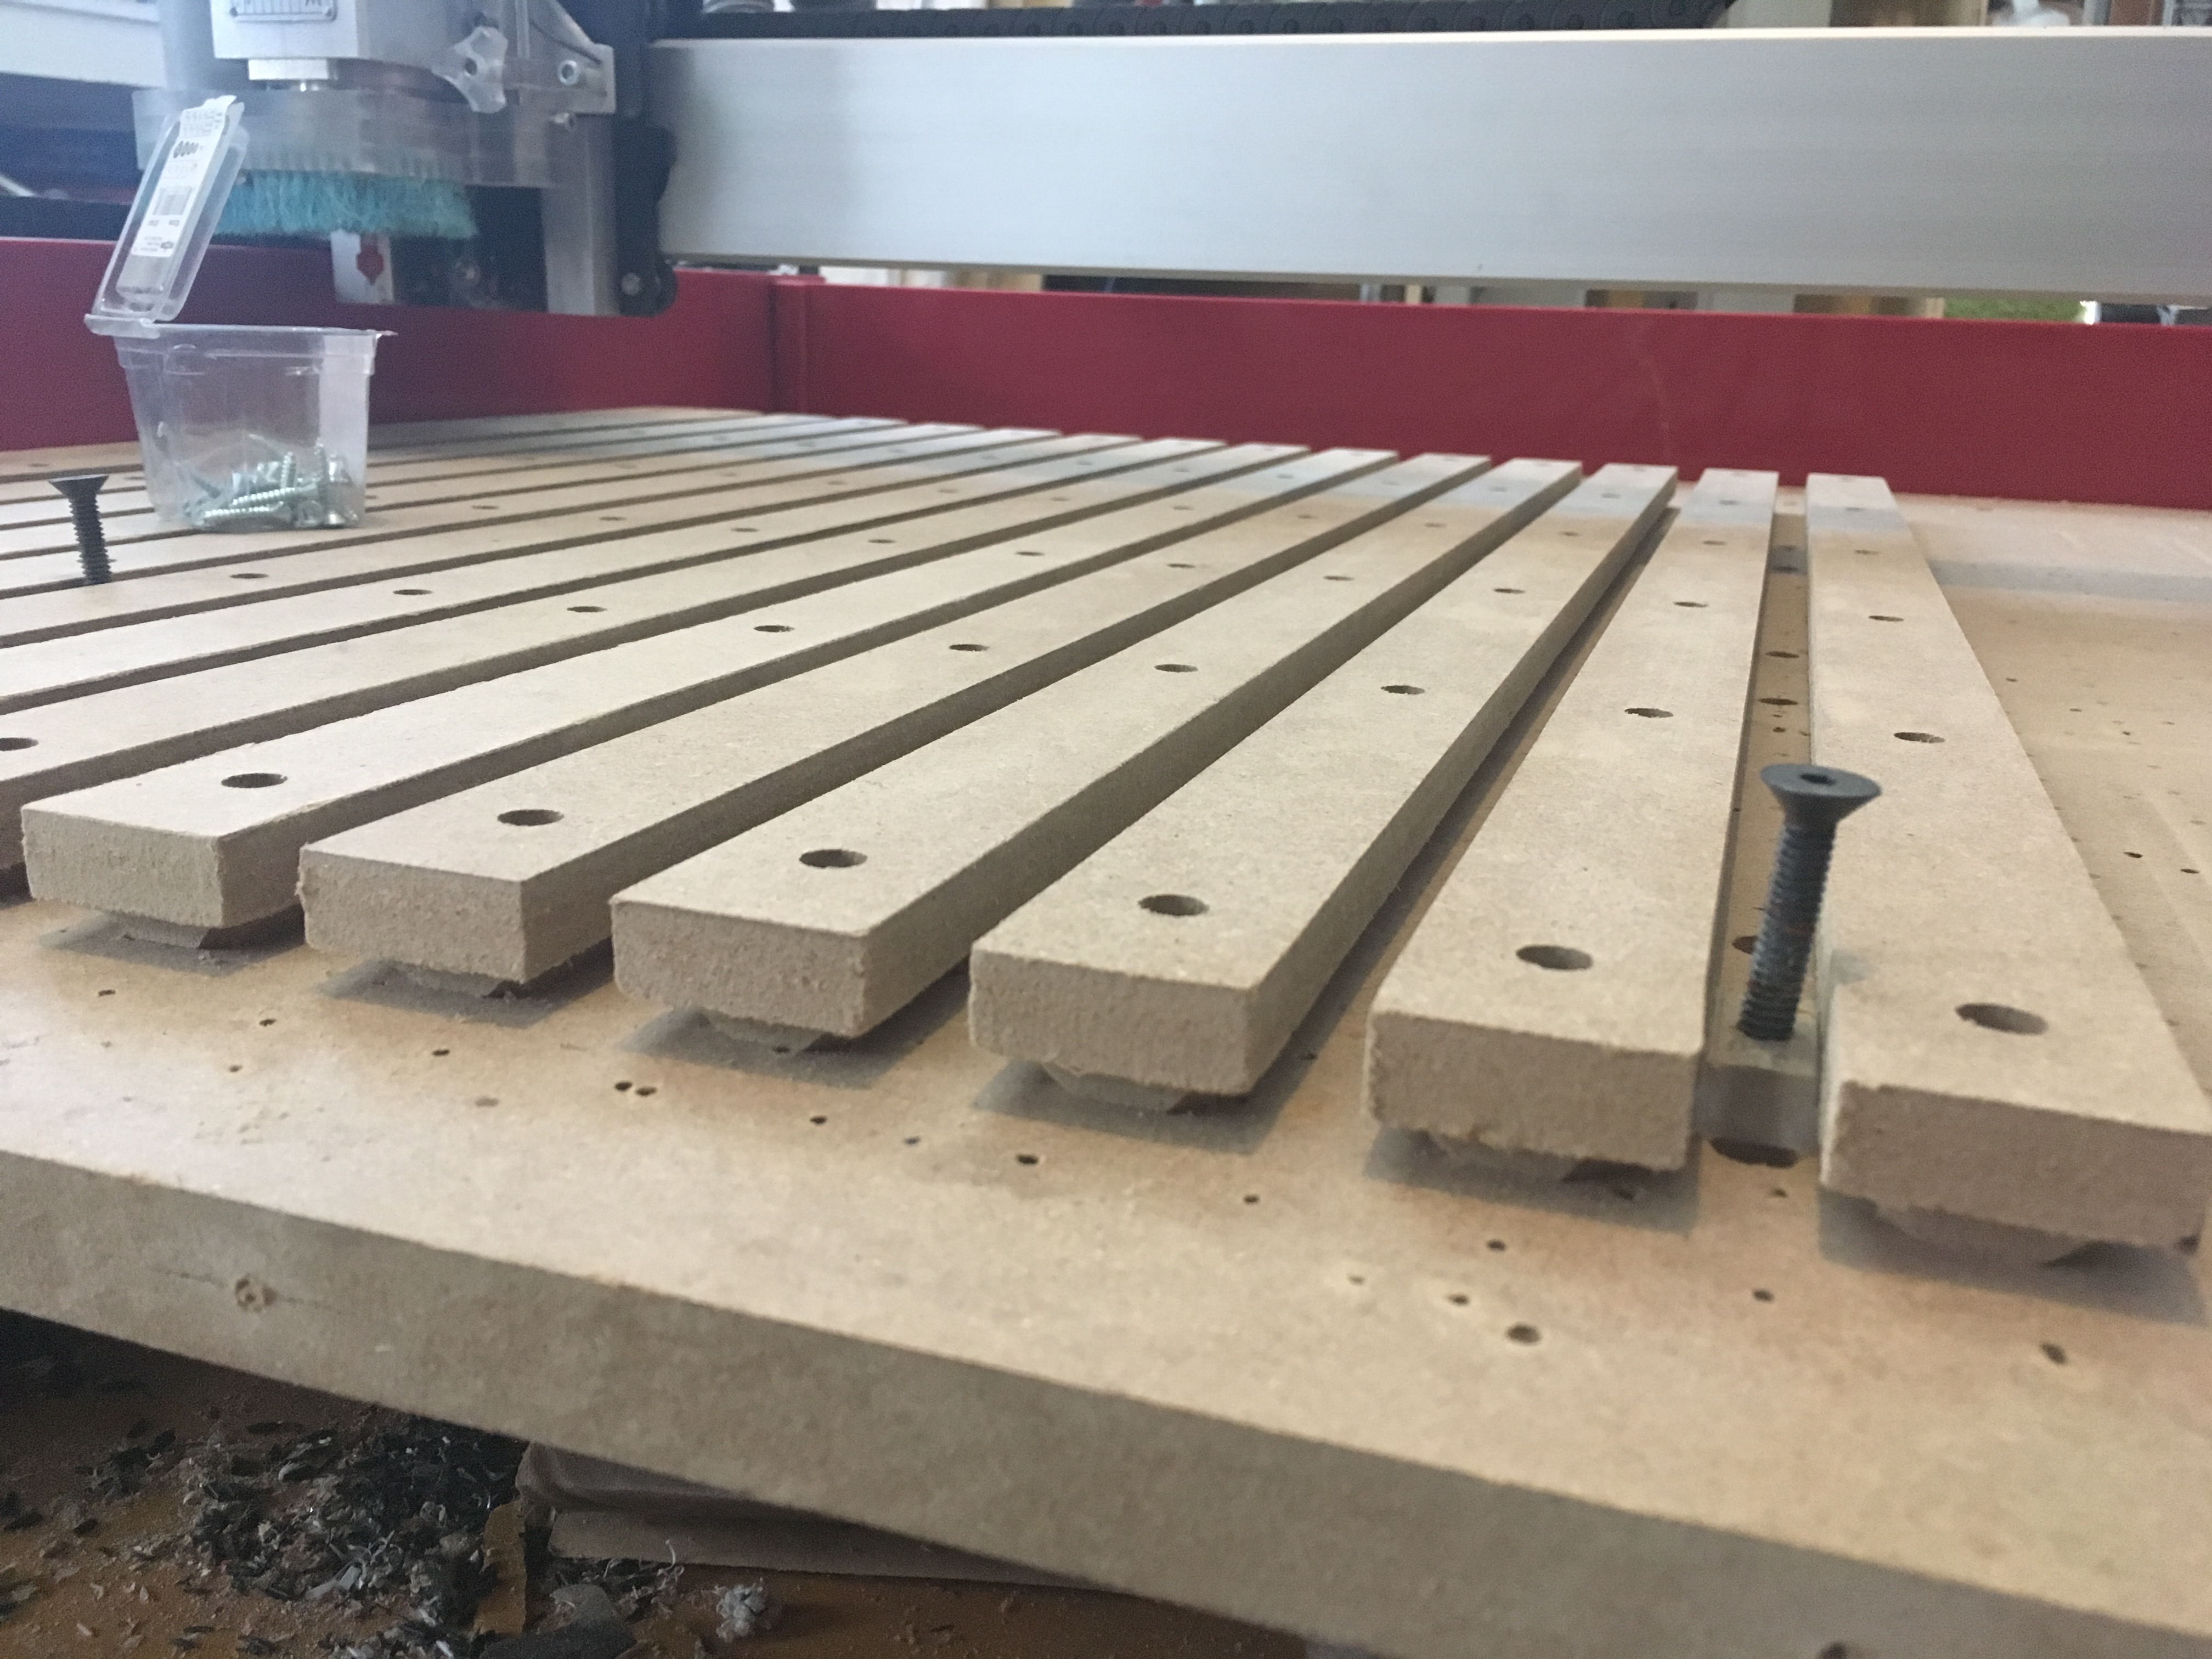
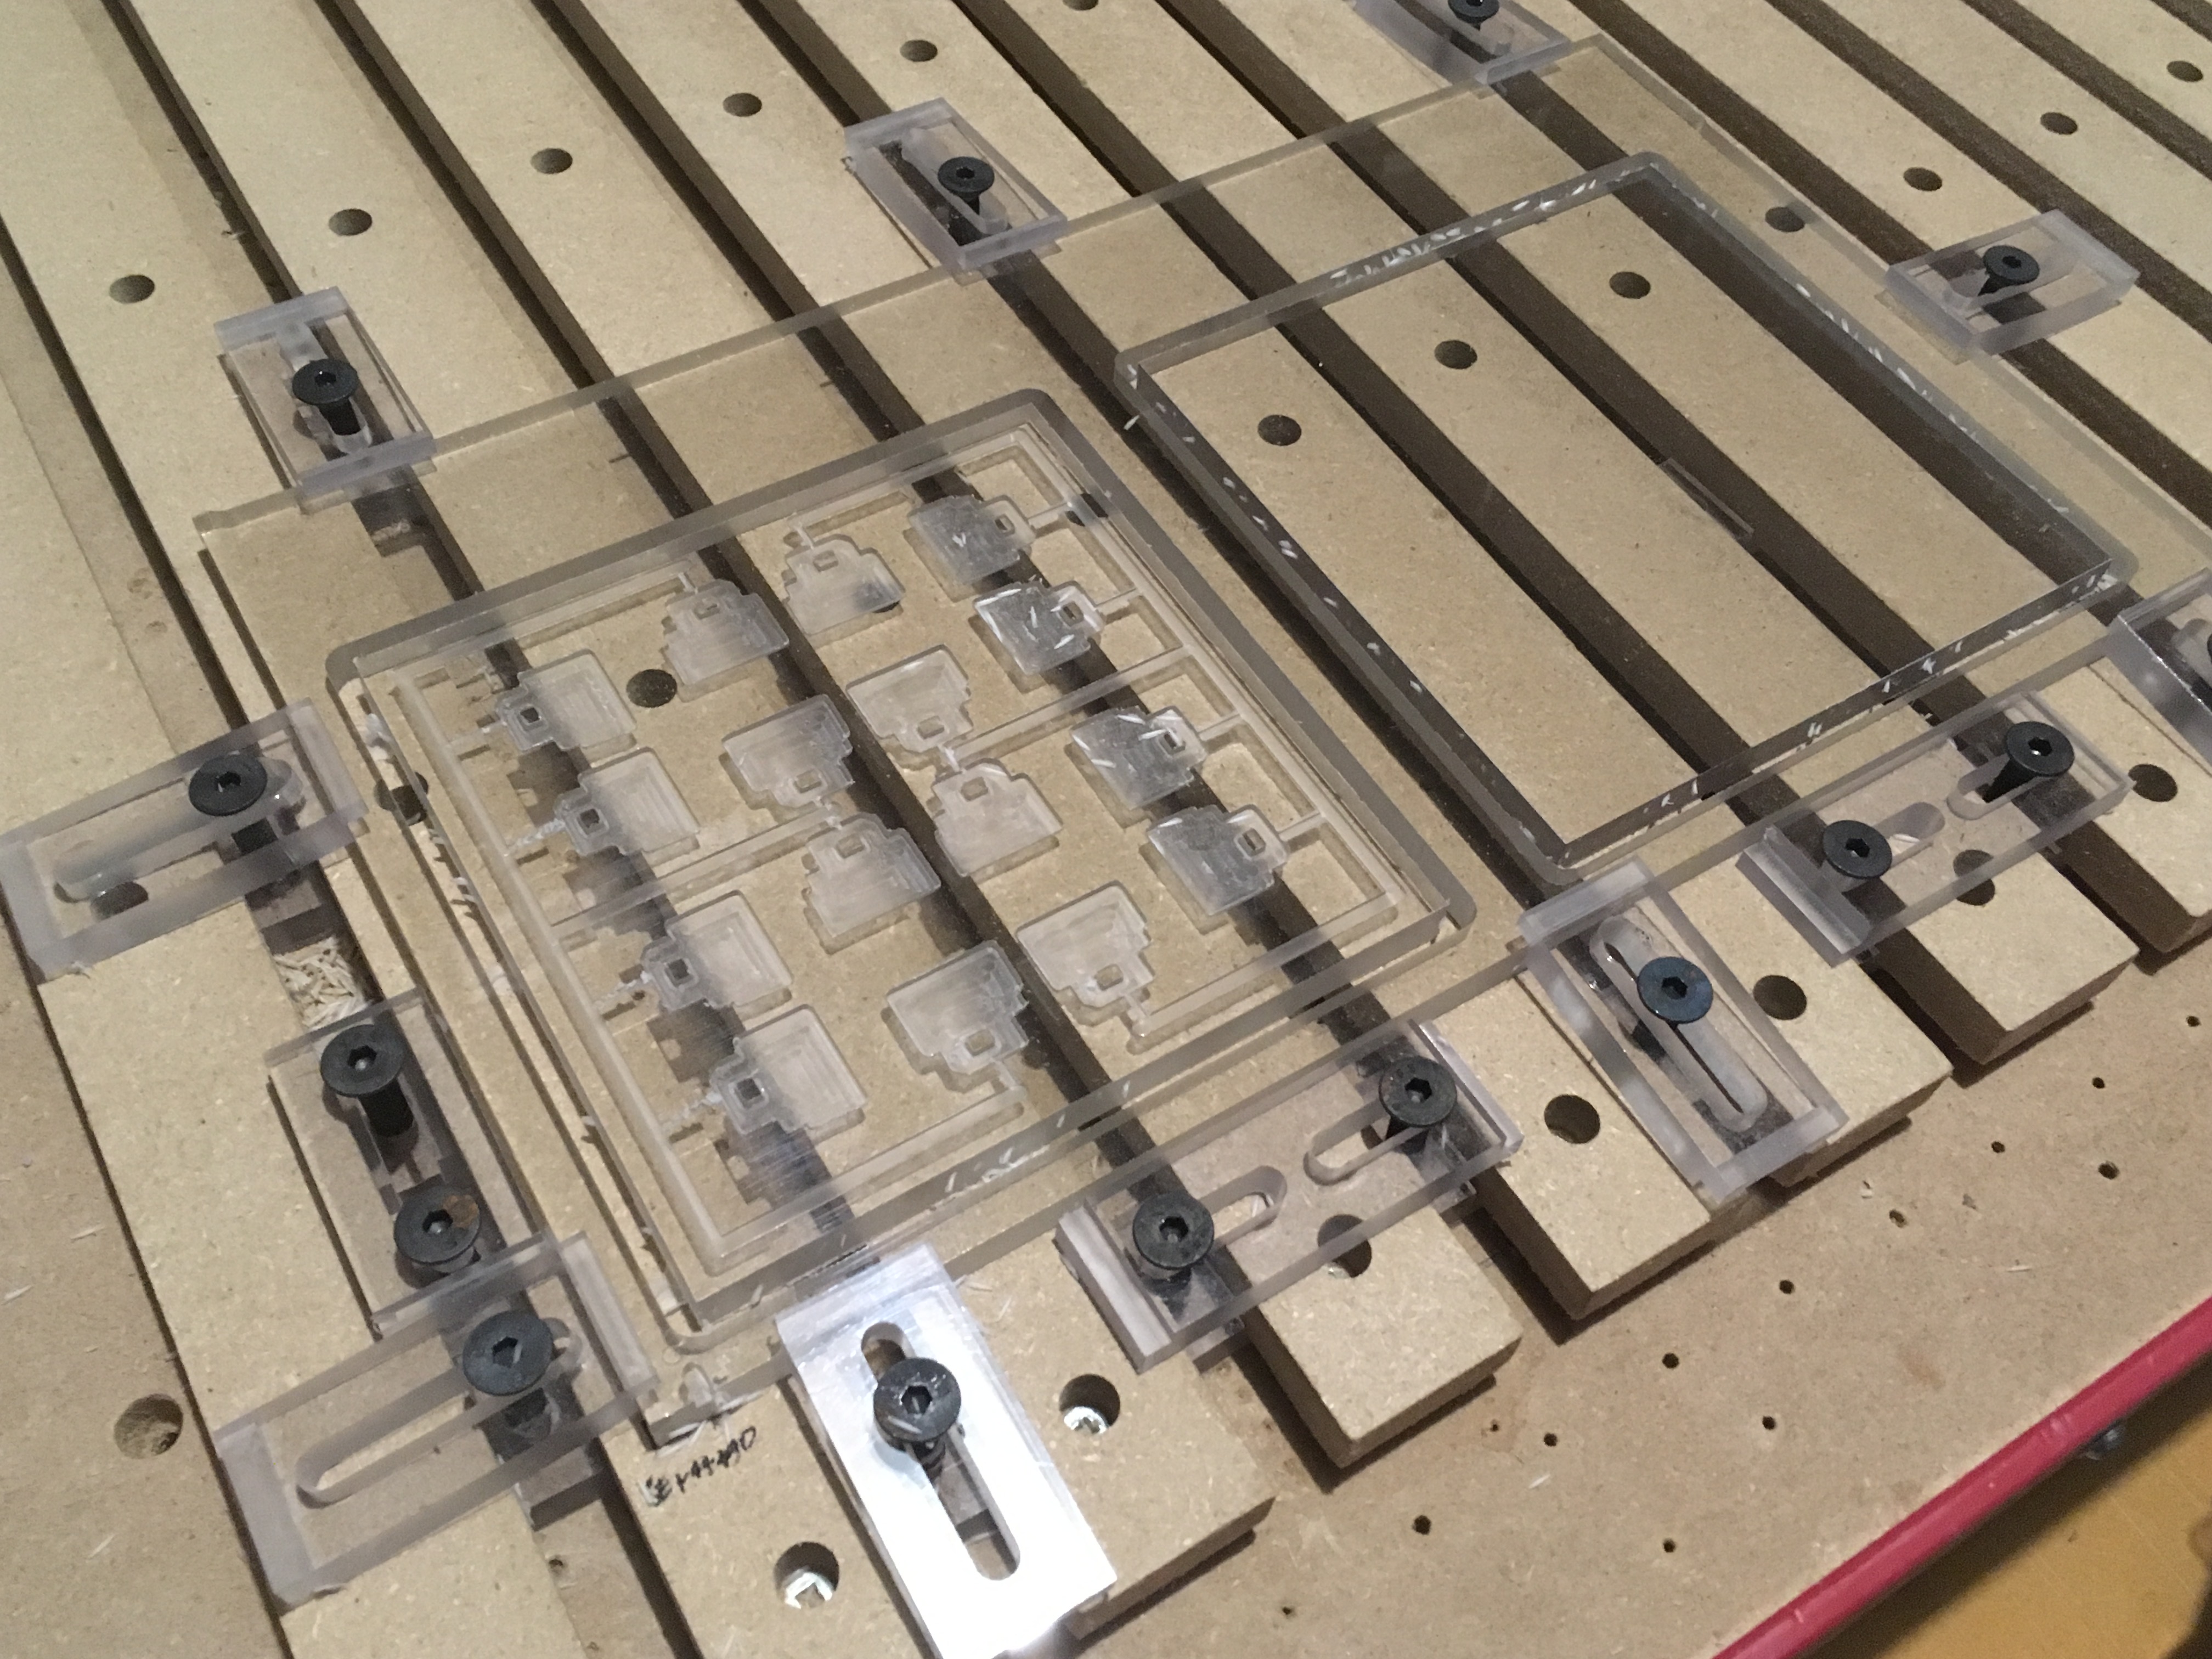
Next update was an MDF T-slot table. After struggling for the last 2 years to attach the parts on the table, I have designed and completed an MDF T-slot table. The main reason for this is that it can be easily surfaced so I can keep it level at all times. I made a file for surfacing it, and it takes less than half the time it was taking me before to surface my table. I use a 1.5" knife and I believe it takes less than 3 minutes to surface the entire table. Another feature of my table is that it allows to be moved forward for cutting pieces that are 32"x32". For brackets I use polycarbonate fixations with 1/4-20 mechanical screws. Why I chose polycarbonate is because it does not break (like wood) and if the cutter touches it by mistake, it will not damage it.
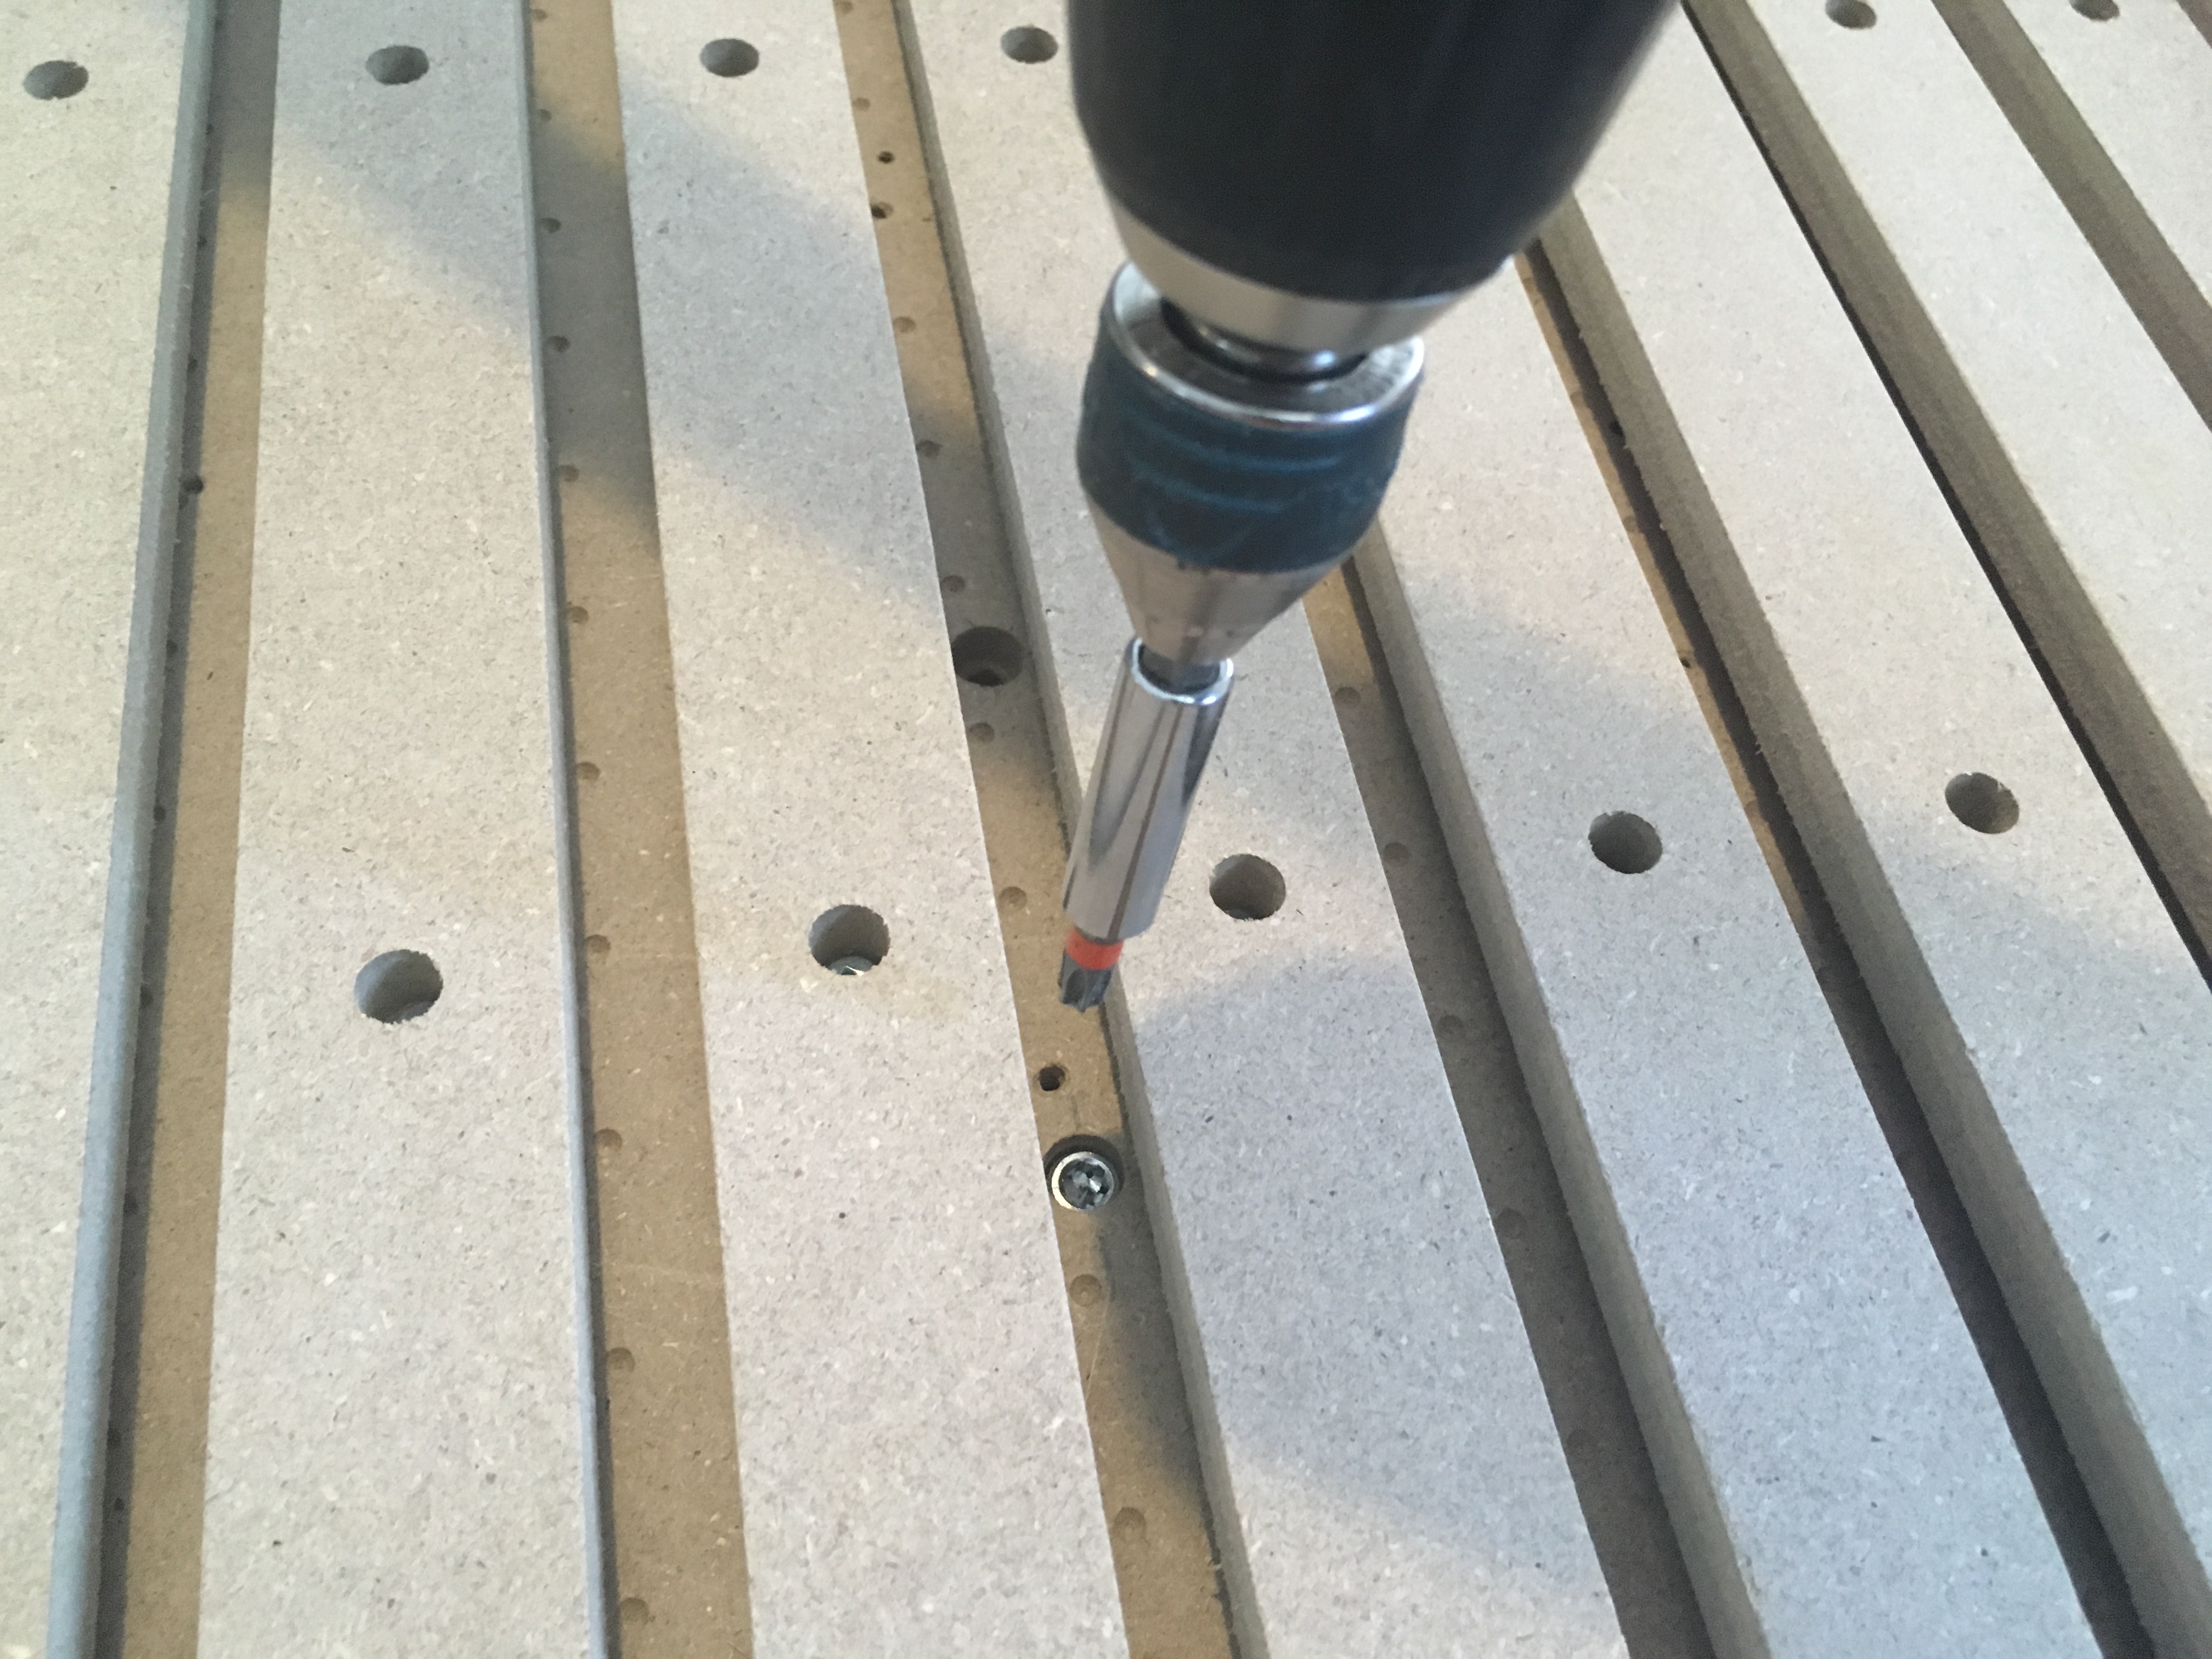
A custom-made Z probe, because I was fed up waiting for the back-ordered original. I also didn’t mention the red plastic fence around the perimeter of the CNC, because that was the 1st improvement I did to the Shapeoko. At the time I had no dust shoe, it really helped keeping everything inside. Since plastics tend to statically adhere to everything, it was a necessity to design the dust shoe, the underside of the gantry was always full of plastic shavings.
Here is the finished table, scroll down for details of the construction:
Awesome! Thanks for posting. Would you show how you designed the dust shoe and how you mounted it to be height-independent? That’s what I’m curious about.
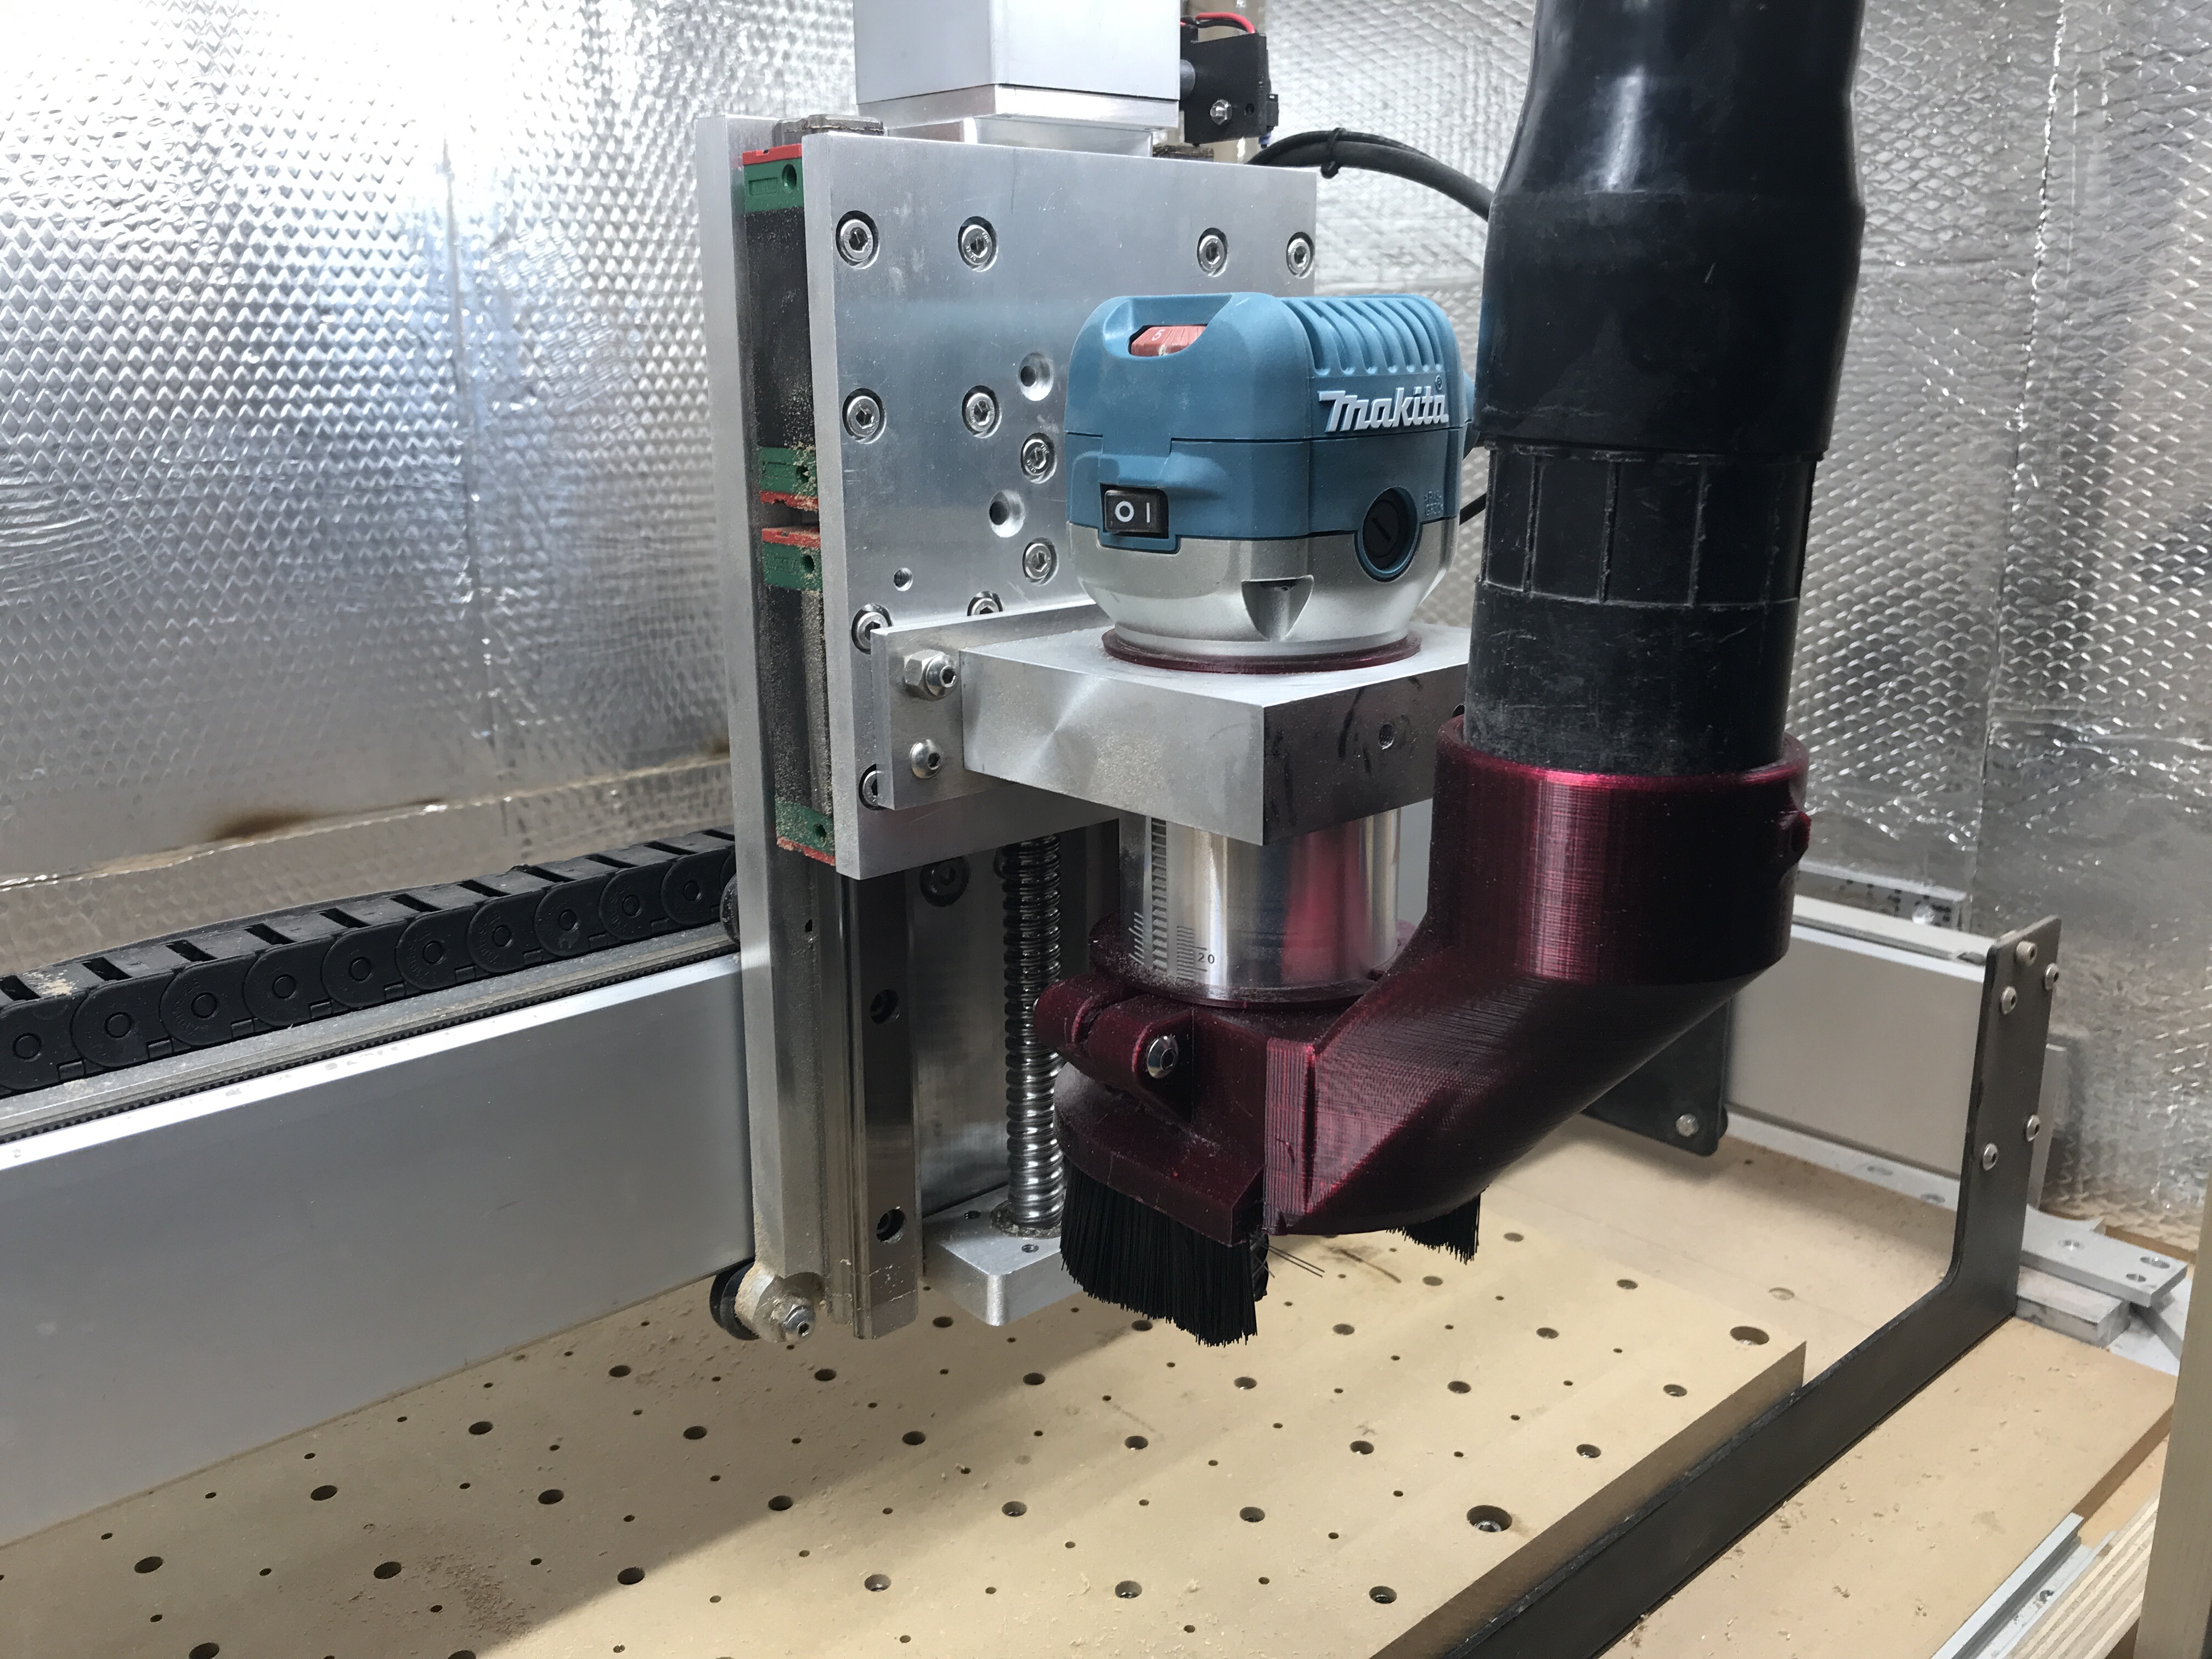
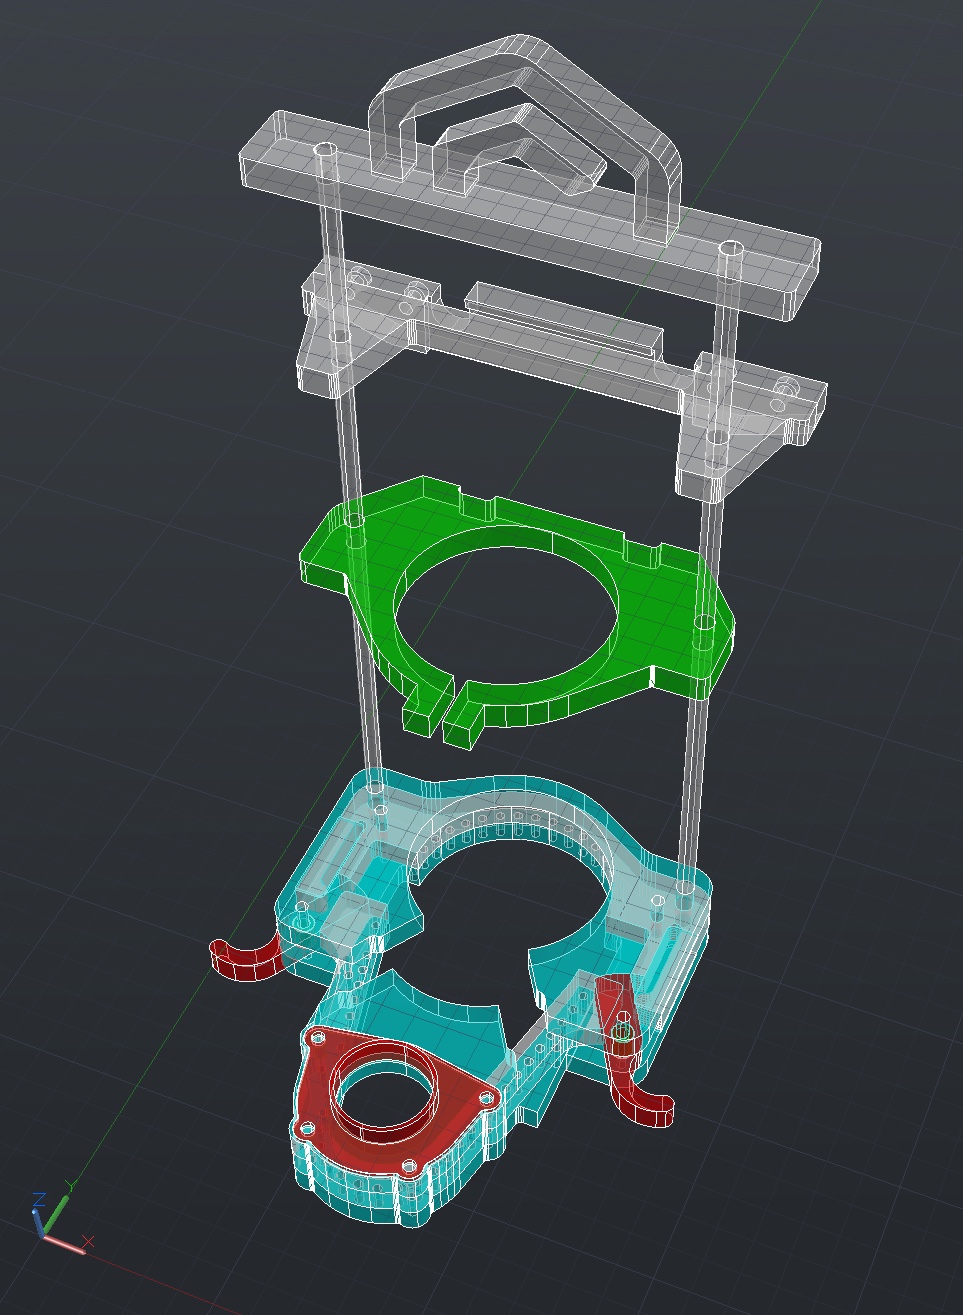
The top dust shoe bracket has two 1/4" stainless rods mounted on it with two set screws. The bracket and the two rods are fixed to each other.
The second bracket is fixed on the Shapeoko’s Z stepper on the top 2 spacers of the stepper. You can see that this bracket is made of two parts, so you can put it in without the disassembly of the Z stepper. This bracket has 0.26" dia. holes, so the rods can slide up and down easily. On the right side, there is a set screw with a knob (now shown). Tightening this set screw will keep the shoe at a steady Z, if so desired.
The green bracket is mounted around the the router, on top of the aluminum bracket that attaches the router to the machine (not shown here) This bracket has the same holes of 0.26" that are designed to let the rods slide. On the right side, there is another set screw with a knob (not shown). Tightening this set screw will keep the shoe fixed to the spindle and will move along with it, if so desired. Of course, tightening both top and bottom set screws will prevent your Z movement and you will end up skipping the Z position. You have to make sure that only one of the set screws is fixed at all times.
The bottom one is the shoe. The two rods are set with screws for easy removal, but I never had remove it. The shoe is made of 3 layers of 3/8" thick polycarbonate. This particular model has the front removable with the two red clips you see in the picture, but I never had to remove it since changing the tools is easily done with the dust shoe all the way down. That is why my new design is more compact, without removable parts.
Hi Griff,
thanks for the info, I downloaded the files, but it’s a bunch of useless files, no .dwg or .pdf I can use…
On second thought, I will design my own, I just need to figure out how to calibrate the z stepper and the ball screw… I have the linear guides already, I just need to buy a ball screw for $20 and I am set. Far cheaper than the $600CAN they ask for the whole thing, lol.
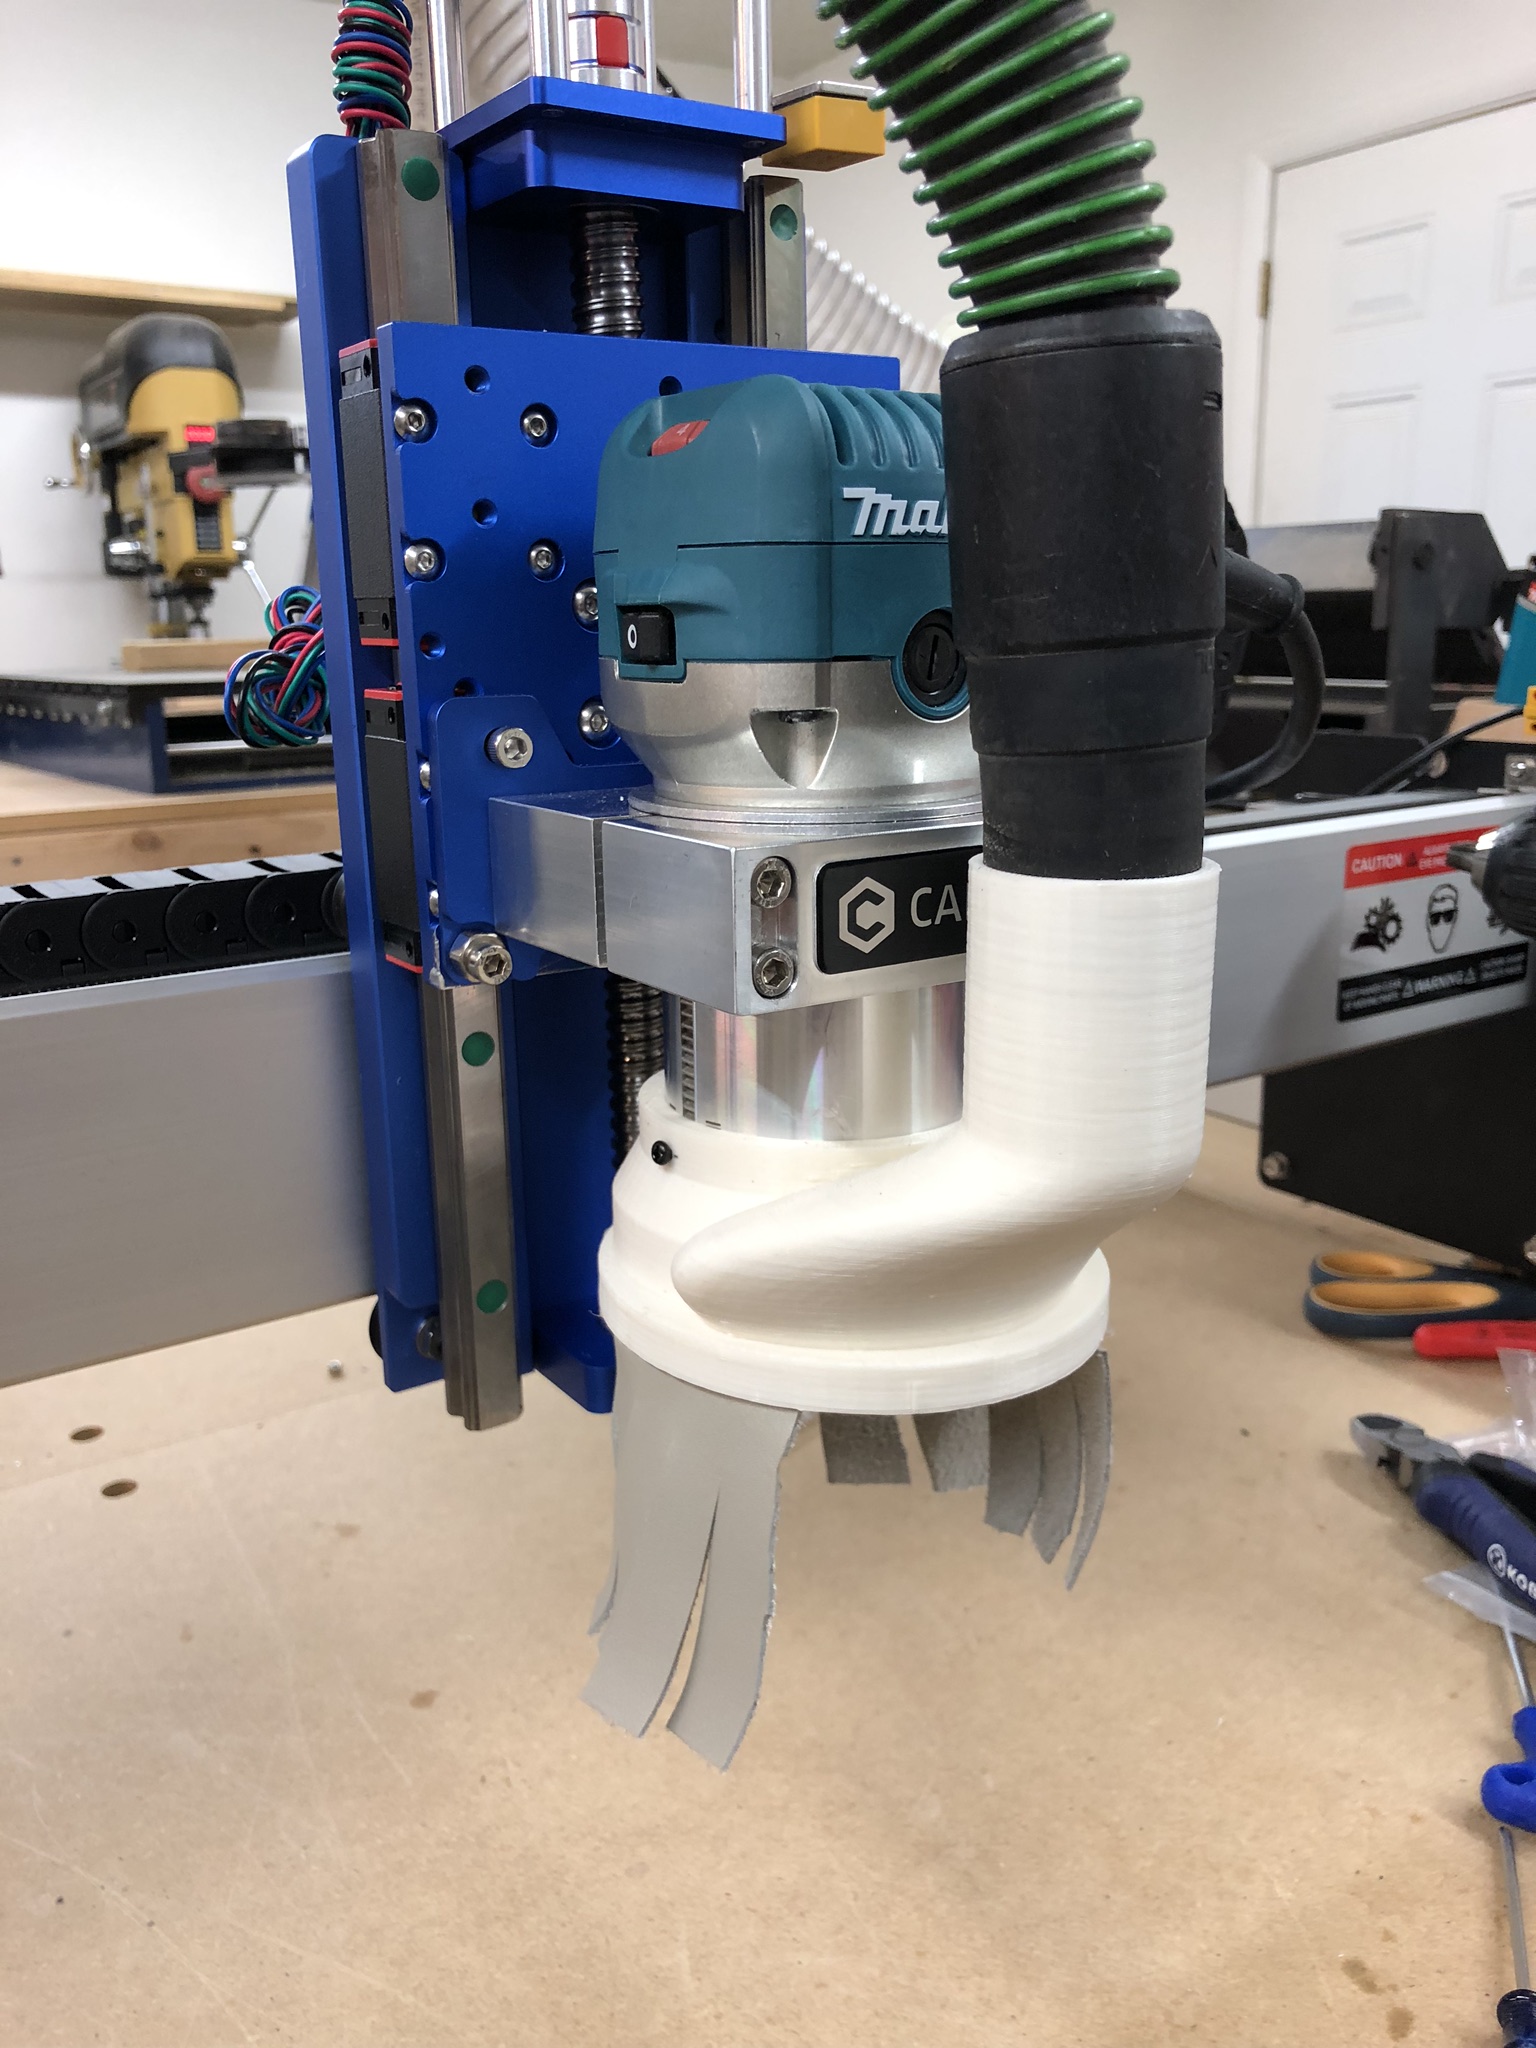
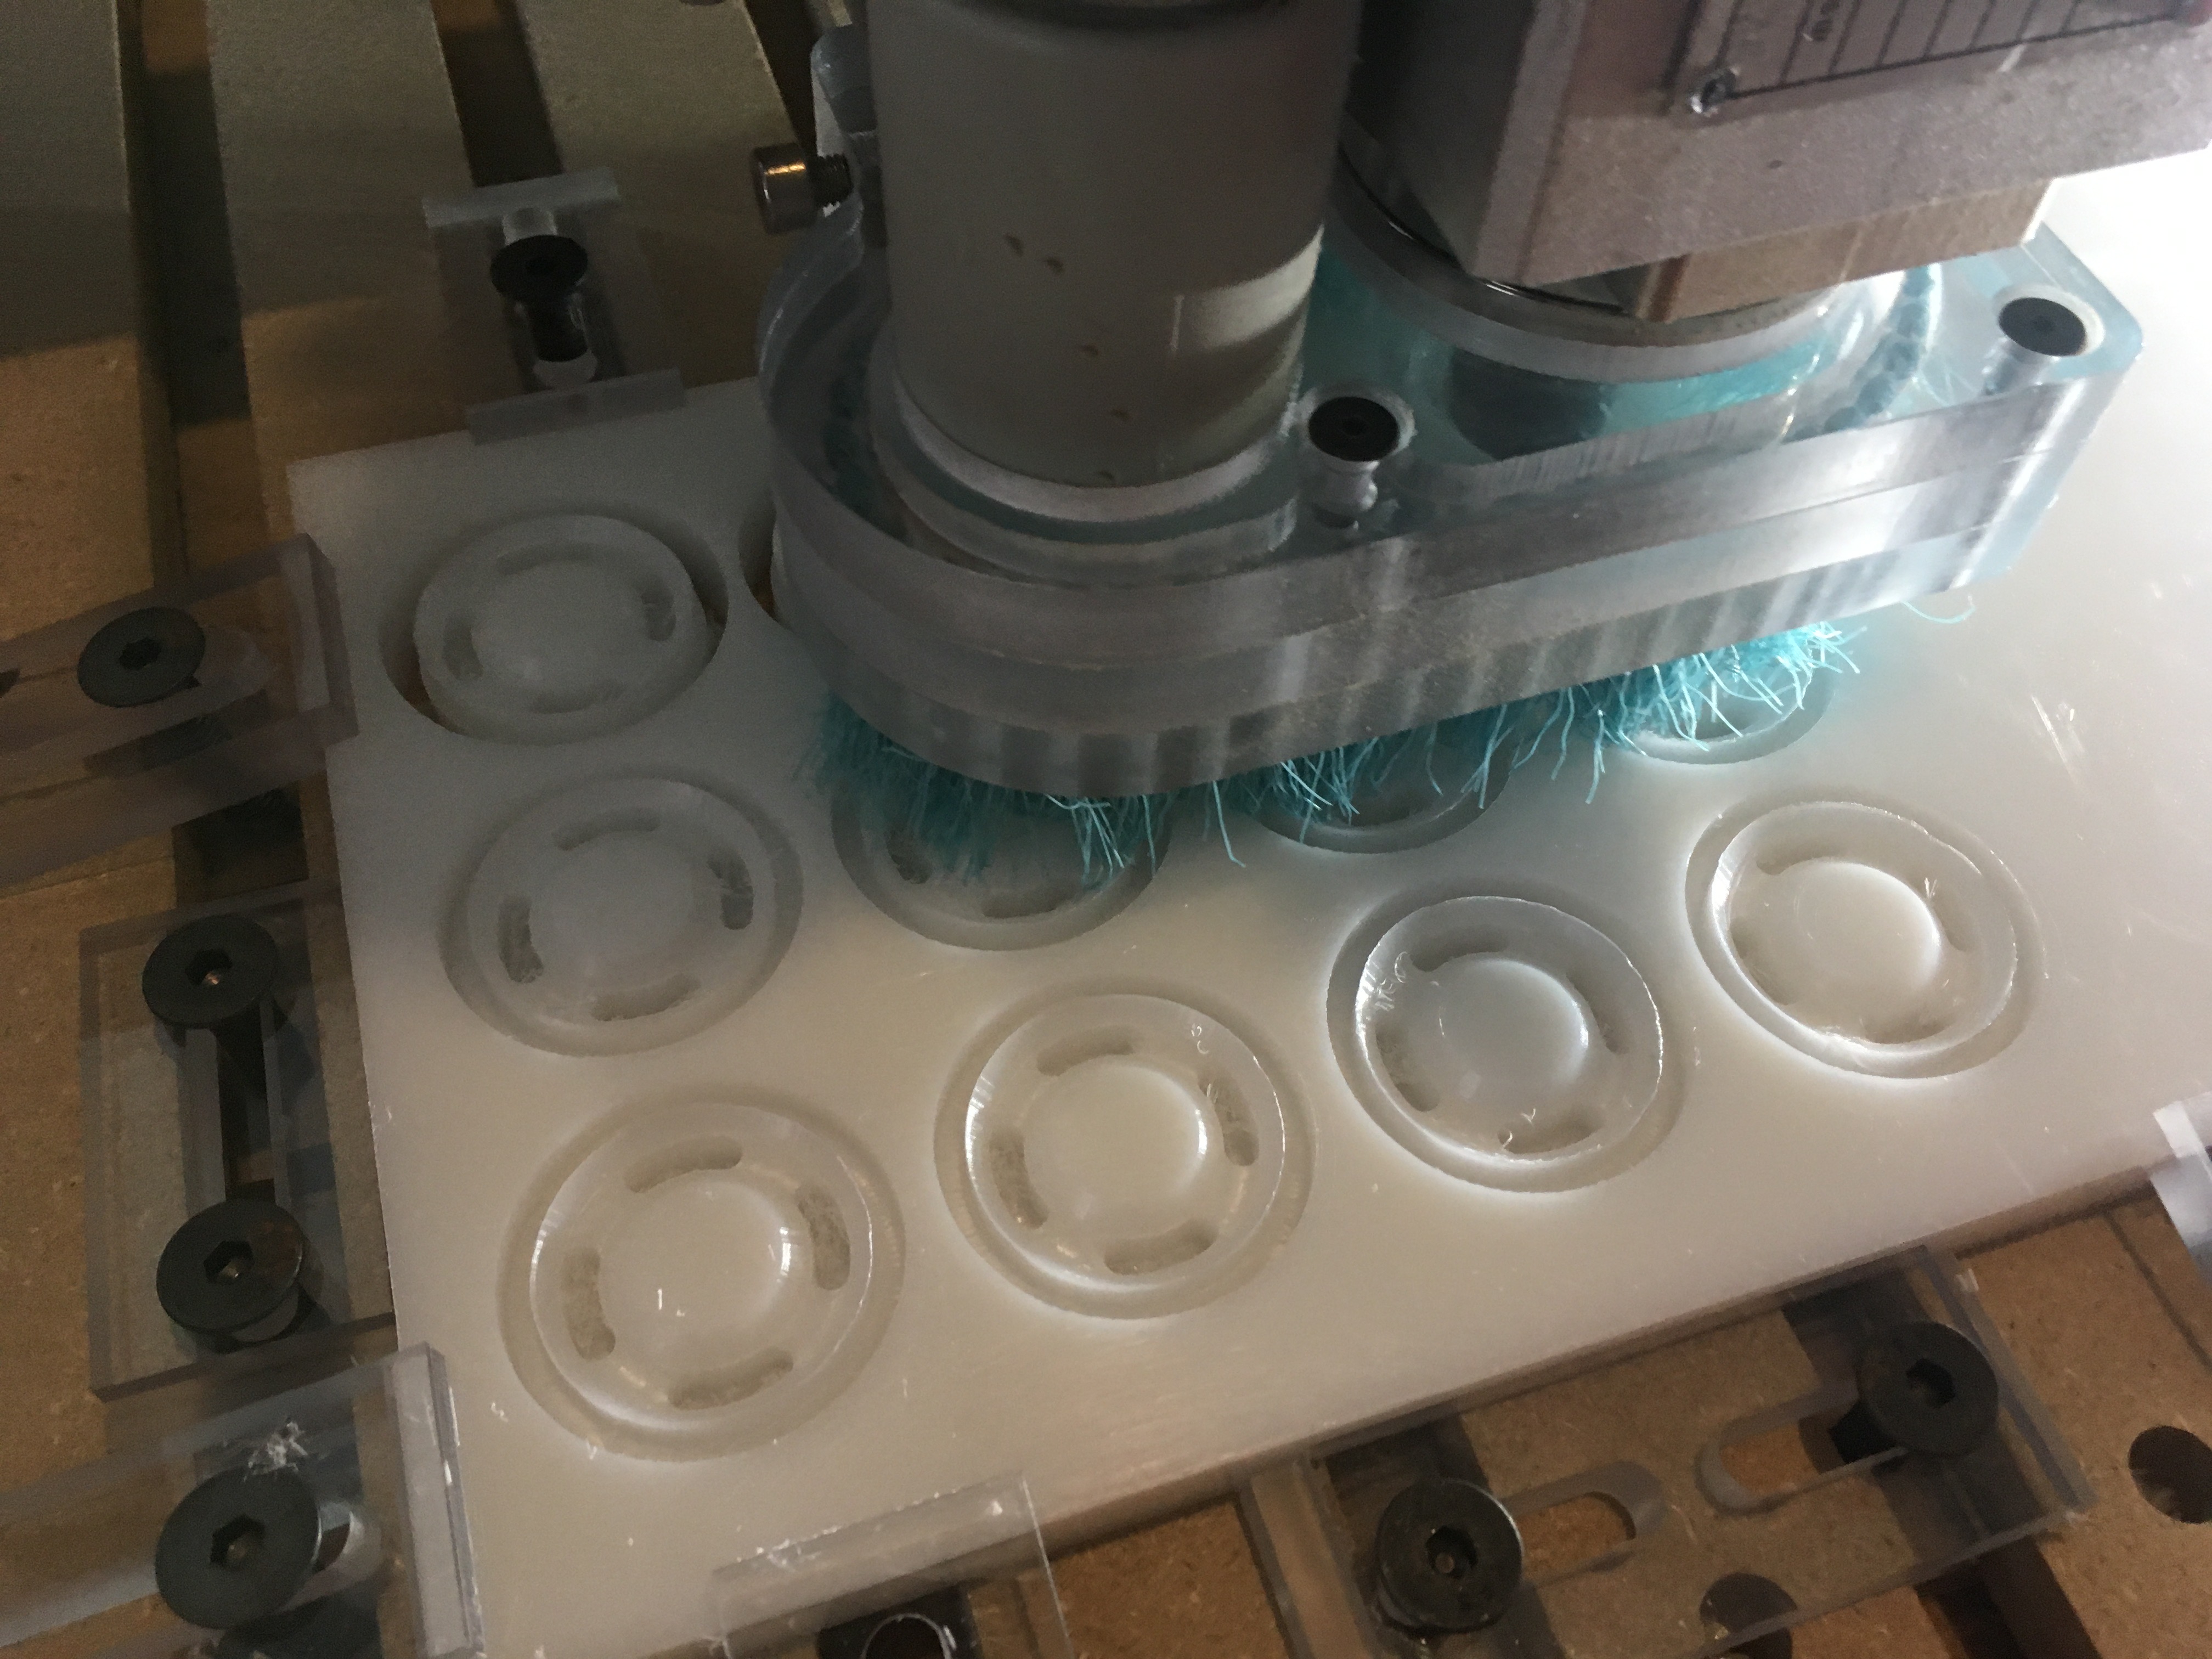
I designed and made this rear mounted dust shoe that is independent of the z axis and is adjustable. I milled the two piece shoe out of a hdpe cutting board I bought at Sams Club, it is 2 pieces because there is a 1/2" channel running from the dust collection intake to the brushes in front. It works very well and I guess thats because the area the brushes surround is very confined and that the spindle cuts off the suction from the top and pulls air in from around the brushes. I milled a logo for my daughters lemonade stand for “Lemonade Day” into mdf and virtually no dust was left after milling. I would like to mill the shoe out of clear acrylic sometime to have more visibility but that stuff isnt cheap!
Awesome! Haven’t seen a rear-mounted dust shoe yet. I have also been contemplating a rear mounted dust shoe, based on the trade-offs of front and side mounting dust shoes eating up usable space in the cut area.
Fusion 360 is expensive but you can apply for a “startup” license that is free. As long as you are not using it for business purposes you can use for free. Fusion 360 has a steep learning curve. On youtube there are hundreds of beginner tutorials available. Many are from Autodesk the maker of Fusion 360. They are quite good but I had to watch some of the multiple times before I even got a slight hang of the theory of operation.
Excellent. Faced with the same design parameters I thought a rear mounted hose makes lots of sense. I was surprised that no-one had made one.
I had my shapeoko fashion my design from material I had available from a fusion360 model. It works pretty well. It does cut down Z height a little, but not more than any other shoe really. Great to not have all the clutter on the business end. If it’s ever in the way, the whole rear mounted shoe arm detaches by undoing one cnc-made knob. That knob is also the z height adjustment.
I only had a vacuum cleaner available so I was careful to create a cross-sectional tube for the air to flow through that matched the cross-sectional area of the vacuum cleaner nozzle. it lofts from circular to rectangular inside the shoe. The rectangular end opens inside the small brushed area. The er-20 collet fits pretty neatly through the hole in the top of the shoe. The whole assembly hangs of my Z axis stepper motor. (it’s an oversized one to cope with my heavy spindle) It’s also screwed to the X axis plate but that’s only for stability.
As you can see it does not catch everything from a deep 3D toolpath like this, but on 2D stuff everything is clean. Since I started using it I have not really had a problem with the v-wheels gumming up the rails.
(sorry about the sound - with the vacuum and the spindle and cutting noises, it’s all pretty loud. Must build that enclosure…)