Could this be an issue of the type of wood, type of endmill, cut rate?
I used a single flute 6mm (3mm cut diameter) at around the 2-3 setting of the Dewalt 611, so maybe around 17,000-18,000RPM (will get the other specs when I get home)? I am not sure what wood I used but it is a softwood I got from the dollar store.
to identify optimal feeds and speeds, then you’ll want to consider leaving a roughing clearance and taking a finishing pass — ideally with a nice sharp tool, consider HSS if that’s an option.
Hi Will, thanks.
How exactly do i make a roughing and finishing pass? Would the difference be in the type of tool used as well or use the same tool but with difference coordinates (i.e. closer to the actual cut route for finishing)?
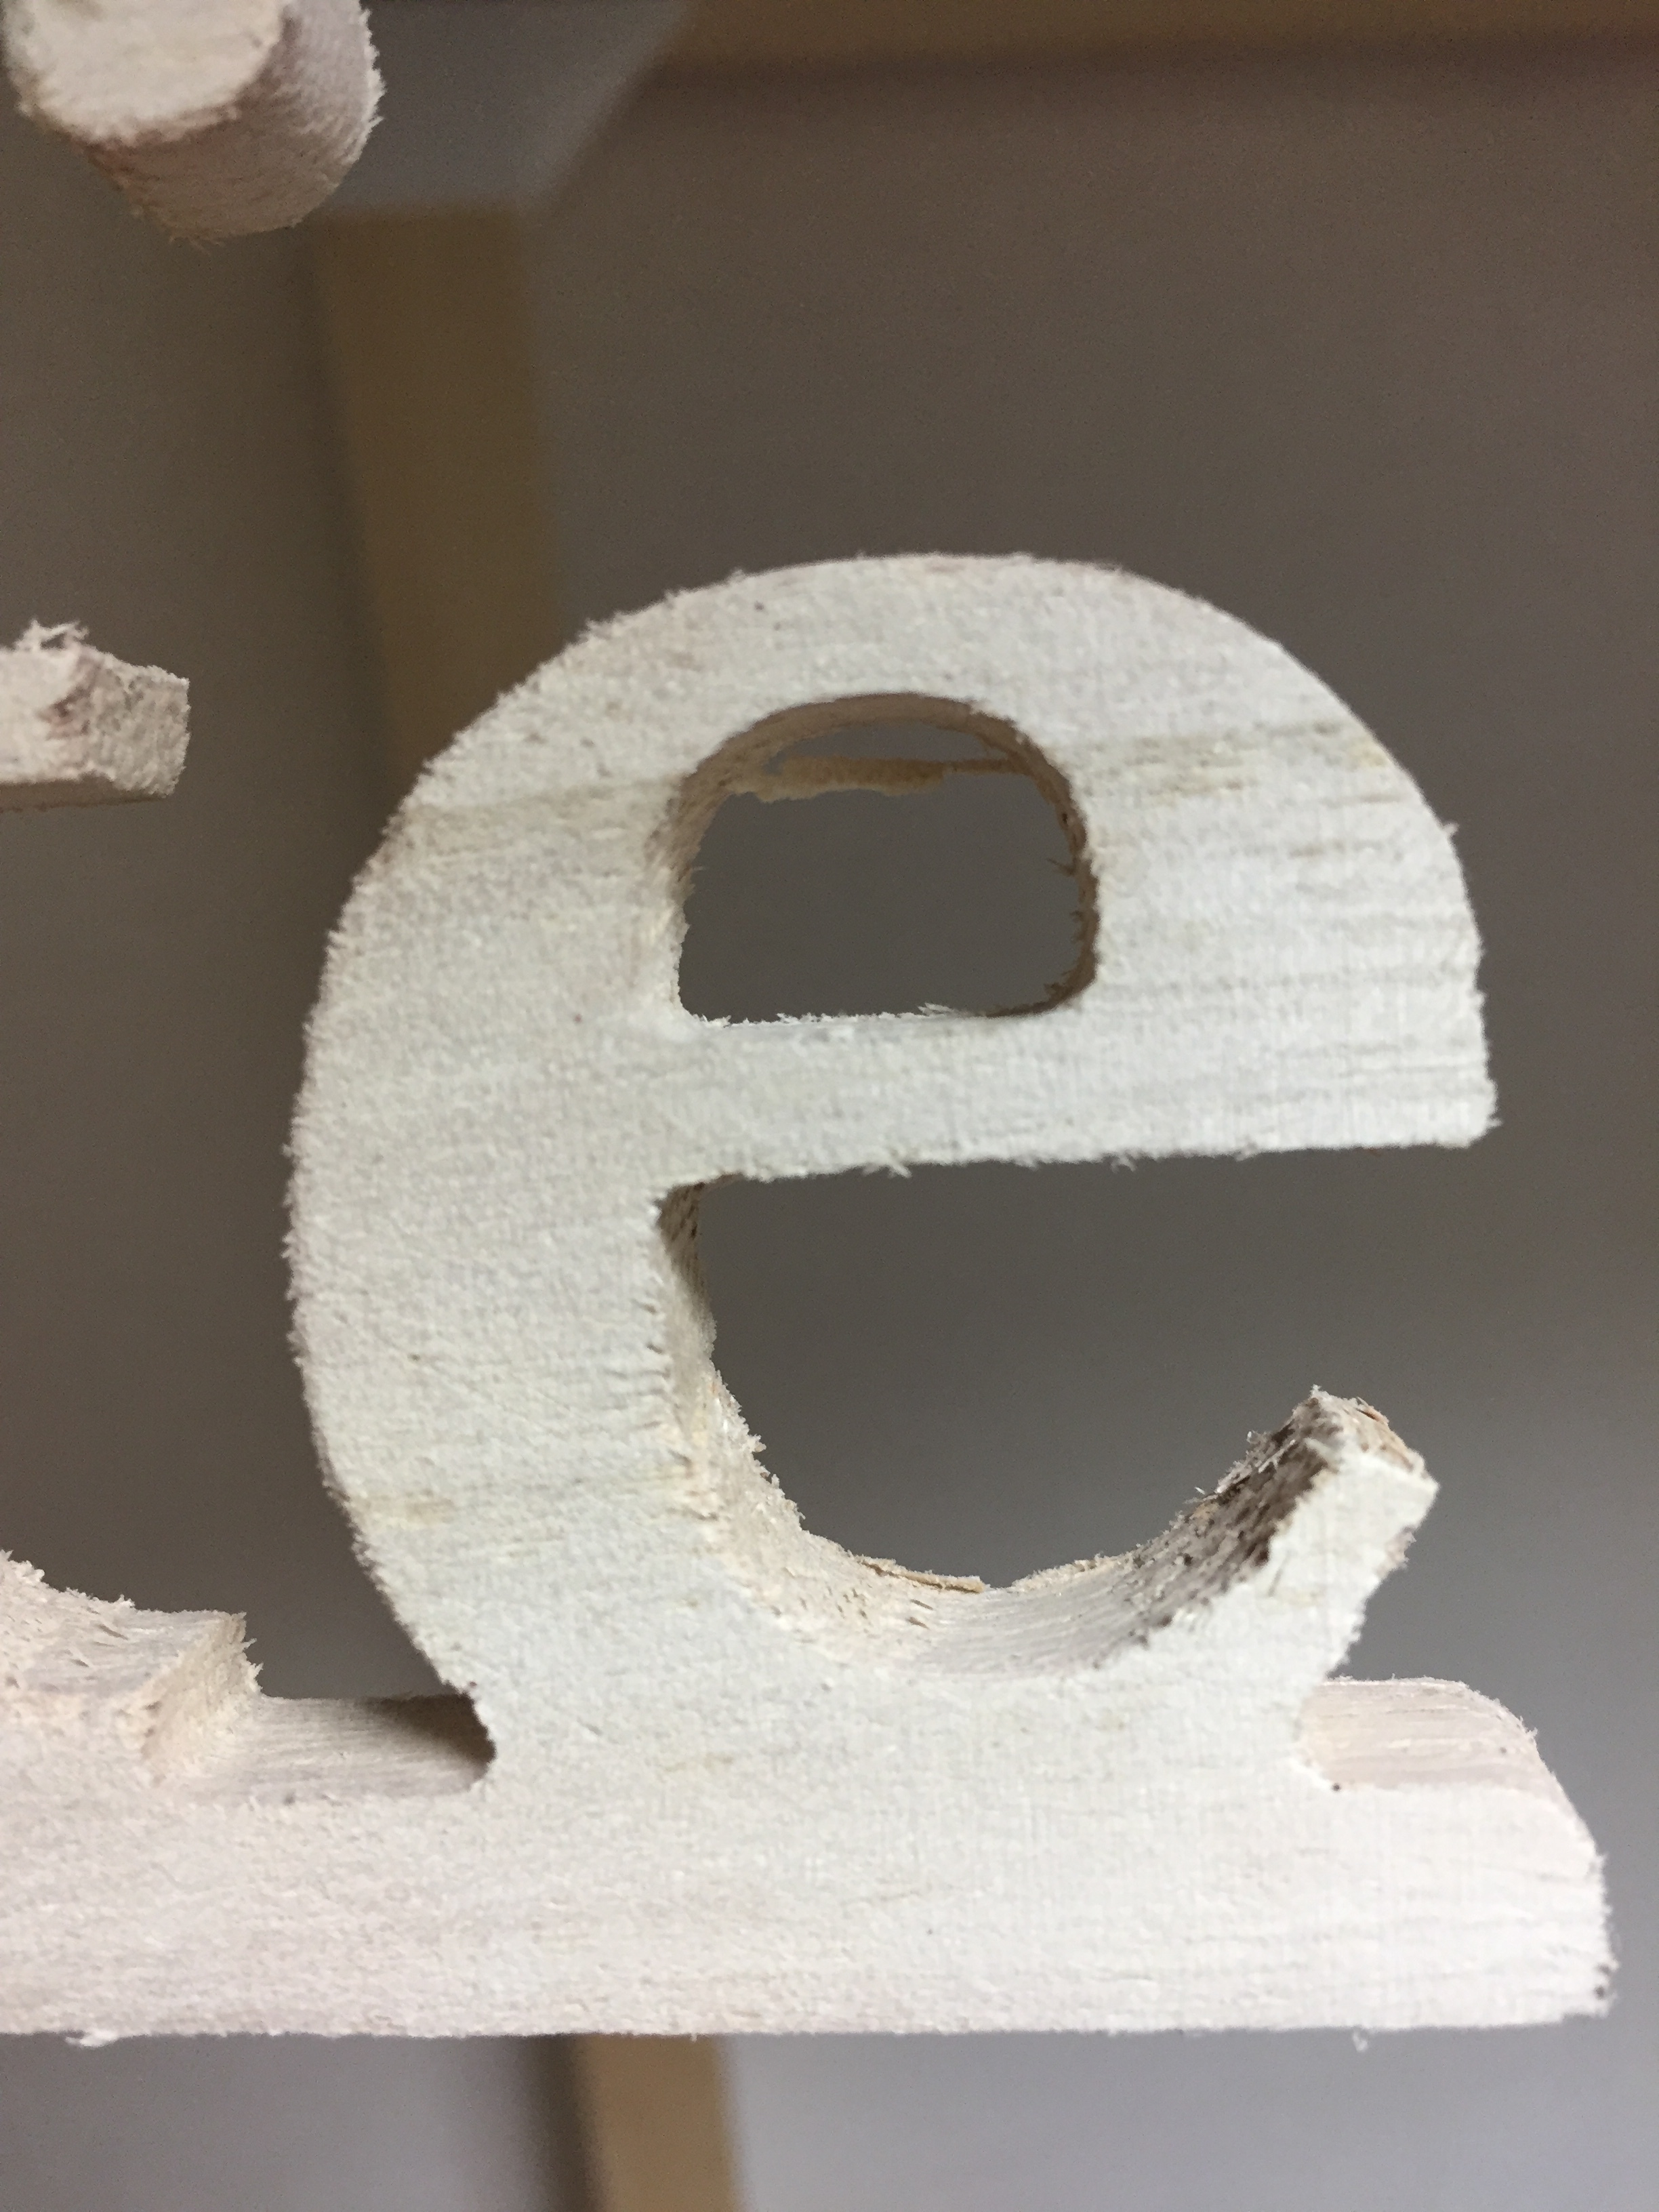
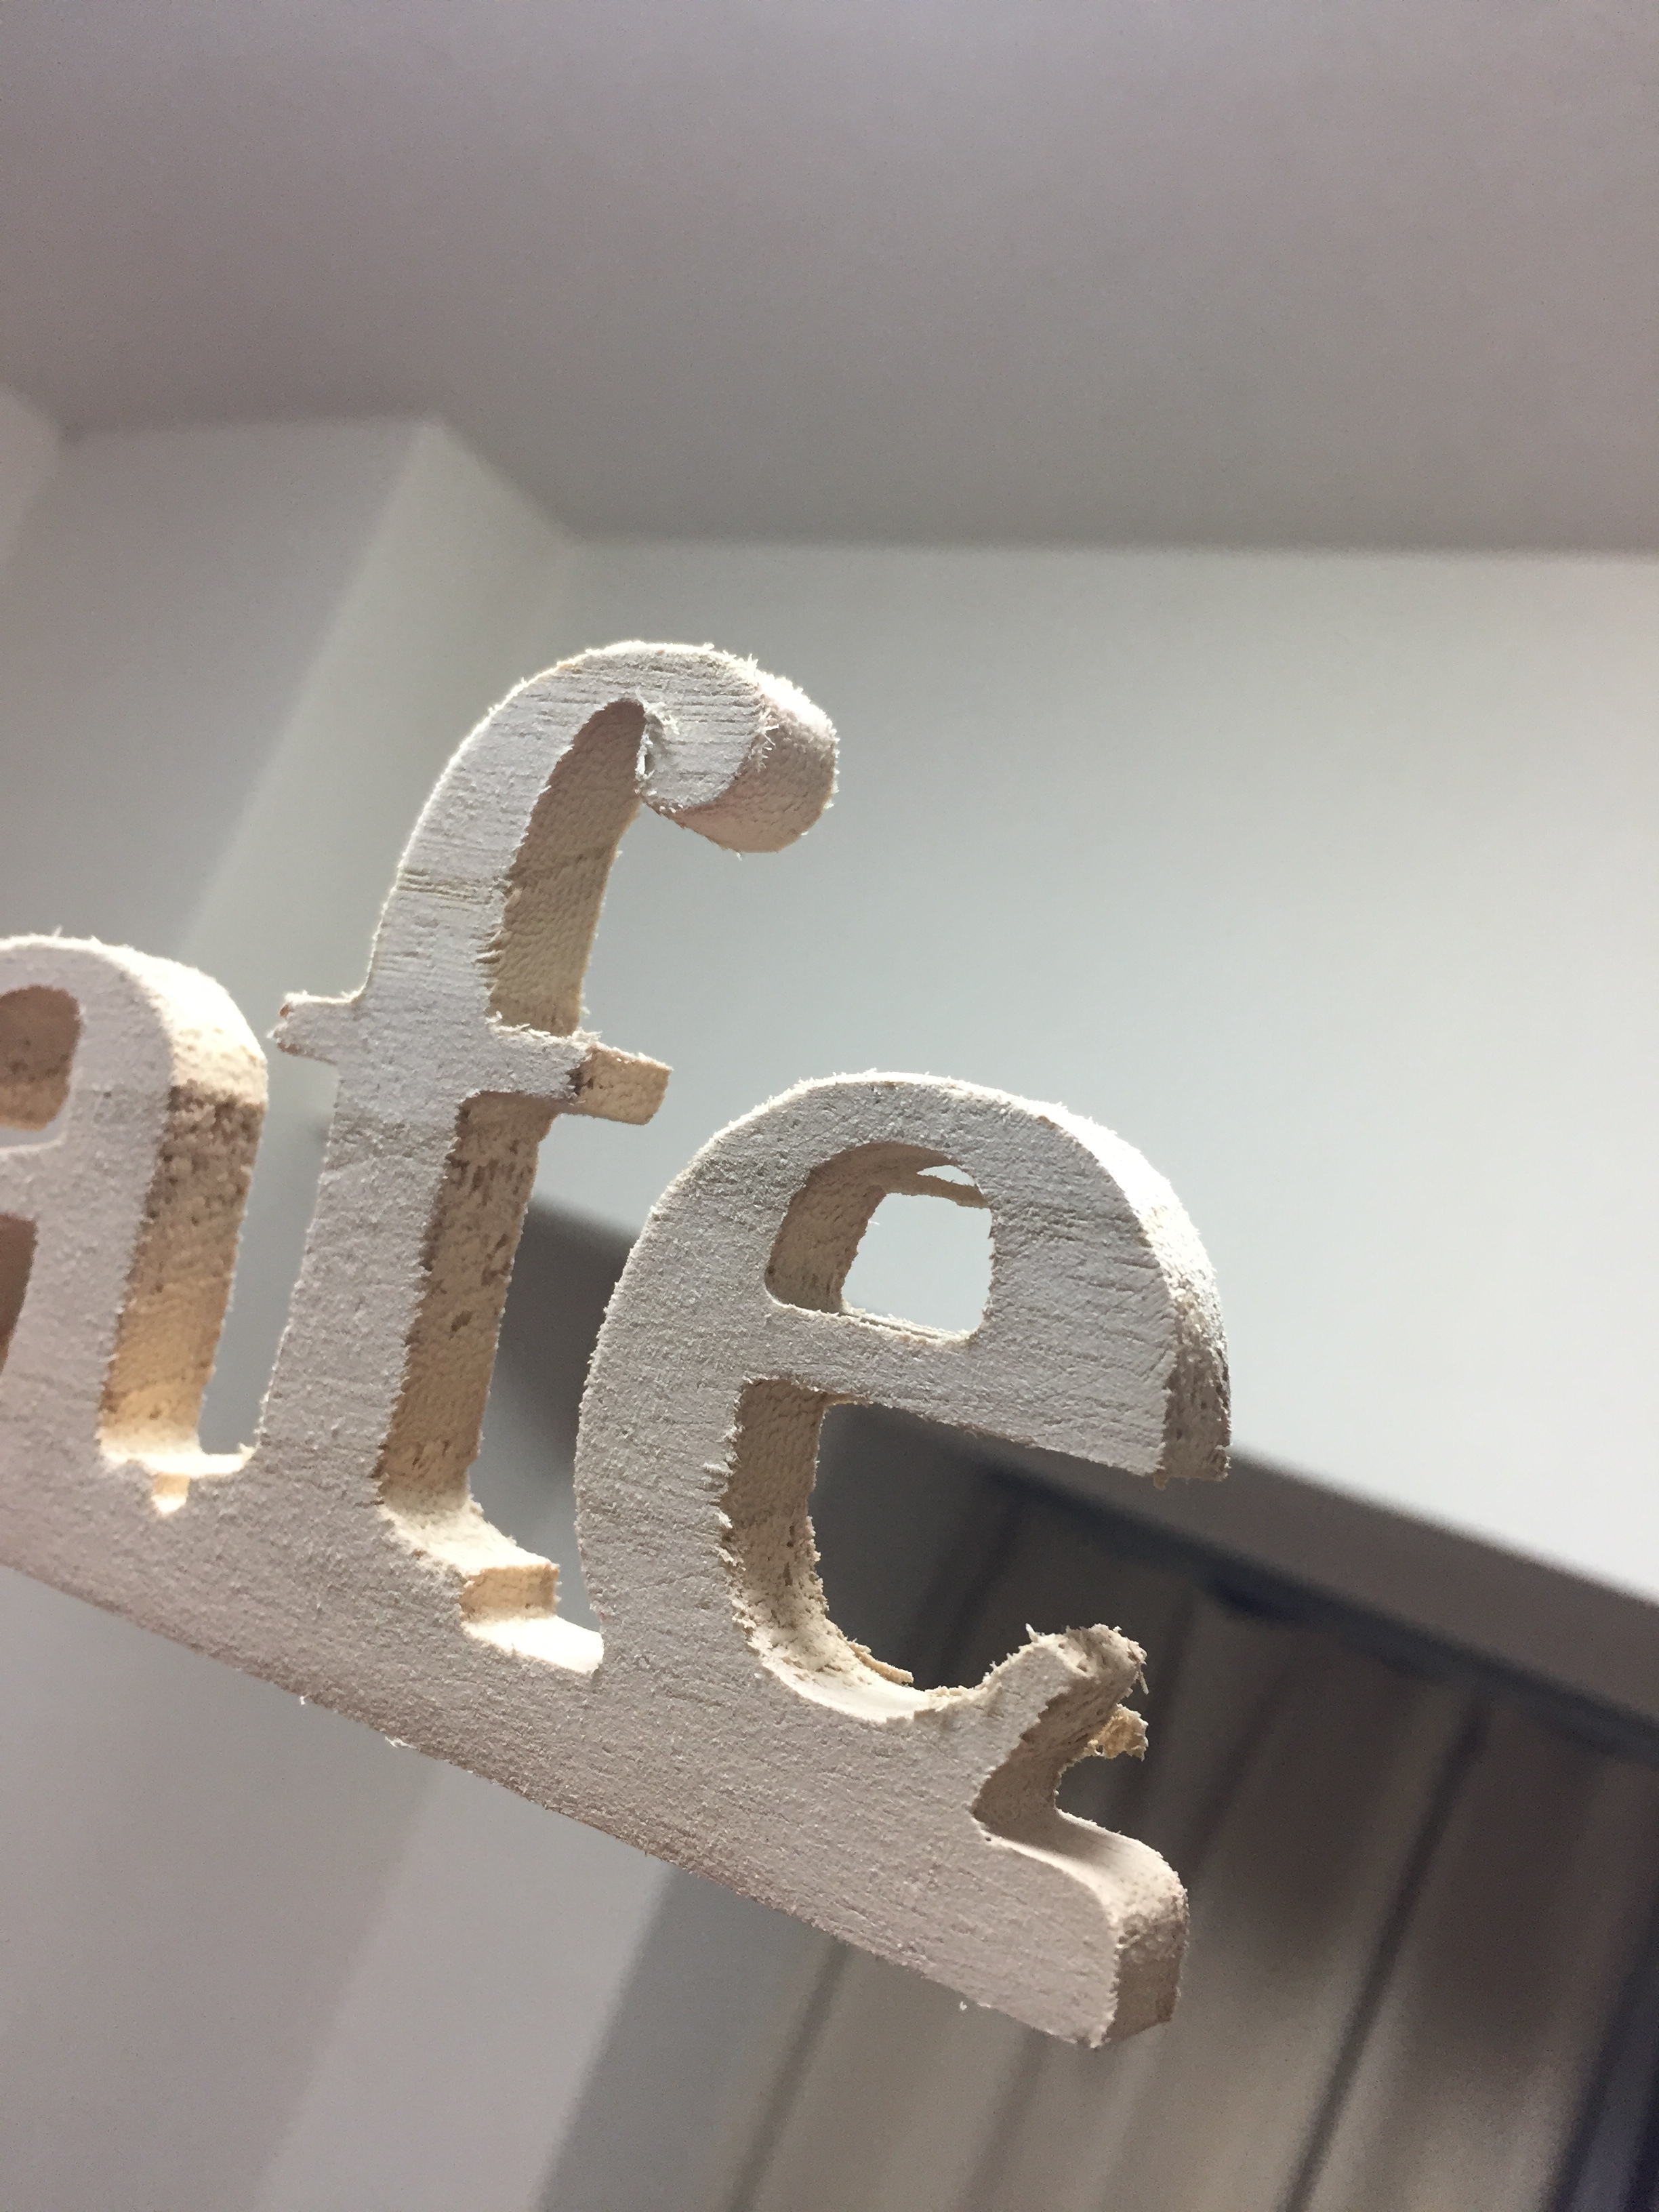
If the single flute endmill you are using is a straight flute, I would suggest a 2-flute upcut endmill. You didn’t mention the feed rate. Also you didn’t mention if you were using a conventional or a climb milling technique. This information could make a difference. Looking at the first photo, there seems to be buildup or welding of the wood in the inside curve. This would suggest using a faster feed rate and an upcut endmill. Hope this helps.
Hi Will, sorry I don’t see where in the link it says how to do a roughing and finishing pass, it just mentions that you have to do it. Is it as simple as getting a smaller diameter for the roughing and a larger diameter for the finishing (after setting up the larger diameter as the diameter on record?)
Correct, since Carbide Create doesn’t have a feature for roughing clearance you’ll either need to draw in geometry, or create tools which have altered diameters to effect the desired result.
You mention a 6mm shank tool, do you also have a 6mm collet in use? If not try a 1/4" shank tool that the stock Dewalt collet is made for. 6mm versus 6.35mm (1/4") could be enough difference to induce tool slippage or possibly even excess runout. It may not seem like much, but it is.
Hi, yes I changed the collet to 6mm to be able to use a 6mm shank. Indeed had issues with slippage using the 1/4" collet with the 6mm but this cut was using a 6mm collet and 6mm shank.
Cool, just checking on the collet. That wood looks like balsa to me, hard to say for sure. What I’ve noticed when cutting balsa (not on the CNC) is that it can be very squishy (low density, but high strength to weight) and “furry” when cut. So it could just be the material. Being that it’s dollar store wood it’s hard to say for sure what it is, but probably low quality. I bought some small cheap craft plywood pieces from Walmart last year and tried to CNC them and didn’t have great luck either. When shopping at these places for materials “ya get what ya pay for” has been my experience. Stuff cuts nice on my scrollsaw though
Thanks! Was shopping for a compression end mill to replace my single flute straight bit because of the fuzziness, but perhaps I just need to change the material? Or will I encounter rough edges either way if I cut through unless I use compression?
I actually really love my single flute straight router bit, especially cutting plywood. I also have a couple downcut bits, but my results weren’t all that great and it had to move slow to get good chip clearing. Have not tried a compression bit personally, but some folks swear by them. I would think that you’d need one somewhat specific to the thickness of the wood you’re cutting to get full advantage and probably do a full depth finishing pass, but again I have not tried it myself. The bit I use is from Inventibles, I found it by filtering my search for plywood cutting. You might try just changing material too, some stuff is just hard to get crisp cuts on.
The topside doesn’t look too bad so upcut isn’t doing too bad of a job here just a few fuzzies no real tearing. The walls/sides look like they need some changes. I would try more flutes. Its wood so 3 flute should be okay for material removal. Finishing passes should tidy this up a lot too. I usually cut conventional for roughing and reverse to climb passes for finishing taking off 0.05mm to 0.2mm over a few passes.
Never overlook stock quality as well harder woods like Ash, Oak, and Purple heart give very crisp cuts. All just depends on what you goal for a final product are.
No, not changing the diameter of the tool. Your CAM software should have options for finishing or final passes this will cut a set amount larger (ie 0.2mm) than your profile on every pass but the last. The last path will cut the final passing depth and the profile to dimensions (ie: moving in and down on the last path). This way the tool is engaging the stock for the complete depth of the cut. Often you can go fast on your roughing cuts and just slow it down for the finishing pass and achieve a very good finish.