As @Bonch noted, careful not to damage the pulley or the motor — a pulley puller is the right tool, though you could use a small pry bar. One thing which may help is putting the motor in a cool place, then using a controlled heat source to warm up just the pulley.
If you have any intractable problems w/ this, let us know at support@carbide3d.com and we’ll do our best to help.
Thanks everyone. The bit I’m using is 90 degrees so I’ve specified 45 in fusion, as it seems to be the angle per side. In Fusion my 0 for Z is the top of the model and the stock. I’ll have a look for a pulley puller - thanks!
If the pulley is on the shaft so tight it requires a pulley puller to remove, is there really a chance it is slipping during a job? I would think the problem would be in the belt being too loose or missing some teeth if you are losing steps. But if you have to use a pulley puller I’d say your pulley is on there pretty good.
Agreed - I really doubt it is moving and I could have just marked it up to check, but I’ve taken the pulleys off now and realigned them just to make sure. In my last post I said the bit was 90 degrees - I meant 60, and 30 in fusion!
I’ll play around with bit settings in fusion and keep you all posted - thanks everyone.
Only managed to get one test run in but the engraving looked better with the angle set at 27 degrees in fusion as opposed to the 30/60 it’s supposed to be, however the corners are still slightly rounded. My 45/90 degree bit yields a much better end result with sharper, more consistent corners and a cleaner cut. I’m a bit confused as the 30/60 degree bit has great reviews online for the purpose of CNC routing… hmm
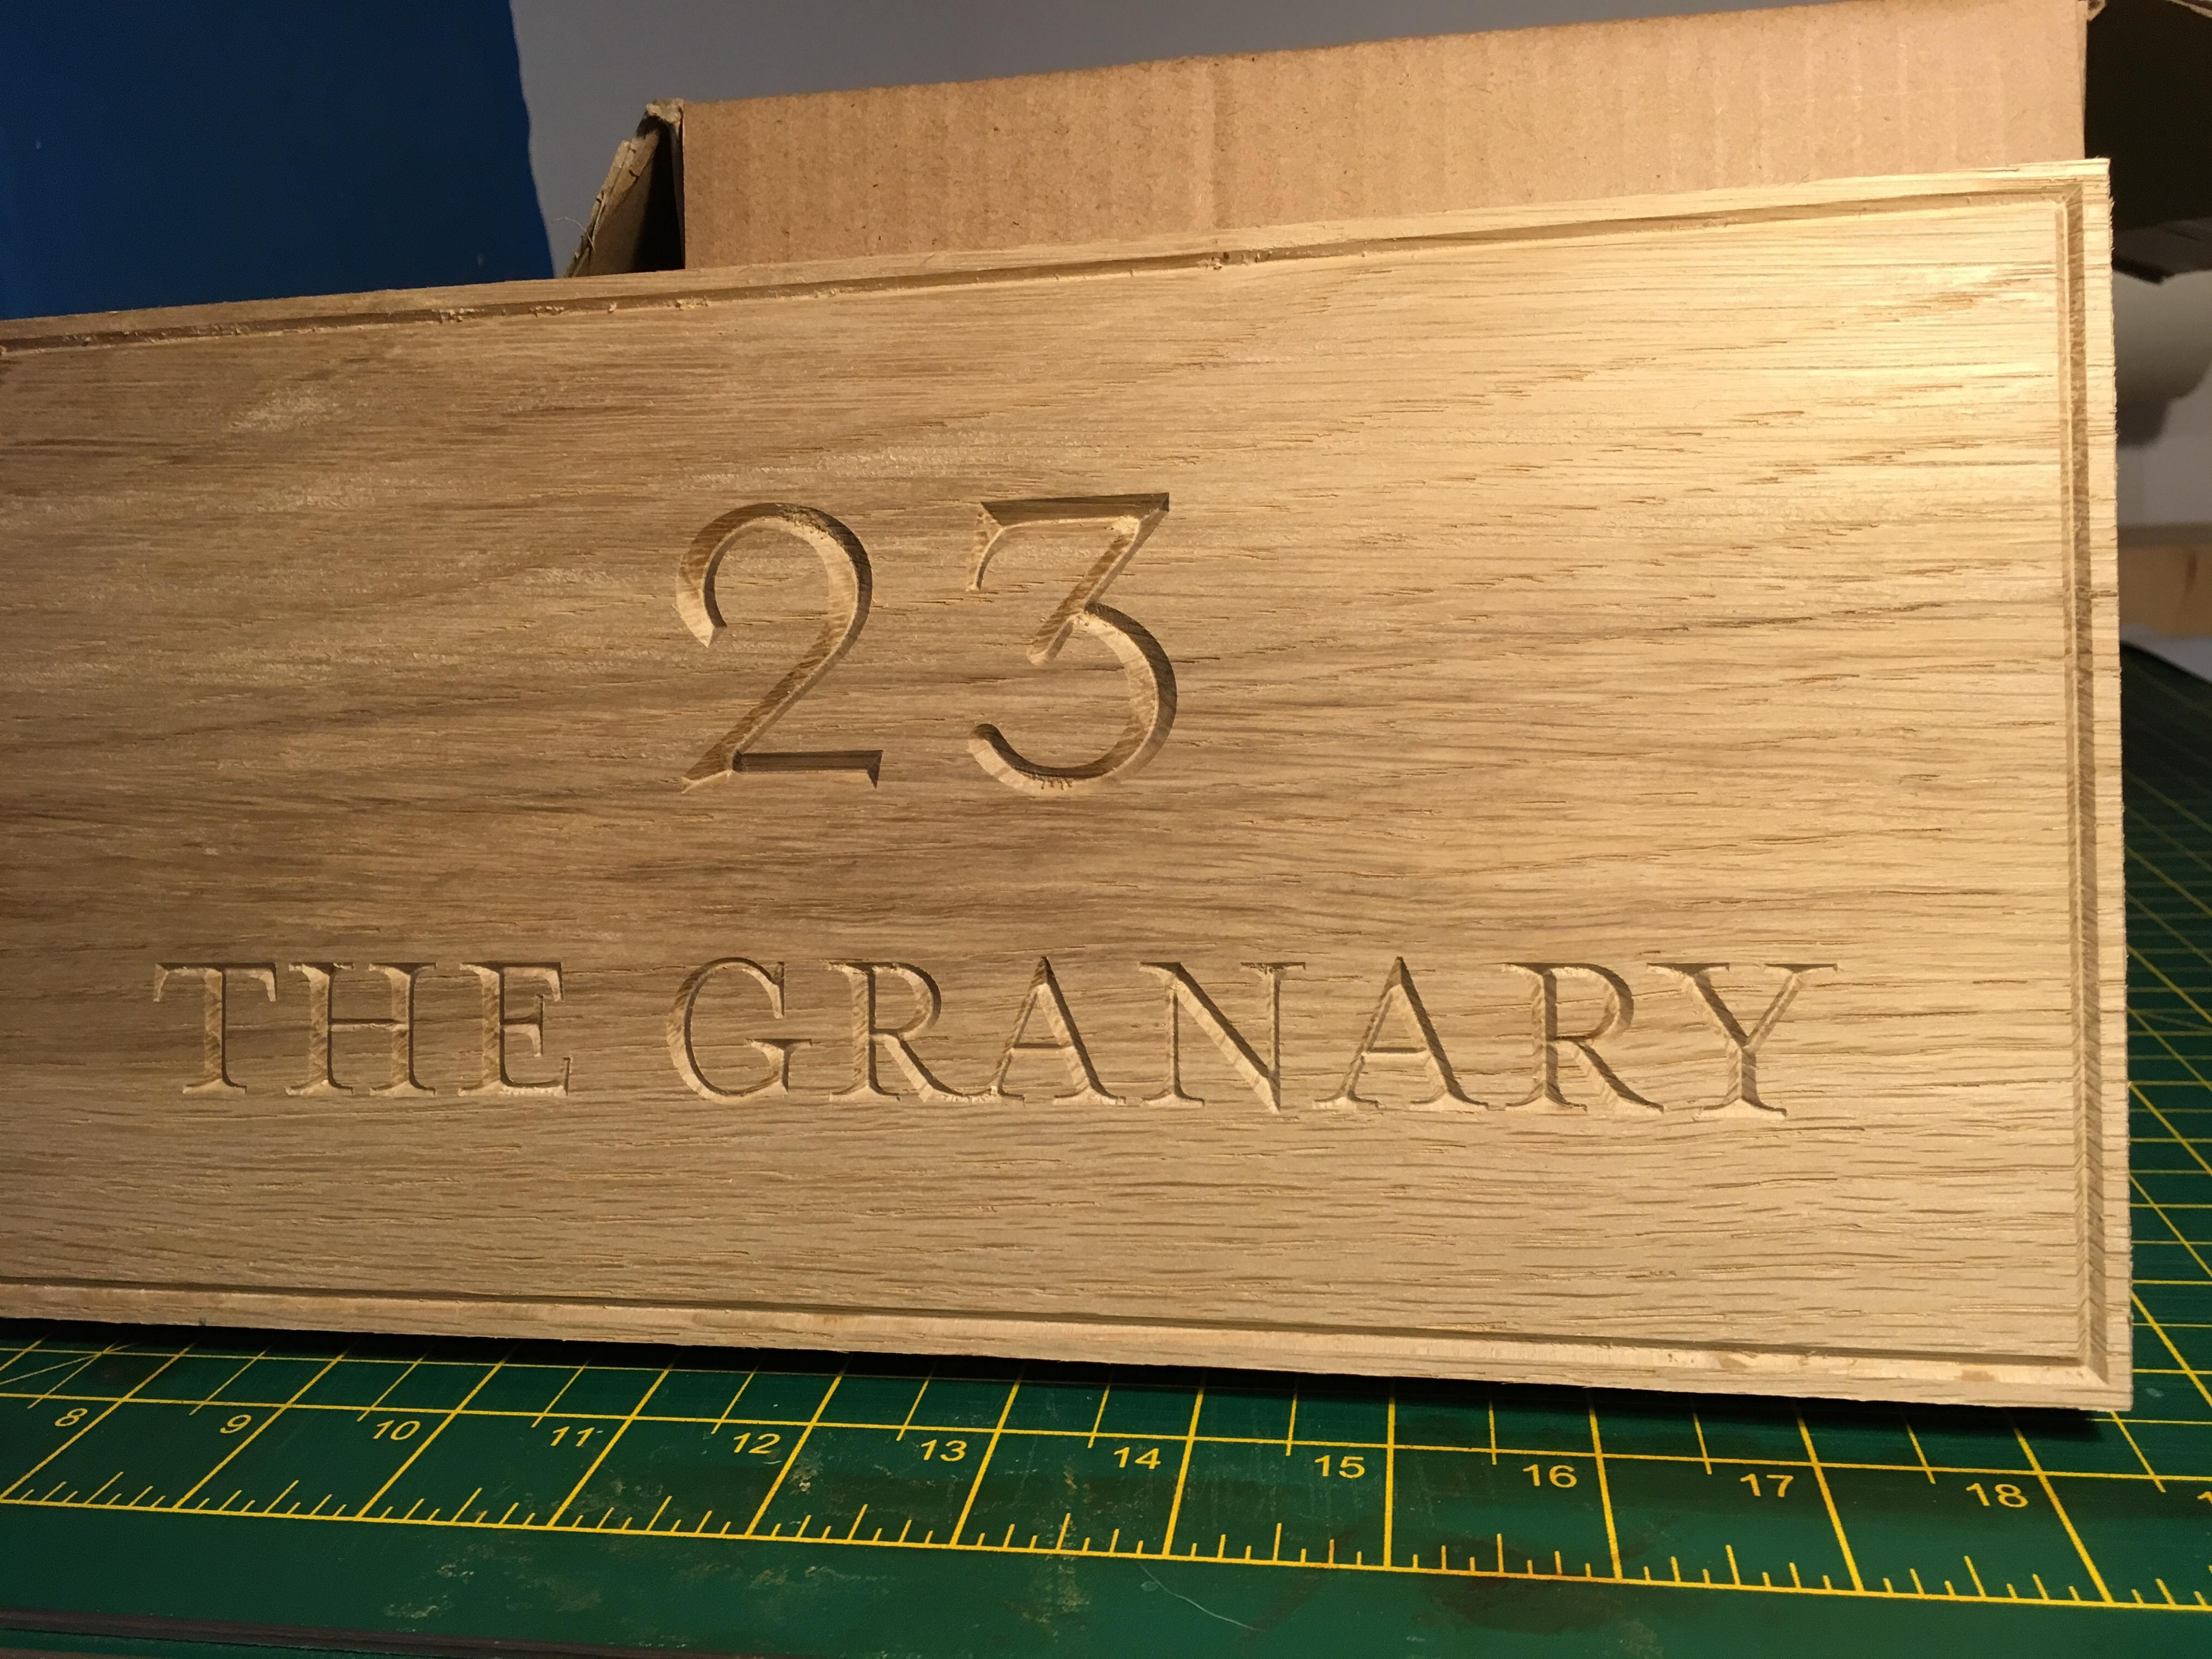
So I’ve pretty much narrowed it down to that bit is no good. I experimented with the setup of the bit and had better results, but the cuts were not at all clean and there was no definition in the corners. I’m going to be sticking with the 90 degree bit from now as it gives me excellent results. Here’s a photo of the first actual thing I’ve made on my Shapeoko, using the 90 degree cutter.
I’m not sure why I’ve not had success with any of the three 60 degree cutters I have, but the 90 degree works great and that’s fine by me.
Question - can anyone vouch for a particular engraving bit? Since I’ve had success with the 90 degree bits I’d like to stick with them.
Looks great!!
This is the 60* bit that I use on almost all my vcarves, with toolpaths generated out of vCarve Desktop and it’s been great: http://a.co/j5aoAj9
I use a 90 degree V Bit with replaceable carbide inserts. I have not worn out the first side of the insert yet, so I don’t know how hard rotating or replacing it is. So far this has worked great for me, even for doing precise things like v carve inlay.
A v bit on one side of the cut is in climb mode and on the other it’s conventional. The conventional is going to give you a more ragged cut.
Suggest setting the depth of cut slightly less than your intended depth, cut then make a second toolpath to reach the final depth. as was suggested elsewhere here, sometimes a second pass at the same depth will get the job done.
At 90 degrees, you’re getting a shearing cut. The closer to 0 you get, you’re getting less shearing and more cutting. Think of the difference between running a plane to chamfer an edge as opposed to using it to plane the surface of a piece of wood.