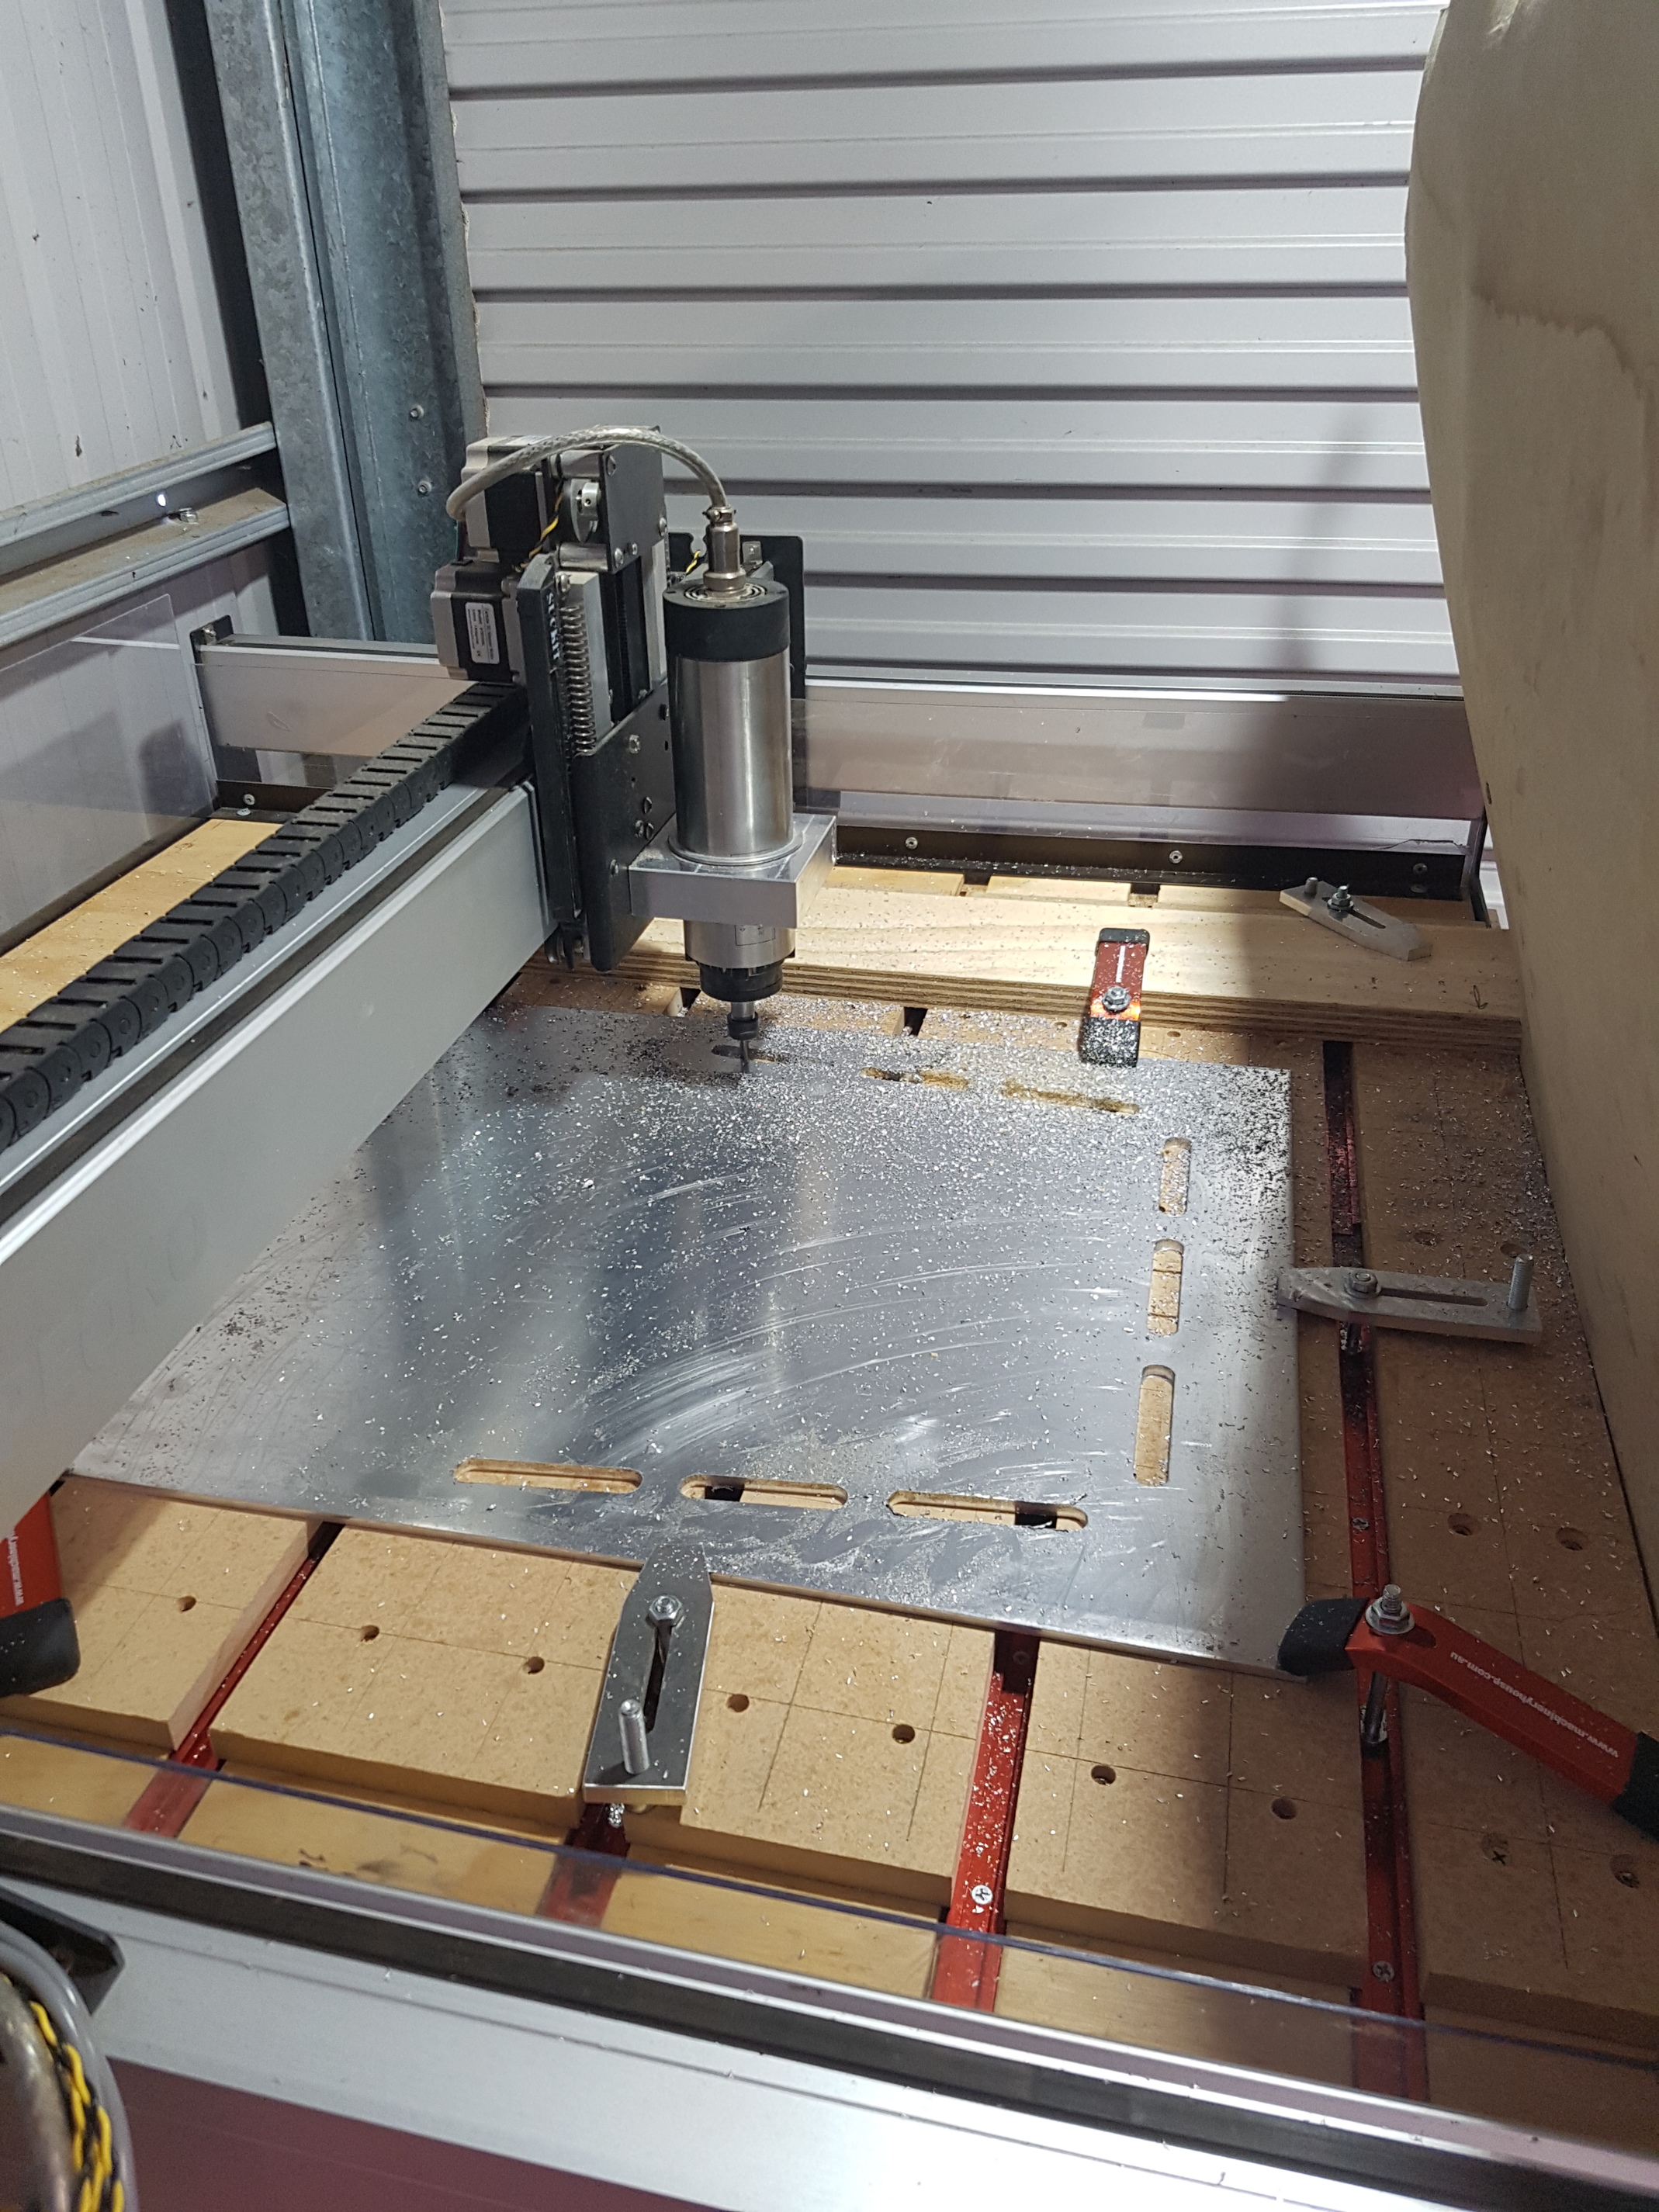
Or you don’t have a super fancy, stiff, fashionable blue, Z assembly ![]()
The stock Z works pretty well when properly set up, but it’ll still chatter without too much effort.
2 Likes
Haha believe me I want for the HDZ…
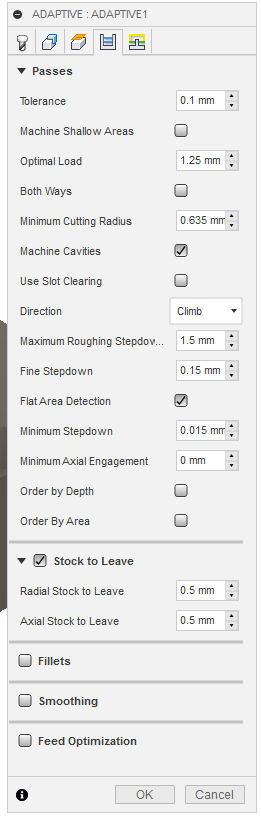
I have cut this today with no chatter, but it has taken about 5 hours of machine time. I’m just experimenting with more rpm and feed with bigger DOC, keeping the optimal load at 0.4mm and that seems to be working well
@stutaylo, I cut successfully with these settings on a stock XL. I think I used WD-40 on that cut. 750mm/min
2 Likes
This is about as conservative as I go (stock Z compatible)
0.250 2 flute carbide
20000rpm
1016mm/min
Plunge 508
1.016mm opt load (0.762mm low end)
2.54mm Doc
Drop helix to 1 degree
This gives a 0.0254mm or 0.001 chipload. The rule of thumb is to not drop below this. If you cant cut that load you are doing something wrong.
I think the reason you are having to run such a small optload is because of the heavy chipload plus cutter forces at low rpm. You should be able to cut that part nearly 5x faster (edit, accidentally put opt 0.04mm)
I’m not sure why everyone on here is so scared to use their rpms. Play on the strengths, not the weaknesses
Also cutter geometry comes into play big time with ramping/helix/plunge.
2 Likes
Right, so I’m a little way off…
Much appreciated @neilferreri and @Vince.Fab, I will start working towards those figures, starting with rpm to reduce the chipload and cutter forces first, then increase optimal load and doc.
Since that last post I did increase rpm and doc and was getting better results than before.
Any words of advice on a single tool width profile cut through the full depth of material? (Only 6mm) I have the material to do it so may be better off just doing an adaptive ‘channel’ around the outside of my part?
Edit - I think I have been worried about using high rpm due to the first aluminium I was machining being soft and gummy compared to 6061 without my realising. I spent a couple of weeks straight trying to get the figures right and just kept melting the aly to the endmill.
Its not that you are way off, there are always multiple way to do something. And with these machines being handbuilt, the way they act and the way they like to cut can be completely different from each other.
Advice on full depth contour cuts -
The make or break here is how well trammed you are, any pitch WILL mean bad finish at best…endmill catching and breaking at worse. Ask me how I know
Good News
if your tram is on point, and you dial your speeds down to conservative, you can cut as deep as you have stickout on the tool (properly necked). The other day I cut some 3/4 inch plate full depth no issues, good finish. Oh, superglue and tape are king and let you cut without adding tabs, even the triangle tabs will cause deflection into the wall.
It is safer to do a wider channel cut (non adaptive) and add a finishing pass. You can do this with the multiple finish pass option in pass tab when 2d contour cutting free parts.
Aluminum grade - anything like 3003 and 5052 get HSS single tooth endmills. Spin them fast, take a good chip and air blast helps. Toolstoday.com has these cheap, less that $10, very good for slower general work. A simple bend test on a piece will let you know if its 6061 or not. Bend sharp 90 degree, if it has sign of stress cracking then its most likely 6061 and you can turn the boost up!
4 Likes
In the UK sheet ali is rife with low grades. I find the only way to mill it is slower speeds and tons of coolant. I was working on some 6mm 30 grade yesterday and had to turn the air jets off. Soon as it warmed up it gummed up.
My local machine shop recommends fast speeds which I tired. They also sold me a special cutter. Initially I had good success at 24000 rpm then the note changed. Almost like the bit was going dull…
@Vince.Fab I’m relatively confident I’ve got my machine trammed well, but I will go over it and try and get it better again.
What DOC do you think is possible on a contour cut? Again I’ve only done cuts at lower rpm so will test again with higher rpm this time - it was around the 0.5mm region which now seems pitiful haha. I feel that getting air into the channel to evacuate the chips is very key on contour cuts.
@Luke
Australia has been similar for me, lots of 5083 and worse around. Though I’ve just found a place that will do sheet 6061, not sure if they can do bar stock.
That was my experience with it too, no matter what I tried, eventually I got small amounts of Aly welded to the cutter, and it started sounding like a dull cutter, then it would stop cutting and start loading up the machine… I was lucky not to bend the machine or rip a carriage off. This new stuff is miles better, and by the sounds I can push a lot harder still 
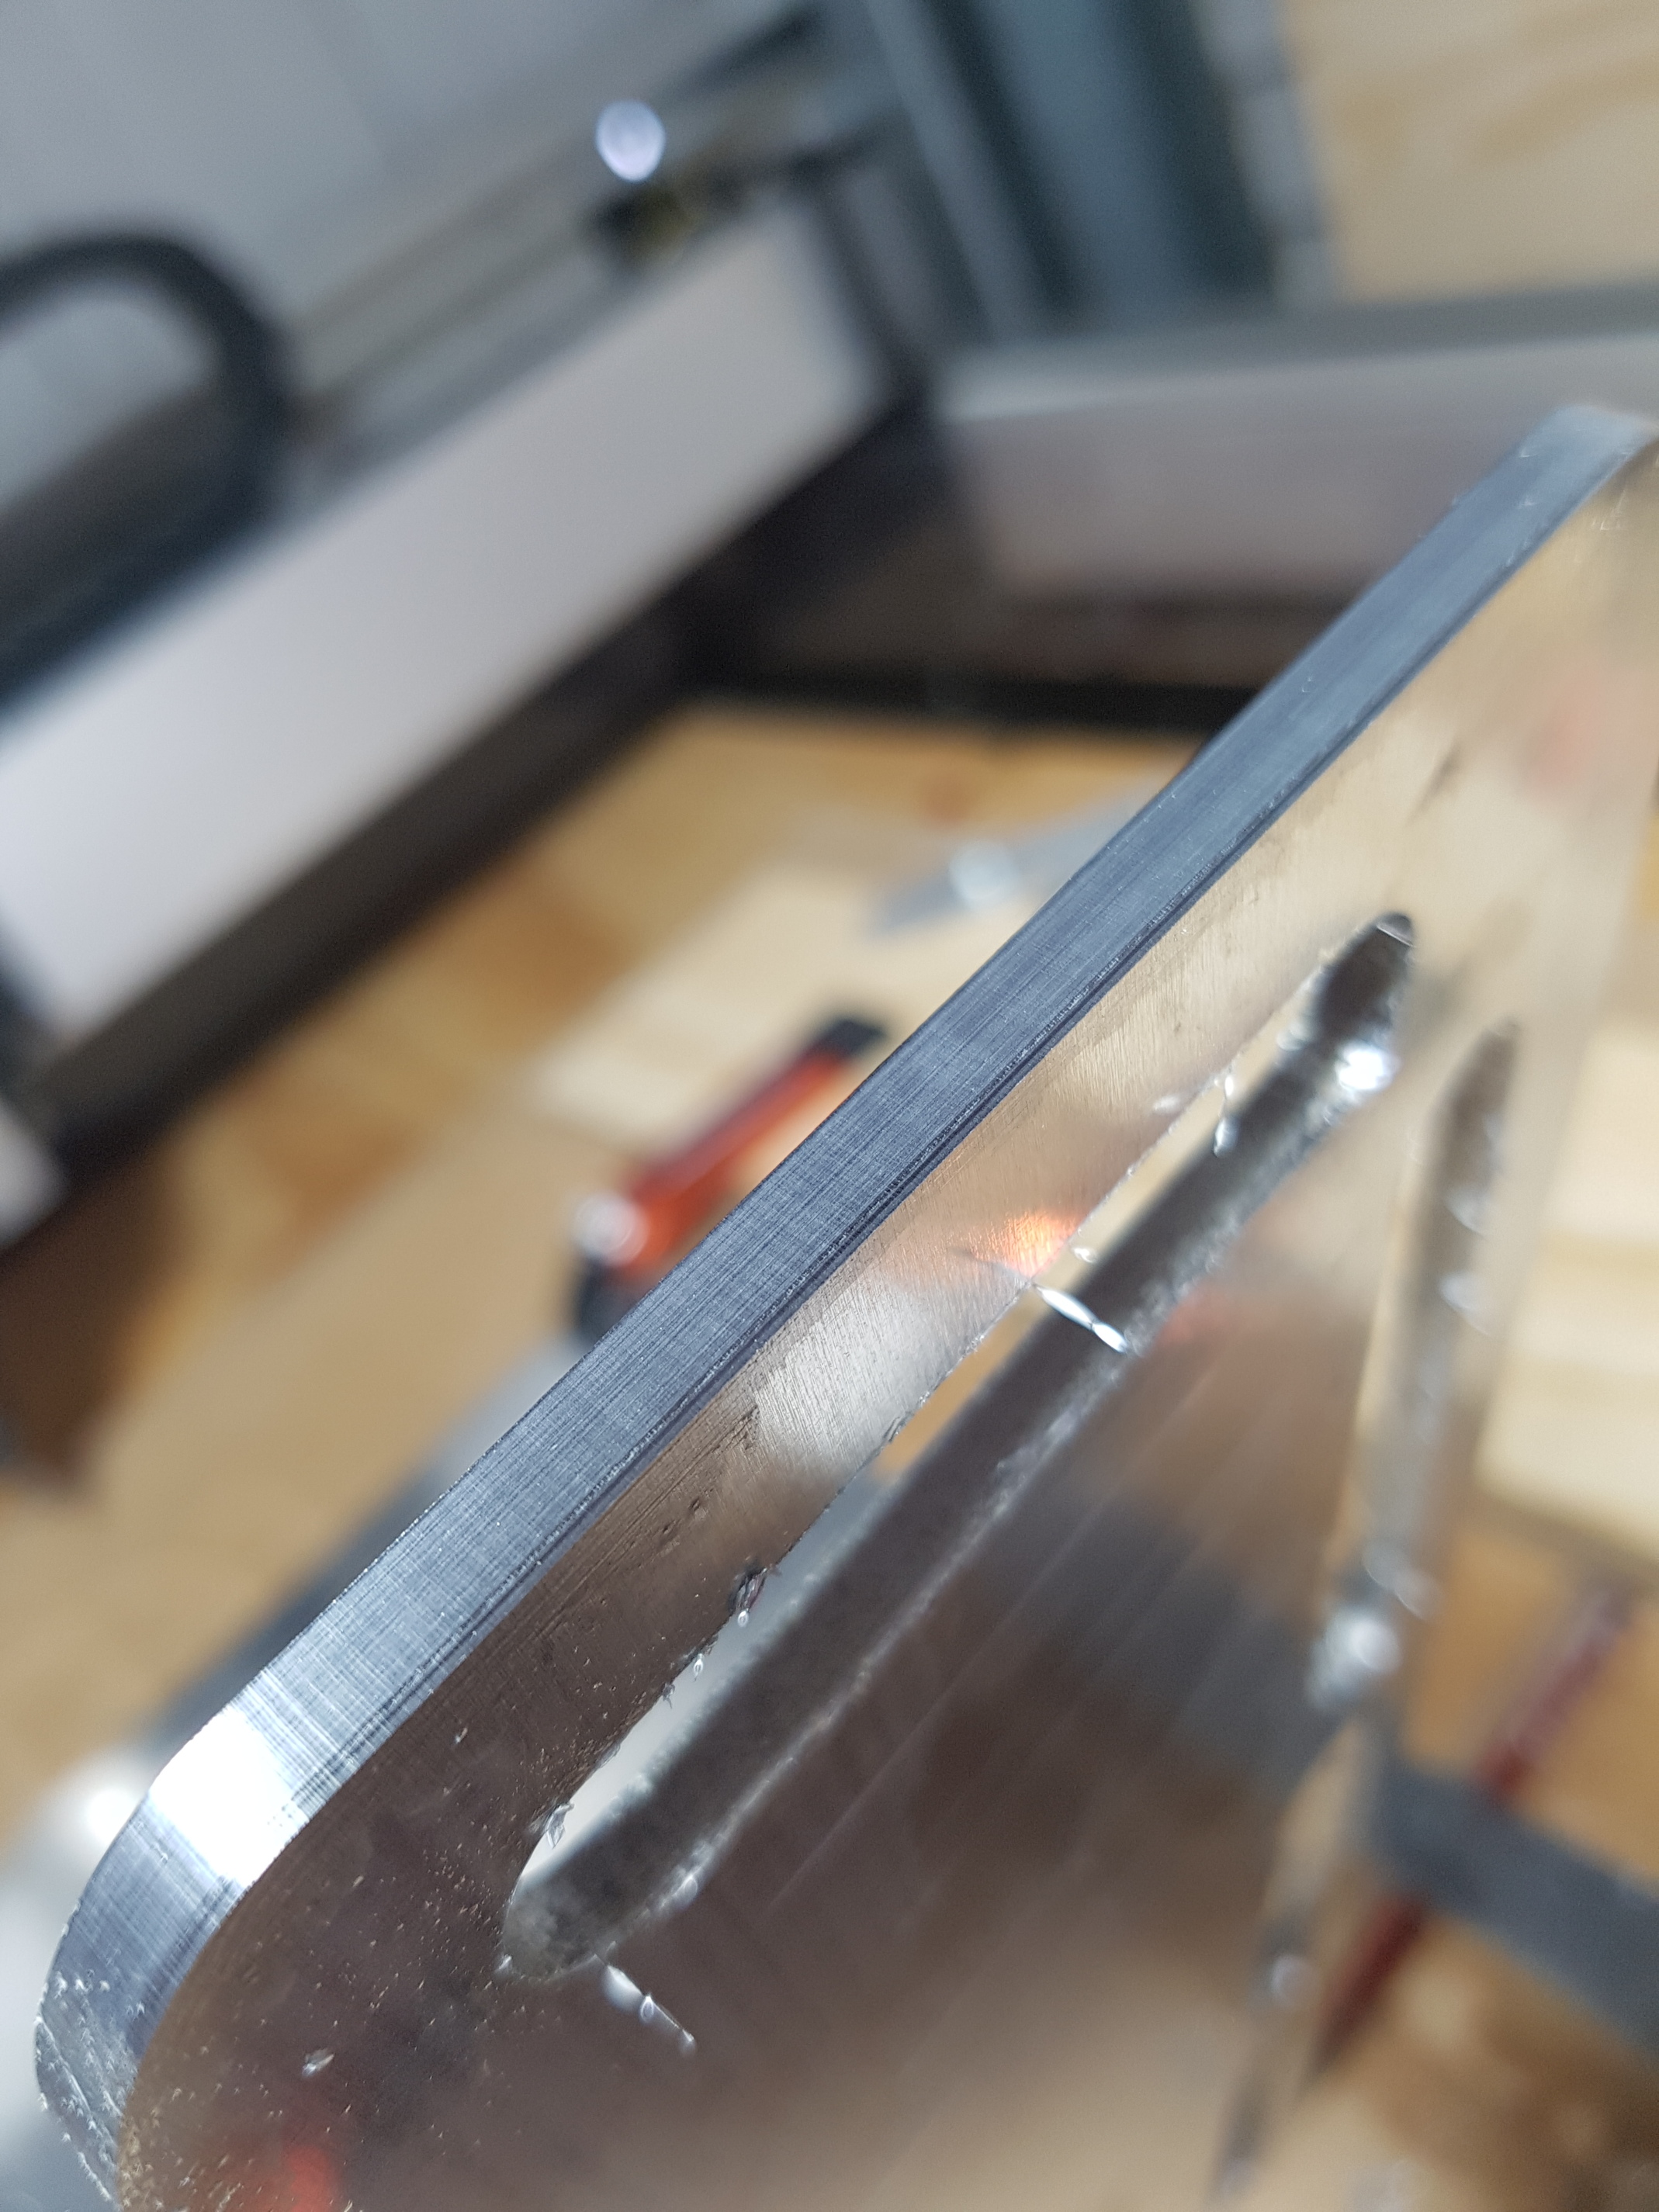
Much better chips today on the contour path 
1mm doc
1200mm/min feed
24k rpm
0.35mm finishing path ( awesome tip thank you @Vince.Fab, this resulted in an infinitely better finish)

4 Likes
@stutaylo Bigger chips and better finishes at the same time, that’s what i’m talking about! Good job, pretty healthy doc and feed too. How did it sound? How hot were the chips coming off?
Wall finish looks great!
Hard to estimate the temperature of the chips, but they were warm when hitting my hand about 6" from the cutter, not hot enough to burn me though.
It was definitely noisy during the cut, but not horrible.The sound was good when the channel was clear of chips, but as I don’t have an air blast in there, it got a bit noisy when hitting already cut chips. , and obviously very quiet when doing the finish pass. Next job is to tram the machine again - Next purchase is an air compressor and flexible nozzle…
I have just ordered some chamfer mills, and am looking at making a metal base for the machine, running on MDF and using wd40 as lubricant is not a long term option. I’m thinking 1/2" steel plate, with T-slot bolted to it, and threaded 1/2" aluminium strips between the T-slot,sized to the cutting area, then trammed flat.
Thanks for the tips, it totally changed the outcome!
Do you guys use the chamfer toolpath in F360 to get good chamfers? I have heard of people using the trace toolpath with an offset.
1 Like
Sorry about the video quality and short post, but I’ve been sitting on this for a while.
As discussed above, I made a 3-axis probe that is tool diameter independent (with limitations). I still need to add a screw for attaching a clip, and I probably will need to hold it while probing. Here’s a video of the first test.
@Luke @Griff @patofoto
6 Likes
Boom, and just like that I’m interested.
Your macro skills are wonderful! I’m tempted to mill a probe from stock. Technically could that hole be anywhere on the probe?
@neilferreri
That’s ingenious! What I love most about it is that, if the bit is symmetric, it won’t matter how the bit is oriented during the probing cycle.
1 Like
That is awesome, do you have a macro to use the plate upside down to only probe the z height? Say for a tool change or if using non-square stock?
I’ll just cut the end off of a ‘learning experience’ endmill to use for the probing
Hey @neilferreri. I have been away for a long time and come home to discover your new probe and macro. Sooooo excited. Not sure if my Nomad would be a good Idea to mill my probe. Have a model that I designed a long time ago when we started chatting about this. Will plan some paths and see how long it will take. Haven’t checked all this post. Is this macro somewhere?.
Not quite, it’d have to be bi-laterally symmetric along X & Y. Most end mills are radially symmetrical. it’s still pretty cool, though.
@stutaylo CNCjs has a built-in Z-probe, and, sure, you’d be able to flip it over for that.
@patofoto Here: Lets share some tool paths - 3d aluminium machining - #10 by neilferreri
@Luke Sorry for hijacking the thread again, I’ll start a new one when I have a minute.
@Griff I really want to try your test part, but after the last one I realized that an enclosure (or something) needs to happen first.
Why don’t we use a vac with aluminum? I think I read that somewhere…
1 Like
Thats ok… I will soon be rolling out a new production run of probes in line with this macro 
Nice to have some fresh thinking… about 6 months back I thought the shapeoko probe did this… auto tool width detection… turns out it was just a fluke. Having this out there - super cool!
Will this macro work for UGS users? Hole probing would be very very useful
Just CNCJS I believe…