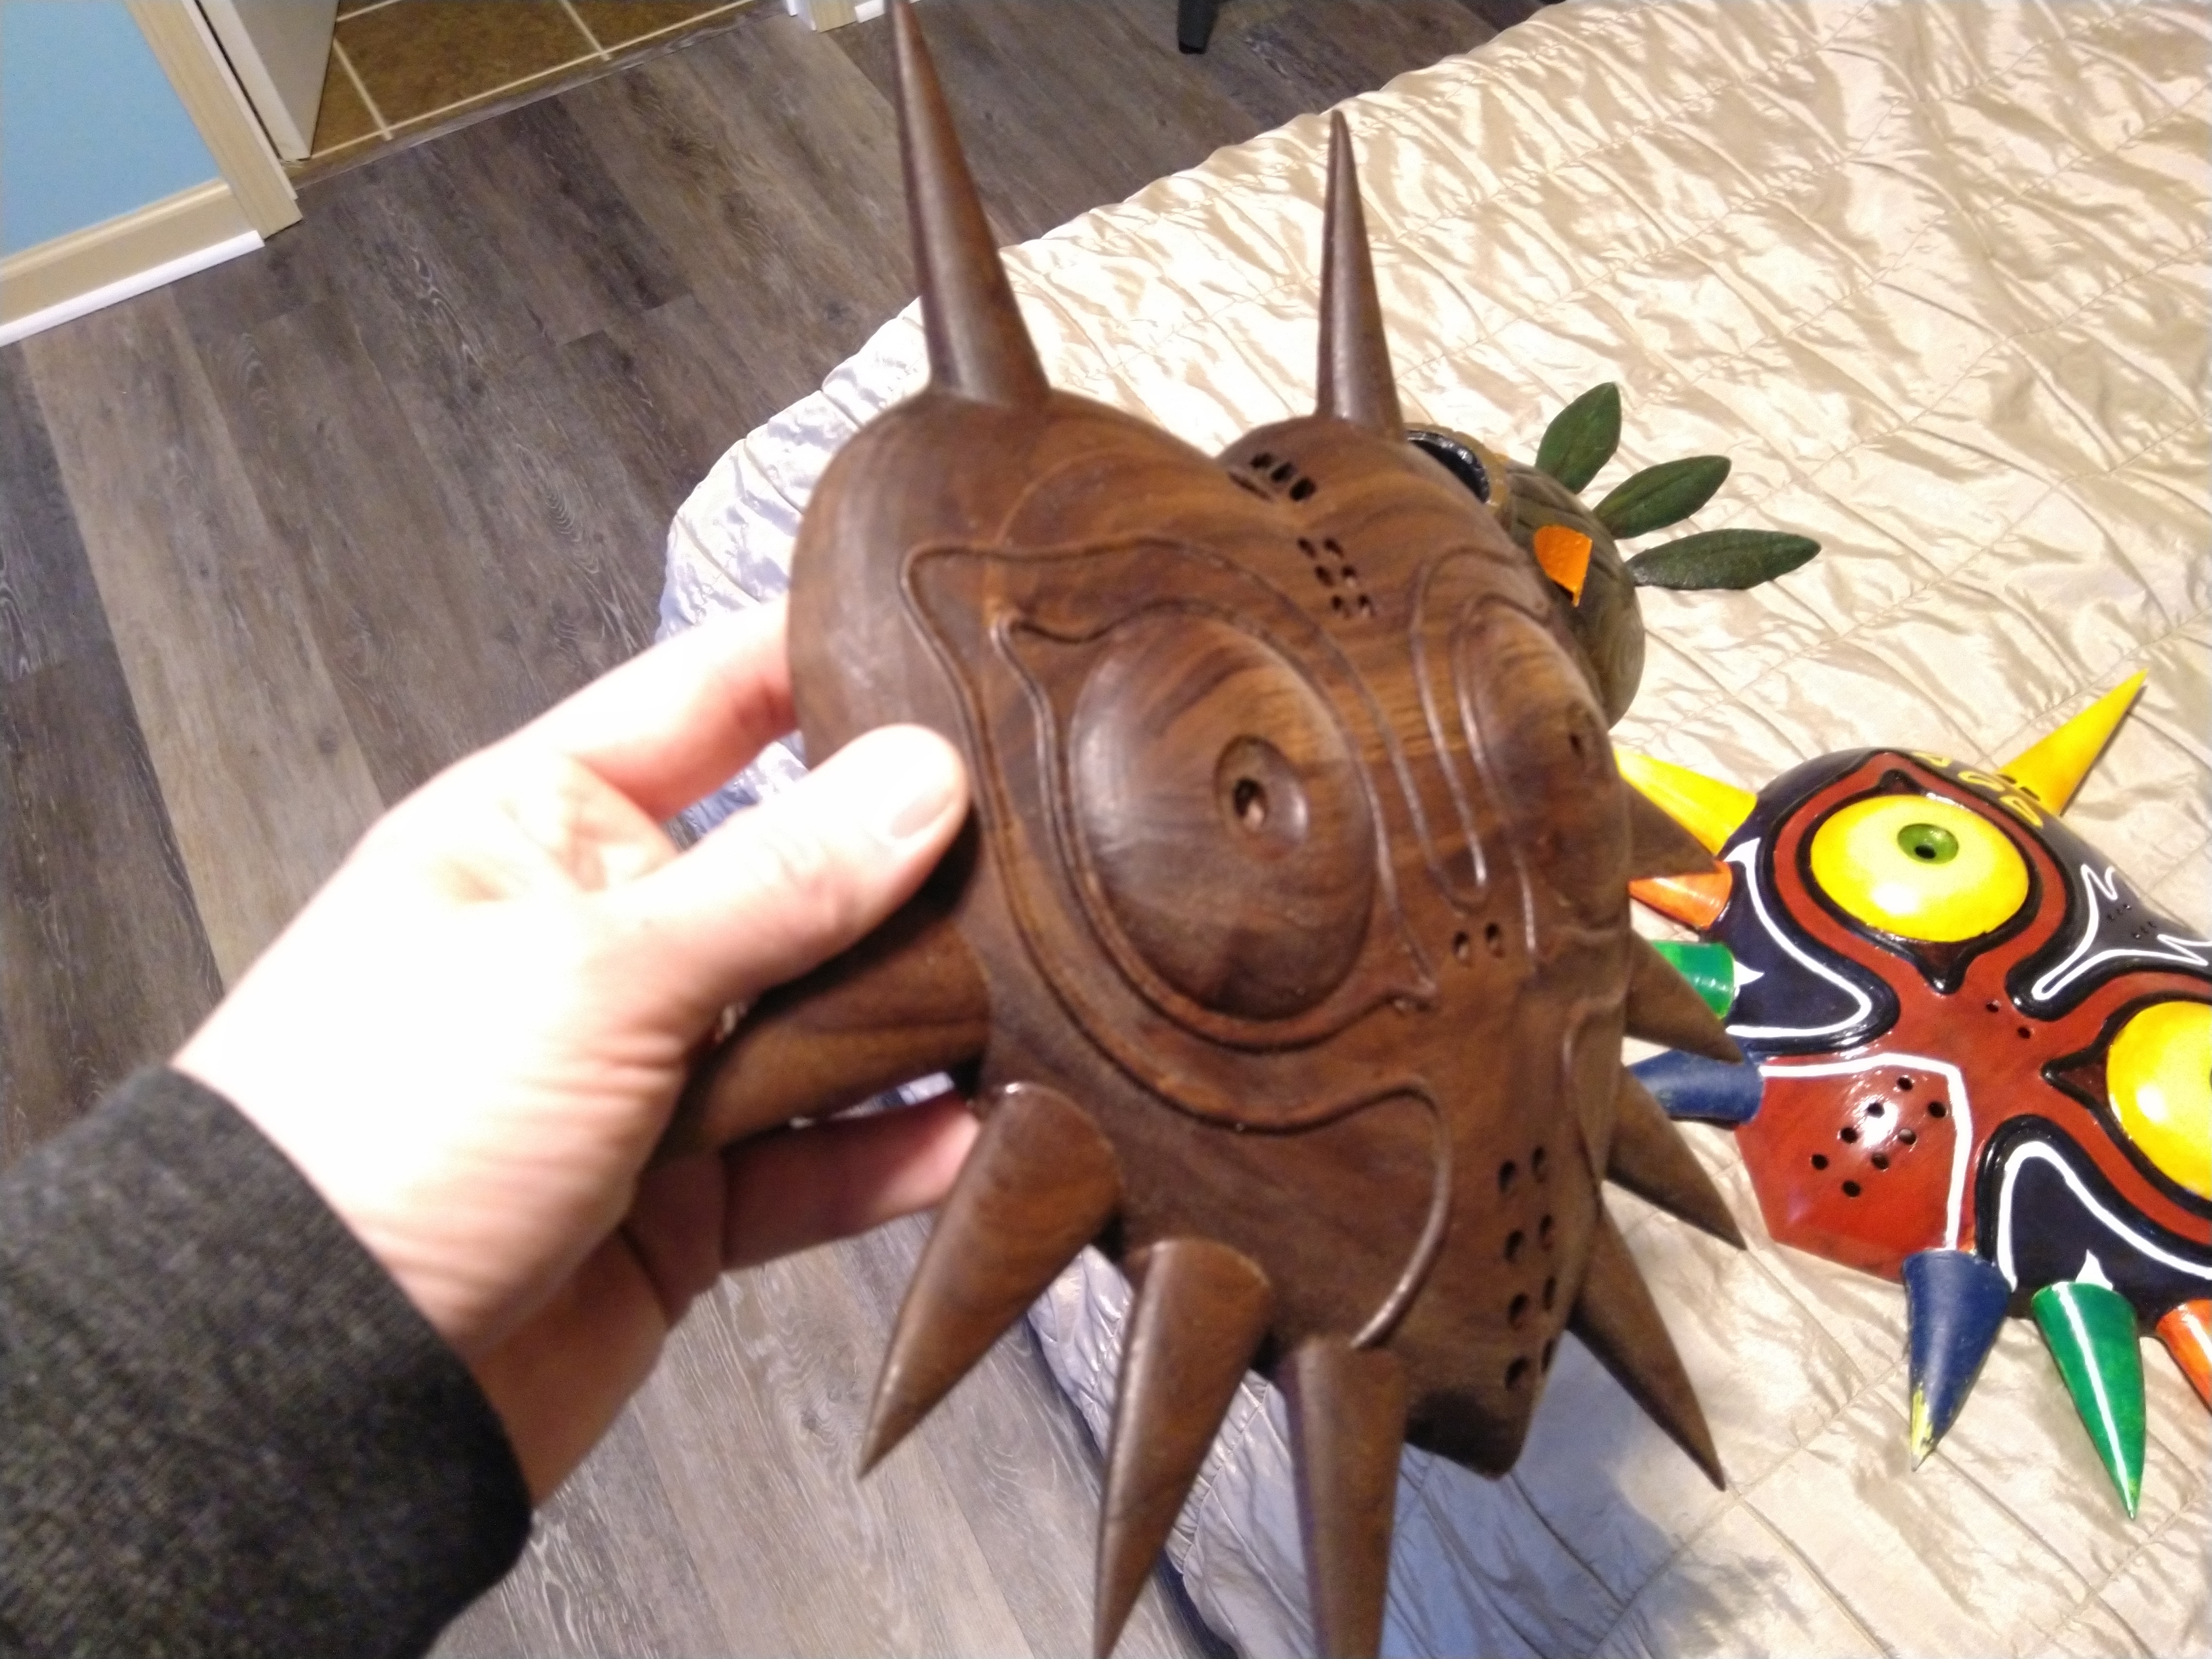
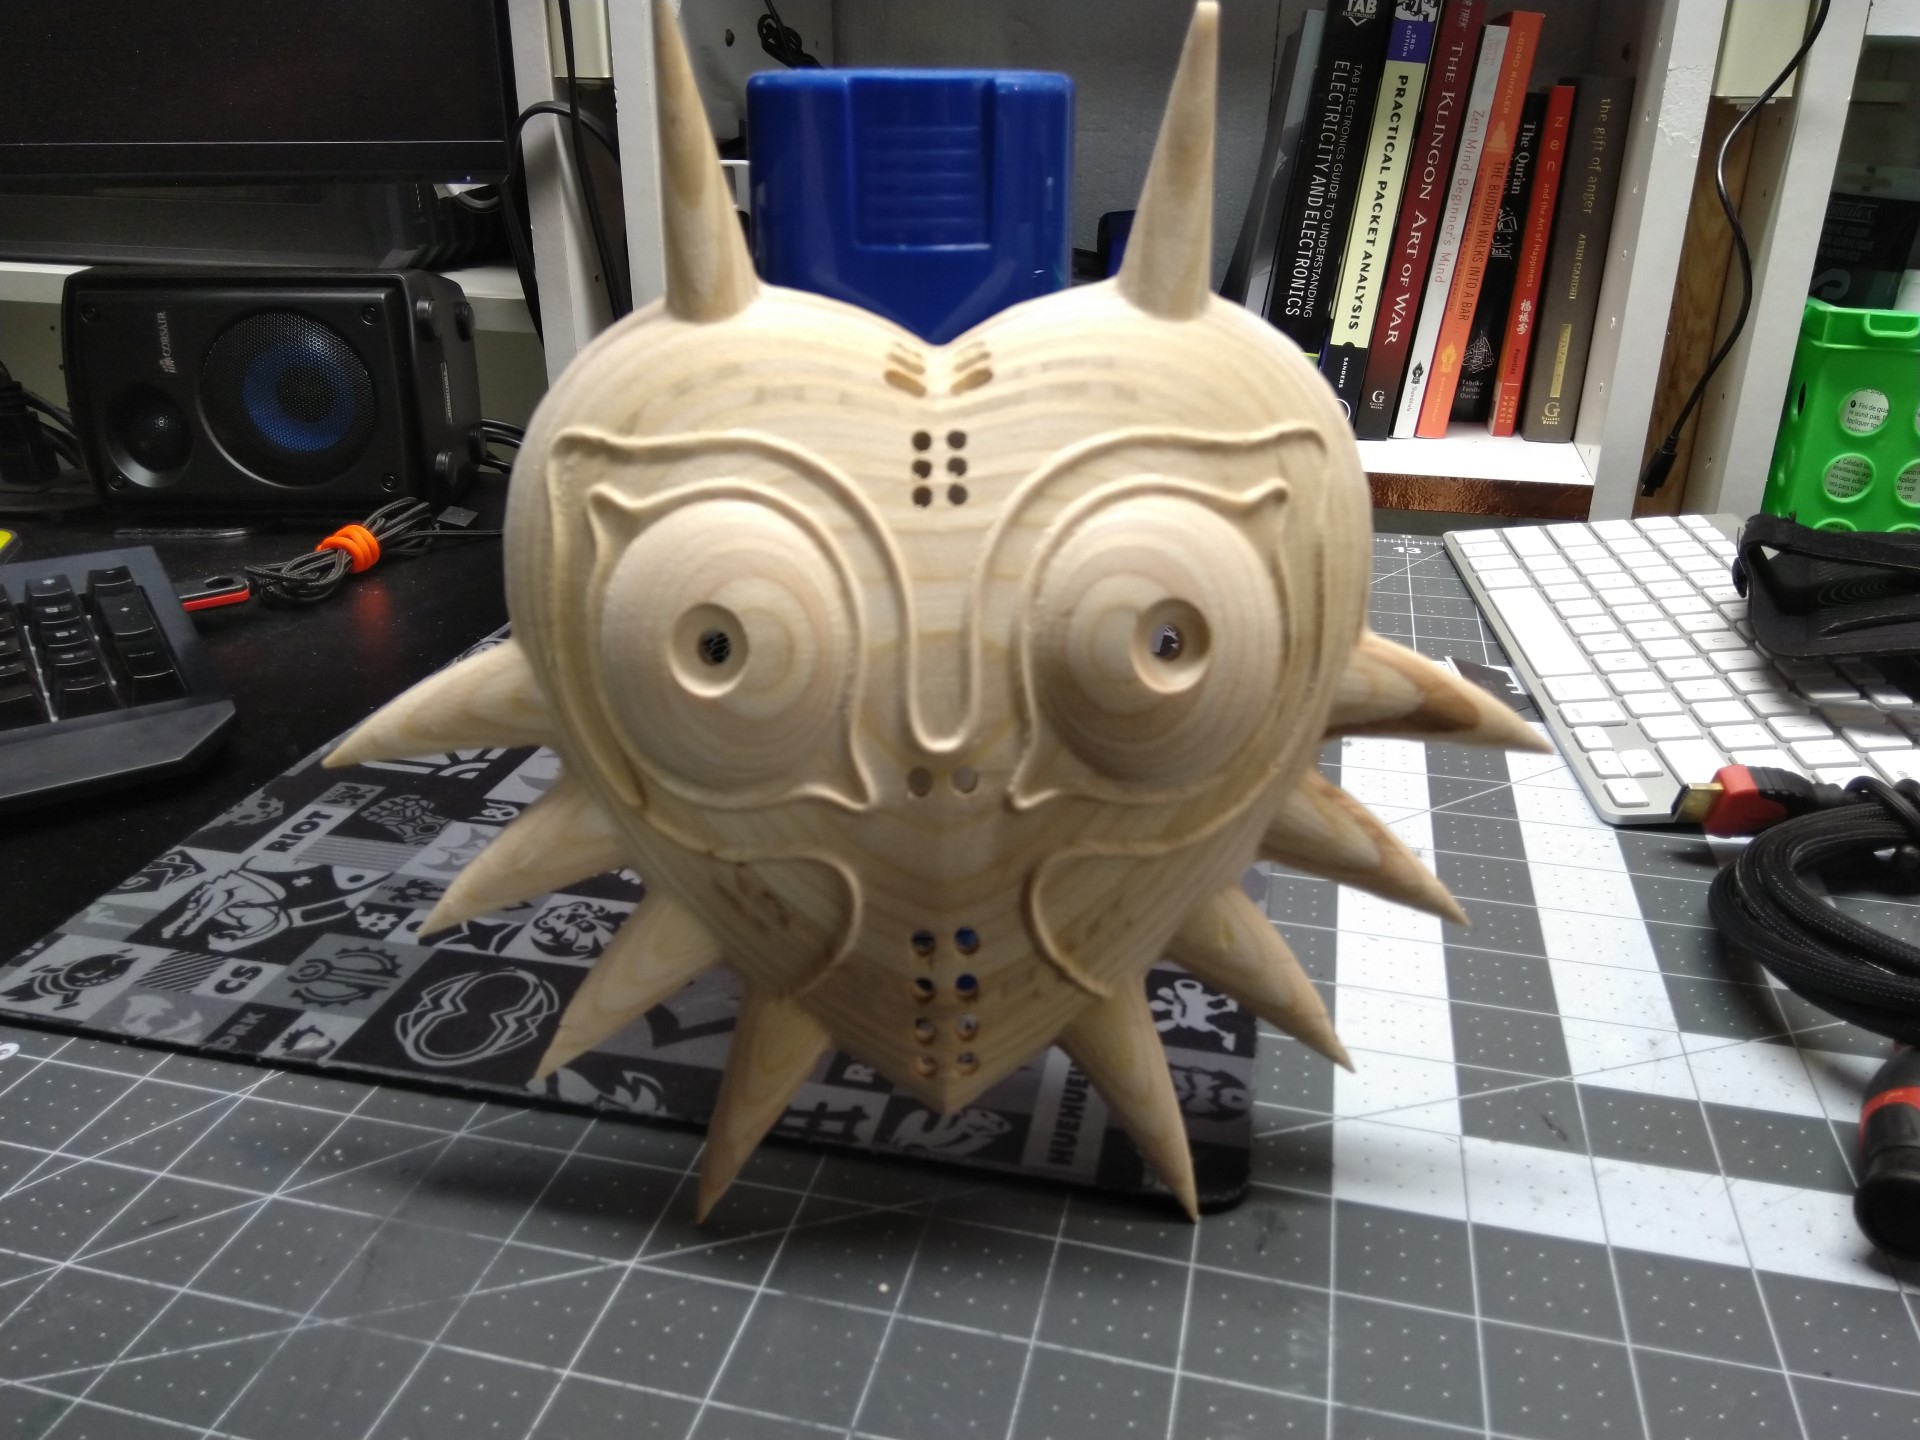
This is a scaled down version of Majora’s mask that just completed, the final will be 14x14 and out of maple instead of layers of baltic birch. I use a .25 ball mill to rough both sides and then a 1mm tapered ball to finish it off. The model was grabbed on thingiverse and converted in meshcam.
9 Likes
Stunning! It must have taken forever to carve this ?
roughing was only about 2.5 hours per side, but the finish passes took about 5 per side. so all in call it 16ish hours
1 Like
That is stunning. Did you double sided machine it? I don’t use meshcam but would you mind sharing your workflow? Especially the flipping part of it?
I like the layered look!
This is a double sided cut. Funny story, if you head over to the meshcam subject of the forums, you’ll see me struggling through the flip process and getting things to line up. It turns out, my Y Axis isn’t homing the correct distance each time (need to replace a switch I think) but the workflow I use is.
Create the stock and measure it fairly accurately, particularly the thickness.
Import the STL into meshcam.
Select 2 sided machining
Select define stock and put in the stock dimensions. Click “Lock Stock Dimensions” and Center X, Y and Z
Click “Program Zero” and place the zero at the top of the stock, dead center.
Click define supports and click where I think your supports should live.
Click Create Tool path, wait for awhile and get the gcode.
For me, I have the threaded table on my machine so I find the middle of my stock in the Y axis and drill a .25 inch hole (with the CNC) on the left edge of the stock at that middle point. I then jogged over 250mm (the holes on the threaded table are spaced 50mm apart so it needs to be some multiple of 50mm) and drill another hole. These two holes become the ends of my center line for my X axis. I then use two screws to bolt the stock to the table through those holes in a straight line parallel to the X Axis.
Now I can home the machine so X0Y0 is dead center on my stock by moving the endmill to be exactly over one of those screws and setting that as Y0, then moving it 125mm (half my stock) towards the middle and setting that as X0. I set Z as usual (usually just by eye TBH)
Now it’s just a matter of loading up the files meshcam produced and letting them run. When it’s time to flip the stock over all I need to do is unbolt those two screws, flip the stock over in the X axis (front to back) and bolt it back down tightly.
Make sense?
3 Likes
Thanks for sharing. Though I don’t use meshcam i think its more around finding a process that produces quality, reliable results.
That does make sense! your process sounds fairly similar to what I was proposing to try, but i was going to draw two holes(to be used as center line) in my software that would fit a 1/4” dowel snugly, drill those through the material and about 1/2” into the wasteboard. Then put dowel through the holes to locate the material in the wasteboard, clamp with normal clamps then flip around the dowels as required.
Thanks again, the mask looks amazing, how deep/thick is it?
Amazing. What size was your stock that you made this with?
This one was only about 1.5 inches thick and was made up of layers of baltic birch glued together. I have a 2 inch thick chunk of walnut gluing up in the garage right now that will hopefully be the final run of this mask starting some time tomorrow.
2 Likes
Gorgeous!
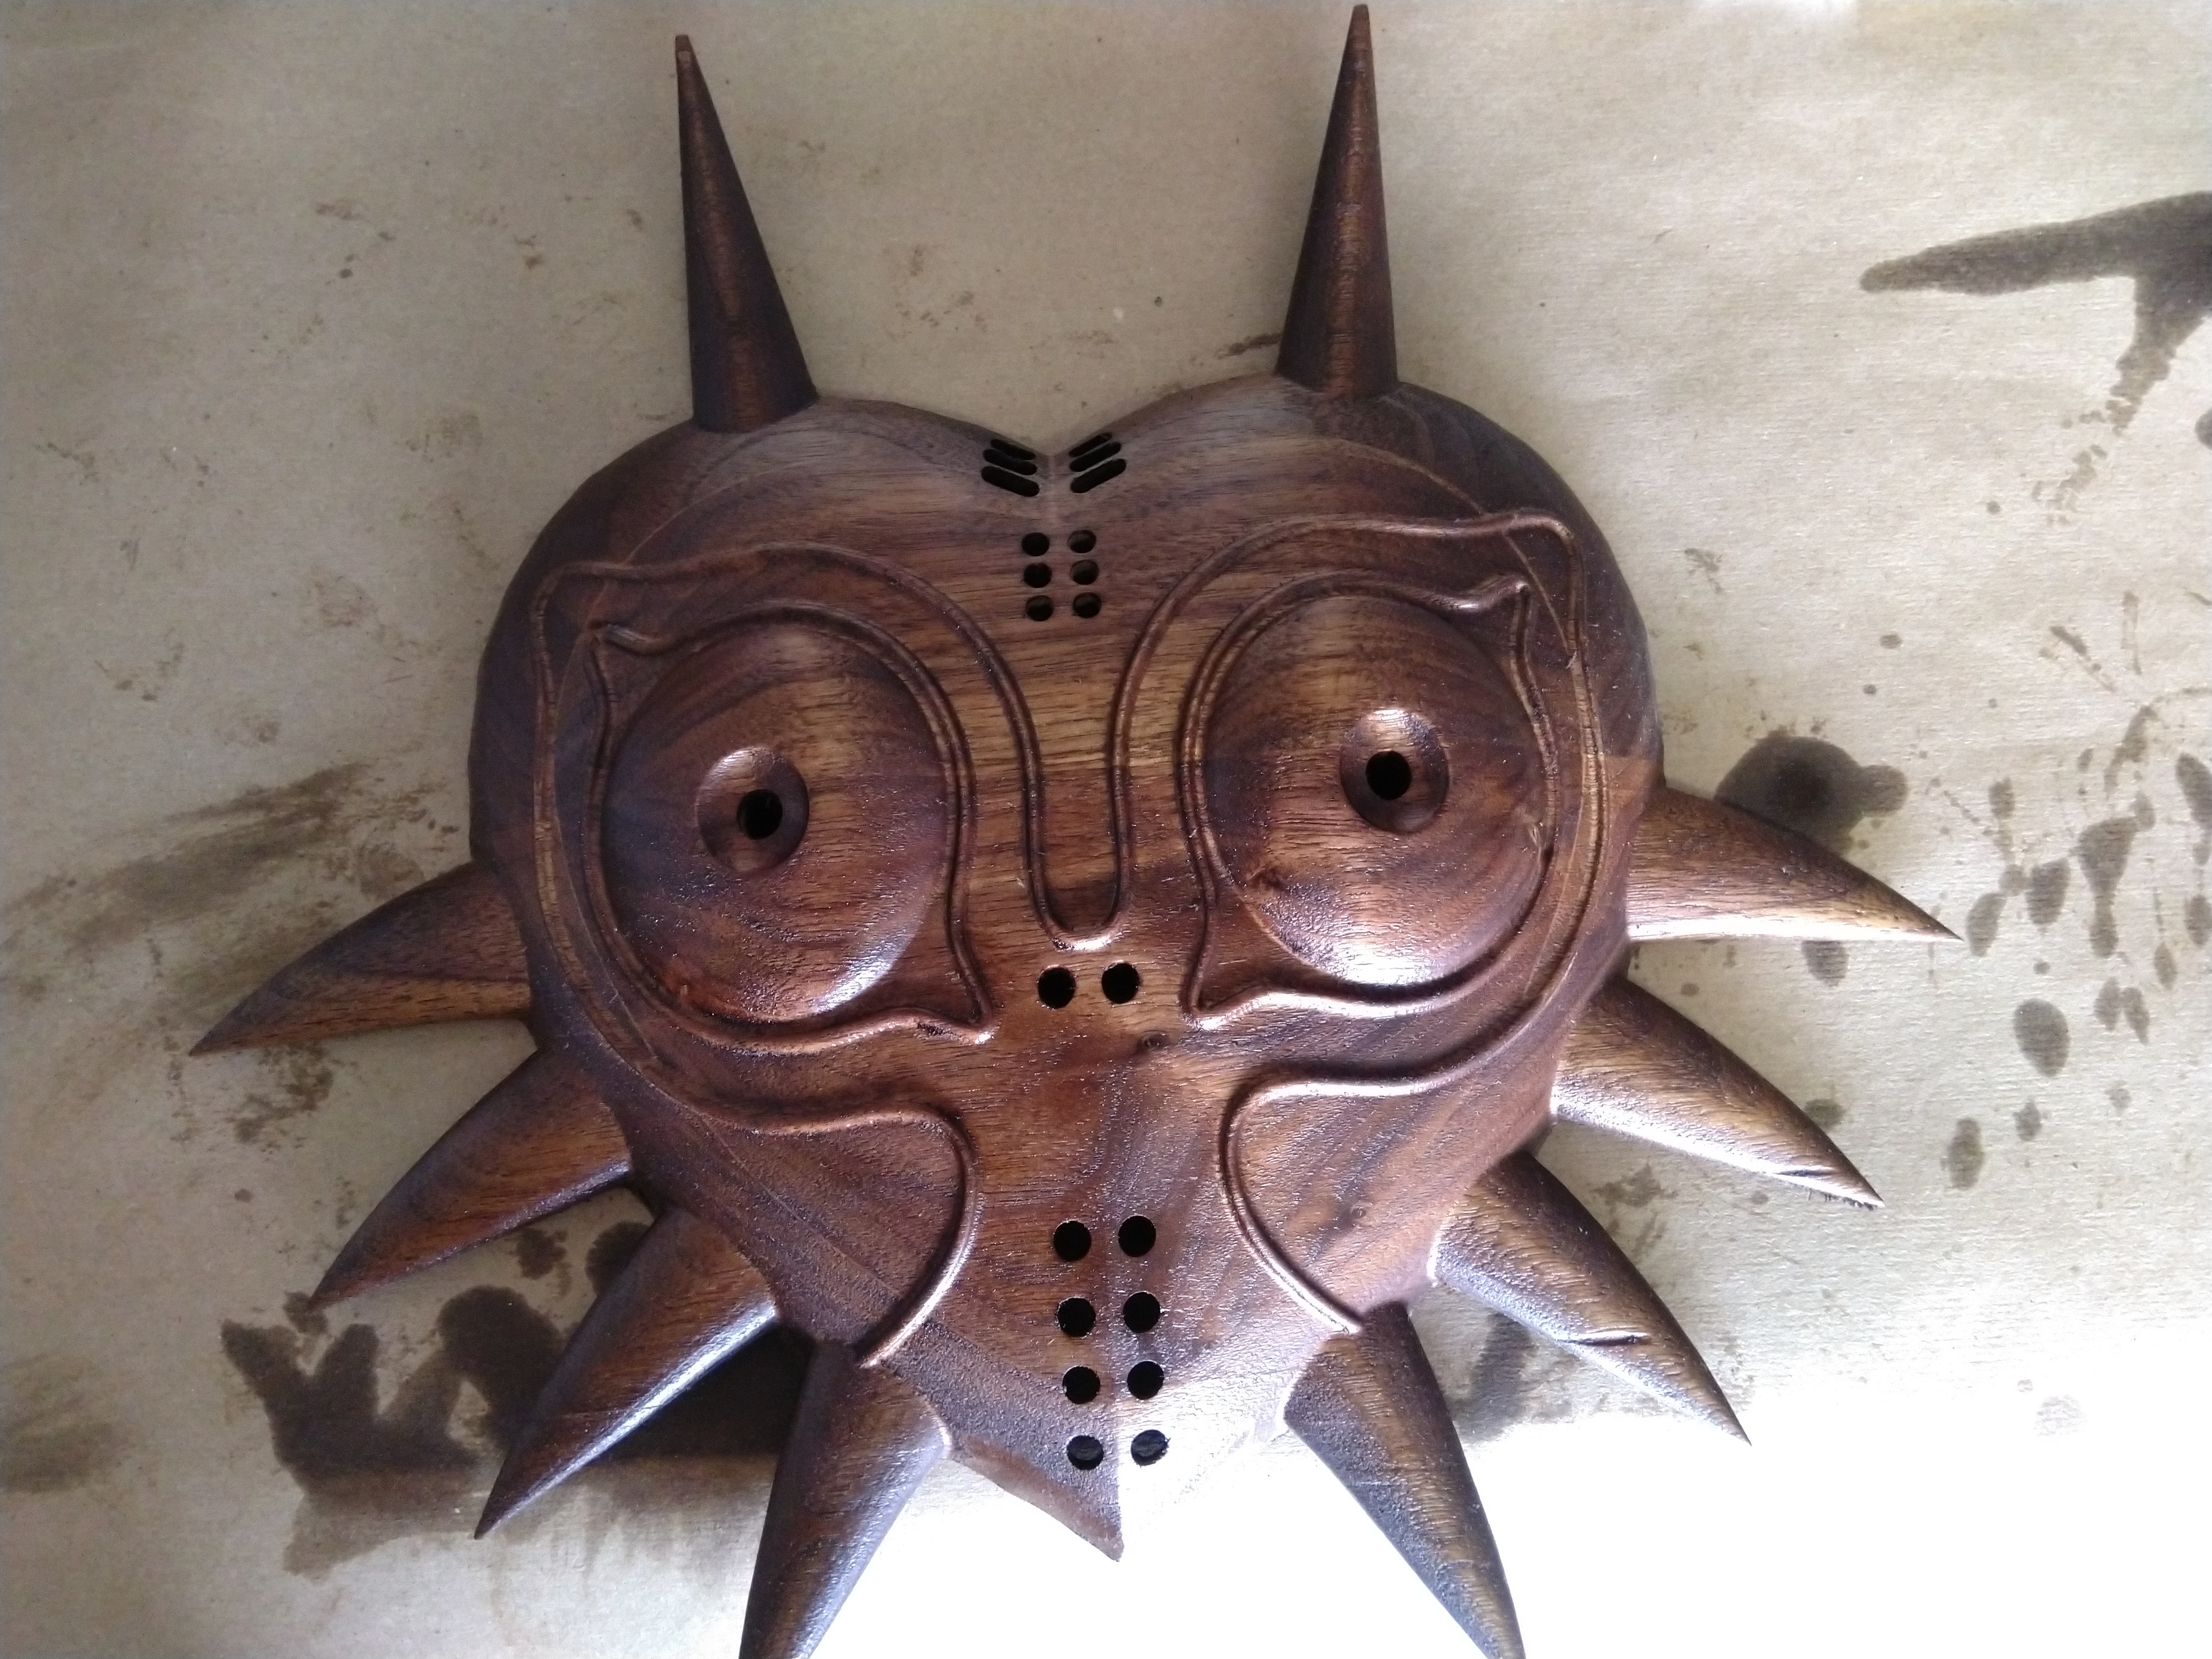
(little mishap on the lower right spikes ?)
yeah. speed was too high so when it went into the stock where there was still material on both sides, it dug in a little deep. it actually looks WAY more pronounced on camera.
I don’t know what that is, but it looks cool!
I’d love to see a pic from another (side) angle.