Very nice work! Those are looking great!
Did you just use the ‘probe’ and GND connections for your probe on the control board? And what gcode do you use to make it zero the z when the circuit is closed?
Very nice work! Those are looking great!
Did you just use the ‘probe’ and GND connections for your probe on the control board? And what gcode do you use to make it zero the z when the circuit is closed?
Yep just connected the wires you see here to pins 3 and 4 on the board. The zero command wasn’t working for me for some reason so I just went to the jog screen to set it. Works here since it stopped at the actual zero. Need to figure something else out when I use a plate with the offset.
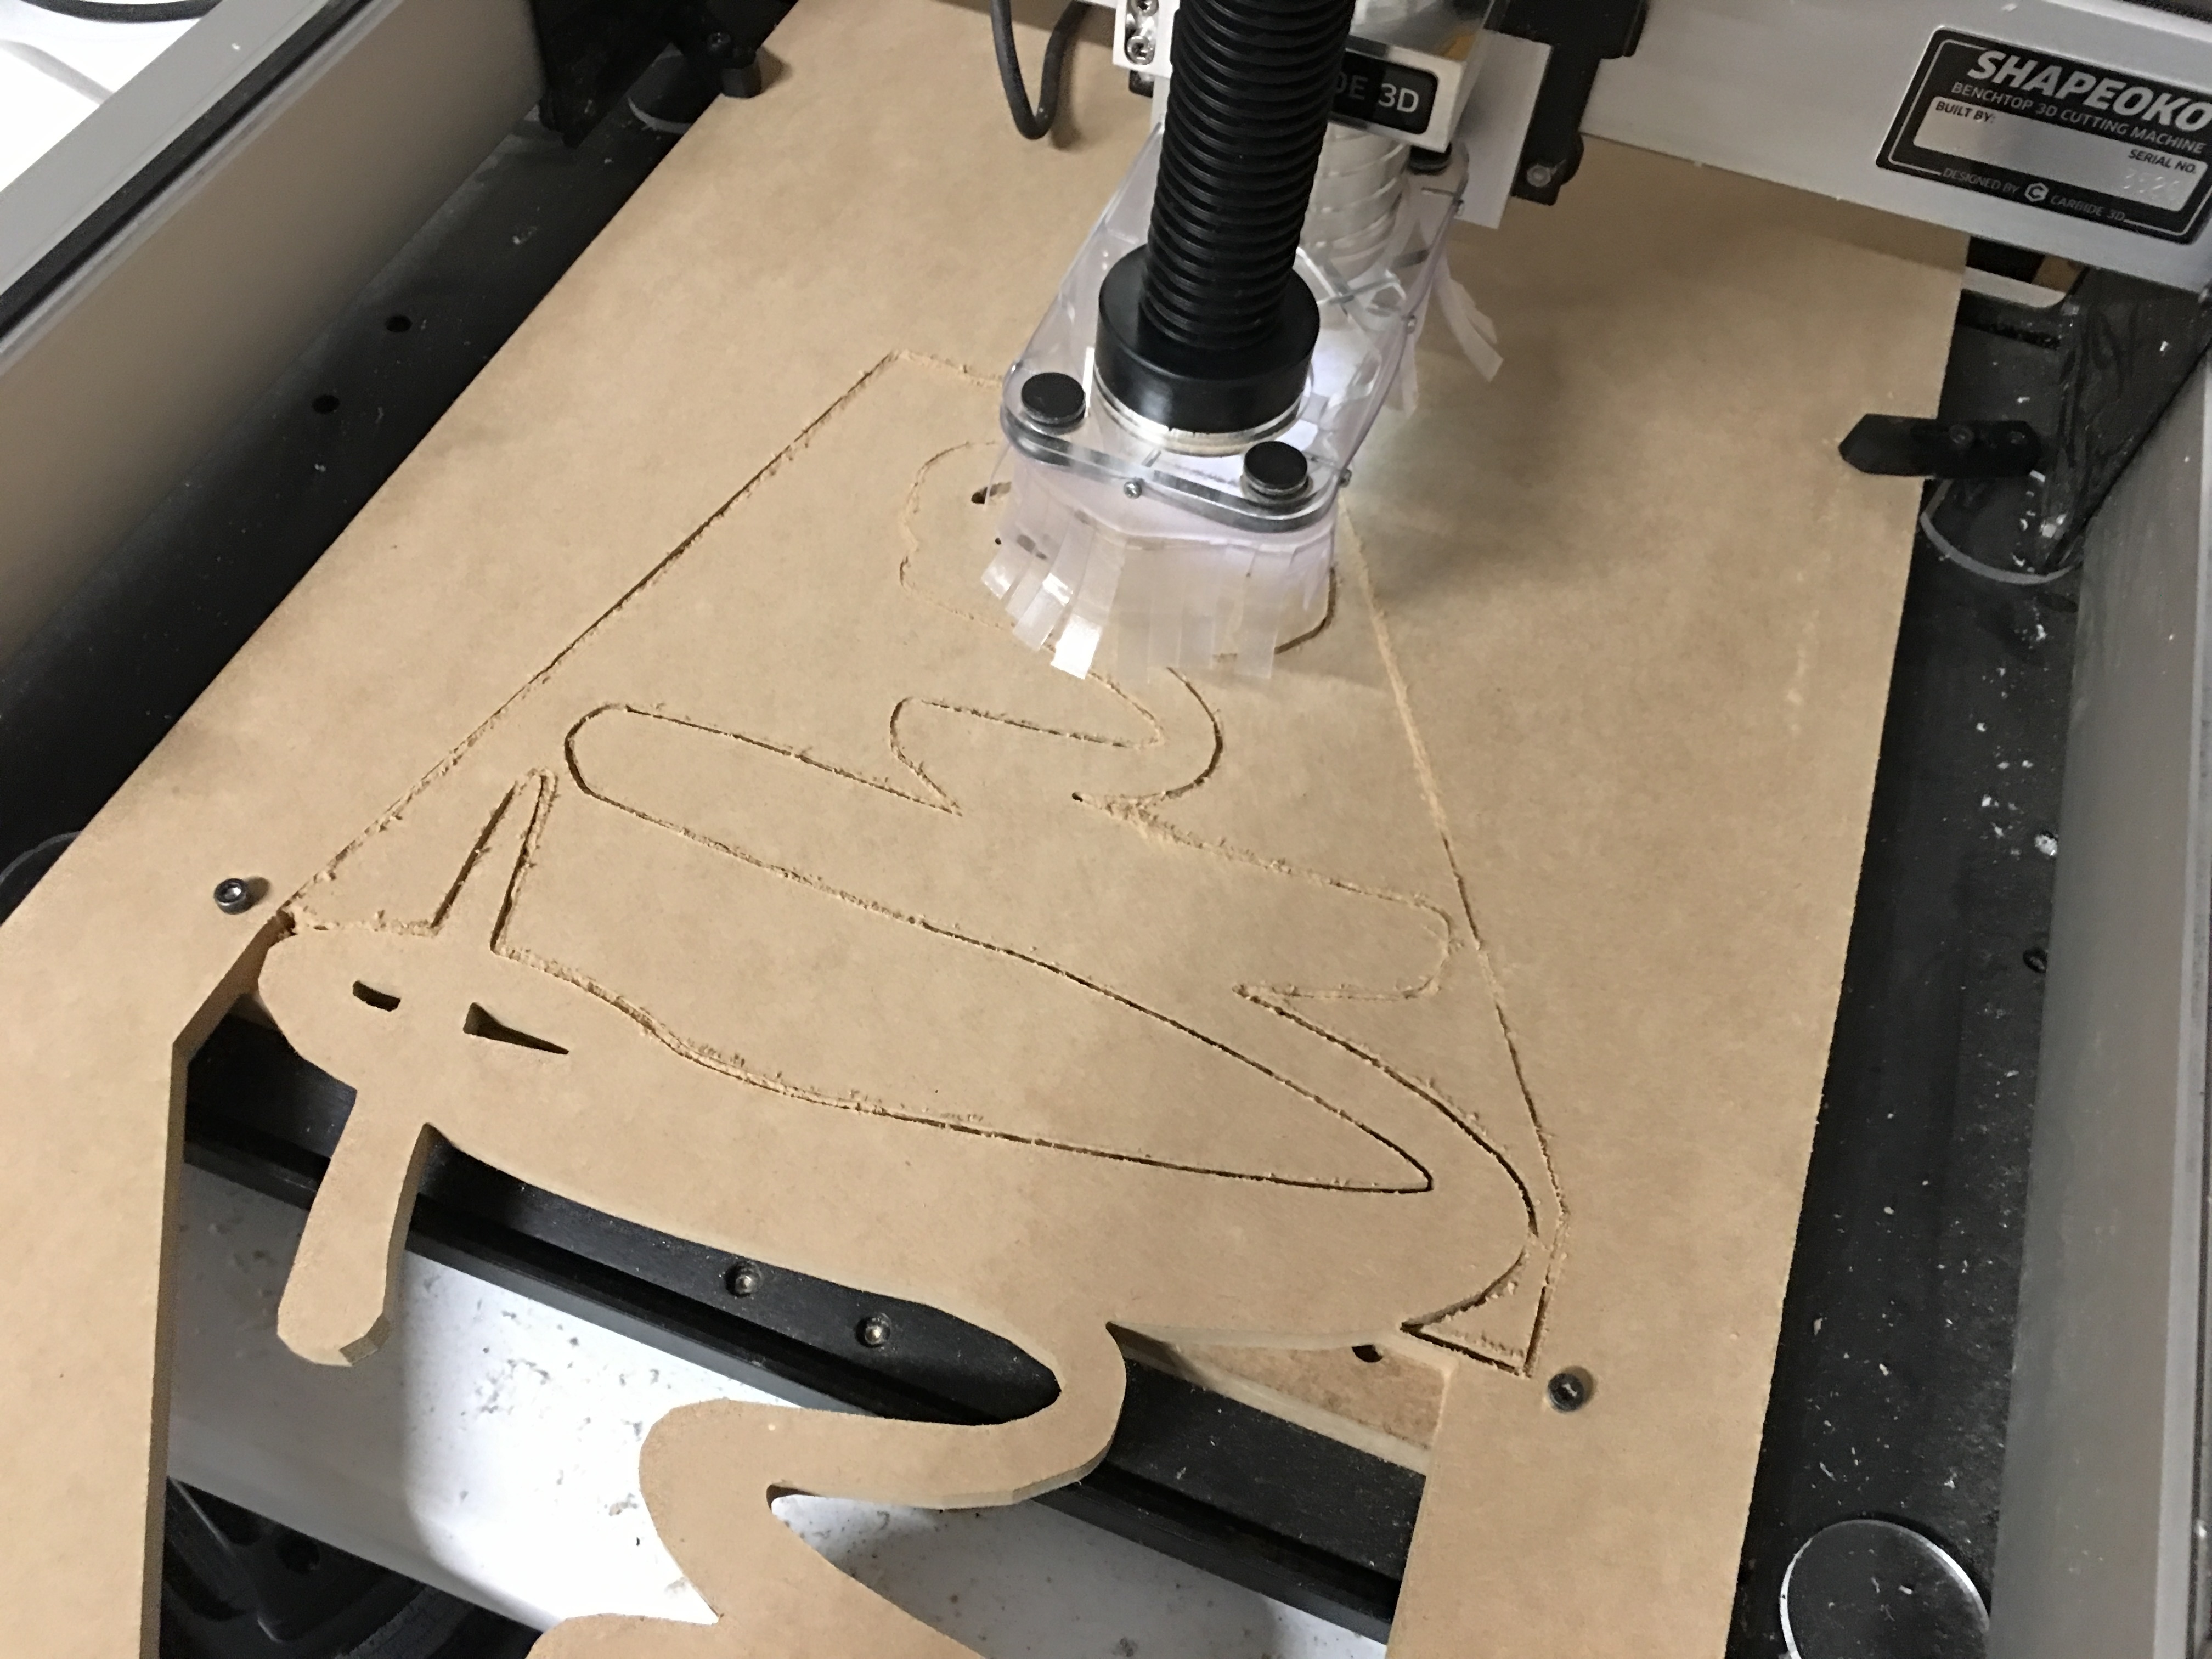
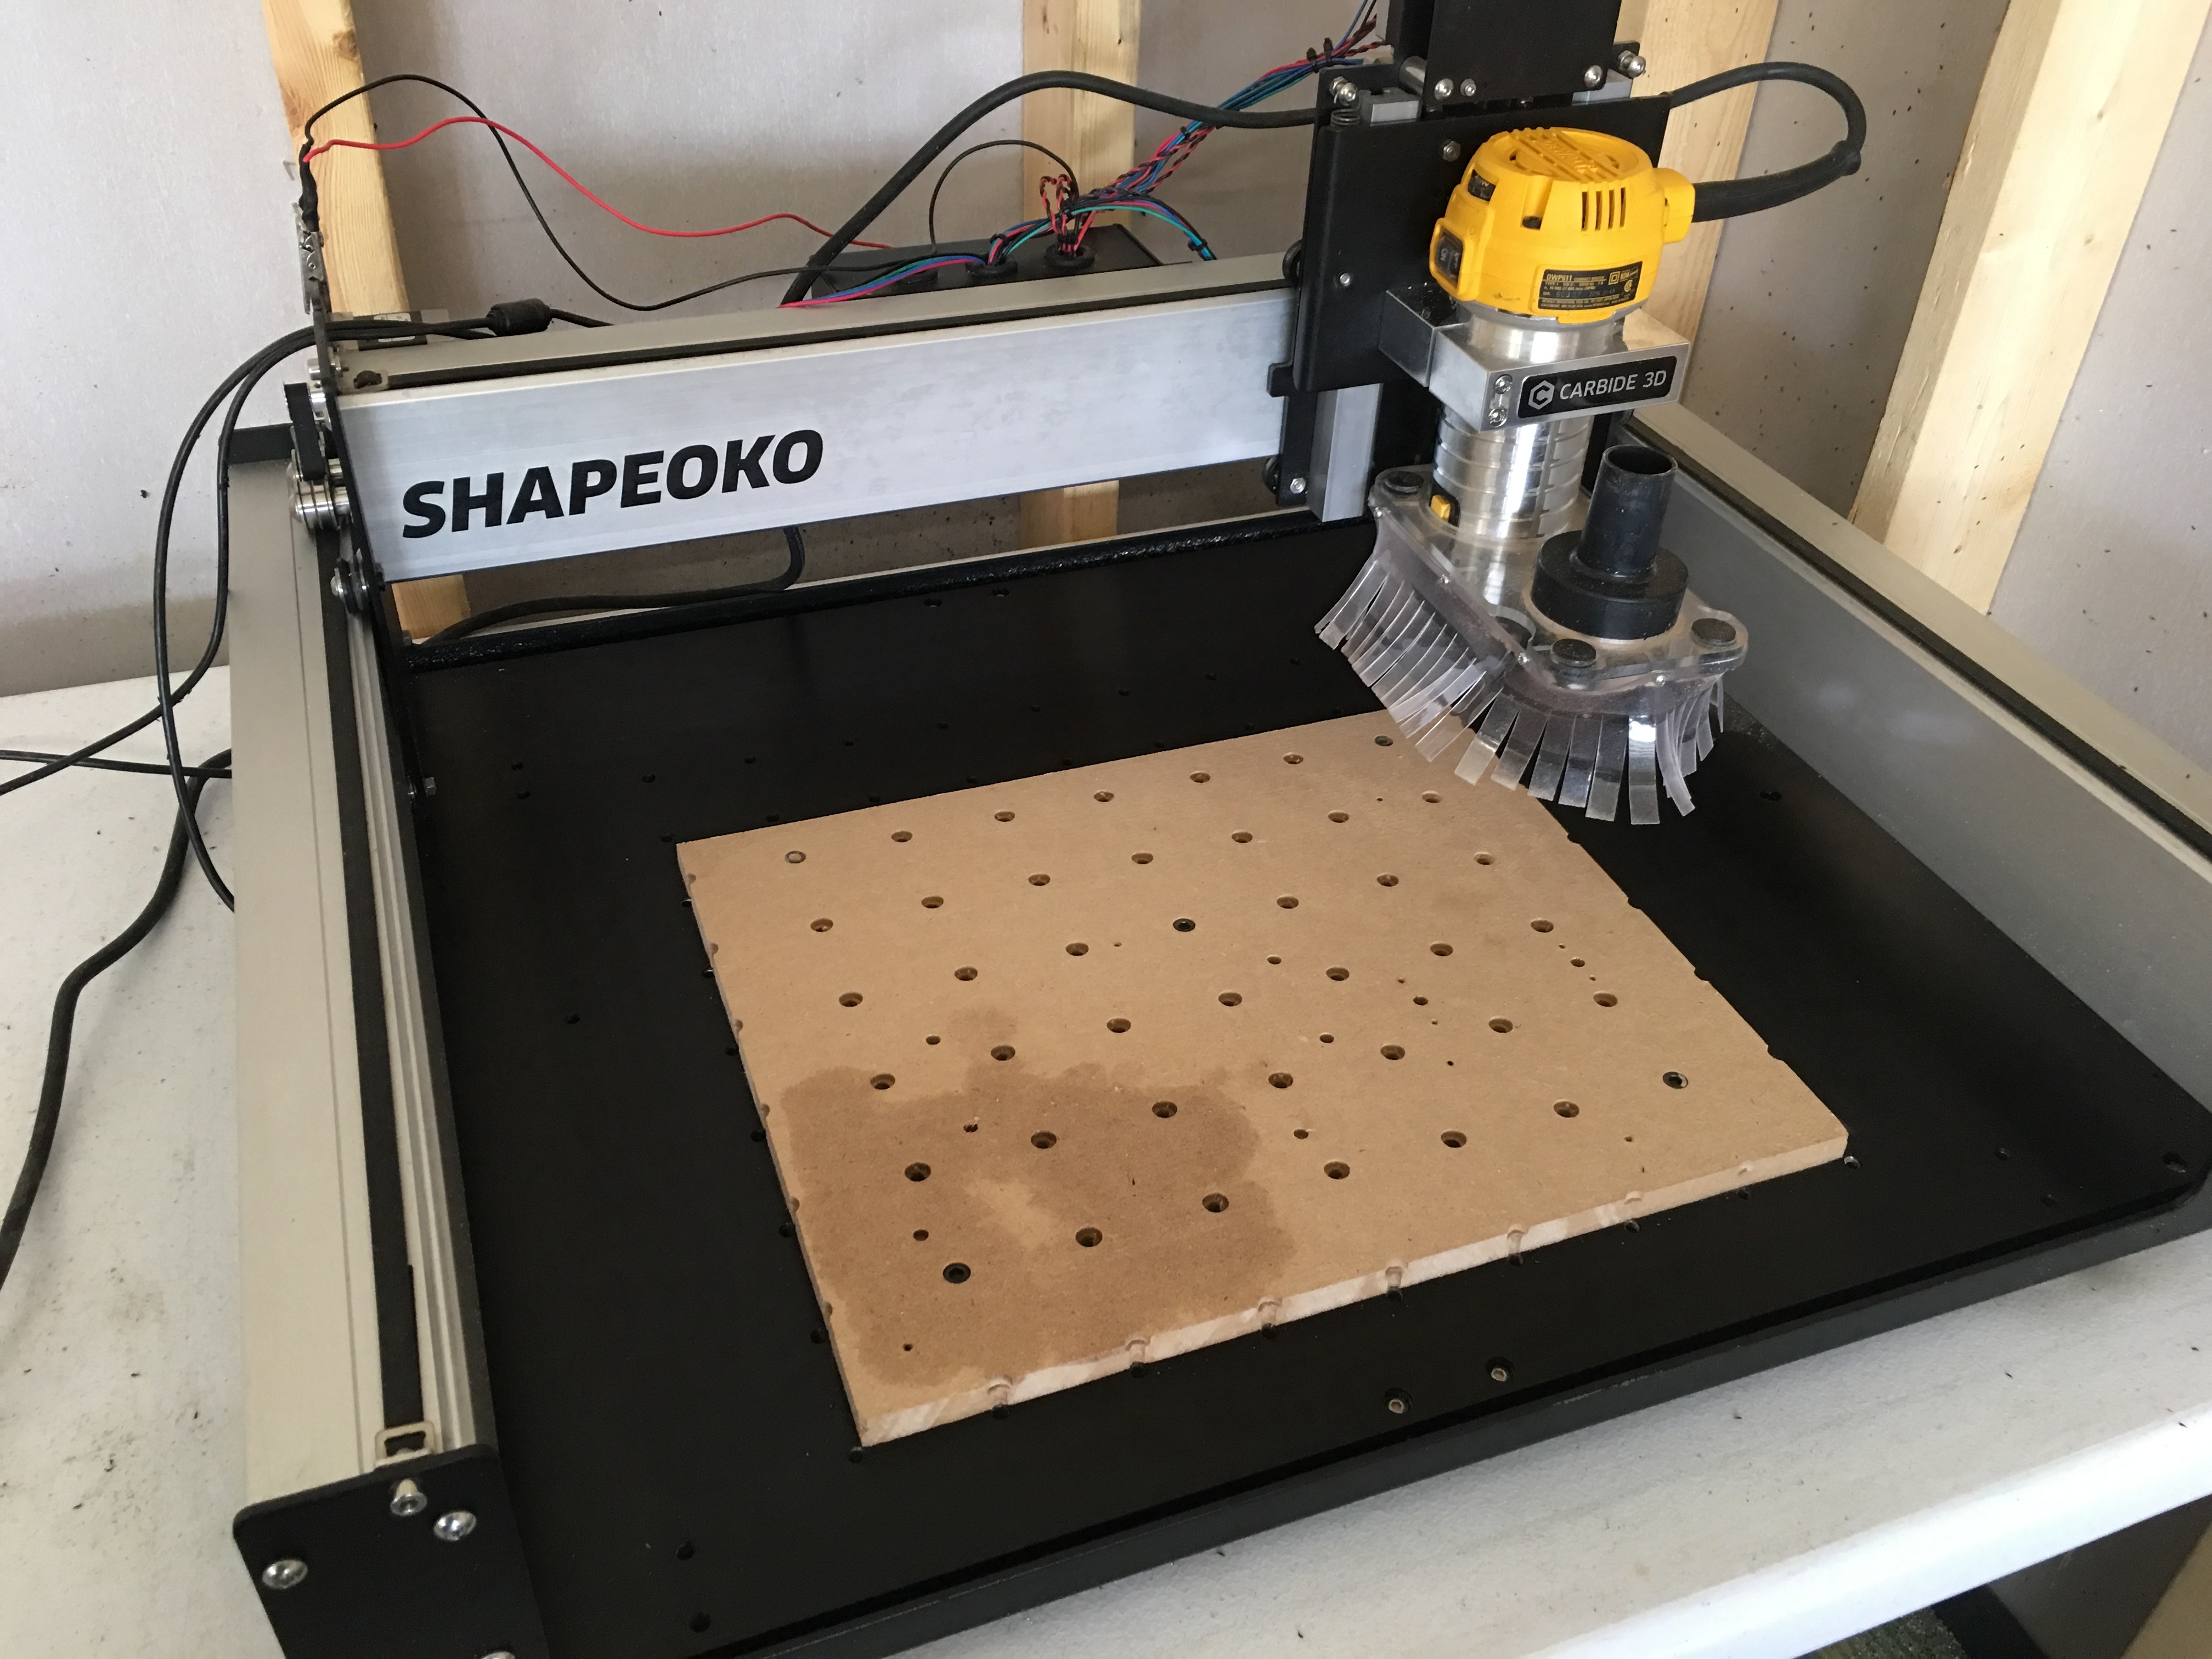
Got to try out the dust shoe tonight and I am extremely pleased with it. I’d like to design and make a Z-independent setup eventually but this will do for now! Here is a photo right after this section of the tile cut finished up. Dust only left in-between the pieces. Before, you could walk out into the garage and see MDF floating in the air. It was bad! I’m content with this setup.
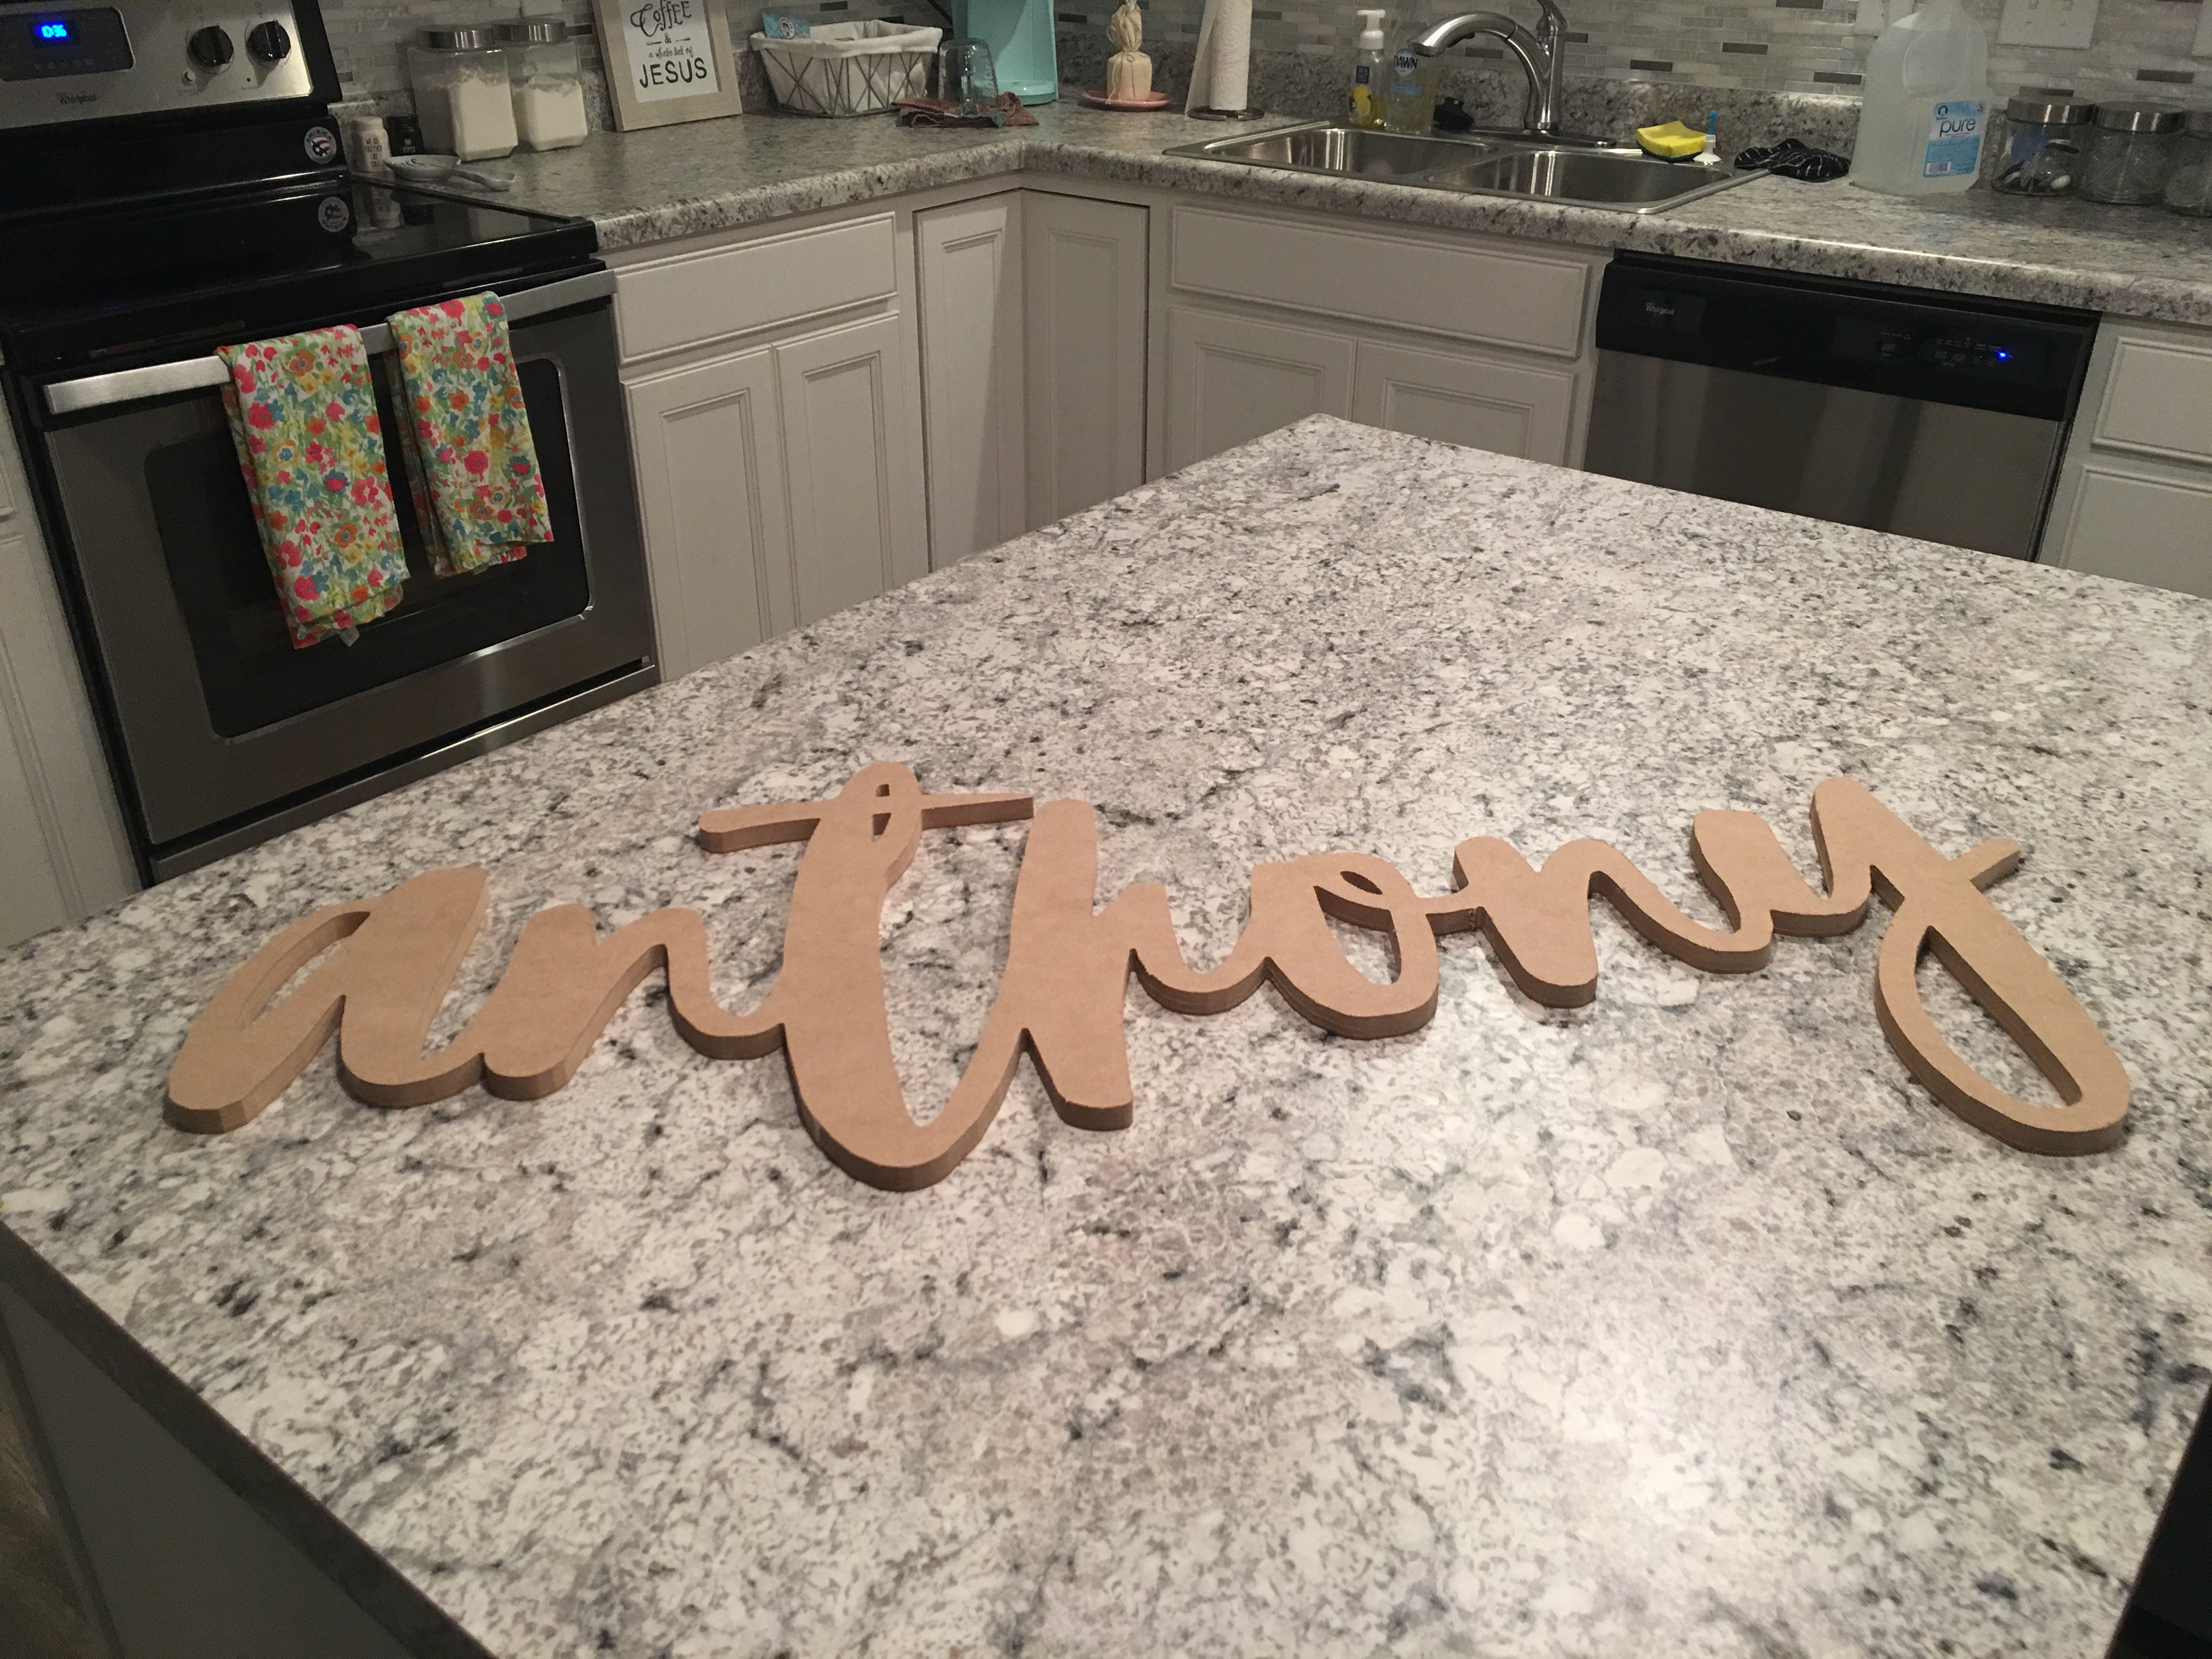
And here’s the completed project. Will hang over my son’s crib after we get it cleaned up and painted. 38" in length with 3 sections of tile cutting and the lower left and lower right threaded holes in my aluminum table used for orientation.
What program did you use to generate the Gcode for this? And what font is that, i’ve been looking for something where all the letters stay connected.
I generated the text paths in Adobe Illustrator, imported into Rhino 3D to split the text into the tile sections, and then put each section into CC to generate the toolpaths. All done manually essentially.
Edit- check out dafont.com. They’re script section has plenty like the above text. I made the file a few weeks ago and cannot remember the name.
Pete, to get letter shapes connected, like Alek has done, you have type the letters out in a program like Illustrator or Inkscape then convert the text to outlines then weld/unite them together. That process joins/removes the overlaps.
Note that Carbide Create has an option for “Boolean Union” which will convert overlapping letters into a connected outline.
Random little project-
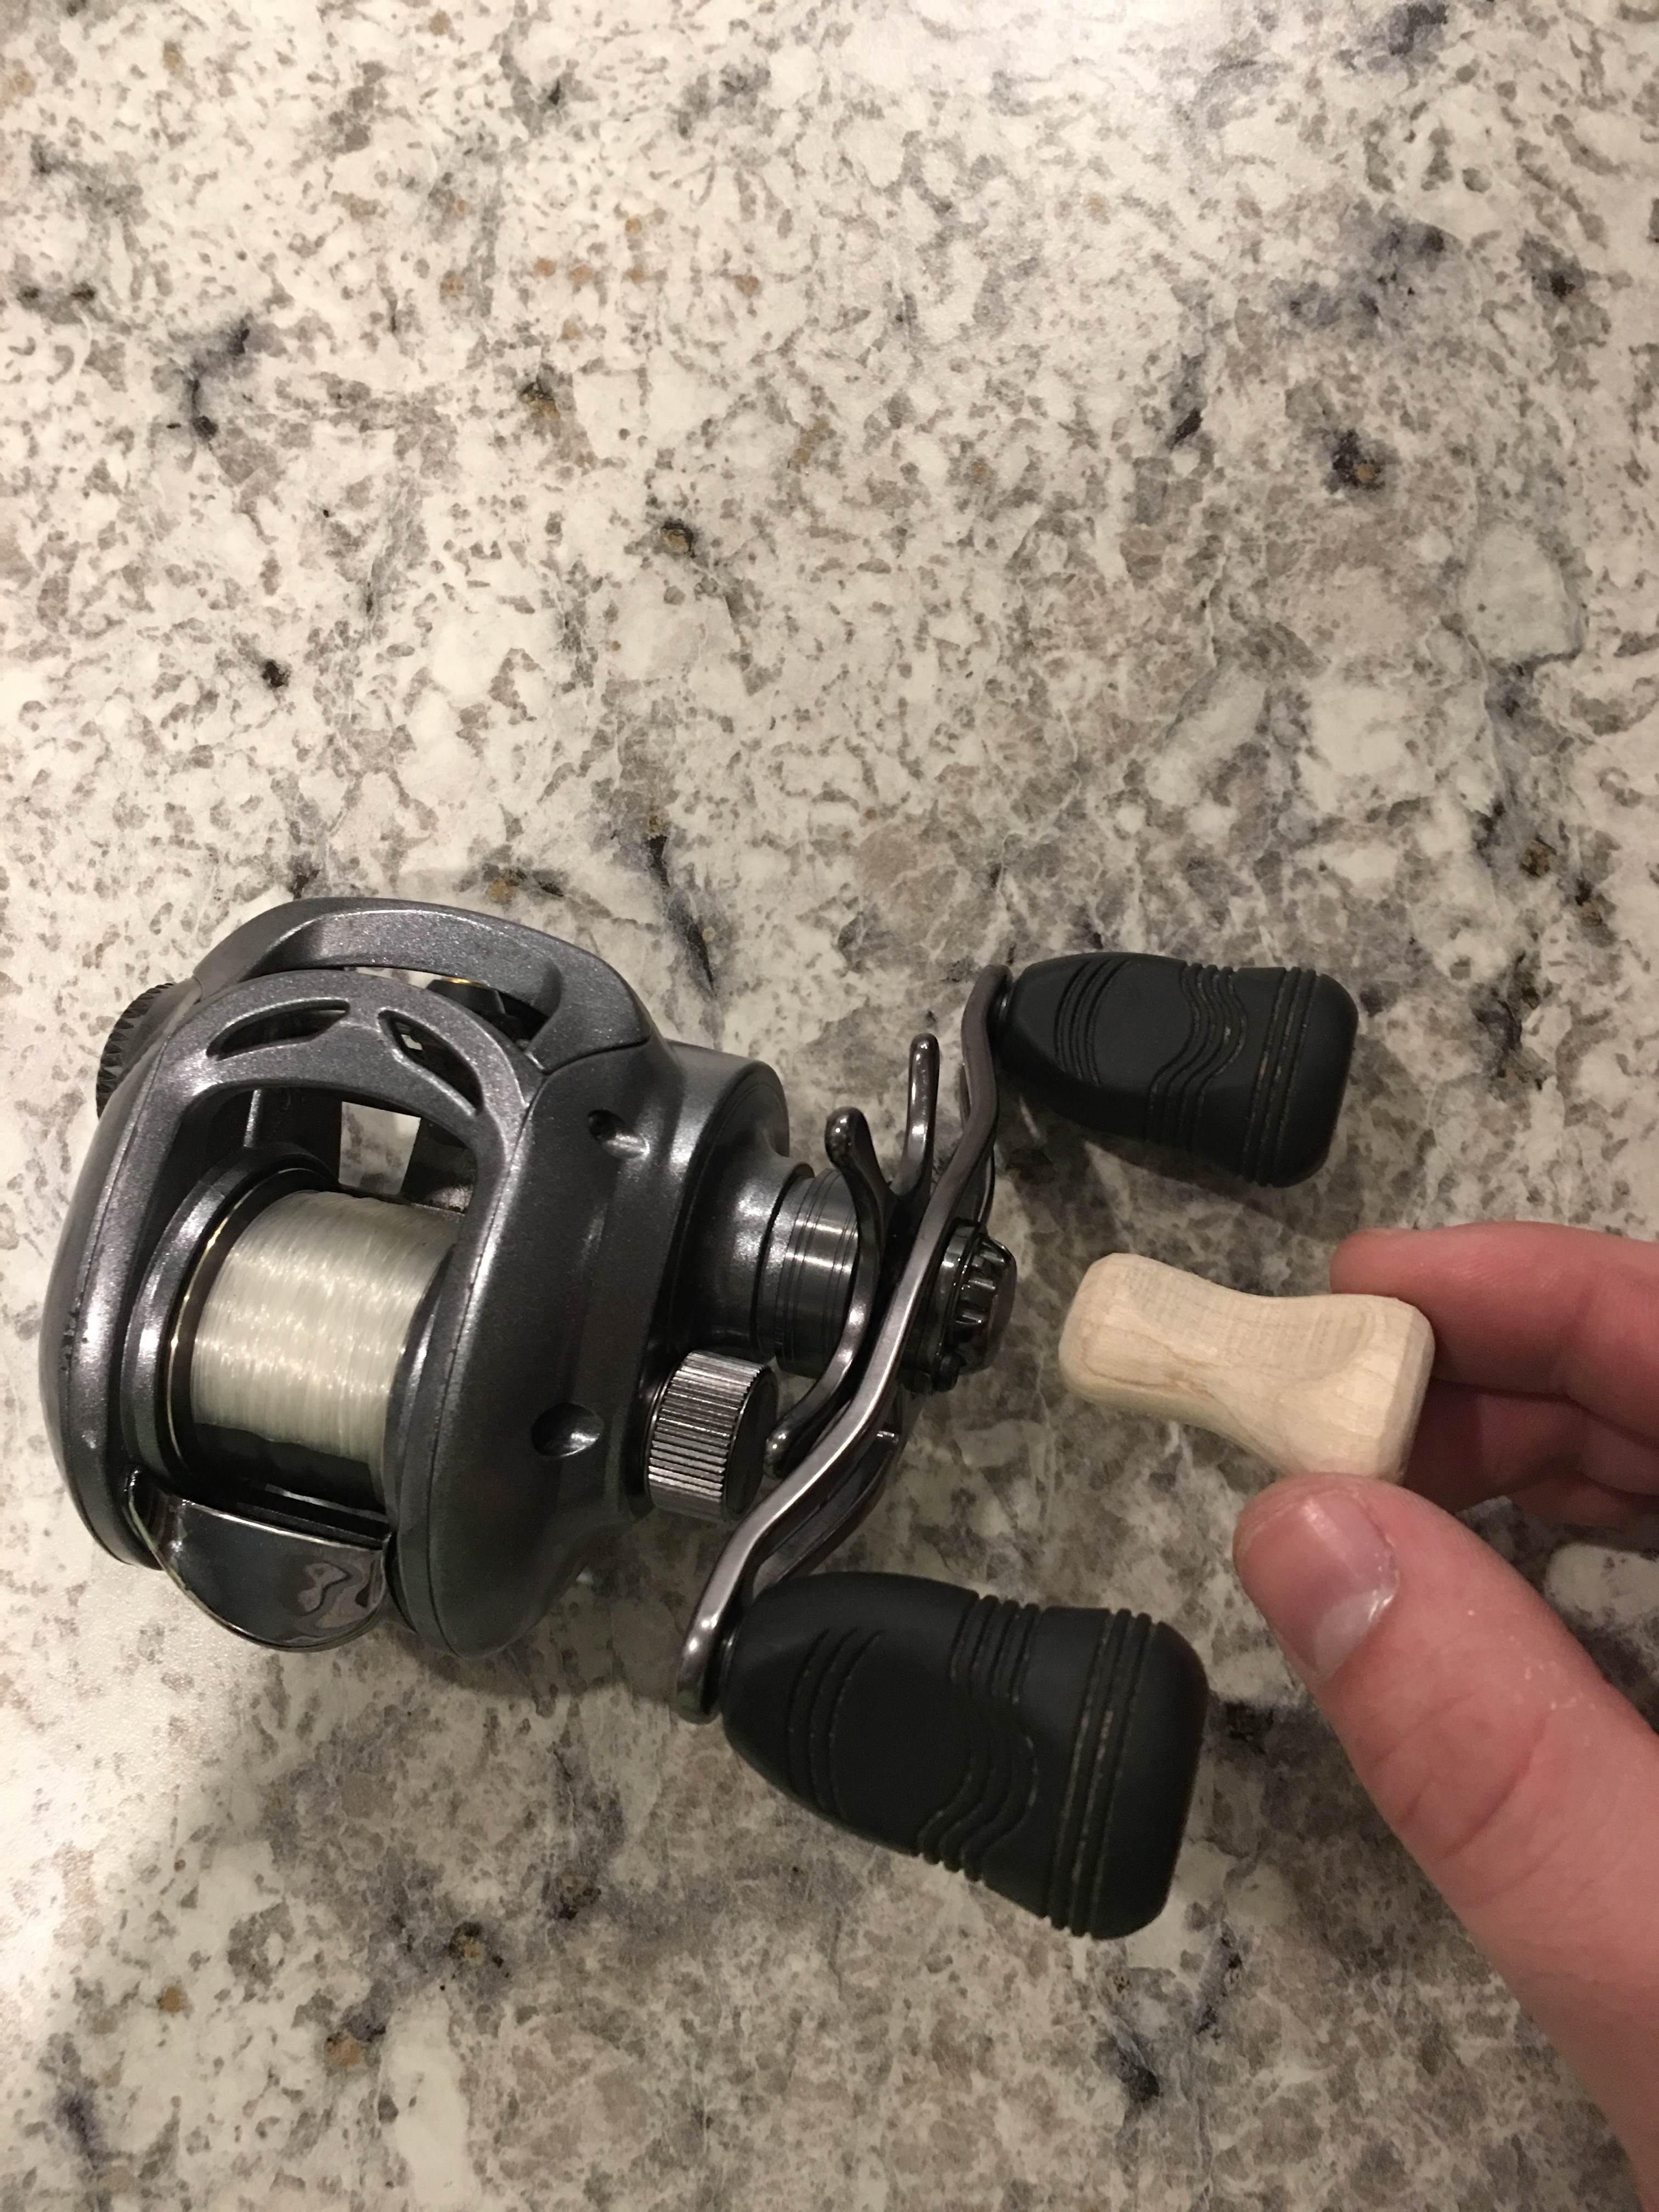
Had my little brother over for the night (14y/o). Introduced him to 3D modeling and translating that into an actual product with the CNC. He loves fishing so we made a quick reel handle out of maple. When we get more time, we’ll get a little more crazy with the design and cut it out of something fancier. I enjoyed it but most importantly, so did he!
Alek,
I’m brand new to the ShapeOko world and to “Hobby CNC’ng.” I too purchased a base
ShapeOko 3 w/Aluminum table and have been following your work with some admiration.
I especially like your wasteboard and hope to work into something like that as I navigate my way
through the process of learning how to model and the associated workflow to machining … by the
way what year did you graduate? I too am a boiler, HBSEE’83.
Art
Hi Art!
Feel free to post up if you have any questions! I’m by no means an expert but have had great success with my SO3 for the short period of time I’ve had it.
Boiler up! I’m a youngin. Graduated with a bachelors in Industrial Design in '15.
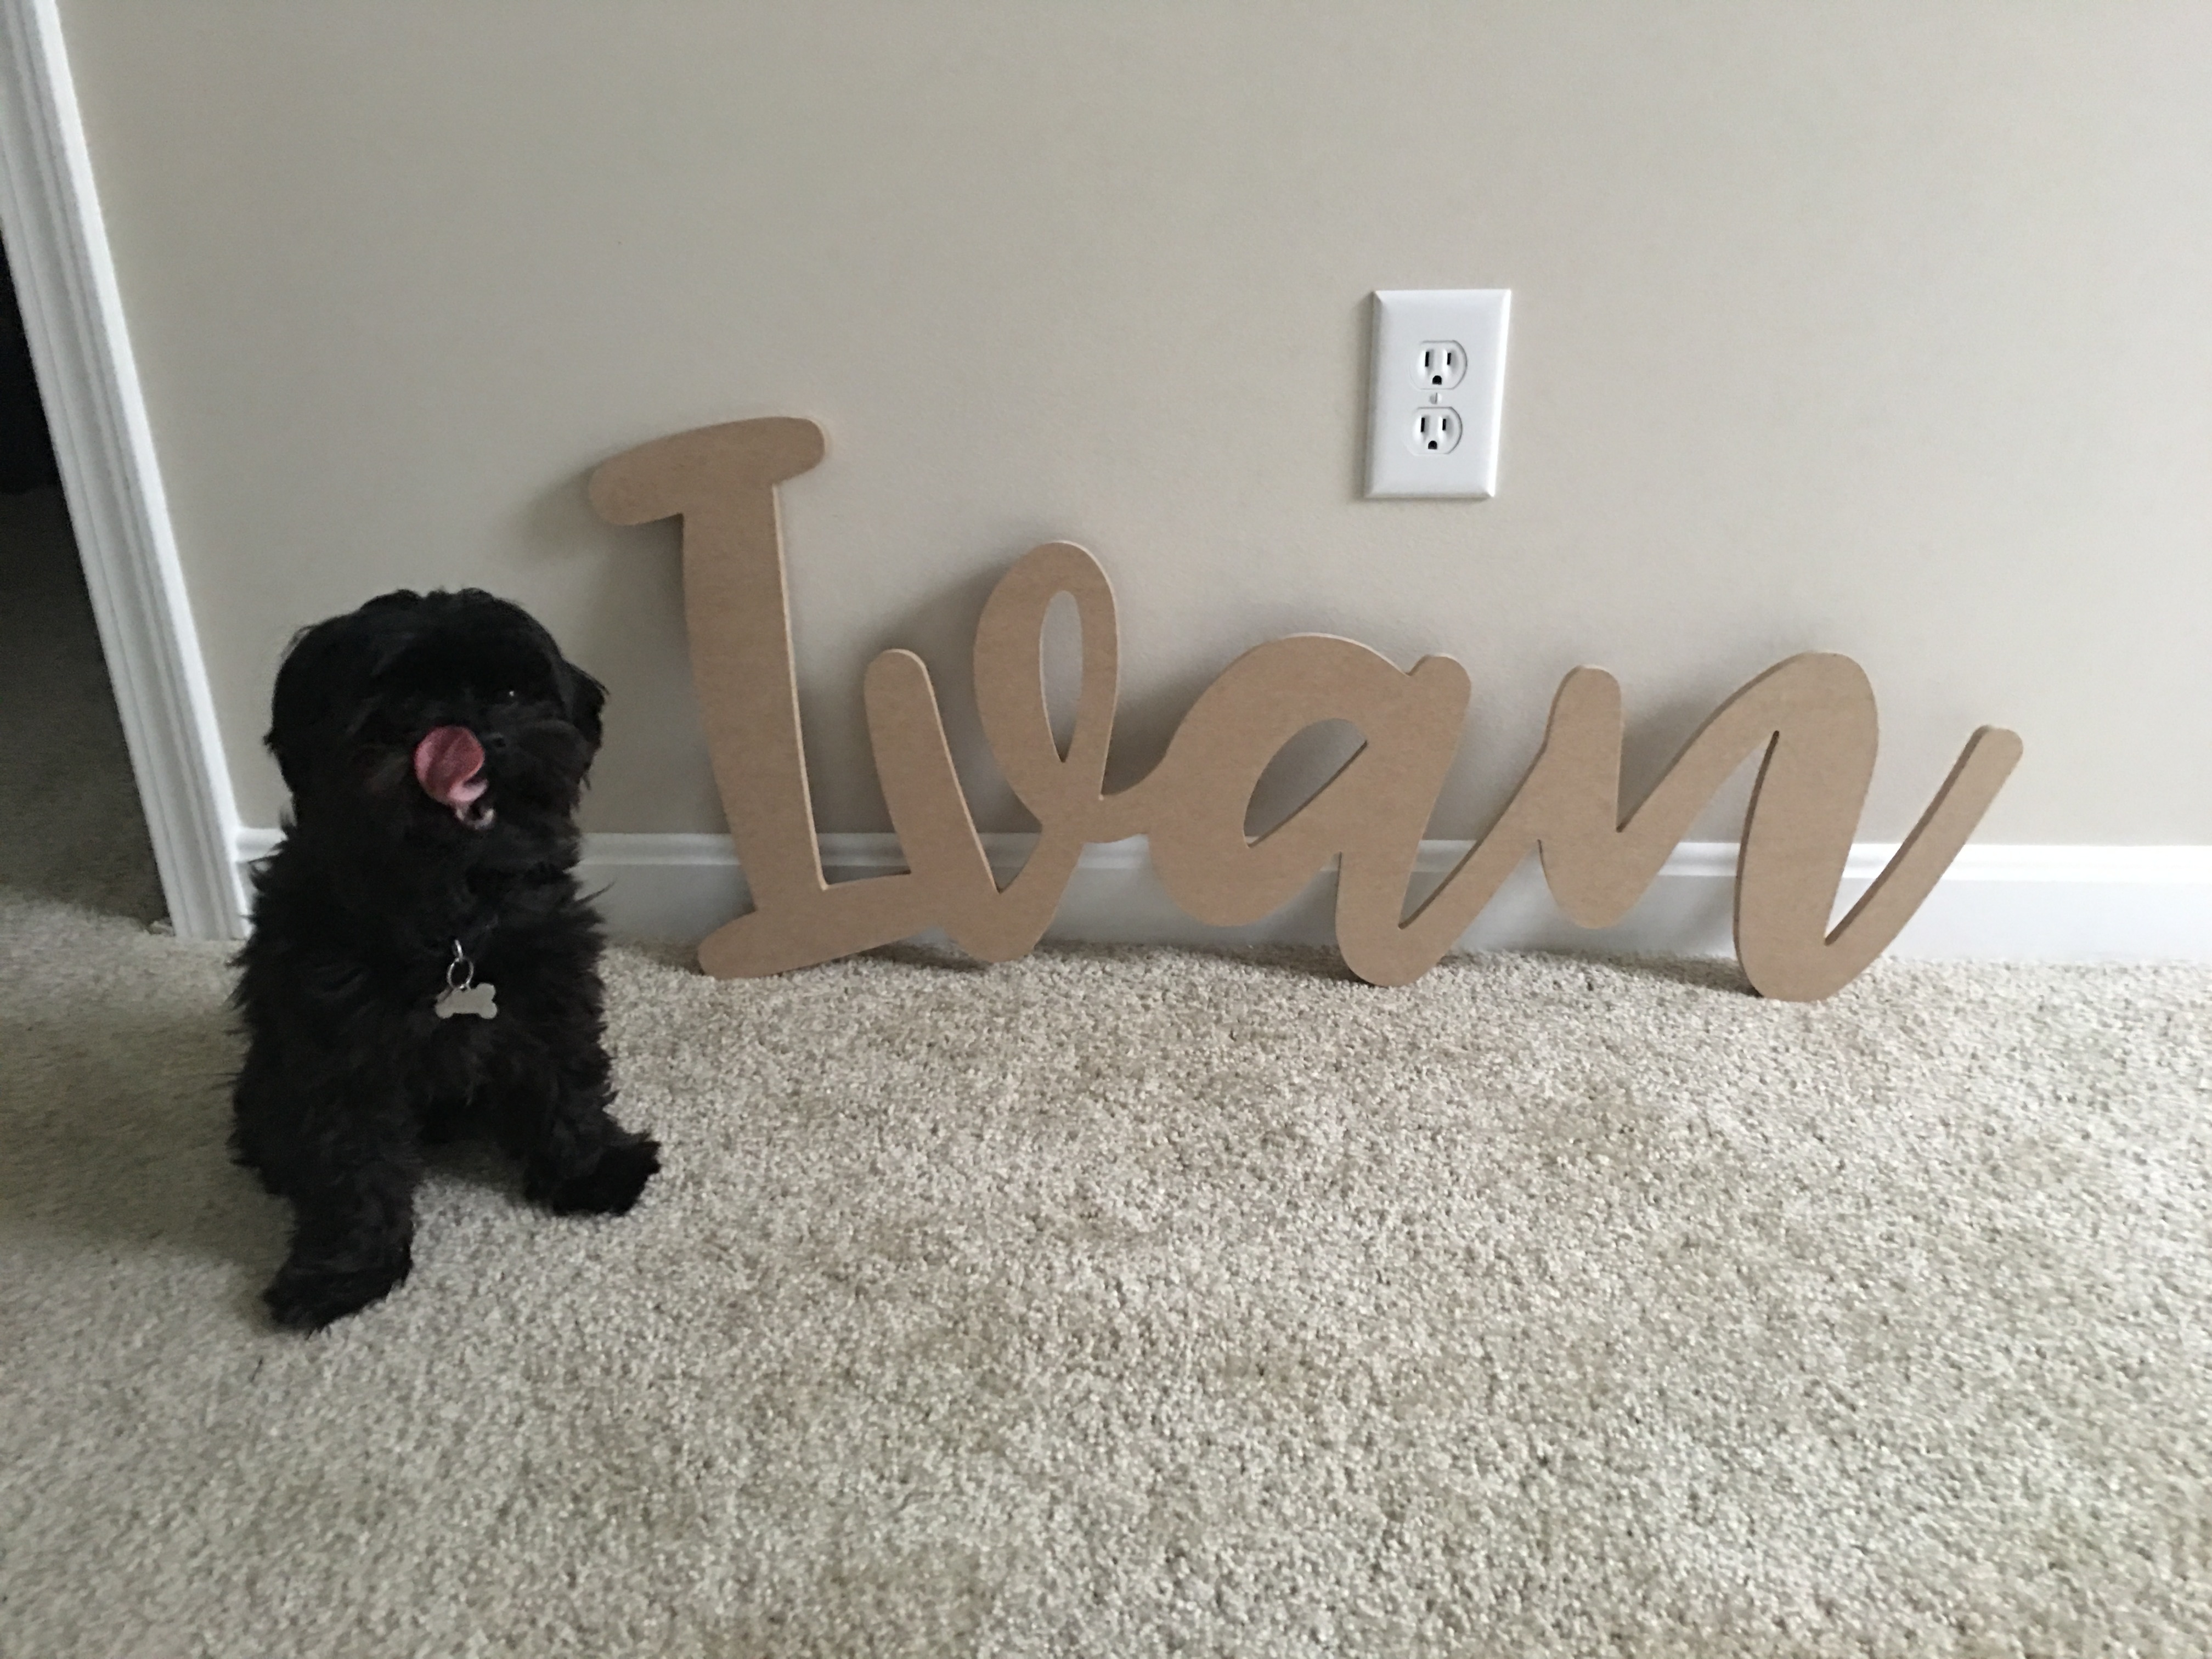
Onto the next project. Friends just had a baby last week so cranked this out this morning for them. Tile cutting was much easier the second time around. File setup to finished cut only took about an hour’s time.
Also, the aluminum pod above will be getting some additional revisions. More on the way!
Alek,
Will do, got everything connected this pm and ran the hello world
program, all came out fine. I’ve raided Home Depot and have a
stash of MDF and plywood. waiting for some HDPE from Amazon,
should be here tomorrow. Will try some clamps, then onto some
fun things…
Art
Hey Alek,
Would you please share the layout for your wasteboard? I’d appreciate it.
Art,
The holes are 50mm apart to line up with the holes on the aluminum table. 400mm x 300mm. I pocketed 6mm holes at each location and then 8mm holes about 80% through the material for the head of the hardware. I set the zero as close as I possibly could to the lower left hole, put down a temporary wasteboard to protect the aluminum table, and them mounted up the MDF to be cut.
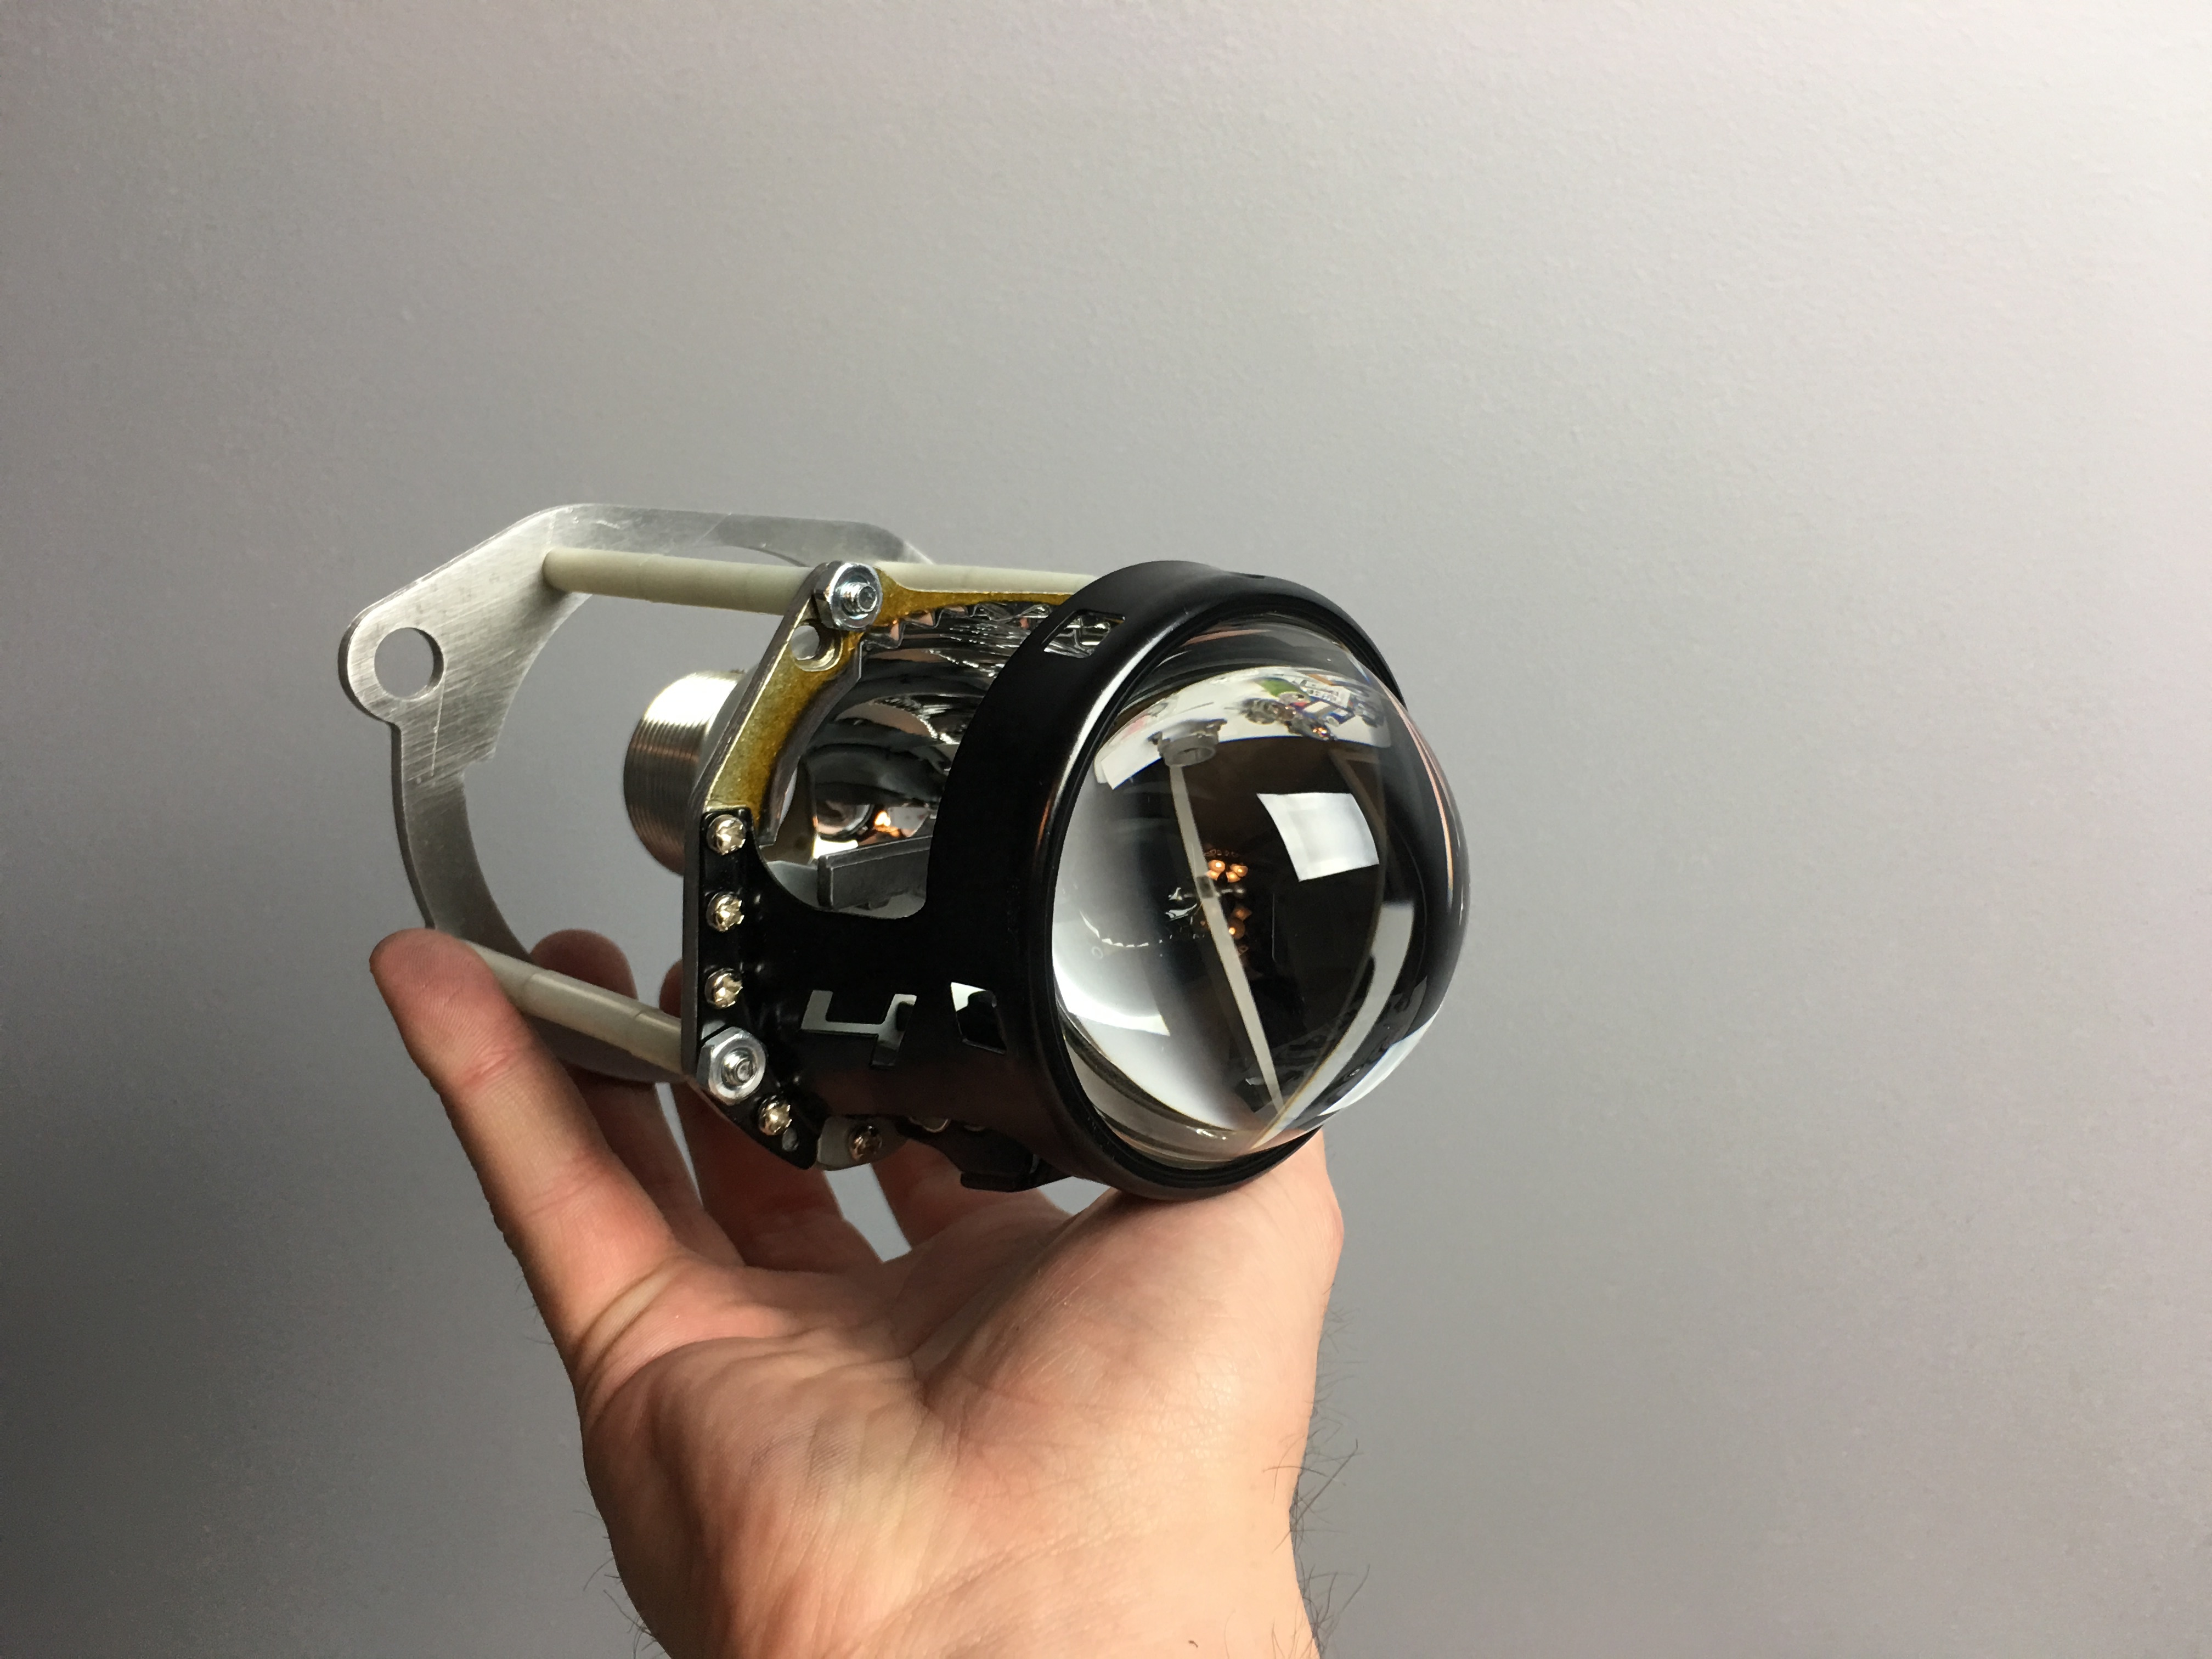
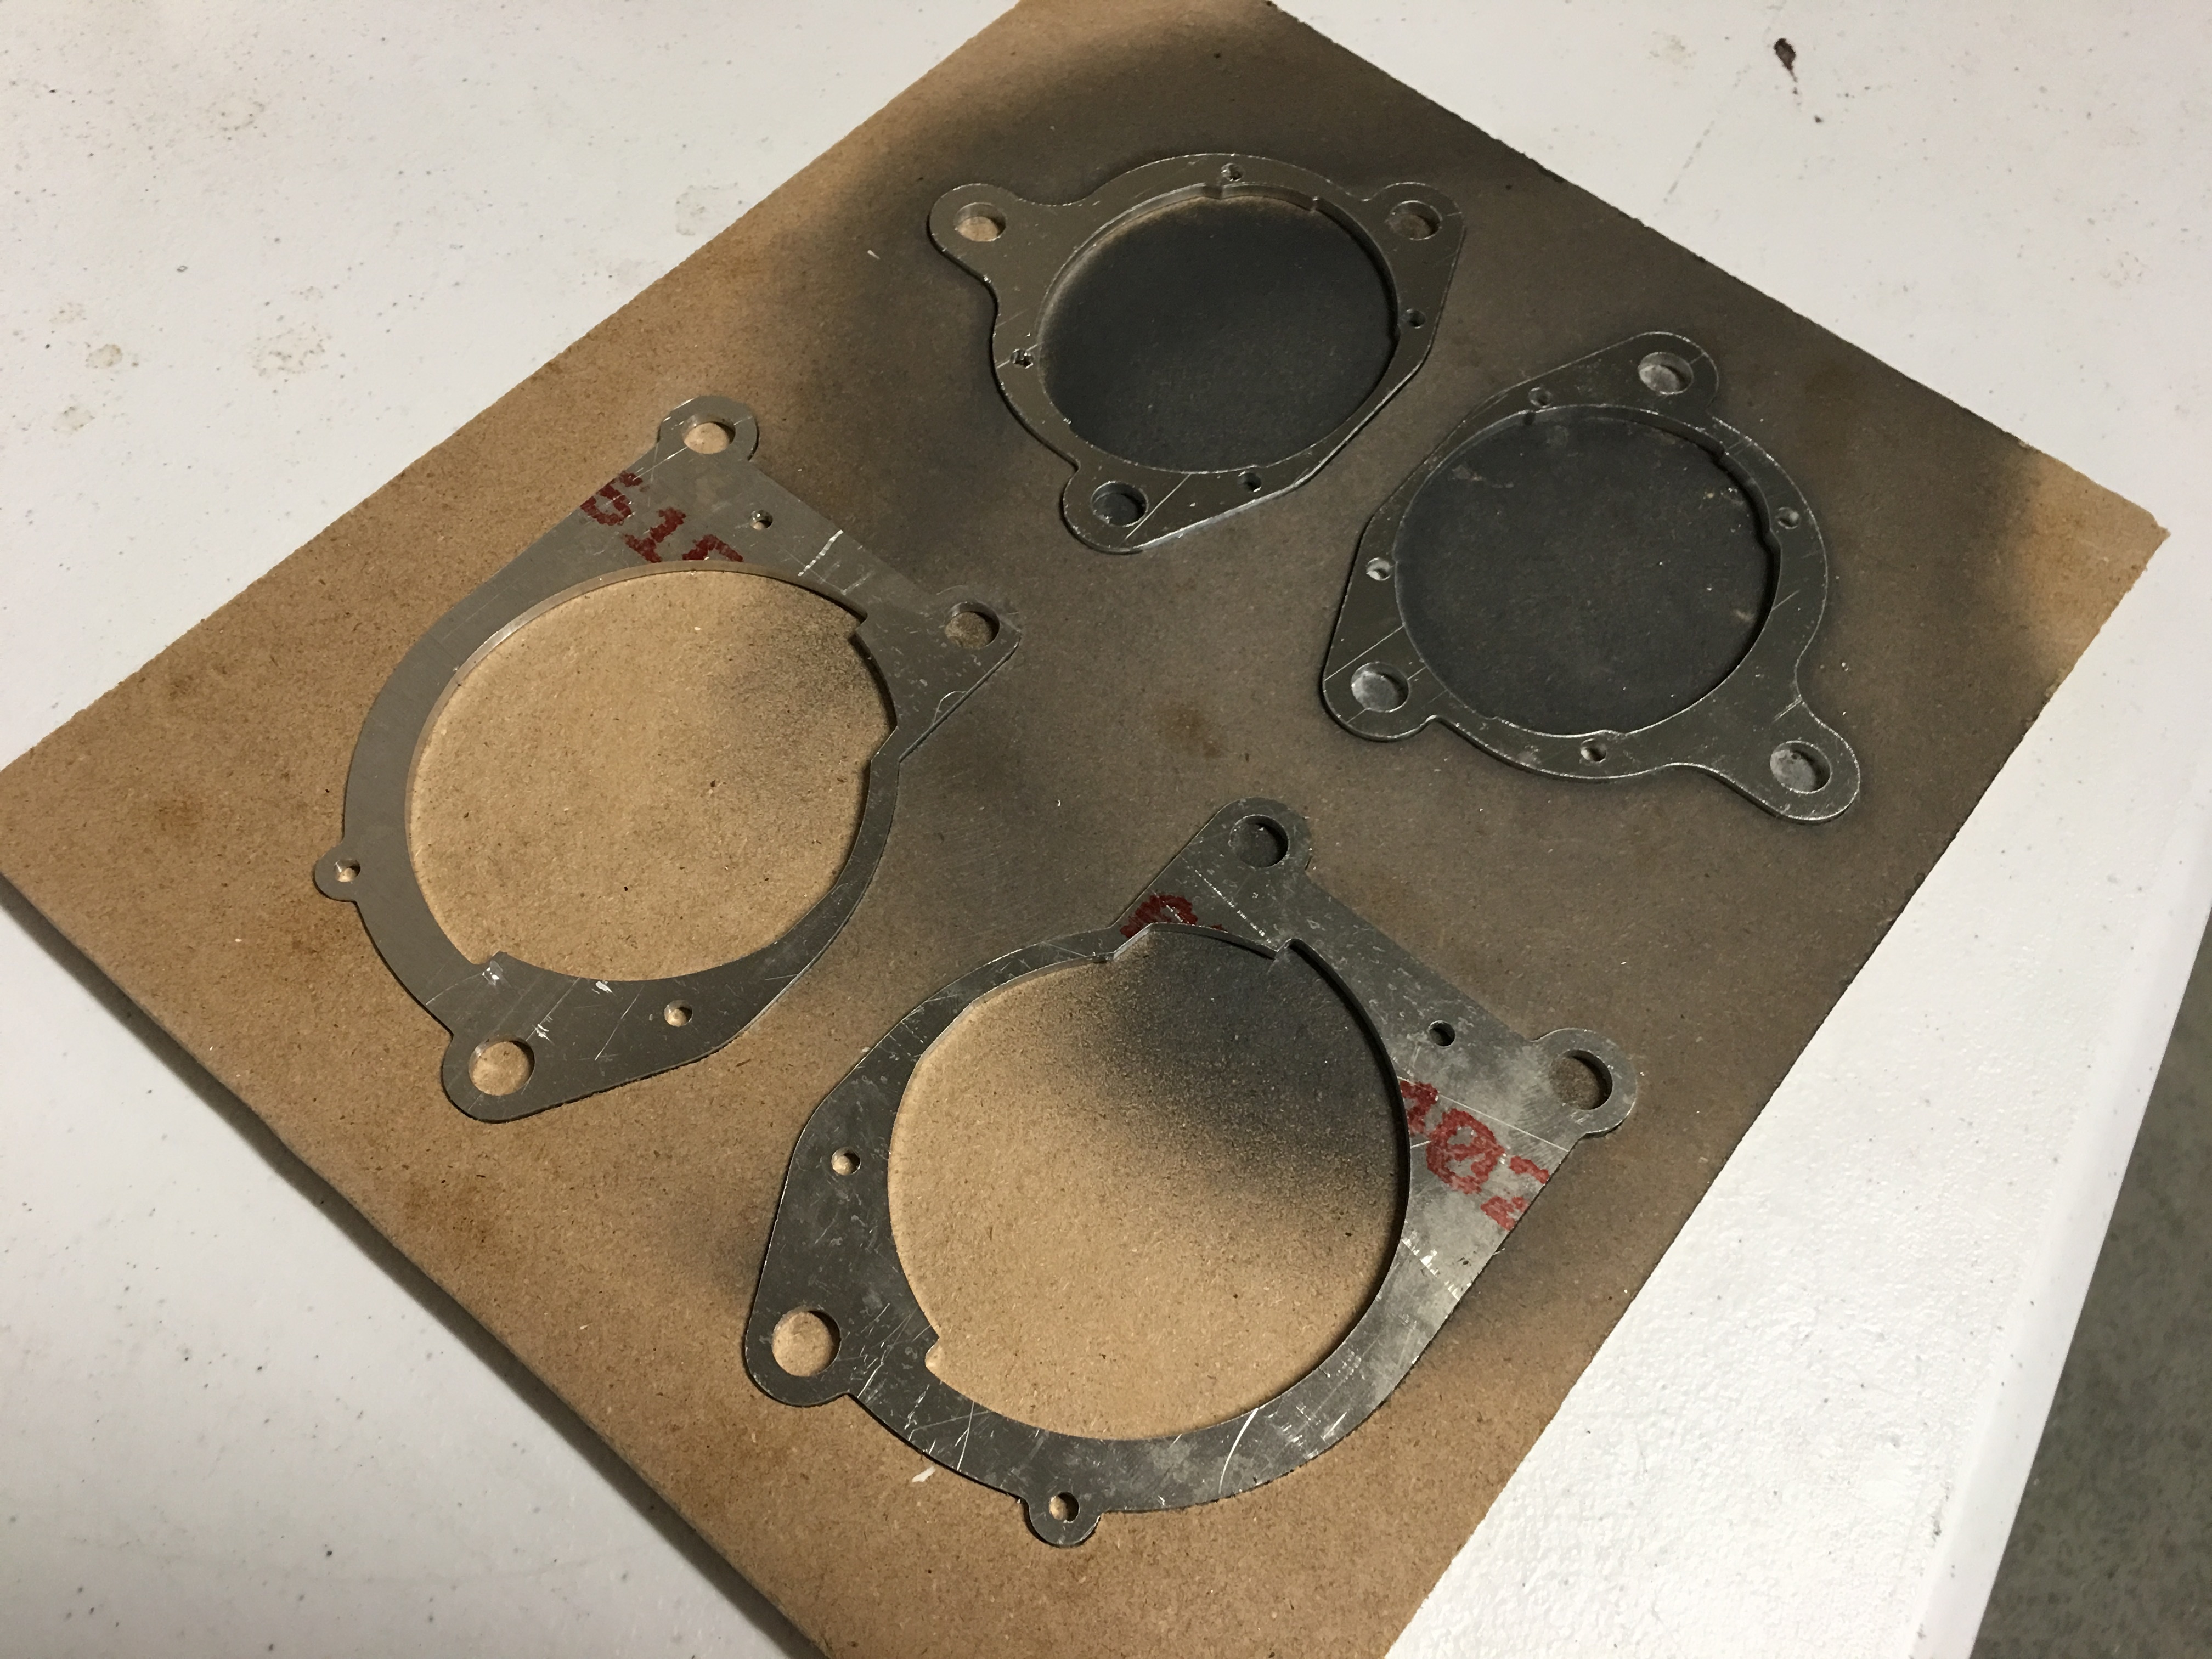
Little project update. In one of my earlier posts, I mentioned that I’d be designing and making brackets for headlight projector upgrades. These are for Veloster Turbo headlights.
The first is for removing the factory projector and clipping in a Morimoto MD2S 4.0 projector and the second is for removing the high beam reflector and replacing it with a projector. These brackets ensure proper alignment out of the box and let’s the customer still retain OEM adjustability.
Low beam bracket-
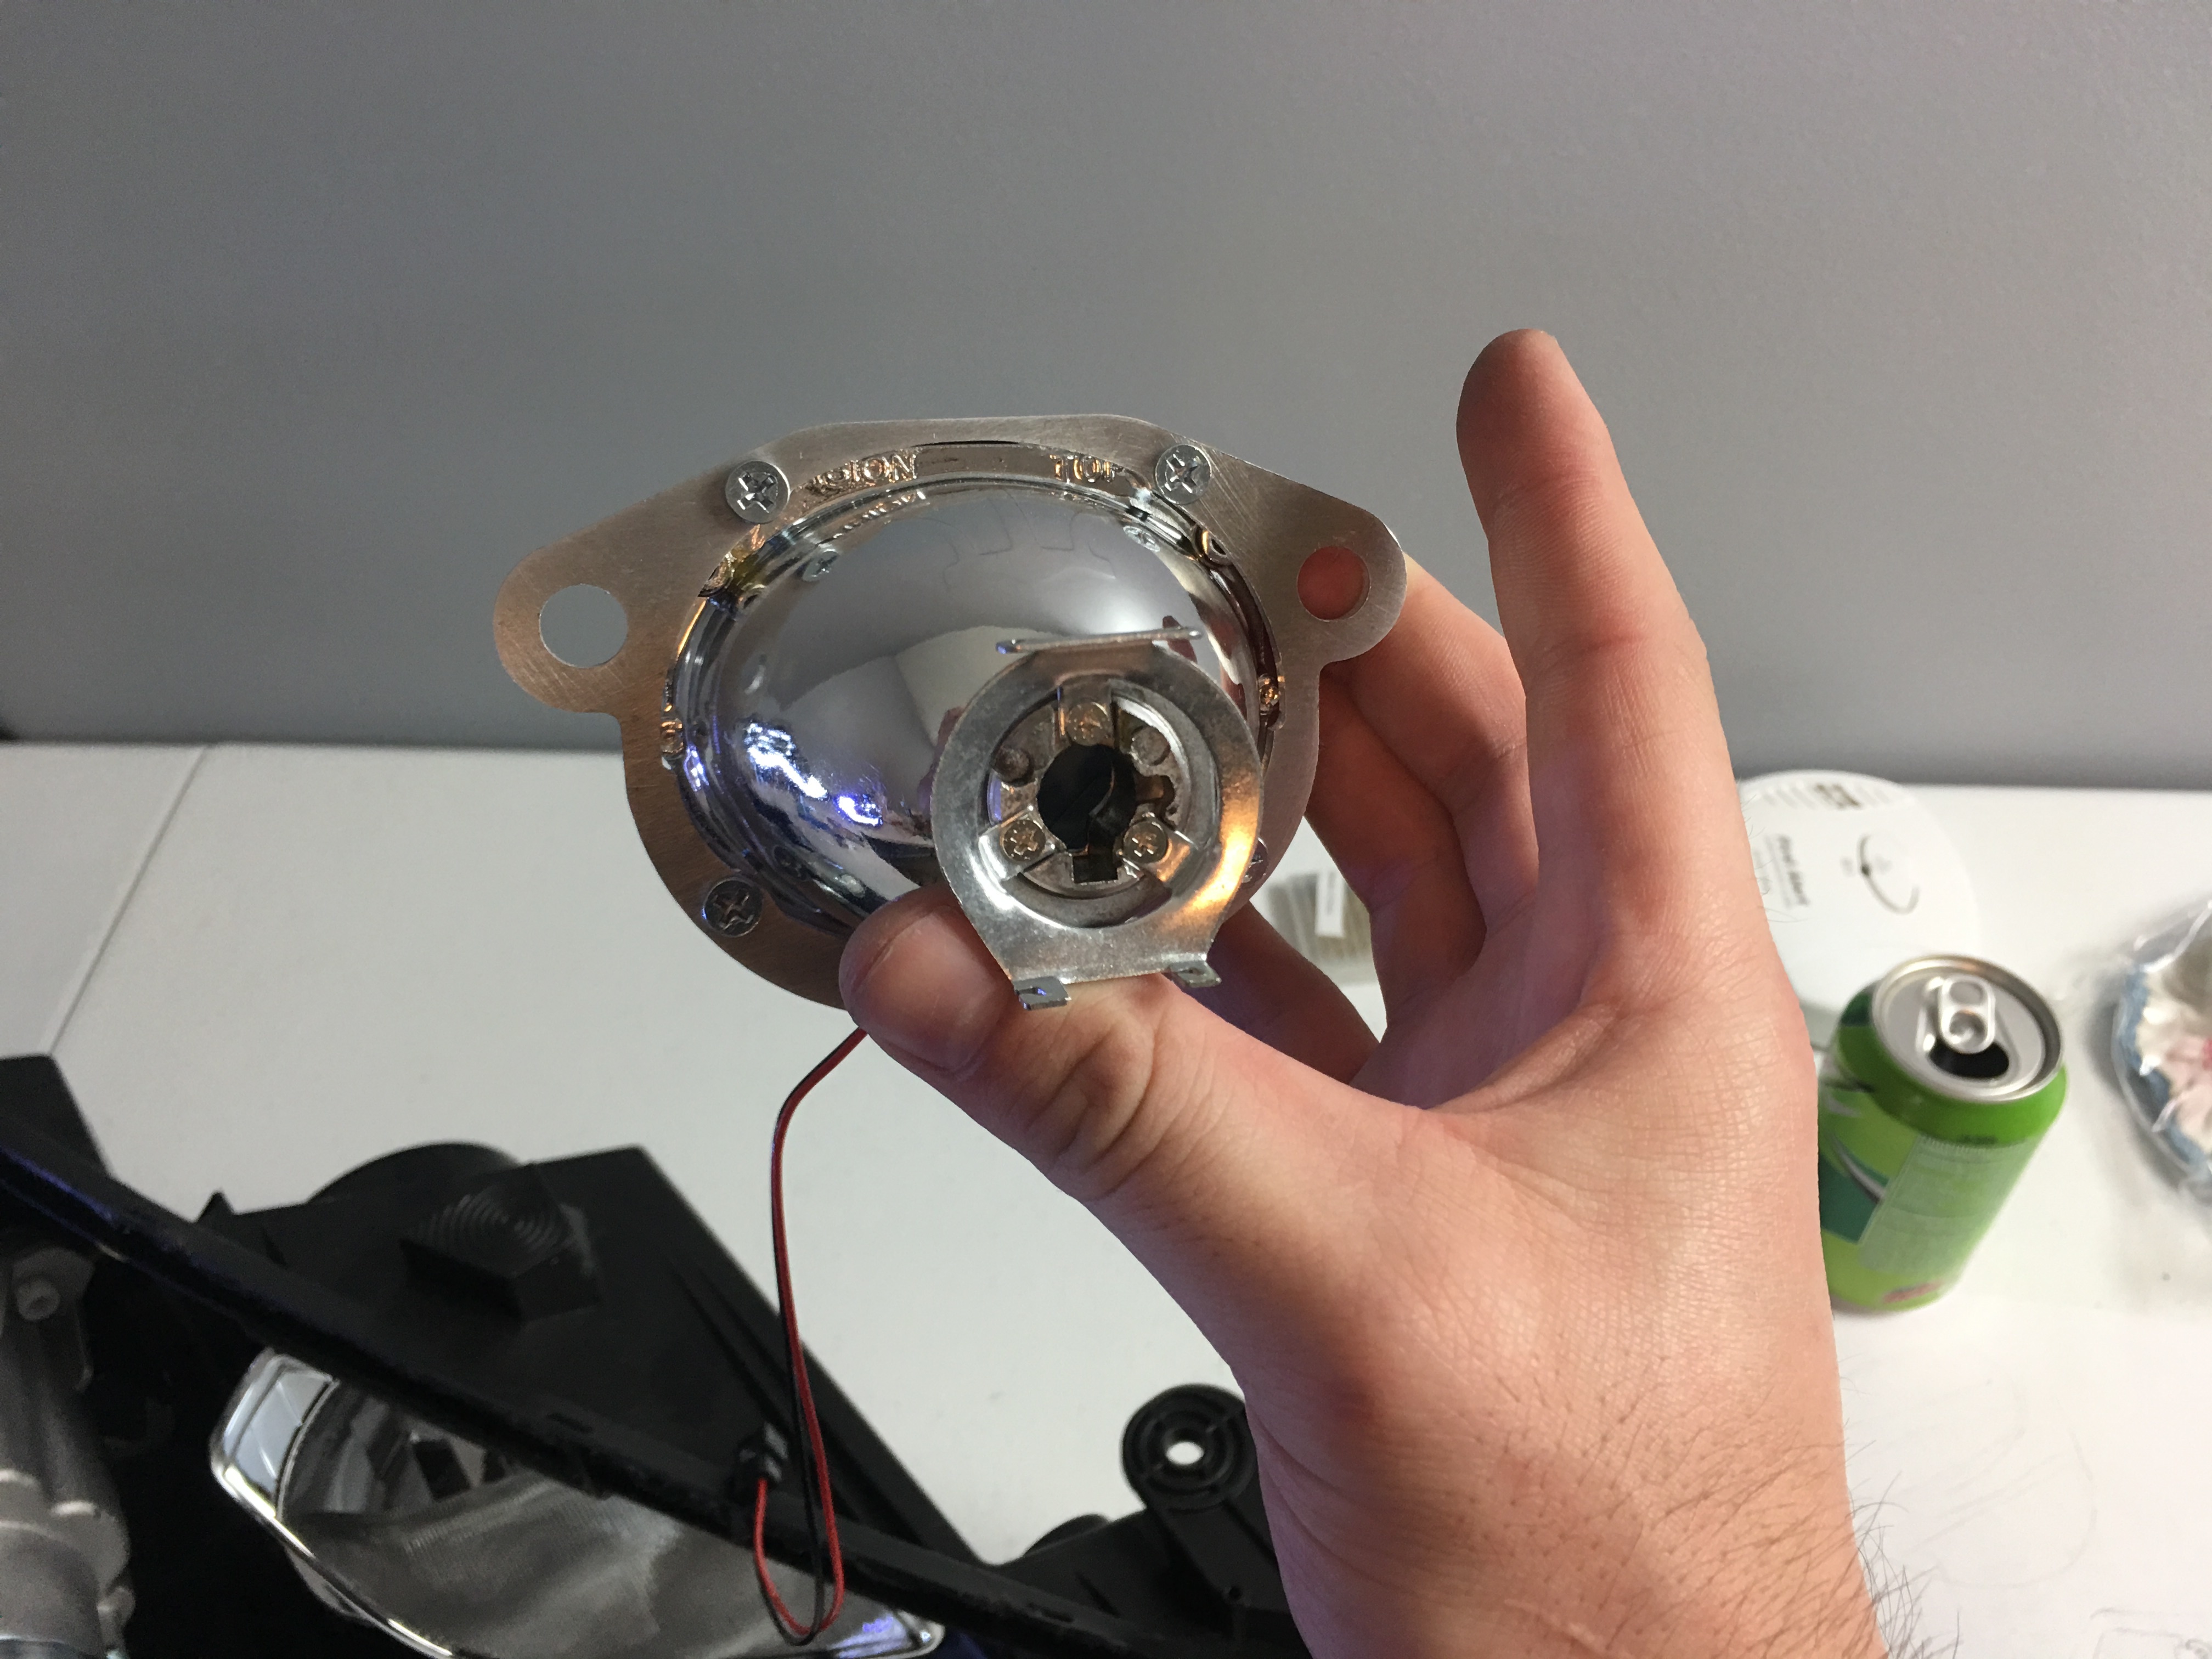
High beam bracket-
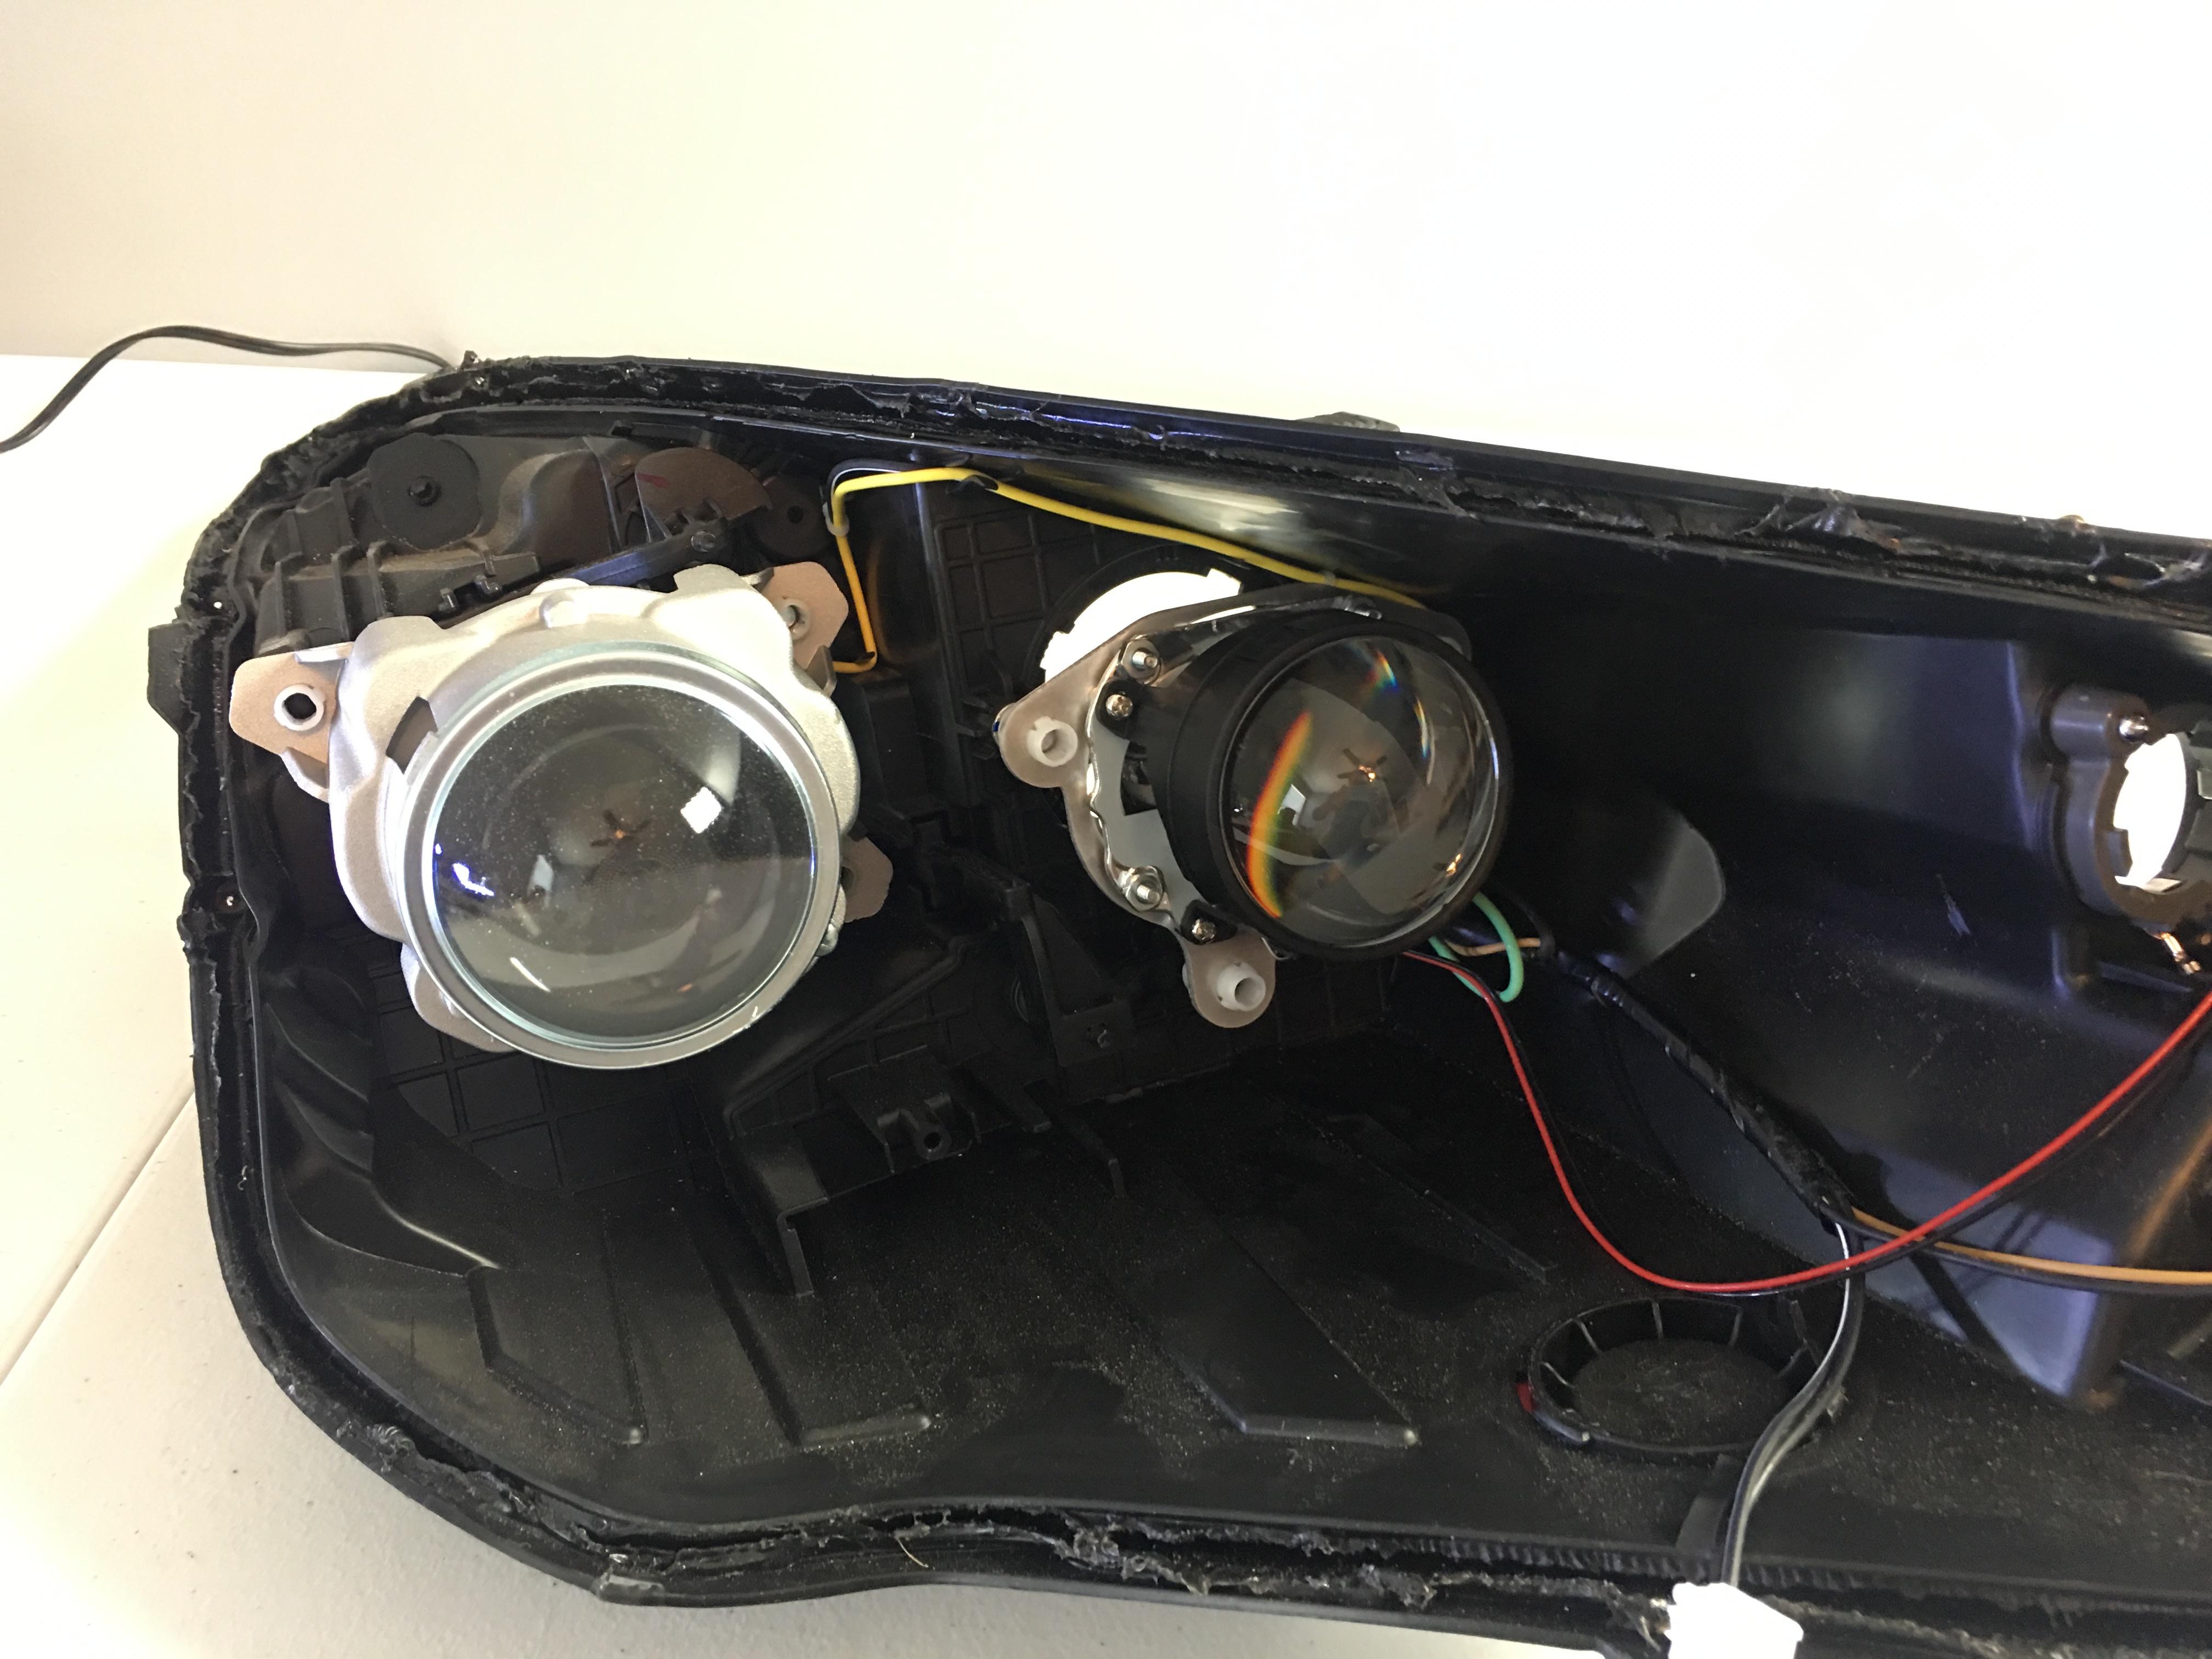
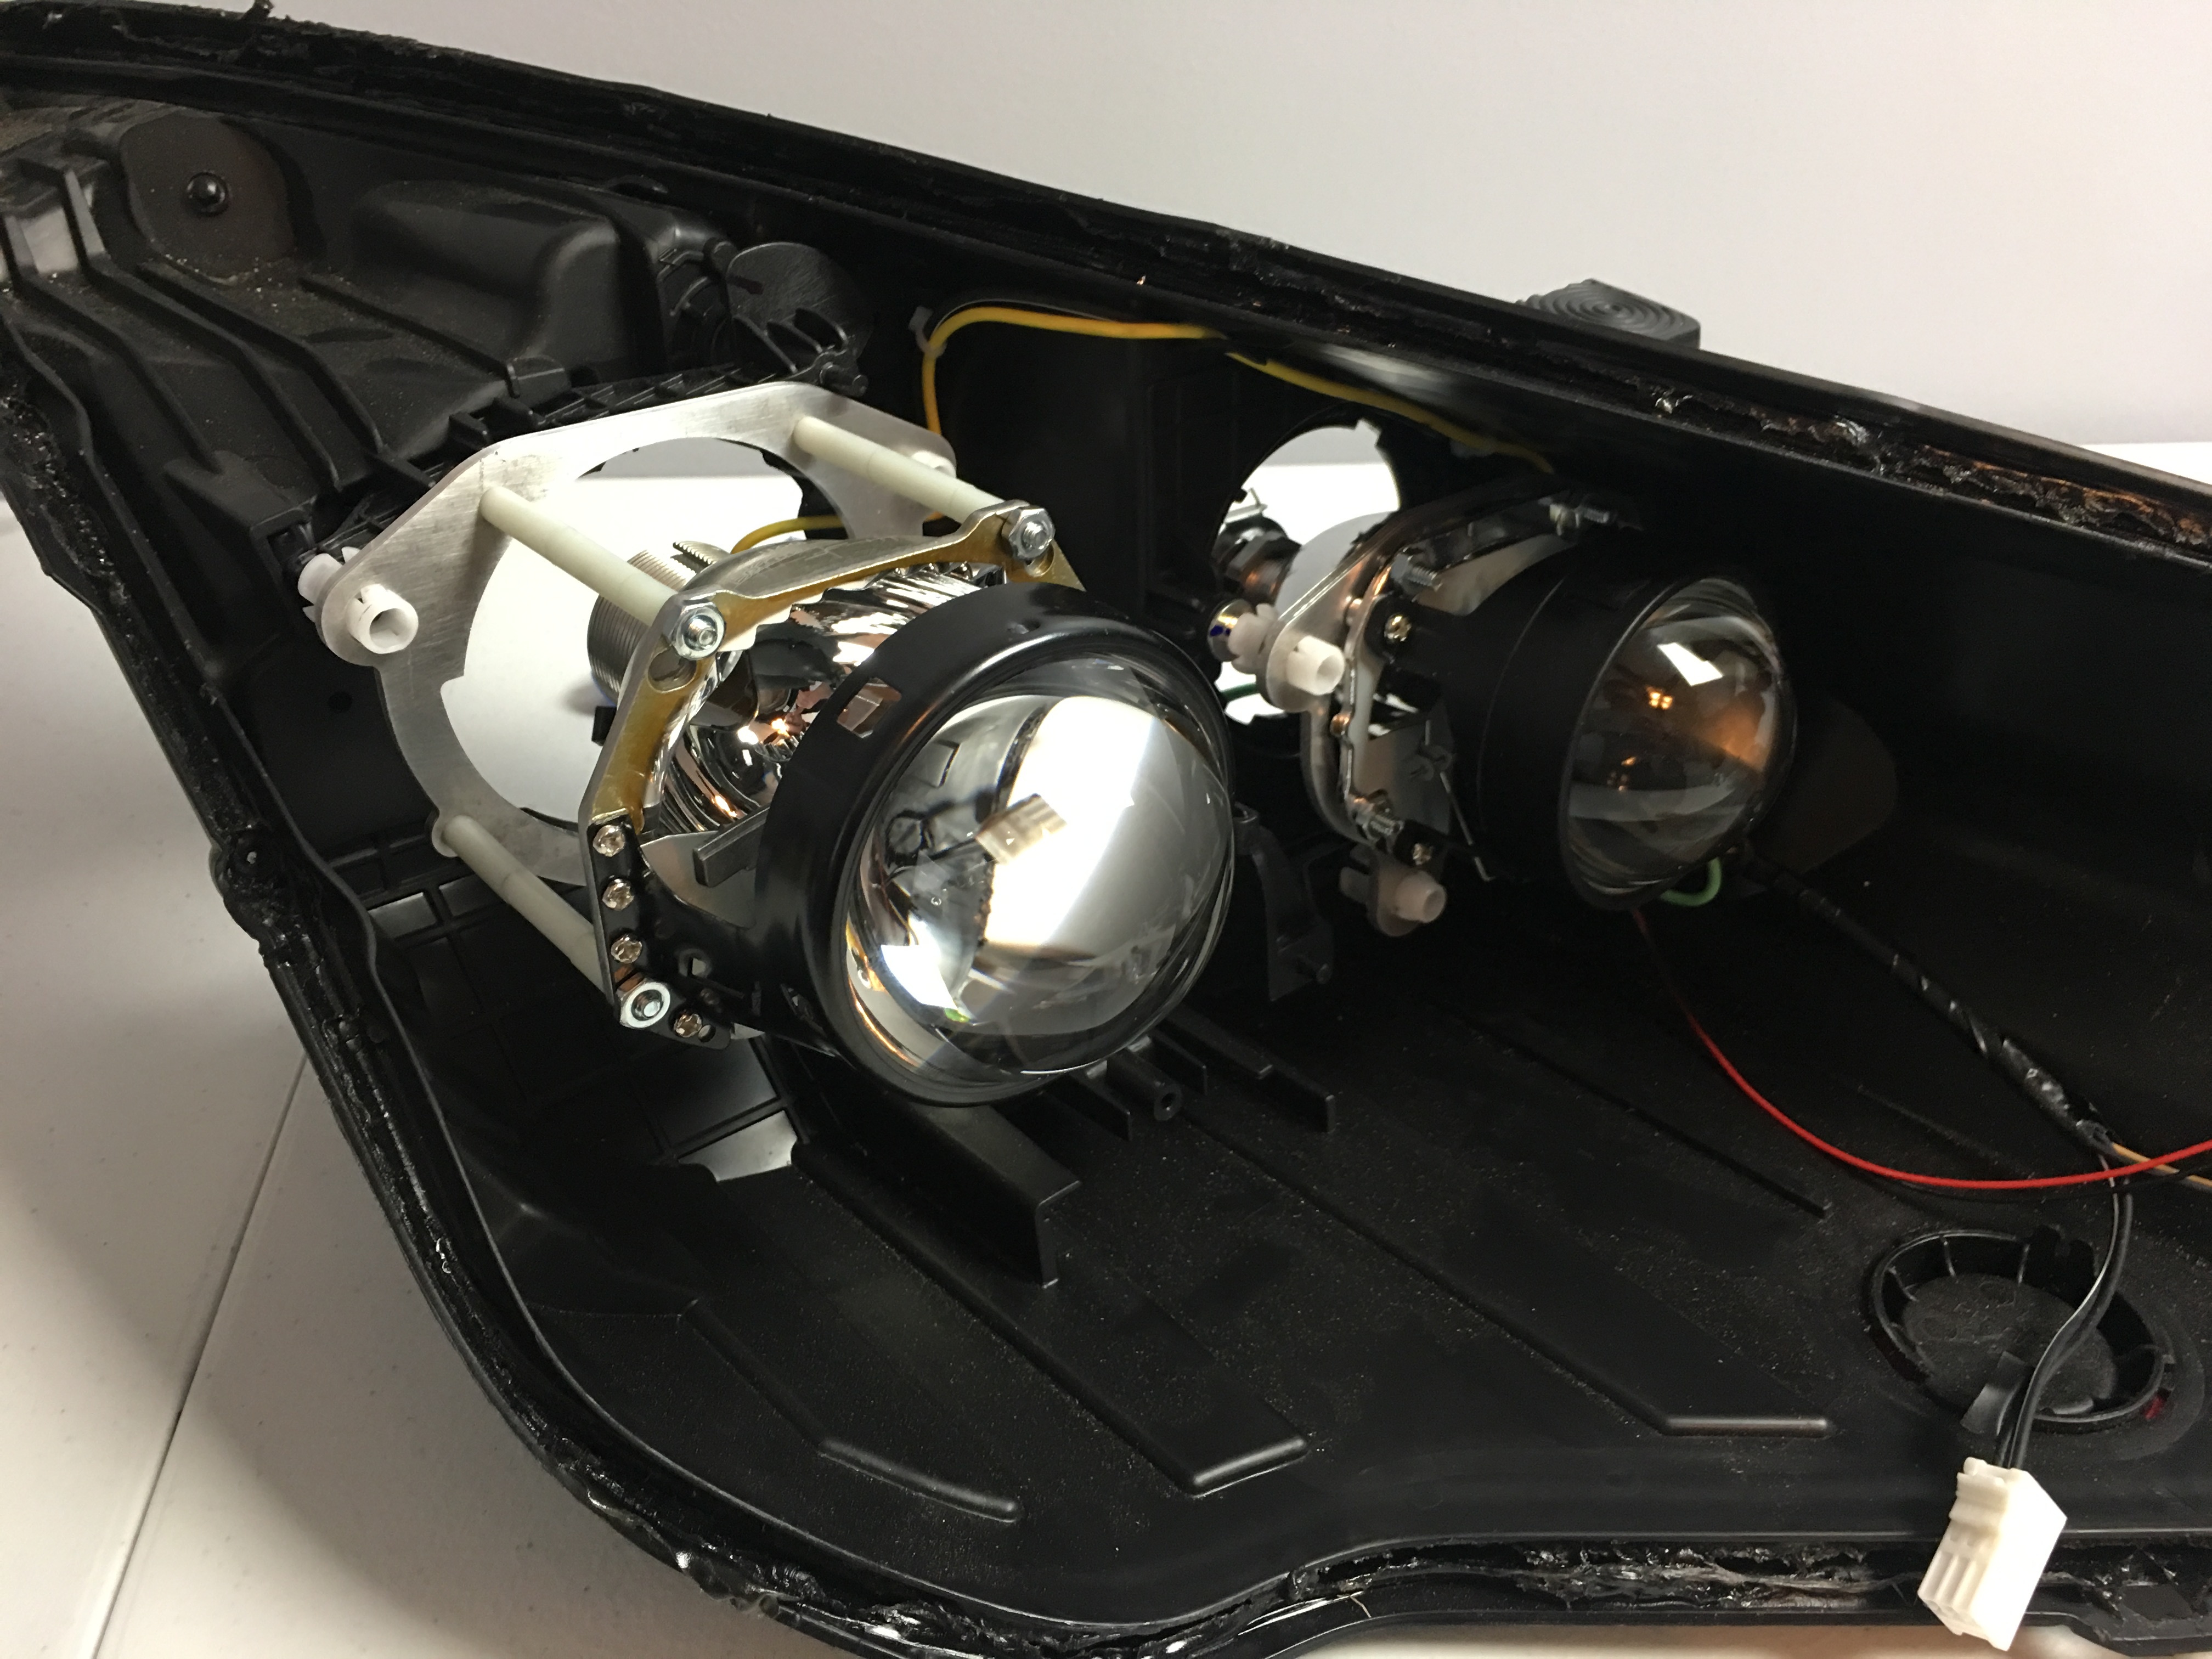
And both-
Plan is to make quite a bit of these brackets so took some time this weekend to prepare for that.
Wasteboard was re-leveled-
I finally got around to finishing my WD40 drip can setup as seen in a photo above.
I made a “finishing jig” for the brackets. Lay them in, sand them smooth with a sanding block, and then polish them up. Makes the job much easier than holding each individual bracket!
I also intend to anodize these as well to make them a premium product. Spent the day experimenting with that with great success actually. Below was just a test of a keychain logo I had cut out a while back anodized black. Very pleased with the results!
Are you Anodizing these parts yourself? Care to share a how to on that process? BTW the parts look great!
Yes the anodizing was a DIY attempt by me. It’s not perfect but it’s decent! Much better than sending off unfinished parts imo. I just researched the process online and set out to make it happen. There are a couple good videos on YouTube that should be helpful to you-
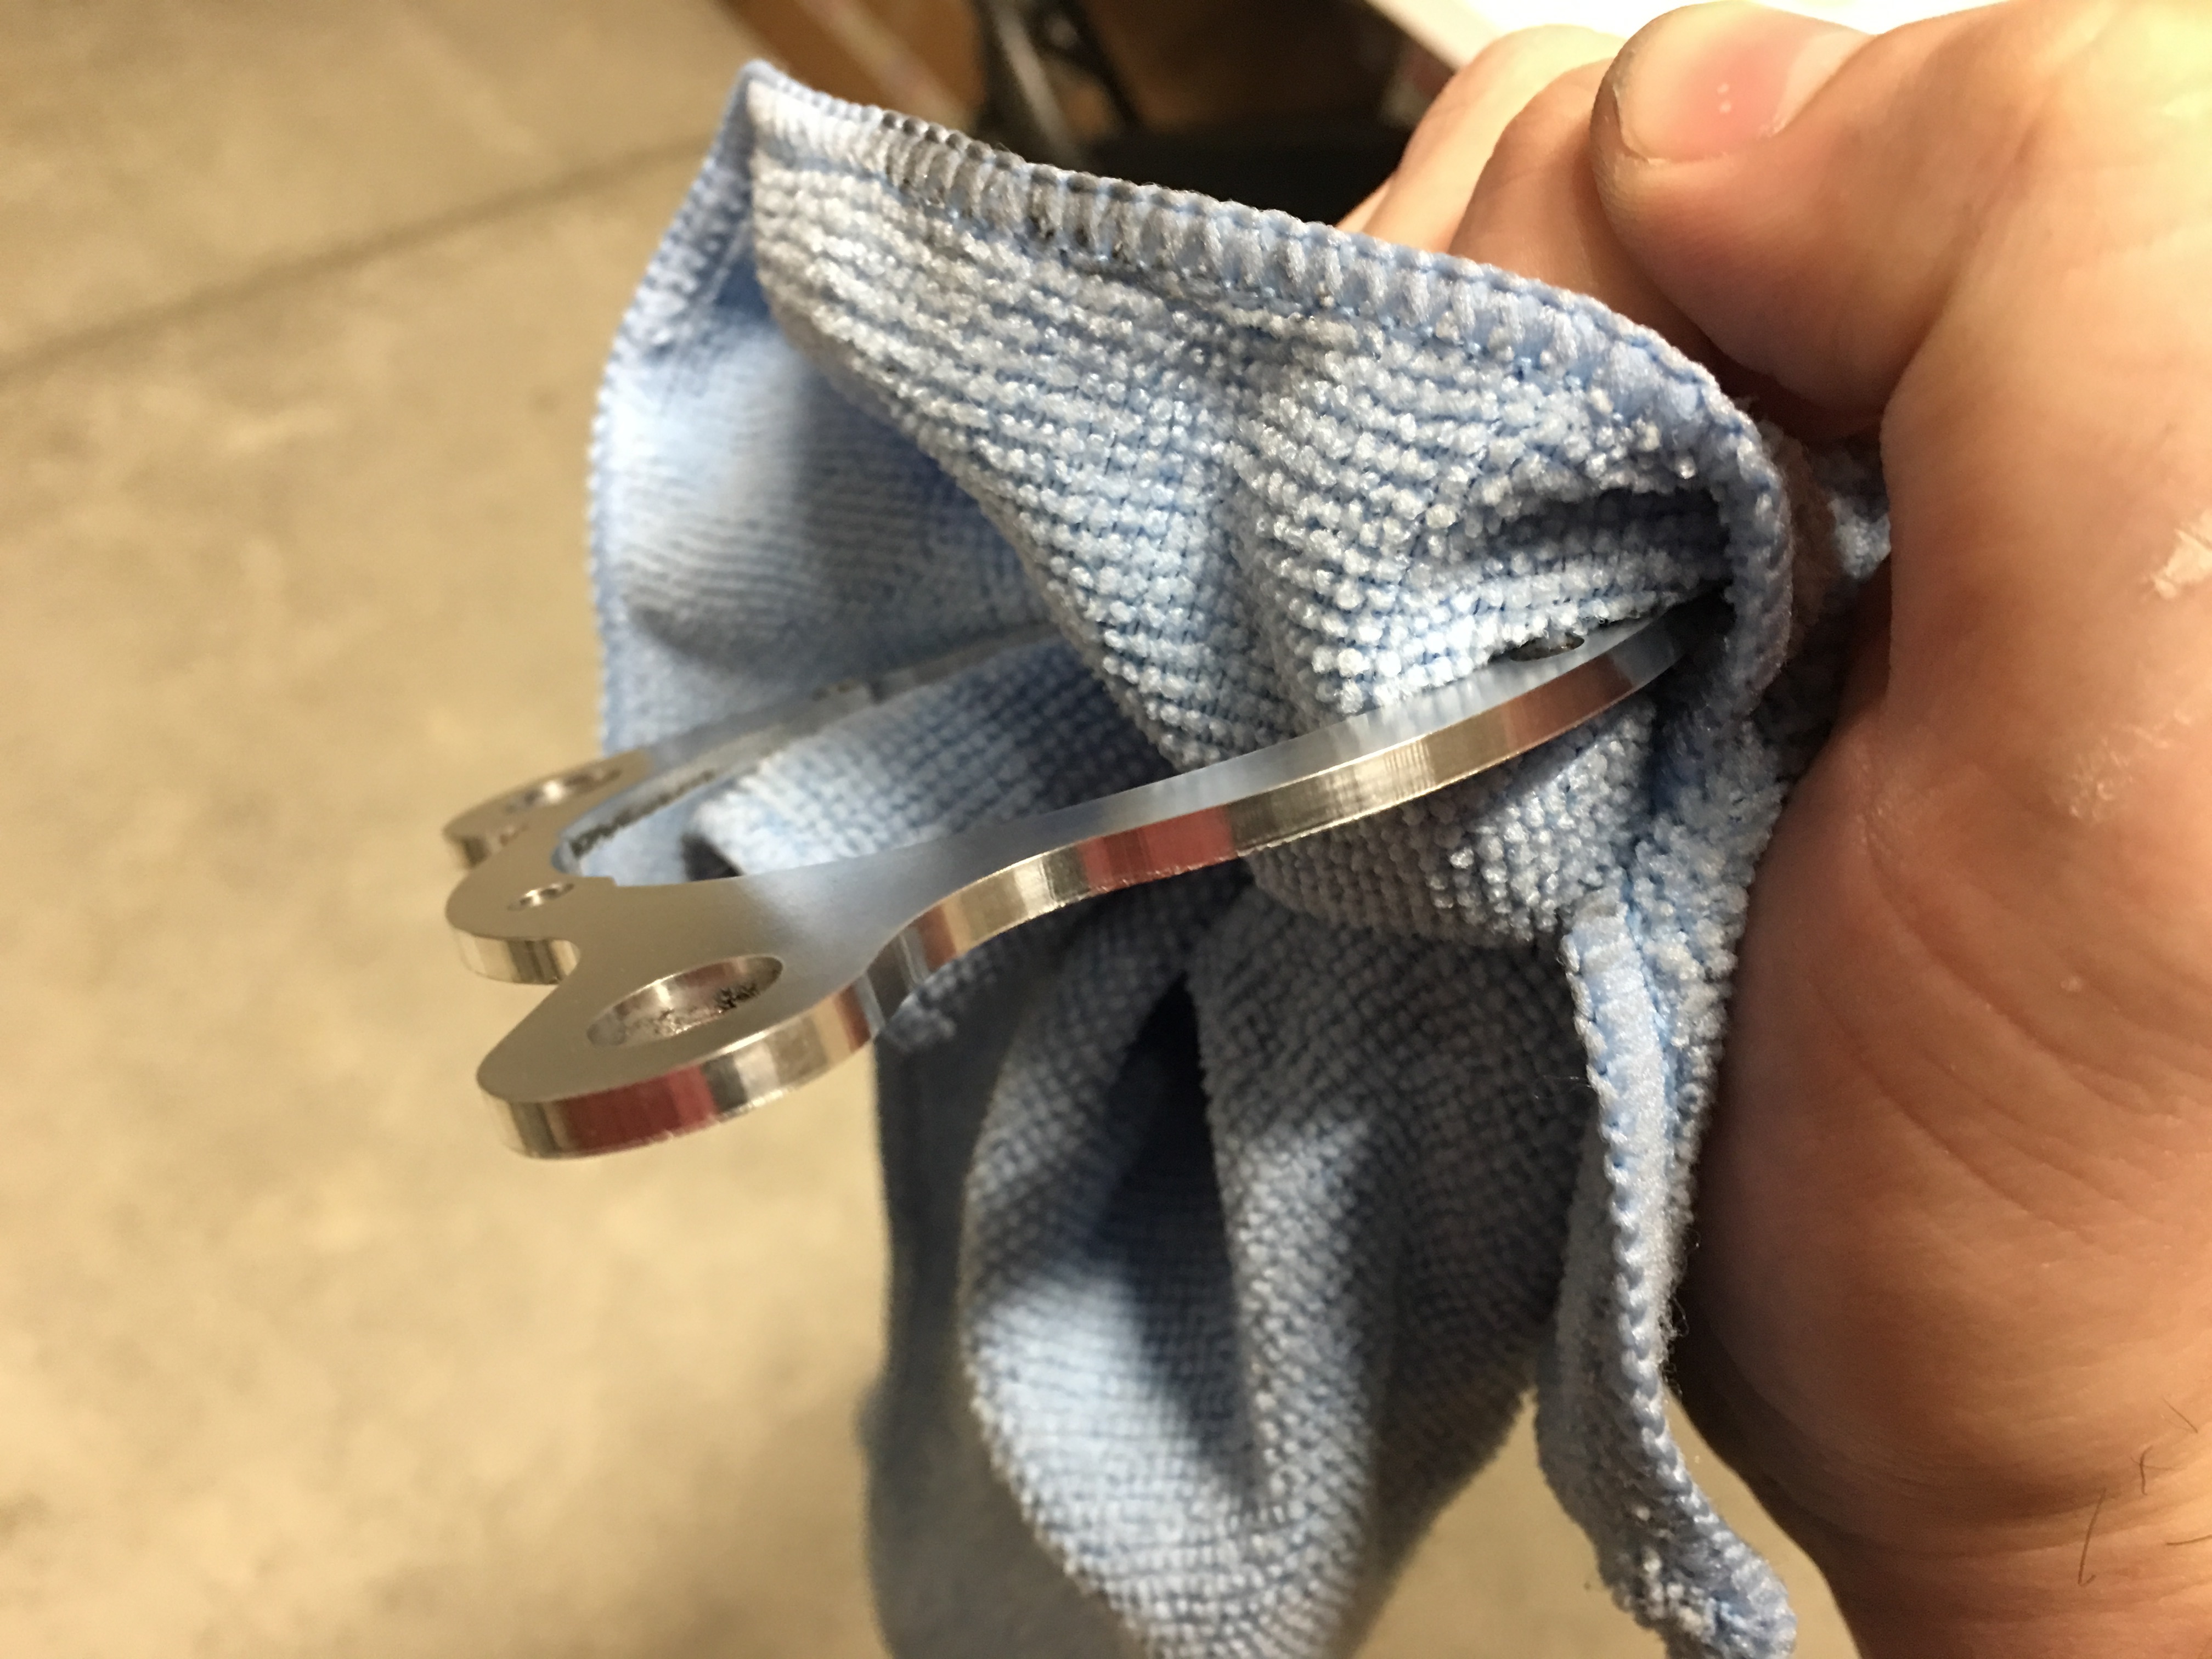
Unrelated to anodizing-
Here’s an edge of the brackets cut above straight off the machine. Cleanest edges I’ve gotten thus far!
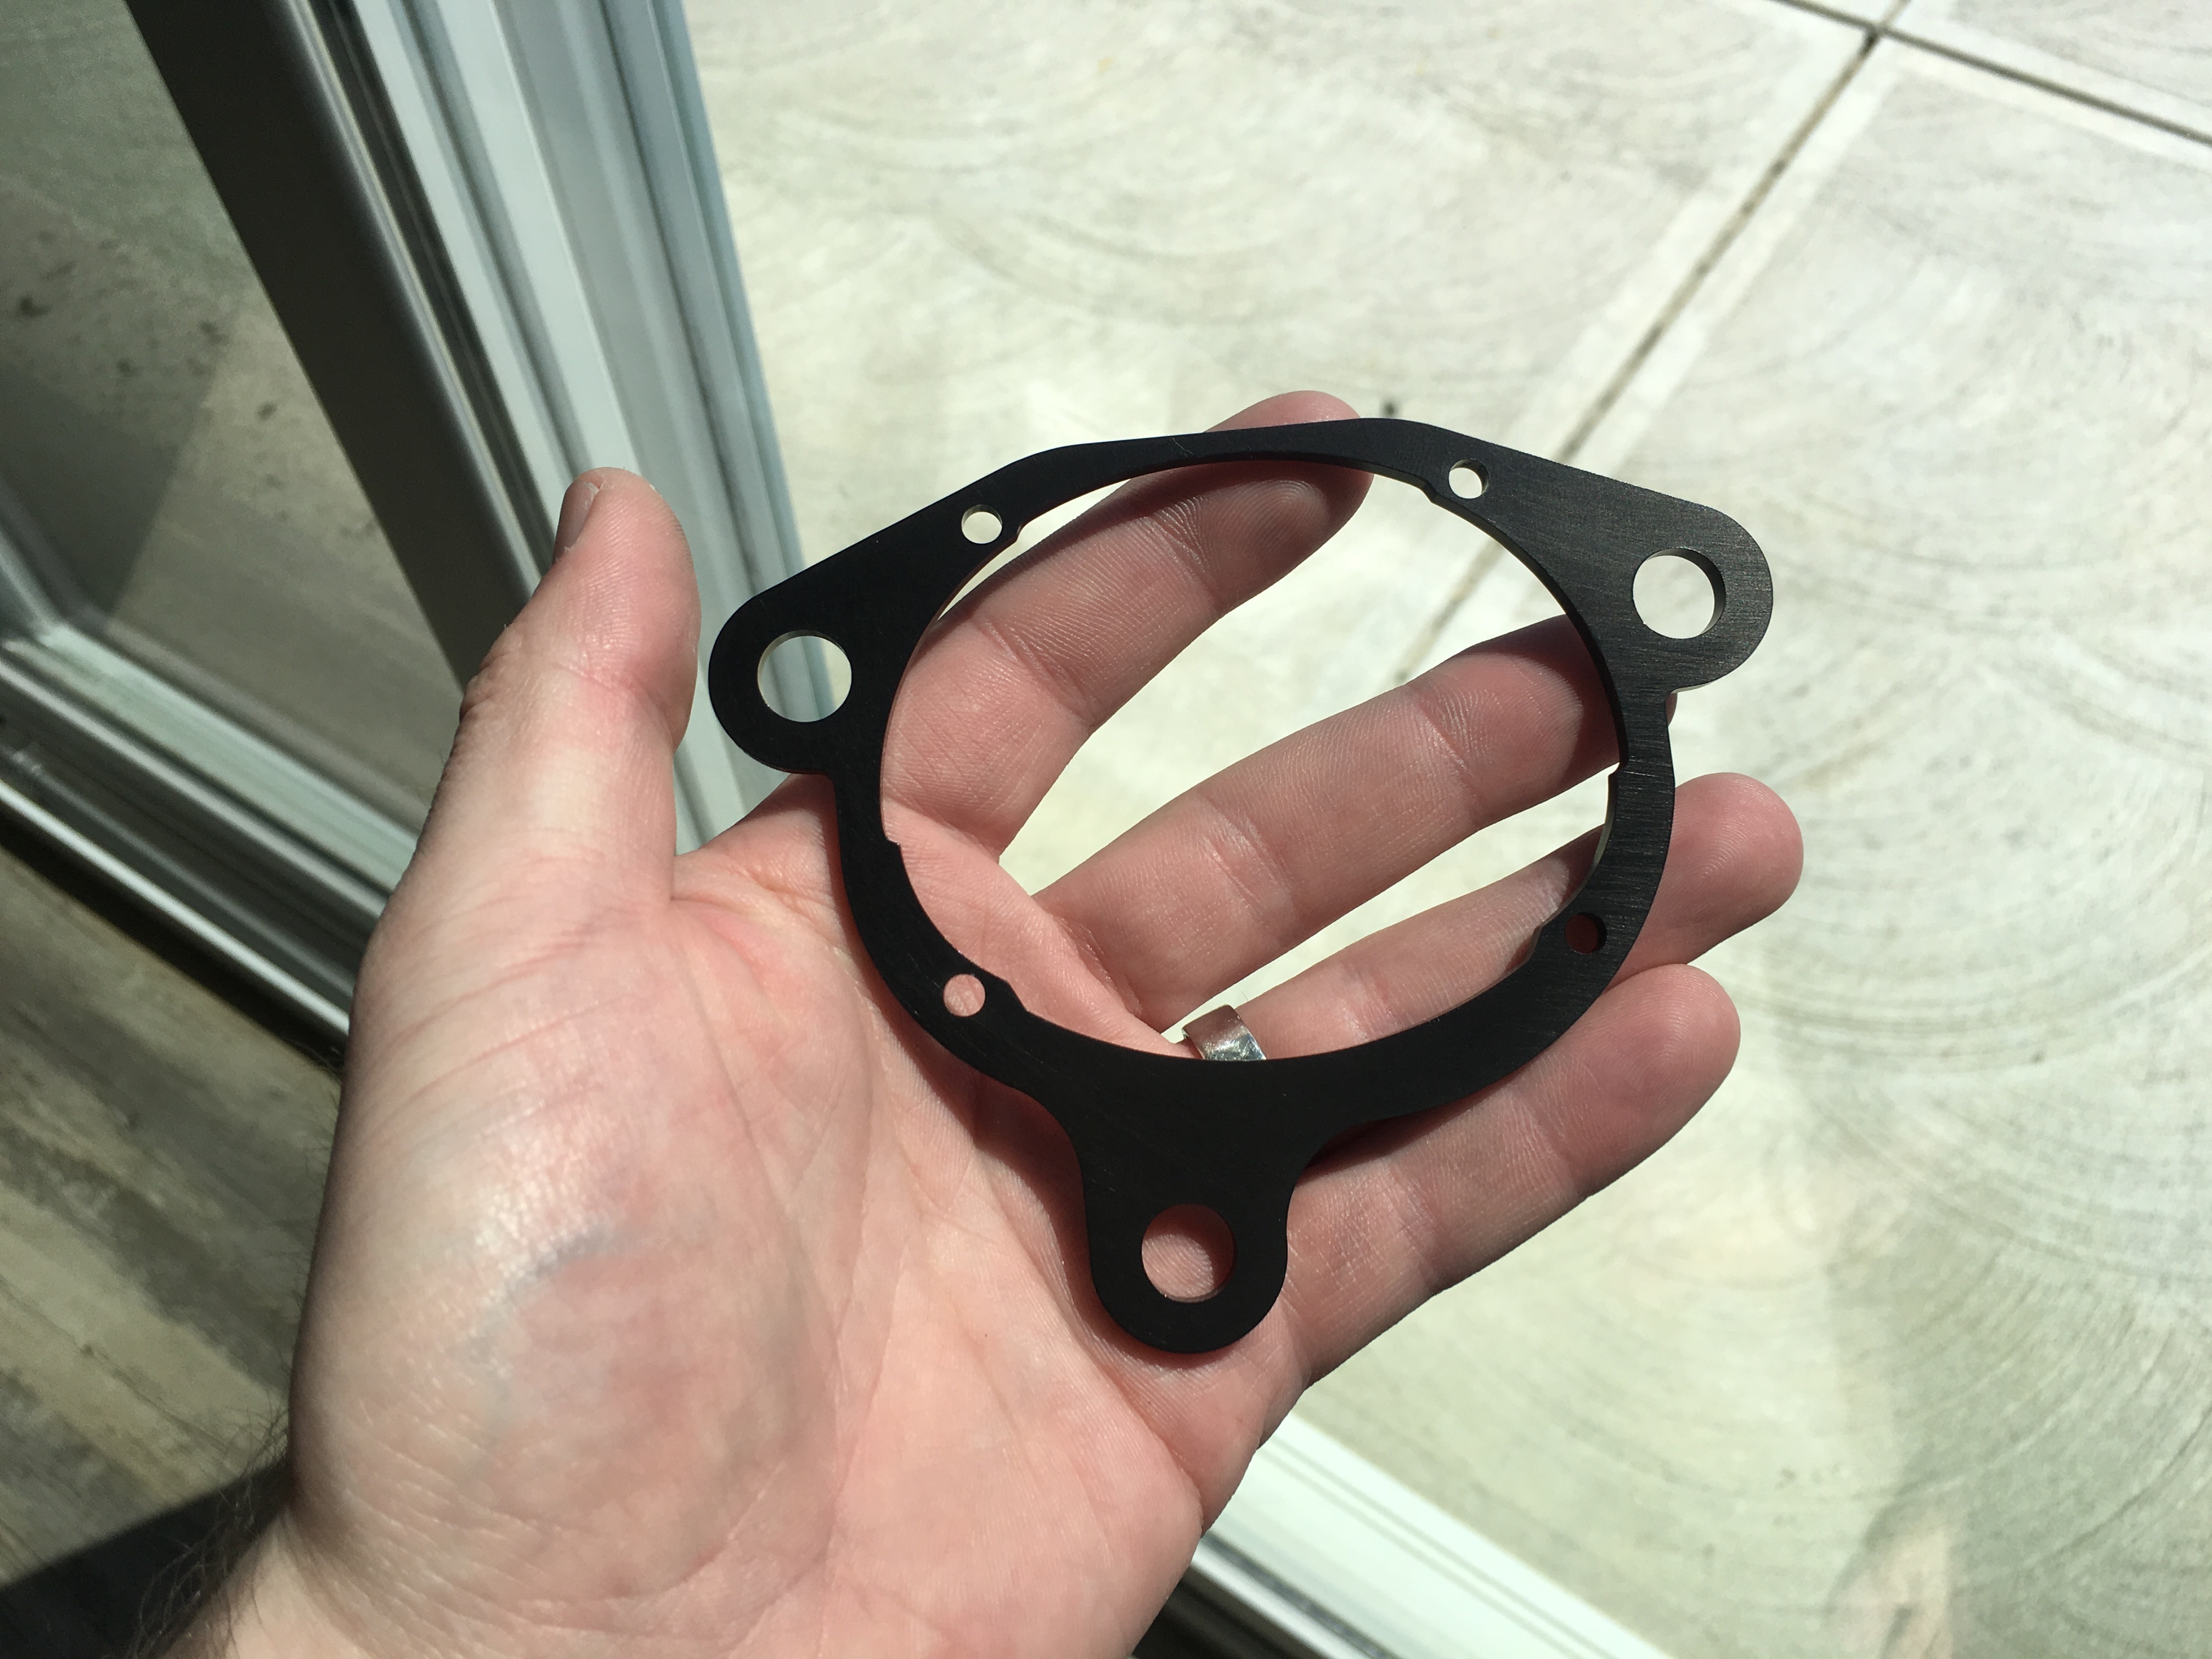
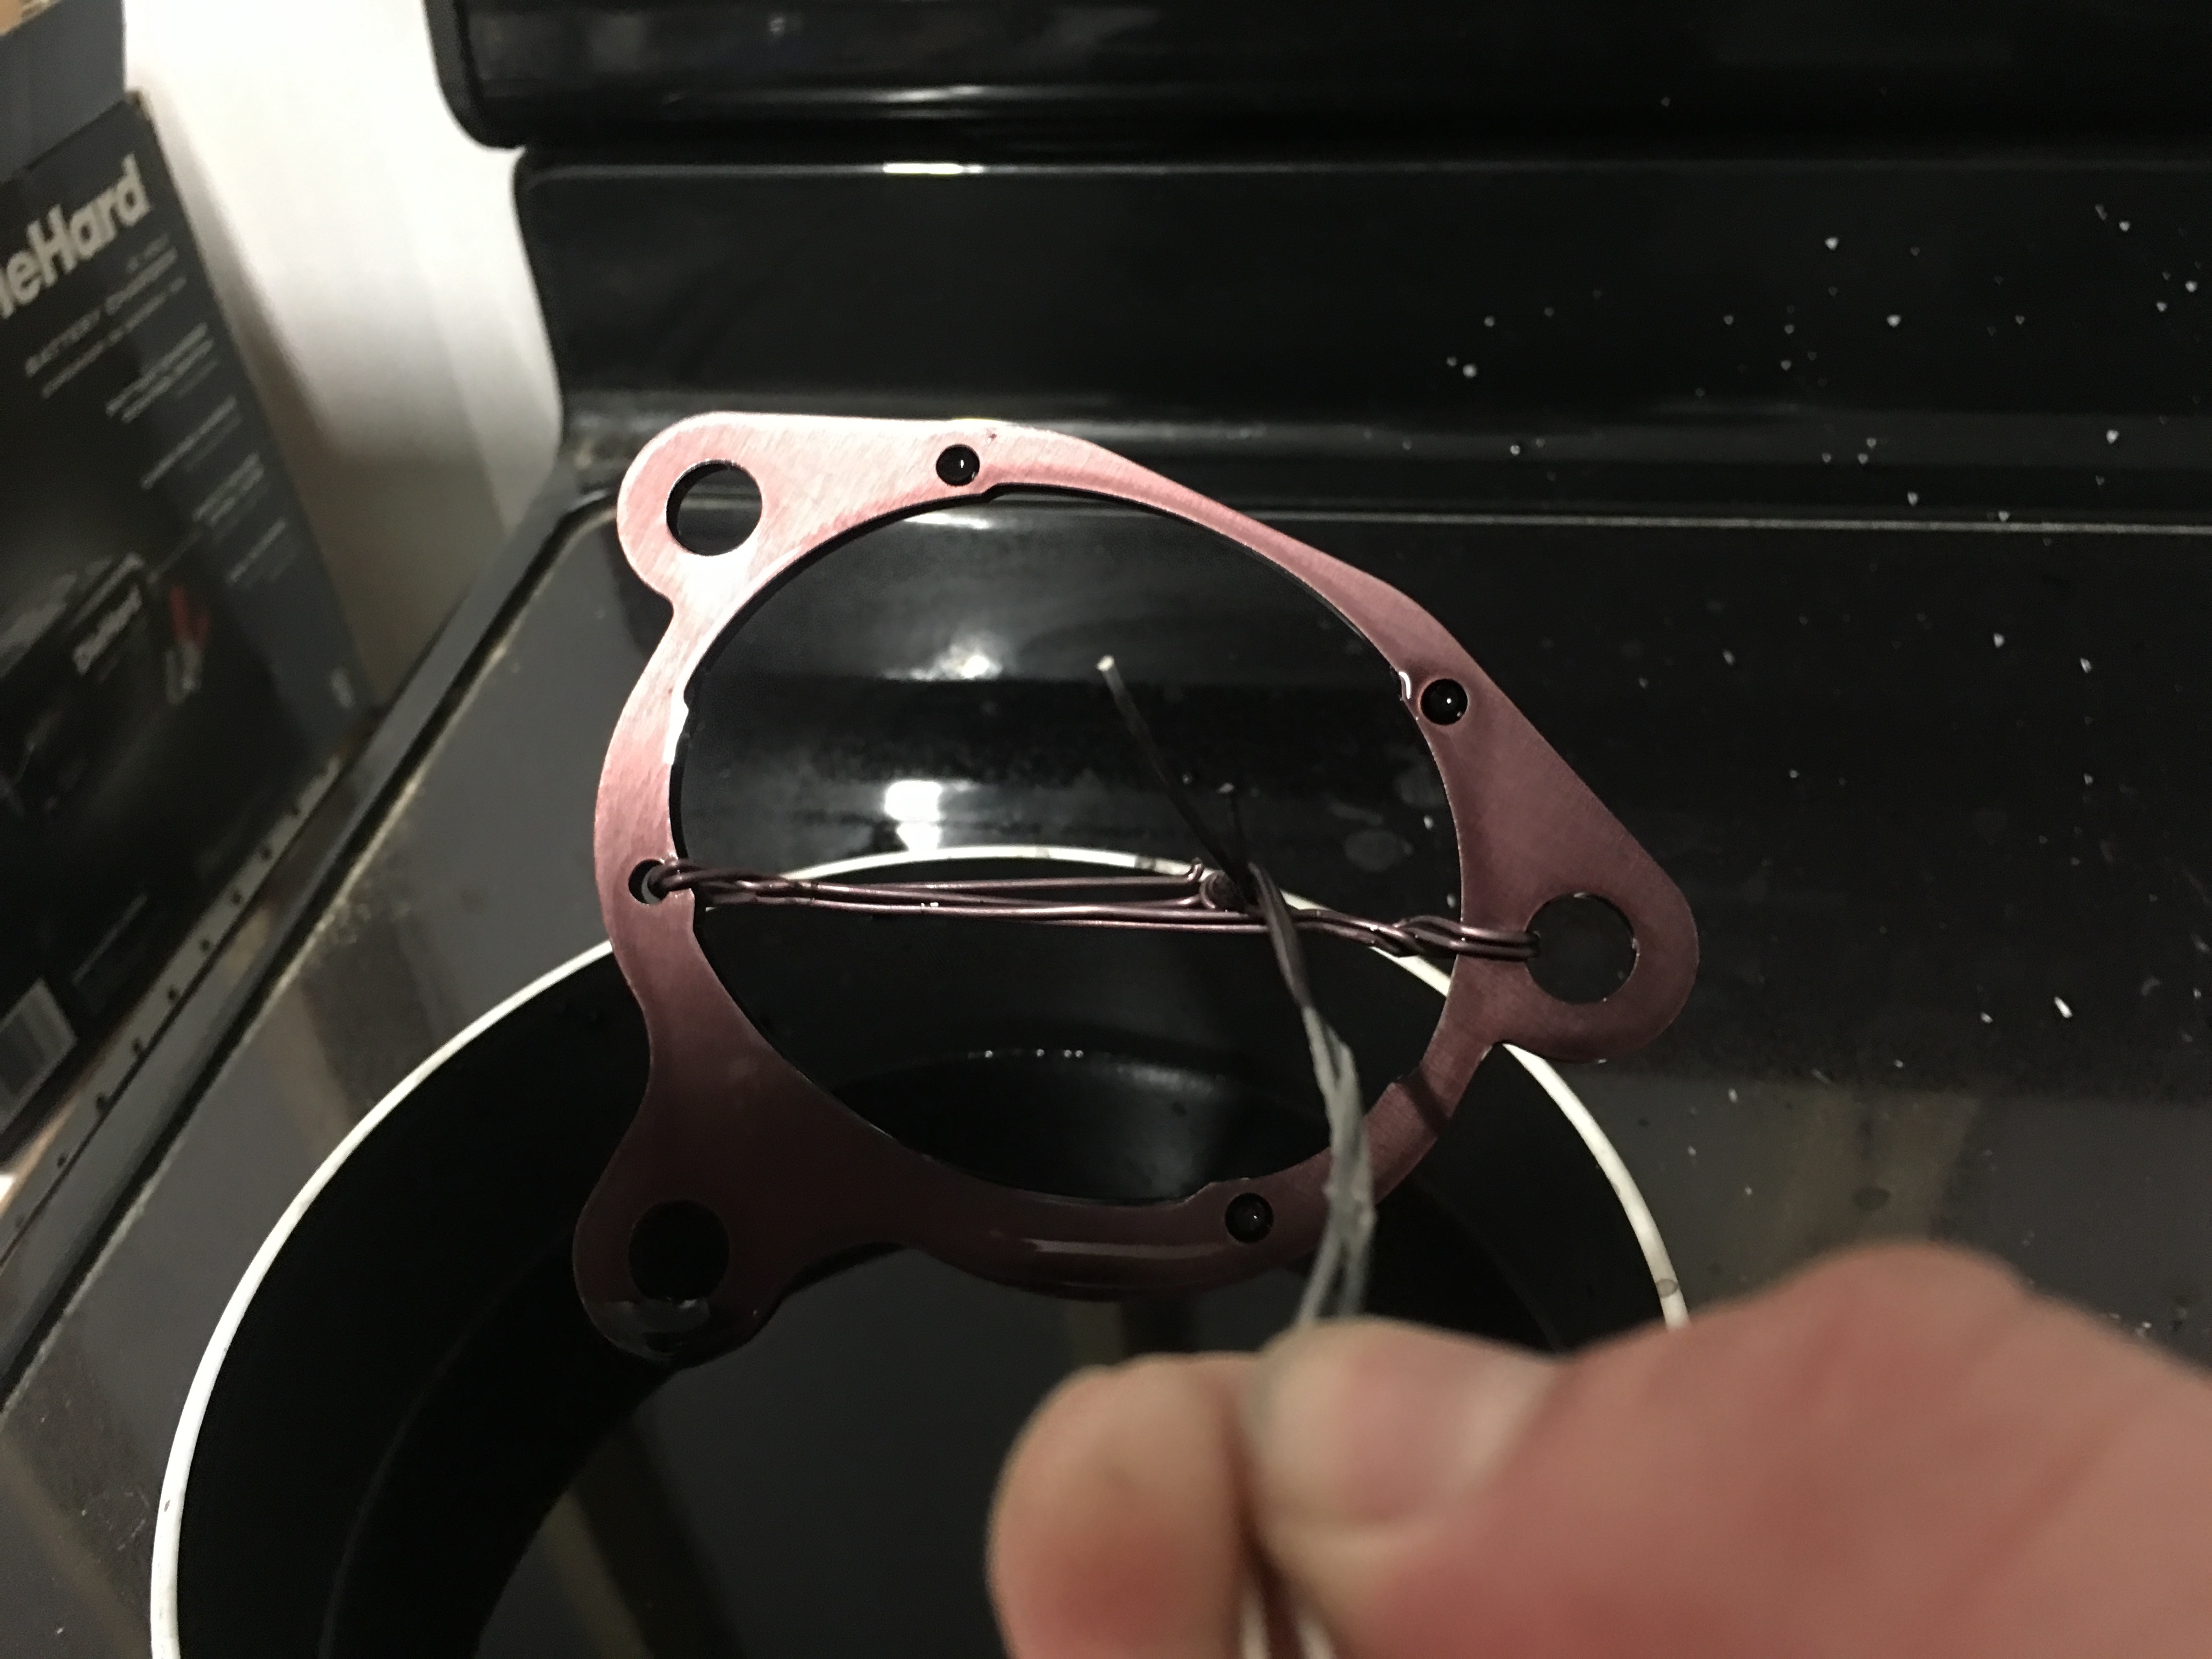
Bracket anodized. I need to get a bigger tank so I can do several at once. Would definitely speed up the process.
Note- finish would be much better had I taken the time to get the bare aluminum to mirror finish. Not necessary in this application though.
Very nice. Are you using commercial dyes?
Nope just Rit. After anodizing, placed it into Rit/water at around 140 degrees for a few minuted and then boiled in water to seal.