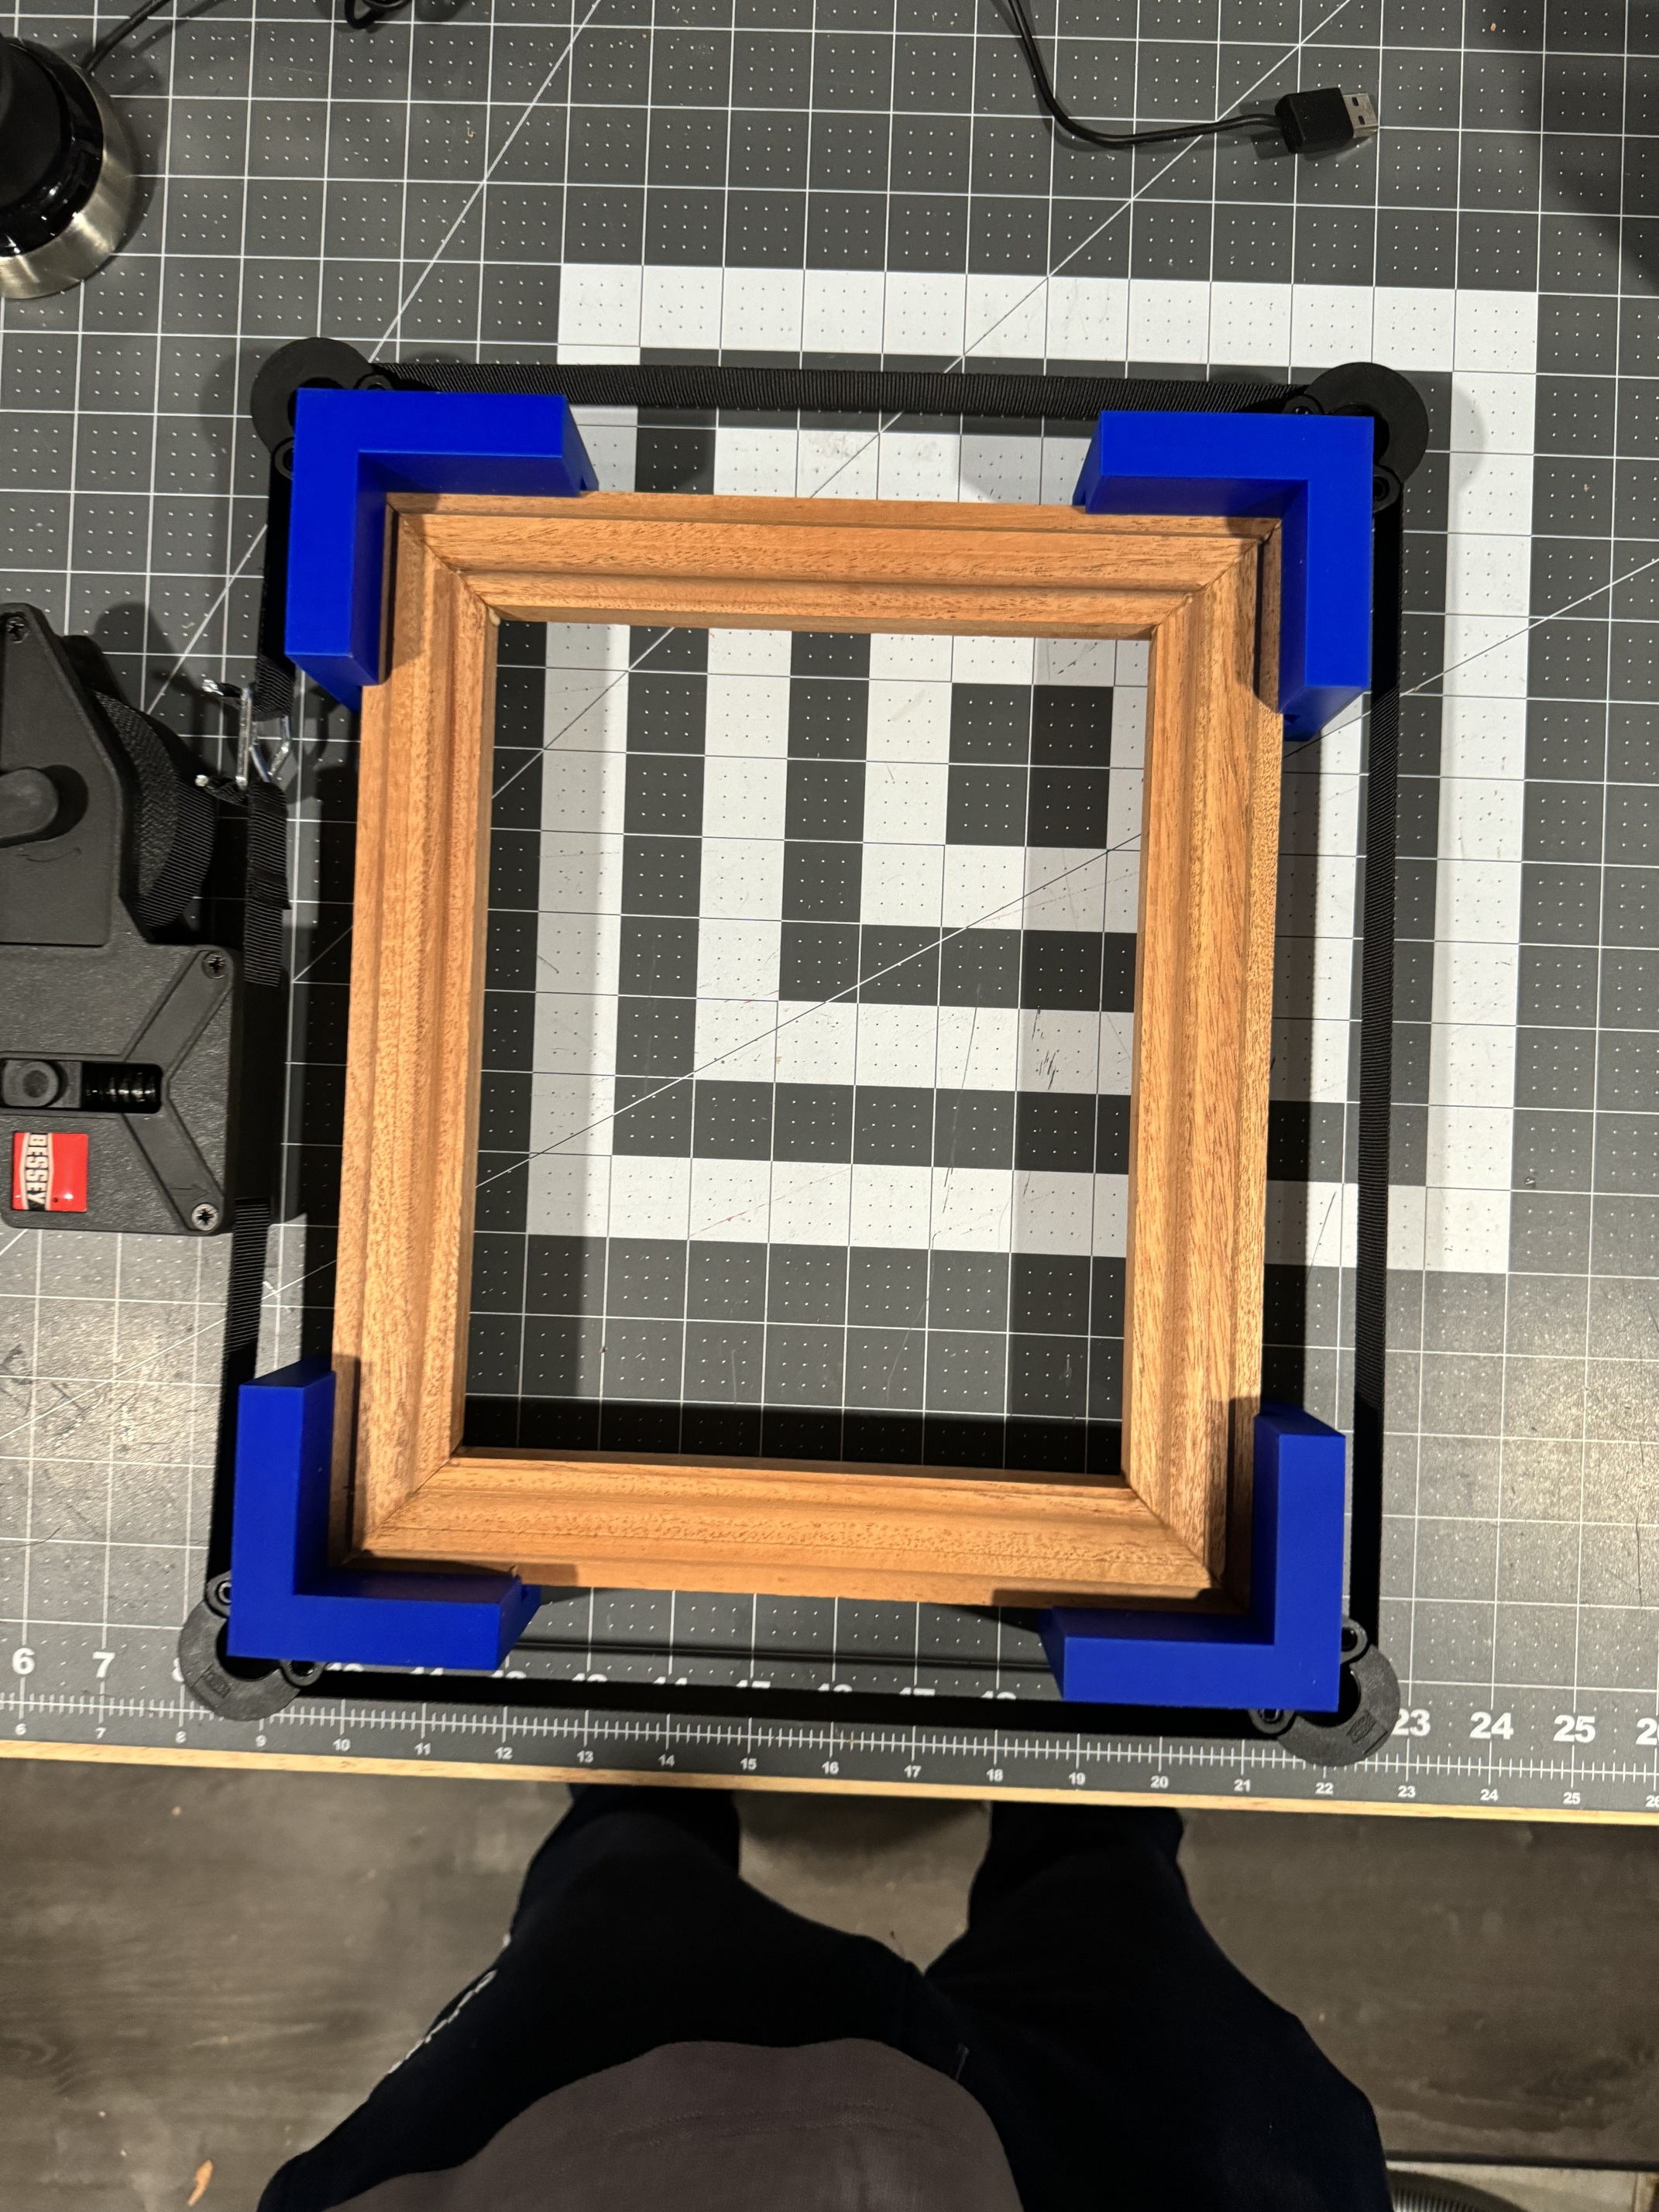
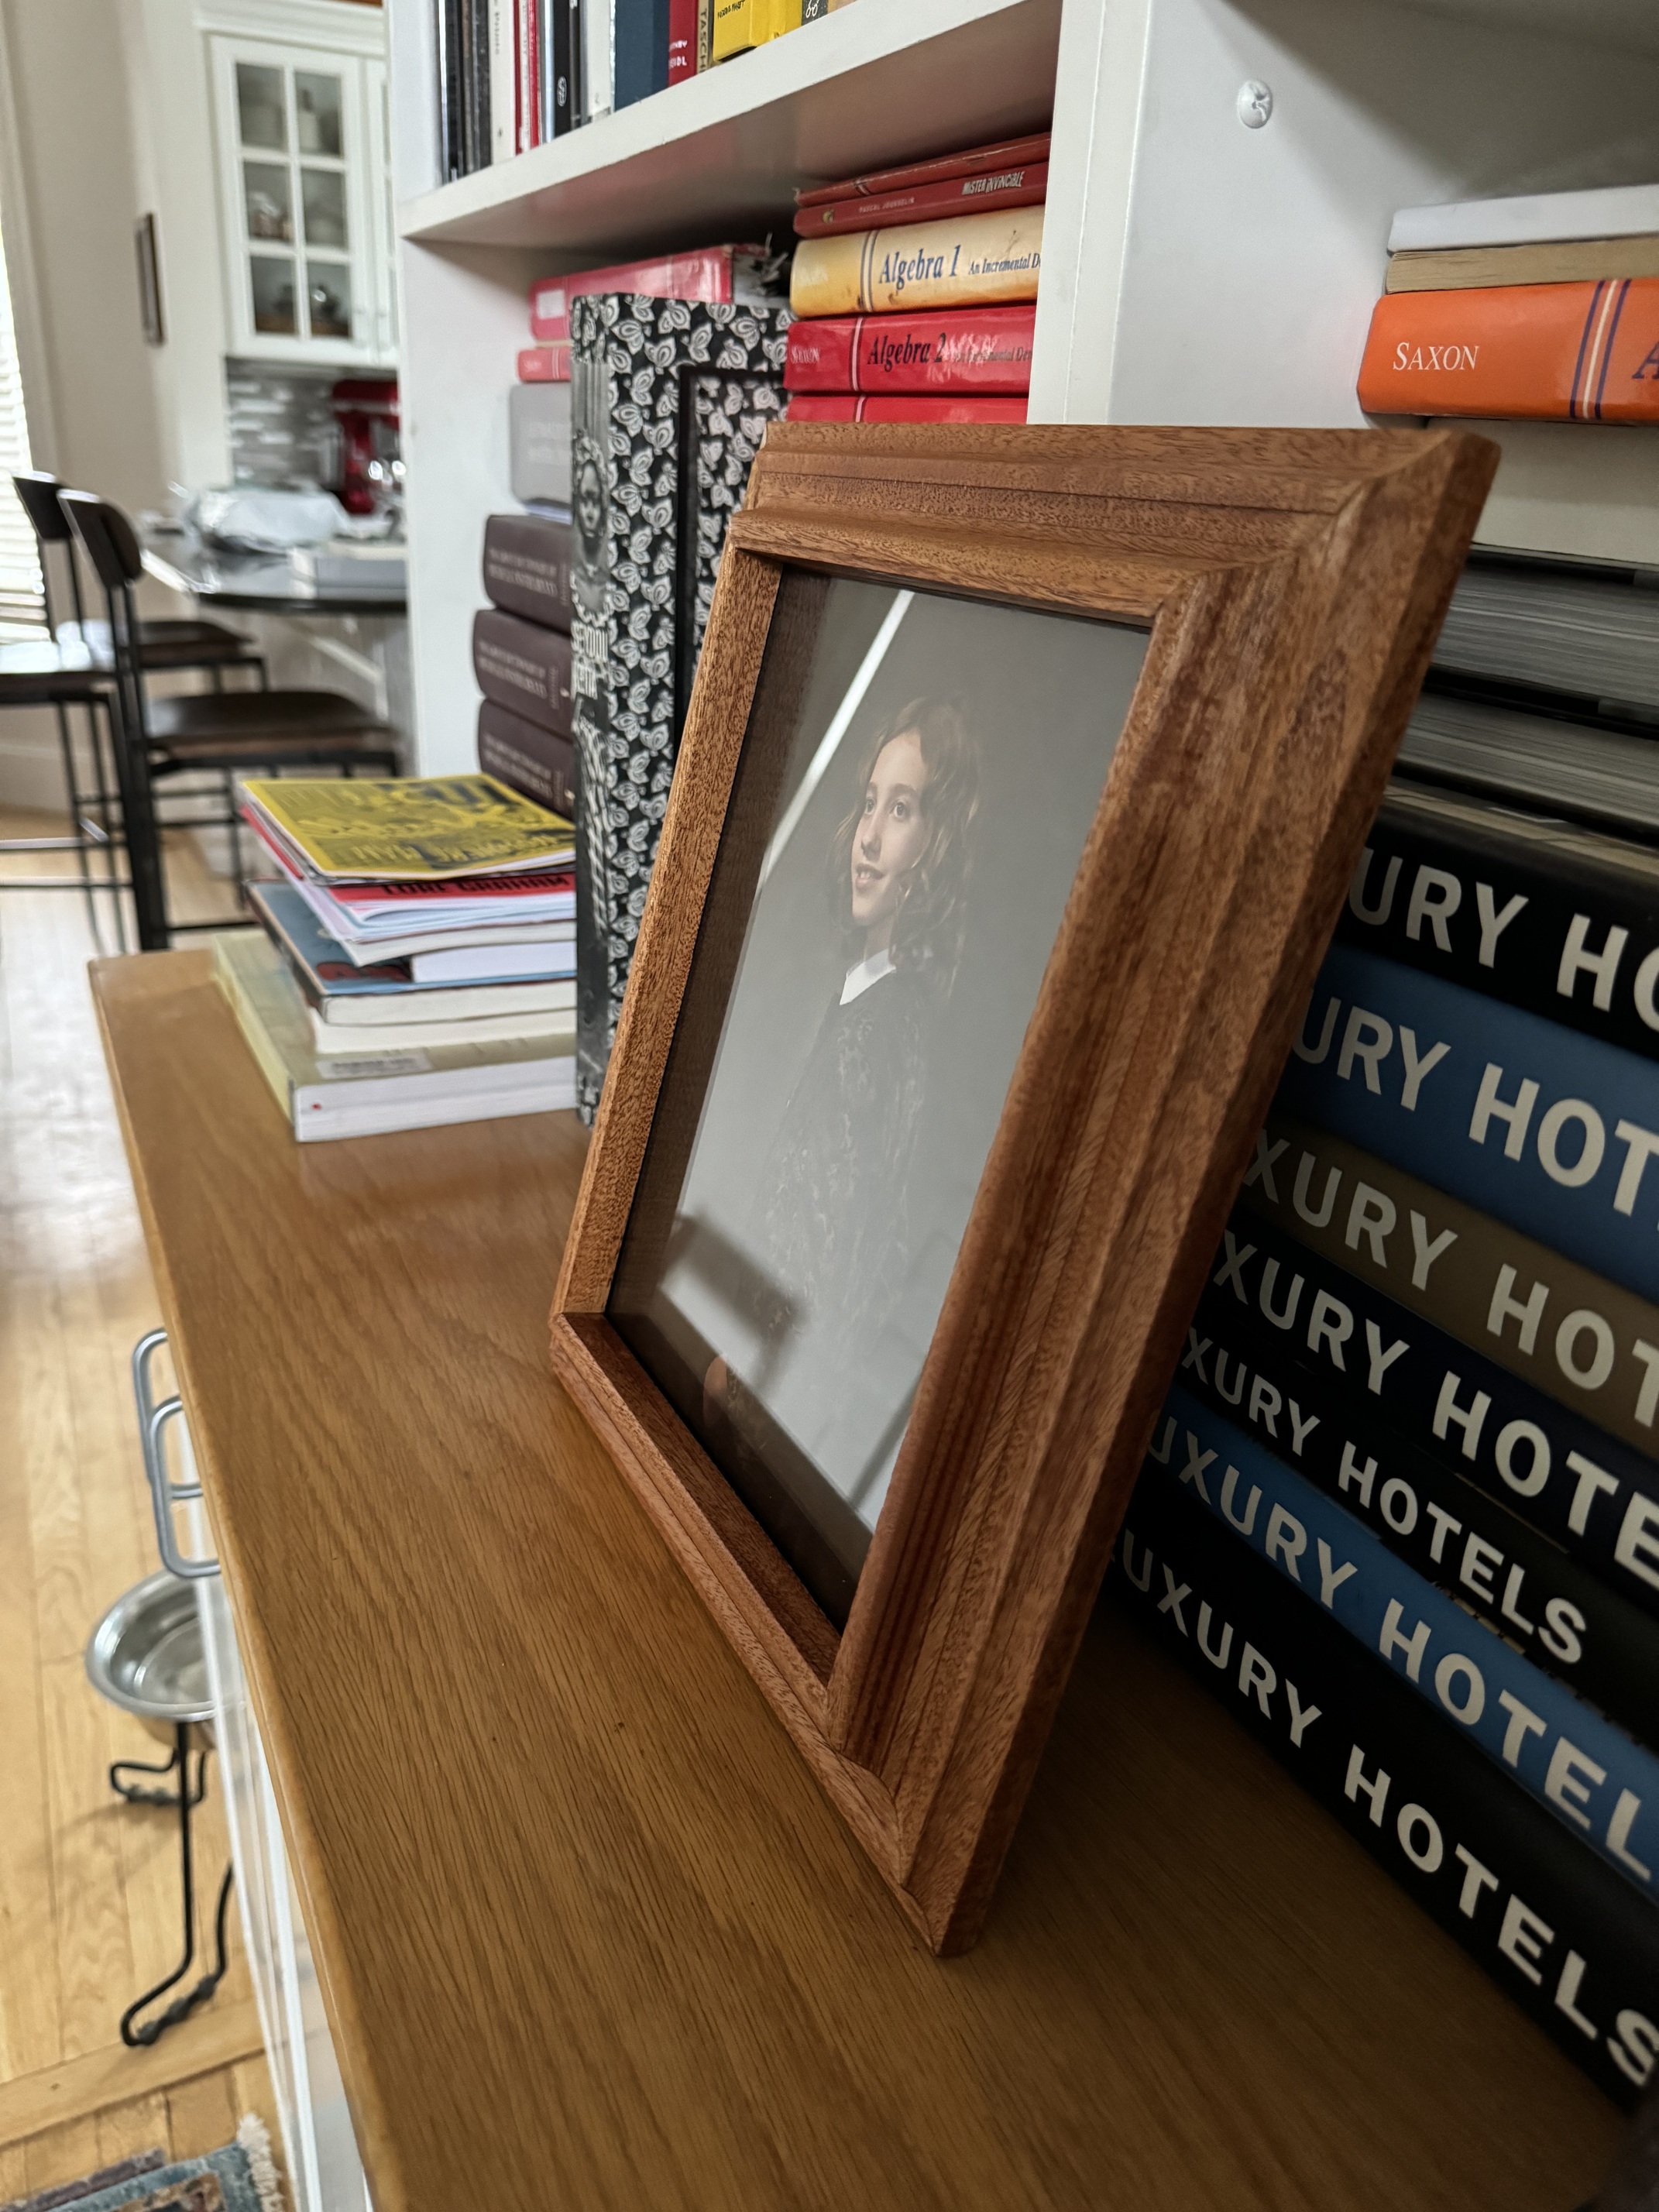
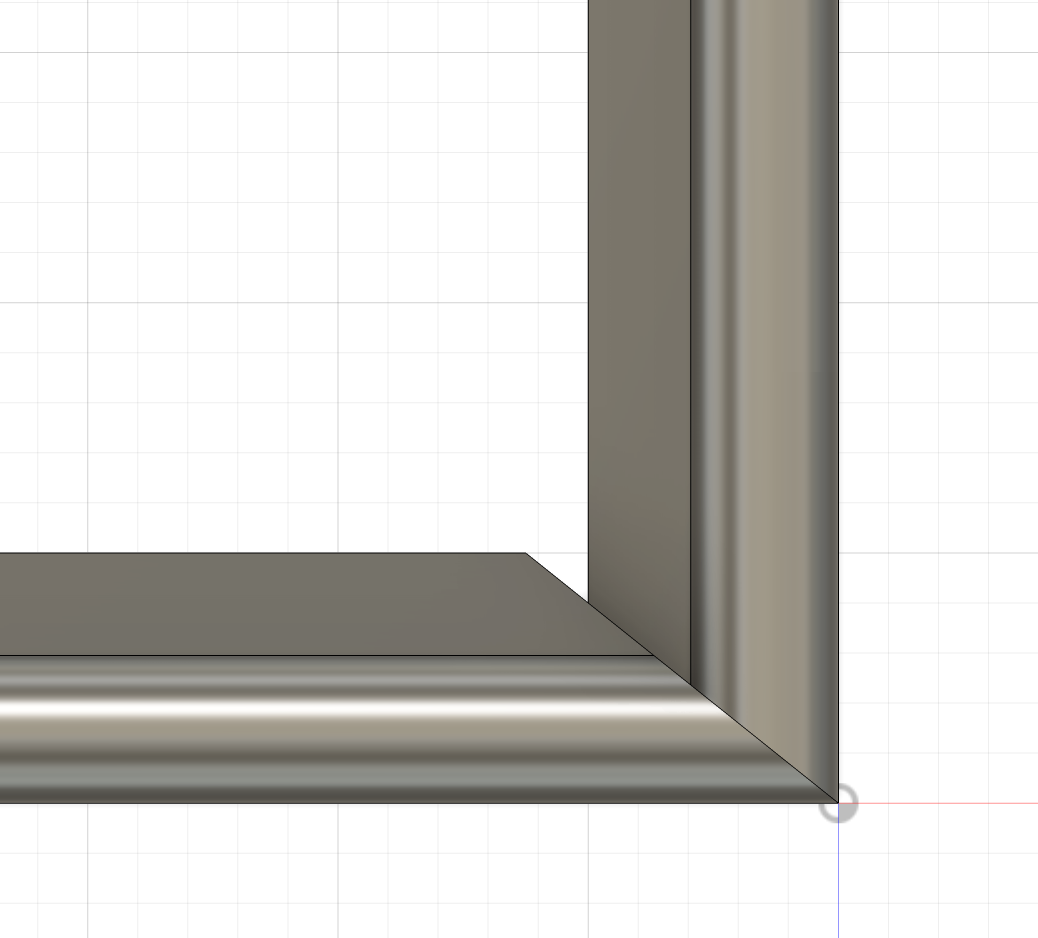
My wife asked me to make her an 8” by 10” portrait frame. I didn’t have a lot of time so I slapped together a funky profile in Fusion. Turned out better than I hoped, though I realized after the initial pass that I’d made the profile so steep that I’d get ‘layer lines’ (and I’m too lazy to code another pass with a smaller bit). Side note: I’ve been 3D printing corner brackets to use in the glue up. They have a negative profile matching the frame profile, so I don’t have to stress about applying too much tension. The frame is mahogany with Odie’s dark oil.
20 Likes
Very nice.
For anyone looking to make a frame, @45rpm has a great walk-through video on how he made a custom frame. I really appreciate the way he explains things.
2 Likes
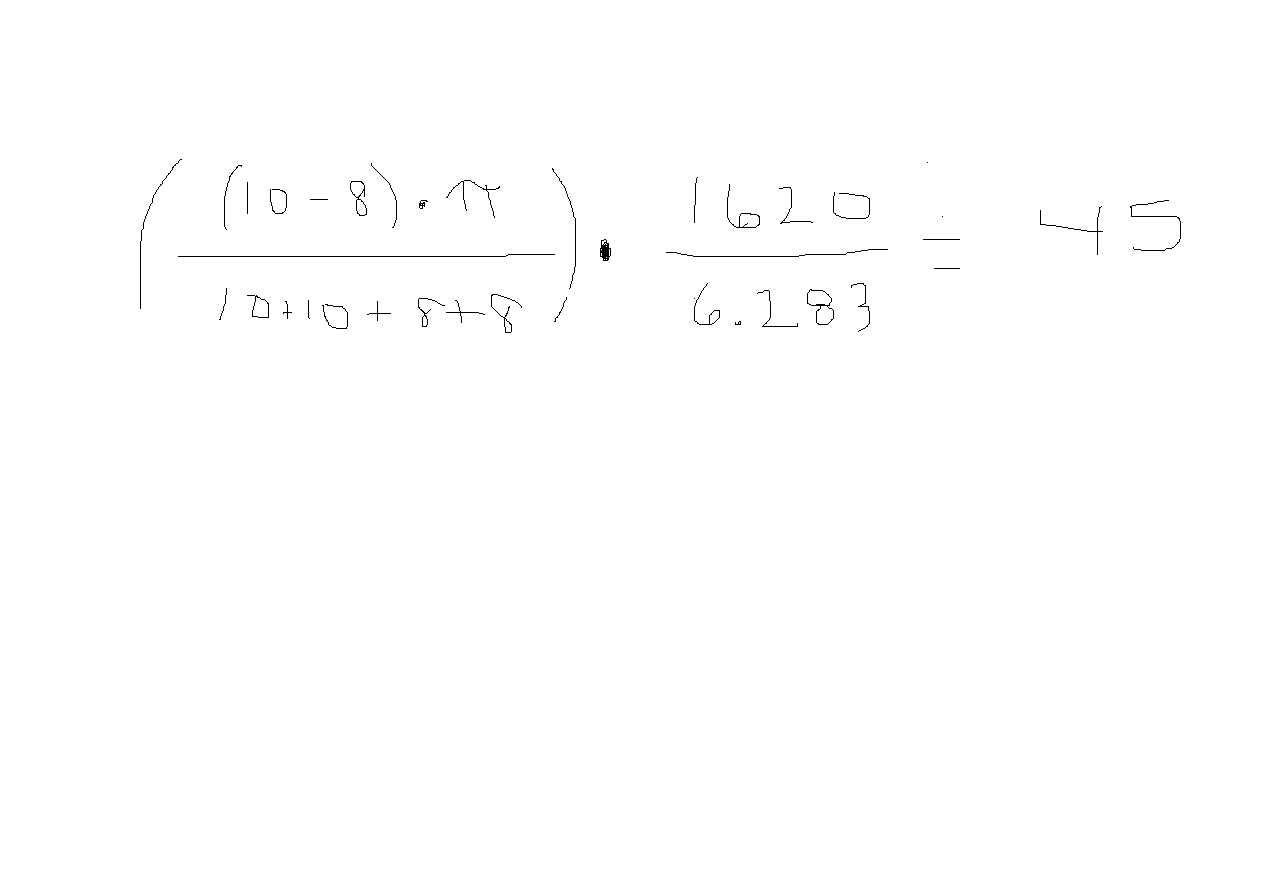
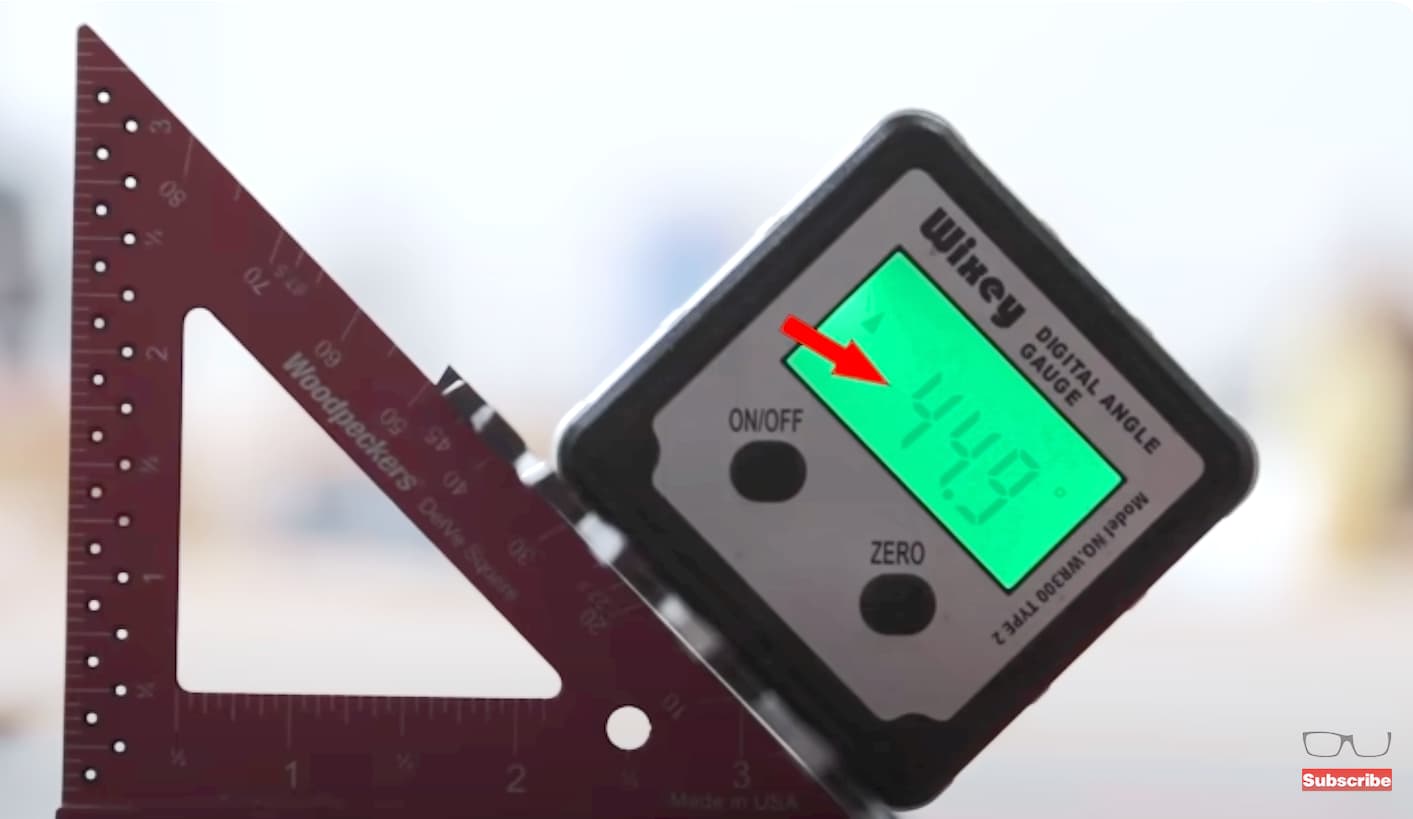
So, what angle did you cut the mitered corners? ![]()
![]() You are incorrect. (In a woodworking environment.)
You are incorrect. (In a woodworking environment.)
I would have gone for 51.34° and 38.66° for a perfect diagonal corner to corner.
Does that require two different profiles for the horizontal and vertical to allow them to meet on that angle?
3 Likes
Yes, we have CNC machines don’t we?
1 Like
Got it. The hammer and everything looks like a nail. ![]()
1 Like
I assume this is a spoof on the angle of the corners. Assuming the sides are equal width the miter will be 45° regardless of the aspect.
I’d like to state this is obvious but I just built a frame for my wife and had to think awhile about it terms of whether I could assemble using dowels at the corners, a related concept.
1 Like
Wow! That came out great. Think I’ll try that after I complete my next watercolor painting. Thanks for sharing this.
1 Like
That is a fabulous idea!
Nice excuse to start looking to add a 3printer to my arsenal, too!
I’ve really just begun to tap into the benefits of having a 3D printer. Depending on your workflow and/or the software you use, you’re already working on a 3D object–so it’s pretty easy to use that same file to make custom brackets or other work-holding tools. It’s been a game changer!
This topic was automatically closed 30 days after the last reply. New replies are no longer allowed.