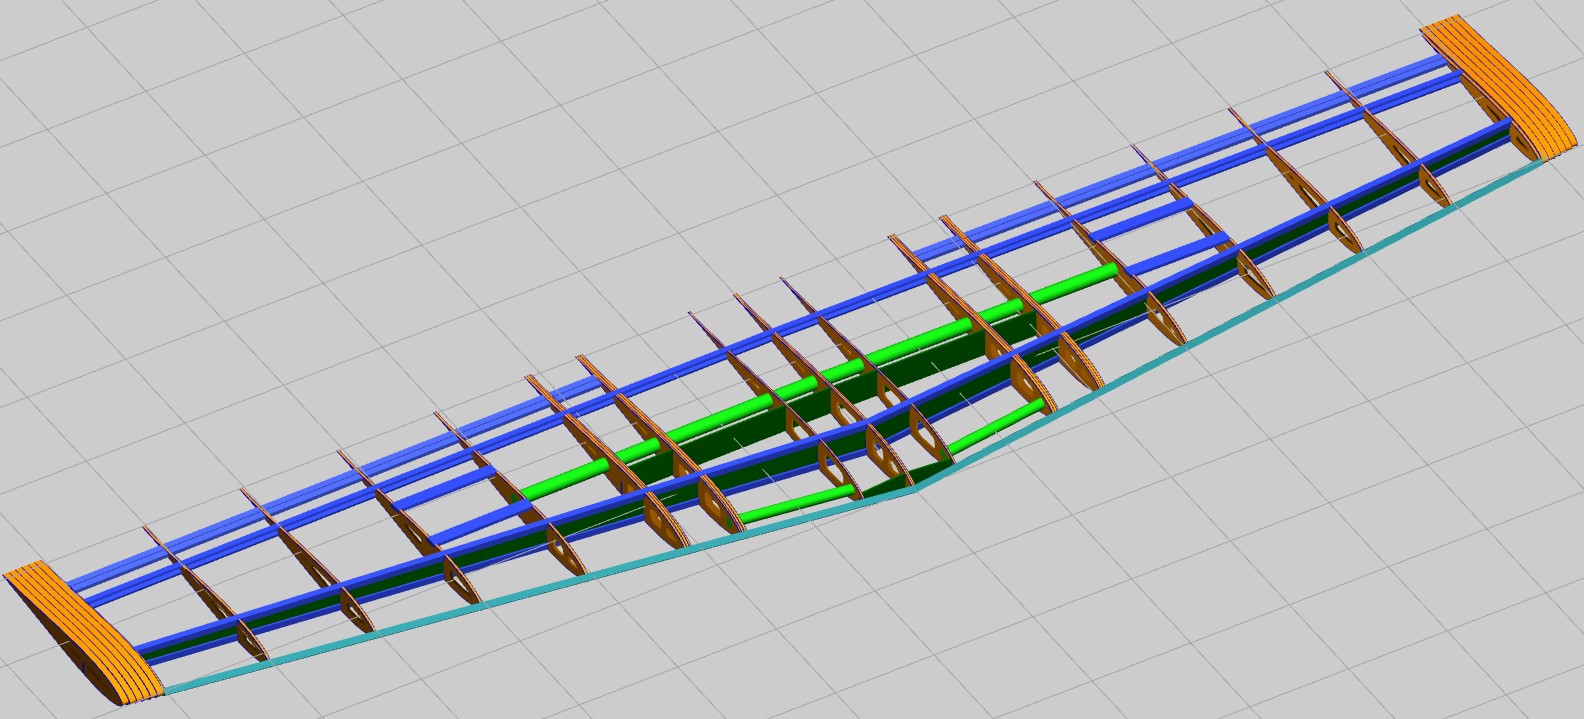
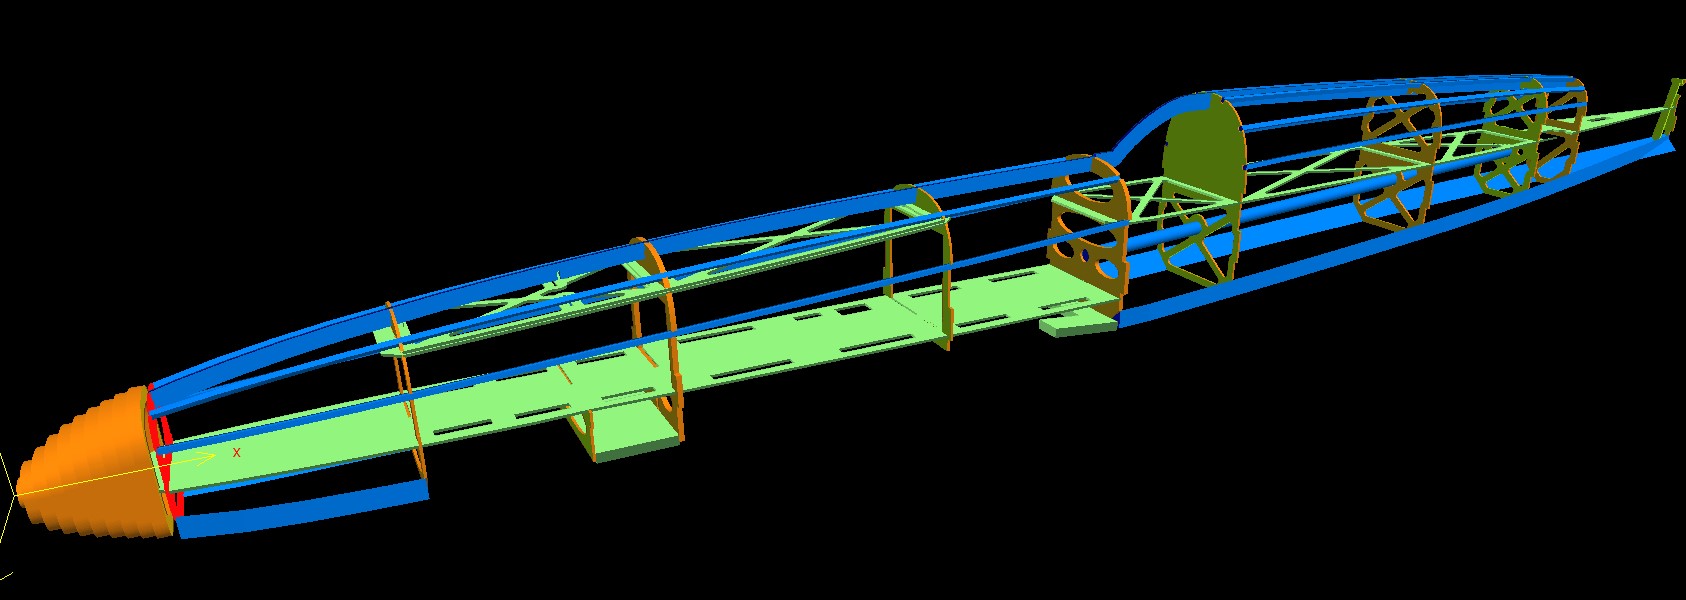
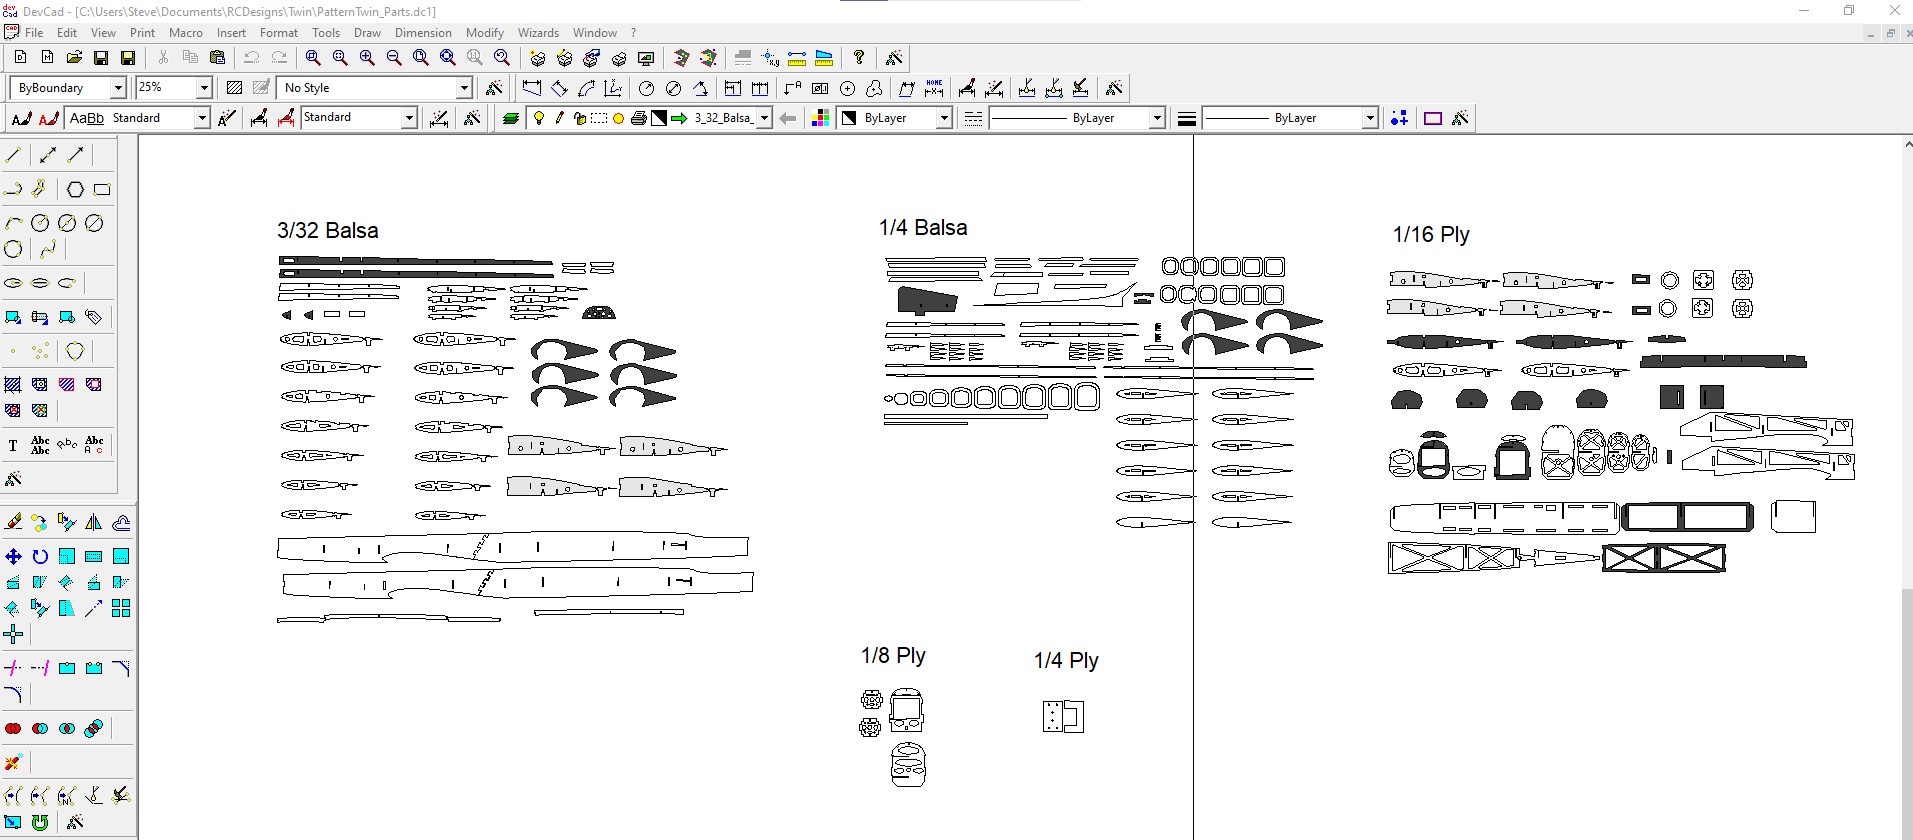
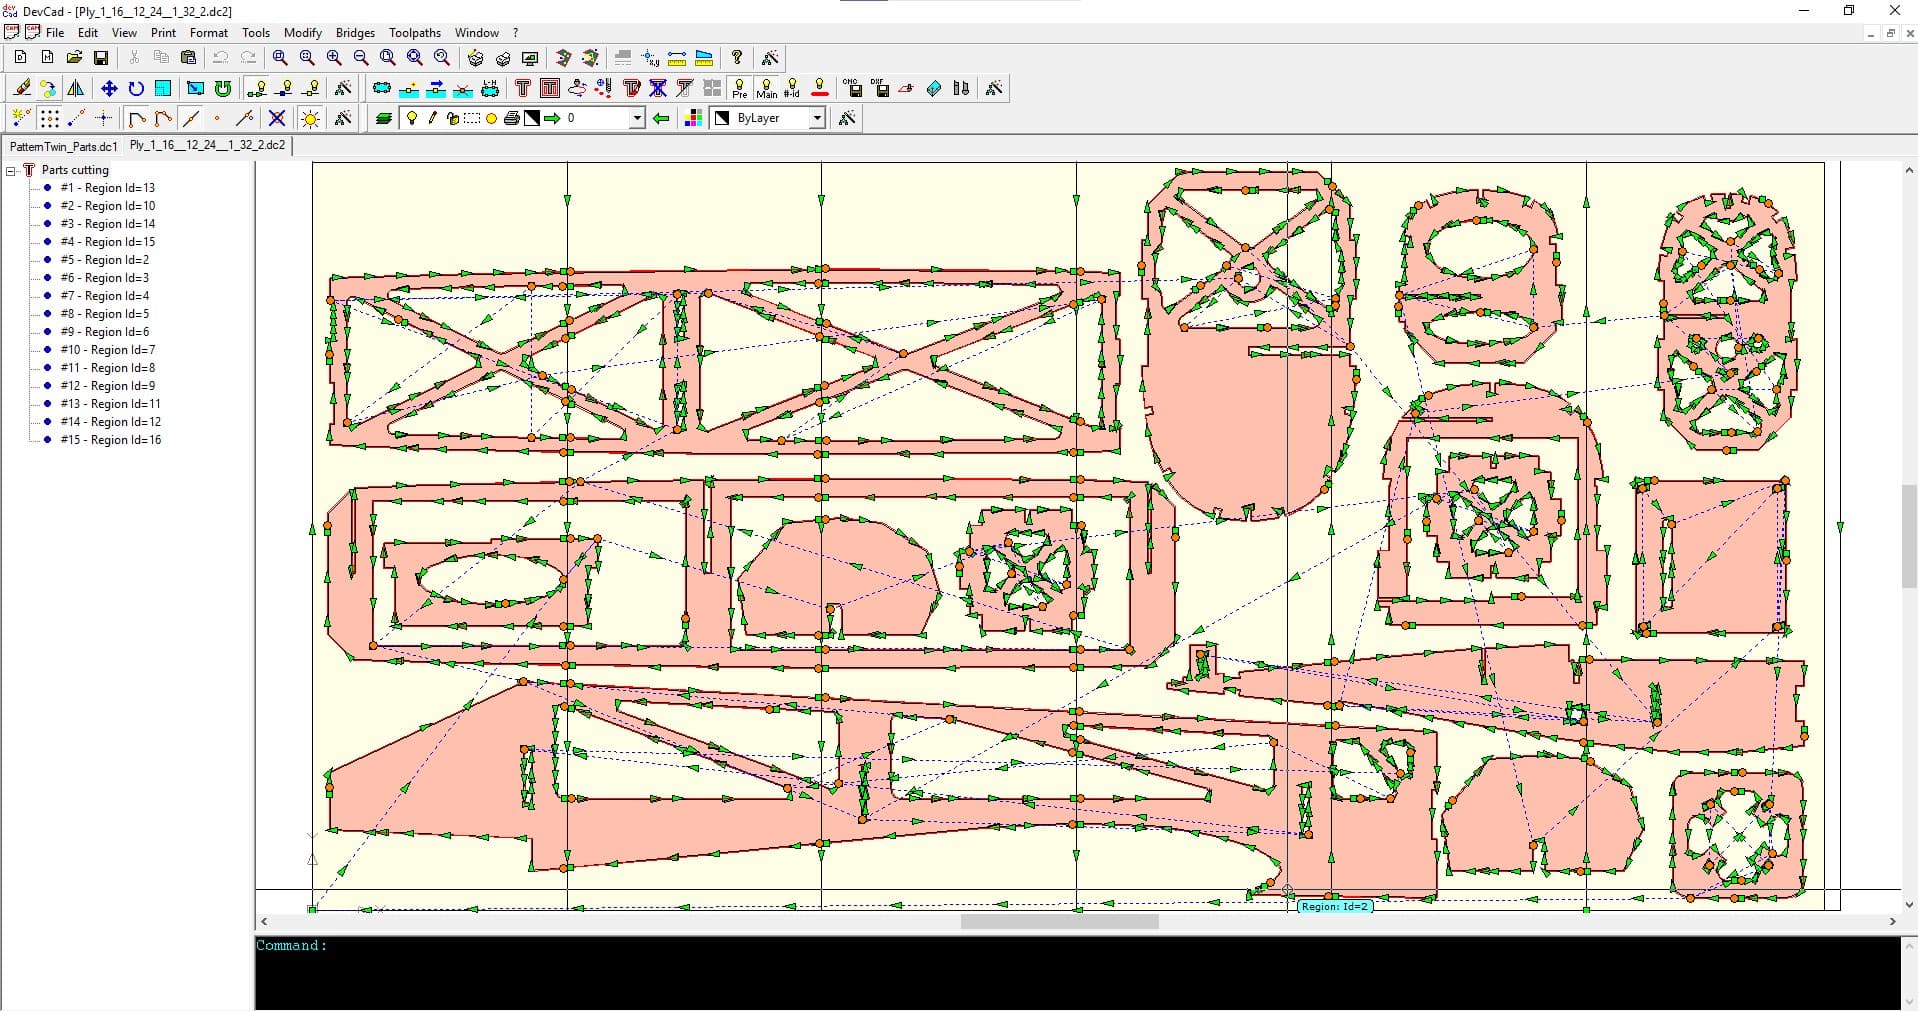
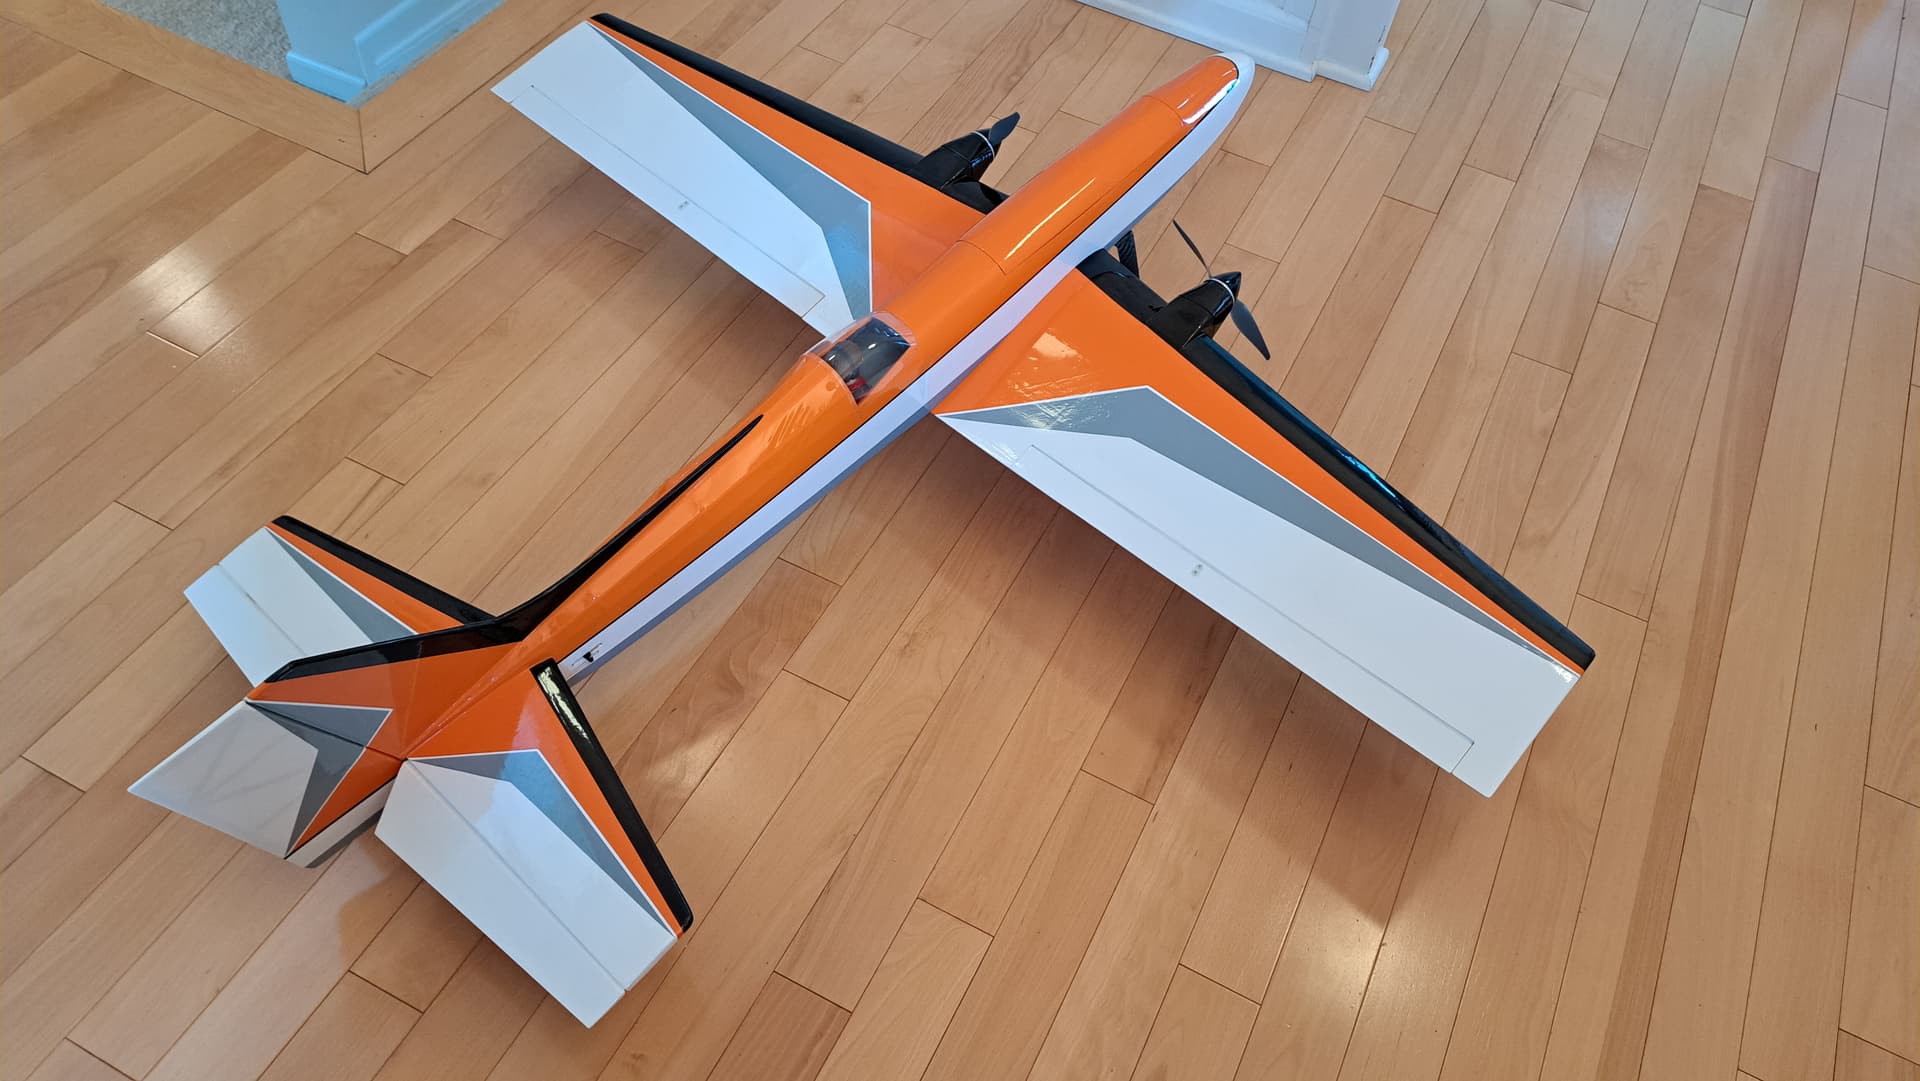
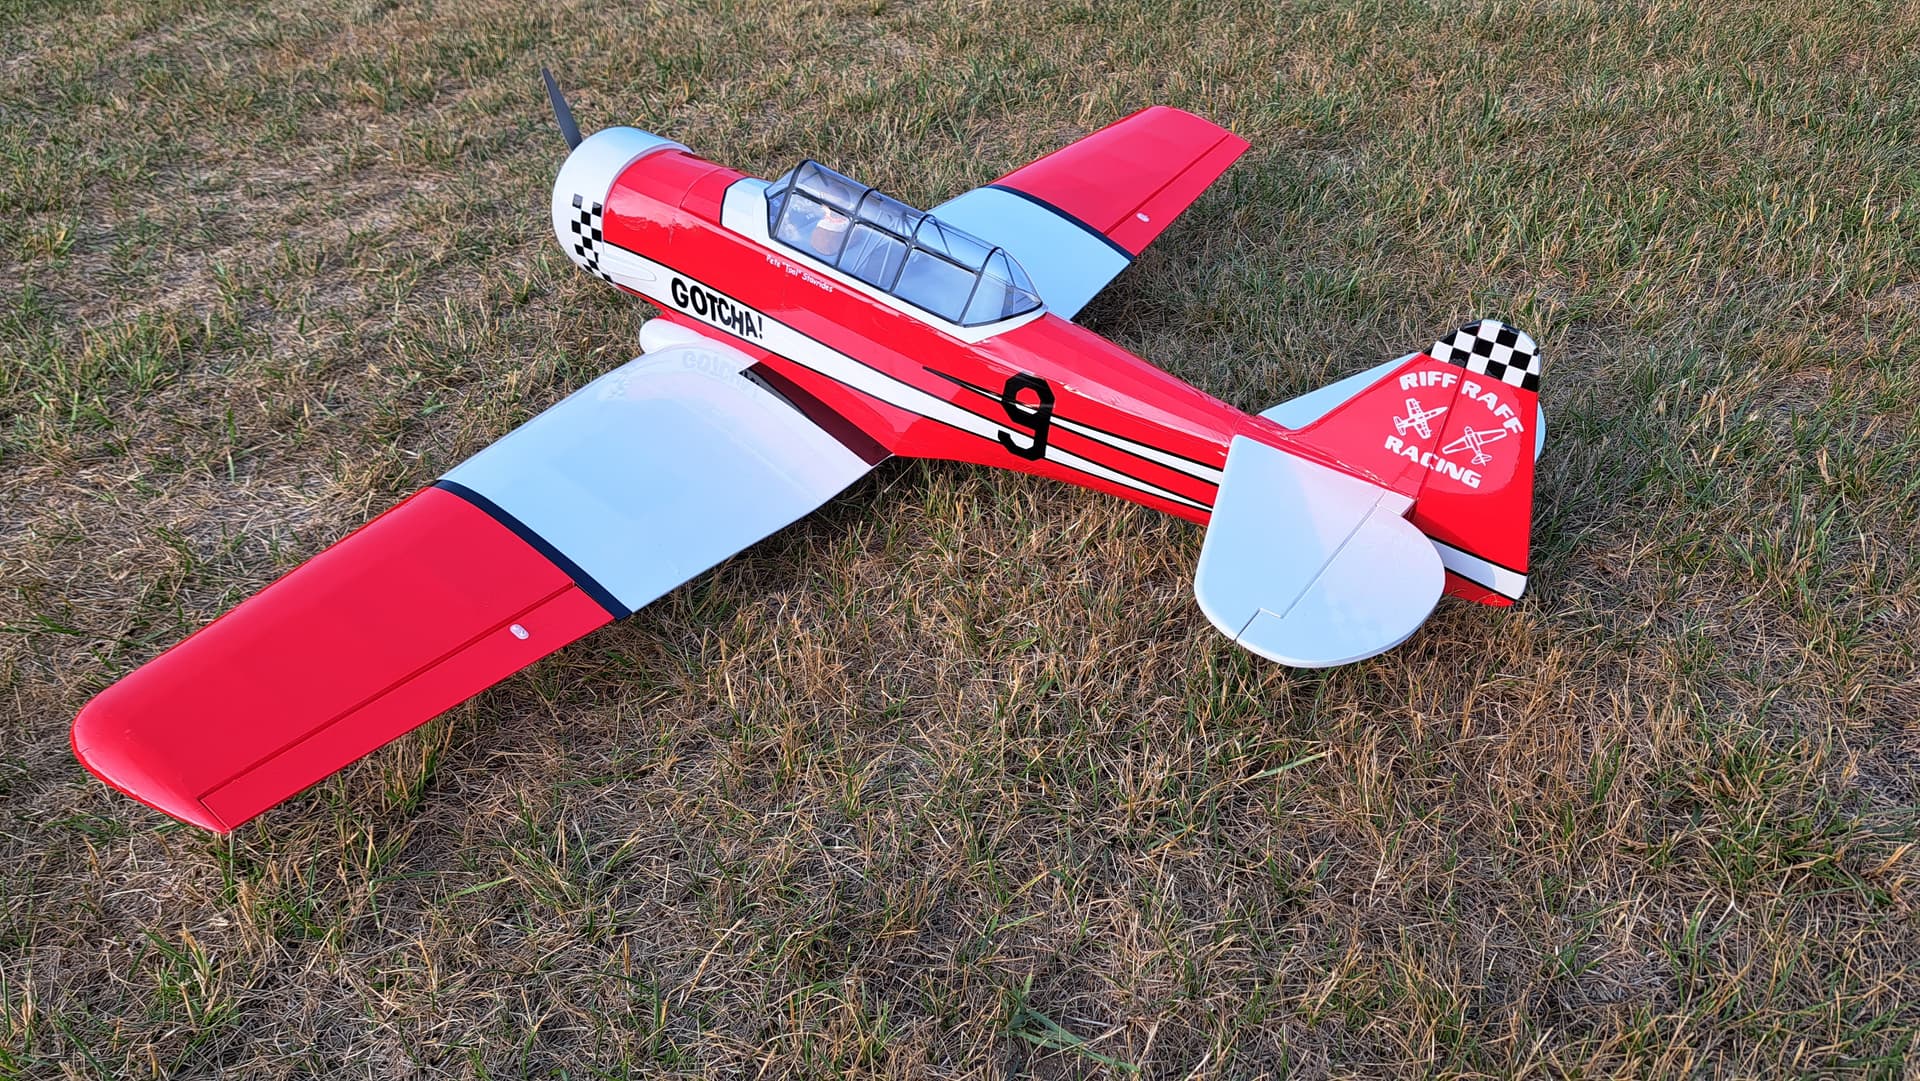
I’ve just completed another RC plane build where all the parts were cut on my Shapeoko 3 XL. I am not the best at the detailed design work this requires, so I have purchased some additional design programs to help me. WingHelper was used for the basics of the wing and shaped tail. devFus was used for the fuselage and basics for the nacels. These programs use dxf files as one of their possible outputs and I took these into devCad-CAM for some tweaking and additions of other parts that the other programs can’t make. One nice feature of devCad-CAM is it’s ability to use a selection of parts and lay them out on multiple sheets of any size. It will also automatically create the toolpaths needed to cut the parts using a specified bit. This is a huge time saver.
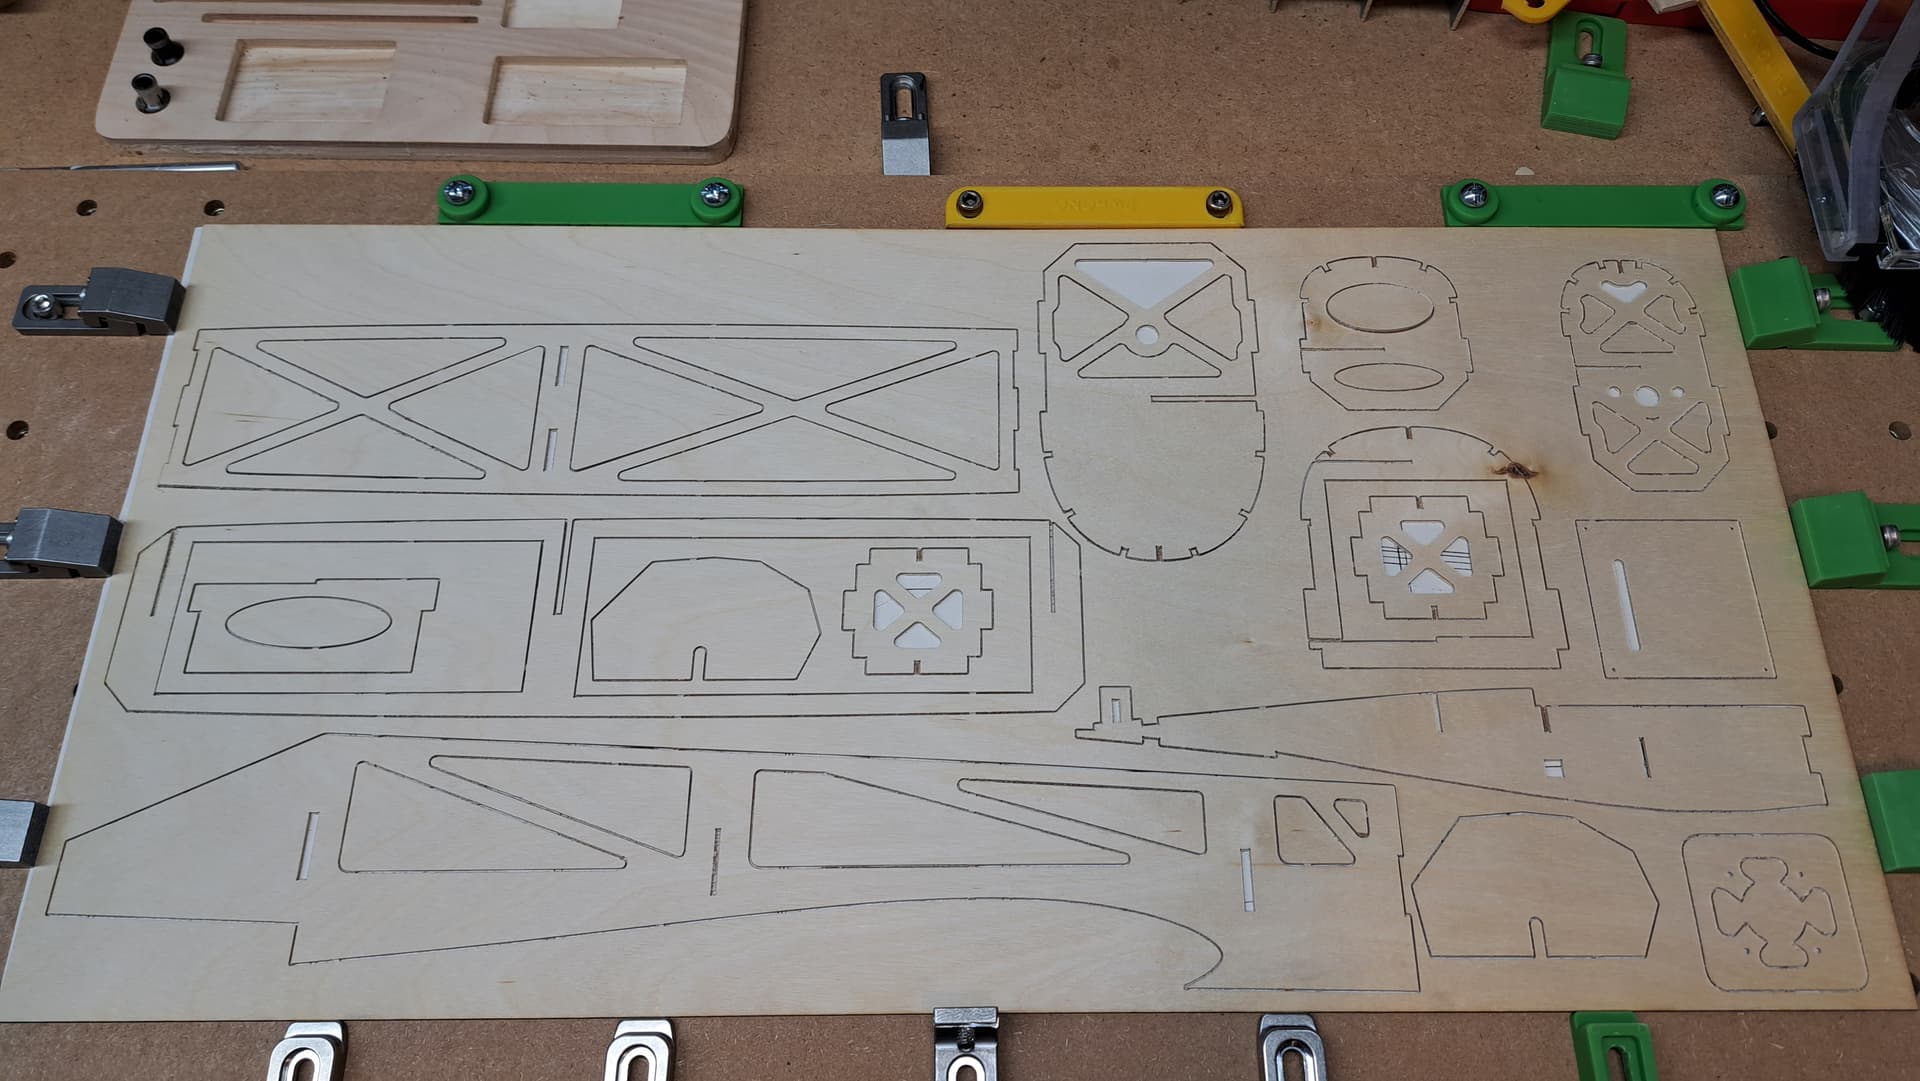
All cut parts and a plotted sheet to build on. 8 Sheets of 4x30 3/32 Balsa, 5 Sheets of 4x30 1/4 Balsa, 3 Sheets of 12x24 1/16 Ply, 1/4 Sheet of 12x24 1/8 Ply, 2 parts cut from 1/4 Ply
I used a 1/32 bit for the 3/32 balsa and 1/16 ply. A 1/16th bit for the rest.
Wow, Steve, you’ve been busy! My son and grandson recently discovered a local flying club and joined. This will be quite interesting to them, so I better bone up on the details! +1
When I was a kid there was a county park nearby where they flew airplane in a circle with a wire holding the plane. I always enjoyed riding my bike over there and watching people fly their planes. The RC planes have come a long way. Seems like it would be a lot of fun, well until one crashes. The thing about things that go up always come back down. Hopefully a nice smooth landing.
Thanks for the nice comments all. I’ve always loved planes and RC stuff… I could not afford it back in the day, but about 12 years I jumped in and I’ll never look back. Now that I’m retired I have the time for this stuff (RC and CNC) and it keeps me learning new things all the time.
Tex, a club is usually a great place to start. The Jetero club looks nice and has better facilities than mine. I am now the VP of my club as well. United Flying Organization With all of the new regulations from the FAA on RC flying you are almost forced to join a club if you want to follow the rules.
Griff
(Well crap, my hypometric precursor device is blown…)
6
Oh, no - yet another rabbit hole beckons…
Beautiful work Steve, really appeals to me and my creative aspirations. So this was self-designed using the mentioned CAD tools? (I guess they are CAD tools.) Very cool.
Been building/flying/crashing quads for 12 years or so. Maybe time to branch out into the winged stuff. I recently learned I love flight sims, DCS in particular. Just fell into that rabbit hole a month or so ago after building a gaming computer and looking for something to use it for.
I’d guess there are a few RC fields here in SoCal, have to Google a bit.
Hope you keep us posted on your work. Is there an RC build site you like?
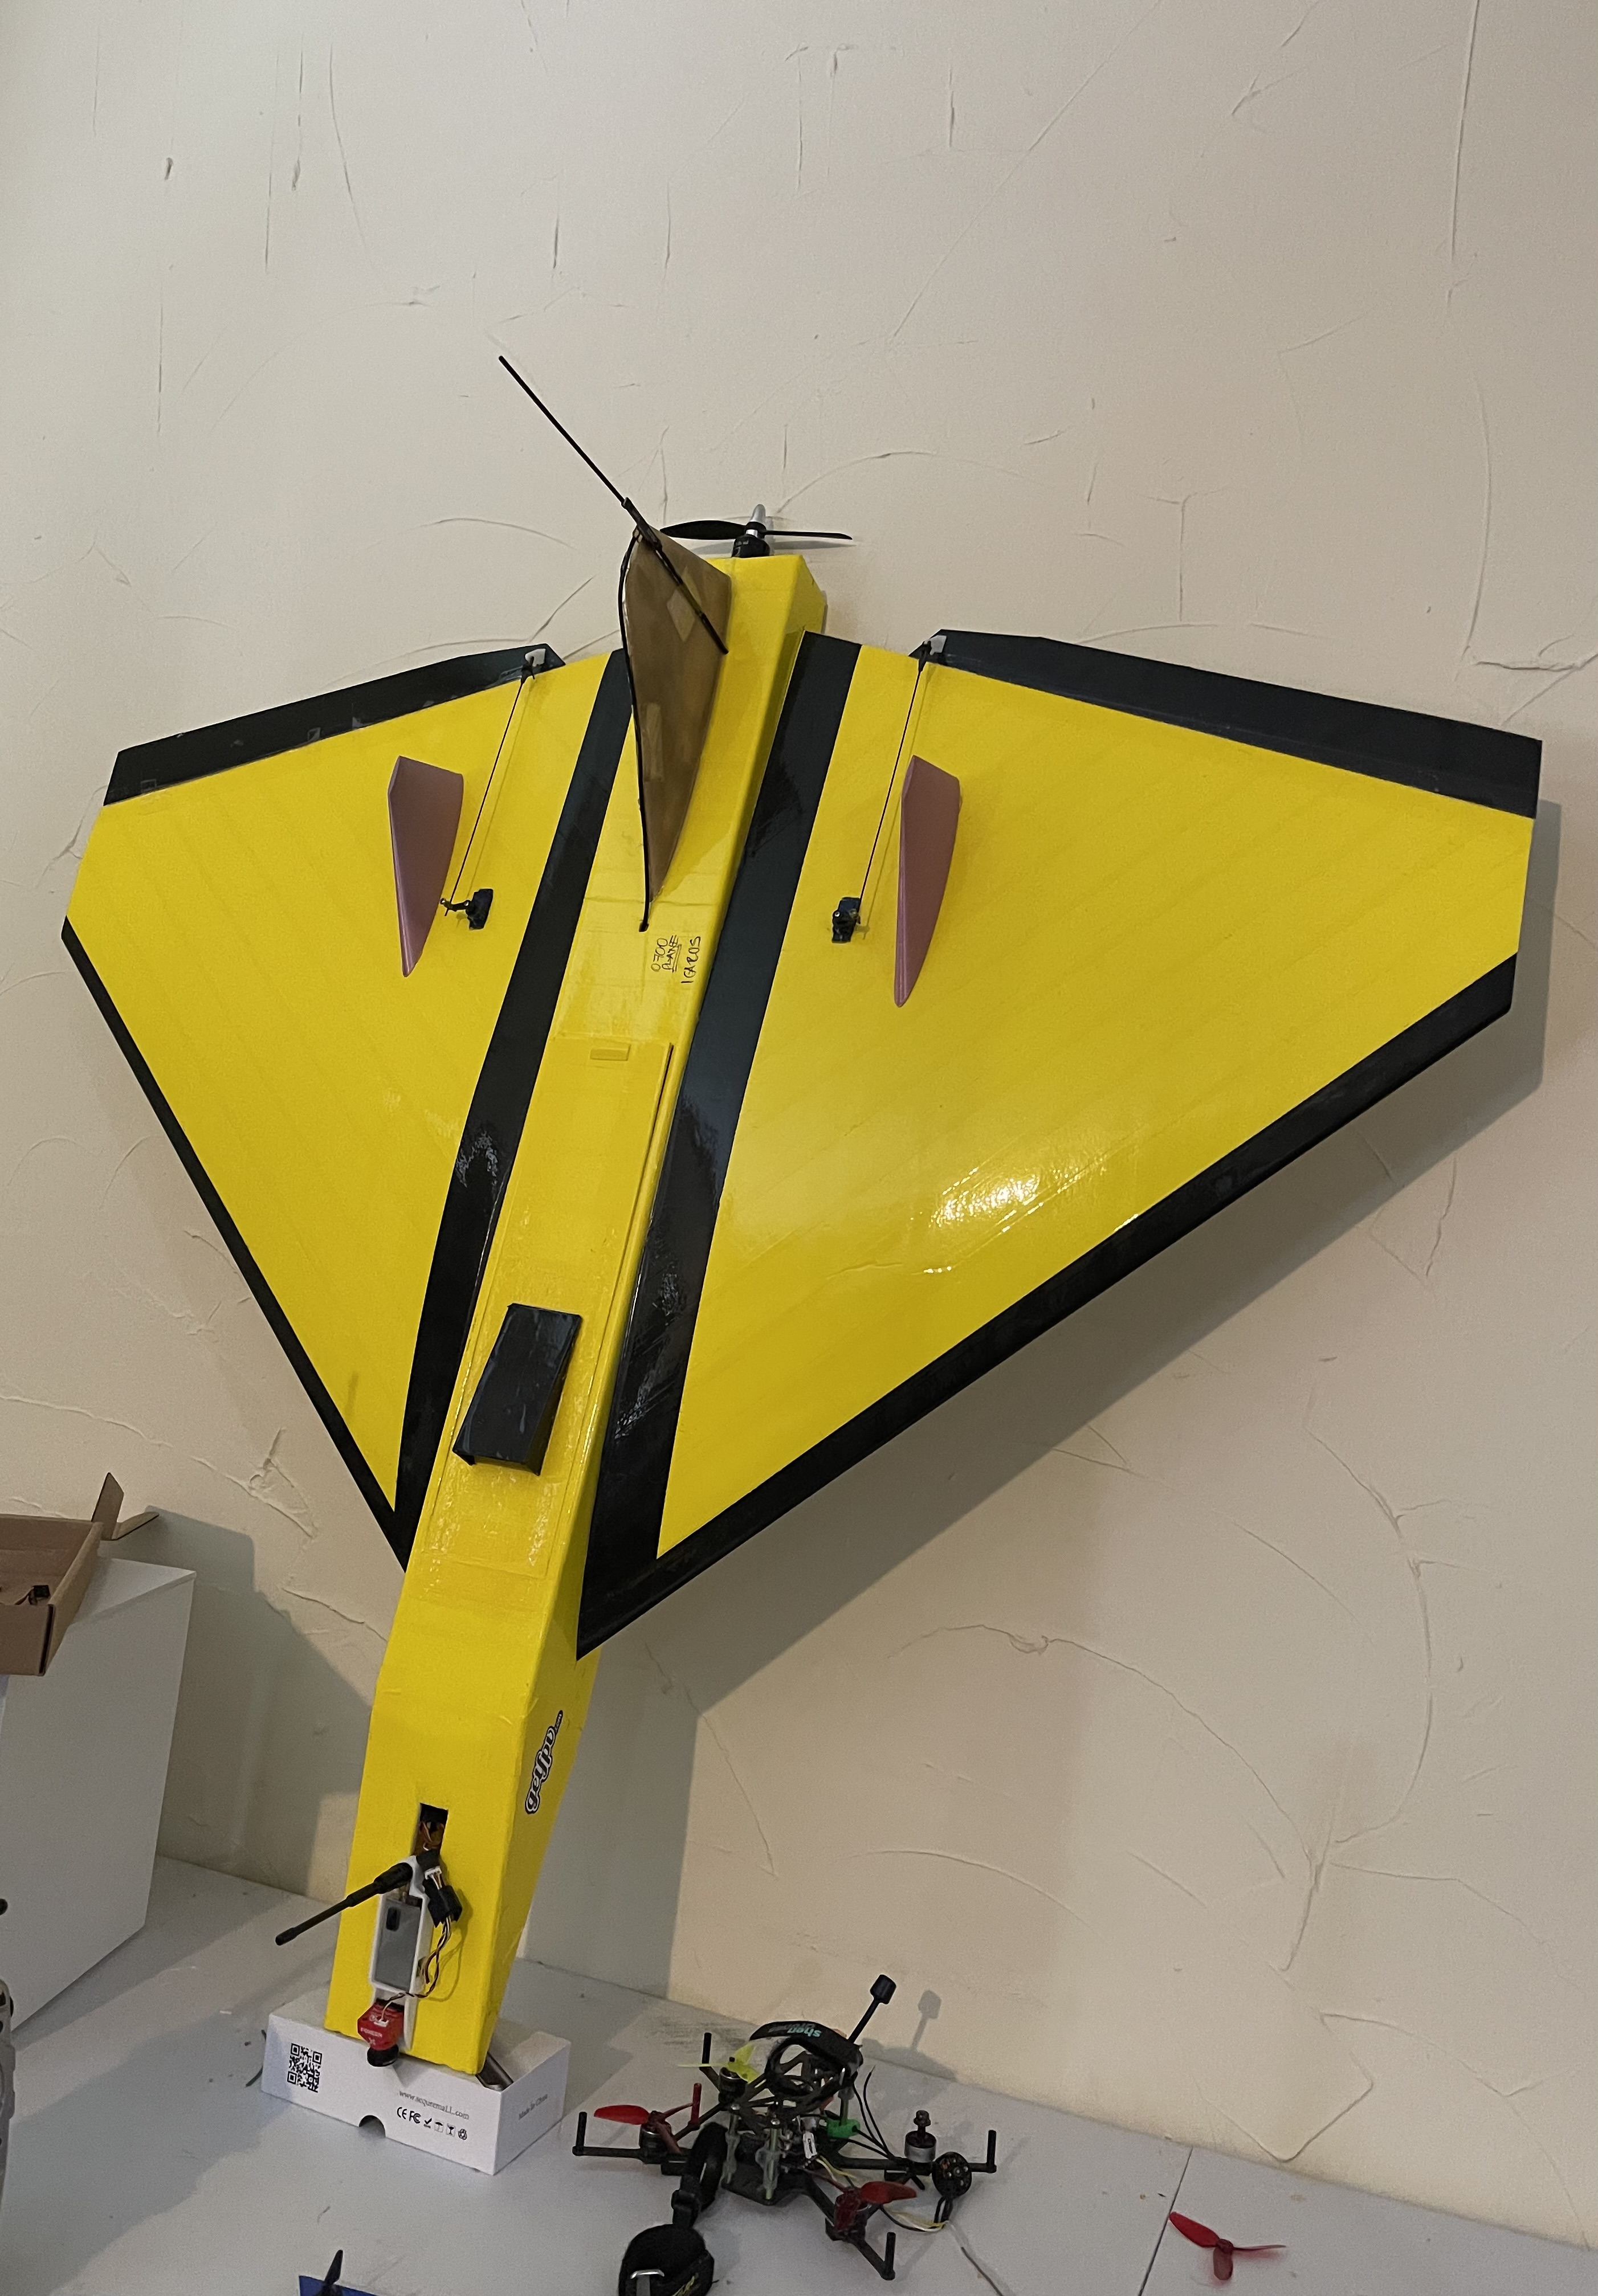
I’ve also started flying and racing drones using FPV. ie using an onboard wireless camera and goggles to fly around and thru obstacles on a course. That is yet another rabbit hole…
There is no advantage to using a CNC to cut the parts shown here. Maybe the price per size of the bed is better and there are no fumes to worry about. The CNC is more versatile for doing other things. That’s why I went for a CNC machine.
This is great, I was very much into RC planes when I was a kid but I feel like I was born just a few years too early, before all these great tools were available and an internet community to share ideas with. Actually I’m still into RC planes, I just don’t have time.
I haven’t tried cutting foam boards yet. It’s on the list to try. My club holds “Foamy Combat” competitions so most of us have a small foam plane to use and if I could create the needed parts it would help even more people join in. Will the Stingray drag knife cut through a Dollar Tree foam board? It’s done a great job on some vinyl and covering film cuts.
I believe the blade on the Stingray is too short for anything much thicker than film vinyl or paper or maybe cardstock — you’ll want a larger drag knife for foam board (and a CAM tool which does corner overcuts).
I don’t know about this application, but one advantage to the router over a laser is that your edges will be more perpendicular to the face of the stock than they would be when cut with a CO2 laser. Burnt edges are harder to glue in my experience as well.
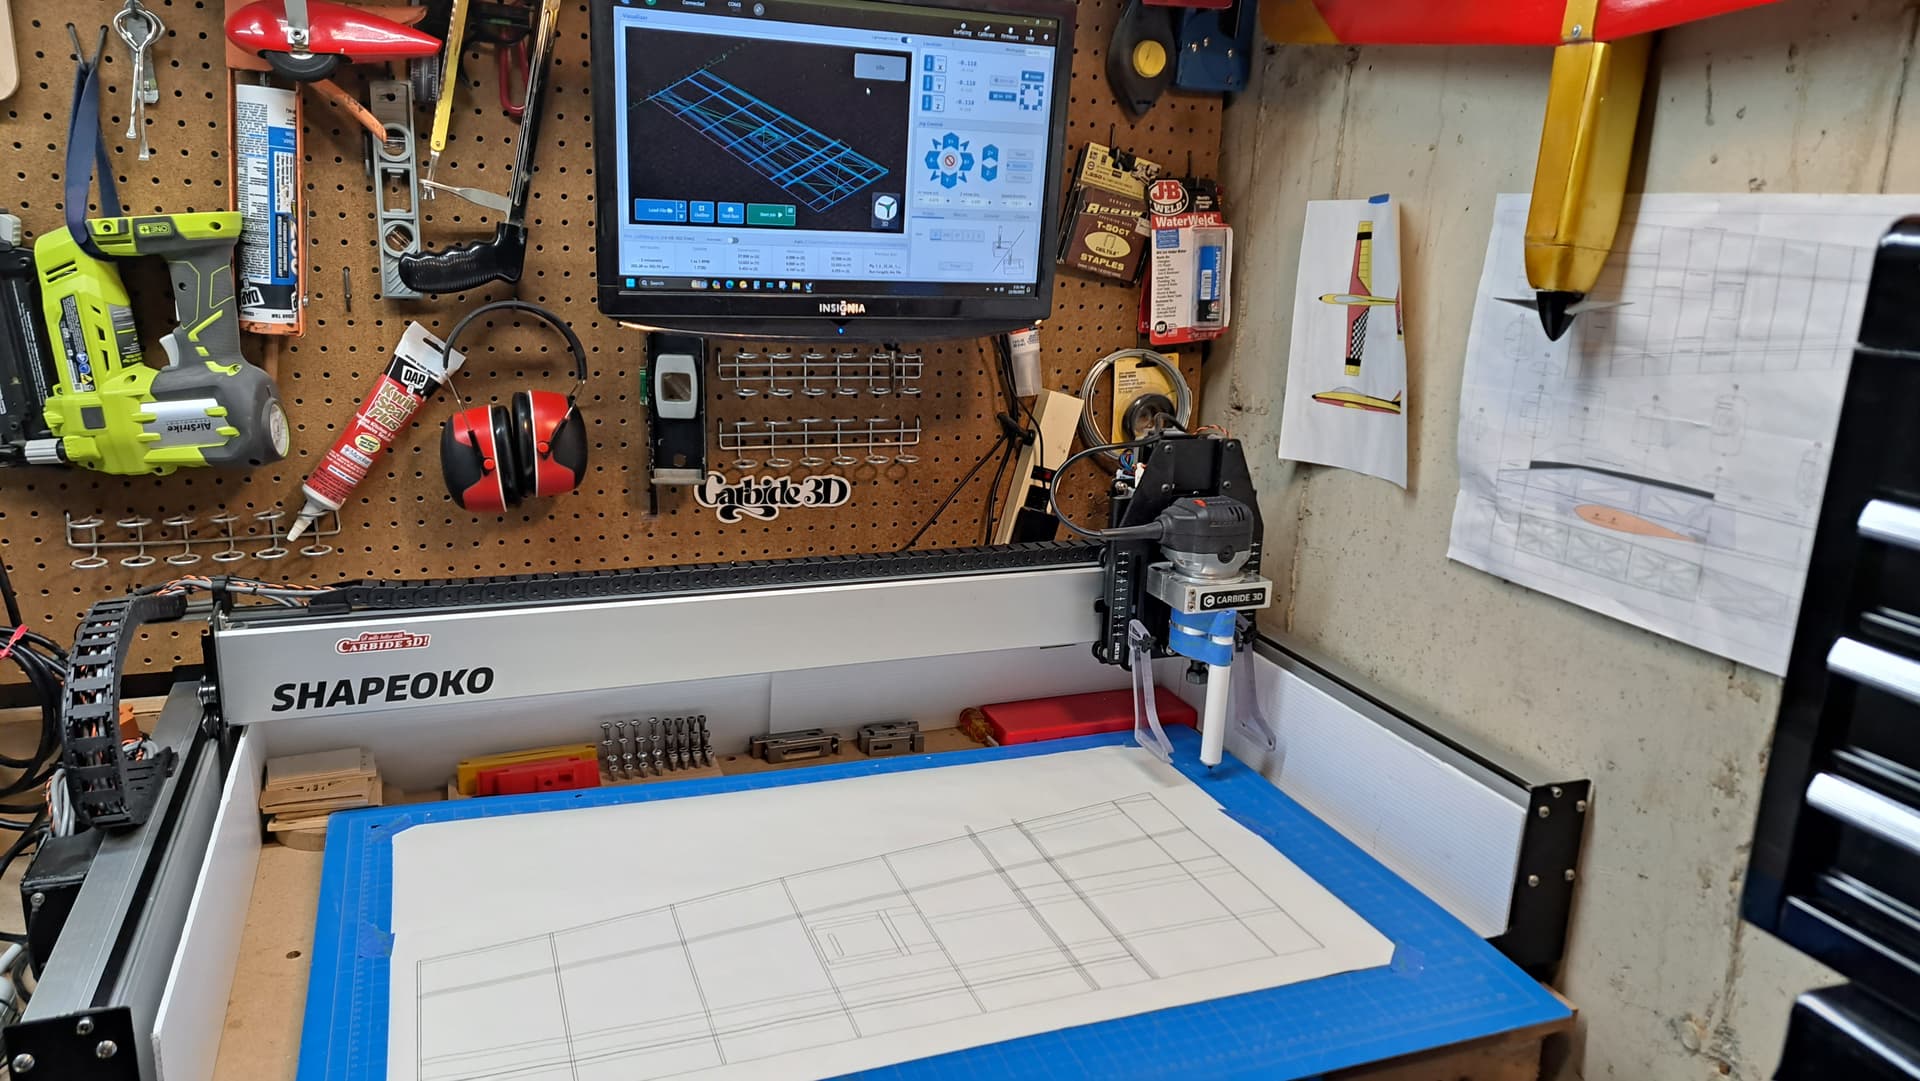
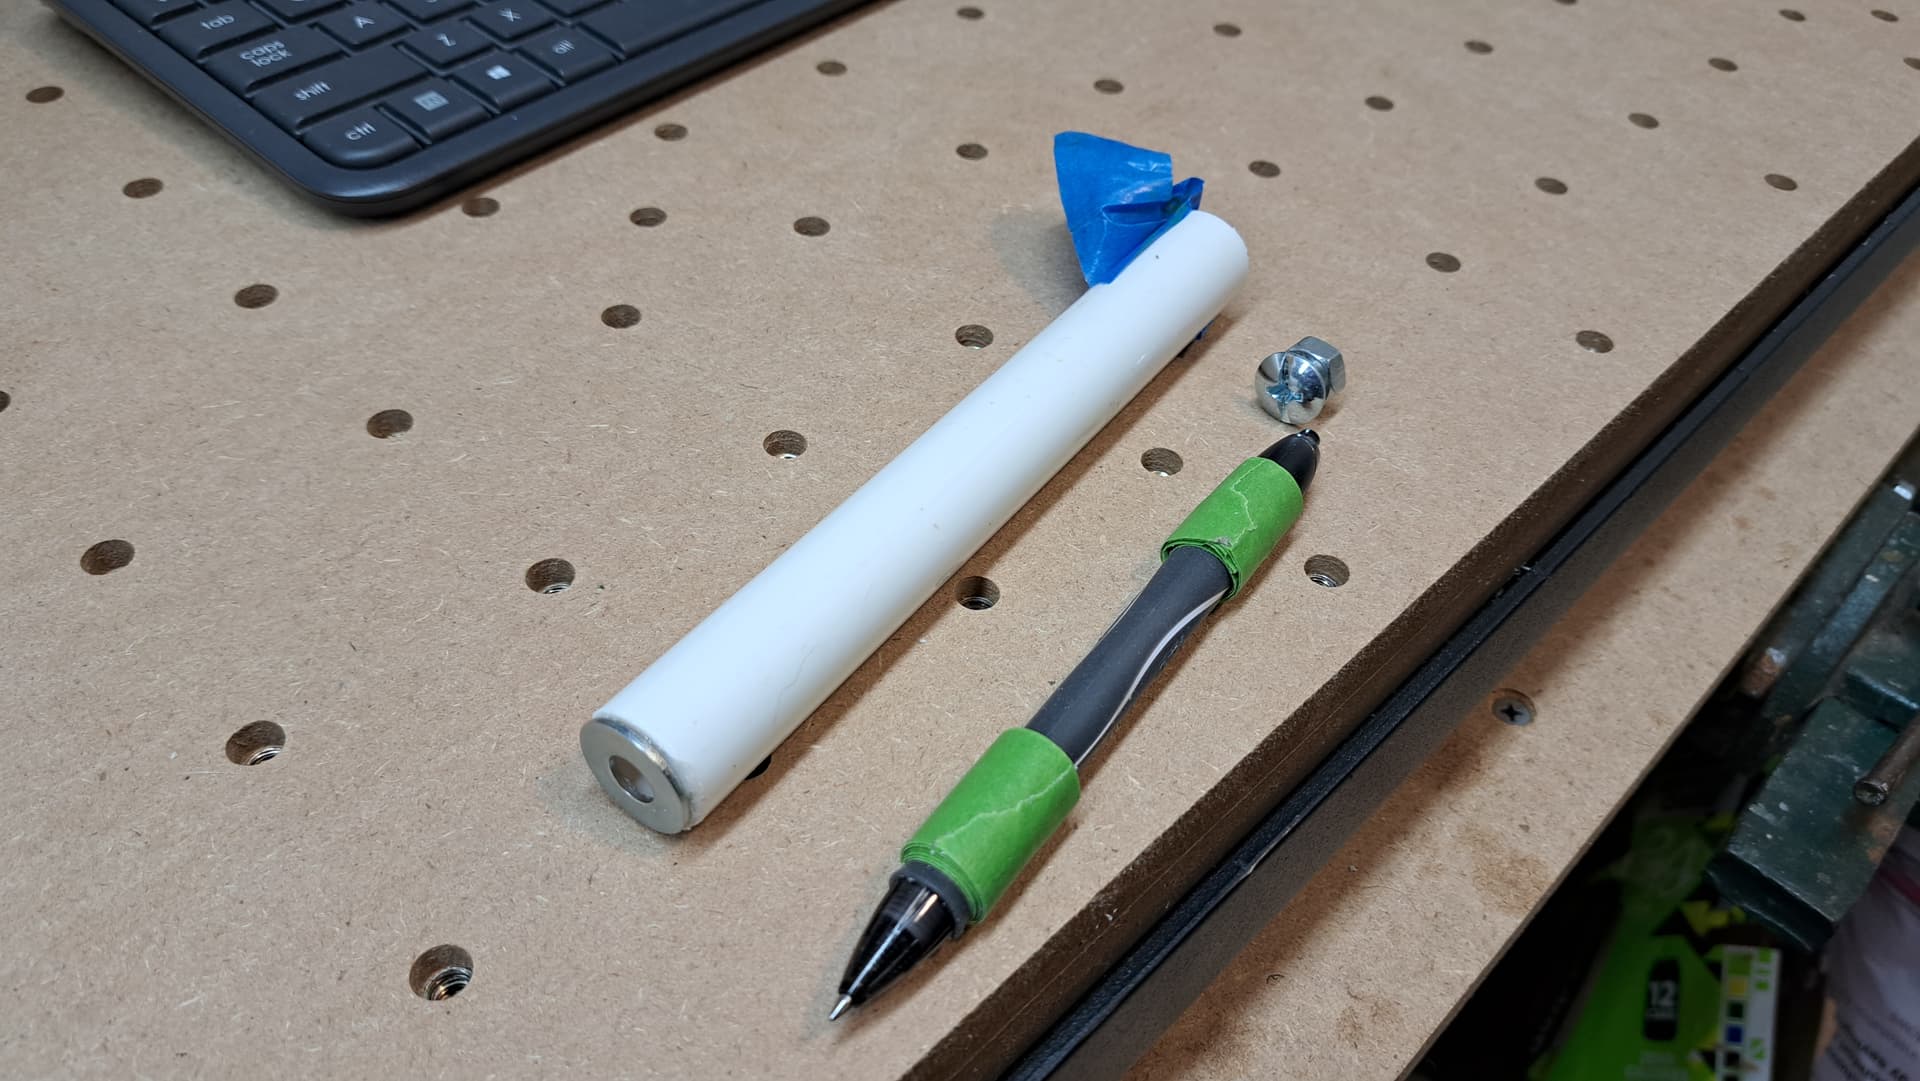
Awesome design/build, Steve, thanks for sharing! I love flying 3D planes, and this combines two hobbies! How did you attach a pen to the Shapeoko; some sort of spring-loaded device? A number of times I’ve aligned parts by making a shallow “marking” cut with a V bit, and it seems that using a pen/pencil would be much better.
The pen setup is just a rollerball type pen in a piece of PVC pipe that I tape to the router. There is a washer attached to the bottom of the PVC pipe to act as a guide for the pen and there is a bolt and nut on top of the pen in the PVC pipe to hold it down. I also added some tape around the pen so it does not flop around in the pipe. It can still easily go up and down. It works surpisingly well.