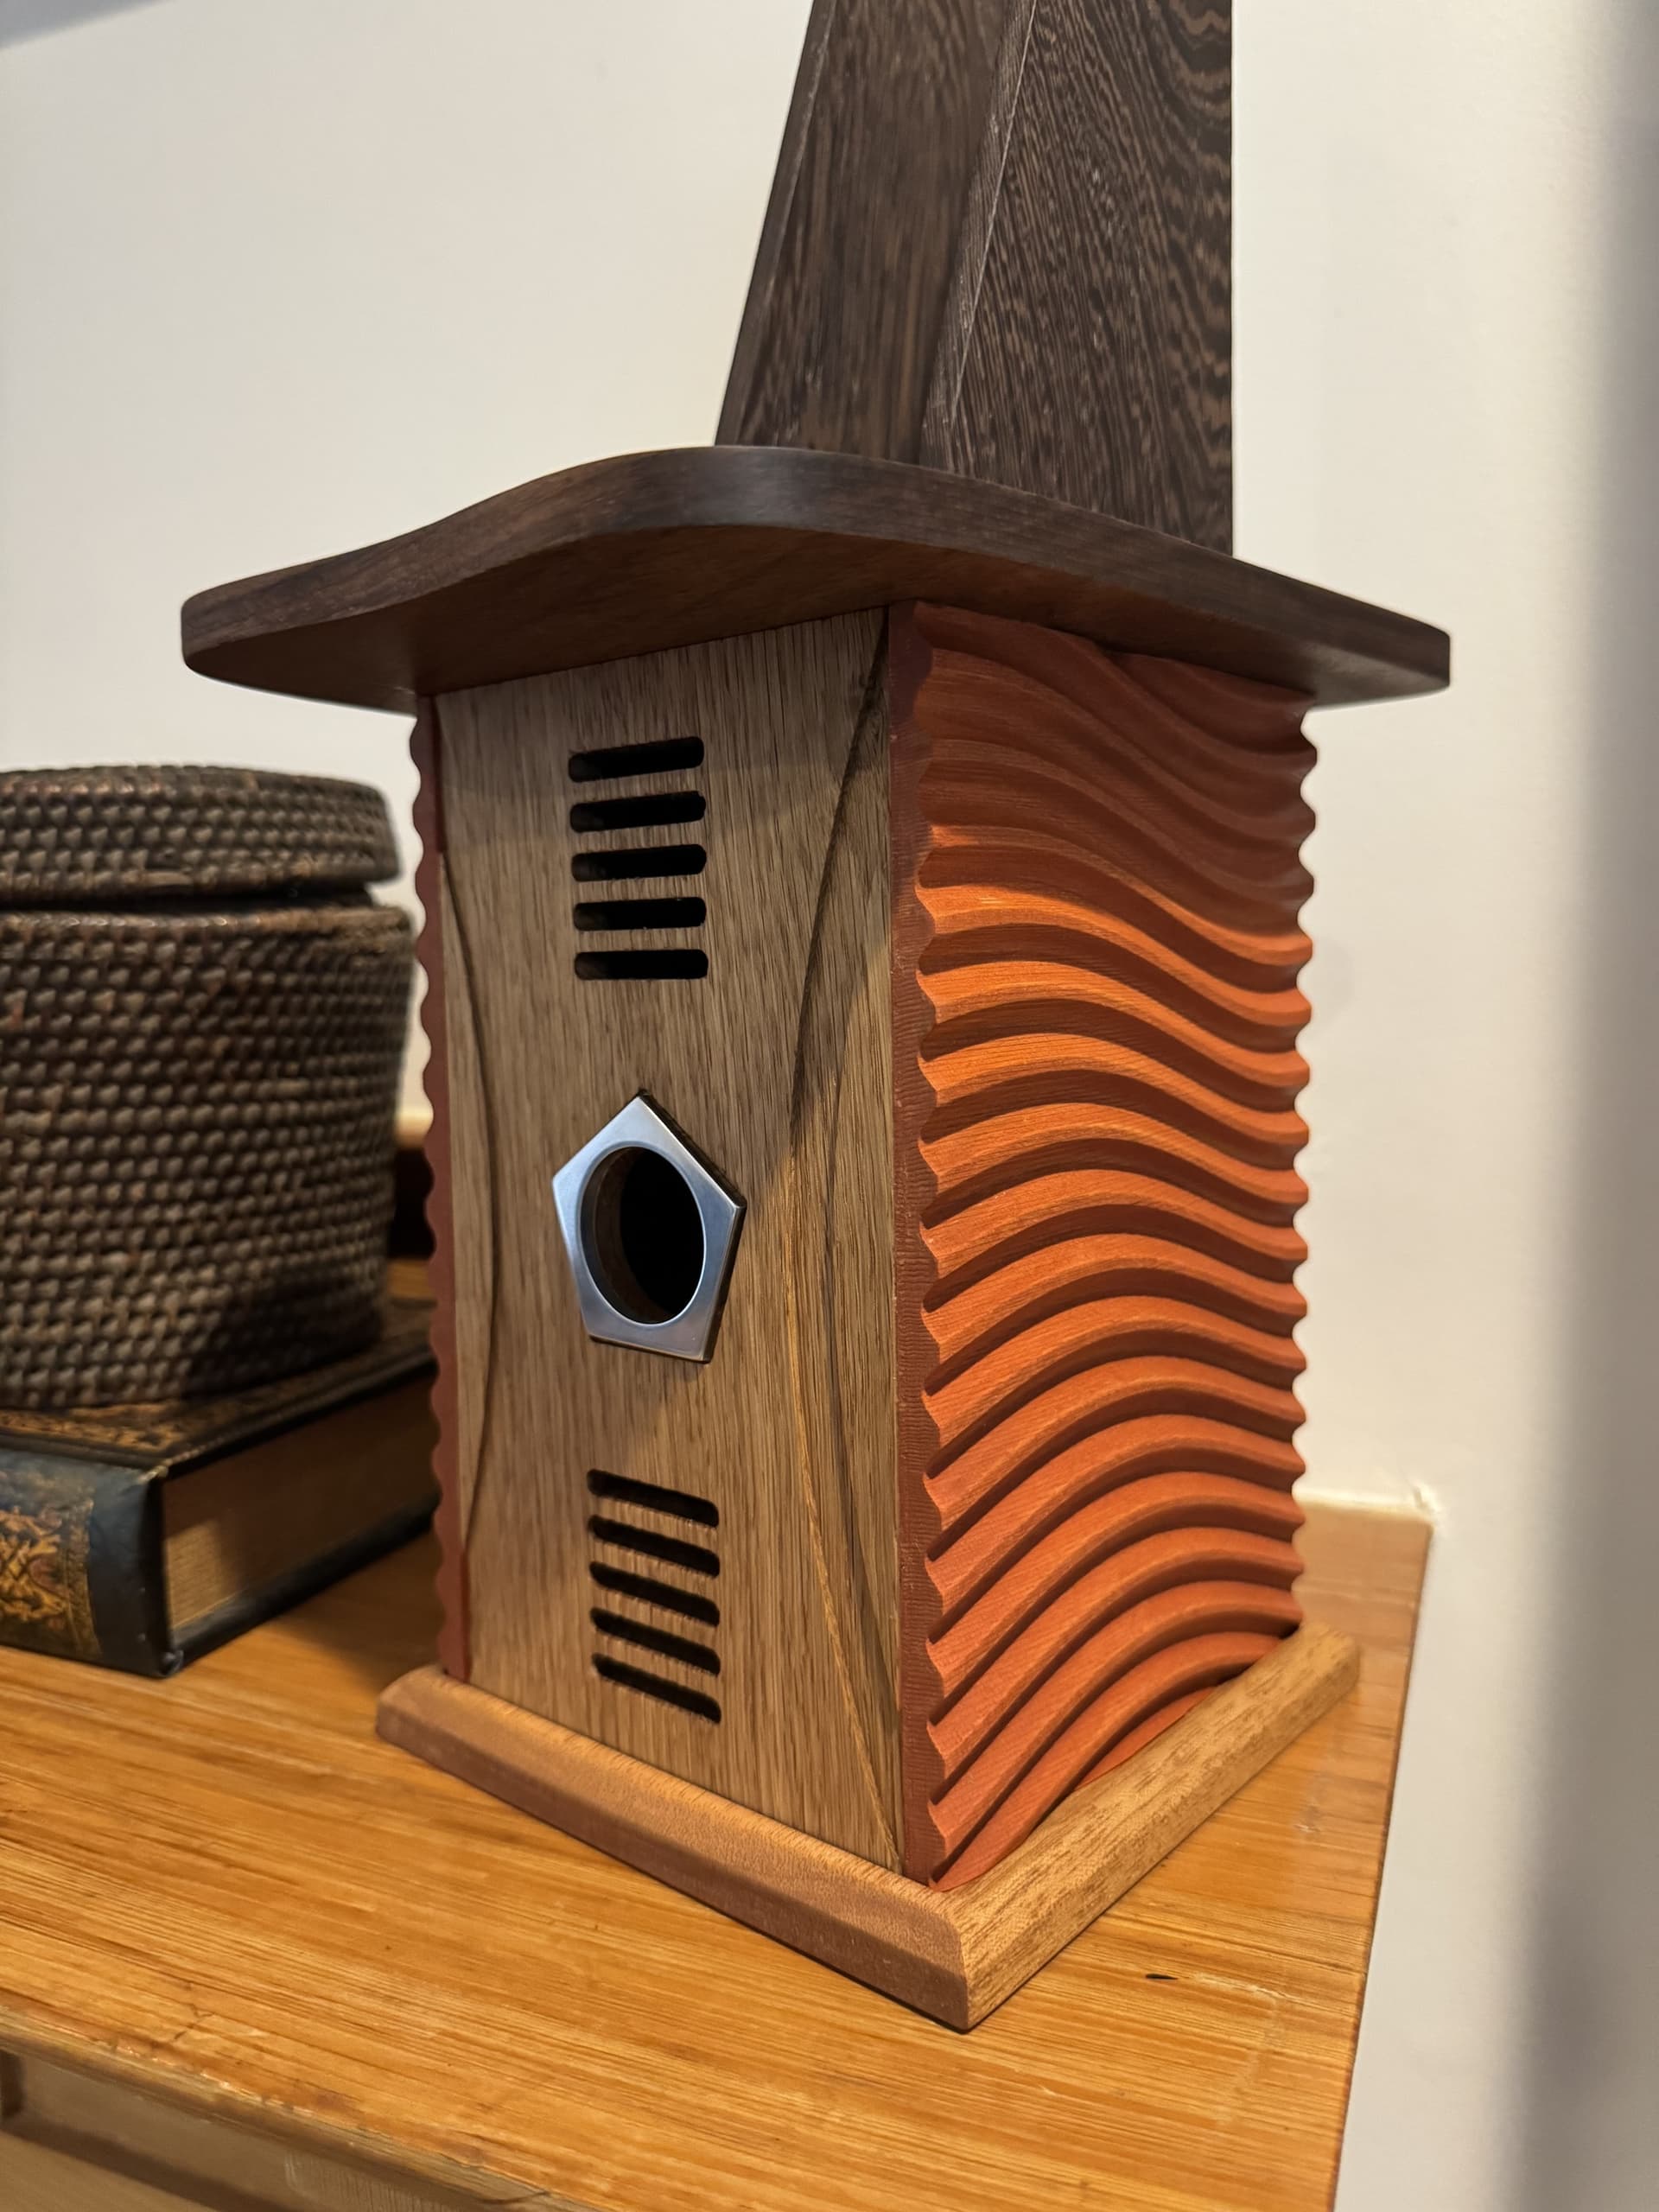
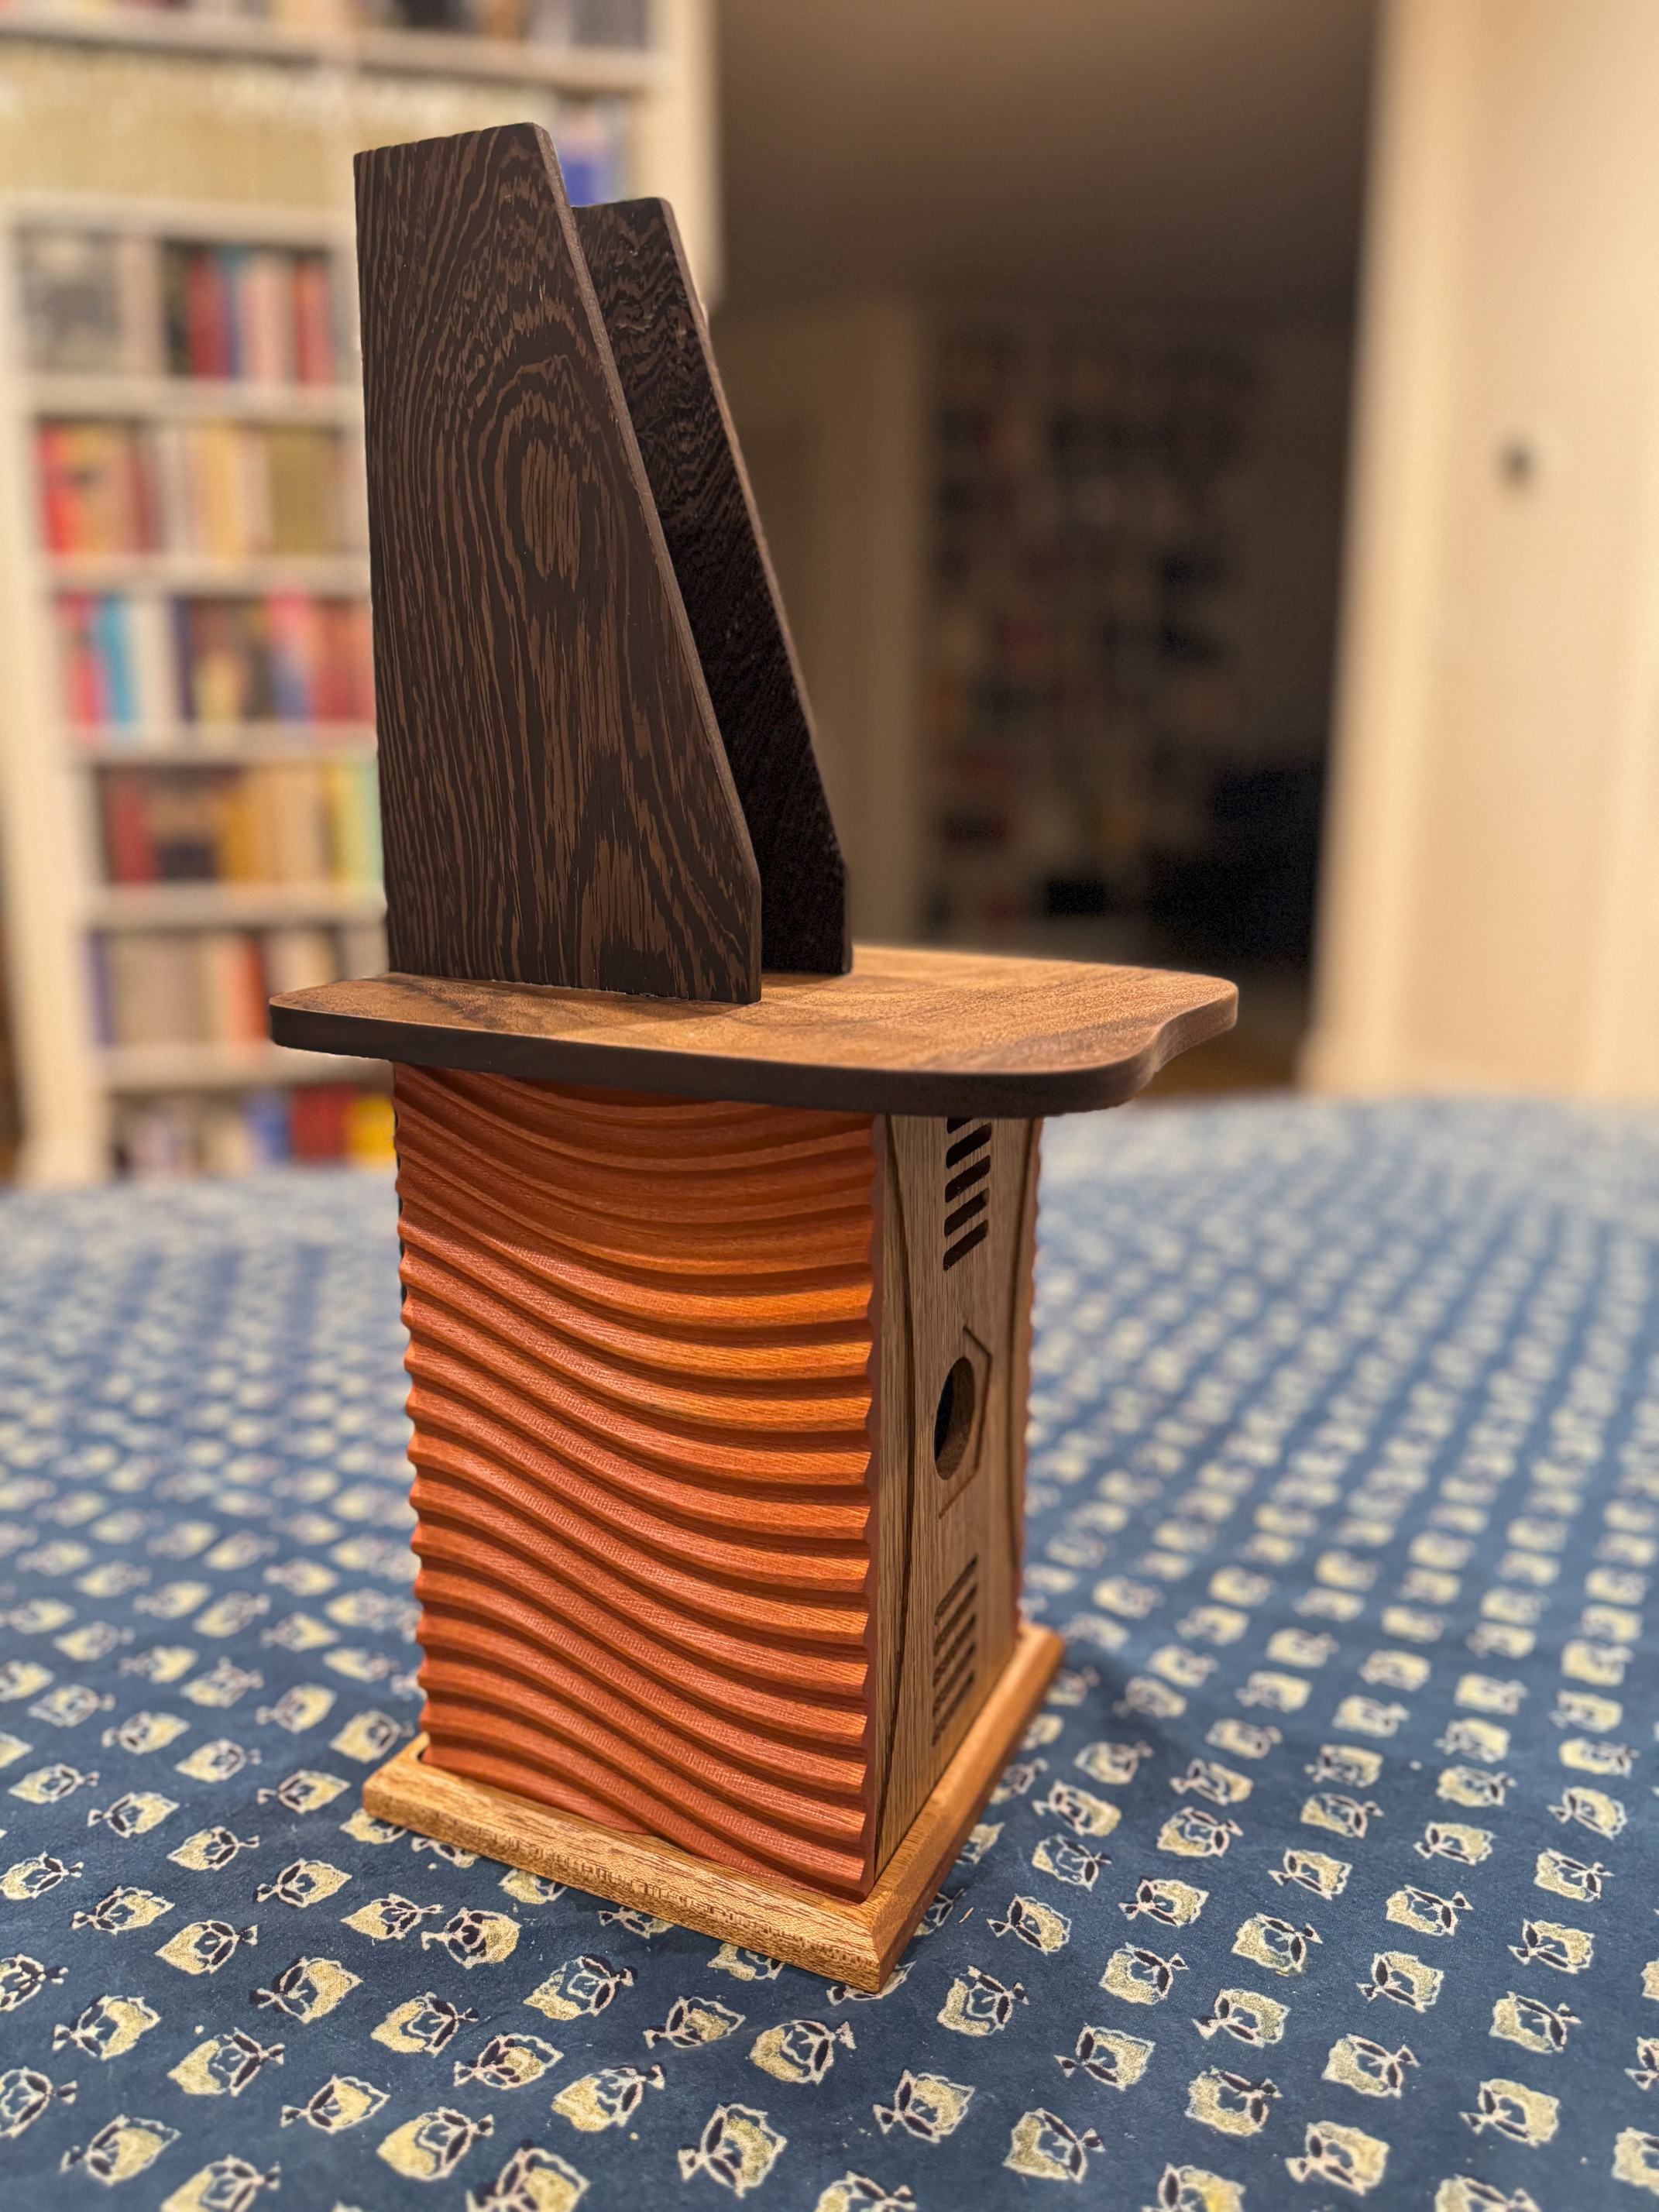
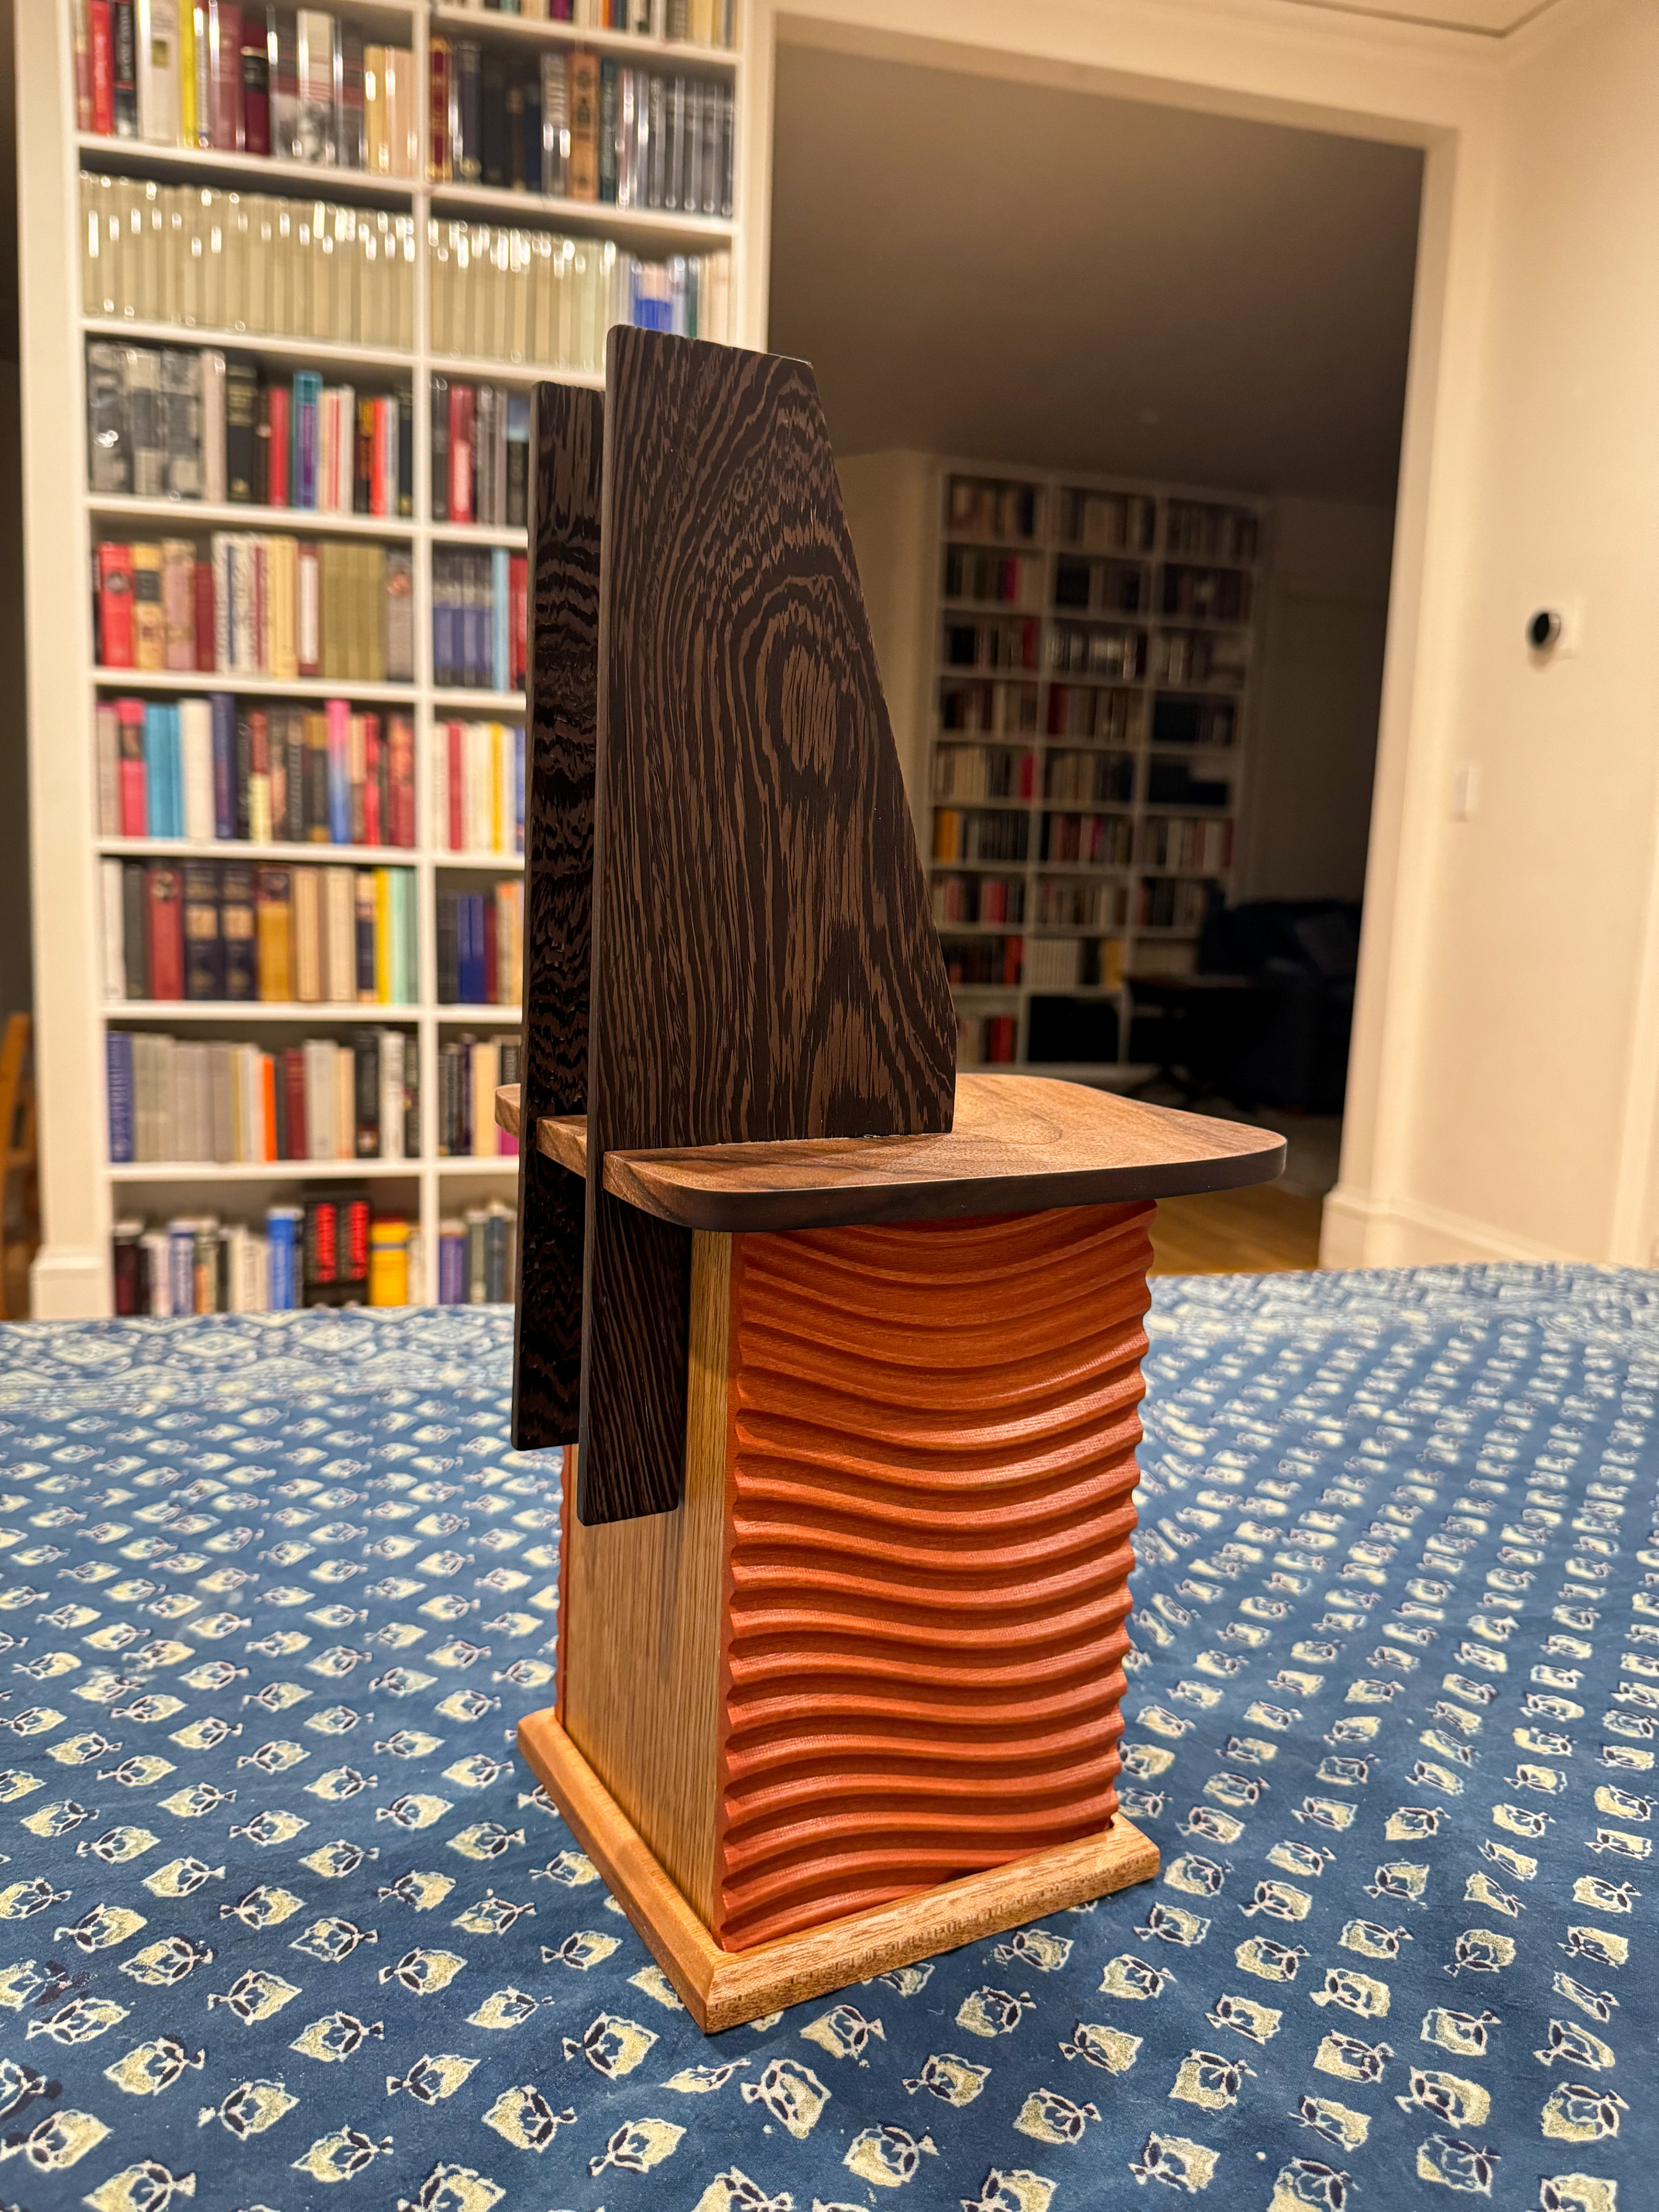
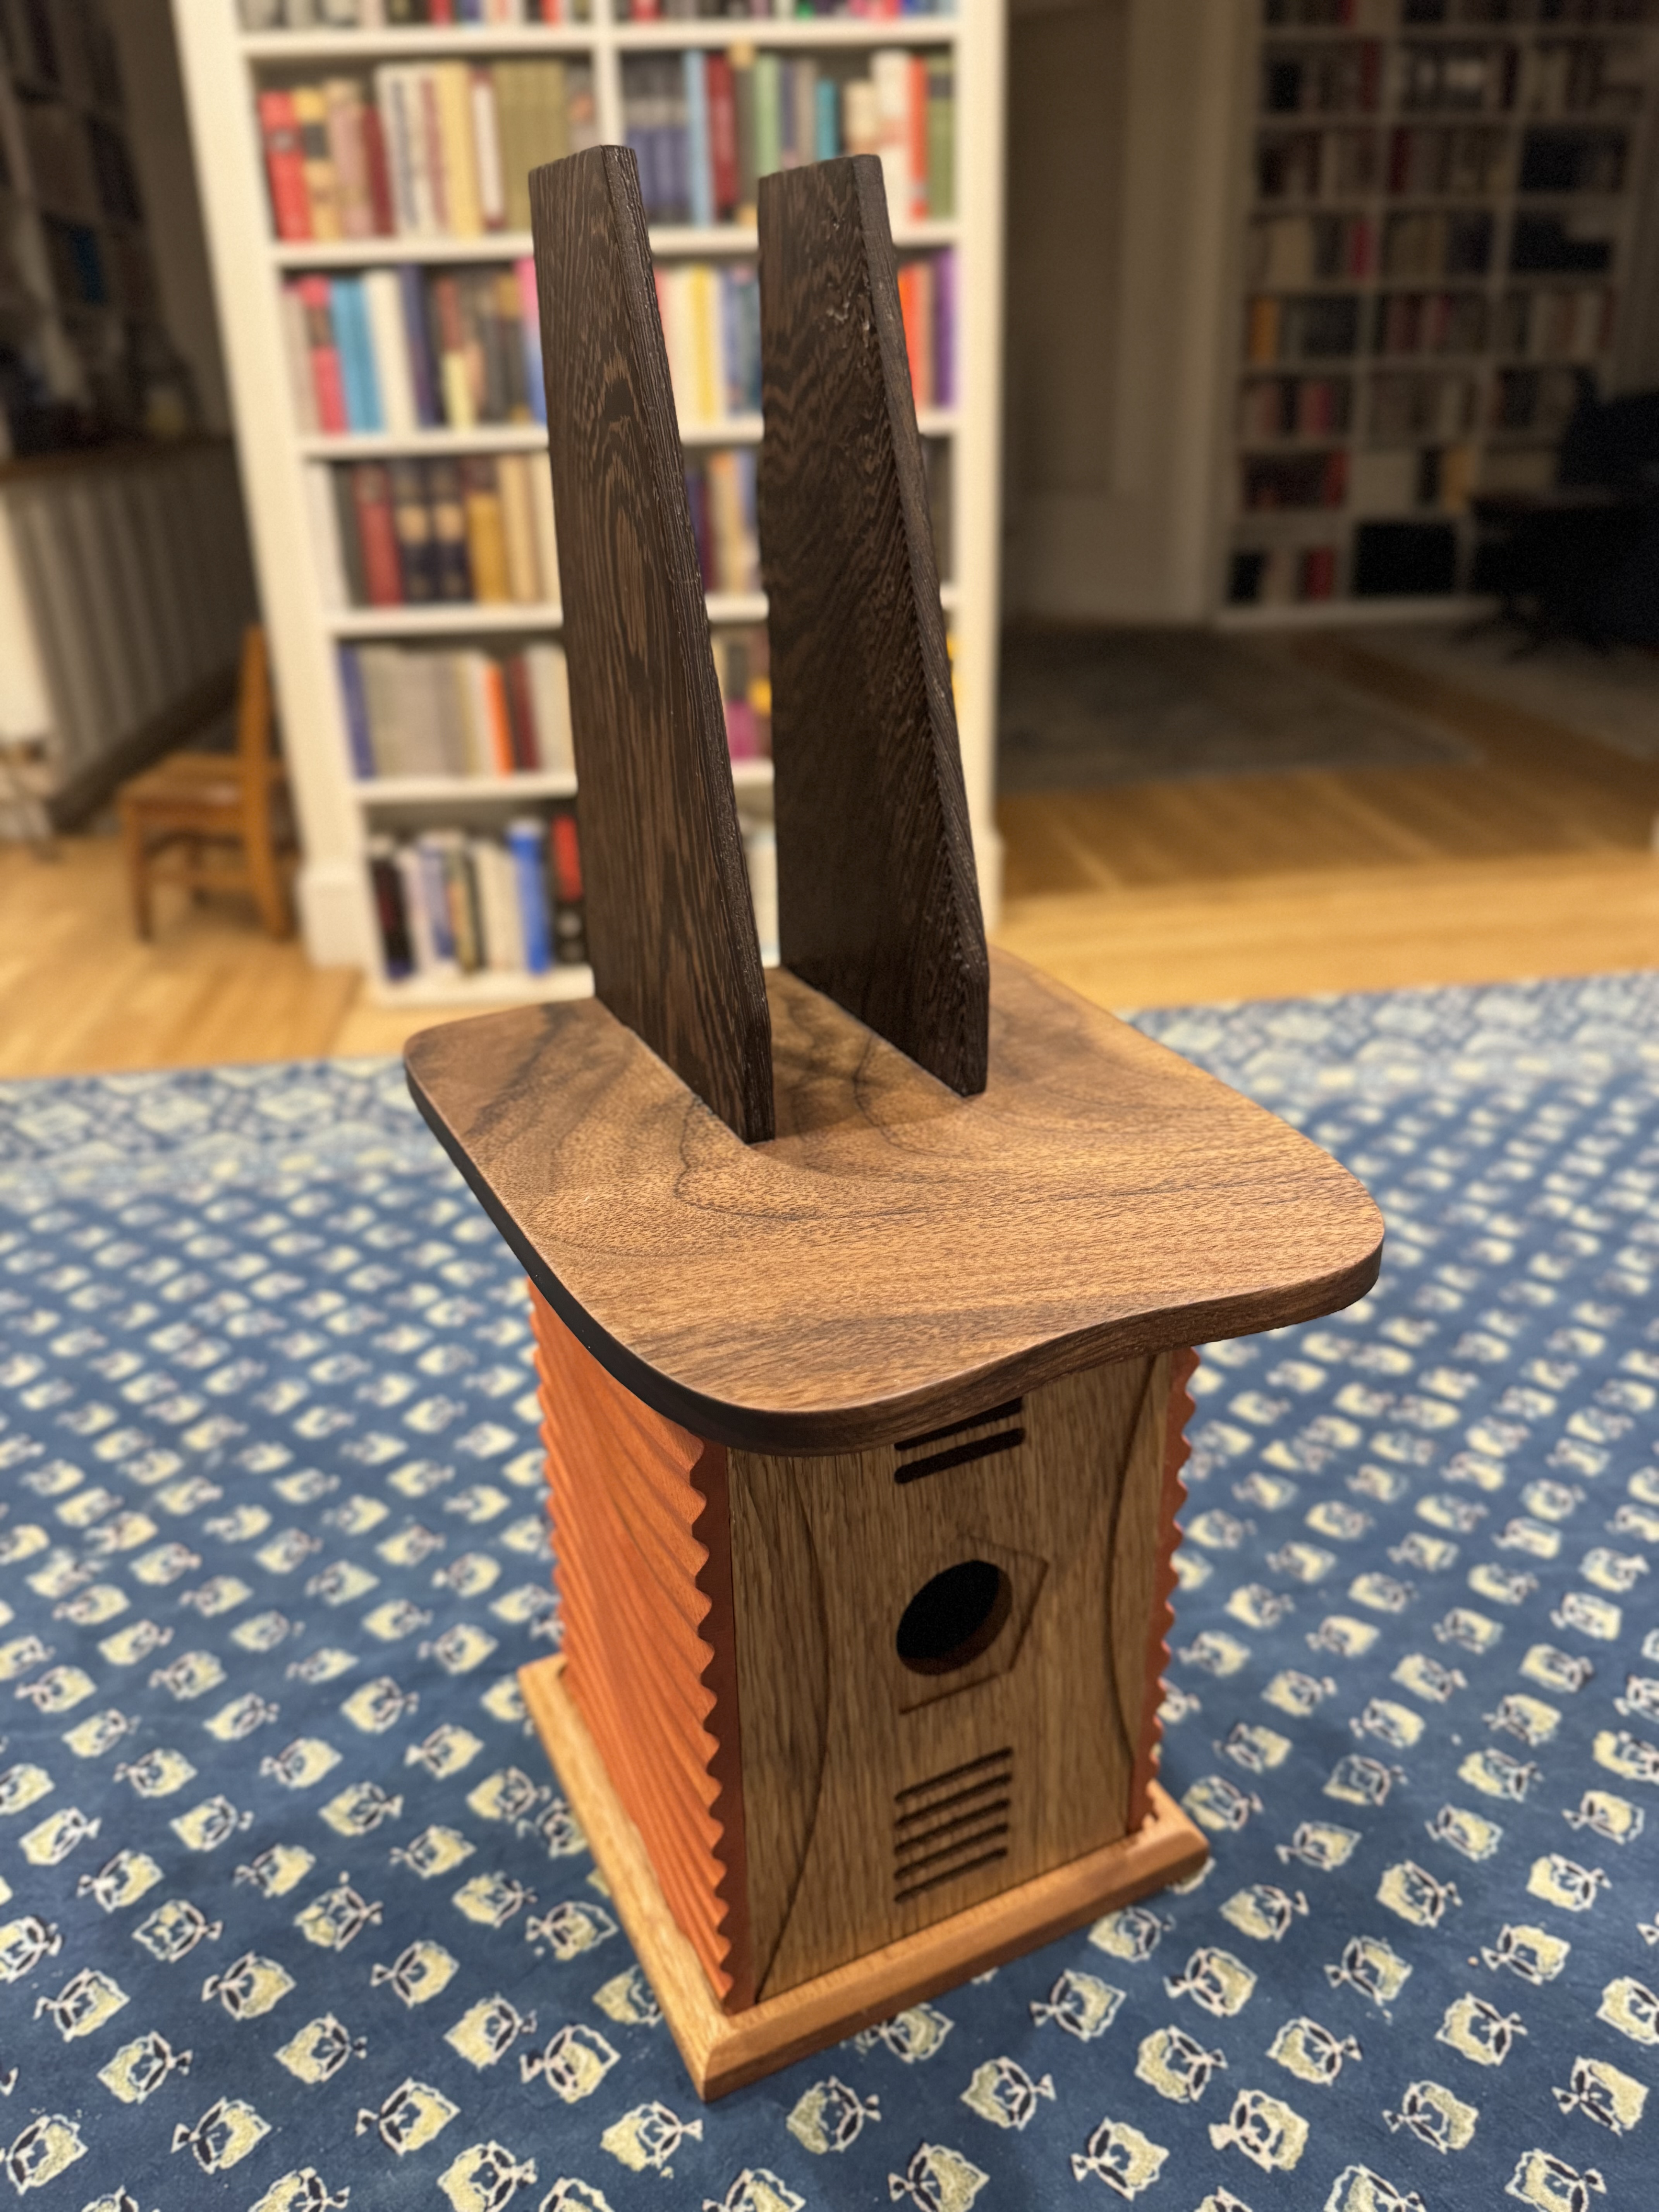
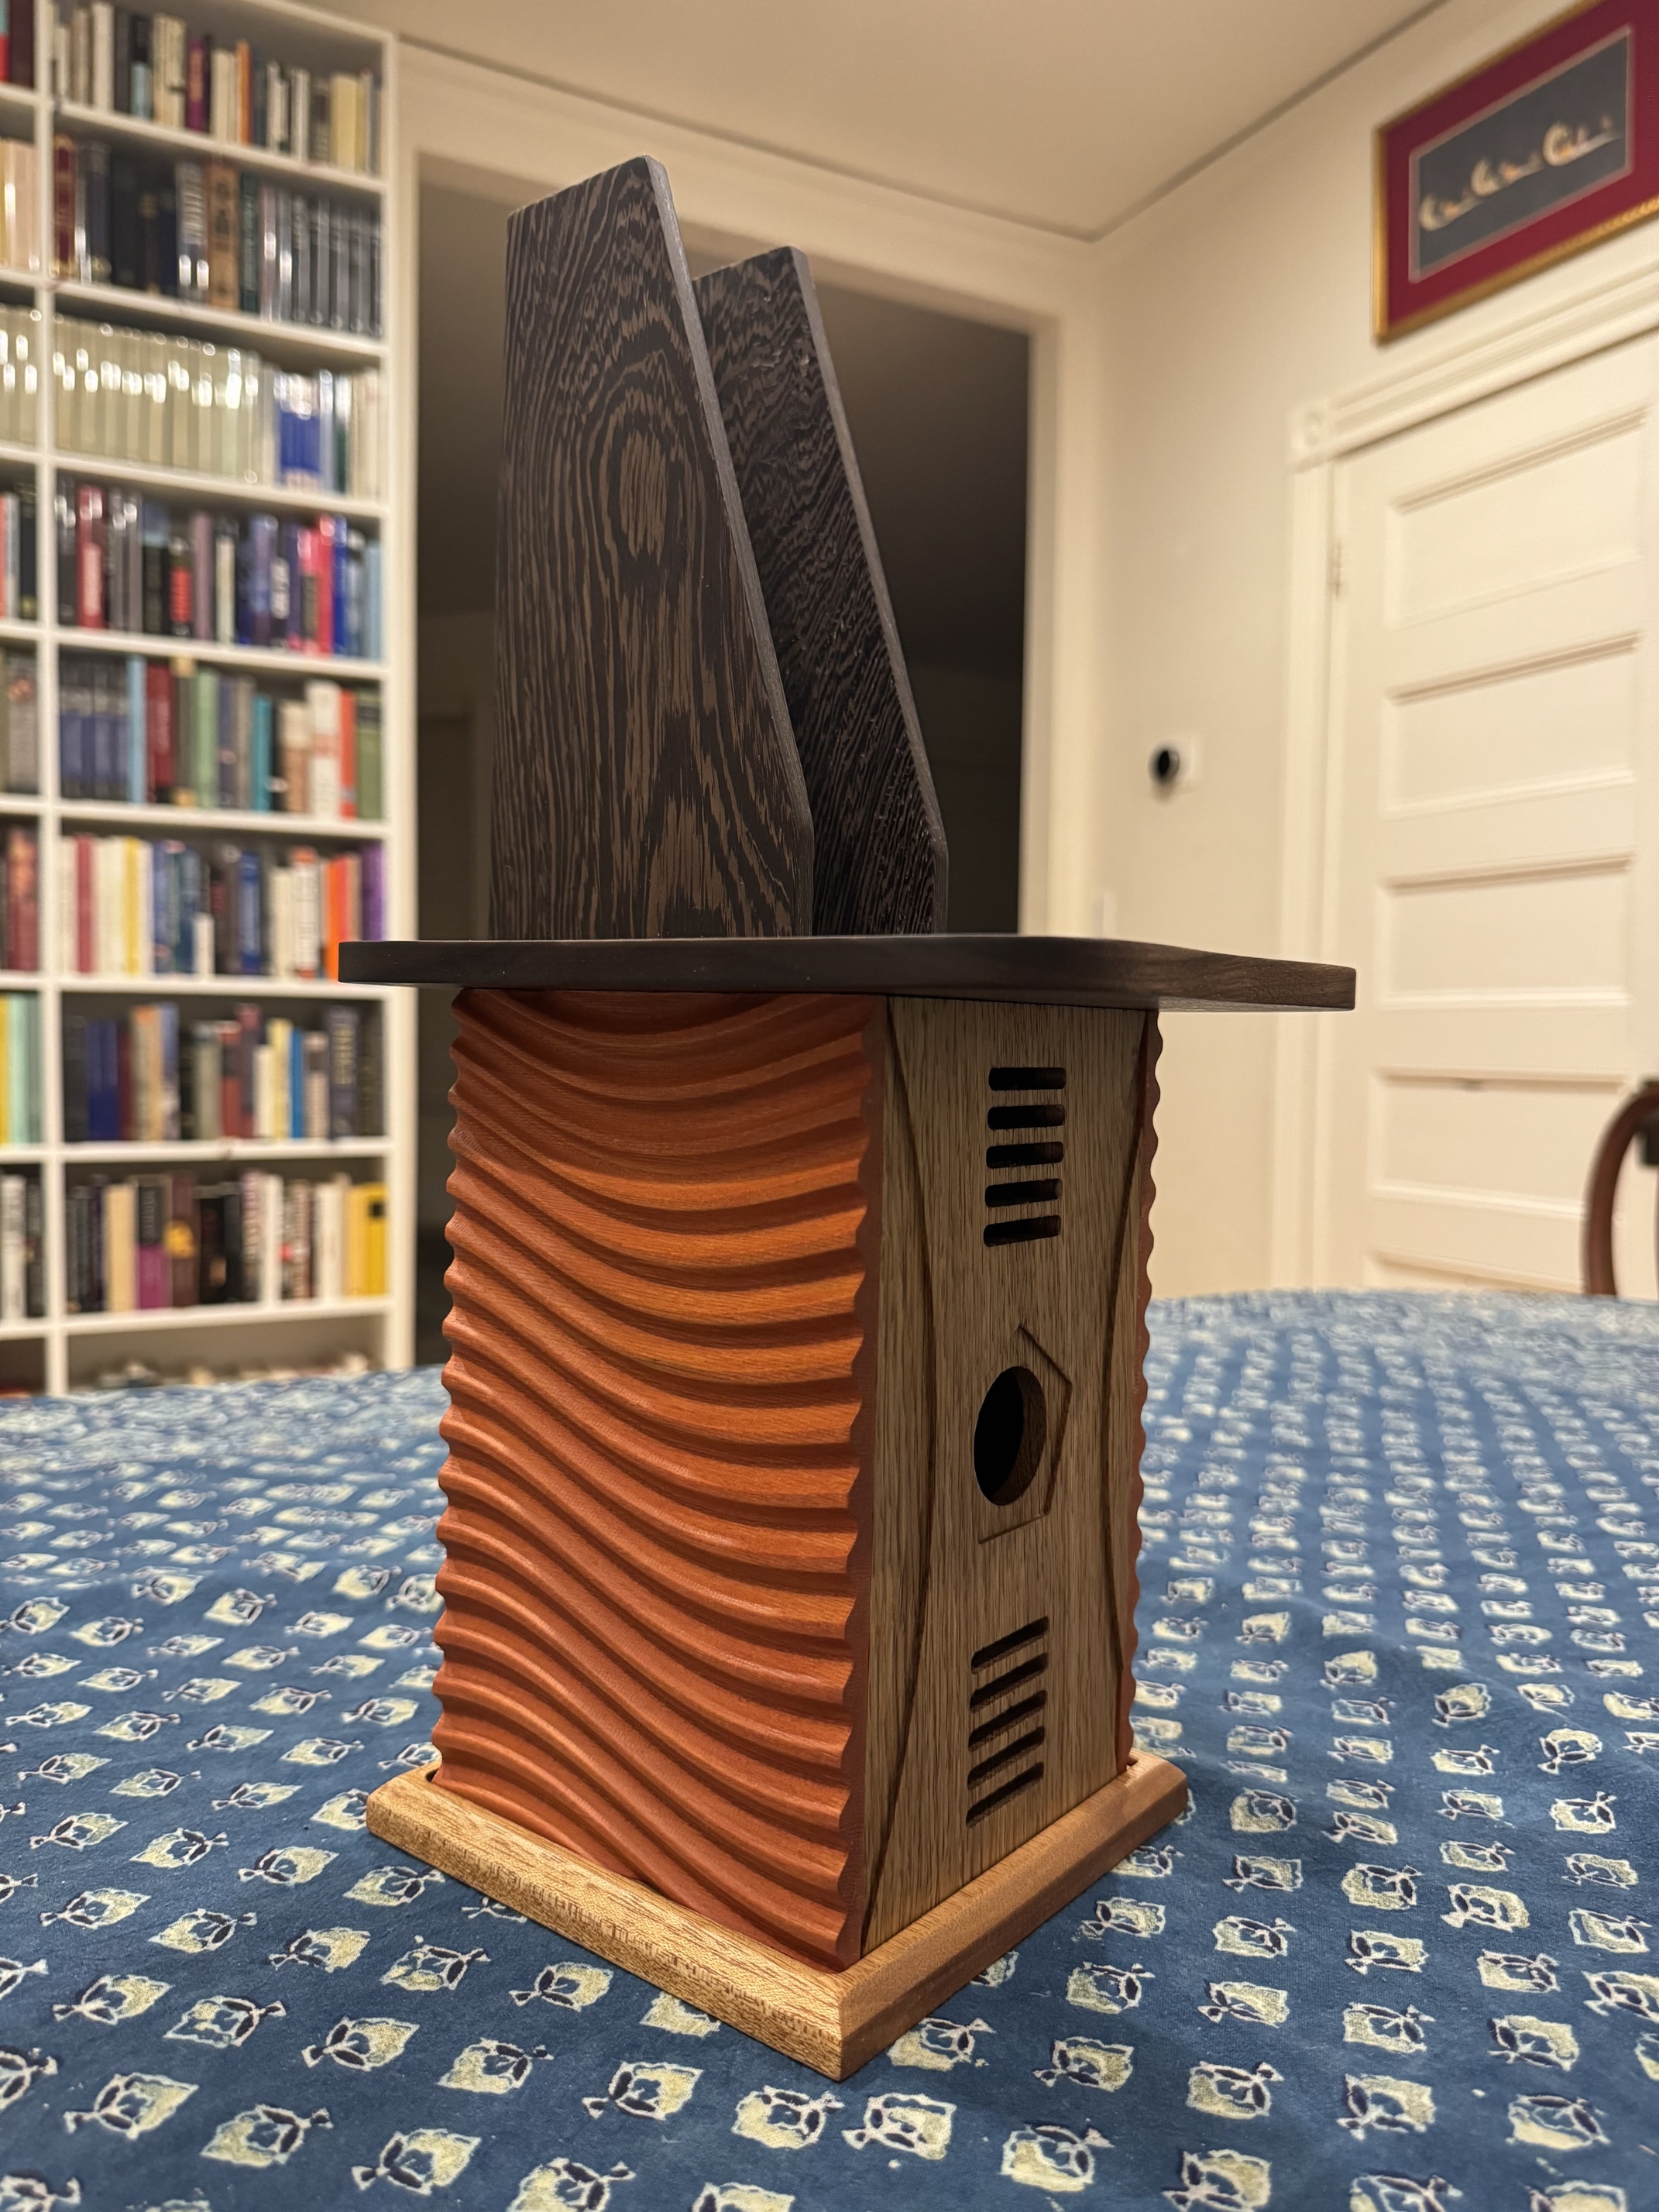
I had a bunch of small pieces and I thought it would be fun to make a bird house. I also wanted to practice a few modeling and finishing techniques—making ‘wavy’ walls in particular (red cedar stained with Odie’s terracotta pigment). Oak in front and back, walnut for the roof, mahogany base, and wenge ears (I have no idea why I added ears—it seemed like a good idea at 2:00 AM). Now I have to decide who in my family/friend circle gets another unsolicited wood project instead of a proper birthday present. I’m a new wood worker—really new!—but with a lot of experience in 3D printing. I’m enjoying getting to know how beautiful and tactile wood can be; it sure beats PLA! Starting to spend too much time in the basement wondering how much of the media room can be annexed…
The wavy texture is awesome. Do you mind sharing how you did that? And do you need the pro version of the software?
HEY BRYAN: Great looking birdhouse! I like it.
Just a reminder to ALL Birdhouse builders that birds are fairly specific as to what size opening they prefer as well as the size of the ‘floor area’, and whether they need a perch or not. Also the height that the birdhouse is hung also determines if it is used or not. Birds are like humans with respects as to what they will live in and what they will not live in.
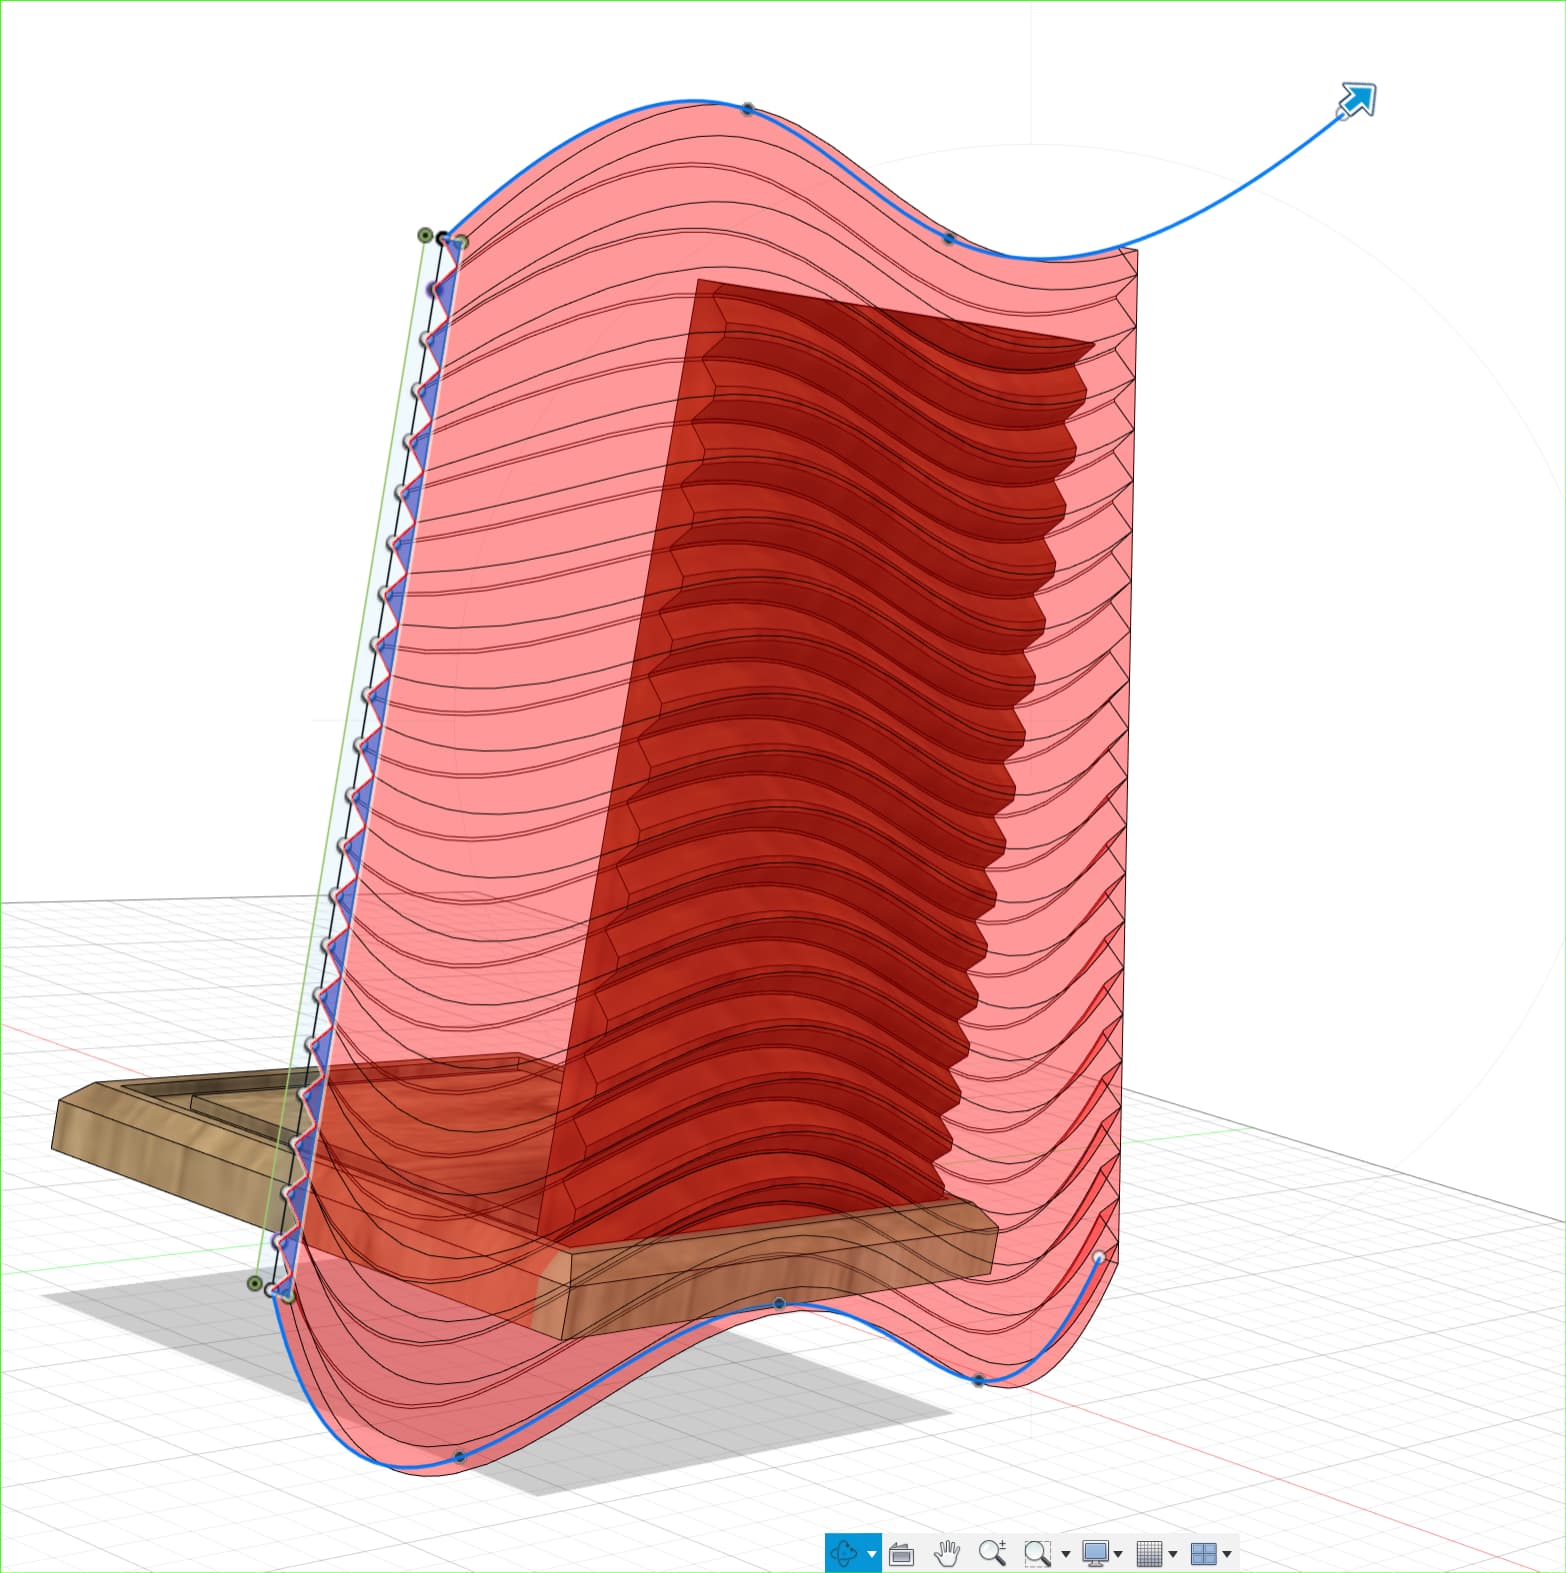
Hi Charlie–thanks for the question. I’m not sure how to do this with the Carbide software. I use Fusion 360 to do my design work. In Fusion, you can make a wavy wall using a ‘sweep’ operation. I created a rake-like profile (a string of triangles) and extruded that using the sweep function; I then use the extruded rake-like object to cut the waves into the wall. Hard to describe! See visual below, which may help illustrate it.
Thanks for the notes, Jesse! At this point, my birdhouse is more artistic than functional. Especially now that I’ve added an aluminum entrance ring! First time milling aluminum—it went surprisingly well. But I suspect it’ll confuse the hell out of local birds. I’ll make a few more houses this year—with hopefully more bird-friendly features.

That entry plate just sets off the whole birdhouse, not that it wasn’t really neat without the entry piece.
Yeh, I just added the comments about the hole sizes, perches, etc. because people do build a lot of these using their instincts as to what they think will attract birds. One of the worst is drilling huge holes and then they wonder why a duck or owl is paying visits to their birdhouse for wrens and other small birds. ![]()
I need to get busy and figure out some 2.5 D bumps to mimic a pie crust. I don’t have the 3D, however, I did mill a Buffalo Nickle, both sides for a small bank and that turned out very good. One just hast to try something out to see if it works!
Thanks—good to know!
Thanks! Delighted to be the Hump Day selection!
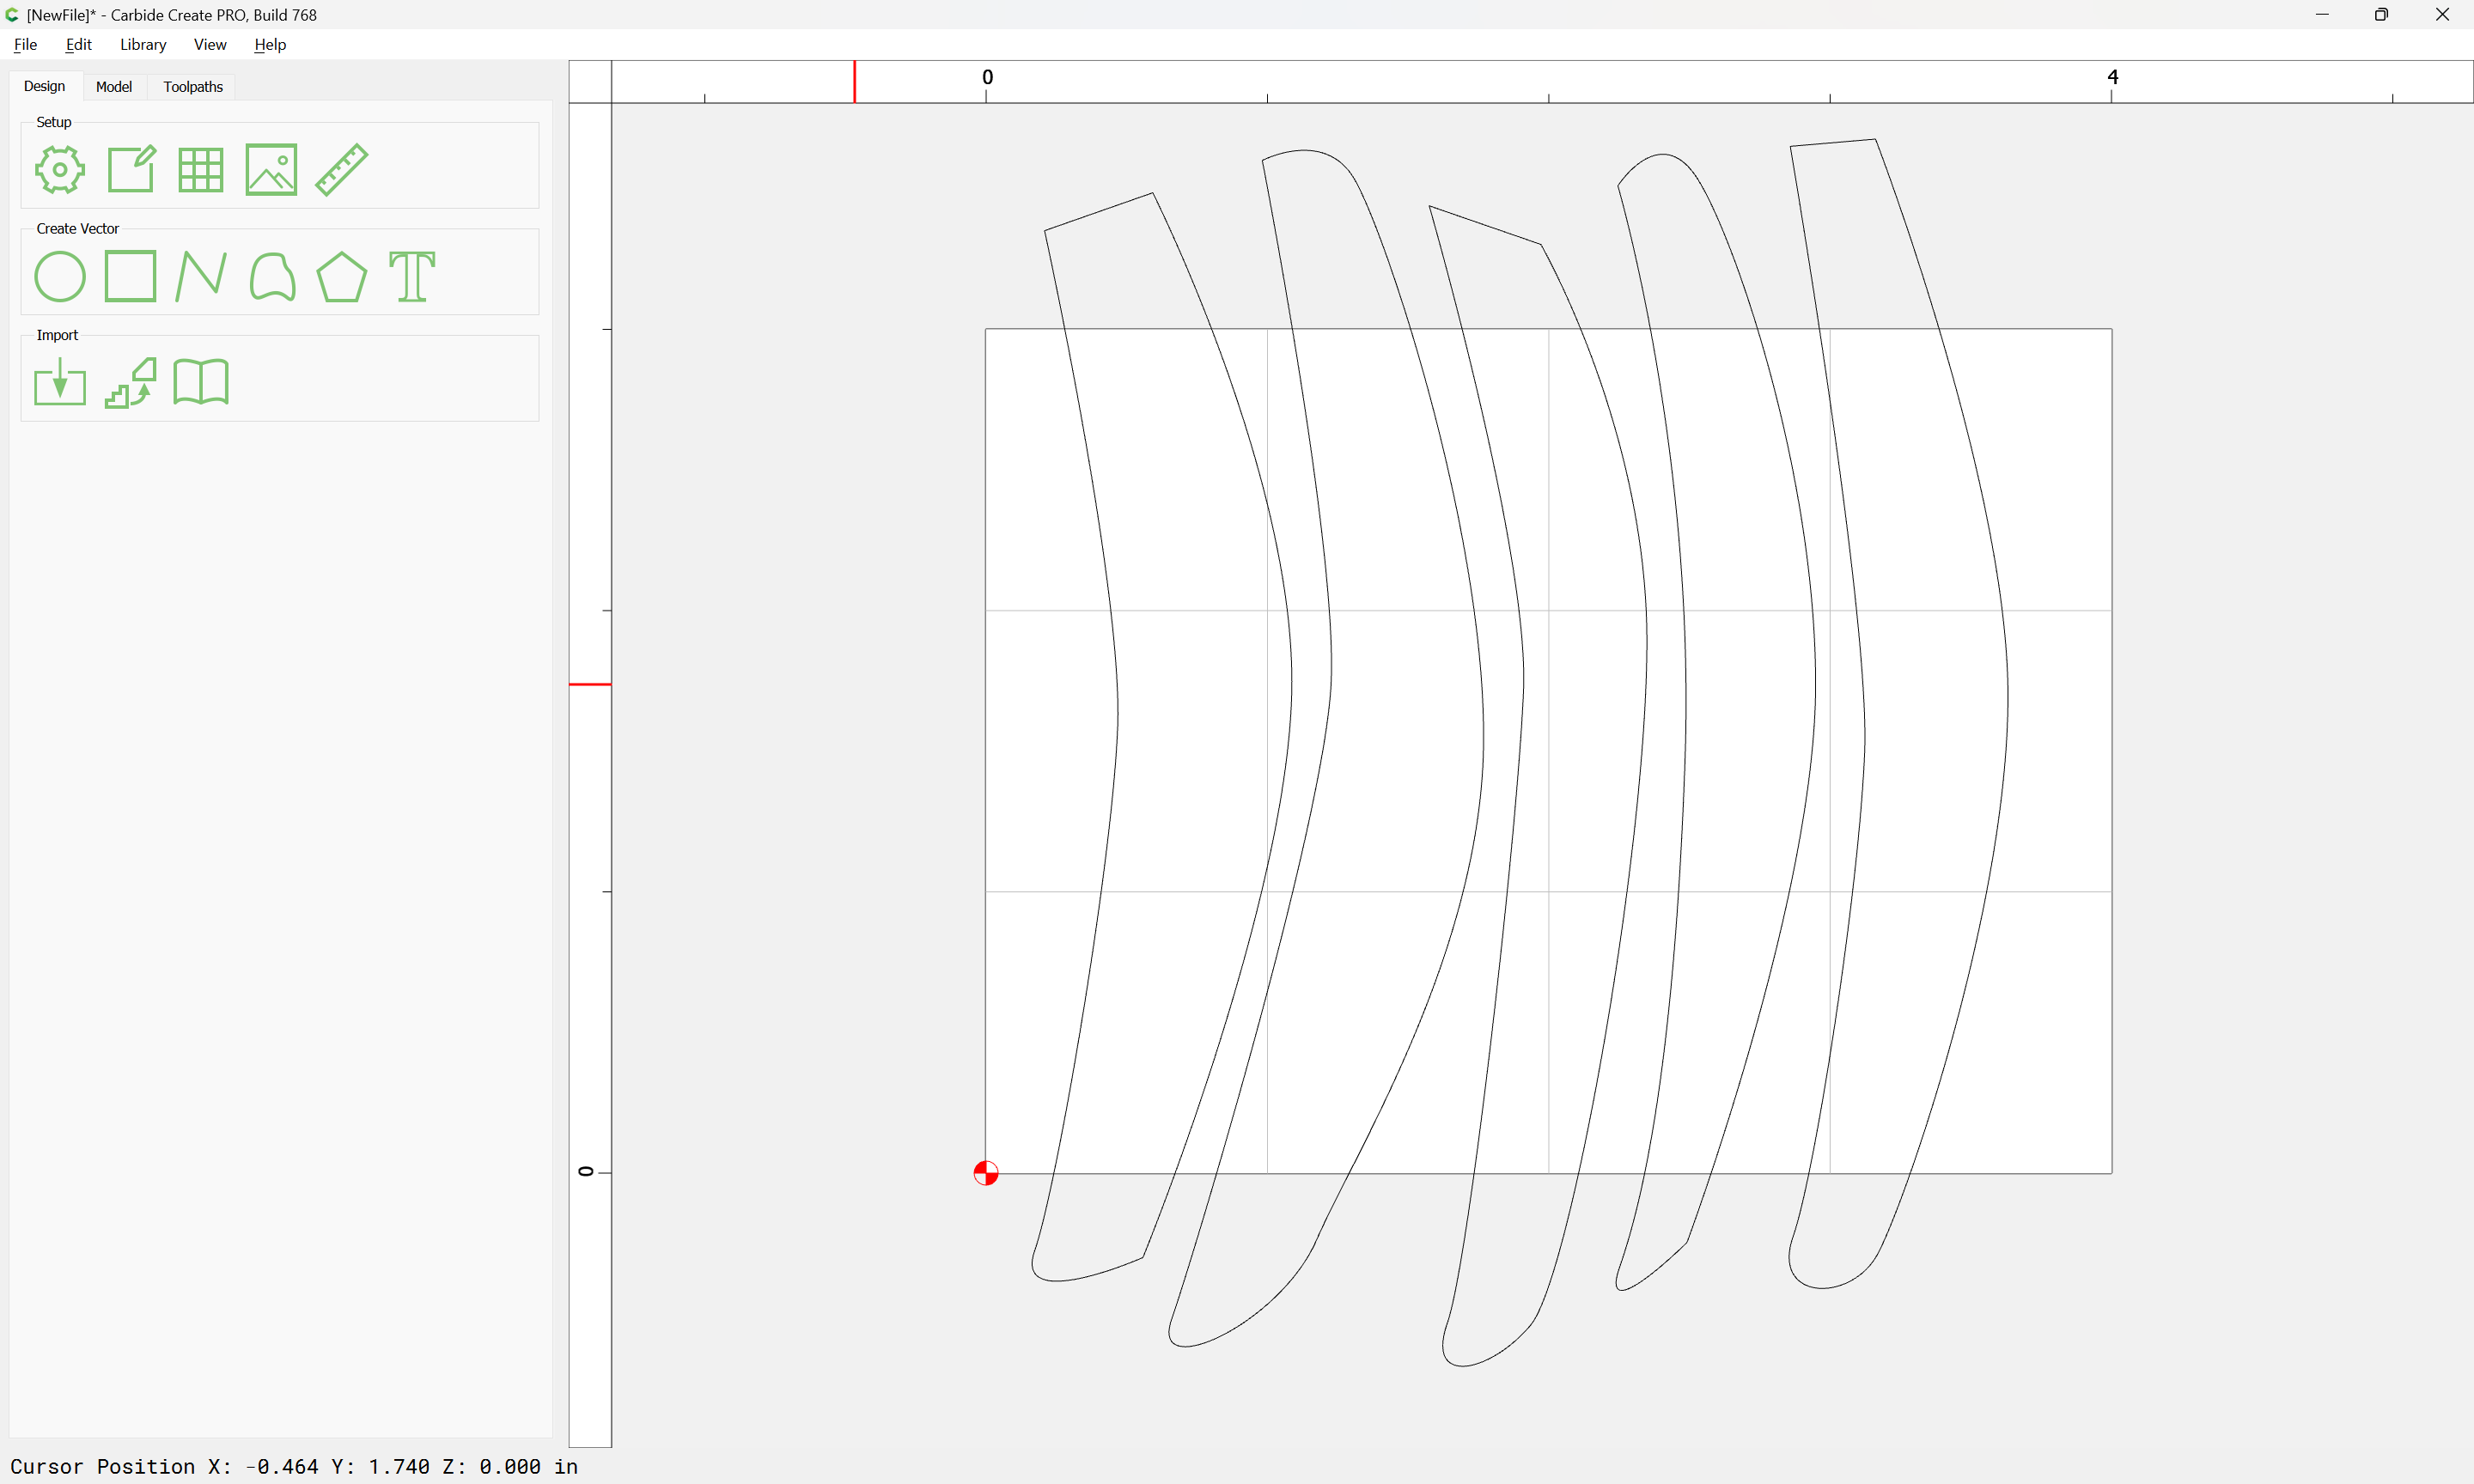
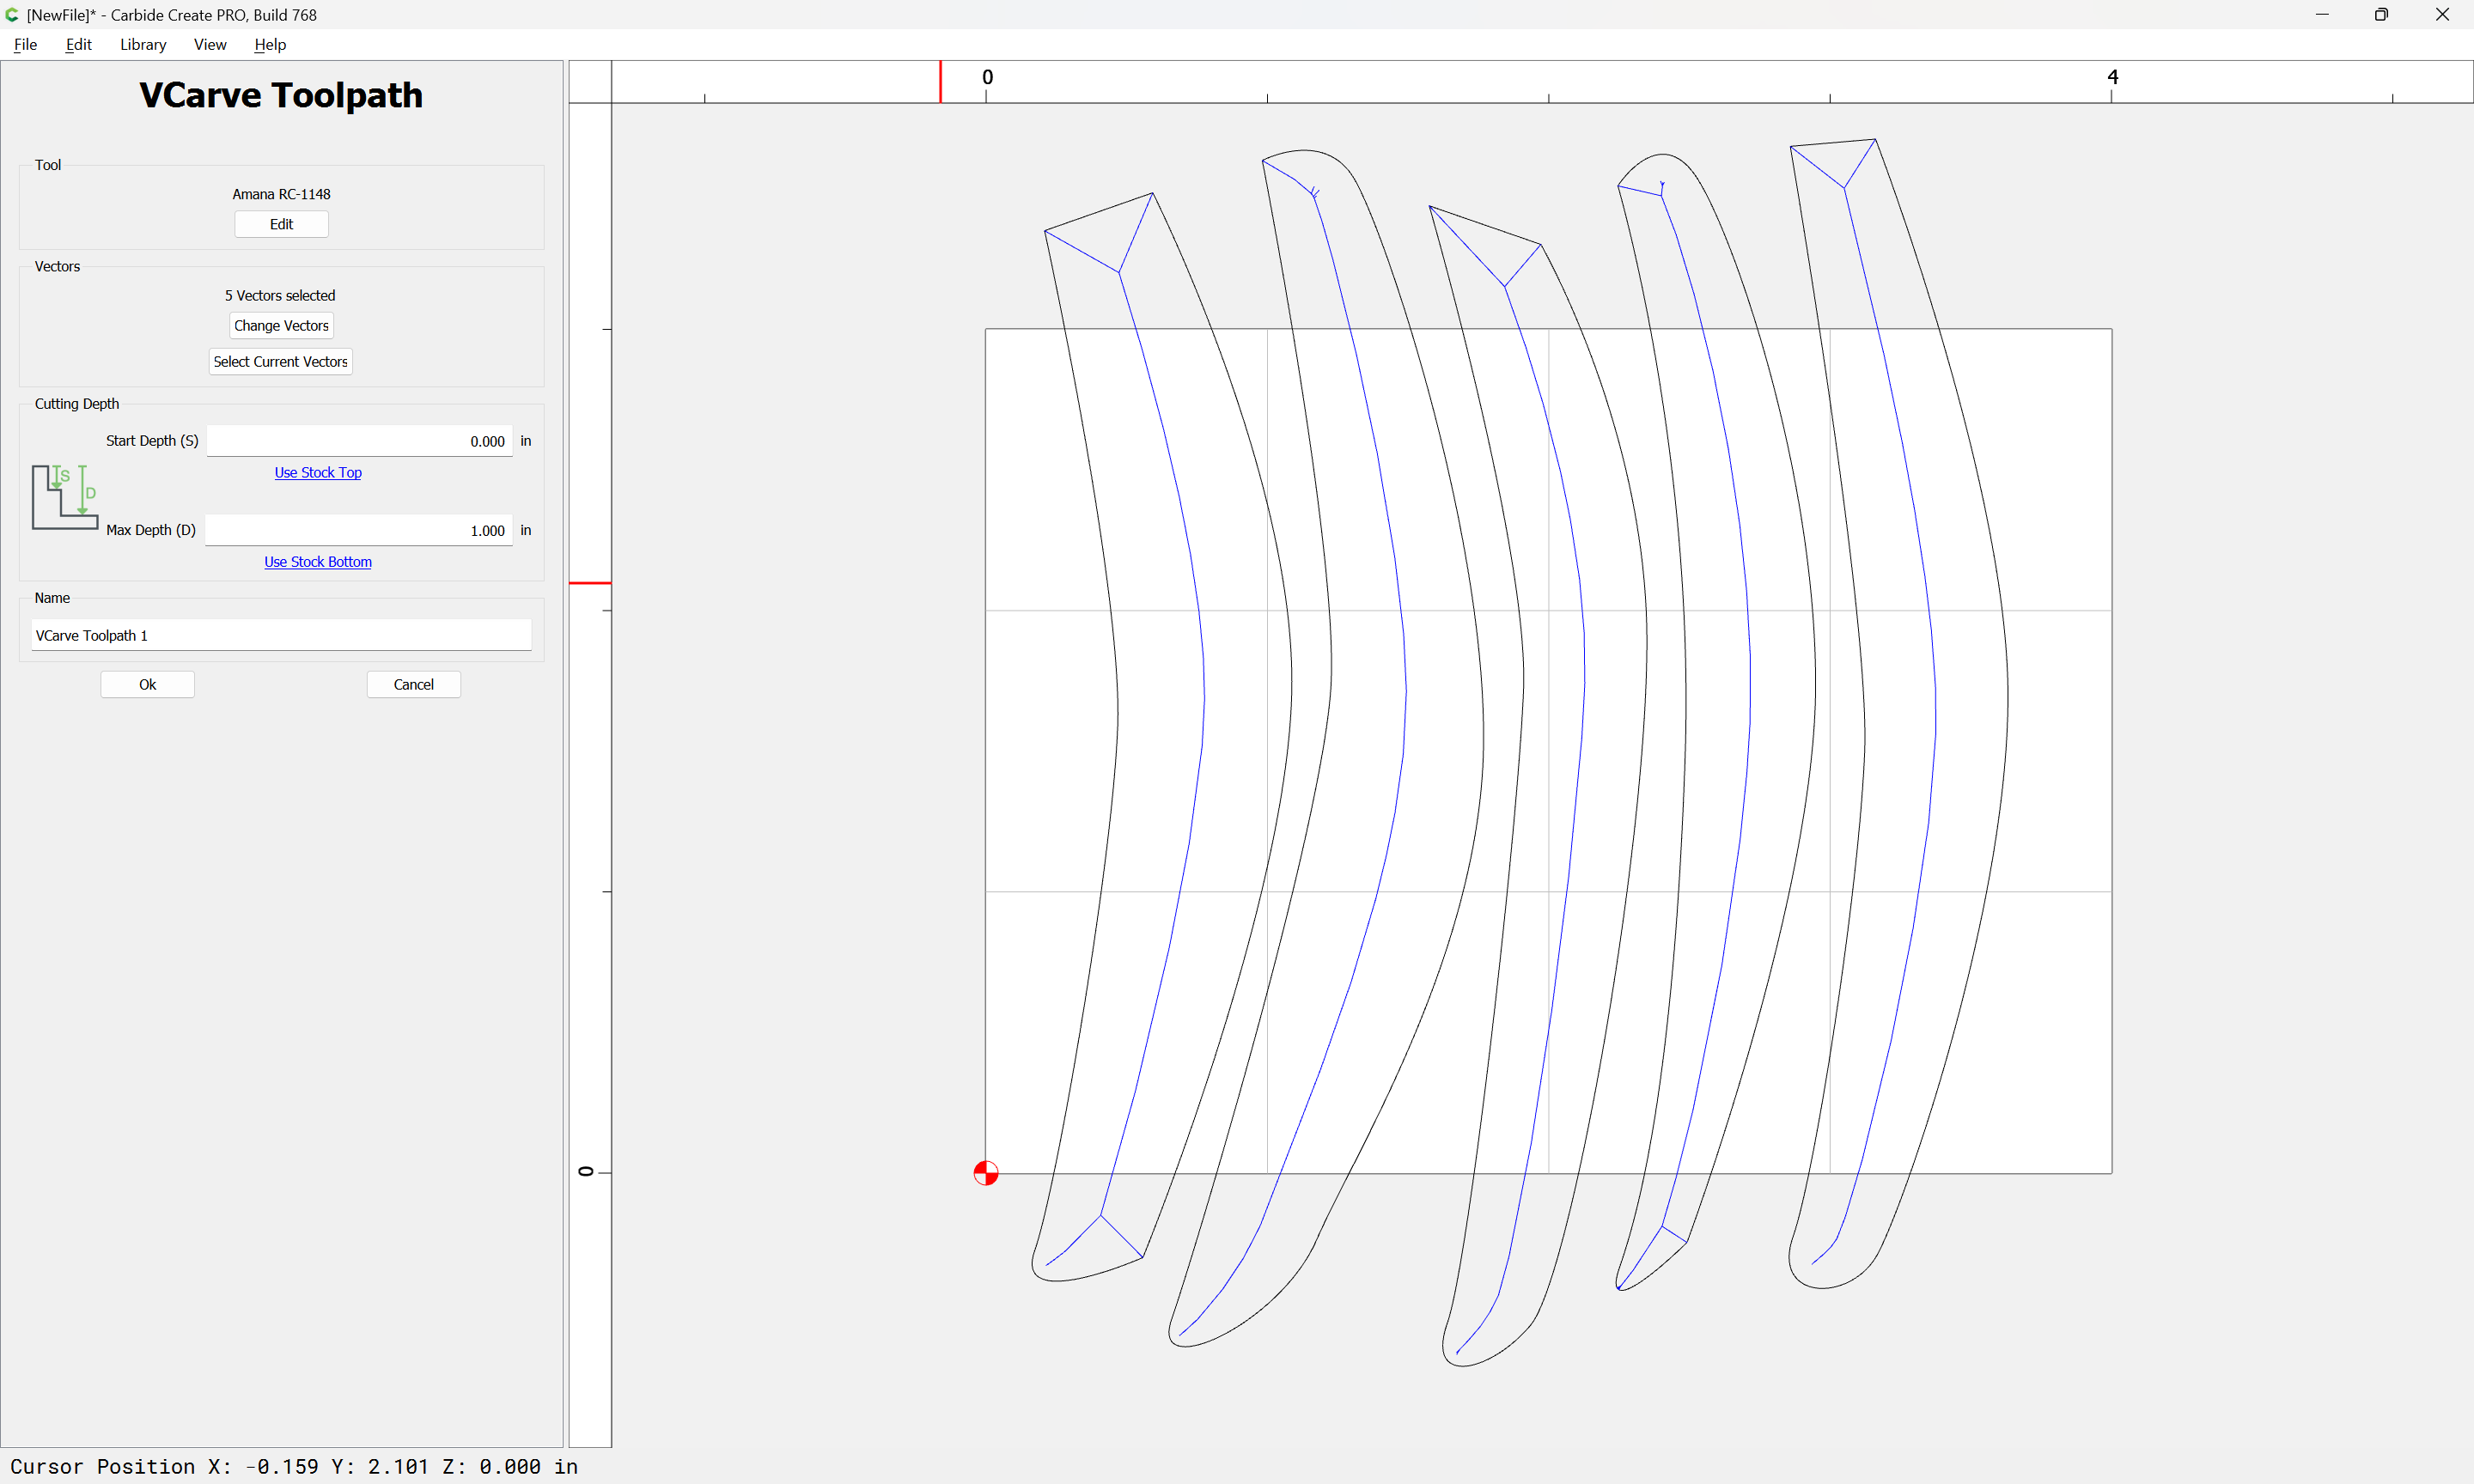
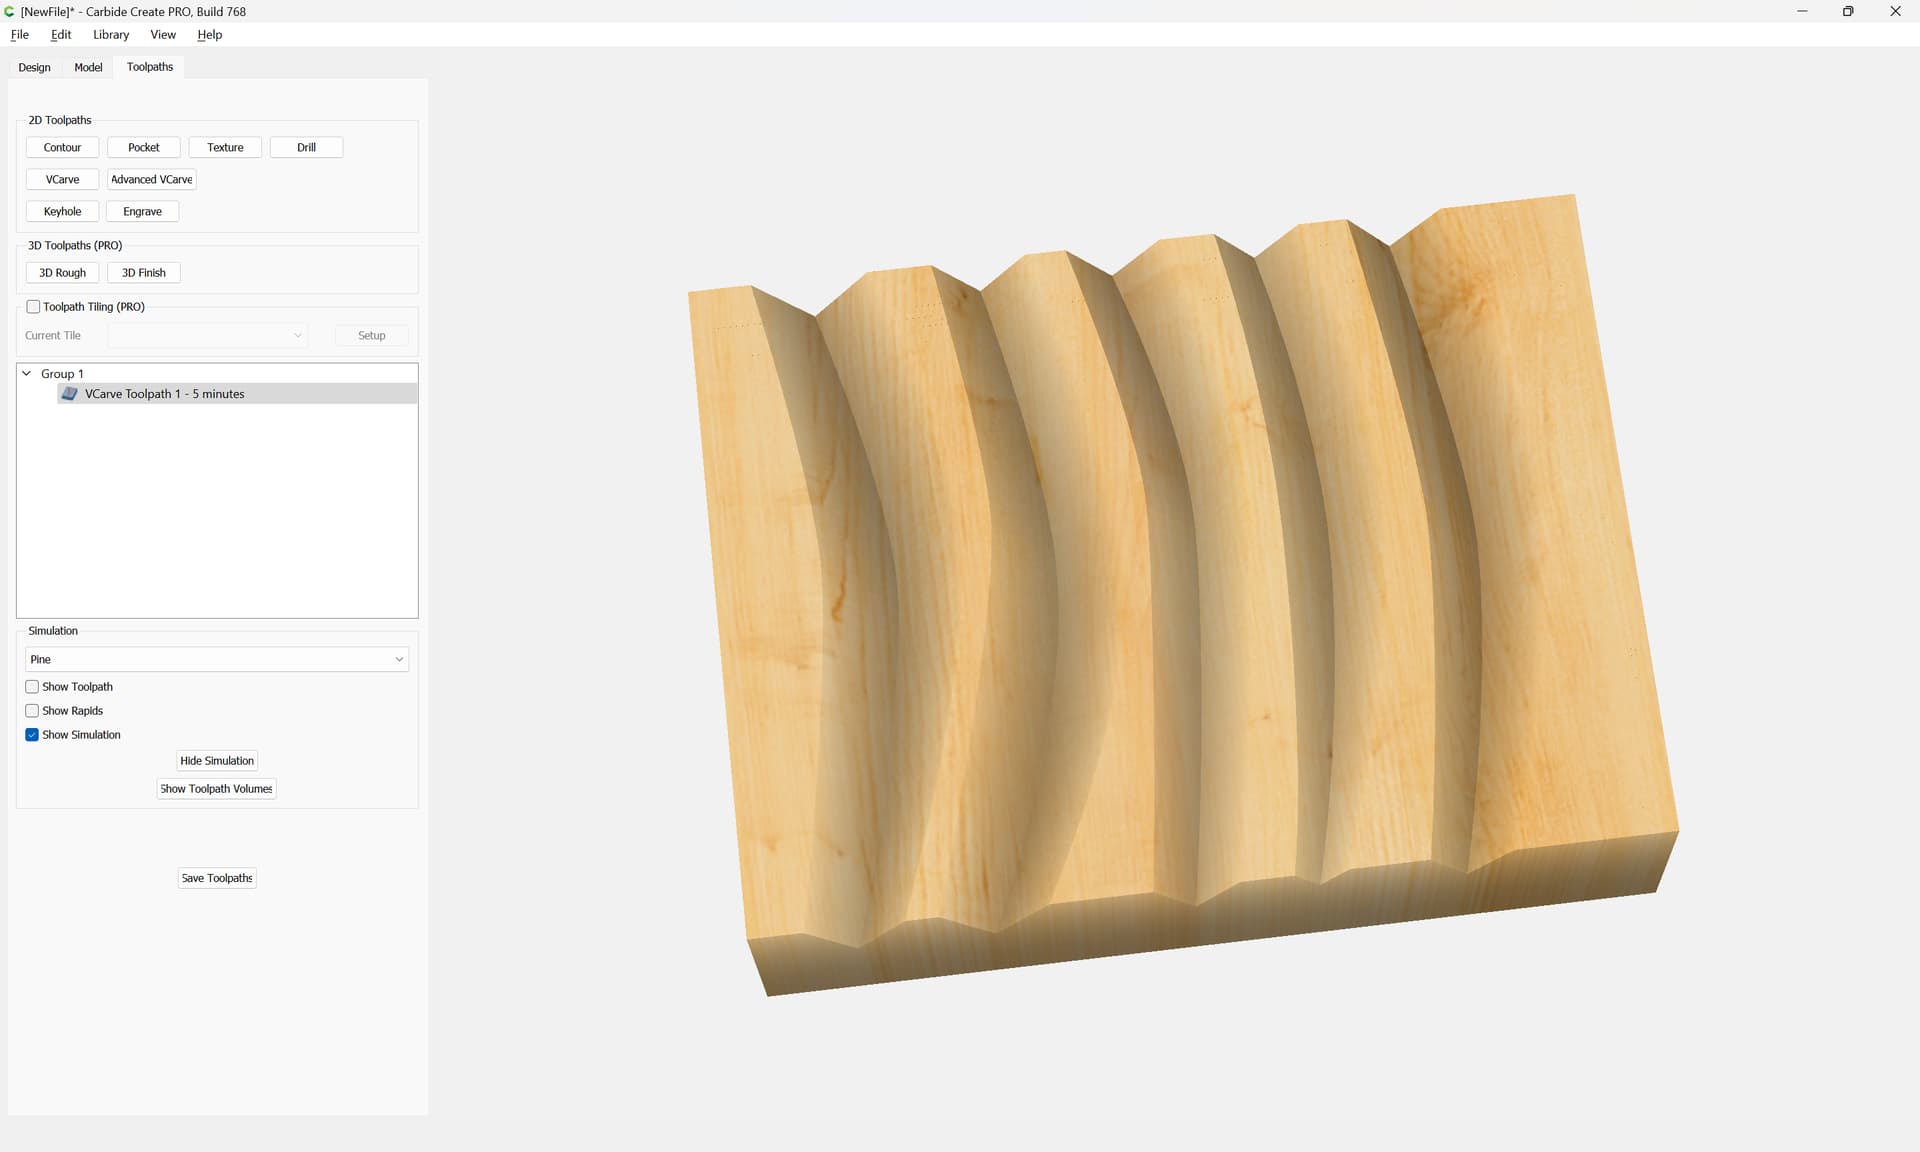
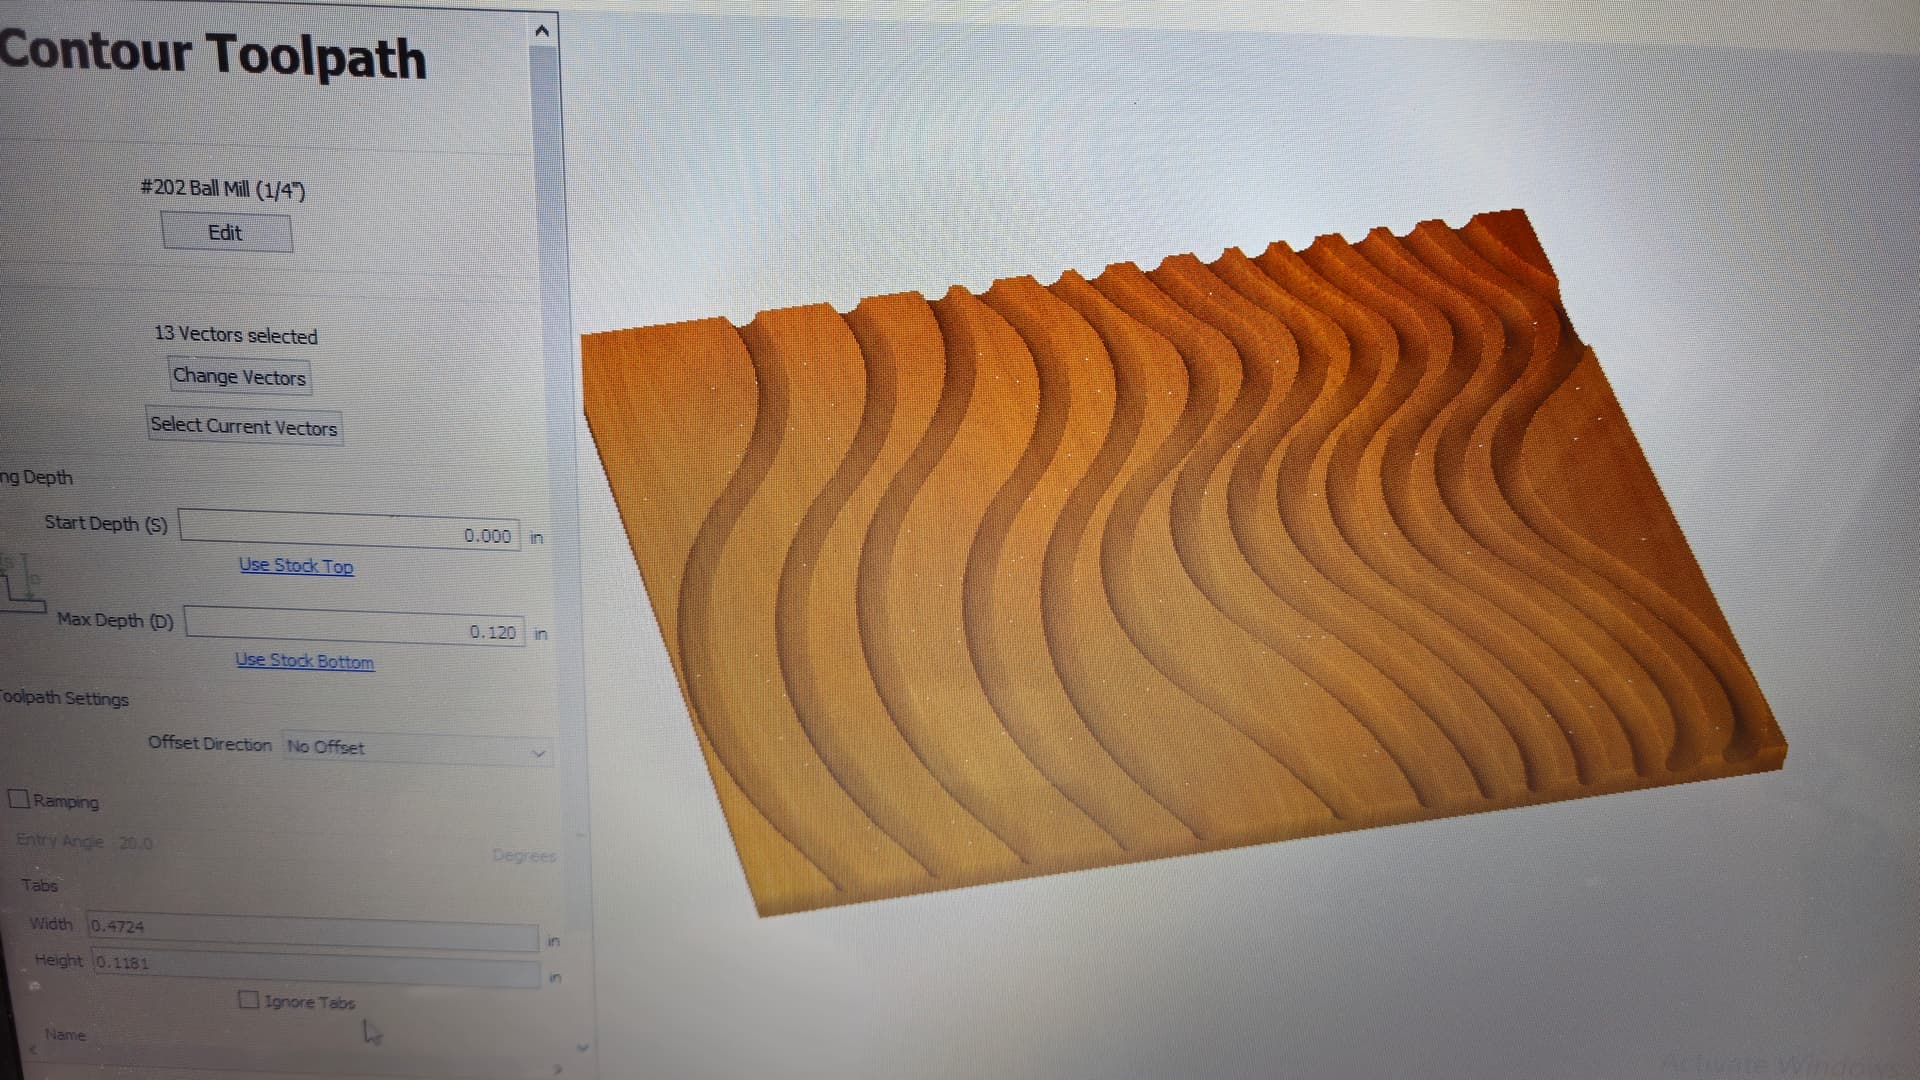
This is a very cool idea! I’m all about repurposing / reusing materials. Making wave profiles like this in carbide create is easy. One of many ways is to draw your vector lines and use the contour toolpath with no offset. Drawing a single vector, copy and paste to place at random intervals. Using scale tool to resize or skew along the way to achieve the ripple effect. Ballnose and vee bits work well. Forgive the sloppy photo.
I know I maybe a bit late in this thread because I just found it, but I will put my two cents worth in. Charlie, you can create these wavy lines in the free version of CC. All you would do is create a polyline and then go into node edit and adjust the nodes to the desired curve. If you want multiple curvy lines like in the birdhouse, you can duplicate them under linear array. There you can create as many as you line stacked on top of each other. Then proceed to creating your toolpath for them with a V-bit.
I have a few new style bits that I want to try out and realize that I don’t need them in the tooling part of the program. I can just make the machine think it is using a standard endmill and then install the new tool and run it. I have new round over bits and bevel bits that might look good running something like these wavy lines, maybe more for the bevel bits instead of the round overs, but worth playing around with. I will still add the new tools to my tool list so I have them in the program for my referencing when running the program. Don’t want to forget which tool I planned to use if I don’t run the program for a long time.
This topic was automatically closed 30 days after the last reply. New replies are no longer allowed.