As I’ve commented elsewhere, something like a Festool is top notch, internationally rated and industrial quality… and while it is good idea to go that way, if you can’t, there are equivalent solutions.
The key is a vacuum element with a HEPA filter rated at 0.3 microns. There are many shop vacs that meet this requirement. The 0.3 micron requirement is what the EPA, UL and EU say is safe (it’s also what a firefighters mask is rated).
NOTE: Ensuring you’ve got a real, safe HEPA filter is a bit of a challenge. The vendors tend to lie (well… it’s just like a HEPA filter; the fine print is that it is HEPA but at 5 microns (which is worthless)).
Dust eventually plugs up the filter and it needs to be replaced. Trustworthy HEPA filters are EXPENSIVE, especially if you’re replacing them frequently.
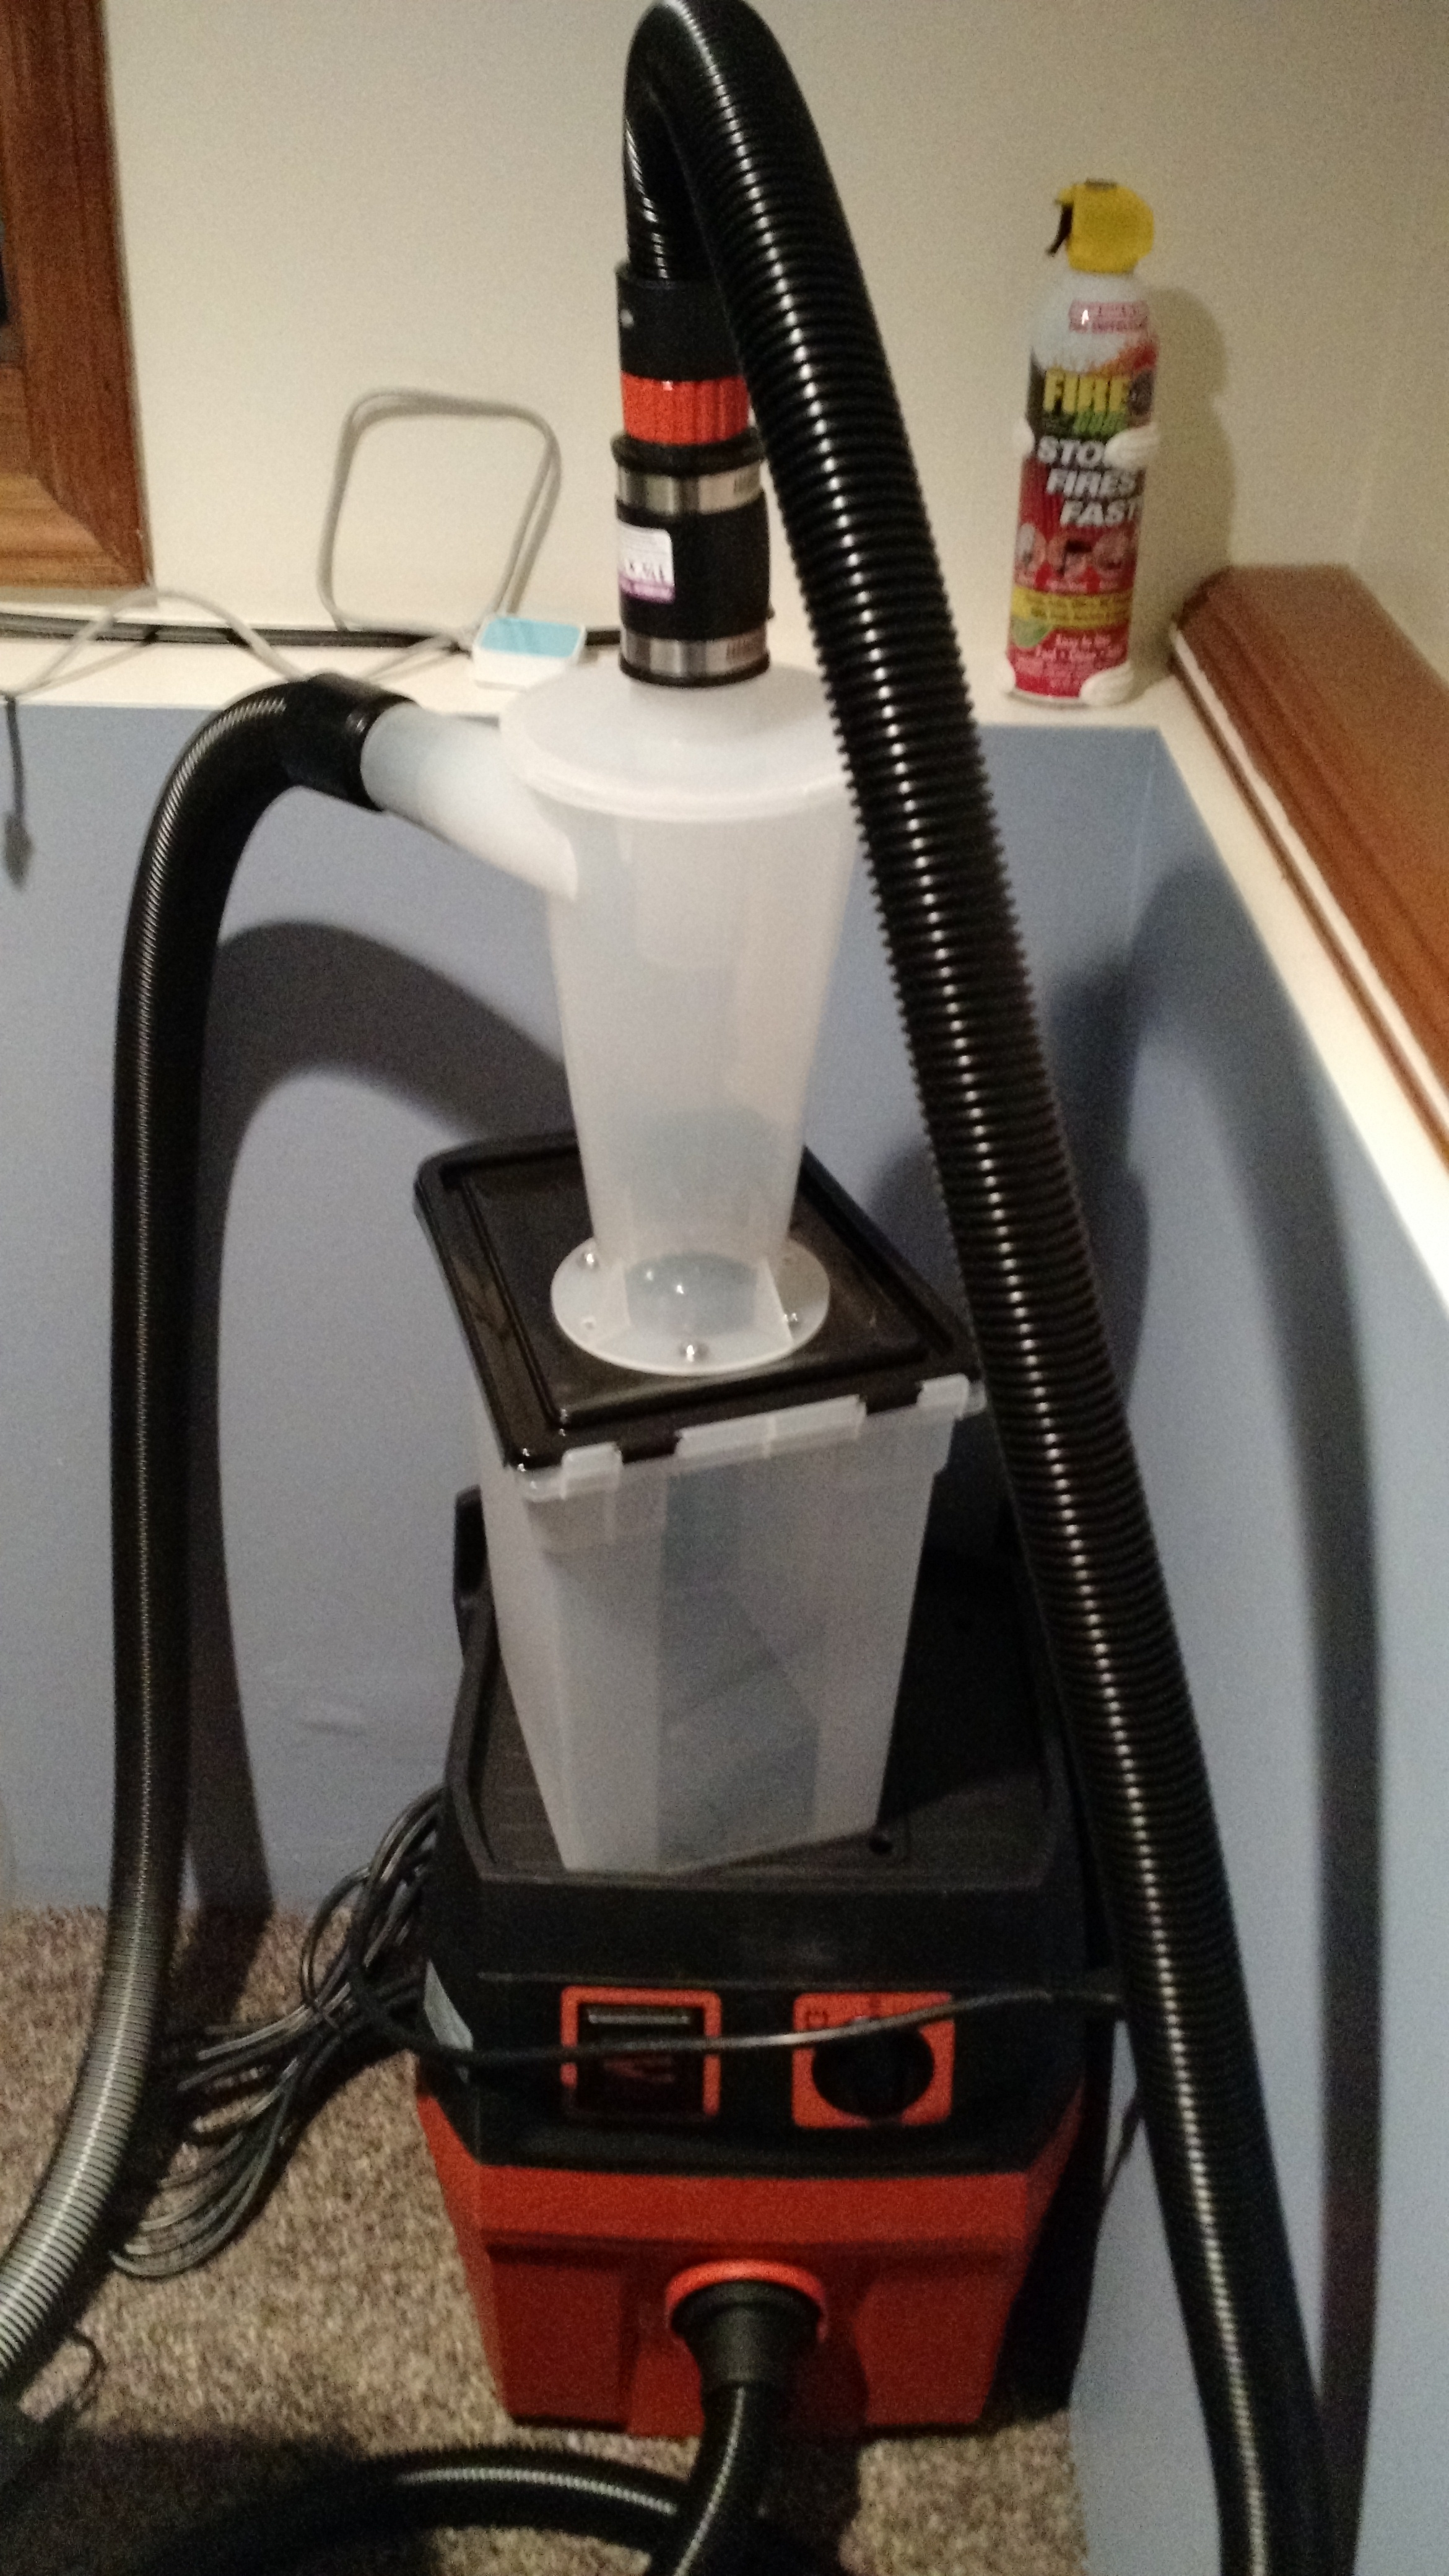
The solution for that is a cyclone dust separator. Use one ahead of the vacuum element (and it’s HEPA filter) and very quickly one crosses over cost wise (cyclone purchase vs. multiple HEPA filters).
NOTE: Empty the cyclone OUTSIDE, upwind of the canister, put preferably with a mask on. I can point to an inexpensive 3M mask that is appropriate if one wants this information.
So, you’re completely in line with a good approach. How to do this within budget and space requirements is the challenge! 
I’ve seen shop vacs with acceptable, inexpensive HEPA filters here in the States. They need to be rated for long running times. I’ll search around and post what I find. No need for a Festool unless you want to go all out (disclaimer: I own a Festool CT 26 with the Oneida cyclone that mounts on top).
An alternative is to get a shop vac that hoses for in and out. Don’t use the internal filter and make a filter box yourself (wood or plastic, this is pretty easy) that goes on the output. A box, a few fittings and some glue/caulk and you’re there.
Removing the the particles from the enclosure is… a challenge. The conventional CNC approach is a dust head and a vacuum line going to it. Vents in the enclosure to equalize the vacuum (which may not be necessary depending on how “leaky” and “noisy/breezy” a Nomad is when pulling a vacuum on the enclosure.
The STL files for a dust head has been posted recently. Have to learn to glue polycarbonate but this isn’t hard - check out TAP plastics videos on how to do this.
This approach has trade offs - the particles are picked up as they are generated (nasty ones and many of the visible ones (less after job clean up), the vacuum is isolated to the tool pretty closely (you get a bit of cooling), you can’t see the tool because it is inside the brush, one has to go through the enclosure, the enclosure needs tubing fittings, some cleaver routing is necessary for the tubing due to the small size of the Nomad enclosure.
Disclosure: the dust head is my bias. I used it for years and helped many do it this way many times. I will be building and installing on in my Nomad once it arrives (REAL SOON NOW). I plan to post plans, pictures and directions on how I pull this off. How, exactly, I’m going to do this remains open until I can stare at the Nomad for a few hours and test/design/test things.
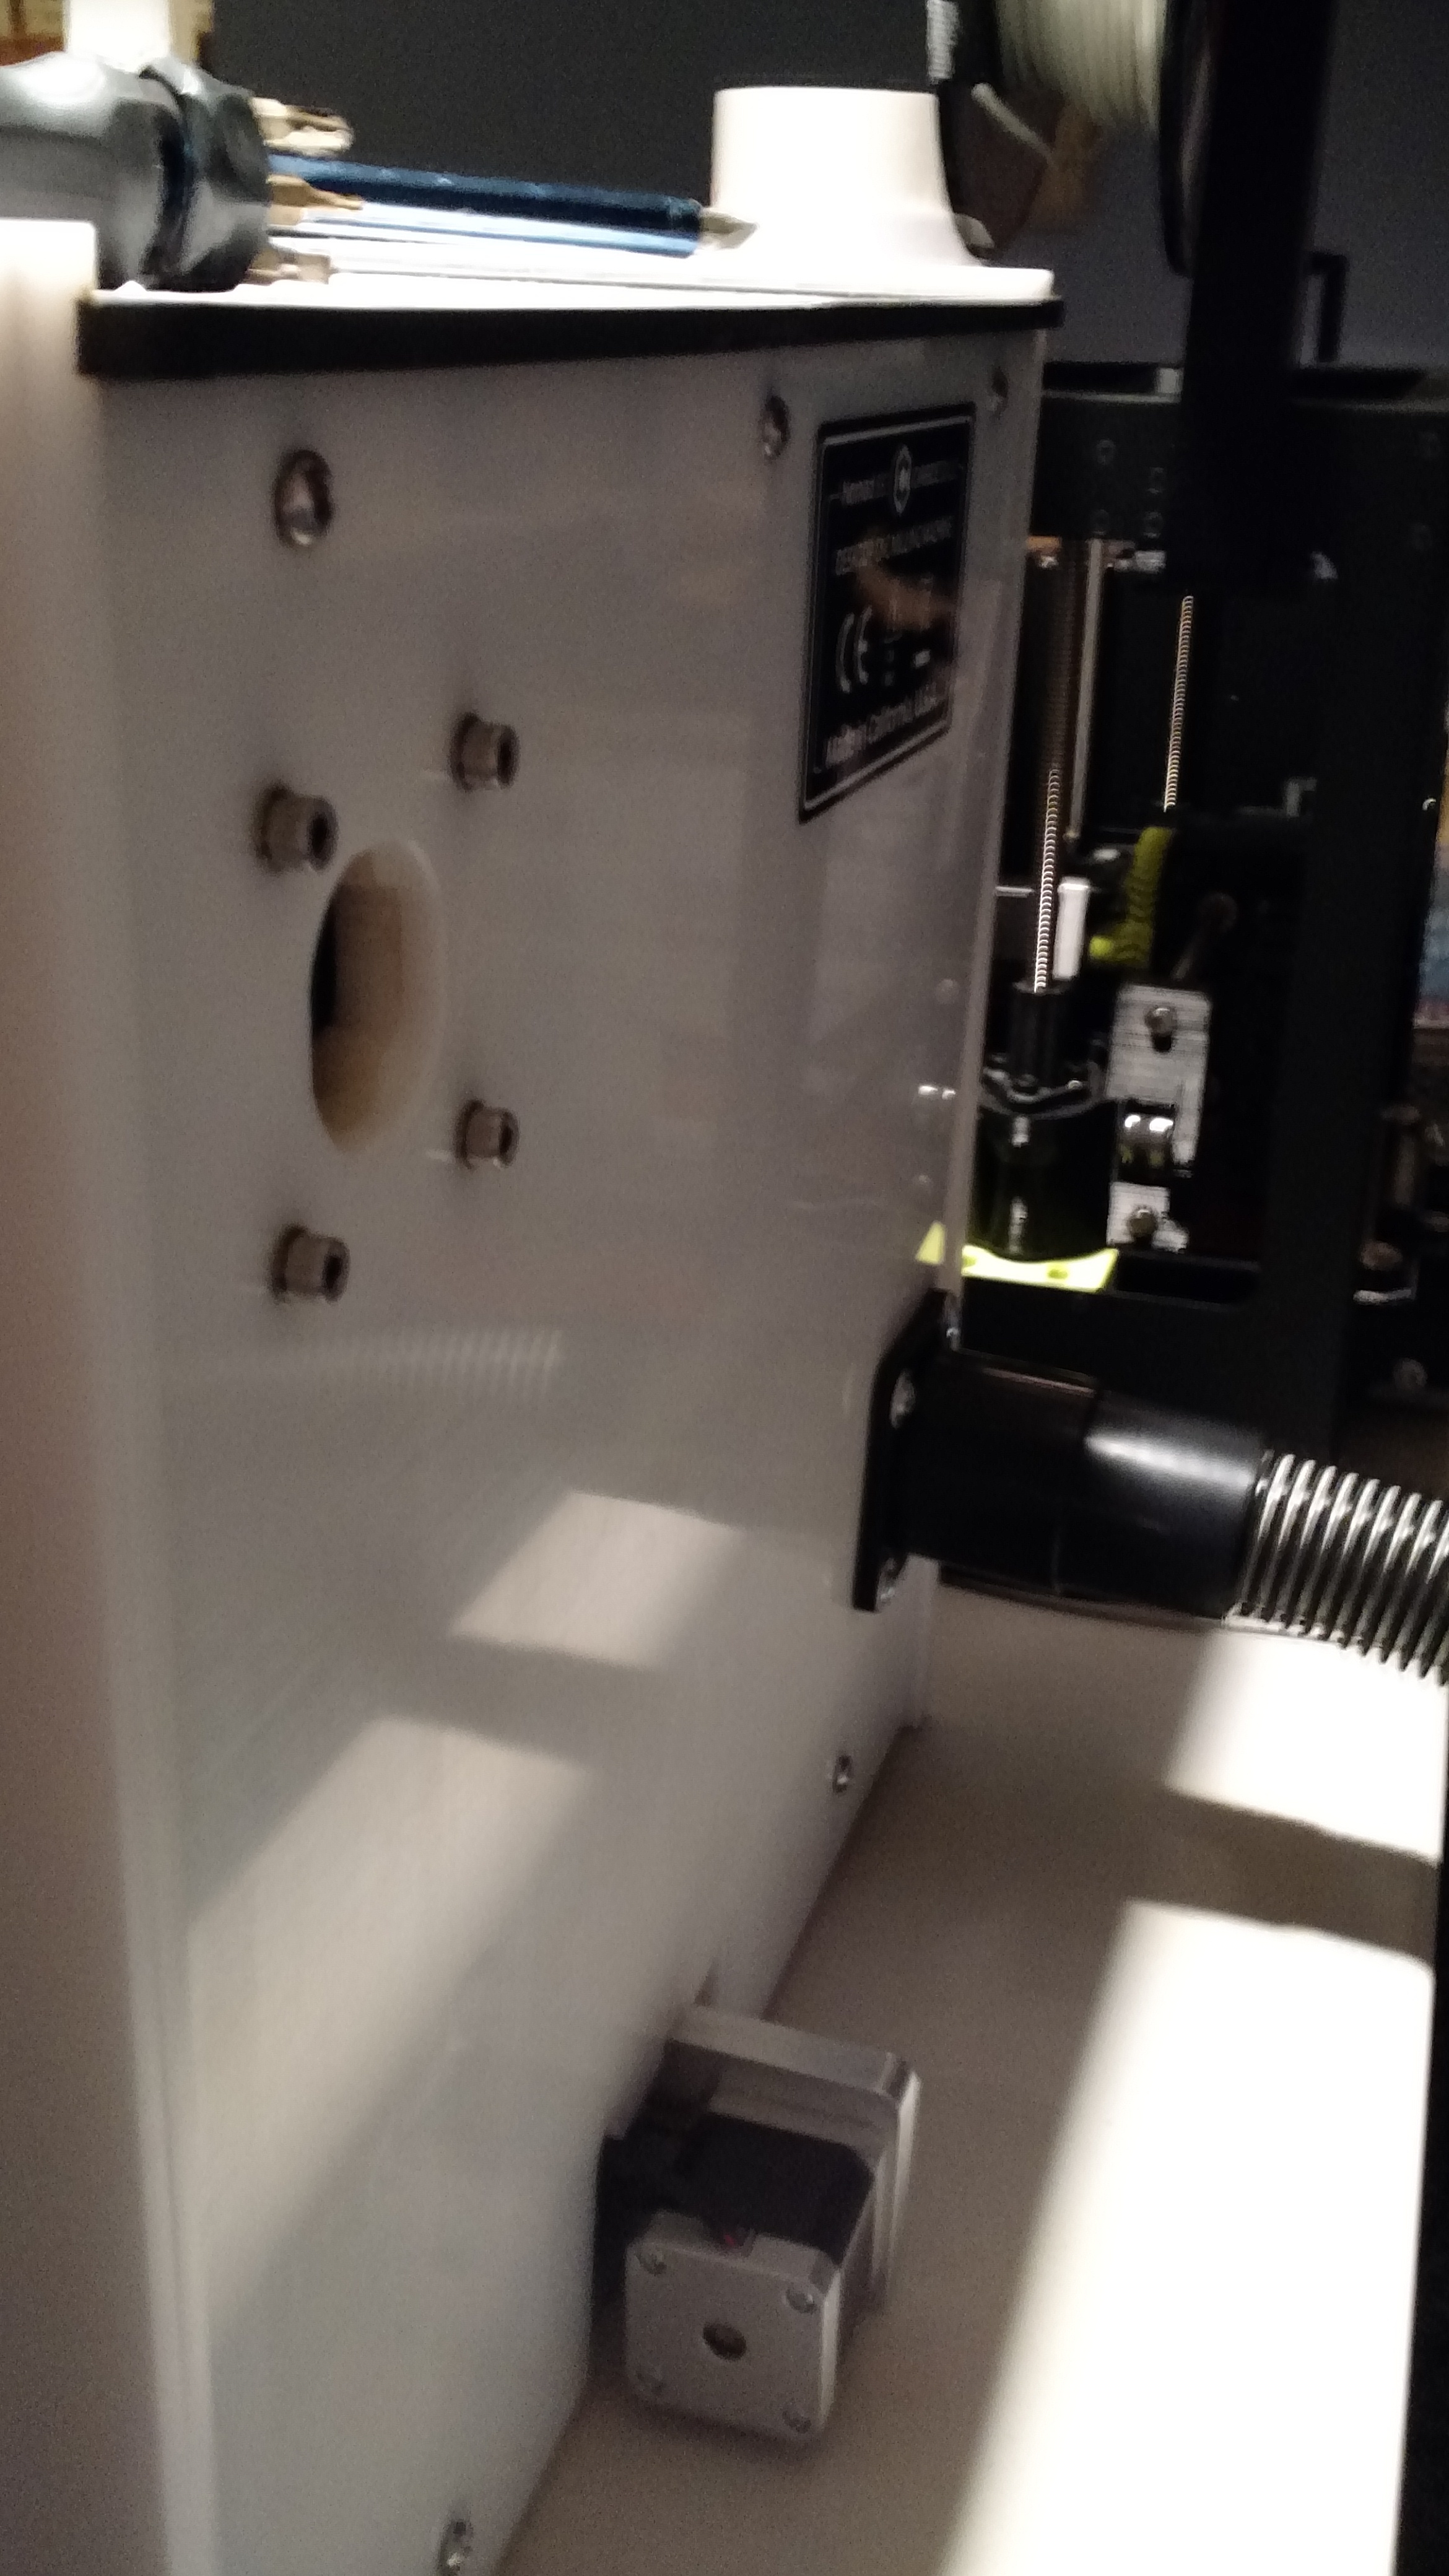
If one is only interested in the nasty stuff, one could have the vacuum plug from underneath. This requires a seal (“rubbery material”) to isolate the vacuum. This is fairly easy to do. Tradeoffs are: each to do from below, not very hard from the side (at the base), the big stuff is left and has to be sucked up separately, the large and nasty particles are now attracted to underneath your machine and cleaning it exposes the owner and environment, the particles will tend to get onto the guide bars underneath faster.
This approach is, strictly speaking, all that one needs for safety. There is much to be said for this.
My main concern is the accumulation of nasties underneath. The clean cycle exposes the indoor environment to the nasties. The build up on the guides underneath is also a concern but much less so.
mark