Why am I breaking my bits?

Hi All,
I’ve now managed to break three lovely .032" bits from Carbide 3D, a #121, and a couple #122. I’m trying to make a simple, engraved key chain out of some 6061 aluminum. I’ve tried adjusting my settings, and have consulted g-wizard, but to no avail. Any help will be appreciated!

Here’s my latest attempt, which failed.

Check your belt tension – l had to use a small pry bar-- careful not to bend the shaft.

Make sure your bed is level – I’d suggest making a fixture w/ a pocket to hold the material

Make sure your Z-axis is well zeroed — use or make a touch plate http://www.shapeoko.com/wiki/index.php/Touch_Plate

See my notes on a similar project: http://www.shapeoko.com/projects/project.php?id=154

i have had some luck with the pocket jig that Will mentioned and a vbit

Joshua,

Why: Think peanut butter. It takes a lot of pressure to shear any metal, including aluminum, and that pressure gets turned into friction and that in turn becomes heat. When aluminum becomes hot, it becomes VERY sticky, and will stick to the cutter’s flutes. When a cutter becomes clogged there is no place for the new chips to go, and then BAM, they break.

Fix: Go to ebay and buy coated cutters (TiN, AlTiN, etc.) Find the cheapest cutters you can find for aluminum, as long as they are coated. Most machinist think that the coating adds to the cutting edges and isn’t needed for soft materials like aluminum, but what most don’t understand that it ALSO adds a layer of friction protection on the cutting flutes (channels) that helps fight the material from sticking to it.

I am a retired Professor (and ex NASA) and I used to research and teach this information in one of my engineering classes. I also happen to be the guy who has the most experience cutting aluminum on the Shapeoko. I am also using the SAME 1/4 end mill since last October 2015 on my machine with hundreds and hundreds of cutting hours on that end mill, including cutting steel with it, but that’s another story. Of course I have 1/32, 1/16, 1/8 Flat and Ball end mills that I have also been using to cut aluminum, and I have NEVER broken an end mill cutting aluminum…NEVER!

Additional Lube: Go out and buy a can of WD40 and all a light layer to the material before you start cutting. This will also brighten the cutting surface, making it look shiny.

This is a great machine, and this is also a great community forum…we are here to help you avoid the mistakes…

Have fun,

Rich

2 Likes

Hi all,
Thanks for the great replies, and for trying to help me, I really appreciate it.

I should have mentioned in my original post that I’m using a Nomad 883 classic.

@WillAdams I will try leveling the bed, I just put a new spoil board on it, and sort of can’t believe I forgot to level it already!

@RichCournoyer As for lube and coated bits, you are absolutely correct that they will last longer and perform better, but my bits are breaking almost immediately, and I’ve heard that it’s possible to cut aluminum dry.

Do my settings seem too aggressive? @ApolloCrowe

@MrHume

When are they breaking?
How are you holding the work?

You may need to use a larger cutter for the the Hole feature.

For the Text part of this badge the settings look ok, although 2 settings could be changed.

The Max depth of .039" seems deeper than needed(possible) for the text.
If you are just etching the surface one or two passes of .005" may be enough.

Do you have a picture of the part?

Can you post your CC file?

Hi @ApolloCrowe,
they are breaking almost immediately on the first cut. The paths are setup to cut the pockets for the letters first, then the little outline thing, then a tool change, and cut the hole with the .125" cutter. Then I"m going to flip it and engrave the other side, and cut it out.

The aluminum is being held with Nitto tape, on a brand new, fresh from Carbide 3D spoilboard, which I did not surface to make level to the machine, so possibly that’s the issue?

I have zeroed as carefully as I know how, using a flat dowel and piece of rolling paper to ensure I’m right at the surface of the part.

I have included the CC file, but please look and make sure the settings match the screenshot. If they don’t then it just means I didn’t re-save the CC file over itself after changing the settings. Should I also post the .egc file?
side a french.c2d (461.4 KB)

Is the material a known aluminum alloy?

I would double check your Z zero.

Try running a test in something soft to see if there is some other factor at play?

I adjusted your DOC for the 031 tool paths.

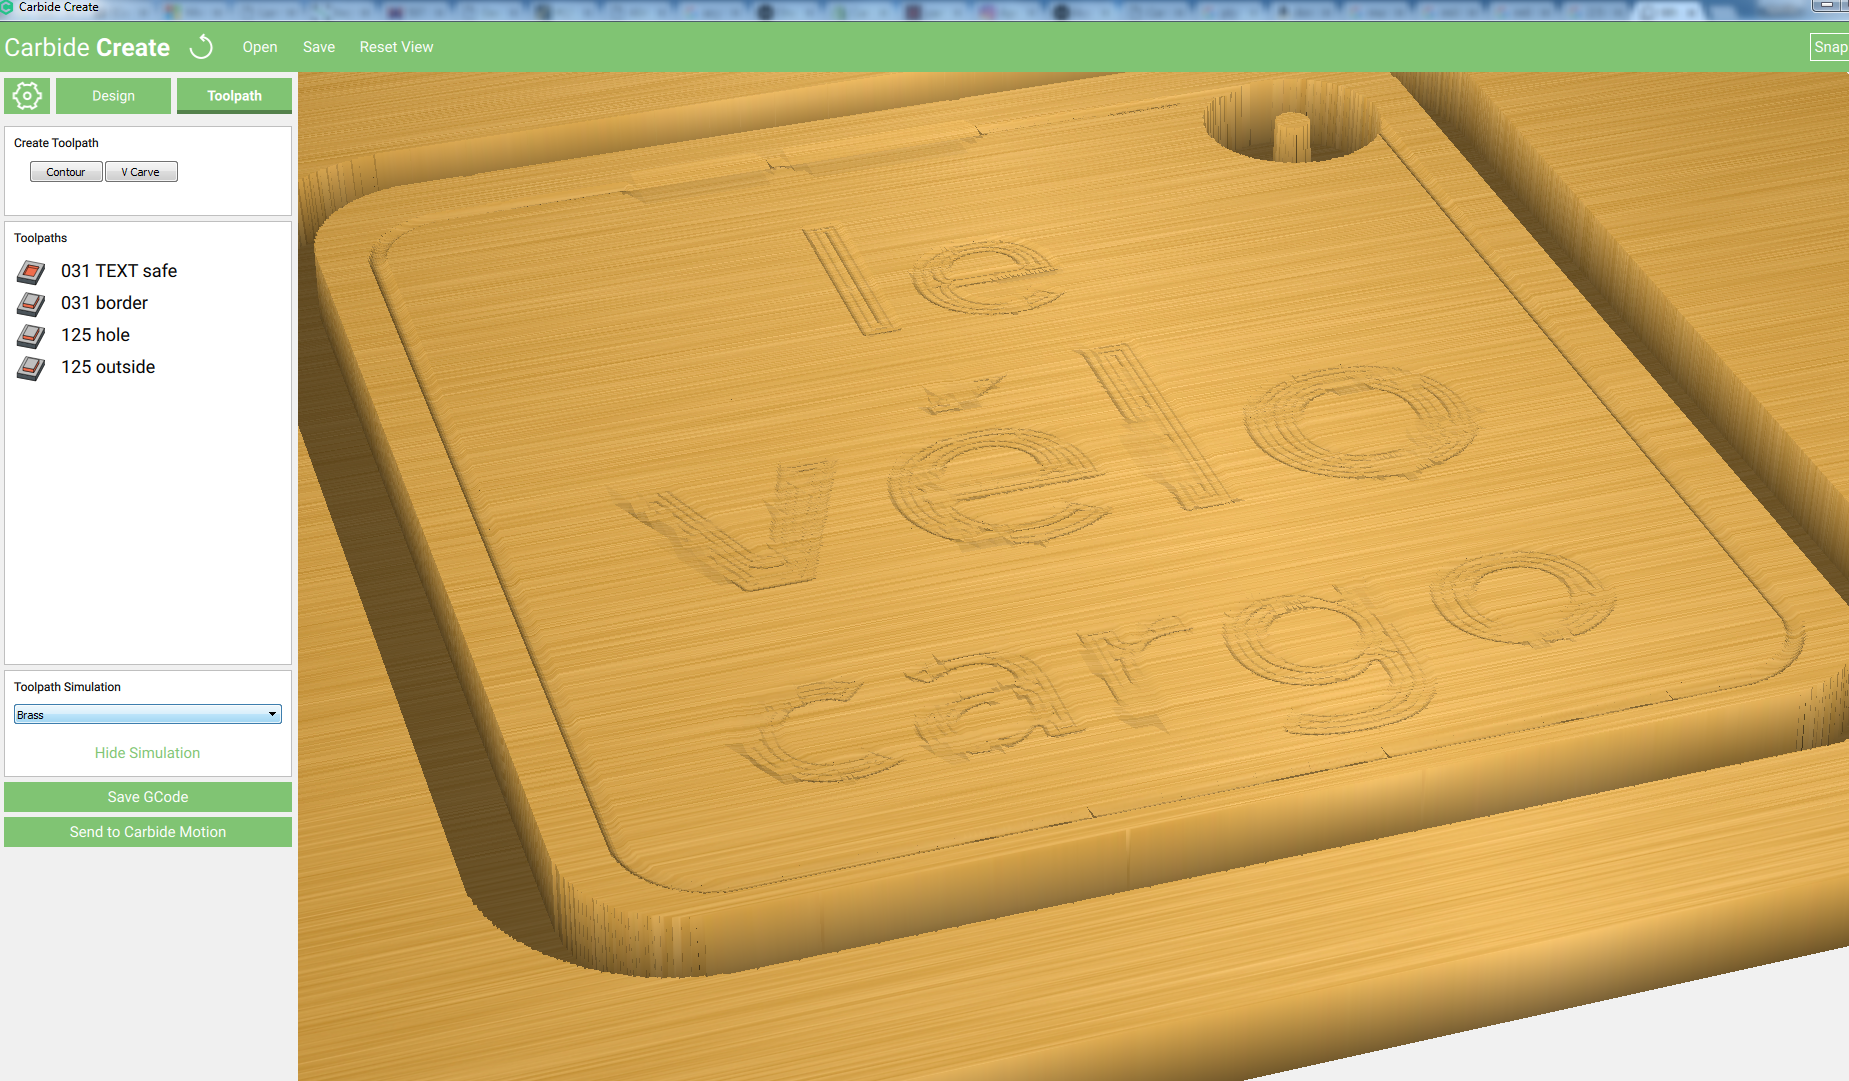
HUME test.c2d (461.4 KB)

Thanks @ApolloCrowe!
I got the AL from inventables, as part of a materials pack. It’s labelled 6061, and I think they’re pretty reliable about sourcing decent stuff (though of course one never knows).

I’ll surface the spoil board, re-zero, and run a test in some plastic or something soft to see if there is some obvious issue.

I will report back if the problem continues.

Oh, by the way, if I create a toolpath on the text using a .0625" bit, will it have the effect of doing a roughing pass? Will CC only put that bit into spots where it knows it will fit, the way MeshCAM will?

I ask because I wanted to try etching the rest of the box, leaving the text raised, but the time it would take is too long with a .032" bit. I’d much rather run a .125" cutter over most of the thing, and then clean it up with the .032. I suppose to do that I’d need to create additional geometry around the text itself, though, right? Am I even making sense?

@MrHume
A test in plastic would be perfect.
You can just touch off the spoil board to test its levelness - prior to surfacing.
Or Pocket a spot for your blank?

If you “Rough” using a pocket toolpath with the 1/16, then you could potentially use the 1/32" bit and cut “inside” to trace the corners.
Does that make sense?
A test in plastic will verify.

Update:
A quick check of the spoil board showed the back to be at -0.04 and the middle to be - 0.11, at which point I stopped bothering to check it, since it seemed obvious it needed to be surfaced. Do you think this unevenness is likely to be what caused the bits to break? I assume those numbers, which I got by clearing the offsets in CM and then touching the stock, are in millimeters? Is .07 mm significant enough to break a 0.32 bit in AL?

Also, I looked at the settings you made for me (thanks again for doing that!), @ApolloCrowe, and the only very large difference I see is in the plunge speed. Could an overly aggressive plunge, coupled with the uneven spoilboard, have caused the problem?

I only had time to surface the board last night, hopefully tonight I can do further testing.

@MrHume
Yes-
The plunge and the stock hieght discrepancy could indeed cause breakage on those small cutters.

3 Likes

Update:
surfaced the board, did a test on some polycarbonate I had lying around, it worked, so I made the piece! Thanks again for all the help!

This is my first time making anything out of metal, and it’s really, really cool.
Here’s some in-progress shots of the piece. It needs sanding and some sort of finish to protect it. Any suggestions?


Also, for the next one I make, how would I prevent those scallops inside the letters?

2 Likes

On a separate note, here is the sound the machine made when I used the .125" endmill to cut the hole, and to cut the square out of the aluminum. It sounds like it might be chattering a bit, but I’ve never cut aluminum before, so I don’t know. Thoughts?
Note that if you can’t get the video to play, try right clicking and selecting "play in another tab."

Just wanted to bump this post up again, sorry to be a pest, but can anyone please tell me:
1: in the video I posted, is that how a .125" bit should sound when it plunges into 6061 aluminum?

2: How would I prevent those scallops inside the letters (you can see them much more clearly in real life)?

3: Any suggestions for a good finish to use on Aluminum? As this is a keychain, it needs to be robust enough to handle being in someone’s pocket, frequently handled, etc. DIY anodizing is not an option.

3a: I might also want the letters to be black. Any suggestions on the best way to achieve that?

1 - don’t watch videos, my apologies — also don’t cut aluminum much — I’m sure someone else will help (but your video preview currently displays Error: Unsupported video type or invalid file path on my machine)

2 - I believe a fishtail bit wil leave a better surface — also try making a finishing pass and experimenting w/ pass direction

3 - my suggestion would be to purchase pre-anodized aluminum blanks — you could spray them w/ a clear lacquer, but it won’t hold up in a pocket.

For 3a, if you’d like to decorate a design I’d suggest the traditional Lacquer-Stik Paintstick pen:

This would also address somewhat the finish at the bottoms of the pockets — if it’s at all possible, switching to V-engraving and using finer lines would help address the balance of that.

Thanks @WillAdams, I’ve uploaded the video to Vimeo, so hopefully now those that watch videos will be able to watch it easily.