10.0" x 21.0" x 13.0" Freezer Crate

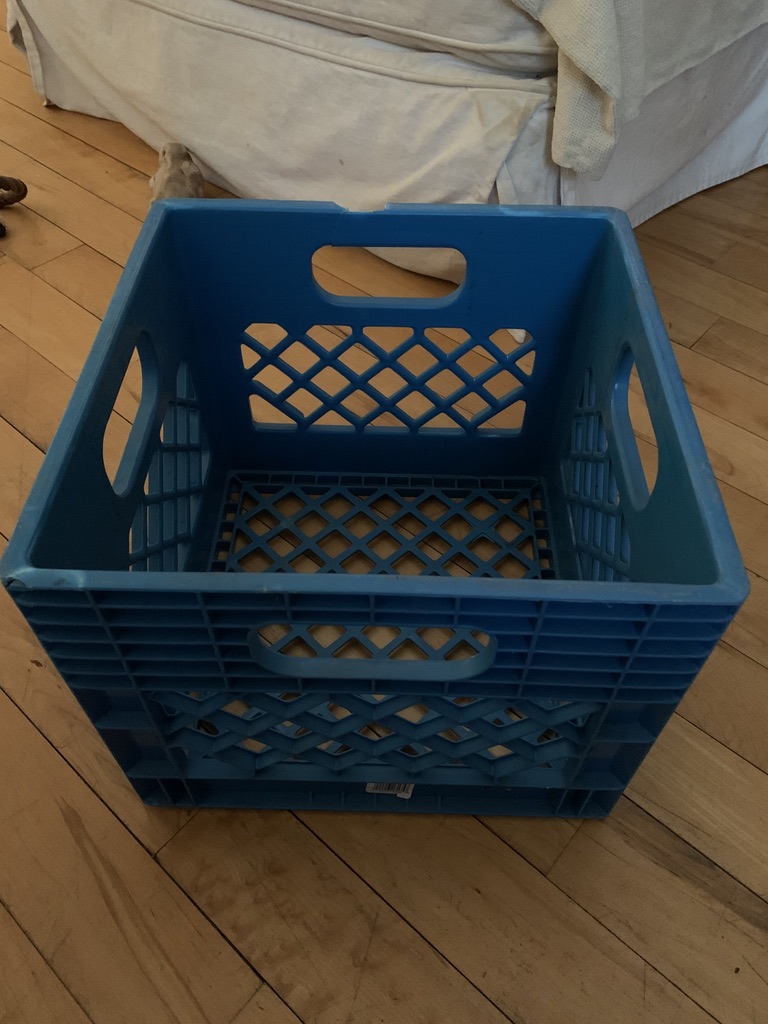
I have a love/hate relationship with chest freezers. I will try to sum it up in a few bullet points, even though we are all trapped at home and desperate for something to take away the boredom. :slight_smile:

  • They are more efficient than upright freezers - they don’t have all the cold air pour out every time you open the door.
  • They fit better in my mud room / laundry room
  • Stuff gets “lost” at the bottom and becomes part of “the glacier” at the bottom if you are not fastidious and keep tabs on what is in there and how long it’s been there.

To combat bullet point #3, I measured my chest freezer and determined how I wanted to divvy up the space. I found that I can get 3 crates across the bottom of the freezer that are 10.0" wide, 21.0" long and 13.0" high. That will allow me to have three on the bottom row, and another three above them, with space to slide the top ones around so I have access to one bottom crate at a time.

There is a “hump” in one corner of the freezer where the compressor is housed, so that area is off limits on the bottom row of long crates, but the top row can slide over it. There will be a smaller 10.0" x 10.0" x 13.0" high crate next to the hump.

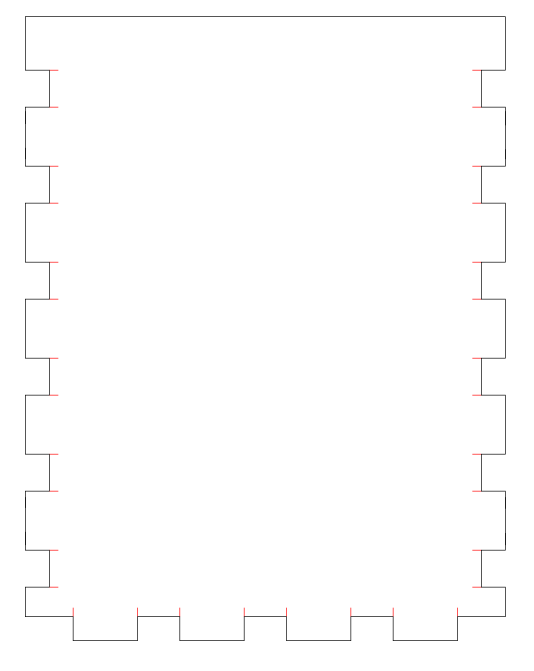
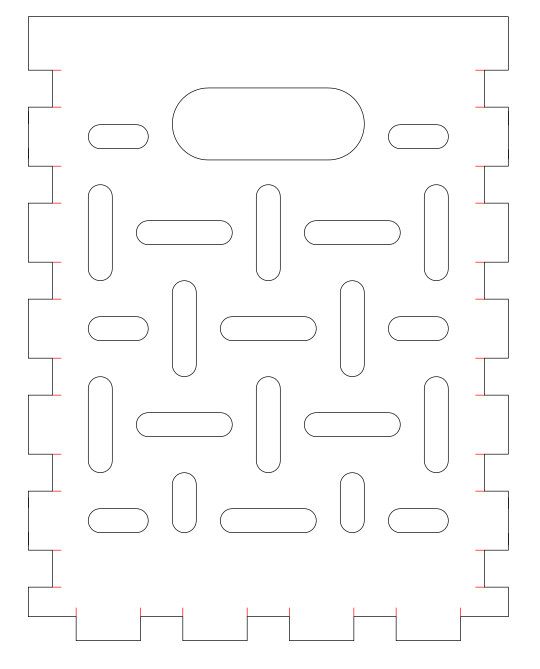
I designed the crate using a tabbed box maker extension in Inkscape. You have to download this one and put the files in the “Extensions” folder. This is not the “Laser Cut Box” extension included with Inkscape - that extension did not work properly and I ended up cutting 3 sides that did not fit together correctly.

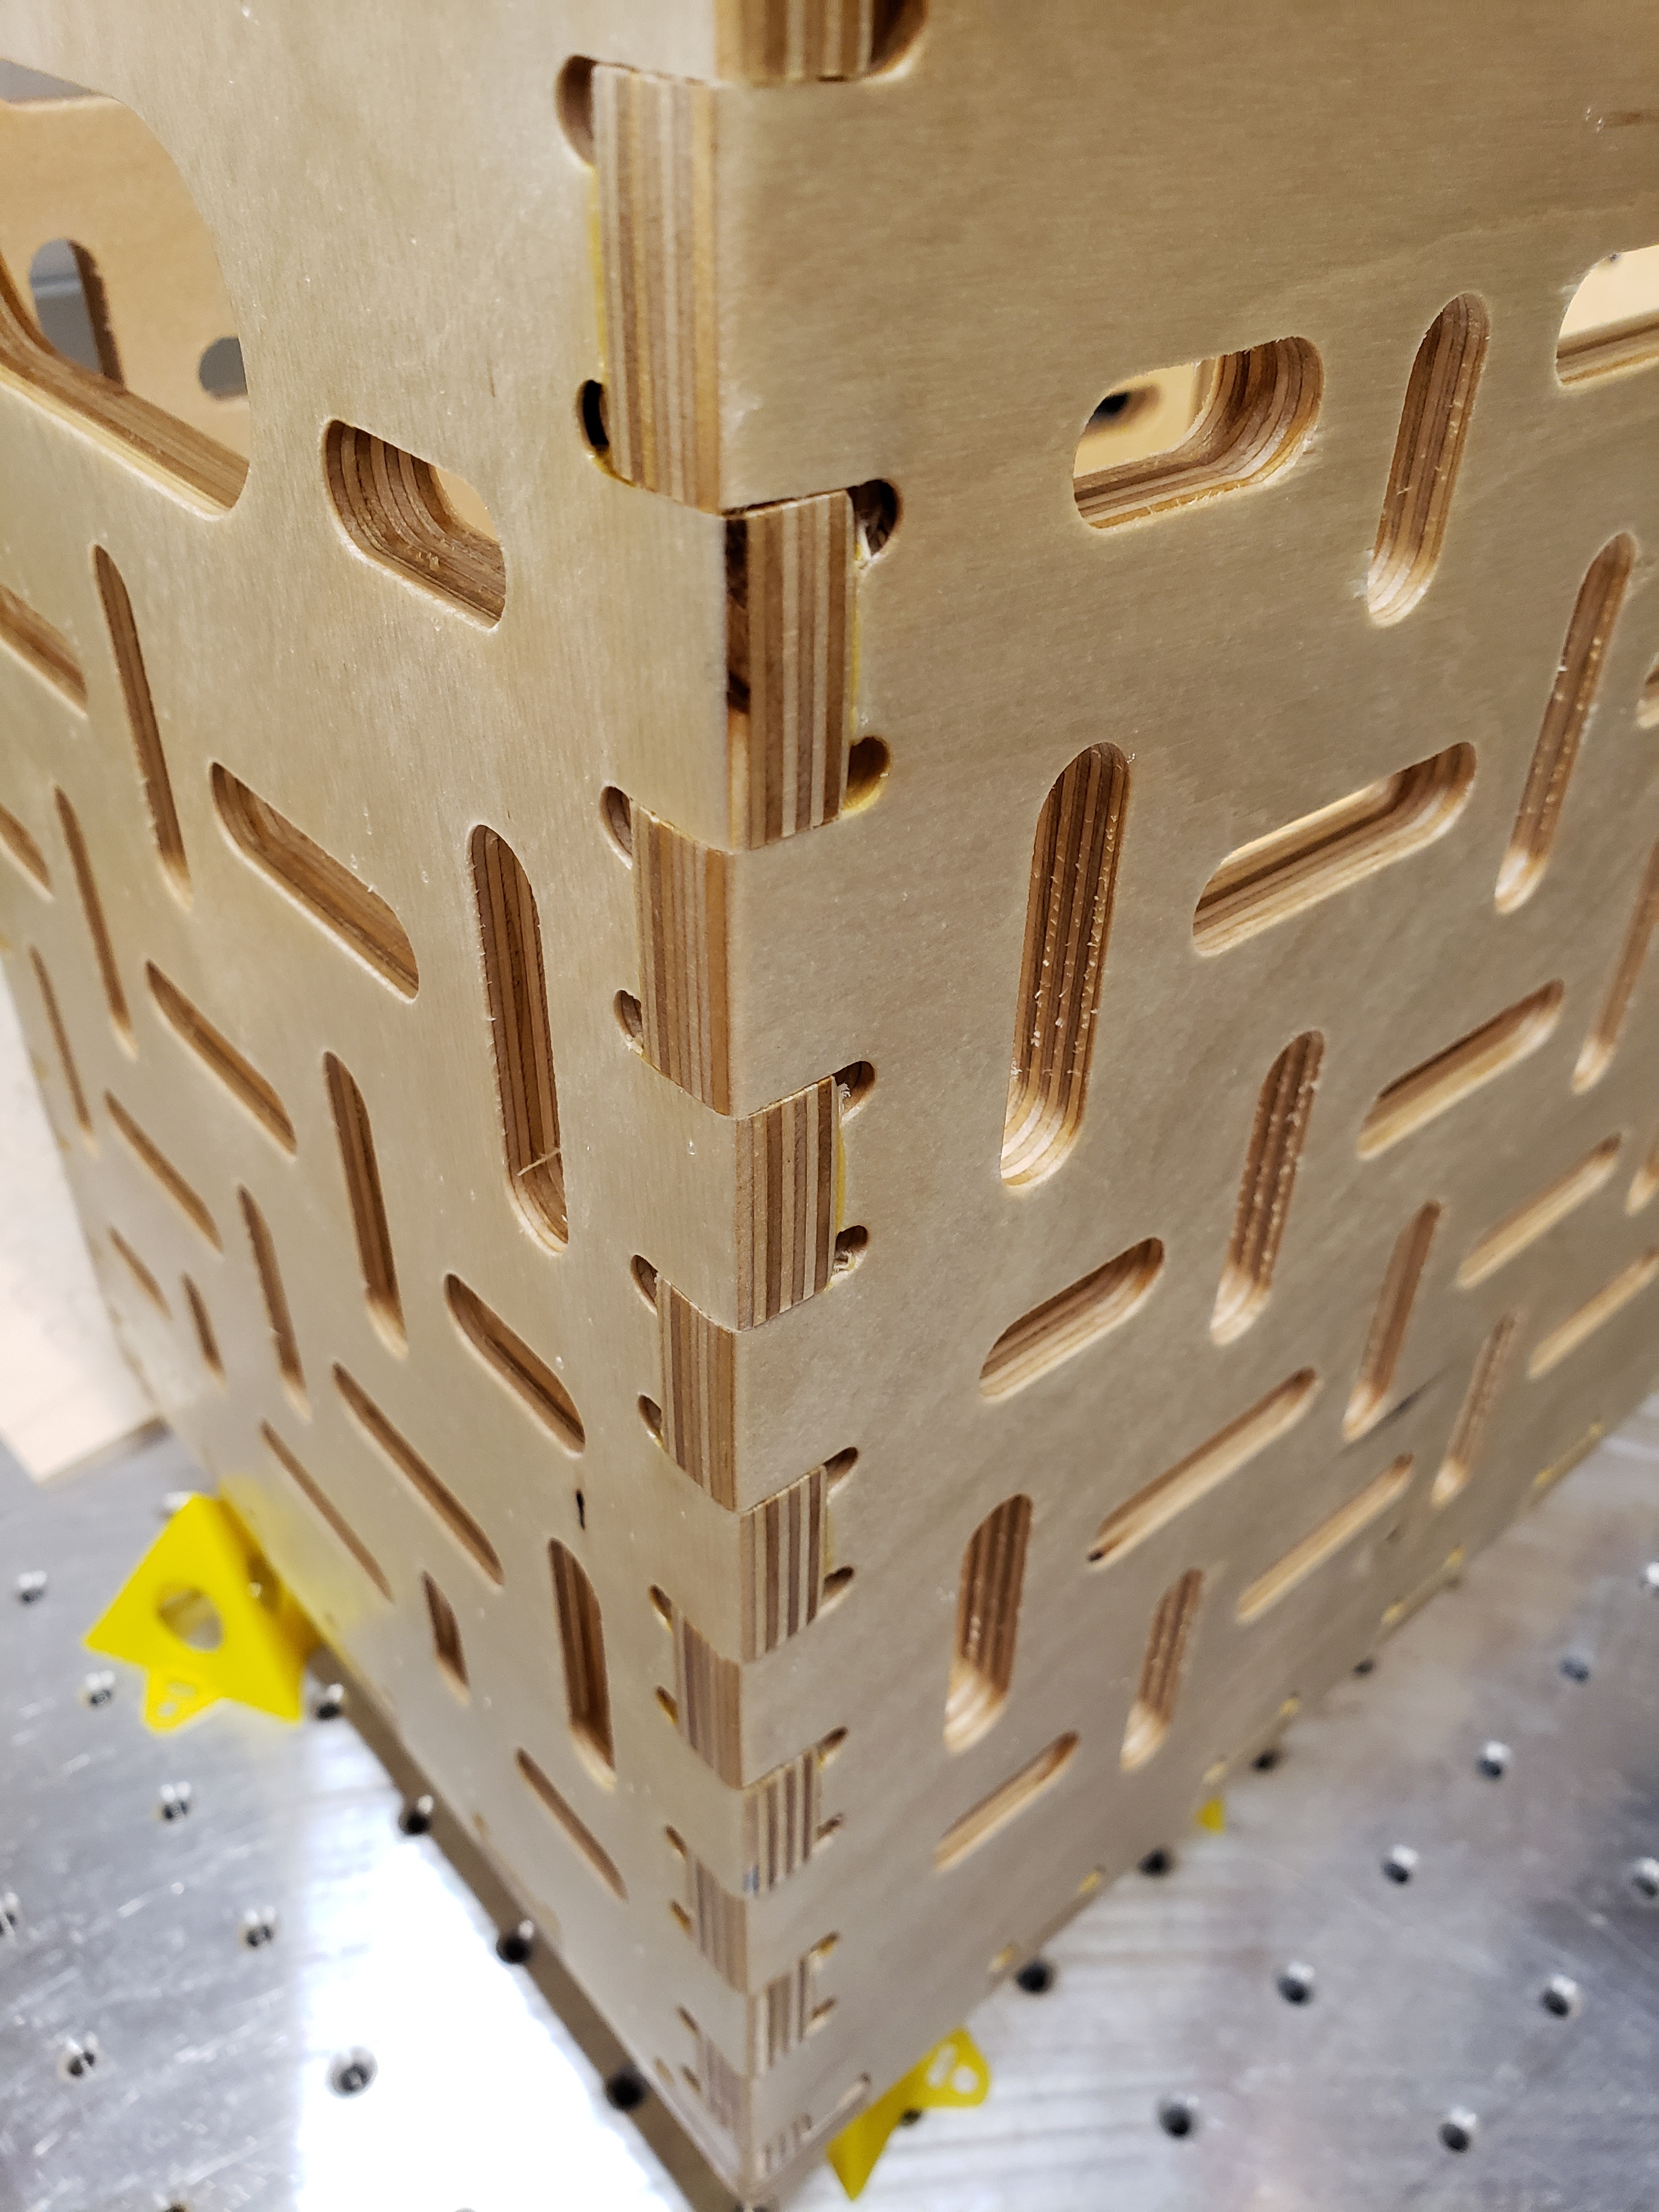
This extension wasn’t really designed to cut boxes with a 1/4" bit either, but if you add in overcuts (red lines) to the inside corners, the pieces will fit together as they should. The overcuts need to be at least half the diameter of your cutting bit long, but I like it when there is just a bit more so you can see the flat of the cut, not just the radius, so for my 1/4" bit, I made the overcuts 3/16" long.

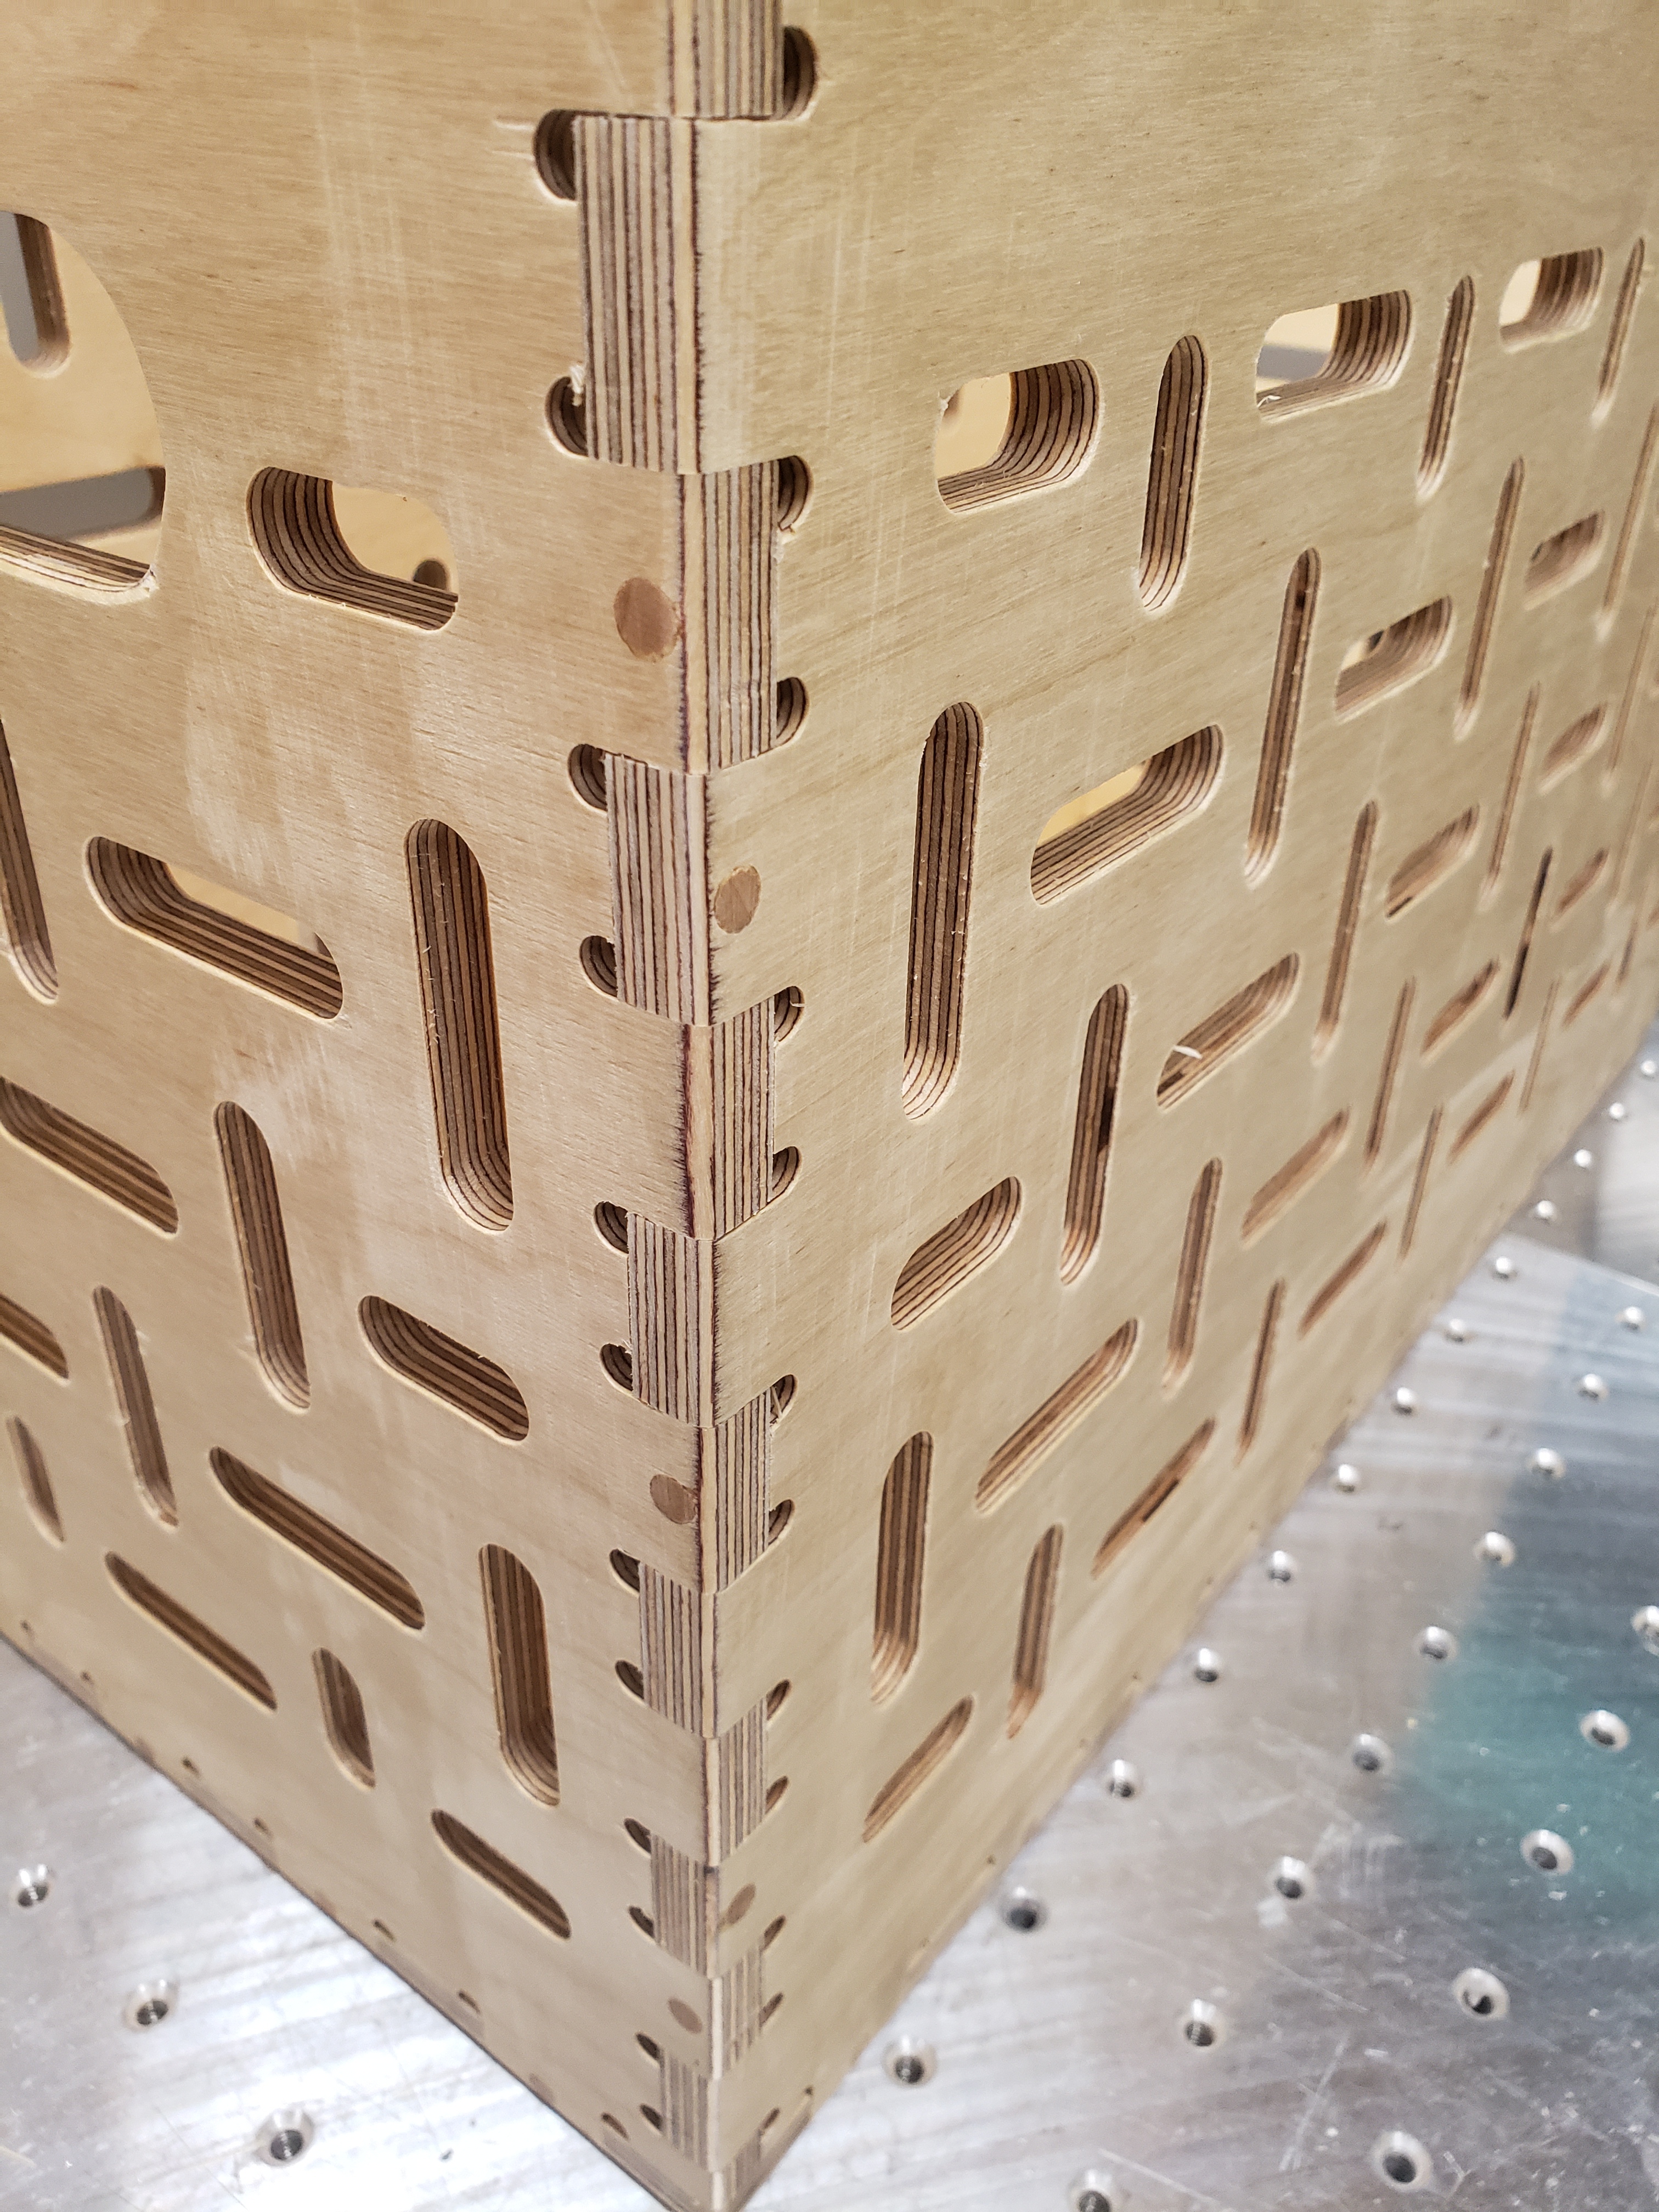
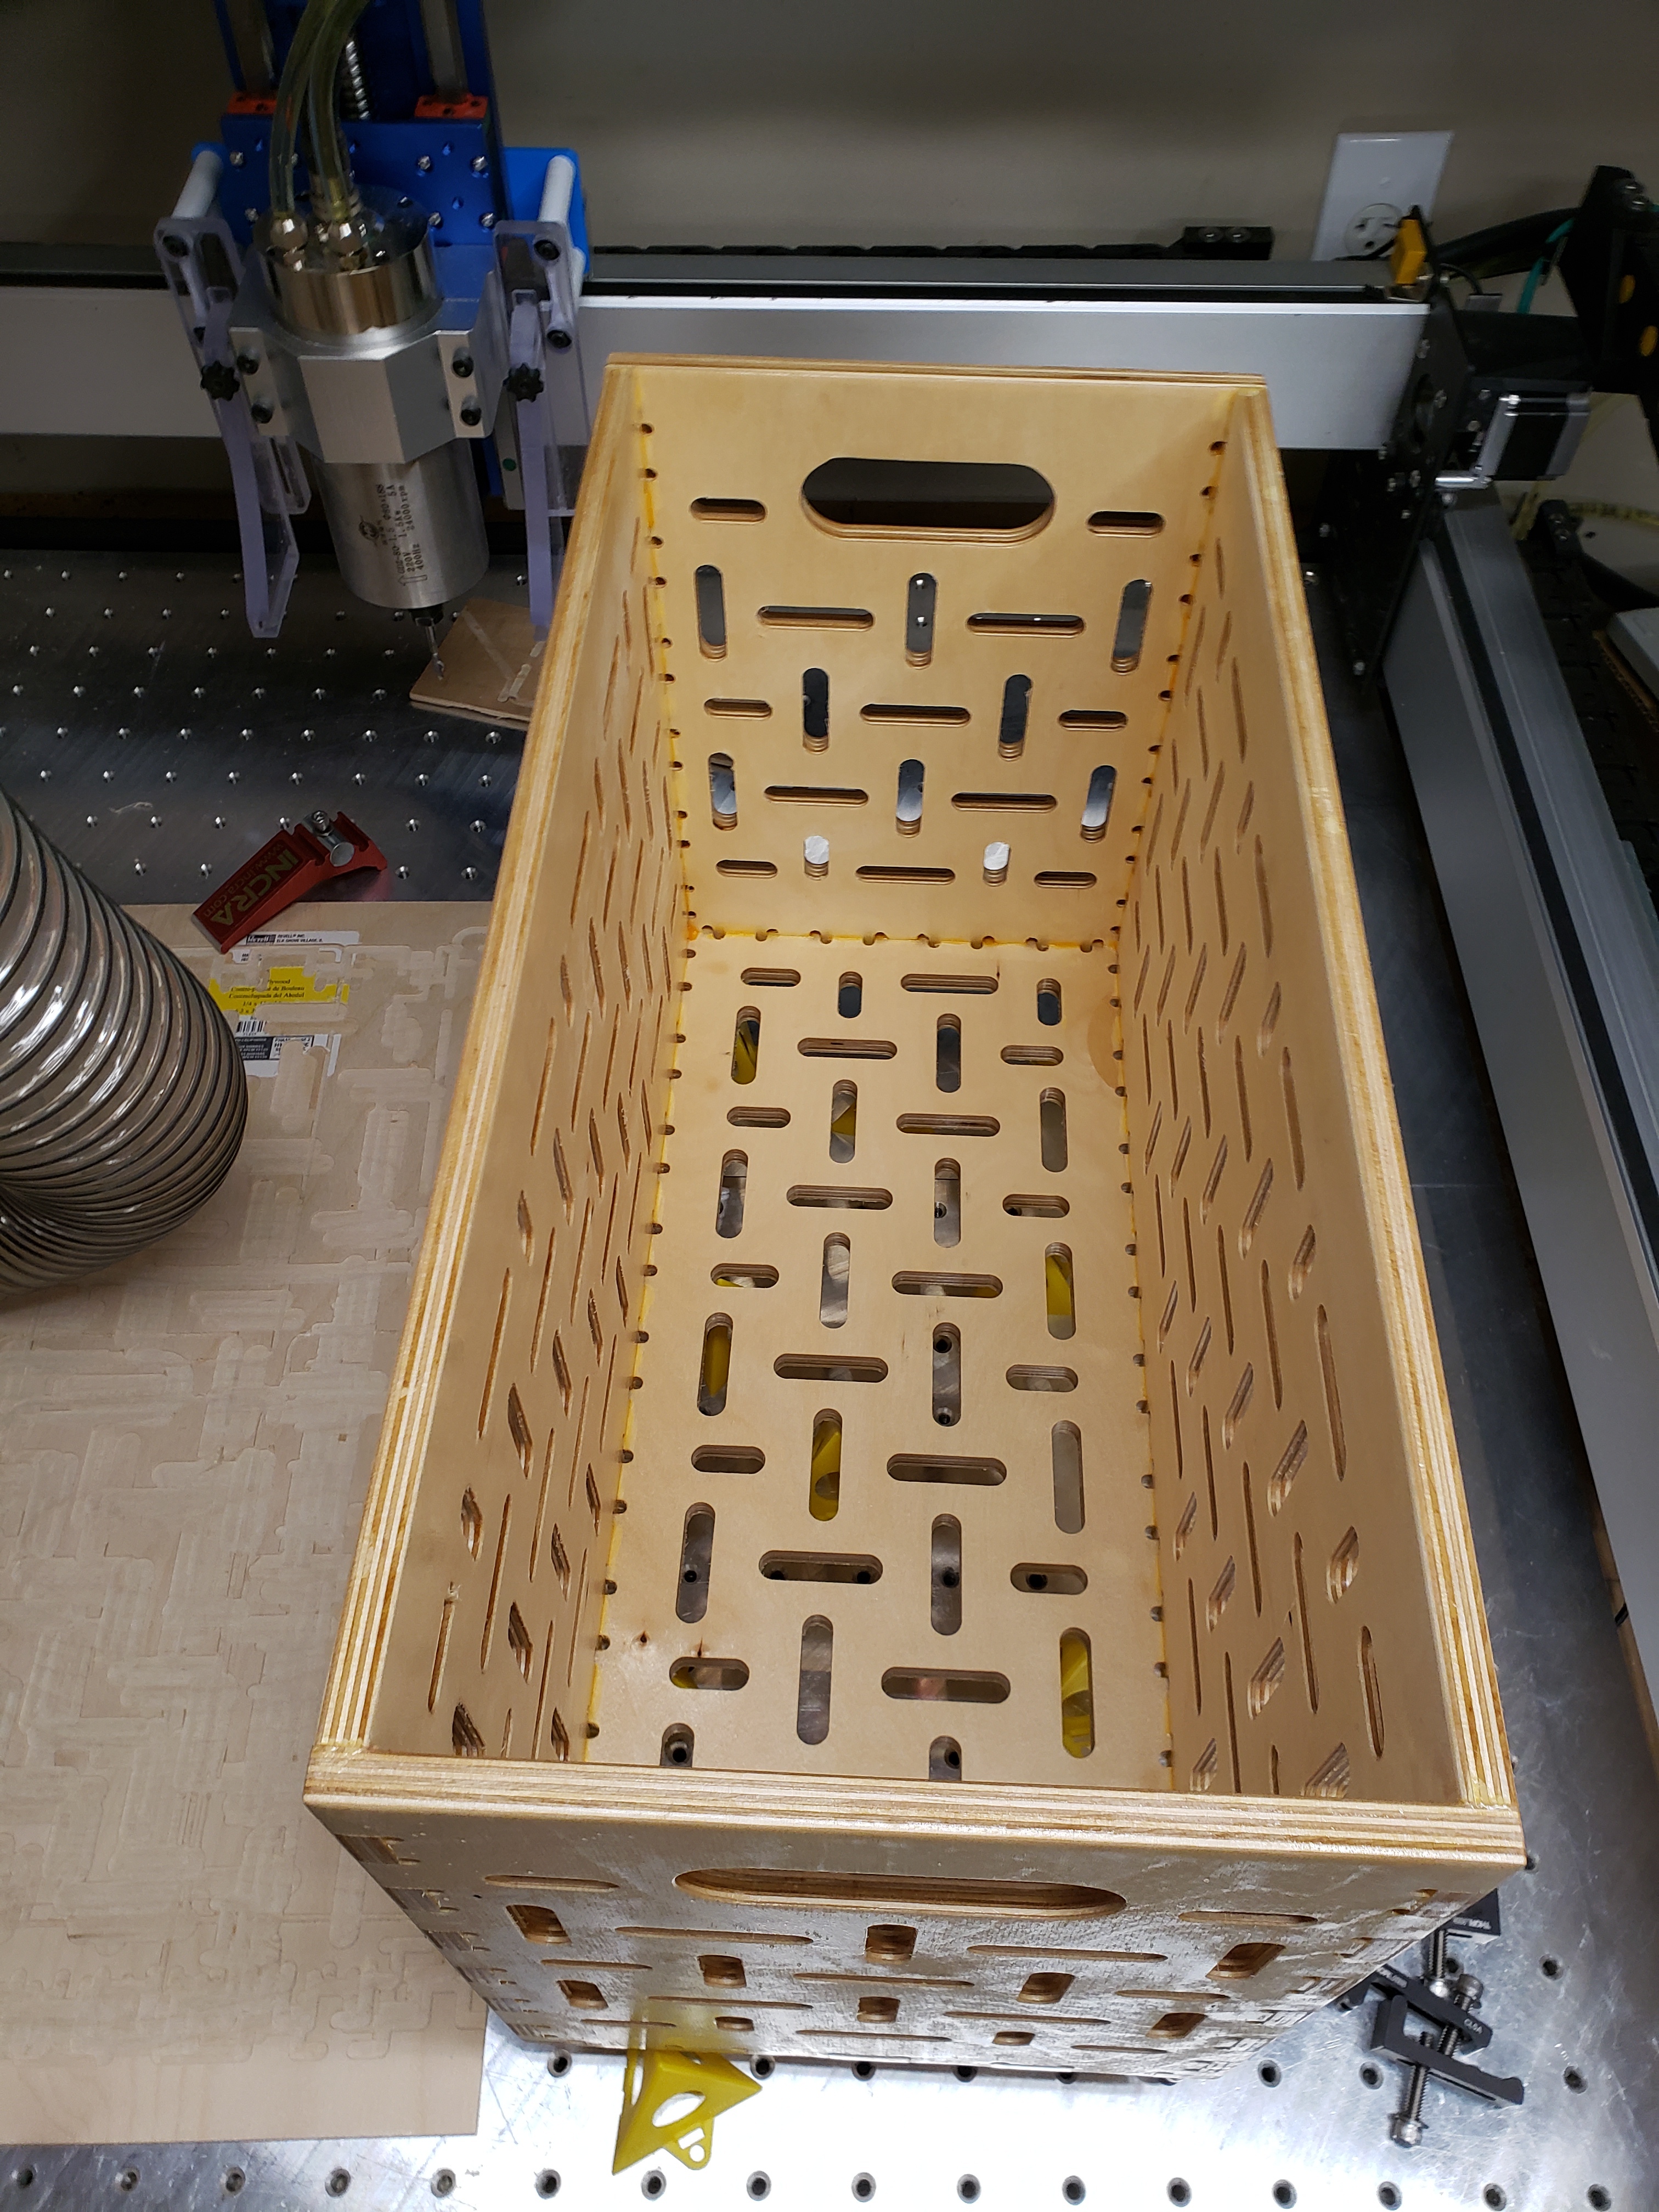
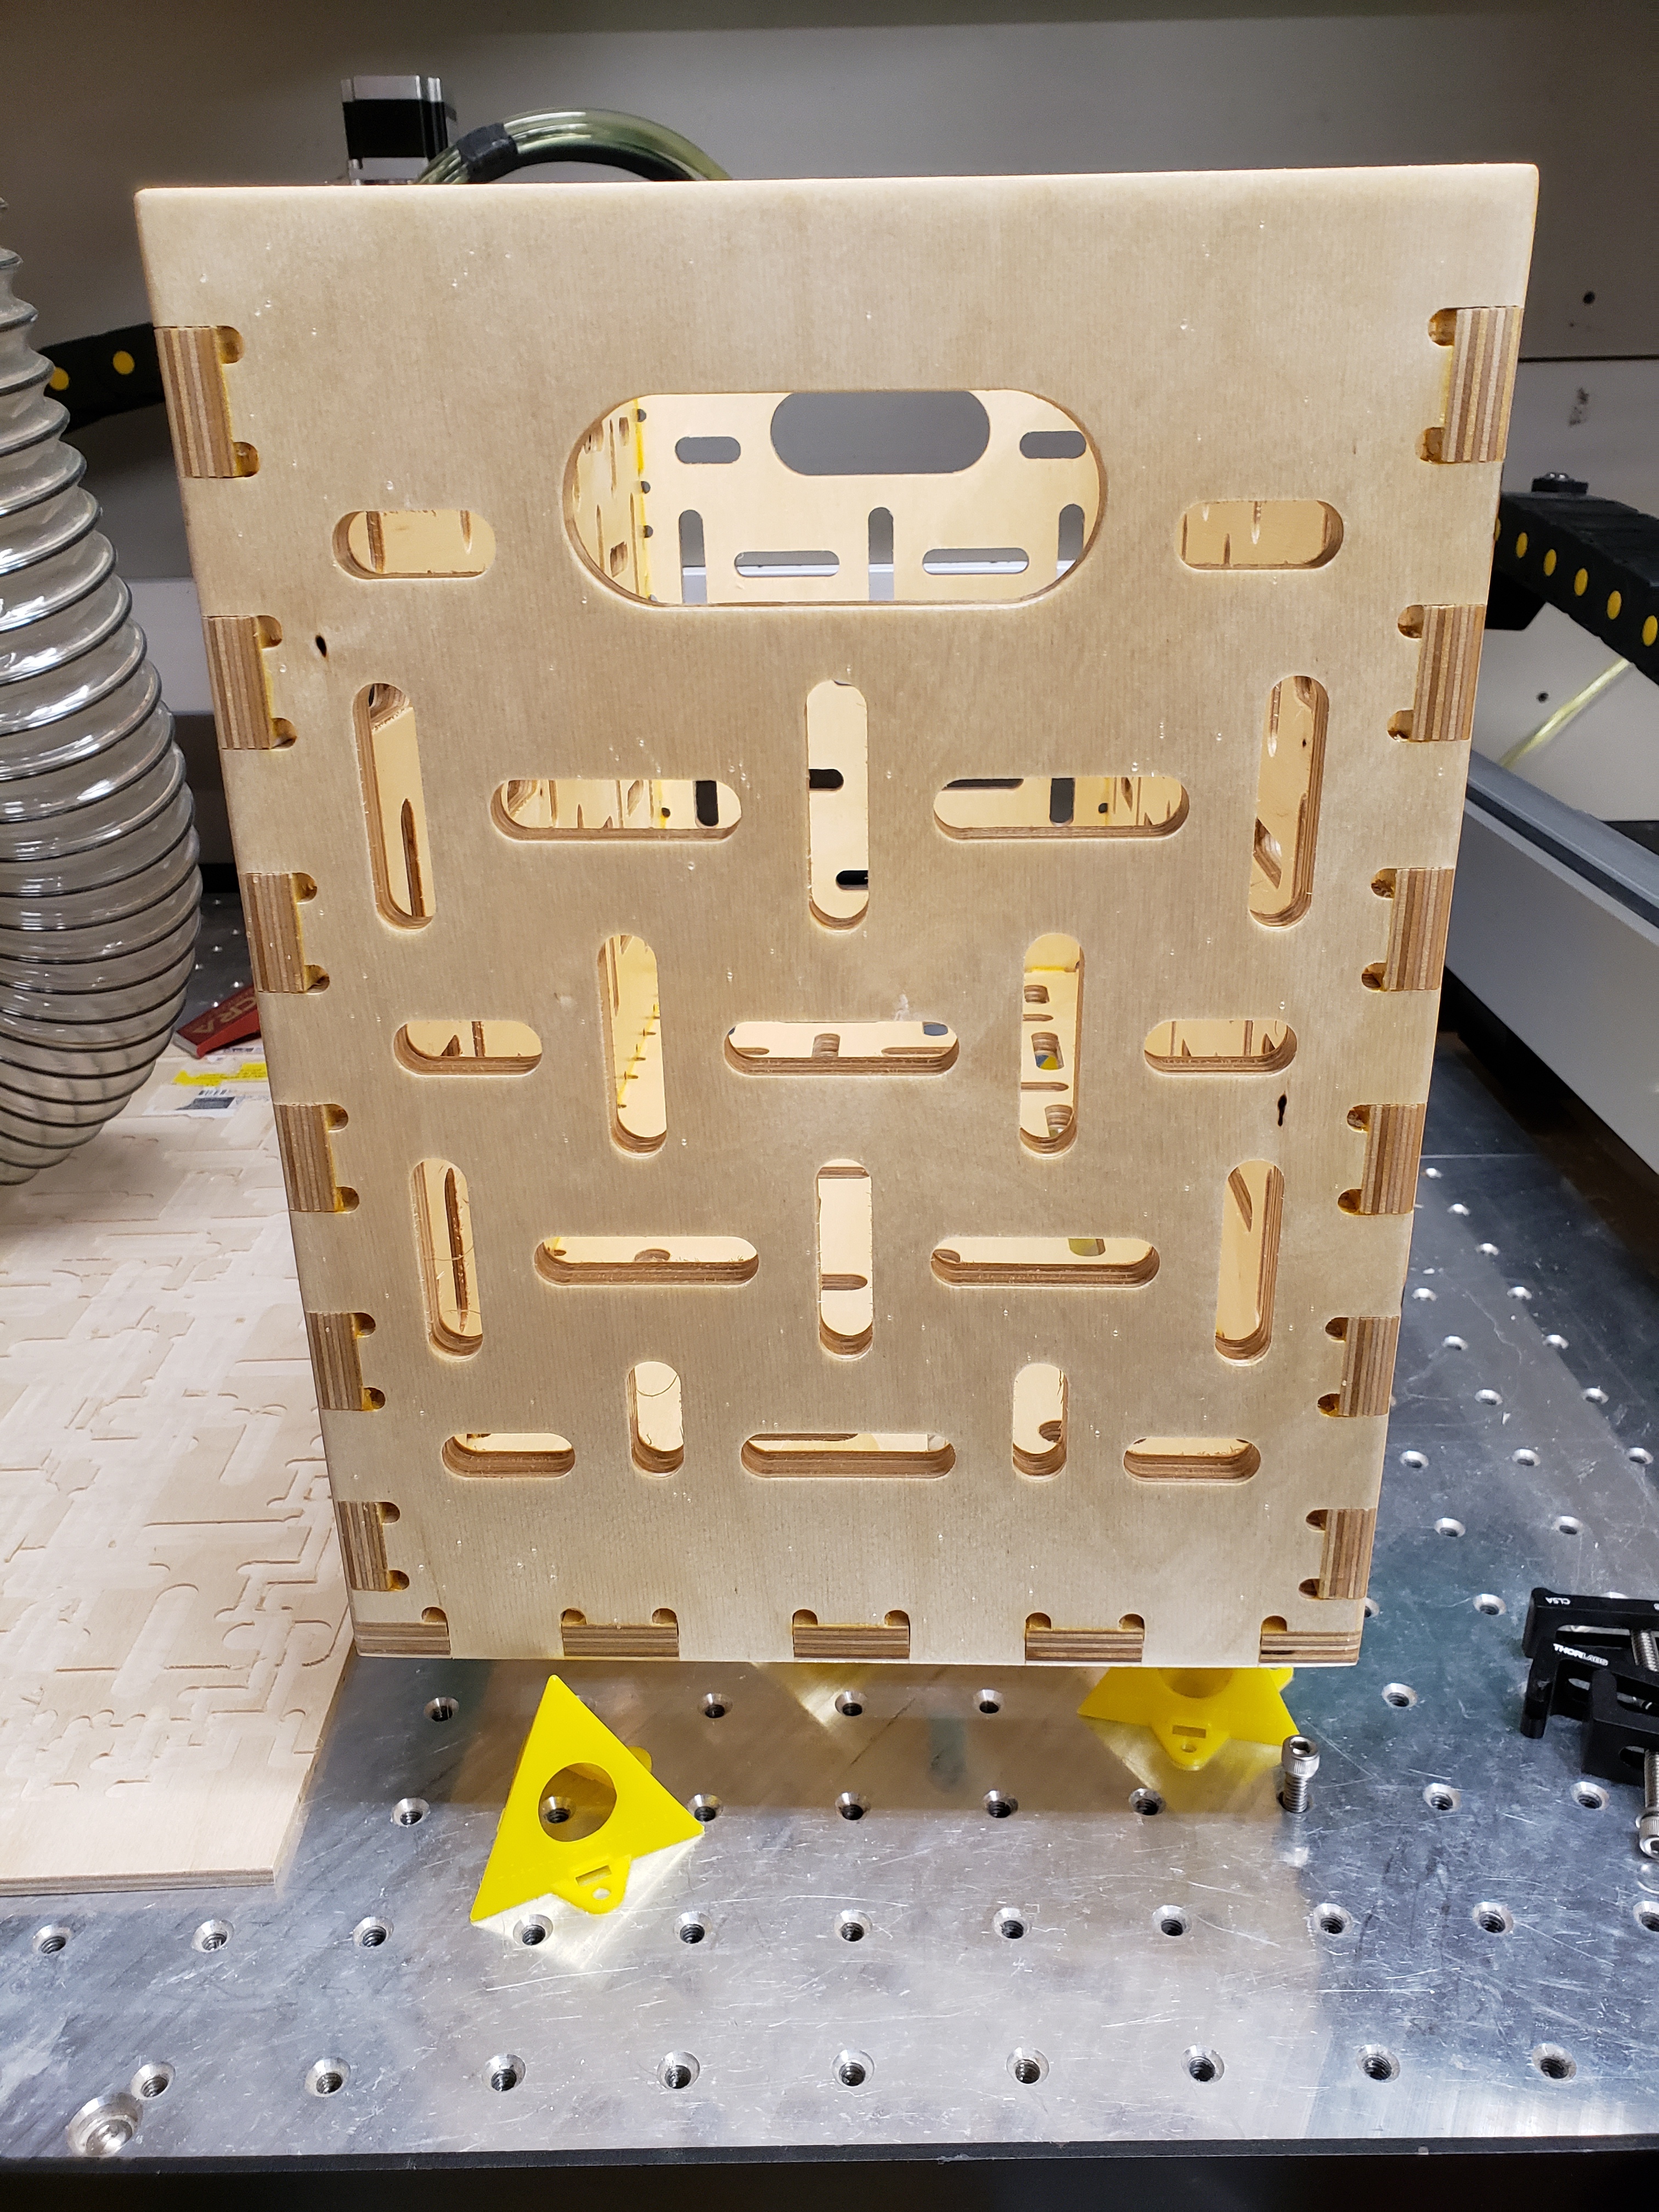
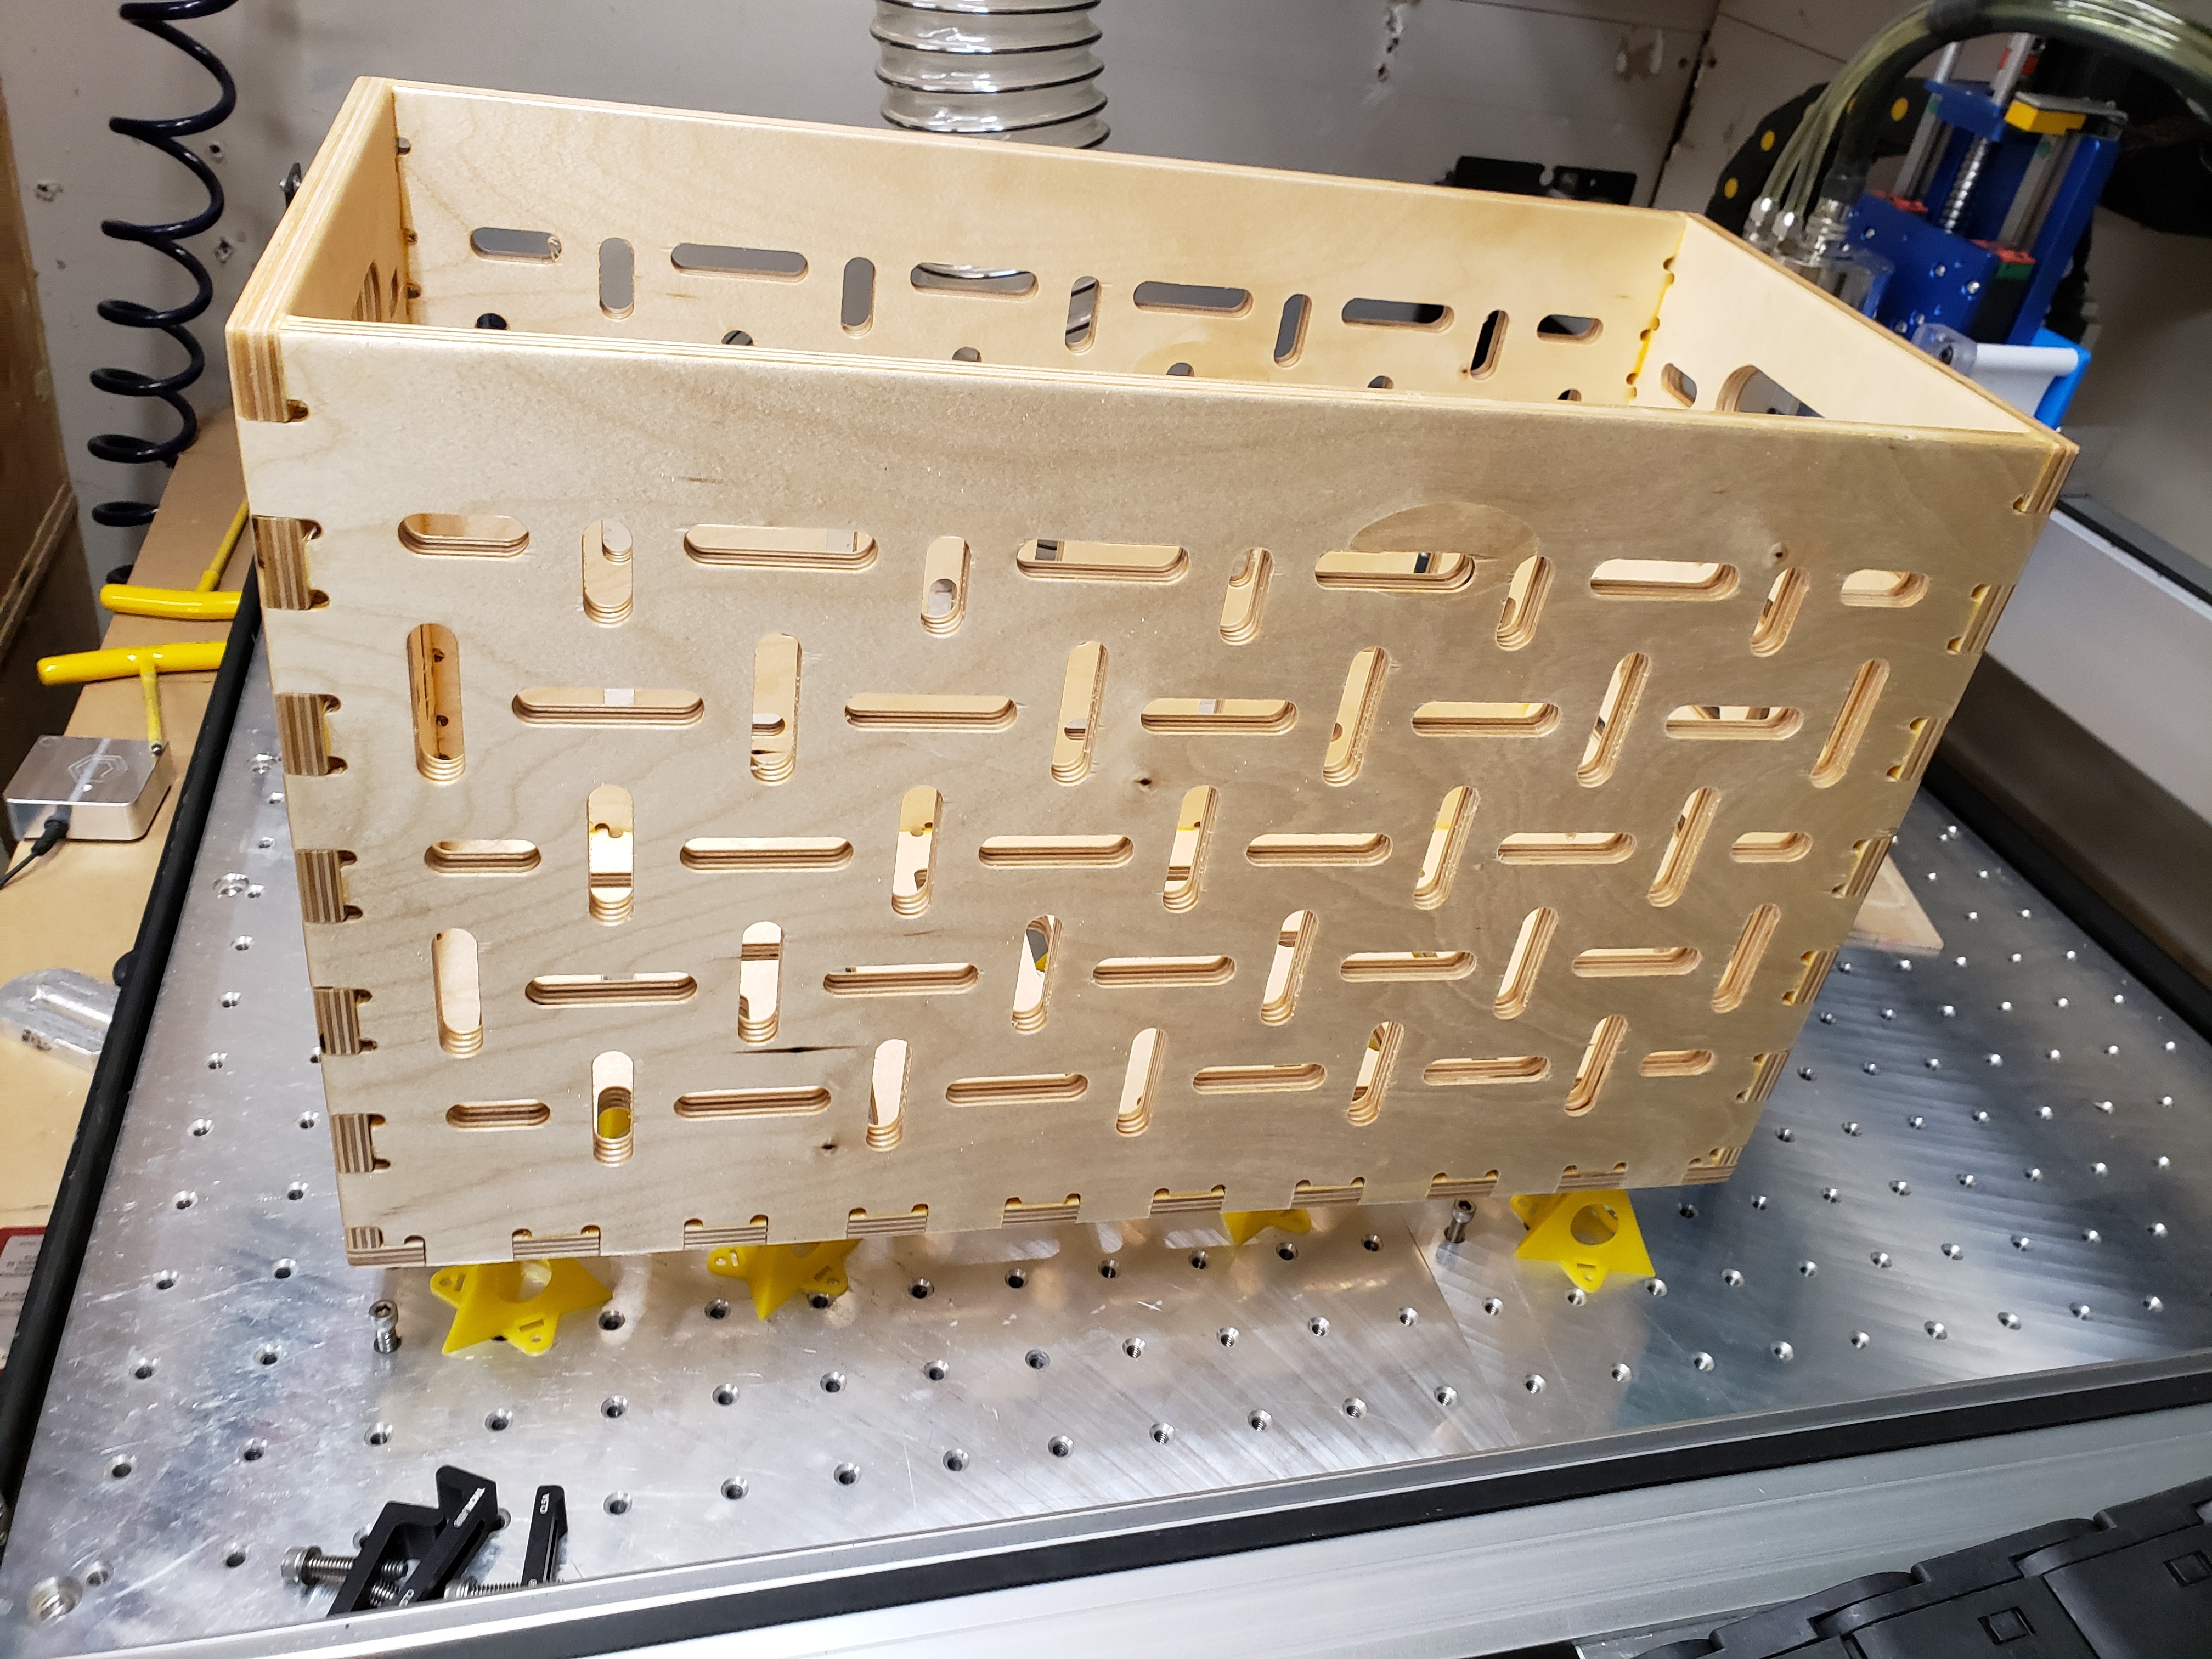
I added slots to allow the cold air to pass through the crate, and handles to two sides to lift them into and out of the freezer as needed.

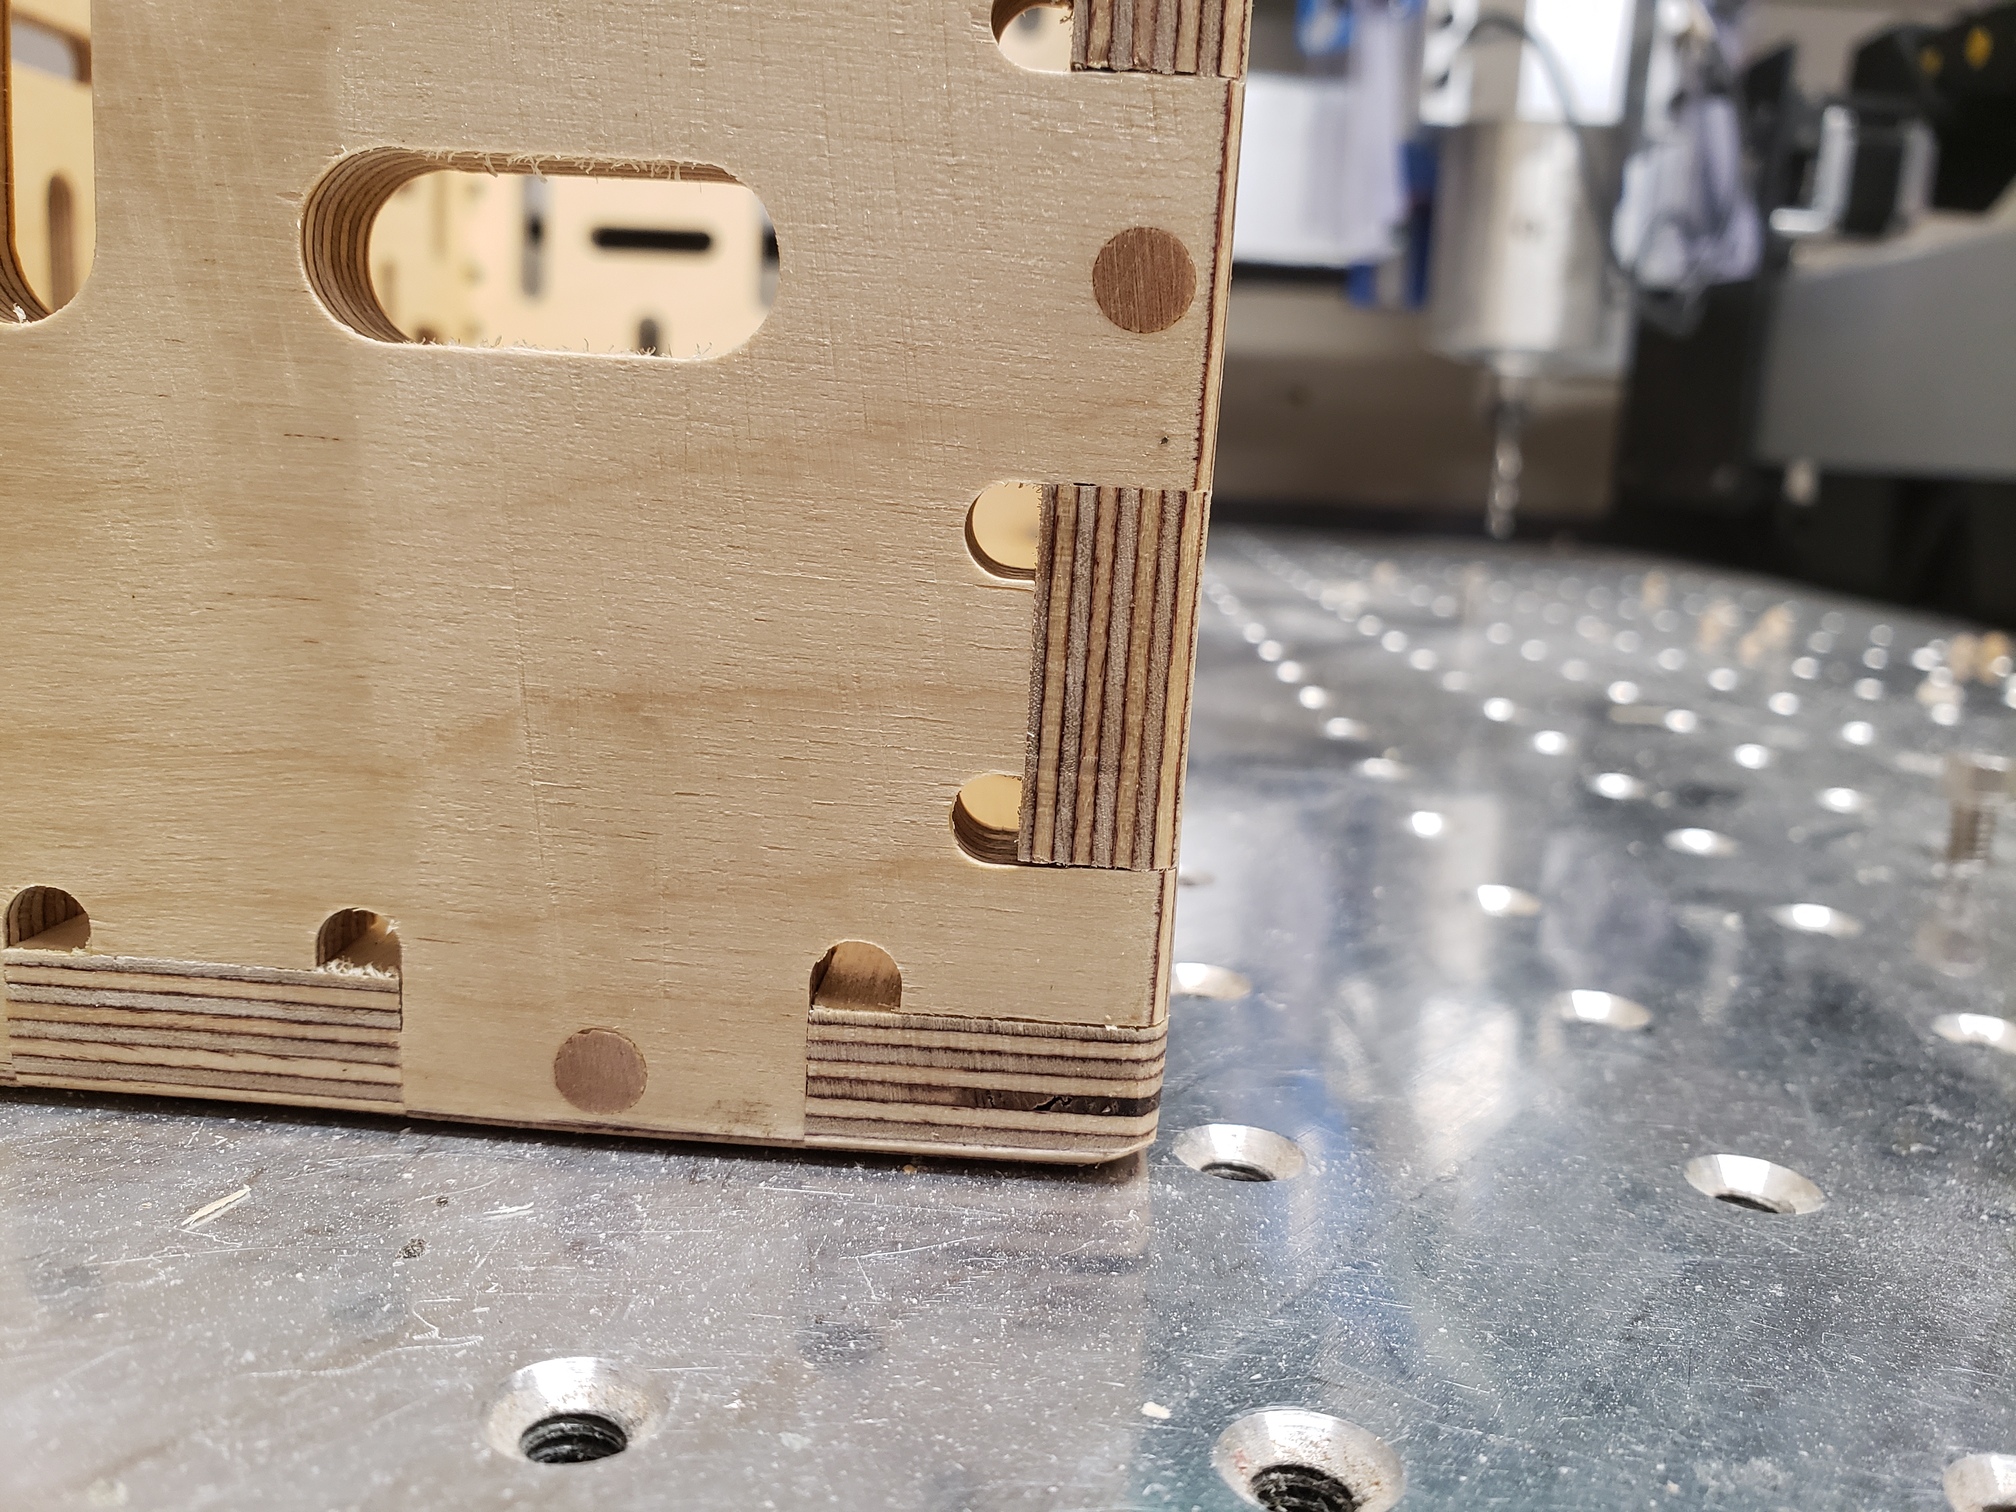
I made one of these crates (a tabbed crate using this extension - not this freezer crate) for my truck 3 or 4 years ago, and I put it together with 1/4" crown staples in the tabs, and I wasn’t happy with the look. This time, I thought I’d glue them together and man, that was a mistake. I used Titebond II glue, because I had about a gallon left over from a previous something or other. . .

That stuff was a pain to try to clean up, and in the end, I think the glue everywhere looks like crap. Too many nooks and crannies for the glue to get to. Next crate I make will have 3/16" holes centered in the tabs, and I will use 3/16" dowel pins to hold it together. That way, I can put just a bit of glue on the tip of the dowel - just enough to hold it in place.

Anyway, on to my completely not pretty - yet fully functional tabbed freezer crate. Oh, the icing on the cake? I was applying a coat of spray varnish outside when it started raining, (I don’t have a place to spray that is indoors) so there are sprinkles on the fresh varnish.

EDIT: Can anyone recommend a decent belt sander? I love my 5" RO sander, but nothing removes material like a belt sander.

4 Likes

That looks great, the slots make it look very professional.

Thanks for the link to the box maker extension, I’ll have to try that out.

I’m keen to make similar out of HDPE or something like that to sit in the back of my truck for camping gear. Not sure how I’d fit it together, maybe threaded inserts or similar.

1 Like

I have the same issue with my freezer, we have plastic baskets at the bottom and some hanging baskets at the top but once the bottom baskets are full, the stuff gets piled-up.

I was thinking of stacking baskets like milk crates. In case you do not know what they are, we get our milk in bags of about 1 gal. and they get shipped to the grocery store in these sturdy plastic crates that stack-up. They are 13inX13inX11in high. I don’t know if they would be the right size for the freezer but the fact that they are in individual baskets means that you can divide the stuff so you don’t have to dig through a deep basket. I had not considered wood as a material for these baskets.

2 Likes

Looks good! You never did say how thick the material is, but it looks around 1/2 inch.

While the glue may be a problem, I think the dowels and the extended sides will take up a lot of space.

I noticed only one spot on the inside where you might have a glue stain. As they say, never tell where the mistakes are! :smiley:

1 Like

Yes, this is 1/2" thick baltic birch plywood. I believe it measured out to be 0.492". I was able to get this crate out of 1/2 of a 60" x 60" sheet.

I don’t use the hand style belt sander anymore…I upgraded my 5"ro to a 6" bosch sander and it is so much better than my belt sander for larger stuff I use my supermax drum sander with 80 grit then follow up with the 6". I can go on and on about sanding techniques depending on what your looking to achieve.

Well, I finally broke down and went to the lumber store and bought a couple of sheets of 1/2" x 4’ x 8’ baltic birch to make more freezer crates. Unfortunately, because I went with 4x8 sheets (the dimensions worked out perfectly to get 4 crates out of each sheet compared to only 2 sheets out of the 5’ x 5’ sheet) the thickness for these was 0.465", so I had to re-do the tabbed box SVG, and do all of the editing to the tabs and re-do the g-code. Oh well, life goes on.

Since I was not happy with the glue everywhere last time, this time I added holes so I could use 1/4" x 1-1/4" wood dowels to hold the box together, and I really like how it came out this time. I still used glue, but only on the pins, and it was easy to sand away, since none of it went into the overcut areas.

I used the holes in the sides as guide holes, and a brad point bit with a stop collar to drill into the plies from the sides. I inserted the pins with a bit of glue on the end of it, then I used a flush cut saw to lop the last 1/4" off the pins before sanding it smooth. I only have the belt that came with my belt sander - like 60 grit - so I gave up sanding away the gouges, since it will live in my freezer and probably never be out again.

Since all the load is going to be on the bottom panel, I made sure all of the tabs have a pin in them. For the side panels, they only need to be held in place, the tabs will bear the load for them, so I only put two or so on them.

I do have 120 grit and 180 grit belts on order, but they are not going to be here until. . . Checks Amazon. . . May 4th.

EDIT: Man, those pics really make the crappy aggressive sanding belt scratches stand out. I think when I get the new belts, and the rest of the creates built, I am going to have to come back and re-do these. But not now - it is already holding food in the bottom of the freezer.

4 Likes