I overthought it 
Still I think I came up with a decent solution for my needs.
60 watt fiber laser deep engraving brass tokens.
There are a few things I’m trying to address with this:
- I suck at centering. So as long as I can reliably fixture the coins the same way in a repeatable way, I’ve won that battle.
- I suck at orienting. One of my pet peeves is flipping a coin to see the top and bottom misaligned. Having access to both sides of the coin in-situ, where I can just flip the entire fixture fixes that.
- Folks want overflow engraving that falls past the edges, so I need full access to each face. Nothing can cover them. (This is a secondary thing that might not be solved with this jig)
- With deep engraving we can dump a good bit of heat into the coin. There are a lot of ways to deal with this from air assist to clever pathing to distribute heat, but I still want my fixture to be metal.
- Fast. I don’t want to screw anything or have to faf about. There will be a ton of these tokens so even a few seconds a piece can be minutes gone in just fixturing.
All of this led be to one conclusion: flexures!
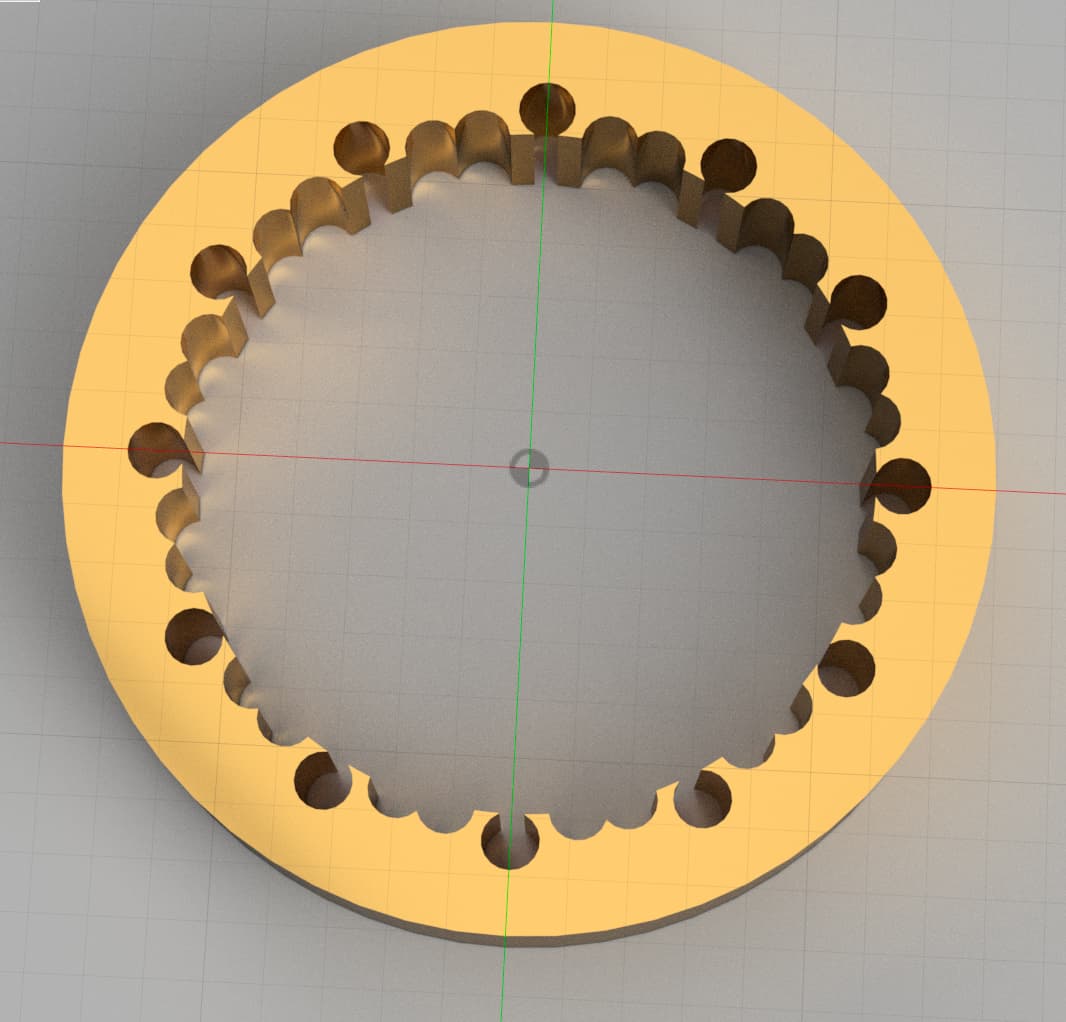
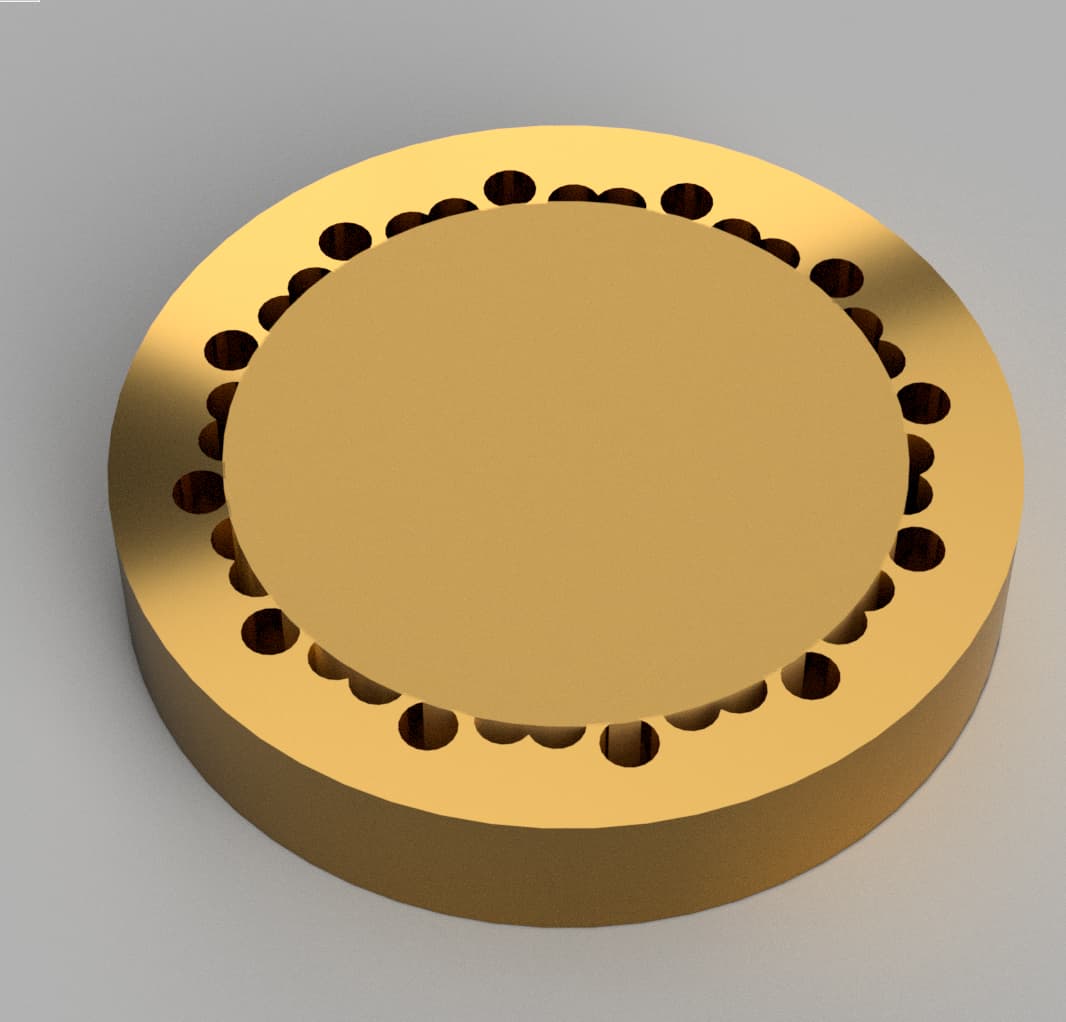
If I can just circular pattern a bending arm around the coin, maybe those arms can hold it in place.
The token blanks are likely punched and vibratory finished so they’re not entirely circular. Flexible arms would take up that slack so to speak.
And with more, smaller arms as opposed to fewer larger arms, we can leverage elastic averaging across all arms to better center the tokens even though they are not perfectly circular.
Another benefit of more arms is smaller overall contact area to transfer that heat. Basically creating thermal bottlenecks. Not necessary but nice nonetheless.
If we can keep the arm displacement and stress low enough, the arms should last ~forever. I’m shooting for less than half of yield stress on each arm. Modifying the beam thickness and length should let is tweak things in if necessary.
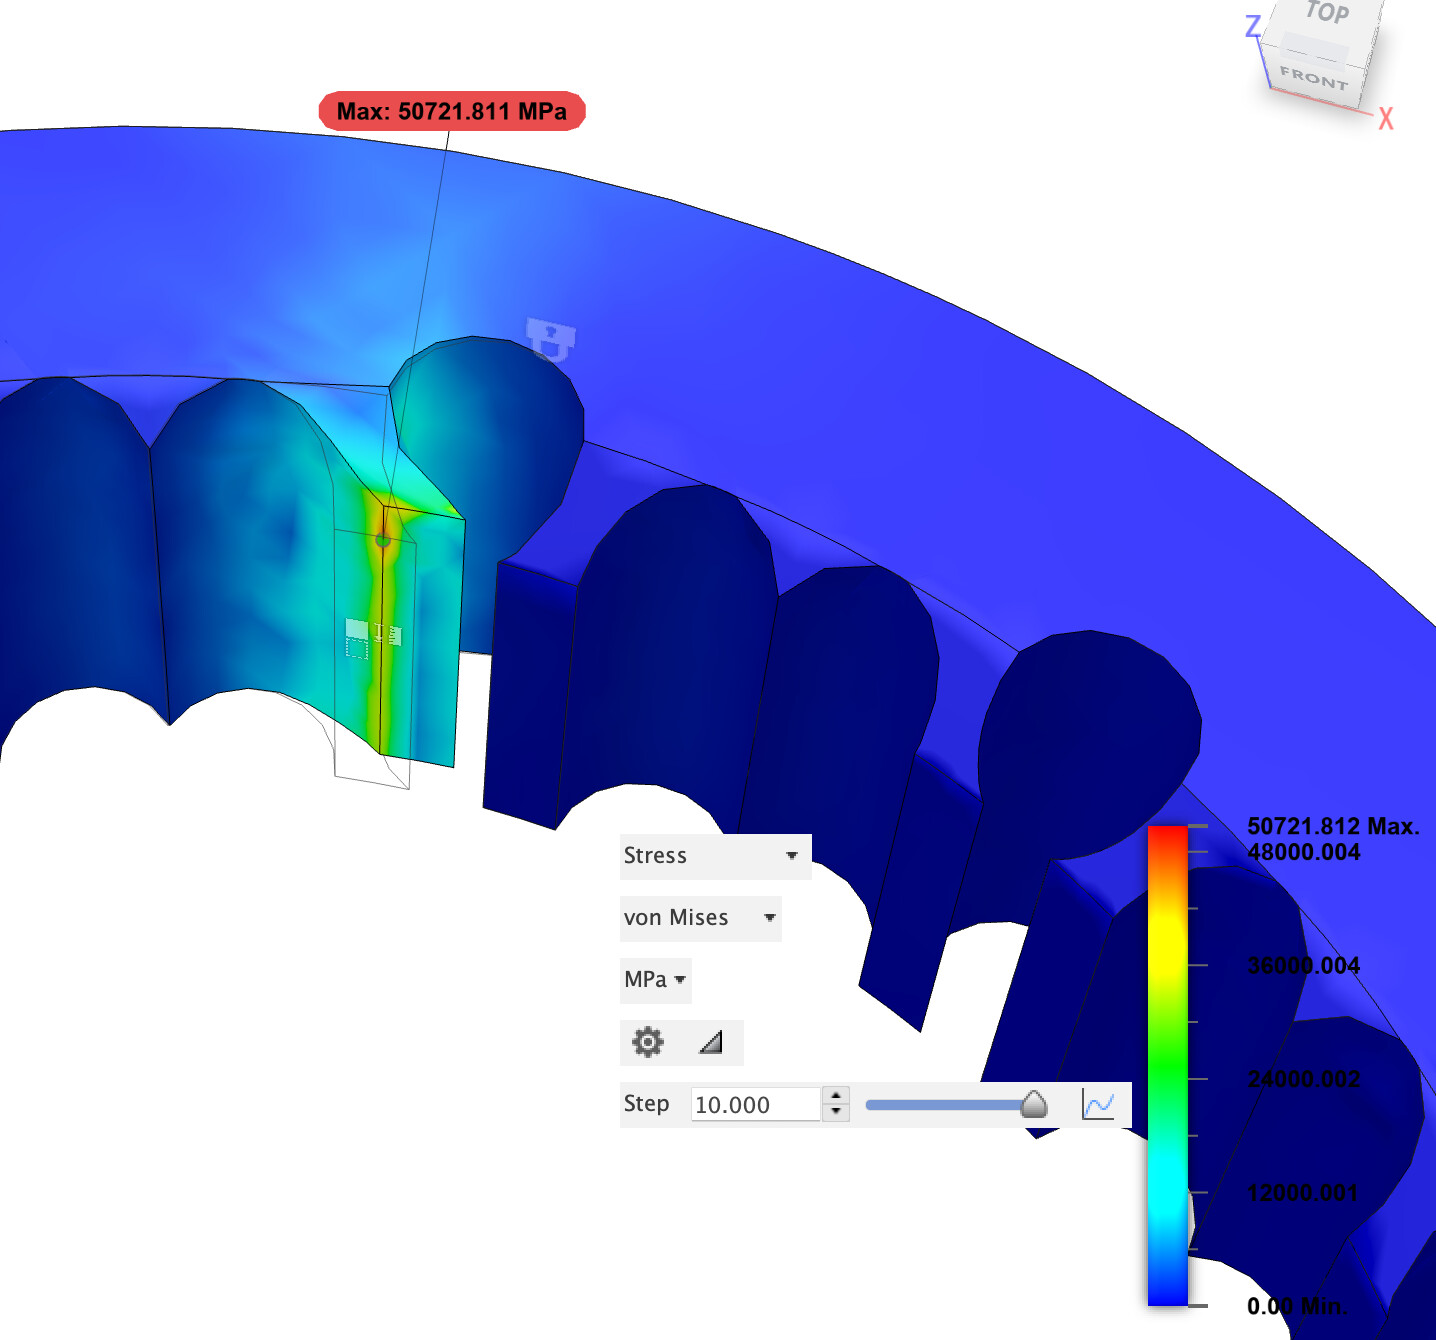
I modeled this in fusion 360 and ran a displacement simulation to get a rough idea of max stress on the parts. They seem to be very low and testing seems to corroborate.
Next up, I need to keep my manufacturing methods in mind. With these small features I am stuck using small tools. Small tools are in direct contrast to removing material quickly 
I’ve had the best luck moving quickly with medical drill bits. A 1mm medical drill has a solid thickness and the Z axis is pretty darn rigid. Let’s try and use it as much as we can to define the small features and switch to a chunky 1/8” Endmill to clear the bulk after drilling.
Also worth dropping a little chamfer on the interior to help self center the tokens when inserting.
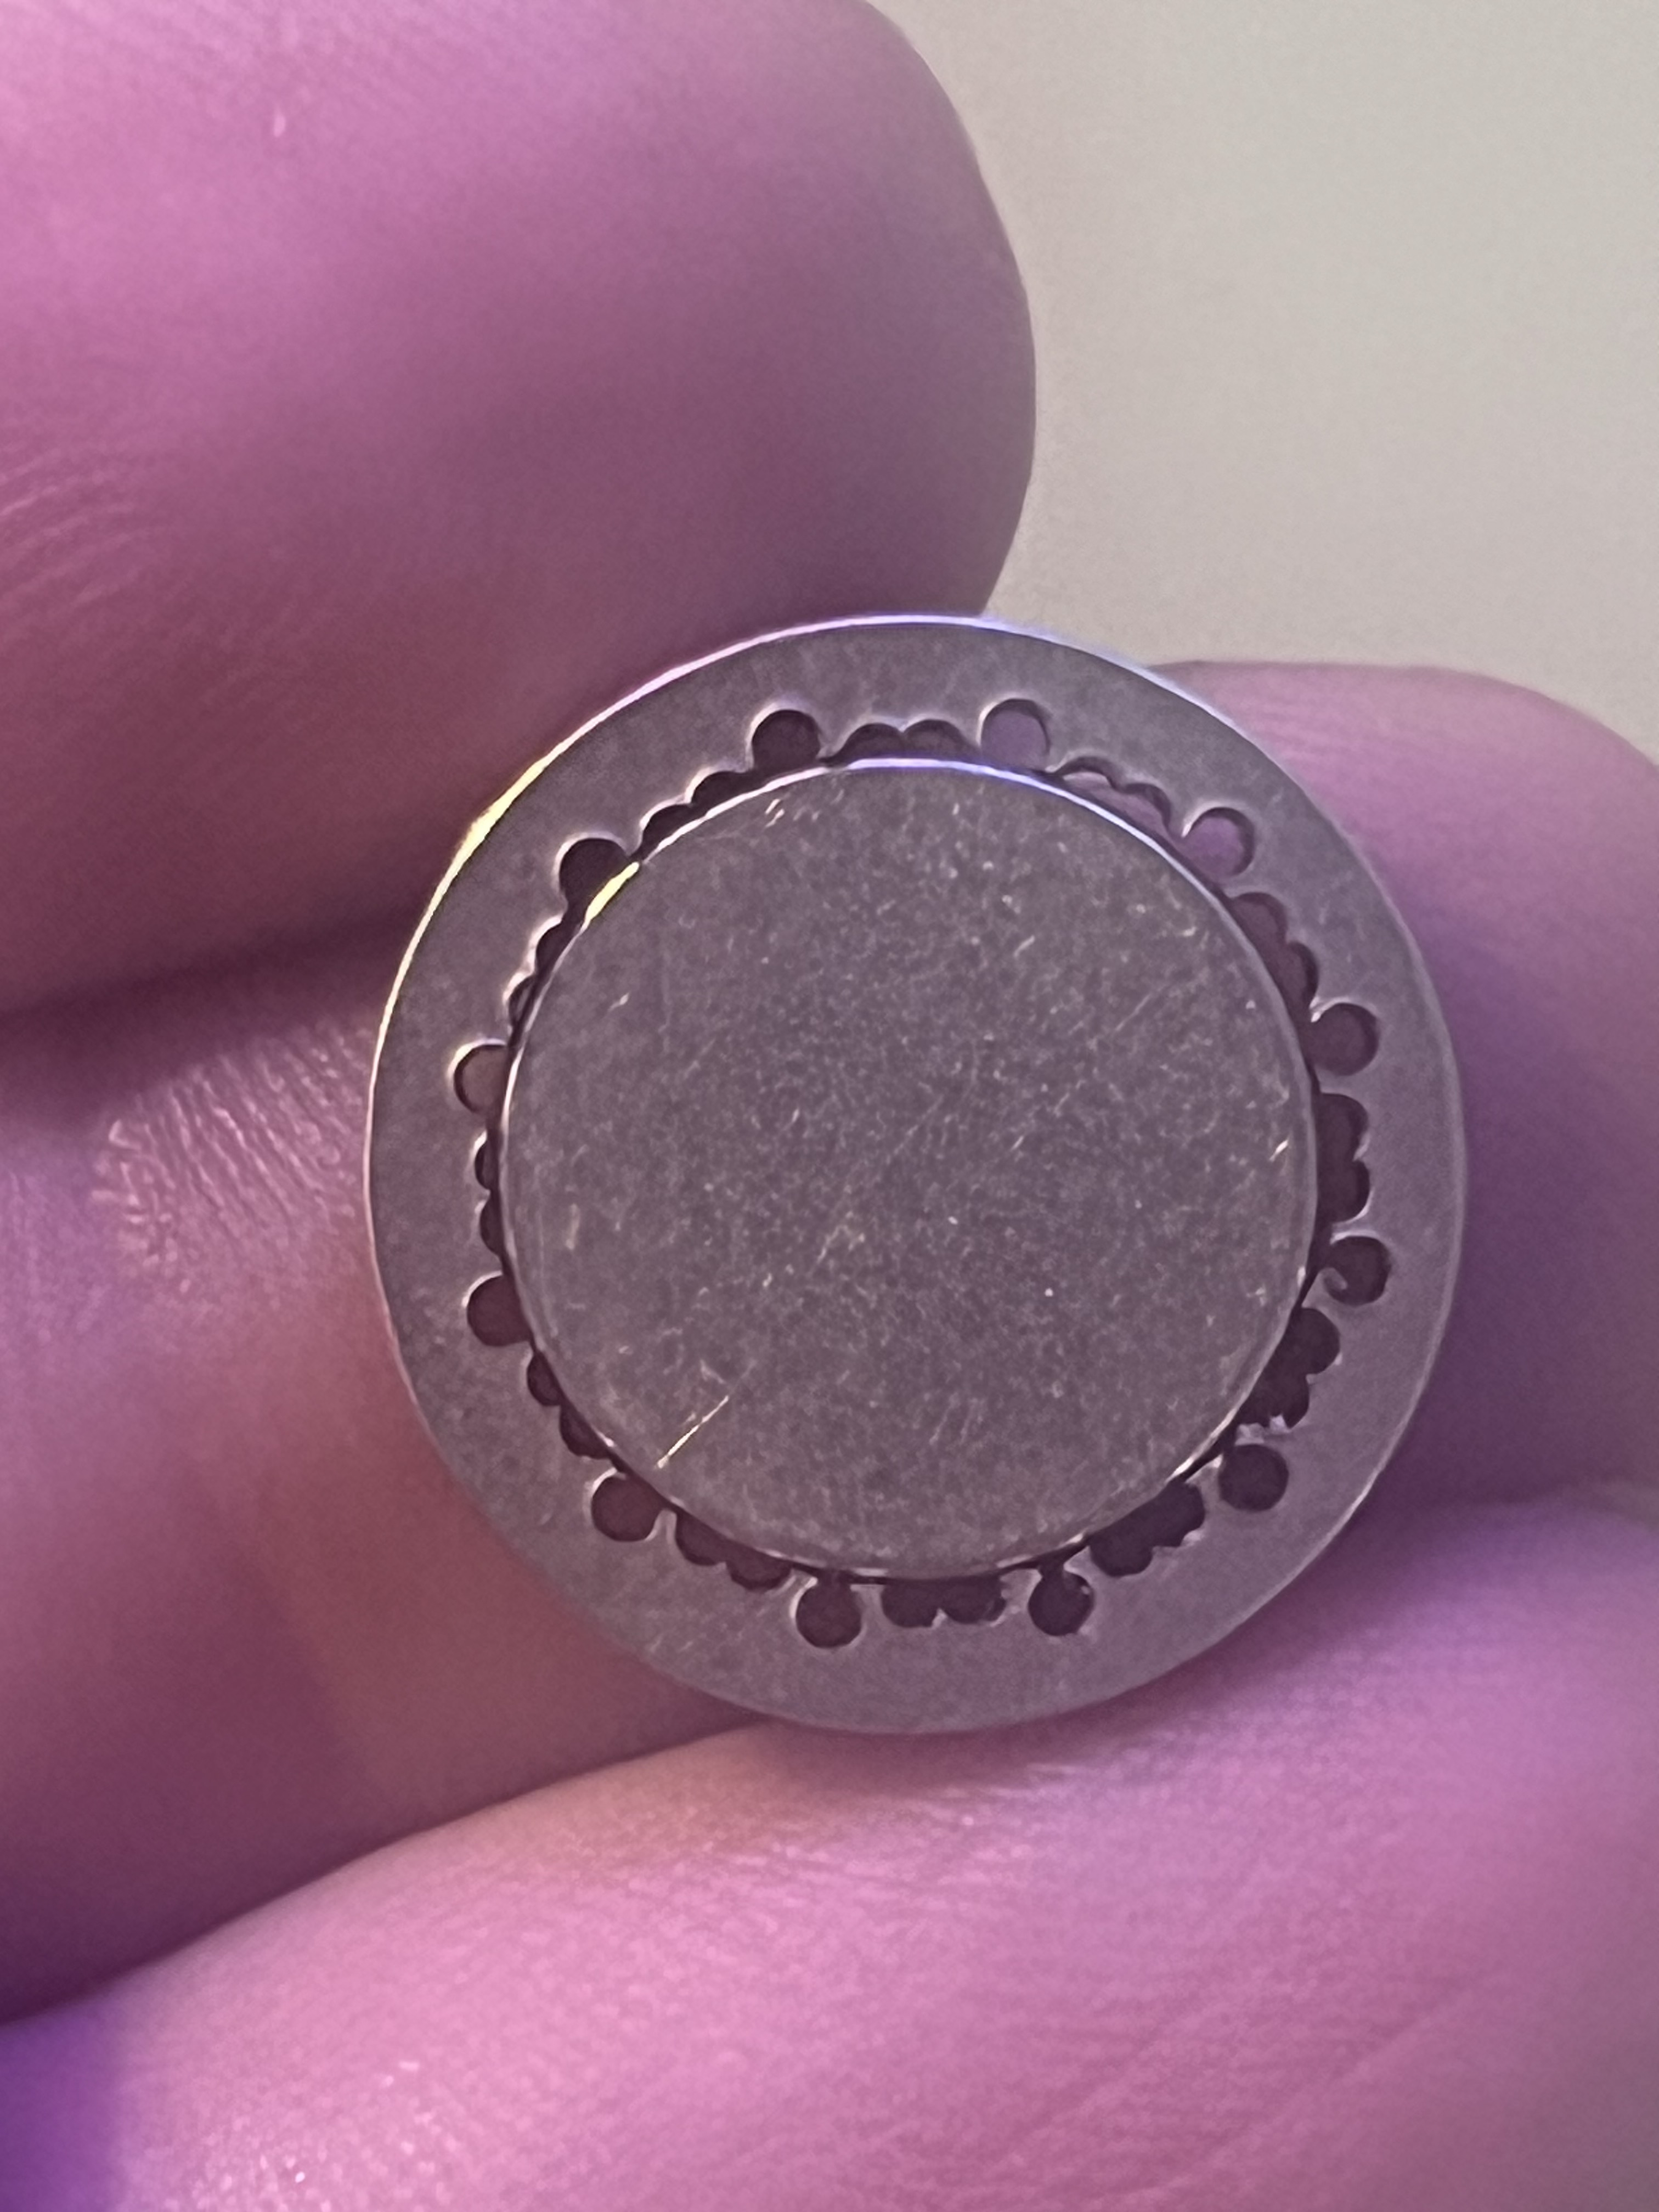
My test material is just a 16mm token. If it’s promising, this pattern will be laid out in a fixture plate proper. Unfortunately the clamping force very slightly deformed the token…I thought this might happen but it’s still a fine test.
At the end of the day, I’m just guessing and checking 
Enough yapping, time for pictures:
Holder render
Study results
(deflection exaggerated for visuals)
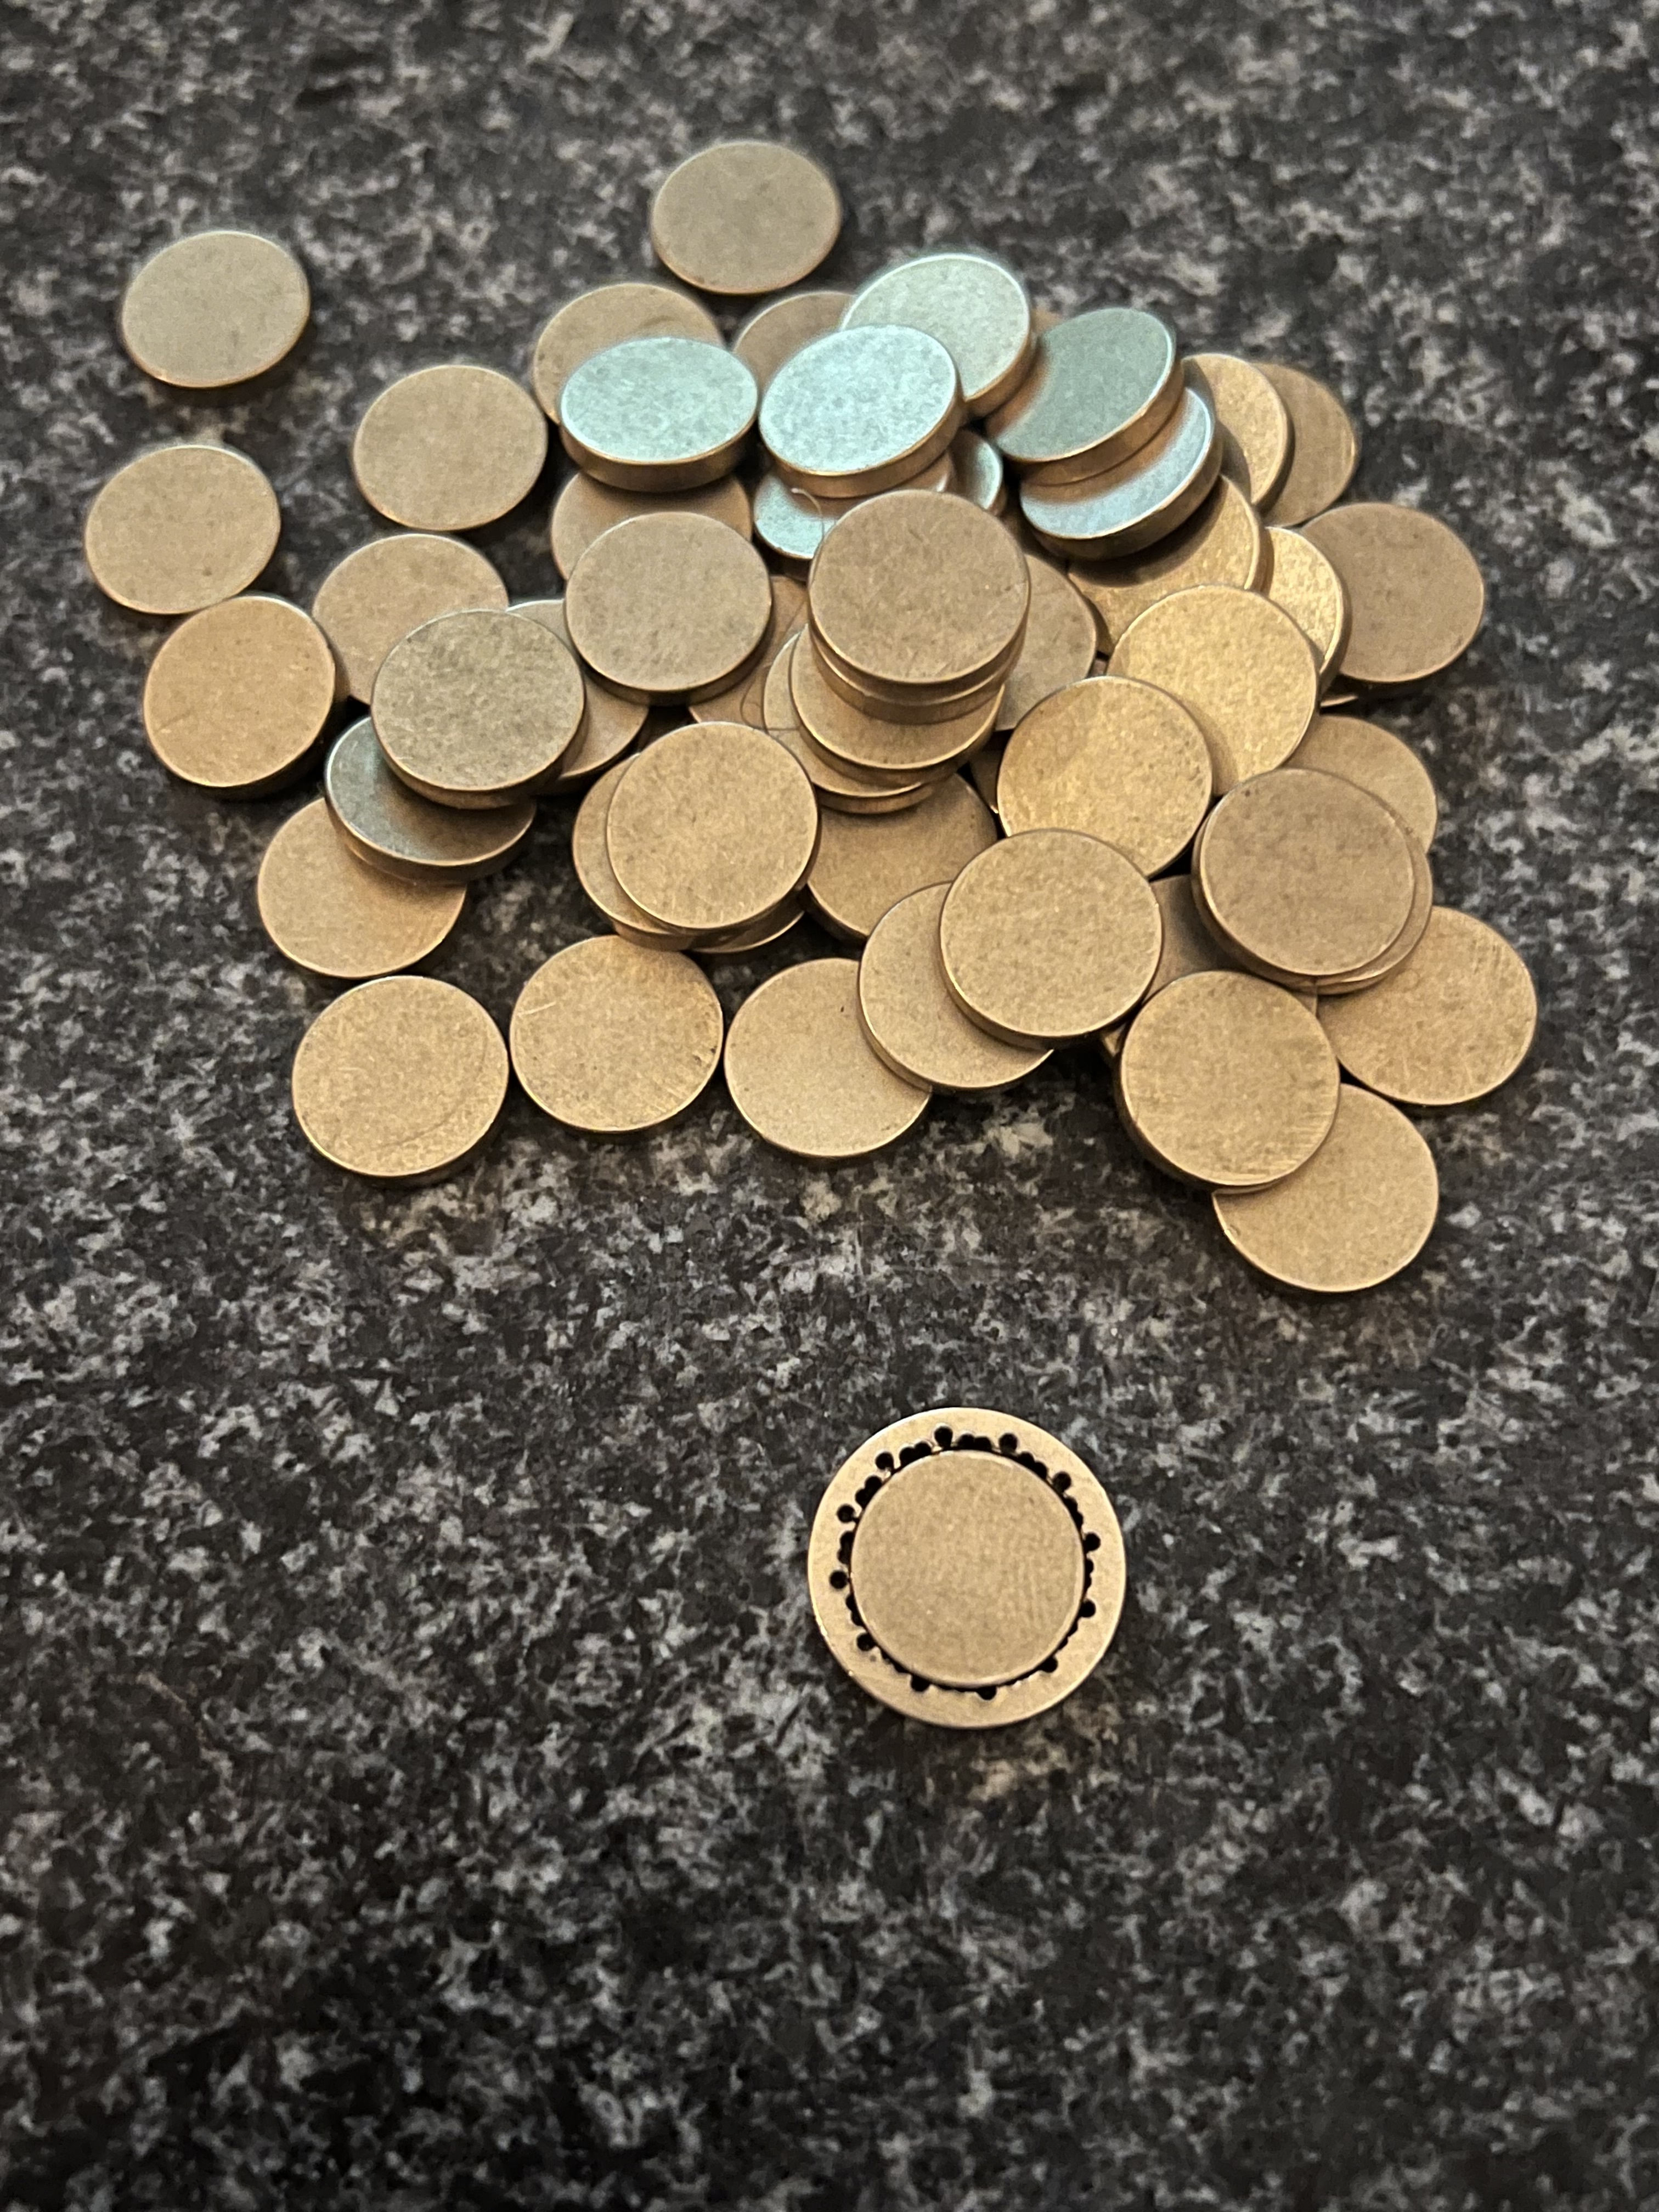
and here is the result of the first test…a little deformed as expected.
To test this holder I pushed in a token on the surface plate, so the token and holder are nice and coplanar.
Then I picked up the holder and shook it to see if the coin would fall out.
To give a more real world test, I did this across 50 different 12mm tokens. Ideally this represents a good distribution of tolerances on the tokens.
It wasn’t until cycle 76 that the token fell out.
I think this is actually just the outer ring deforming so I expect a plate will do even better. If it’s exactly the same I’d still be ecstatic
And there we are, the first try seems to work wonderfully 
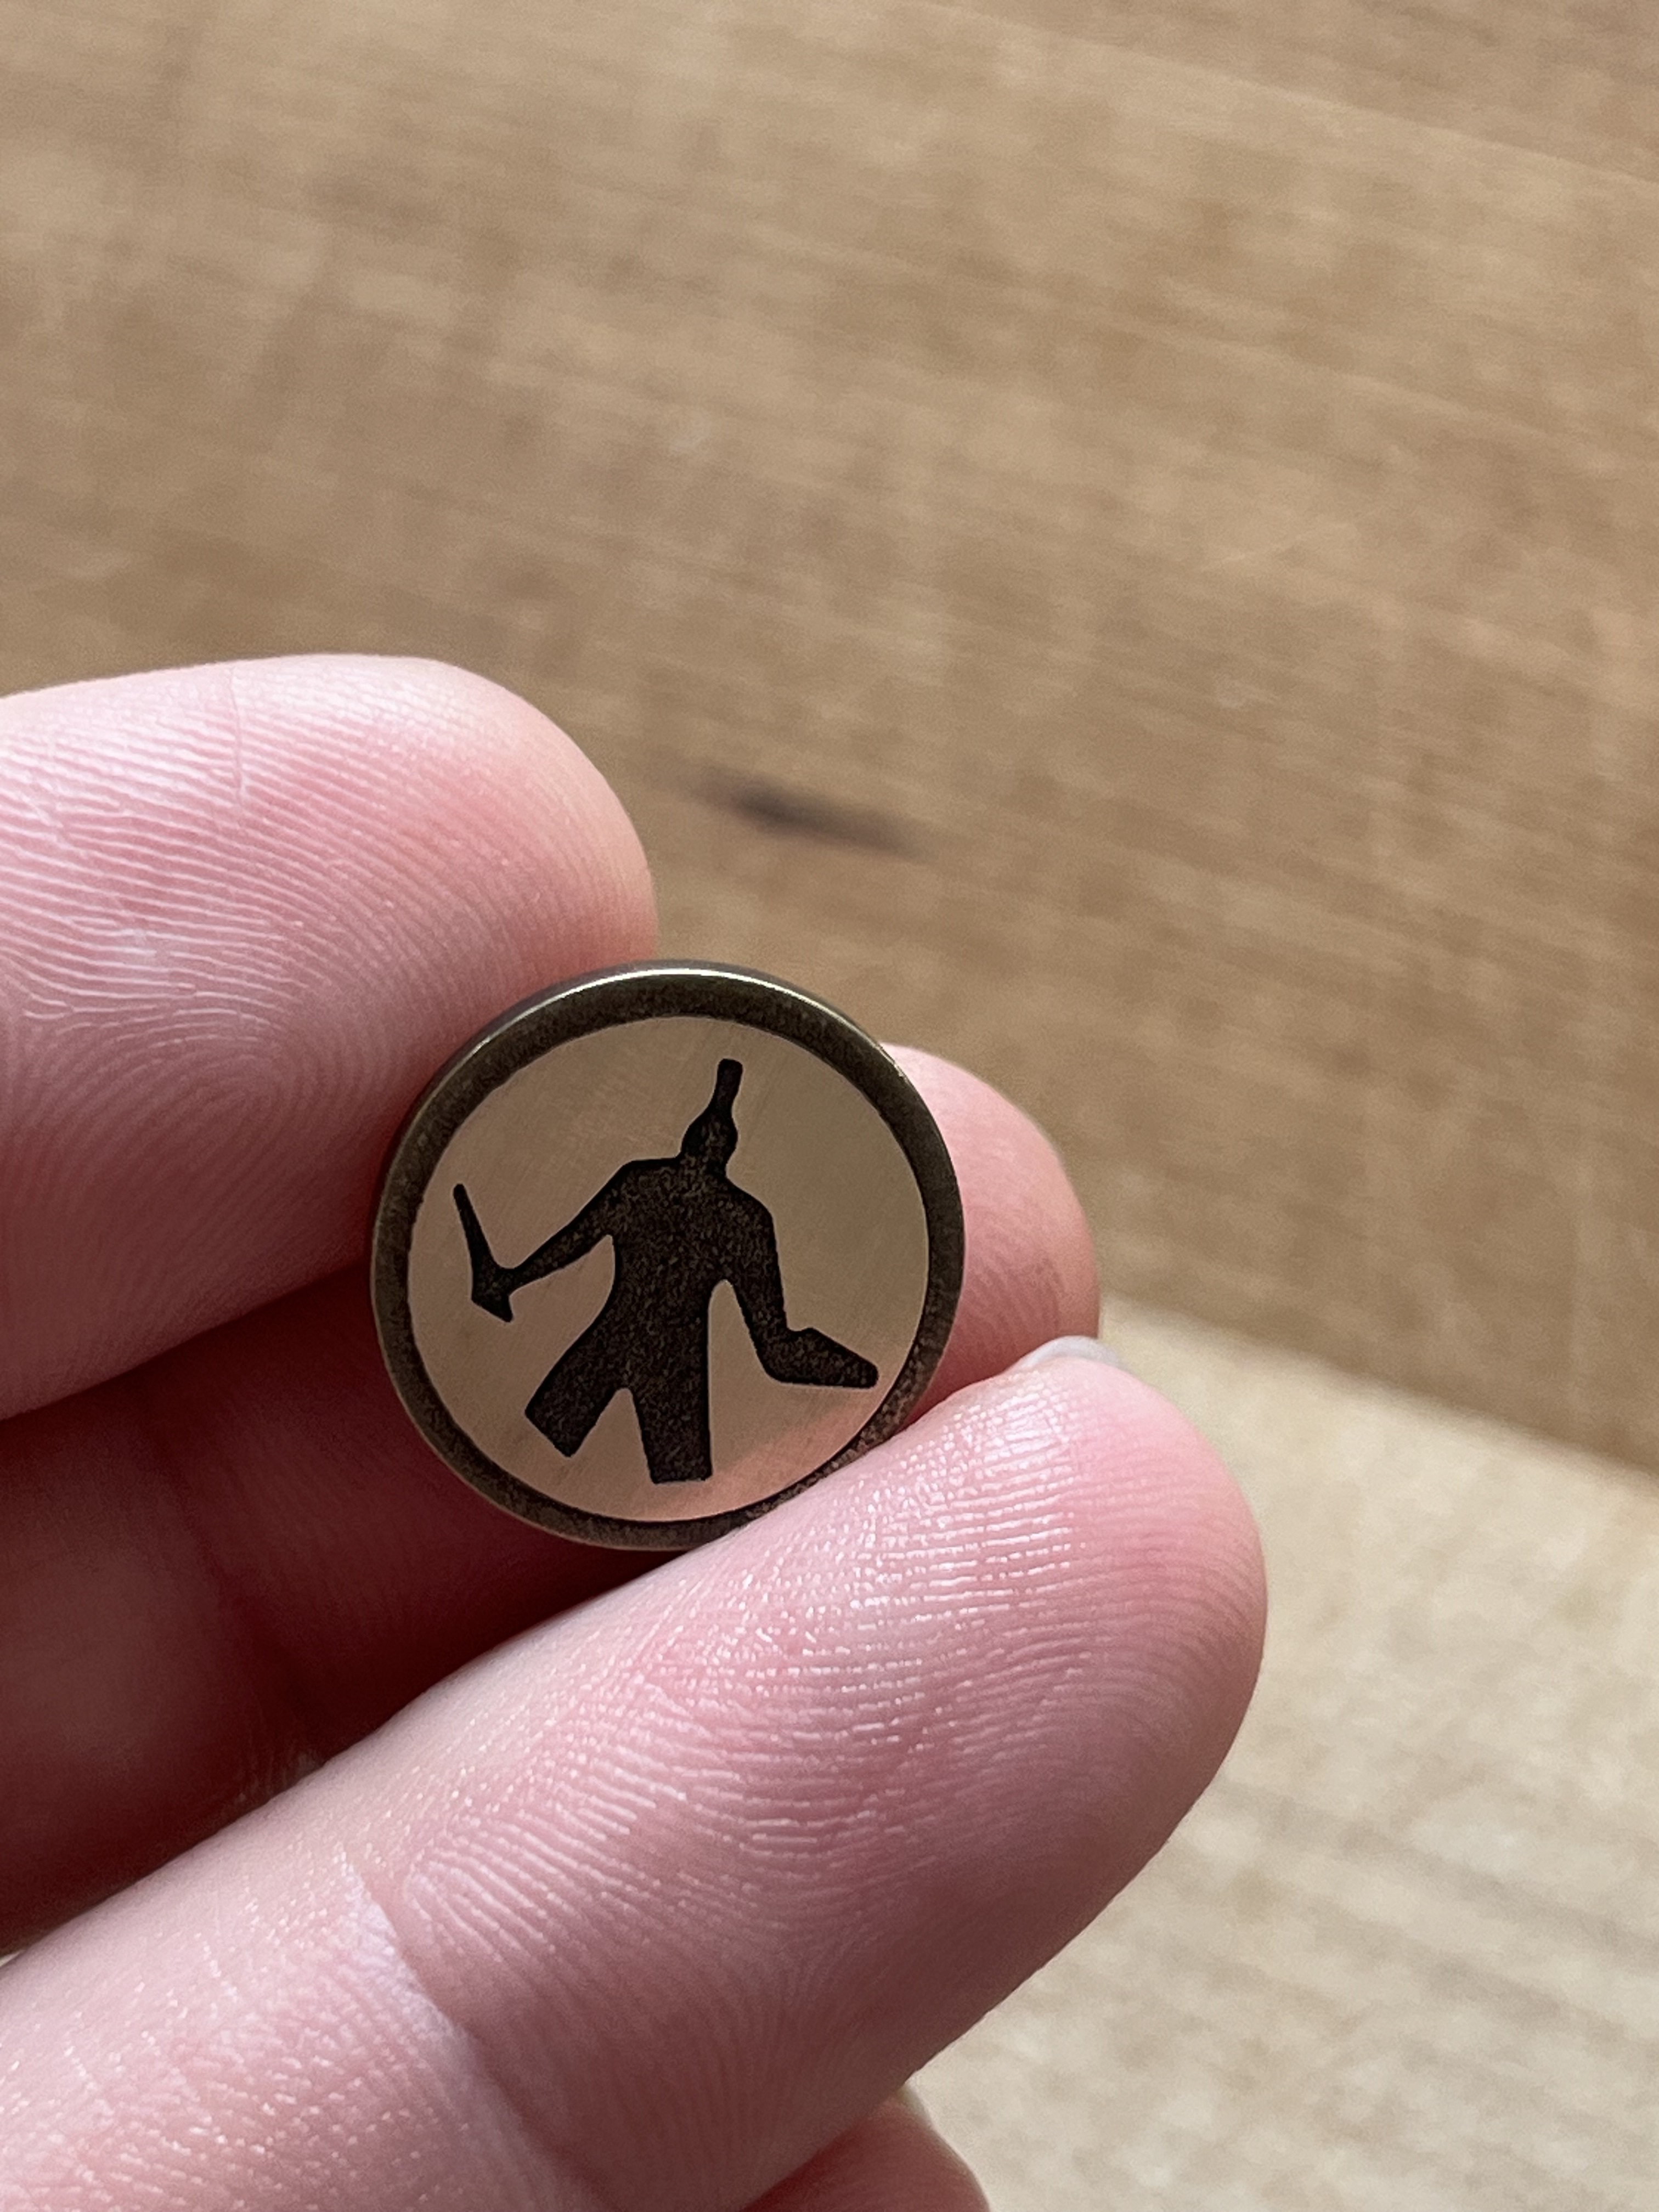
Here’s an example of a test token engraved. Pretty simple all things considered