this seems like a large piece, did you surface the male and female stock on the machine before v-carving each of them? slight variations in depth in the stock material (both the male and female parts) can mess up the depth, and therefore how well the male and female parts will match
again, this is a large piece: how did you clamp the two parts together ? it requires a strong but also even pressure on the whole male insert surface after glueing
Which tool paths did you use? This doesn’t looked like it was Advanced V Carve, which is the only reliable way I’ve found to get to inlays. I do a lot of them.
I also found the best way to get a tight fit with Carbide Create is the Amana 15 degree bit. However, I’ve burned through 4 of them. One was a manuf defect, the other 3 I’ve dropped when changing bits or wear has reduced the point, meaning they tend to run a little too deep, making a slightly loose plug.
I actually was wandering over to the forums to suggest an offset for Adv V Carving to deal with this. If I offset the plug by a few thou, I could cover for it.
It seems the more pro-types use Fusion 360, which I haven’t mastered. Carbide Create is a heck of a lot easier to use than the VCarve option, which you can also attempt, but the setup is a lot more complicated.
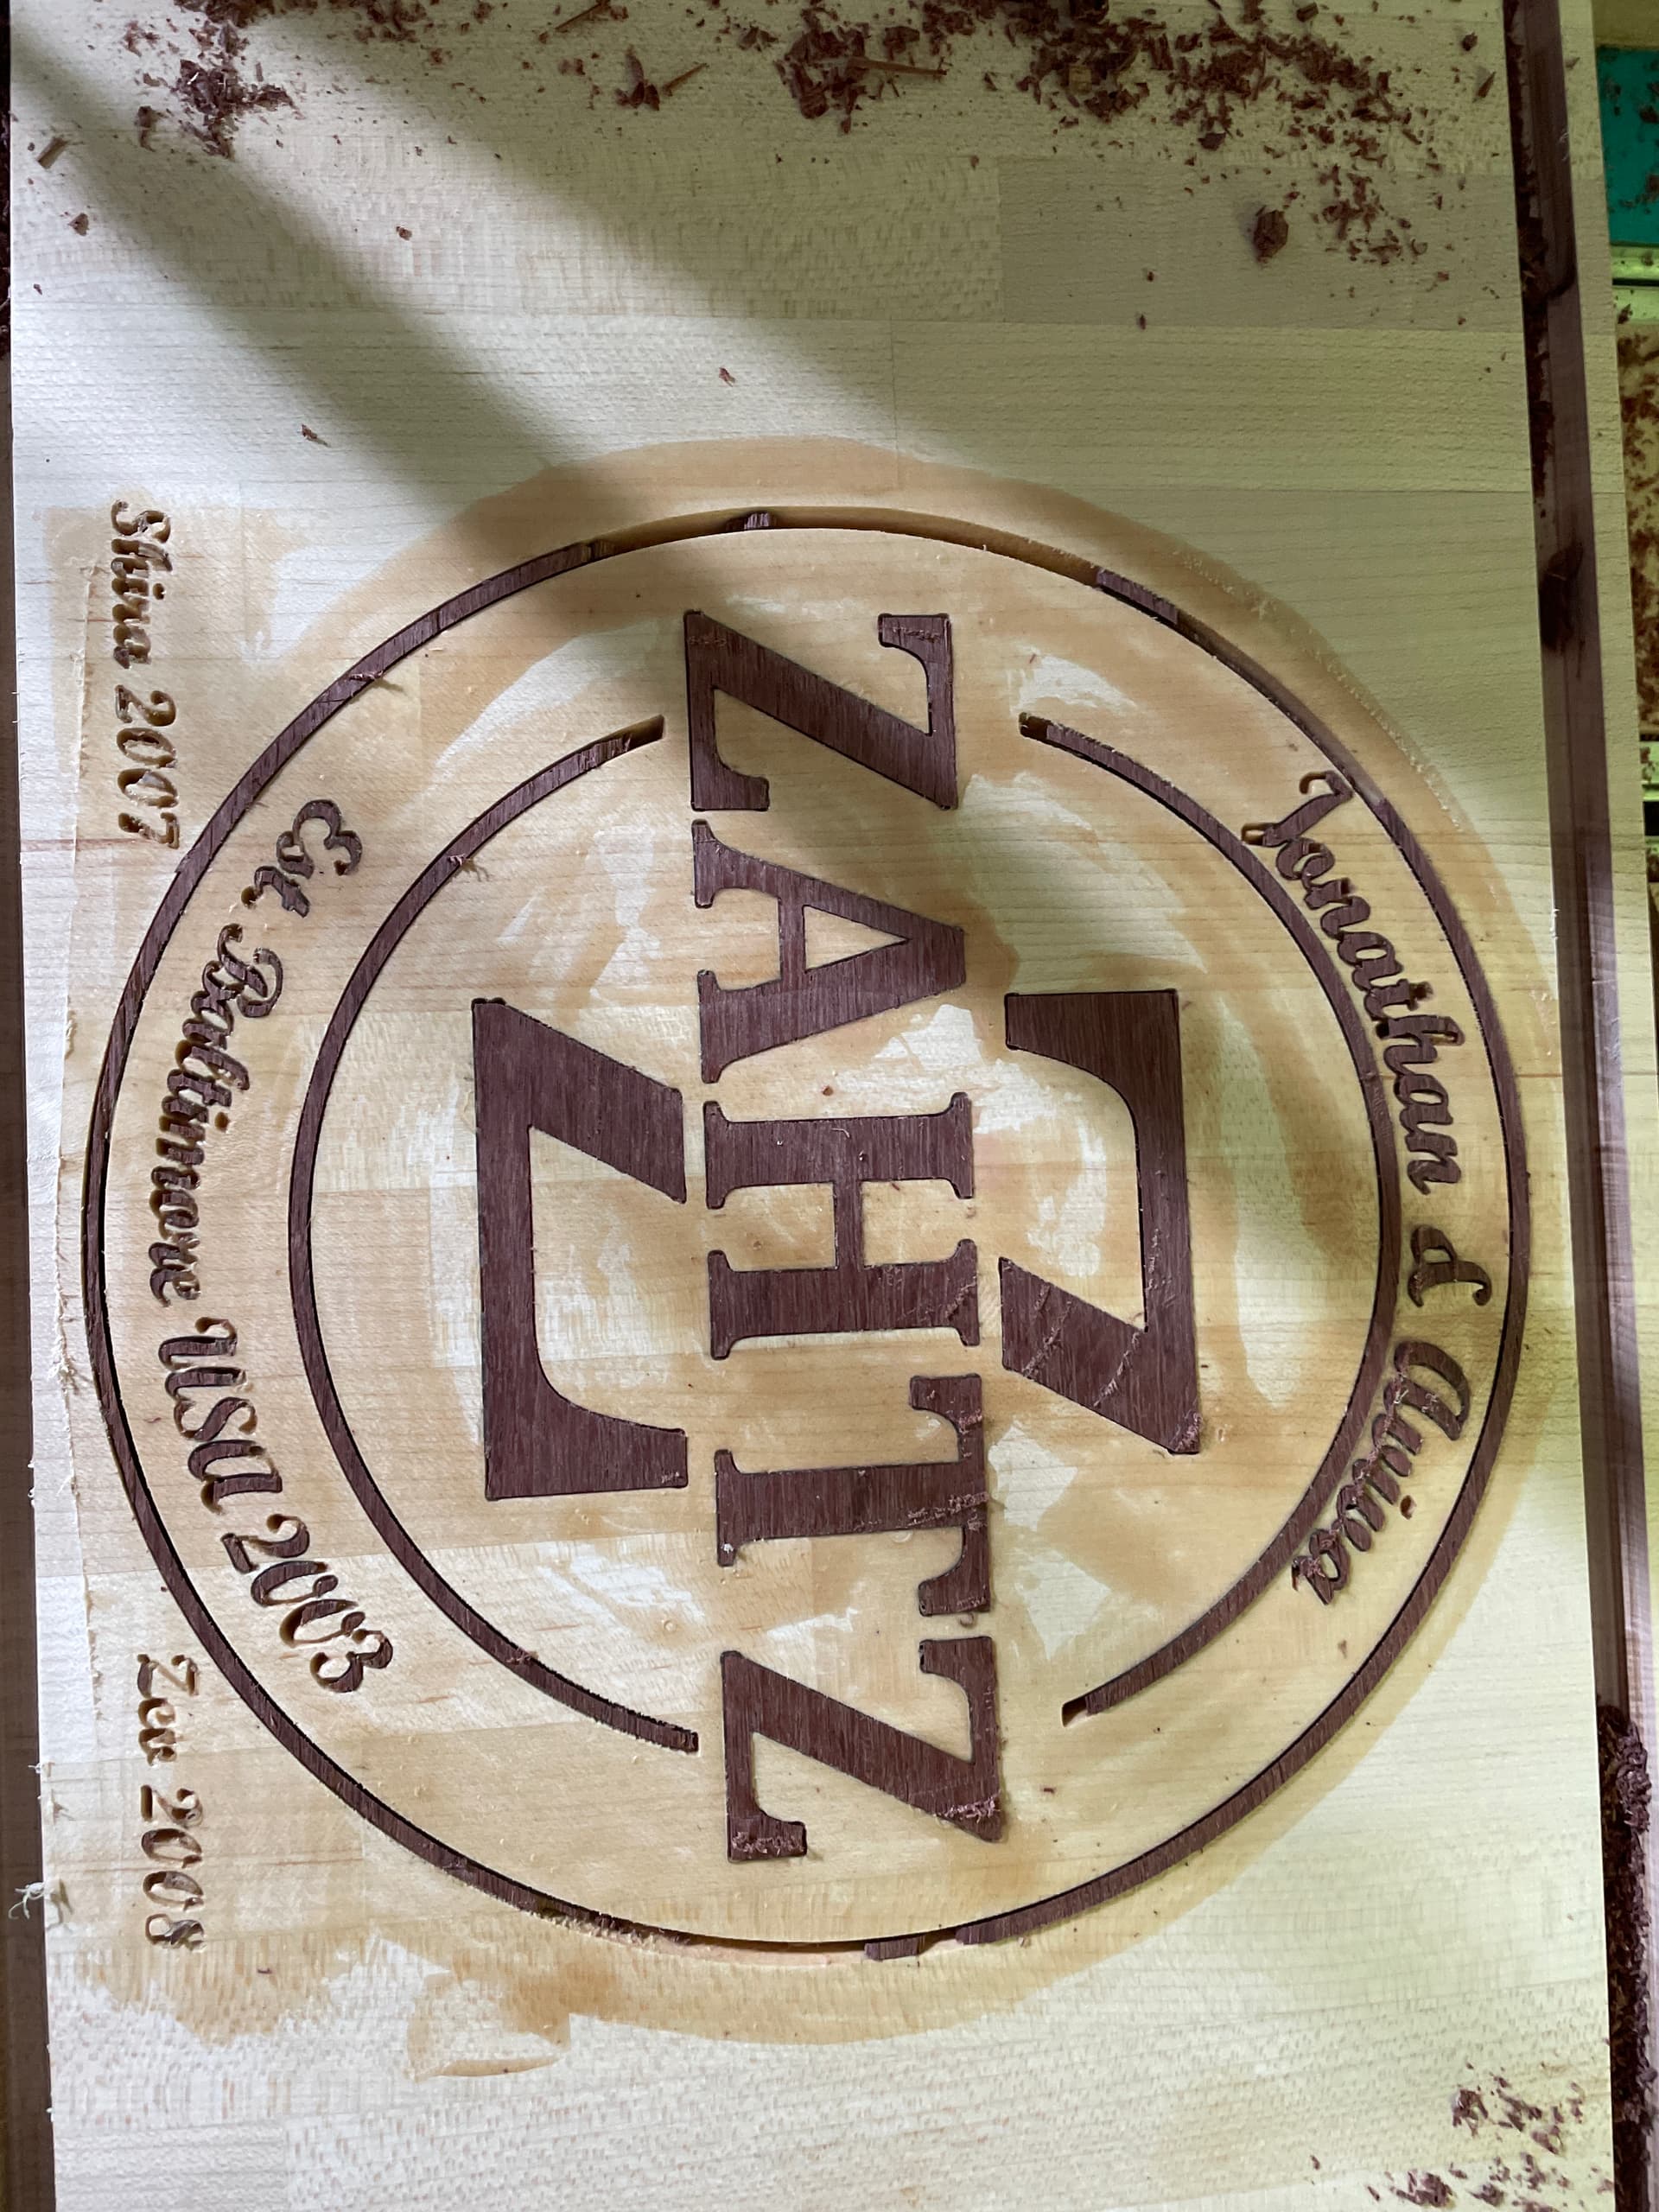
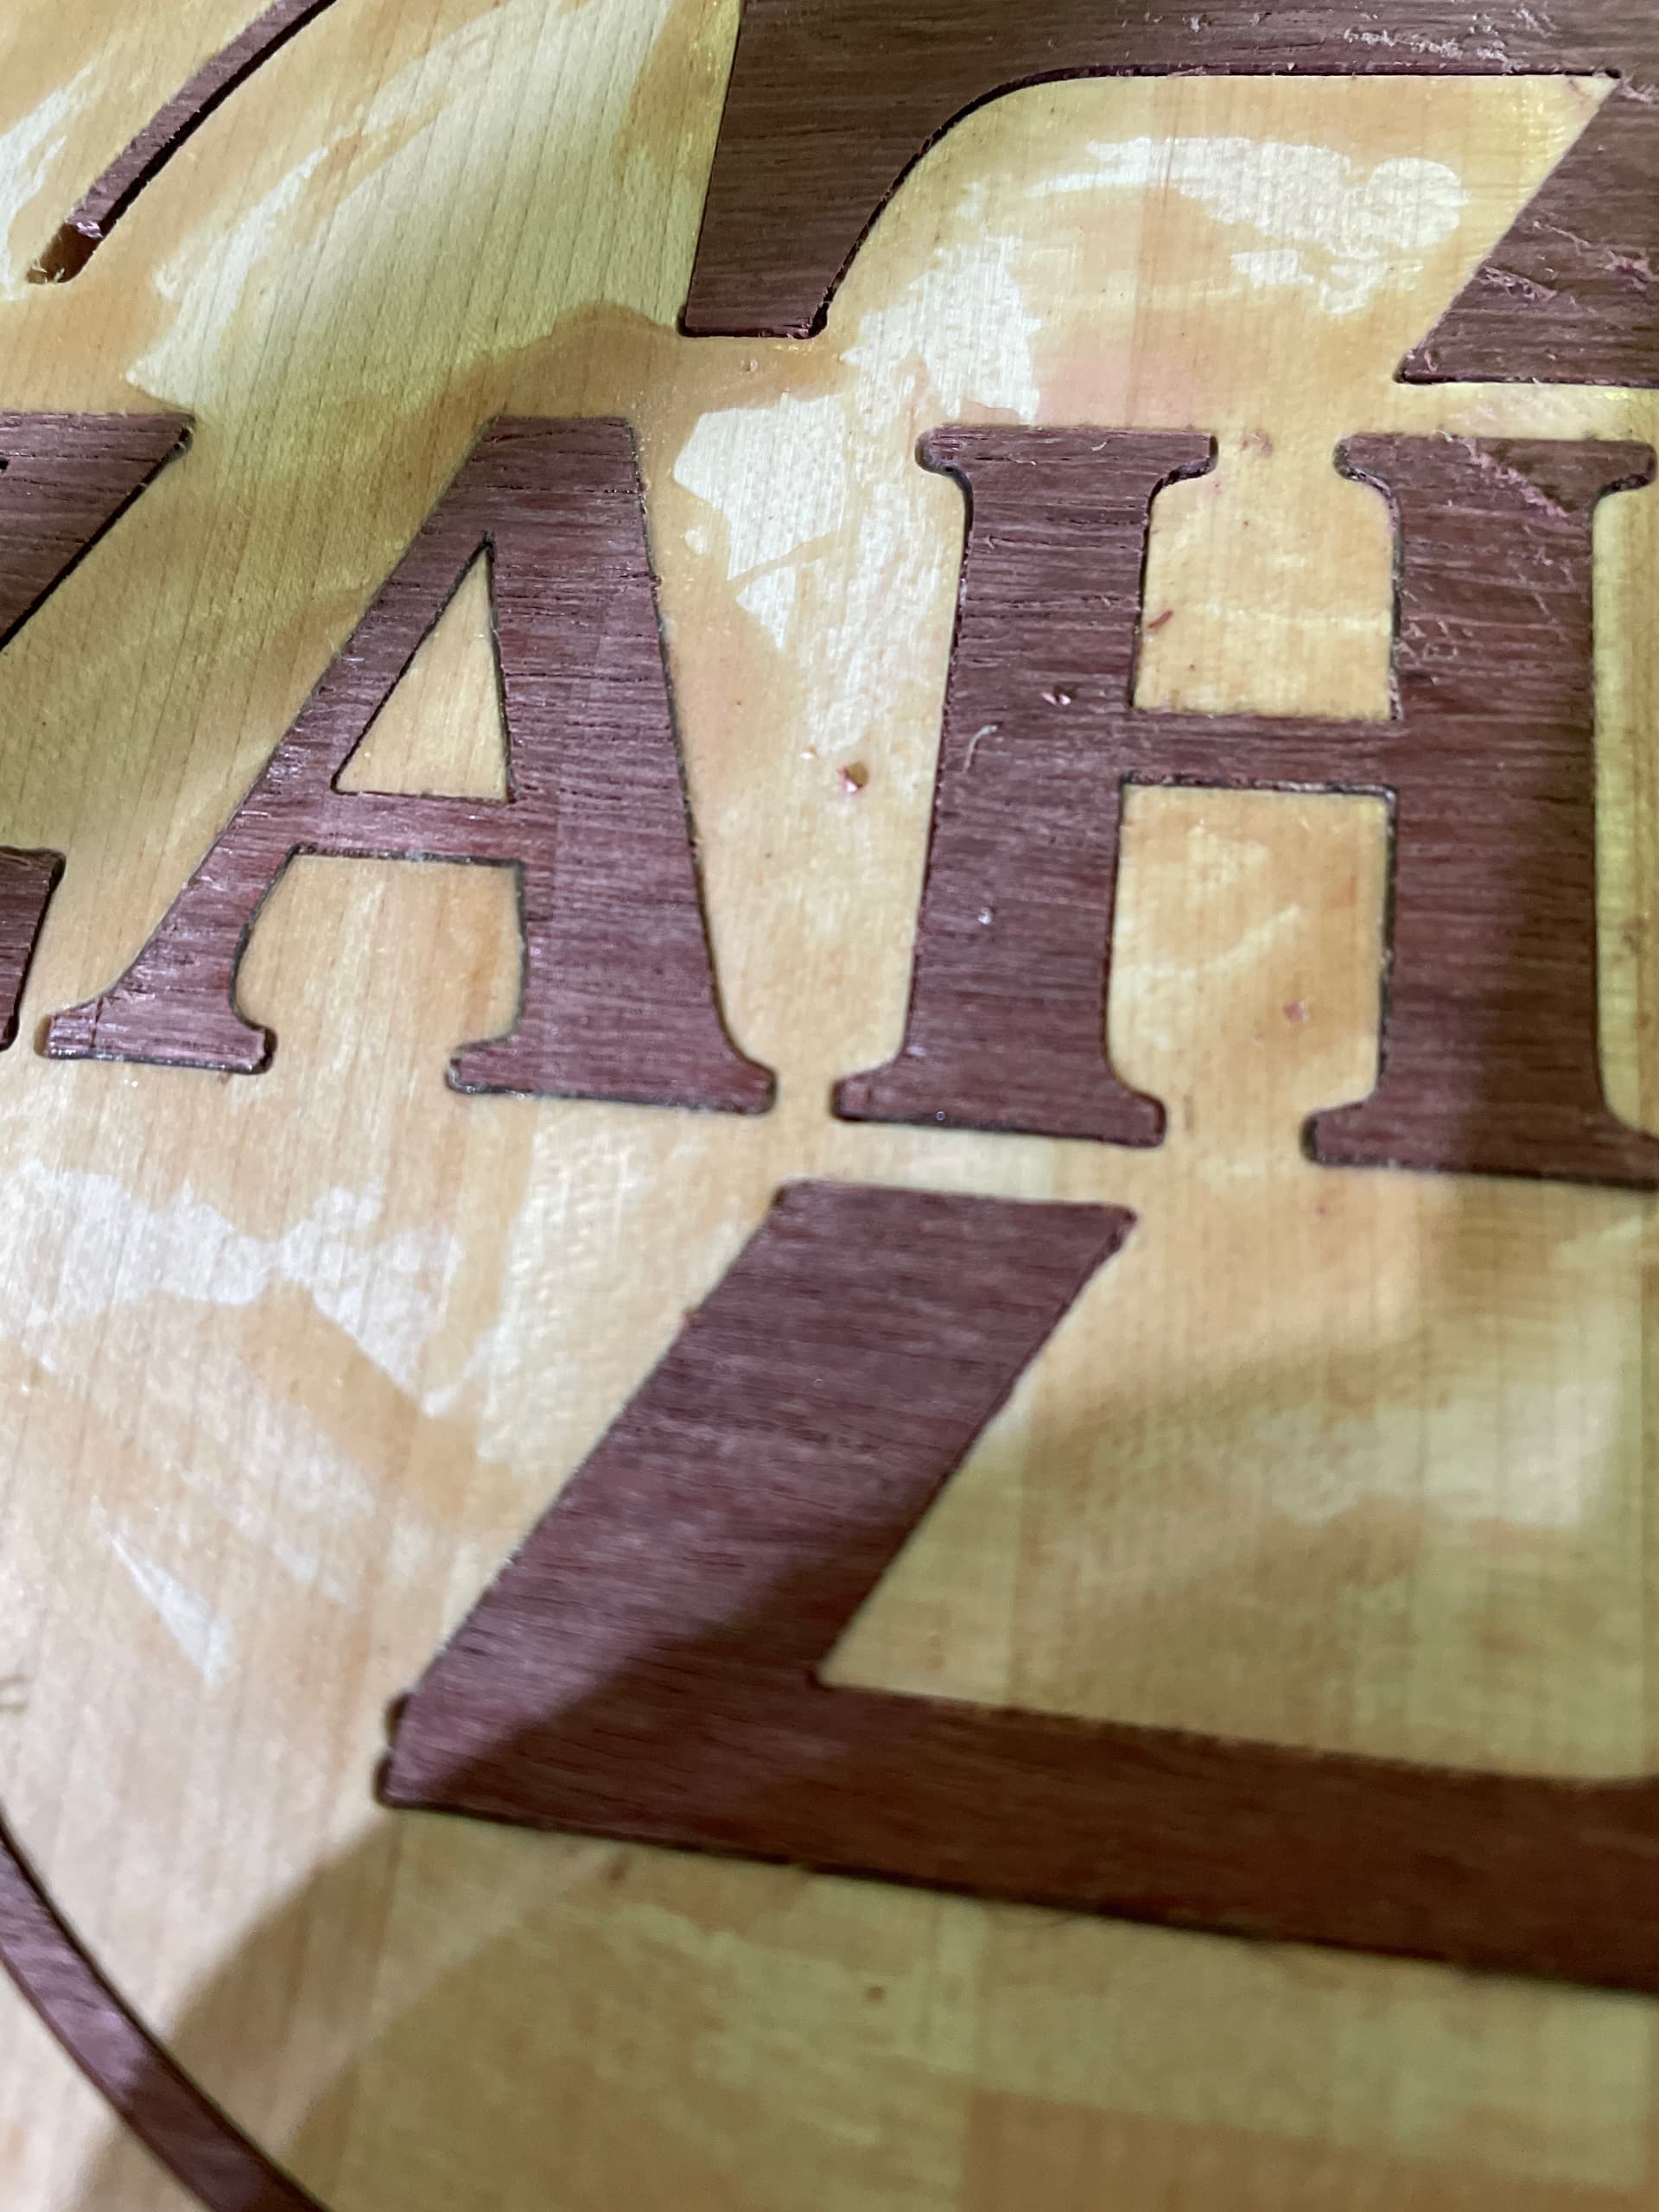
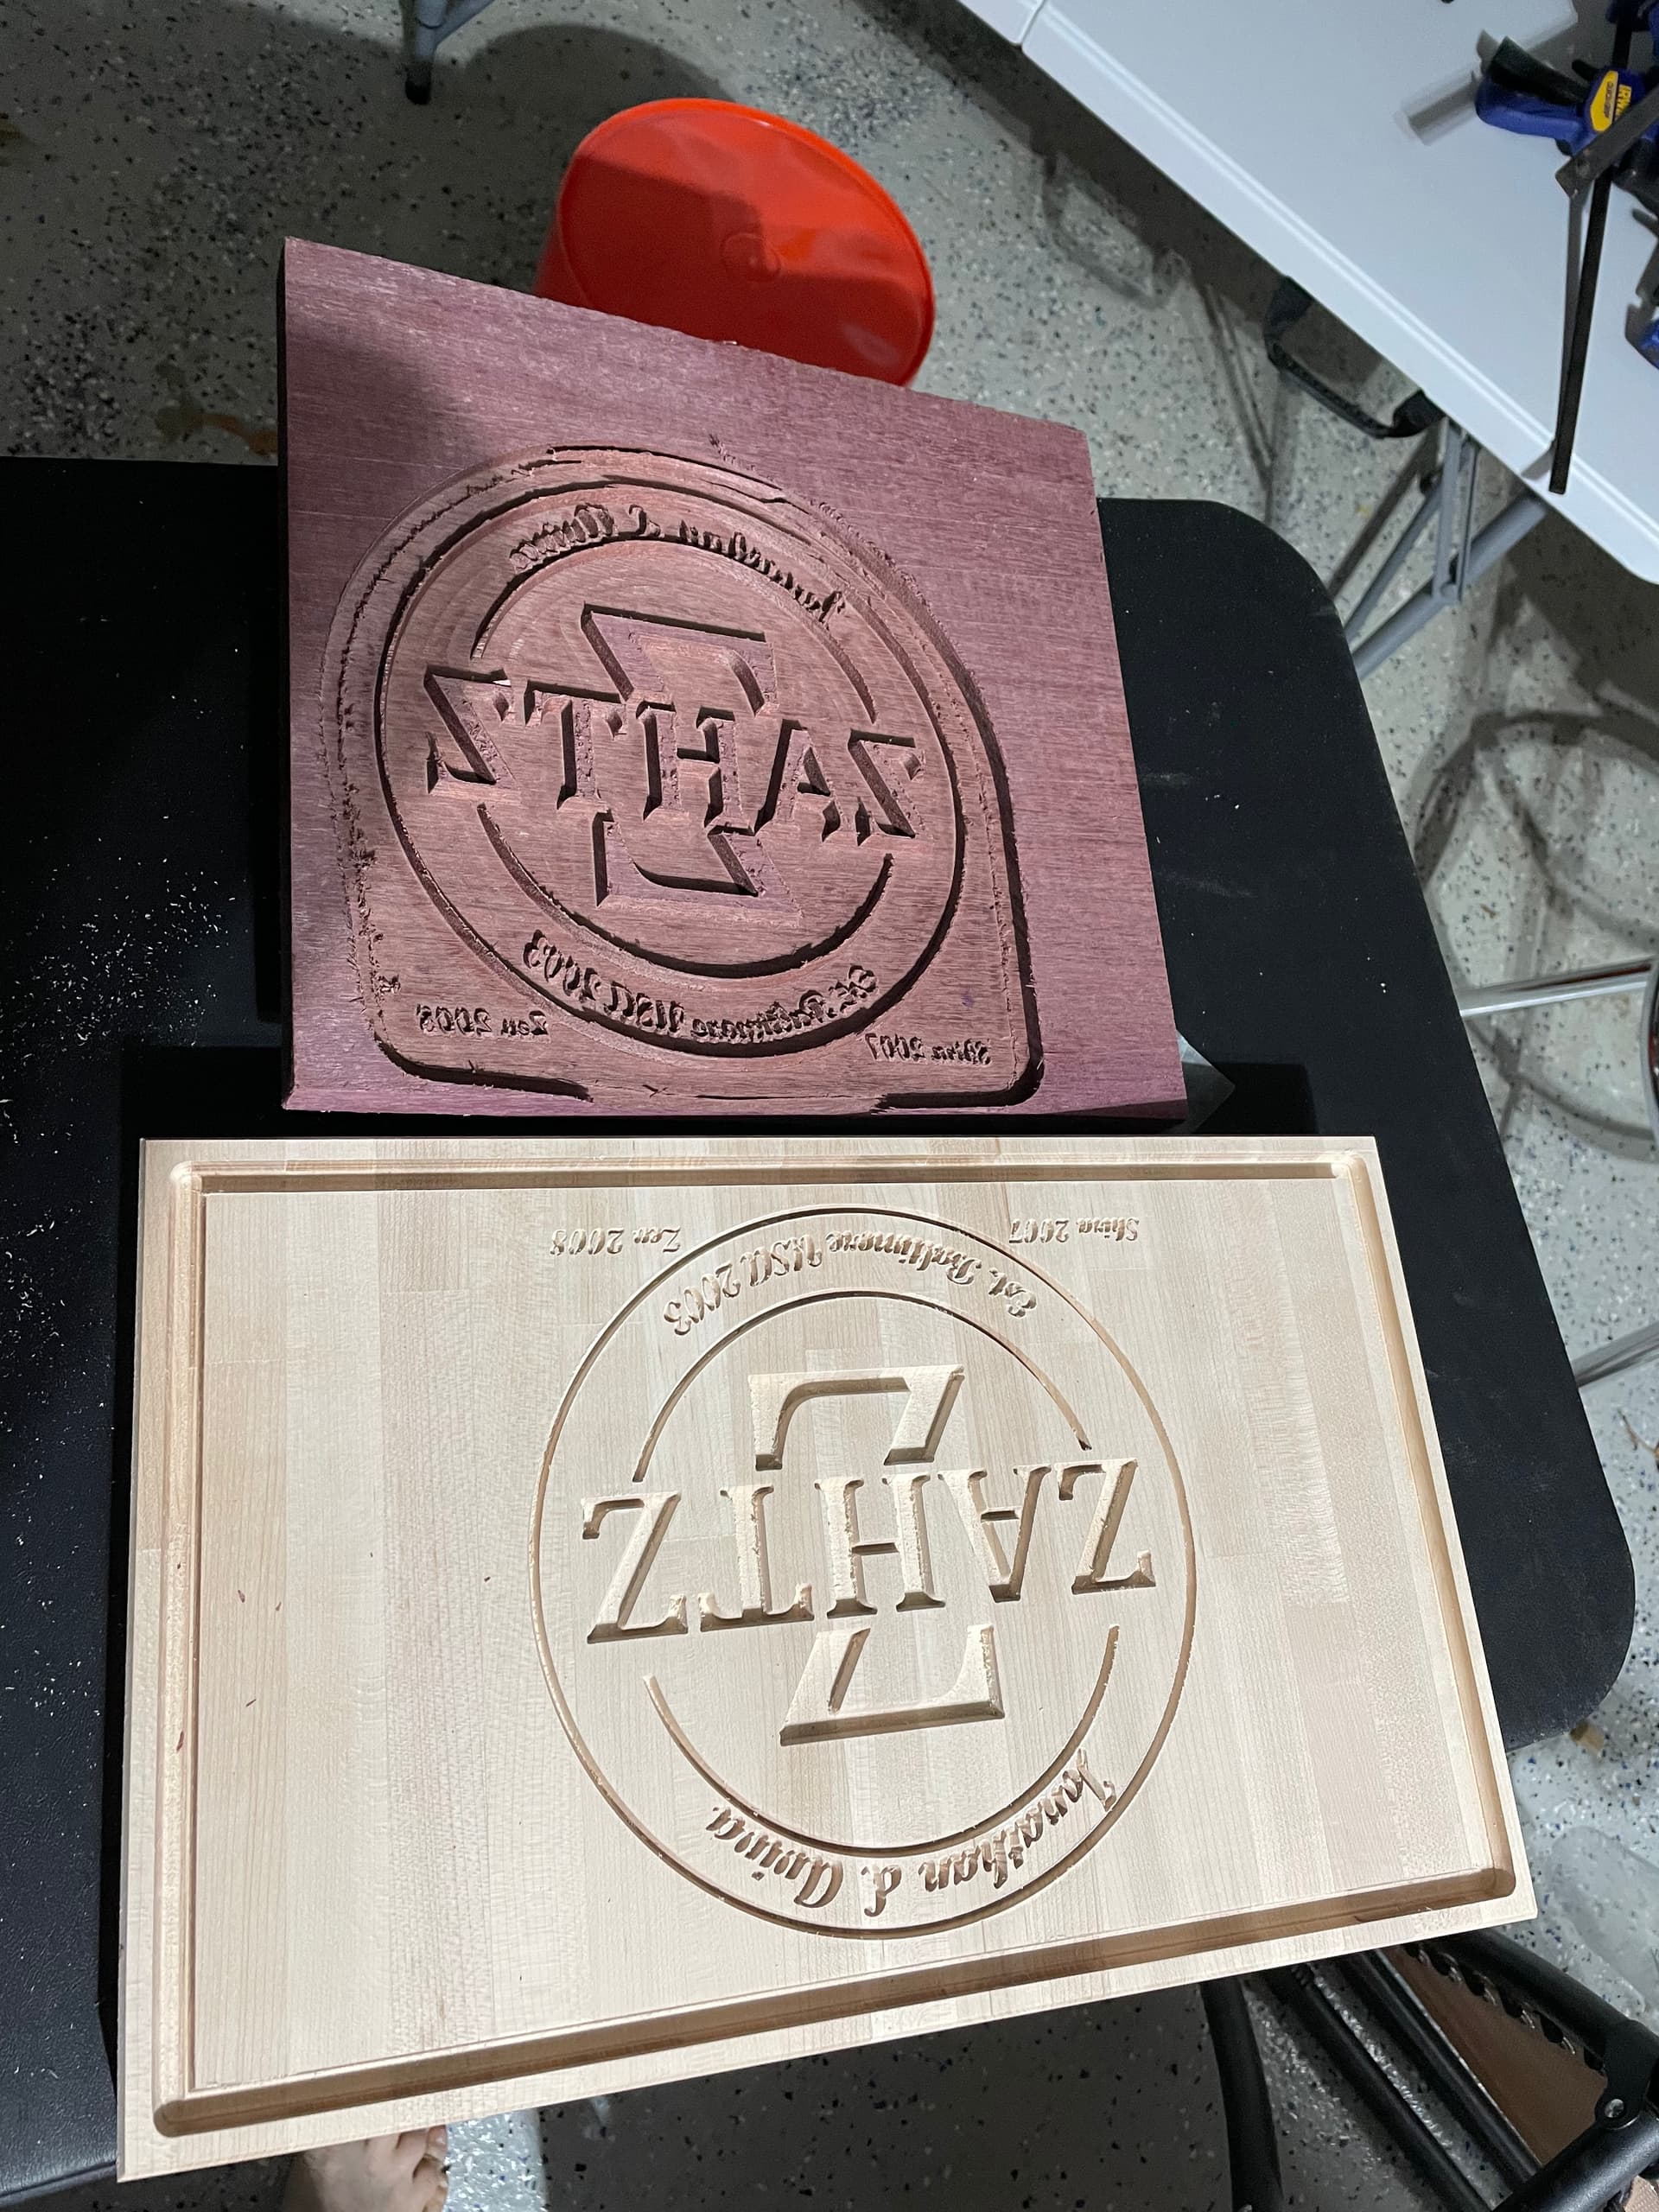
No - if that’s the cause then my assumption that material is true is the cause of my error…but still doesn’t explain the circle holes near the bottom of the z
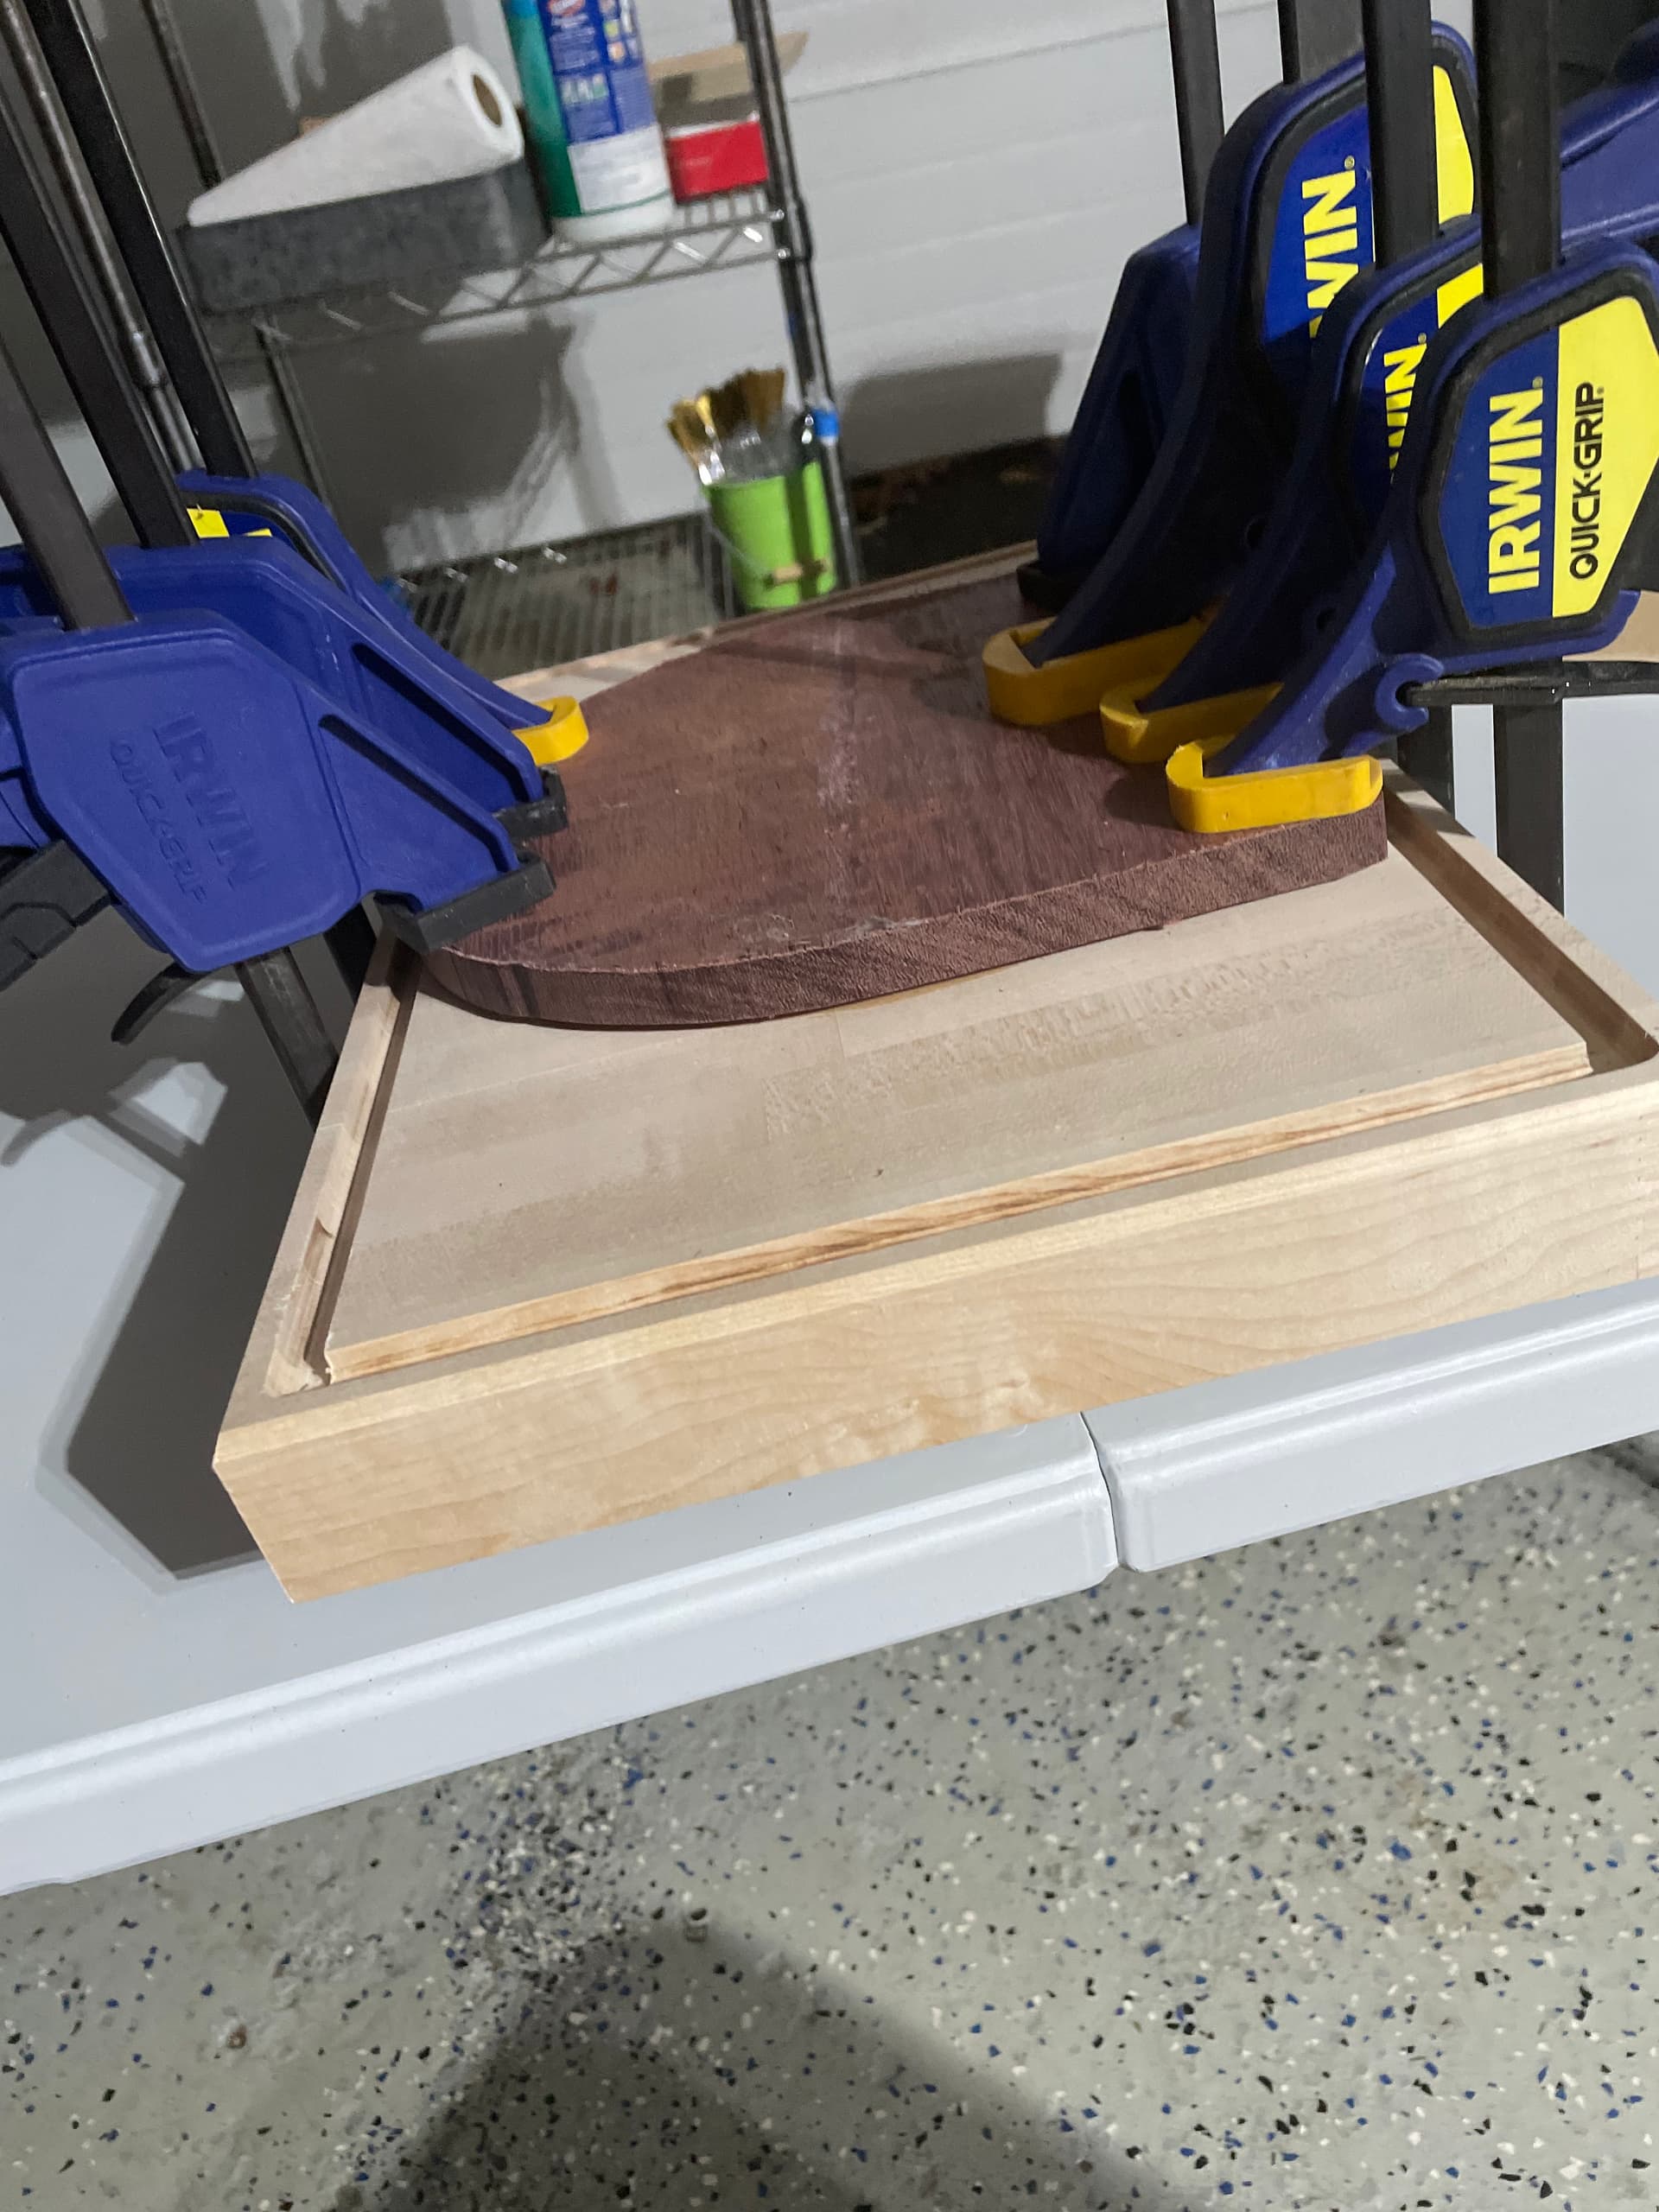
See picture below - how else would you have clamped such a large piece (or do I have to buy a hydraulic press)
@penumbra - I used vetric vcarve software and followed the recipe - can you send the link to the 15 degree bit that you use, think I’m going to try again with 30, first though
I think I need to start practicing with smaller pieces first to iron out the process
I have been bitten too many times when I thought my stock was perfectly flat, I now run a surfacing pass before every single vcarve, it only add a few minutes and brings peace of mind
Those are weird, indeed. Does the Gcode look clean in that corner of the Z ?
The problem with the “clamping from the sides” (which is unavoidable when doing large inlays and using side clamps) is that it will tend to bow the male inlay, especially if you have a large saw gap, and the middle of the inlay might not be pushed into the female pocket so well. I don’t have a hydraulic press either, but you can mitigate this risk by adding a thick/rigid piece of [anything] on top of the male inlay, and clamp onto that.
Your Z might have been a bit too low. You may see those rounded corners if that’s the case.
I’d also decrease your inlay start depth. You’re leaving yourself only .02" (0.5mm) for your glue gap. Glue doesn’t really need the space, but you don’t want to bottom out when you clamp.
For clamping, out another piece of hardwood on top of the inlay and add as many clamps as you have plus a few more. More force helps.
Lots of good advice here on tool and toolpath adjustments. My .02 on glue: Too many clamps is never enough! Firm, even clamping is needed with face grain glue-ups. As the wood gets wet with glue, it can swell and move. It will try to do so, until it gets comfortable in the space provided. Take away the opportunity for it to move much… or at all.