Hello folks, I’ve disassembled my 3 XXL and am putting it back together to fix an issue, but I’m still hitting it. The bed is 50 though higher in the back right corner. I’ve attached photos of the bed, and my dial indicator readings. I’ve taken it all apart, corrected with shims for extruder cuts on my rails, everything is lining up but this corner height.
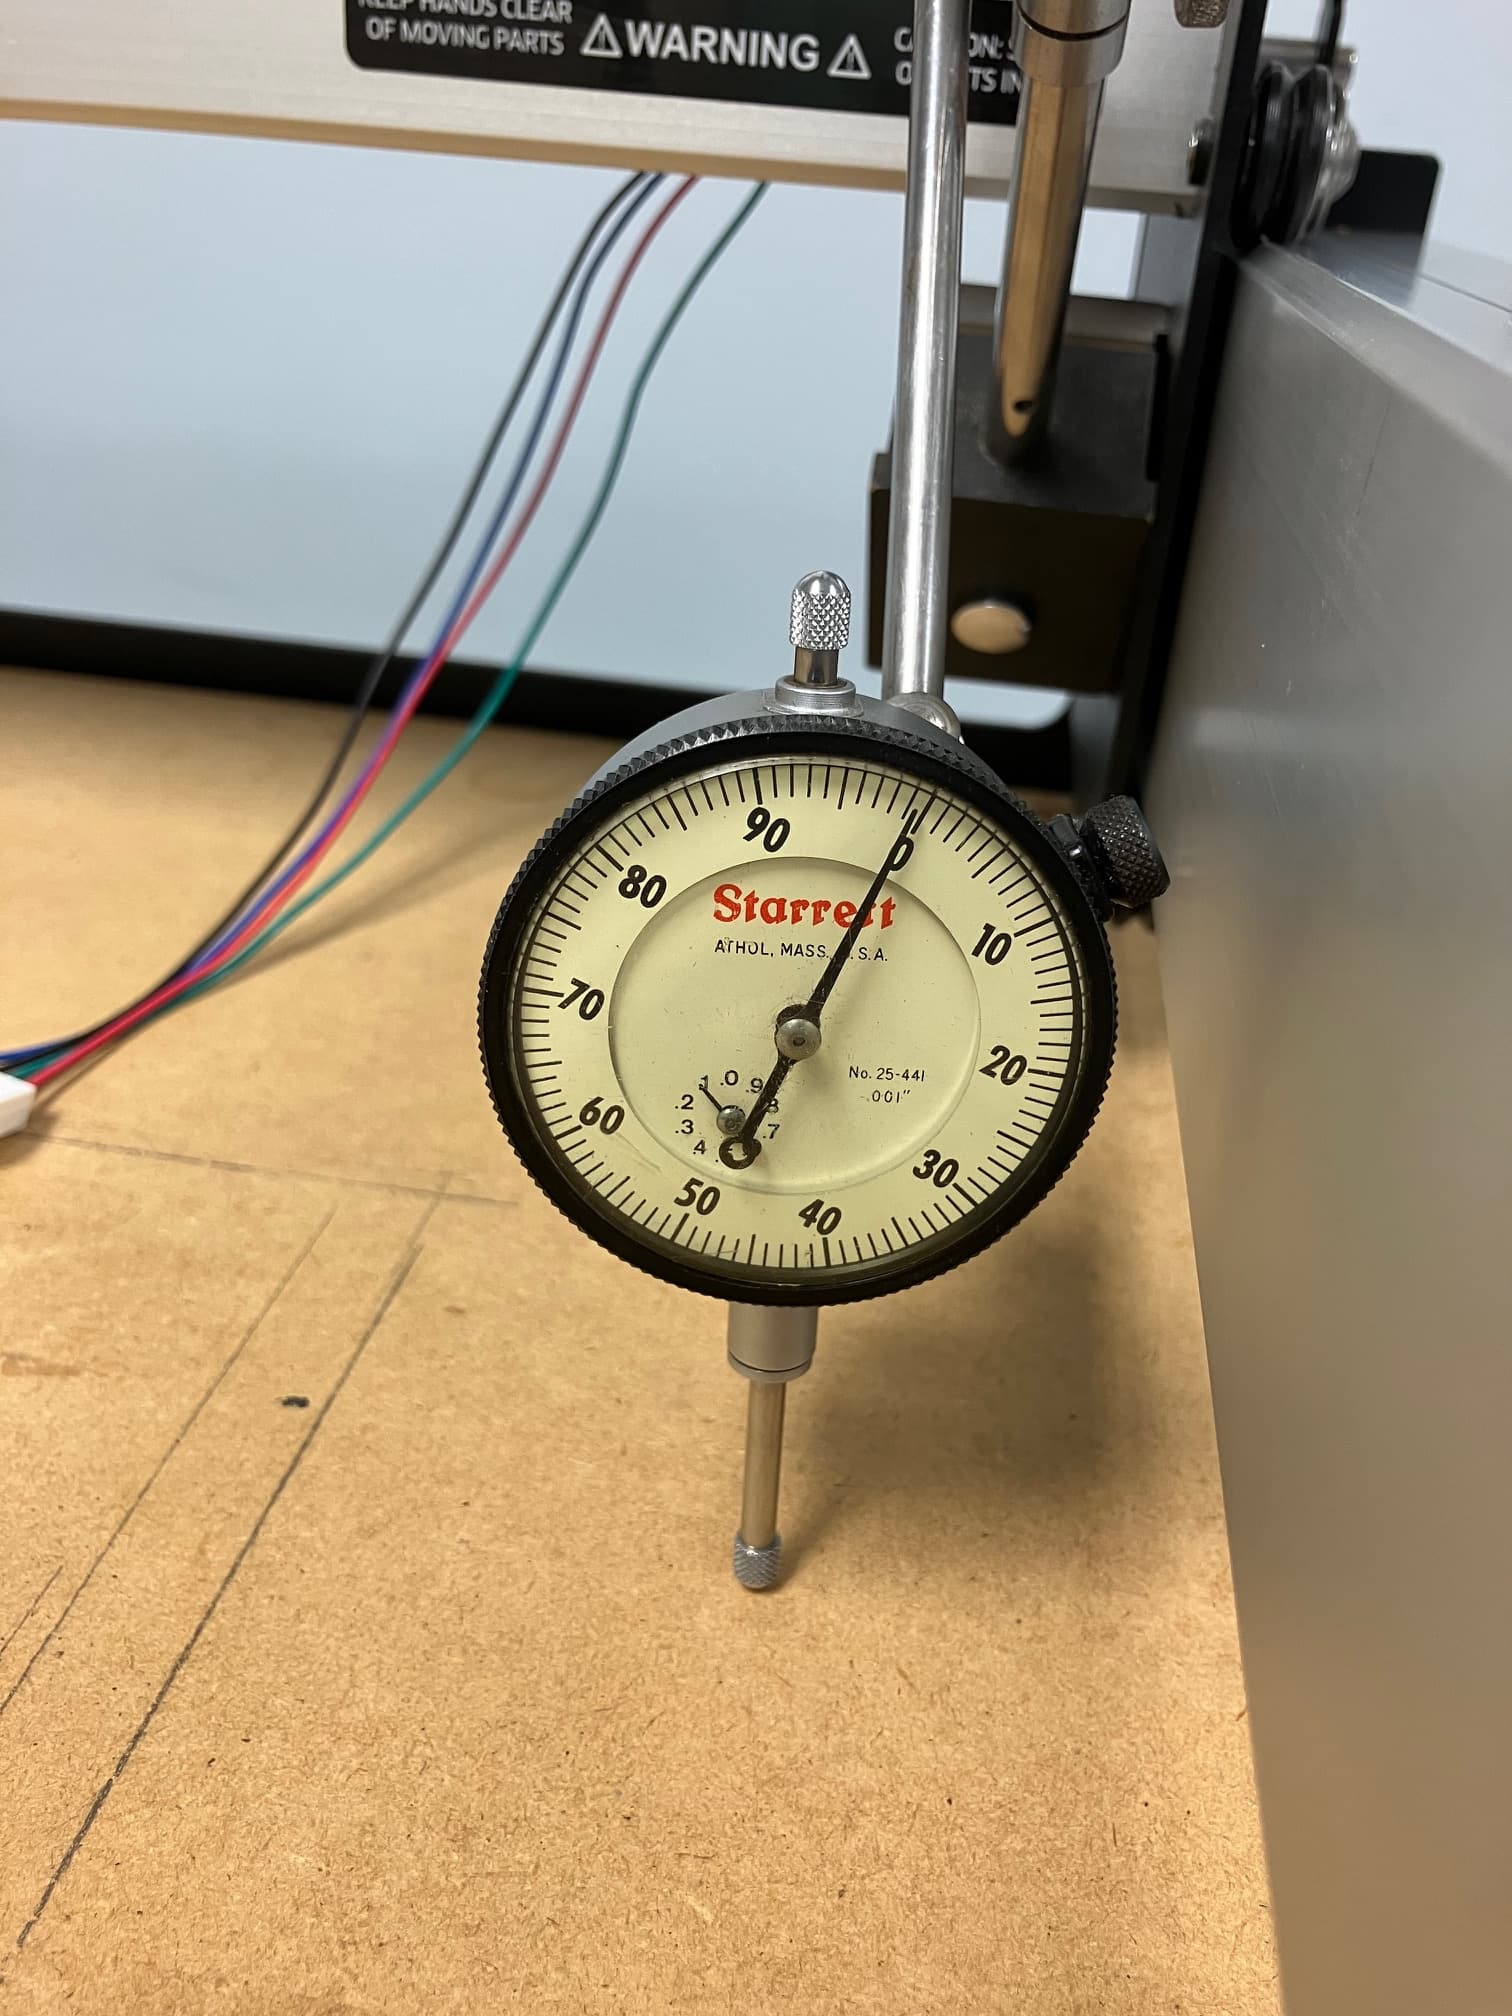
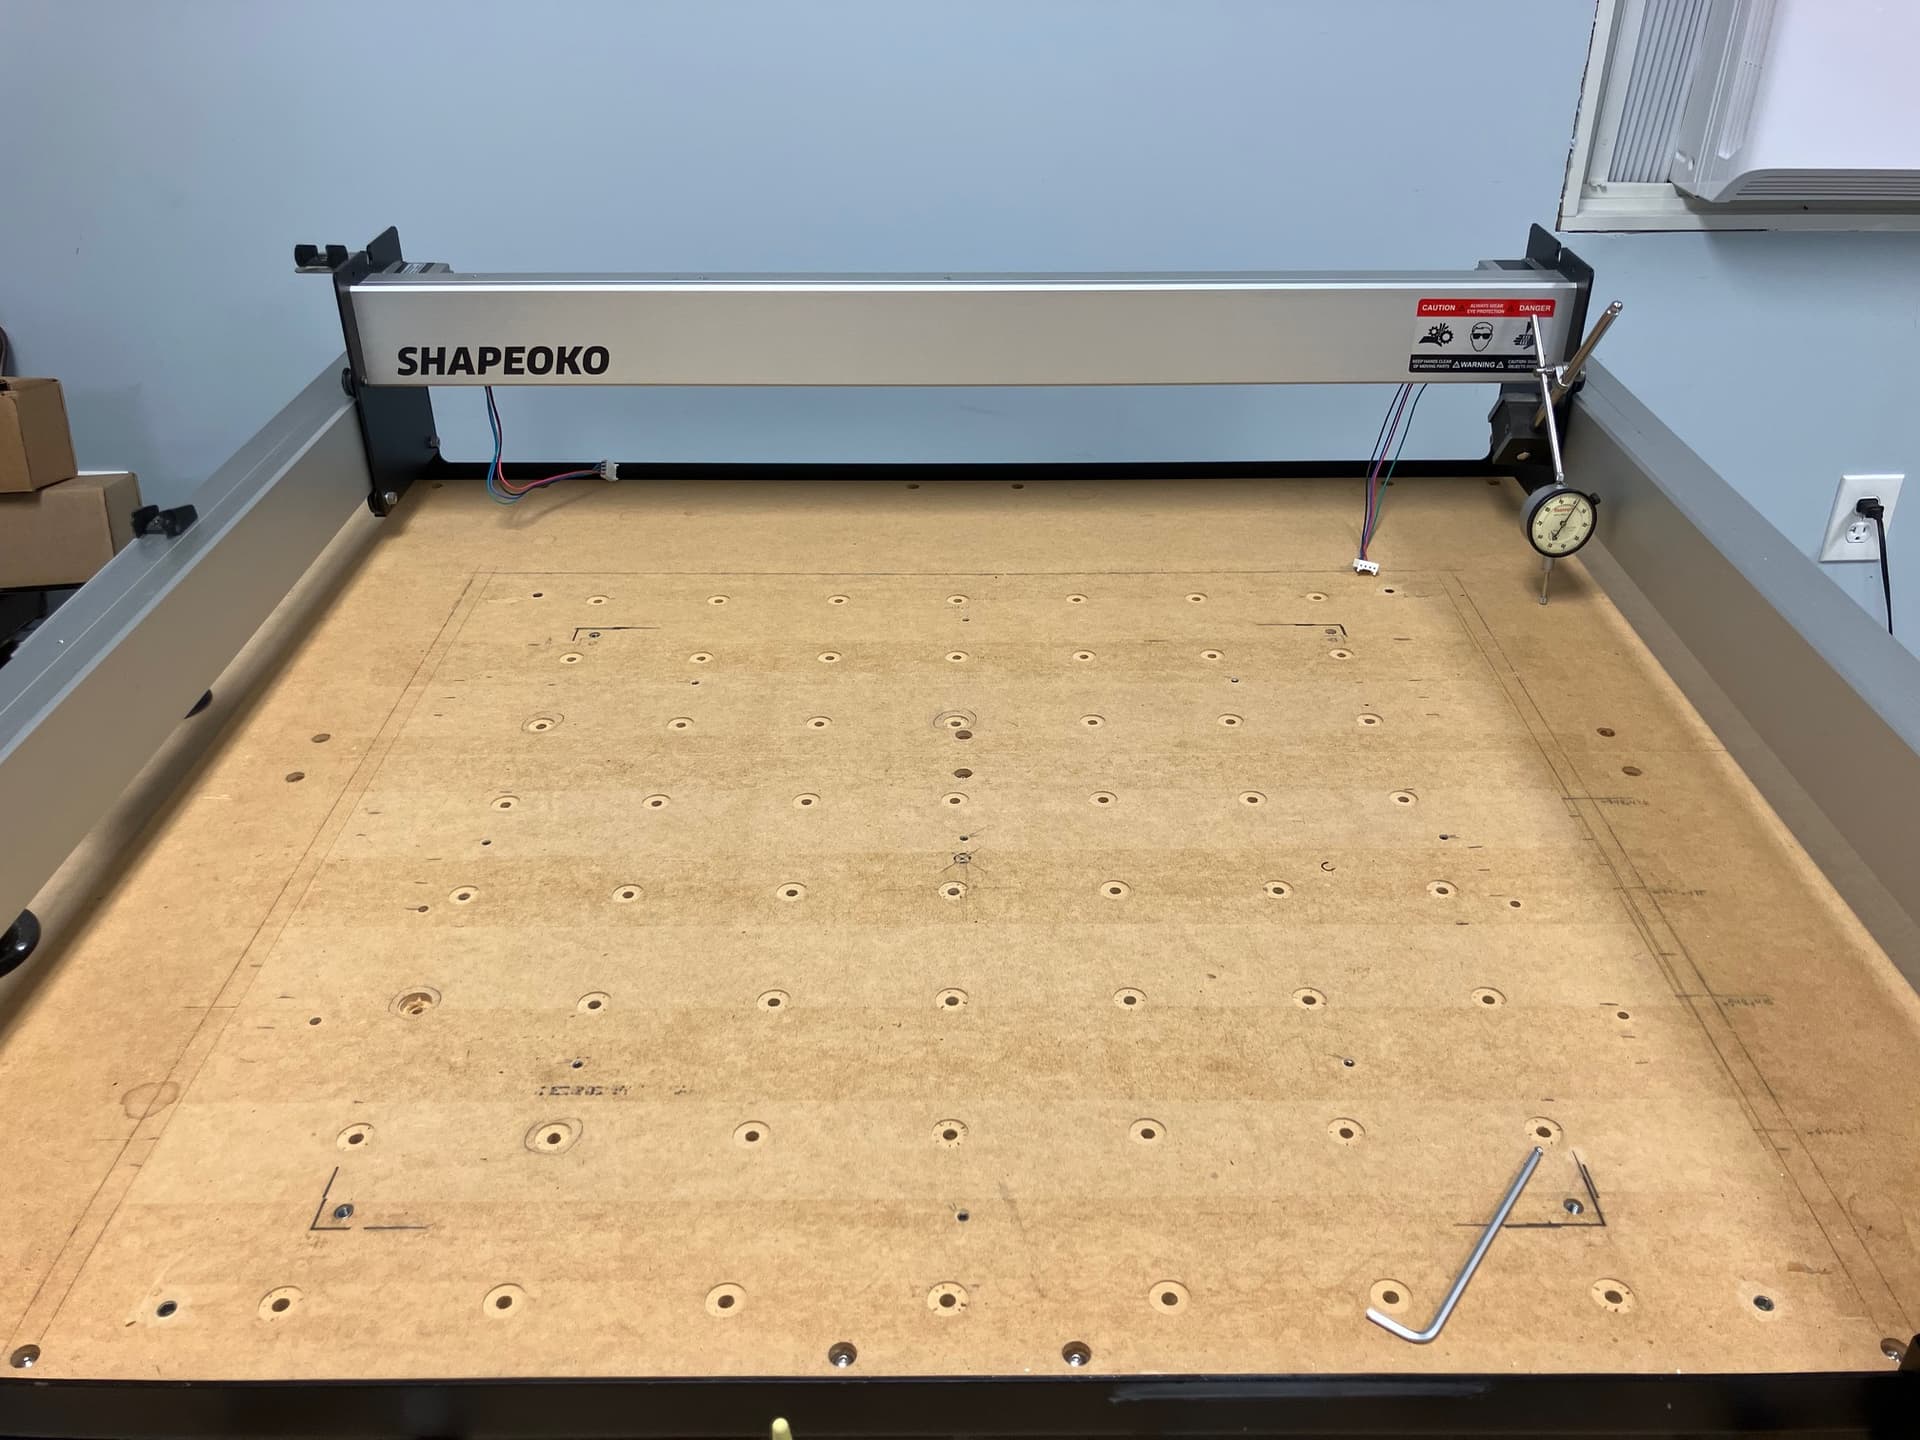
From the picture it looks like you are using the base board and not a spoilboard on top. The SO3 XXL tends to sag in the center. I fixed that by building a torsion box and removing the leveling feet and put a 3/4" piece of rigid foam under the machine. That made my machine lay flat. I suggest you make a spoilboard and put that on top of your base board. Then you can surface the spoilboard and get it leveled. The baseboard was not meant to machine on. I purposely made my spoilboard a little smaller than the maximum cutting area of an SO3 XXL. The reason I did that was to be able to surface all areas of the spoilboard and not leave a lip at the back where the SO3 cannot cut. Attached is my Spoilboard Considerations.
spoilboard_considerations.pdf (1.3 MB)
I used 1/4-20 tee nuts that are short enough so I can surface my spoilboard many times without hitting the tee nuts. The only consideration about using tee nuts is your hold down bolts need to be shorter so they do not bottom out and lift up your spoilboard.
Here is my Long L bracket and cam clamp file. It was saved in V8 of CC.
long_L_bracket.c2d (304 KB)
One additional thing I did was to increase the left Y position. When you run setup the parameters you get set leave a little breathing room so you dont bump into the left extrusion. You dont want the SO3 to bang into the side extrusions but between the slightly smaller spoilboard and setting the shapeoko.json file you can surface the entire surface of your spoilboard.
To find your shapeoko.json file open CC and then help Open Data Directory. Under CarbideMotion6 is the shapeoko.json file. Open it and edit it and save as a text file. Then power off your Shapeoko and restart Carbide Motion and jog to the extreme left to see if you need to adjust the shapeoko.json file. Everytime you edit the file you have to power off Shapeoko and restart Carbide Motioin. The file is only read when CM starts up.
1 Like
A mechanical fix would be to loosen the bolts at that corner and see if you can push the right Y-axis extrusion down using a clamp, then when it’s at the right measurement, tighten — but it’s probably easiest just to tram the wasteboard to be in-plane with the machine motion, but cutting a pocket in it is a pain, so the easiest/best thing to do is to secure a spoilboard the size of working area plus a bit less than the diameter of the tool to be used on X and radius on Y (at the back) less the overhang cutting area at the front level w/ the front edge and then surface that off.
I’ve also found that a little bit of uneven-ness is taken up by putting the machine on a sheet of foam (seems to find its own level), not sure if that would help at this point or just create a tail-chasing problem — it seems to take up any variation from the tabletop taking up moisture or otherwise shifting.
So, do you know whether the MDF thickness is within 0.050” across all dimensions?
Or, do you know if there is something that got tightened between it and the frame at that location?
2 Likes
I’m not cutting on the bottom board, I’m just using it as my reference surface while I tram the machine in. I’ve g it a leveling system built under it to deal with sag, and the issue here is lift, not sag in that corner.
PROBLEM SOLVED: IF you’re reading this and having a similar issue, check the support bars that run from front to back. My right one had a bow in it causing my issues. I bent it back to pull down a little, and used my jack screw system under the supports to flatten out from under it. Whole stock board is within 10 thou across, and I can now put on a spoil board and surface it.
2 Likes
This topic was automatically closed 30 days after the last reply. New replies are no longer allowed.