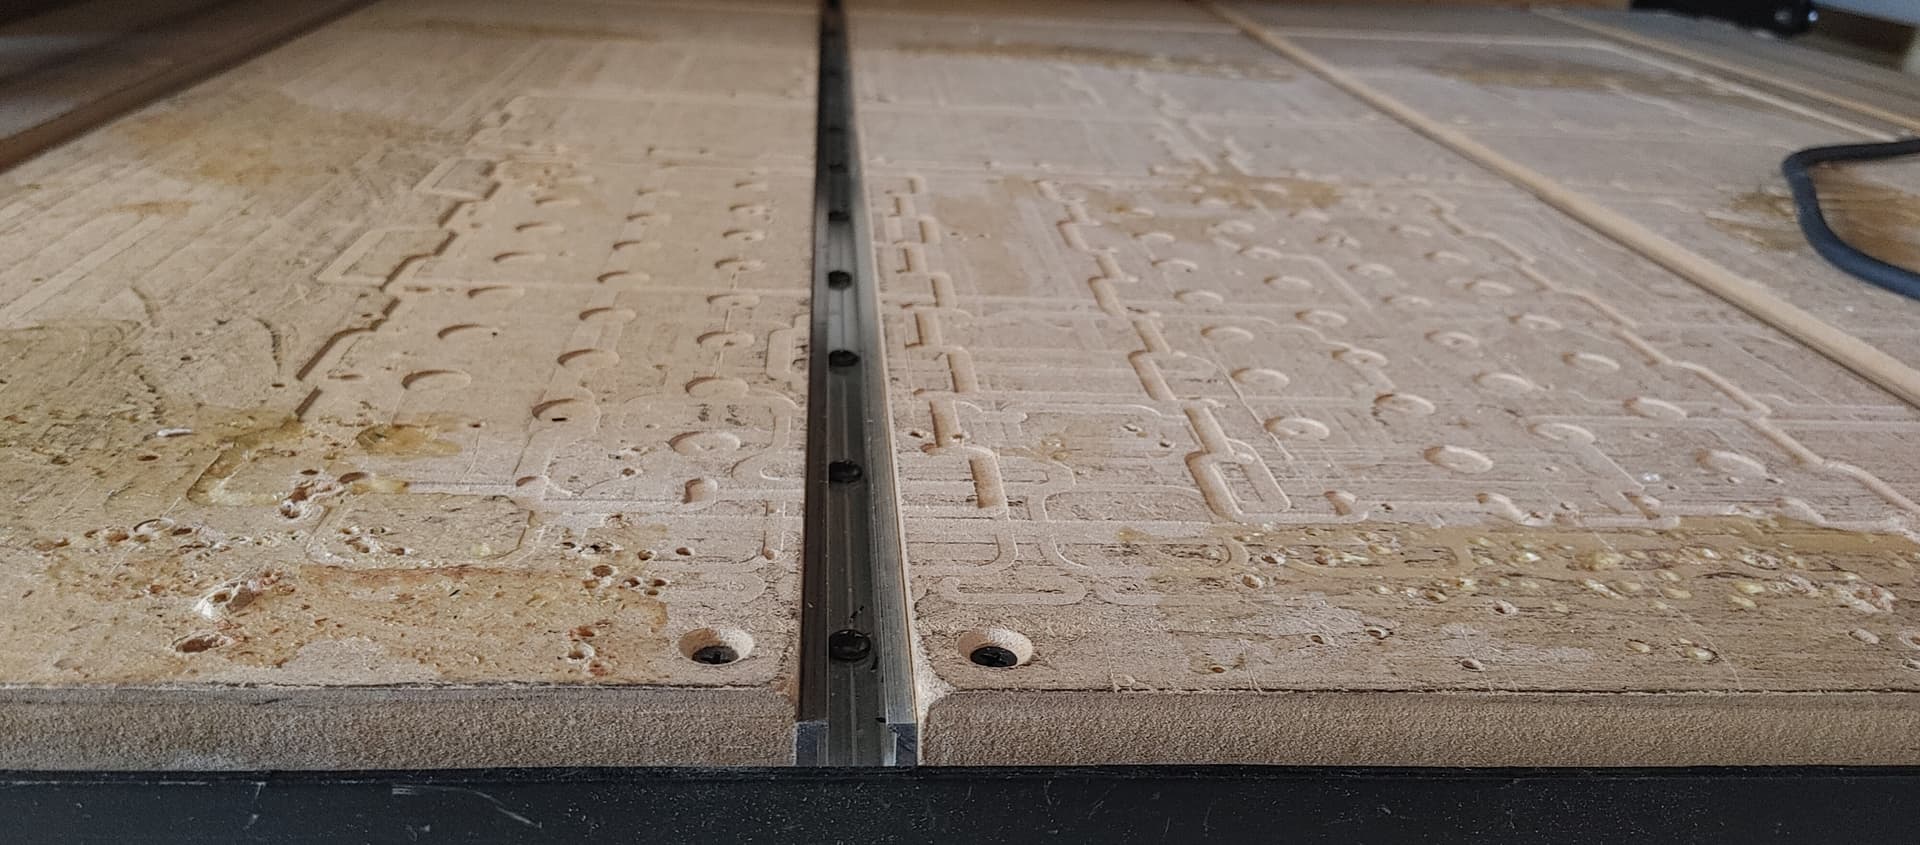
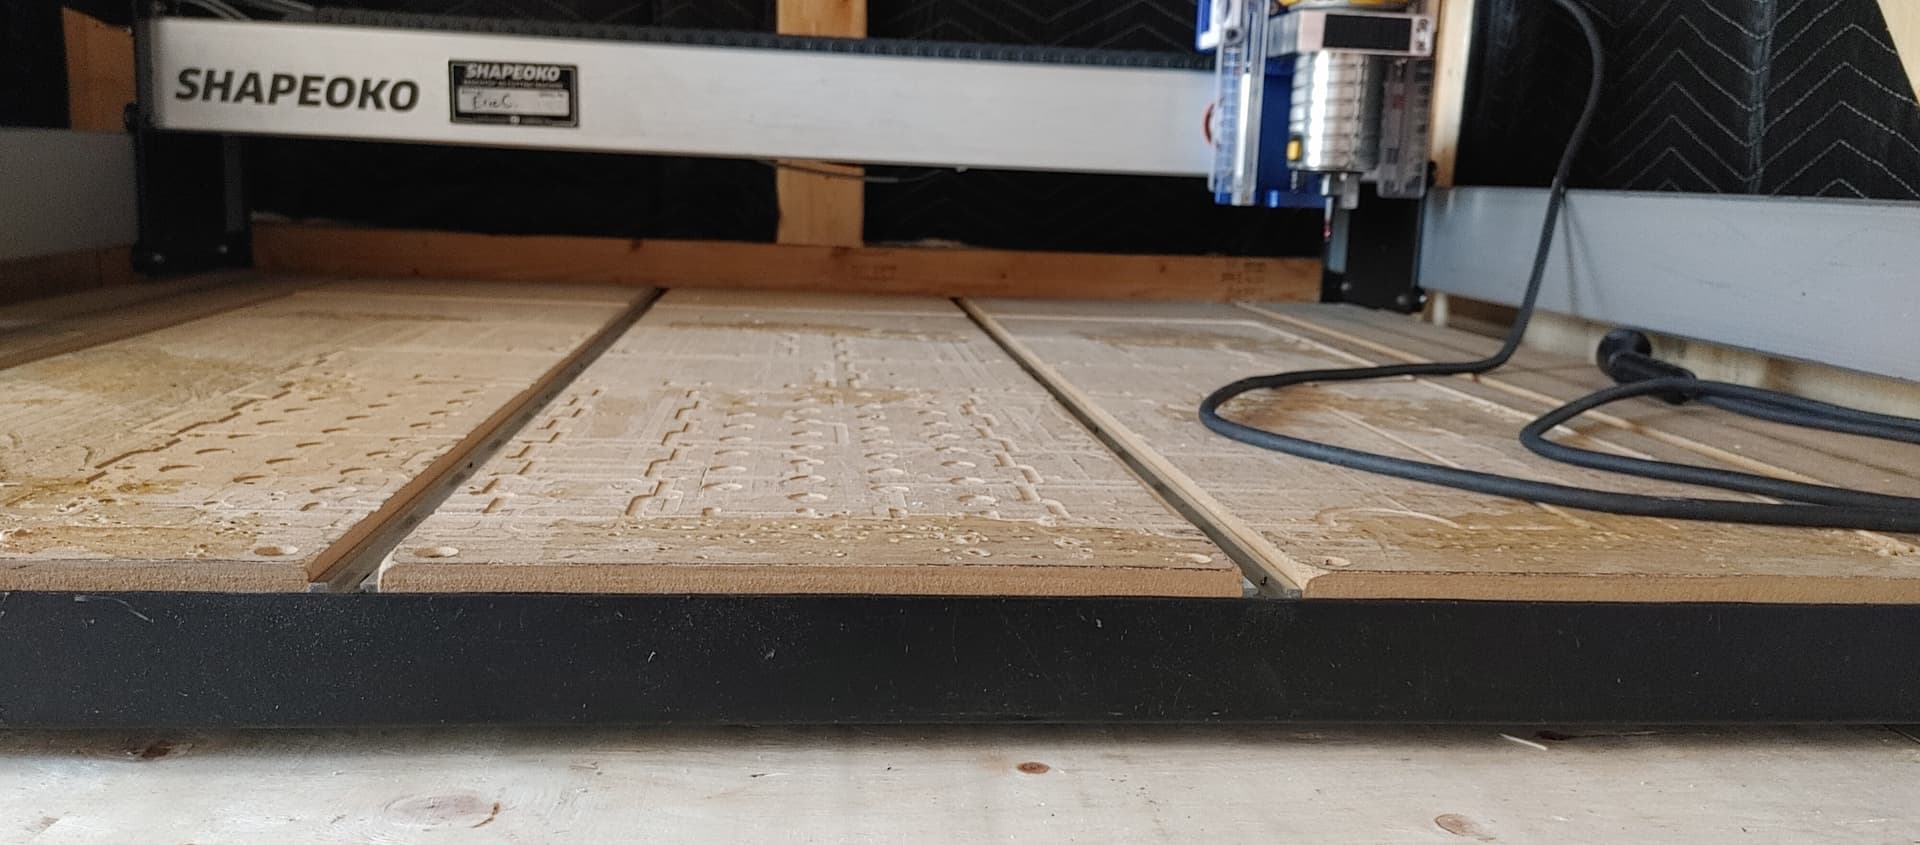
I bought a used 3 XXL and the wasteboard is in pretty bad shape. It needs to be resurfaced or replaced.
What’s the ideal setup for cutting various sizes of aluminum and plexiglass around 12" x 12"? That’s what I’ll be doing 90% of the time.
Resurface then use the current setup?
Resurface the current setup and then add threaded inserts for extra mounting points?
Get rid of the T-Slot setup, replace with MDF sheet and add threaded inserts
Some other setup?
I’m leaning towards resurfacing and then adding threaded inserts but I’m not sure what’s ideal.
Also this machine has been through transport, carried upstairs at an angle etc, I know I need to check for square and tram it but is there anything else I should consider? I’ve given it a thorough cleaning (removing plastic chips from lead screw, v-wheels etc)
I’m with Will. I like the T-tracks as they are infinitely adjustable. Except they only go 1 direction.
There have been a couple jobs where I could have used something closer on the ends of the part. I just used a wood screw & drove it right into the wasteboard.
I might get some inserts & just put them in as needed rather than do a whole bunch at once. I know there would be quite a few I would never use.
Definitely calibrate the whole machine after it’s been moved. It should be very close, but at least check everything. (Square, Flat, Axis Calibration, Tool Axis - Z axis parallelism, Tram [tool axis - table perpendicularity])
I had threaded inserts. I found that they filled with sawdust and if you didn’t clean them out before using them or if you used screws that were too long you could raise the spoil board and it would no longer be flat.
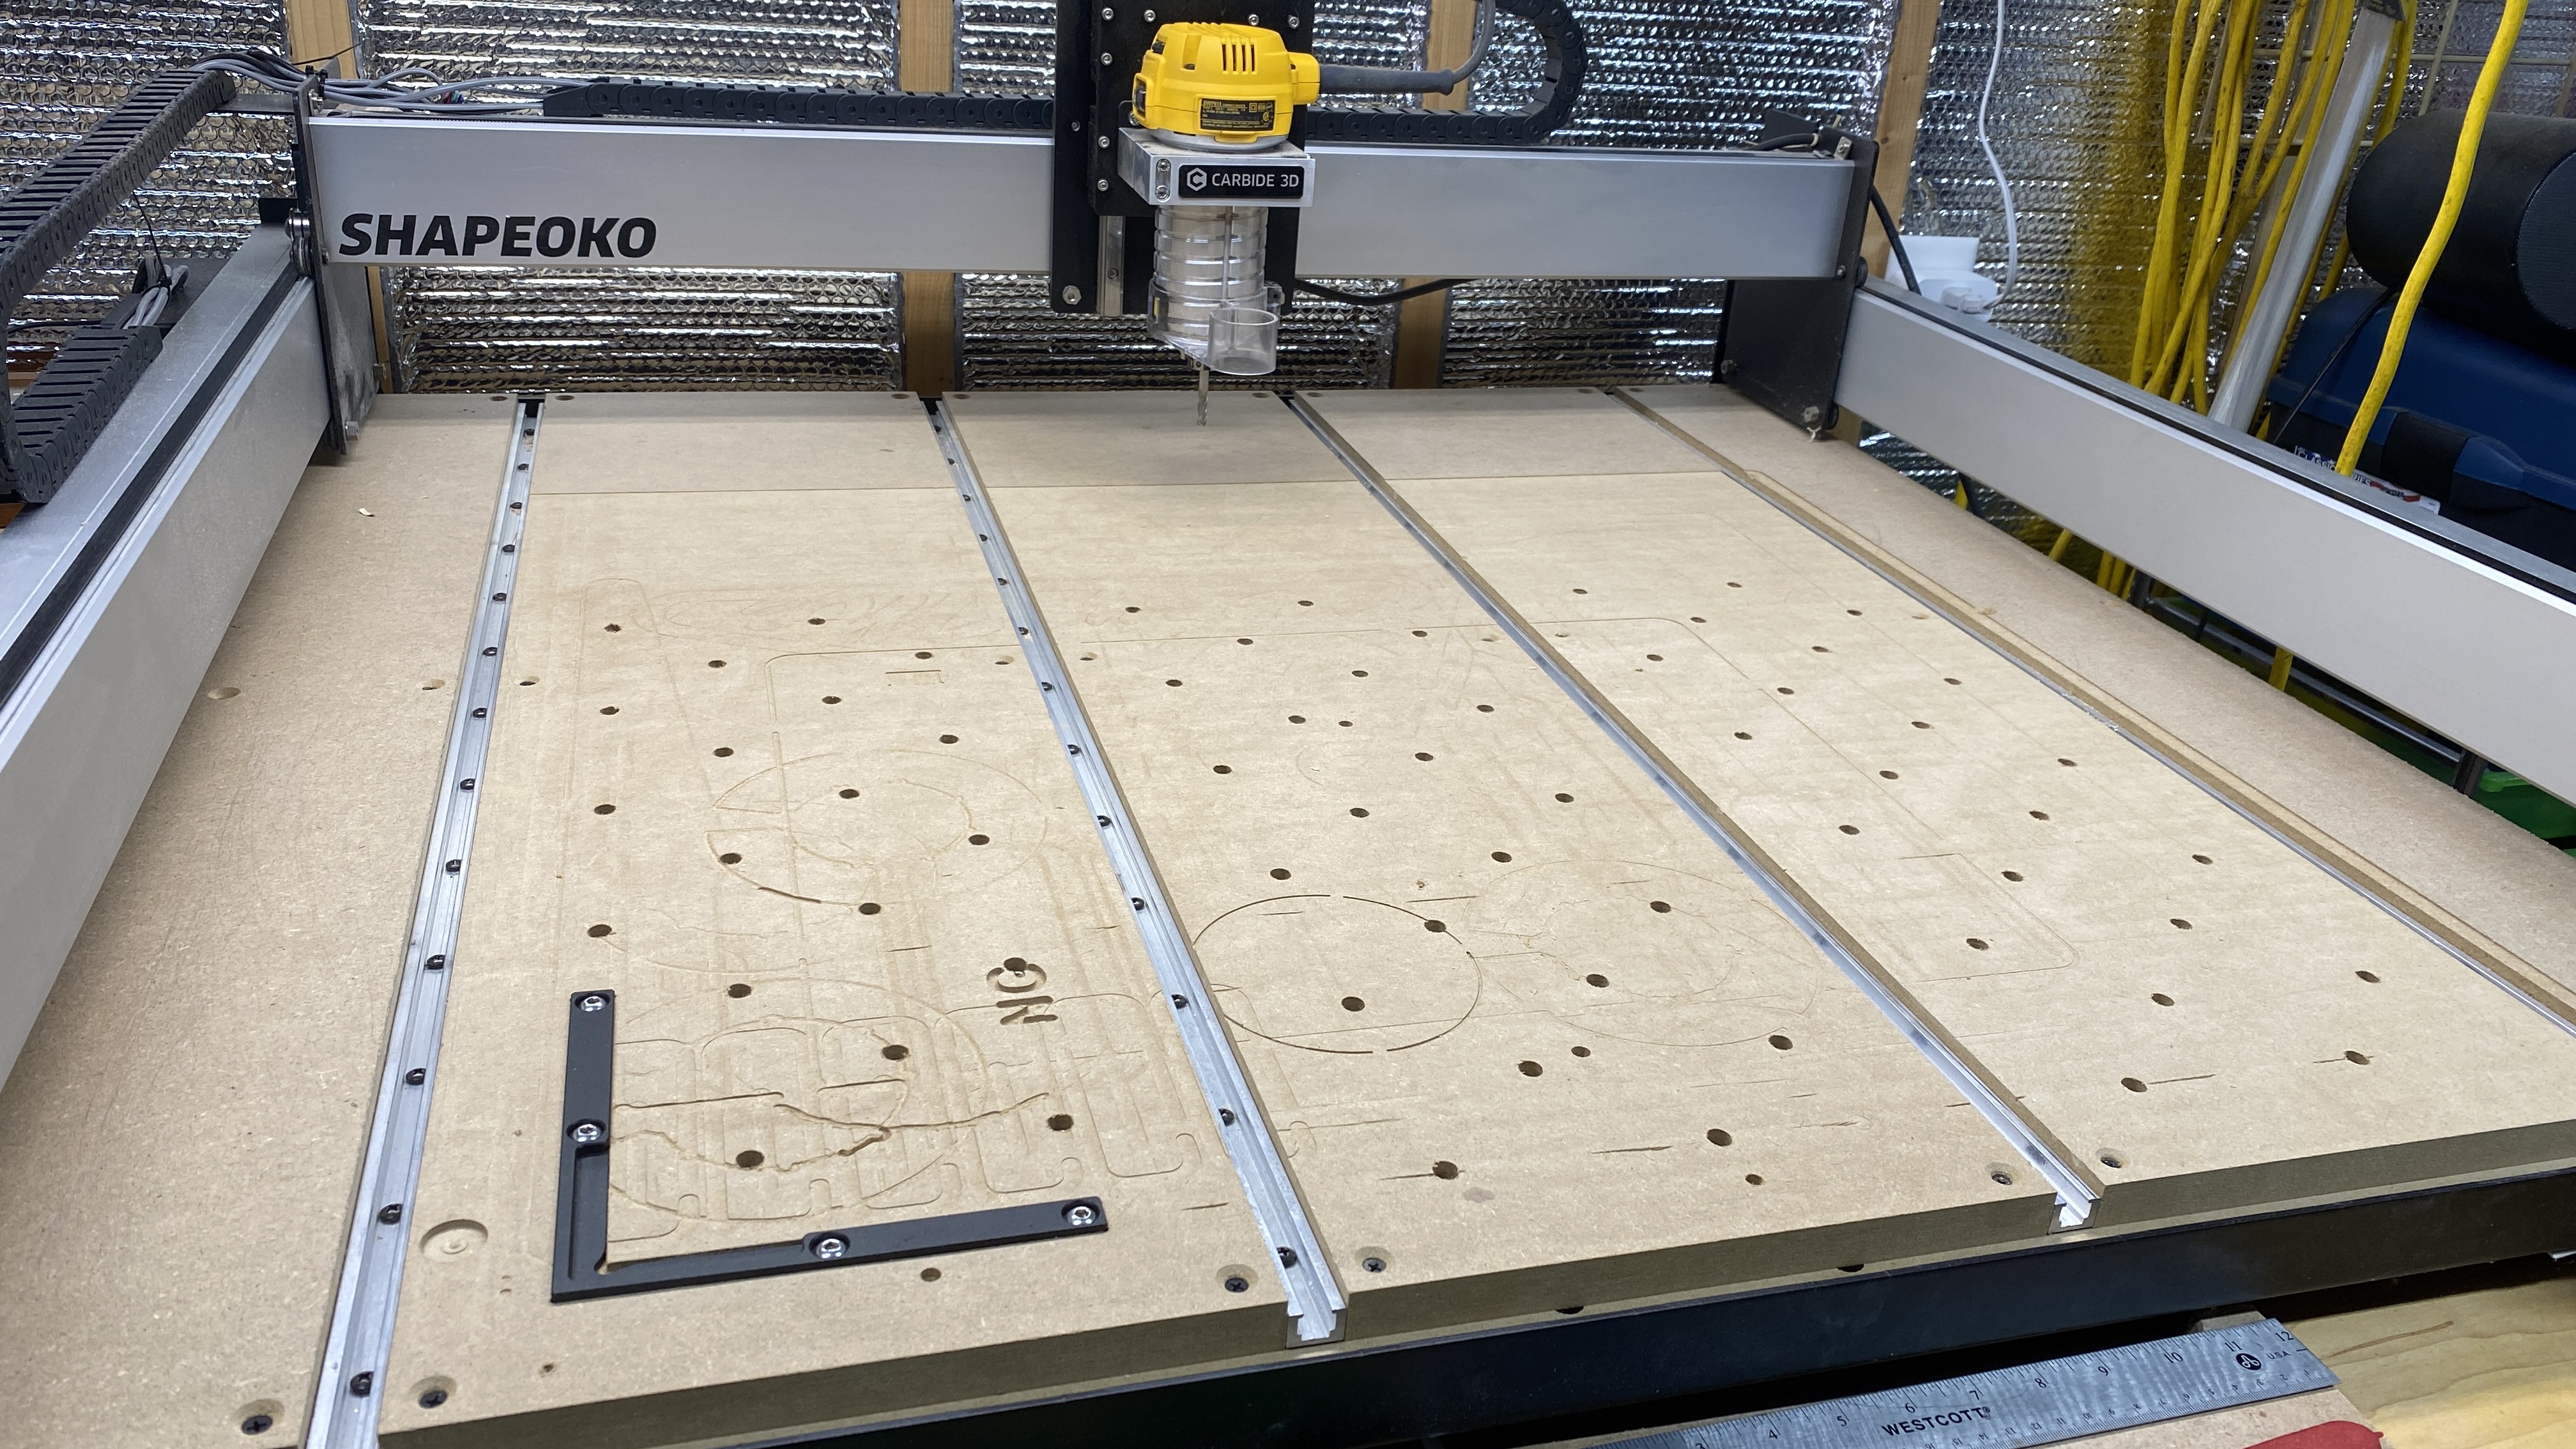
I’m on with threaded inserts. I’ve thought about adding t-tracks, but if I did would also add inserts again. I just did an arbitrary grid spacing for them. Laid down a 10cmx10cm grid on top which is terrific for alignment.
In the end, I’ve ended up using tape and glue for just about everything - lol. But the inserts are super helpful for stock that my be a little bowed or not suitable for tape and glue. Sometimes I use both.
They can get a little jammed up with chips, but I’m diligent about vacuuming them out every job and have not had a problem.
As Will said, surface what you have to get a level starting point. You can always add inserts to the current board you have and use in tandem with the t-track. Ultimately - it has a lot to do with what you want your workflow to be and it may take a bit of experimenting to figure that out.
Thanks for all the helpful advice and suggestions.
Do you guys think its ok to level the board with 1/4" 201 bit? Or should I drop $50 on a proper 1" surfacing bit? I’d really prefer not to spend the money on a surfacing bit if possible since I still need to buy a good shop vac, silent compressor, aluminum specific end mills plus some other stuff.
What’s the best t-slot clamping method you guys recommend? My main concern is if the work piece is too far between the slots, or if I clamp some plate from above I can’t mill that area.
I use this one, which for a $20 investment I’ve gotten my use out of it:
The other benefit (or drawback…?) of a larger surfacing bit is it will exacerbate any tramming issues. You’ll know really quick if you’re out of tram and it will drive you to fix it!
I also use this bit for surfacing rough cut re-saw off my band saw. Essentially like a planer, since I have yet to invest in one.
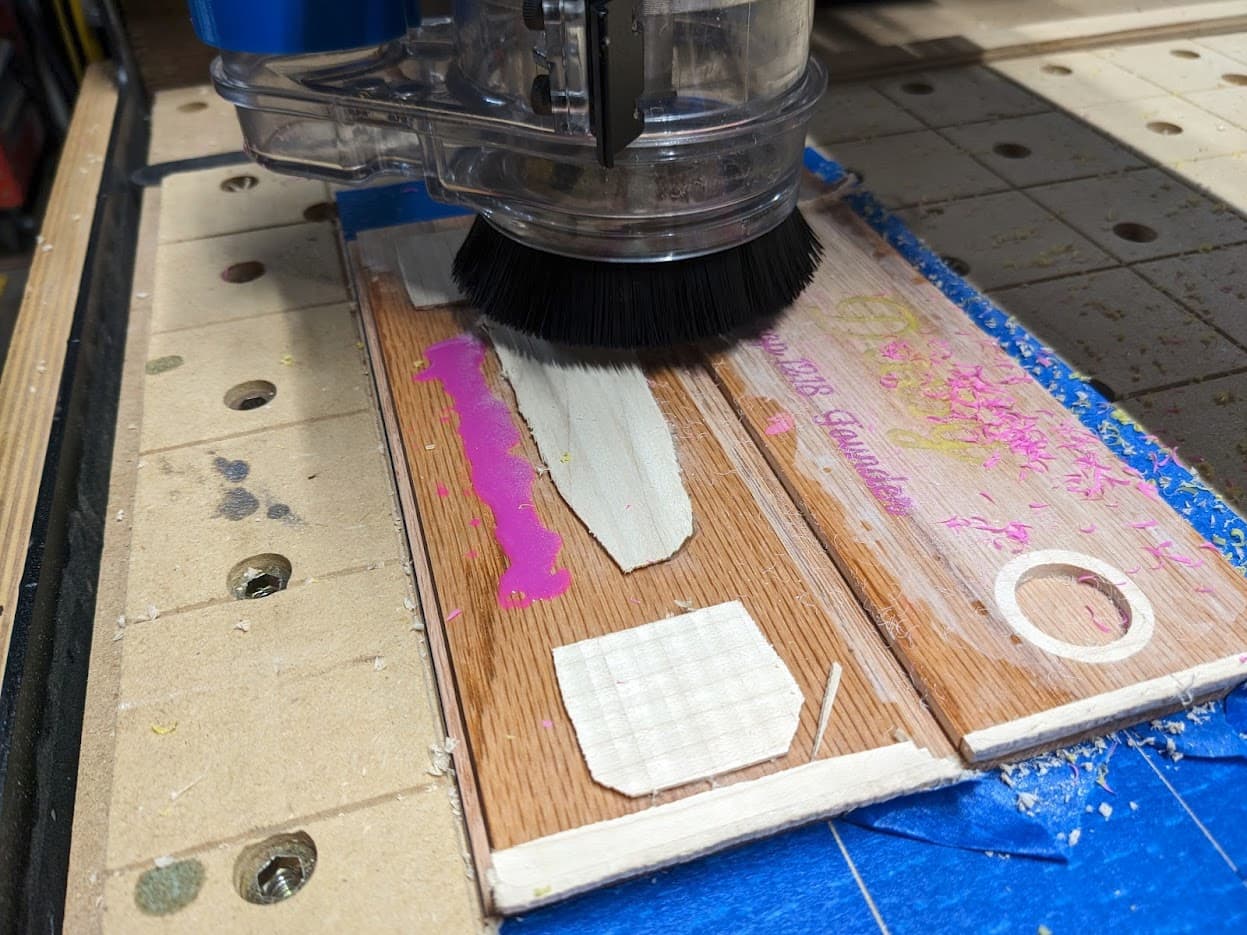
I don’t use the accelerator for most things, but it does work really well. When the piece I’m cutting has a good flat side (not warped or whatever), I tape the bed, tape the back, and glue between. I have a 20 pound weight I place on top while I’m doing other setup and the glue is dry within a minute or two.
Now I only clamp for really large items that would take a lot of tape, or might add clamps if a piece is a little warped or rough on the back, or if I’m doing more aggressive cuts. With tape and glue I don’t use holding tabs, I cut straight through, which is great. It’s also great with some thinner plywoods or materials that might get a bow up in the center when you clamp the edges. Tape and glue will hold the whole piece down. And no clamps taking up space that could get in the way of the router bit.
But - back to your question - there are lots of methods in the forums and it will really depend on what you’re making. Even with inserts spaced all over the board I’ve had to get creative with clamps. One of my first projects was making my own hold down fixtures. Here are there the ones I made for threaded inserts out of scrap 1/2" baltic birch ply. Spoilboard and Clamps.zip (260.2 KB)
This is a long way of saying, try tape and glue and then get/make a few t-track clamps. See what works and where you run into issues. Then make/acquire what you need to fill the gap.
I’ll be cutting designs into aluminum plate, 1/4" thick. Generally it’s very flat, do you think the tape and glue method will work or are the cutting forces too much?
I’ve done aluminum both ways with success. As long as your feeds and speeds are matched to the bit and material, the force on the material should be minimal (chip load is a completely different rabbit hole). Try out both ways, and be prepared for a few failures on aluminum. Several good posts on cutting it, but it’s a lot less forgiving than most woods. Once you get it dialed in, it cuts wonderfully. I use an air blast to cool the bit and clear chips. If I’m v-carving, I add an alcohol drip - and then use clamps because the liquid will cause the tape to fail.