Looks great. I think I used a 10% stepover for the finishing pass. The toolpath in the simulation was just solid blue.
How long did those take? Guessing 4 hours?
How small of a bit did you use?
Yes, I am going to try again with a deeper cut.
Looks great. I think I used a 10% stepover for the finishing pass. The toolpath in the simulation was just solid blue.
How long did those take? Guessing 4 hours?
How small of a bit did you use?
Yes, I am going to try again with a deeper cut.
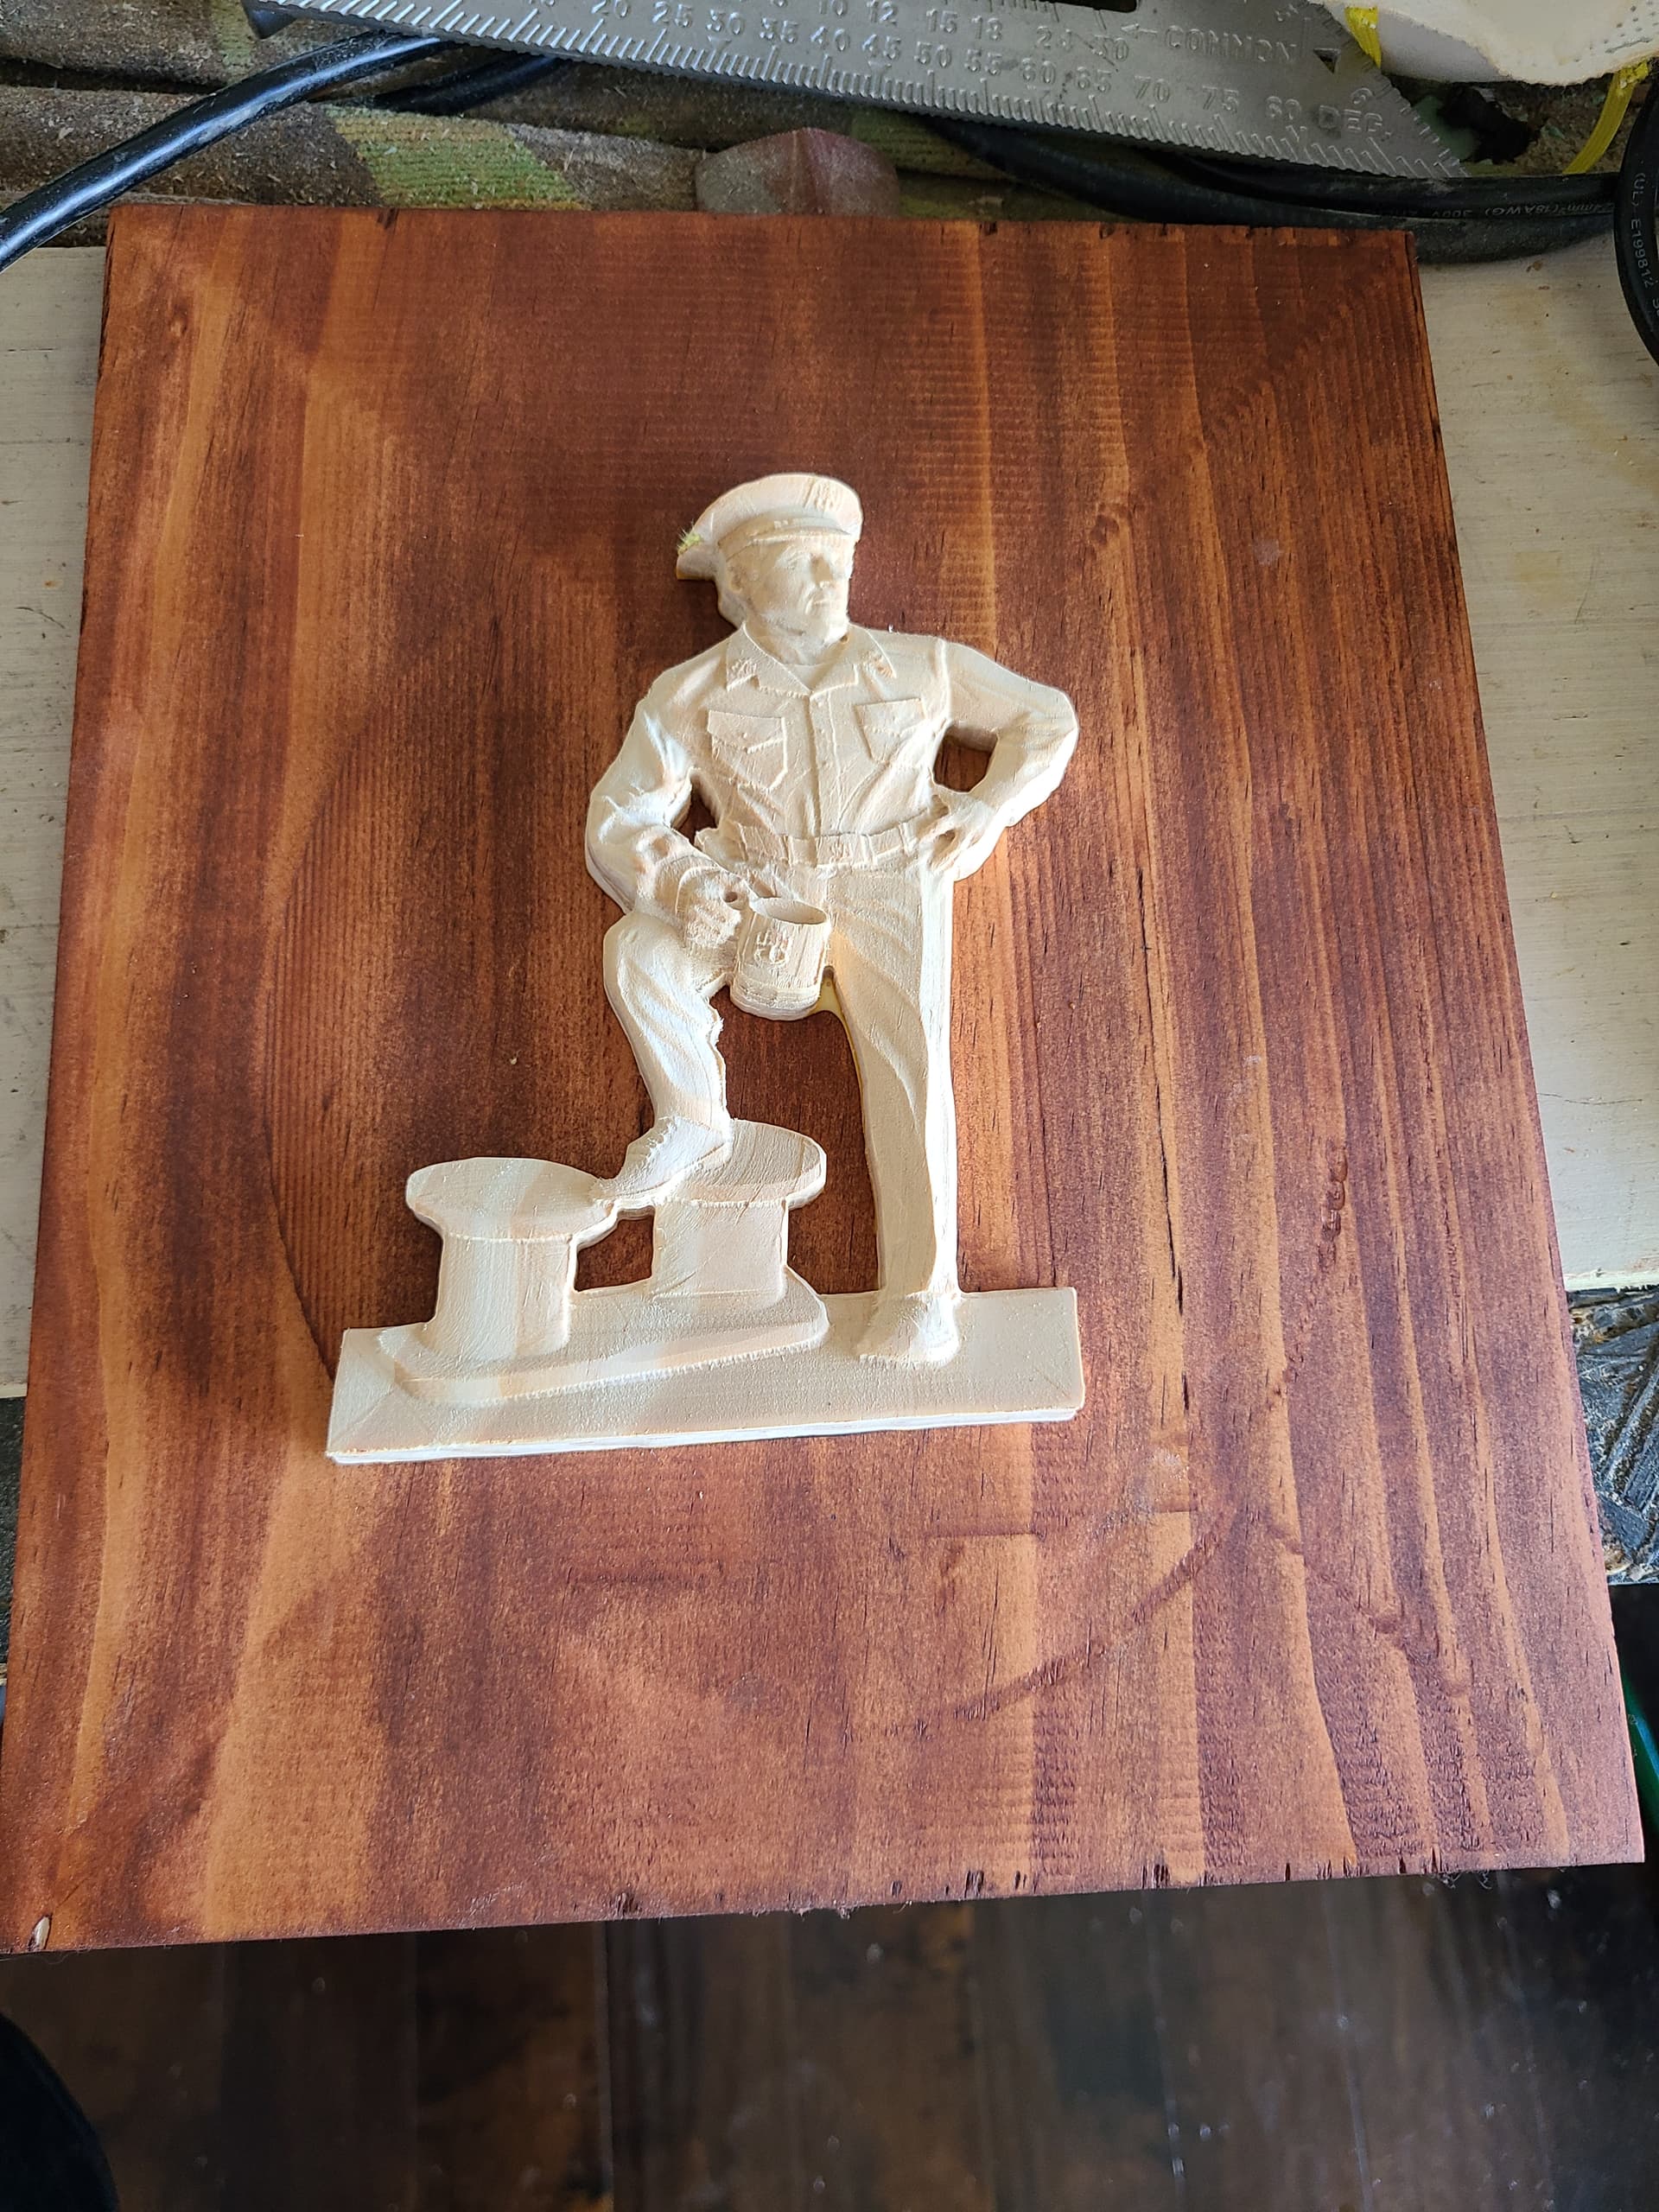
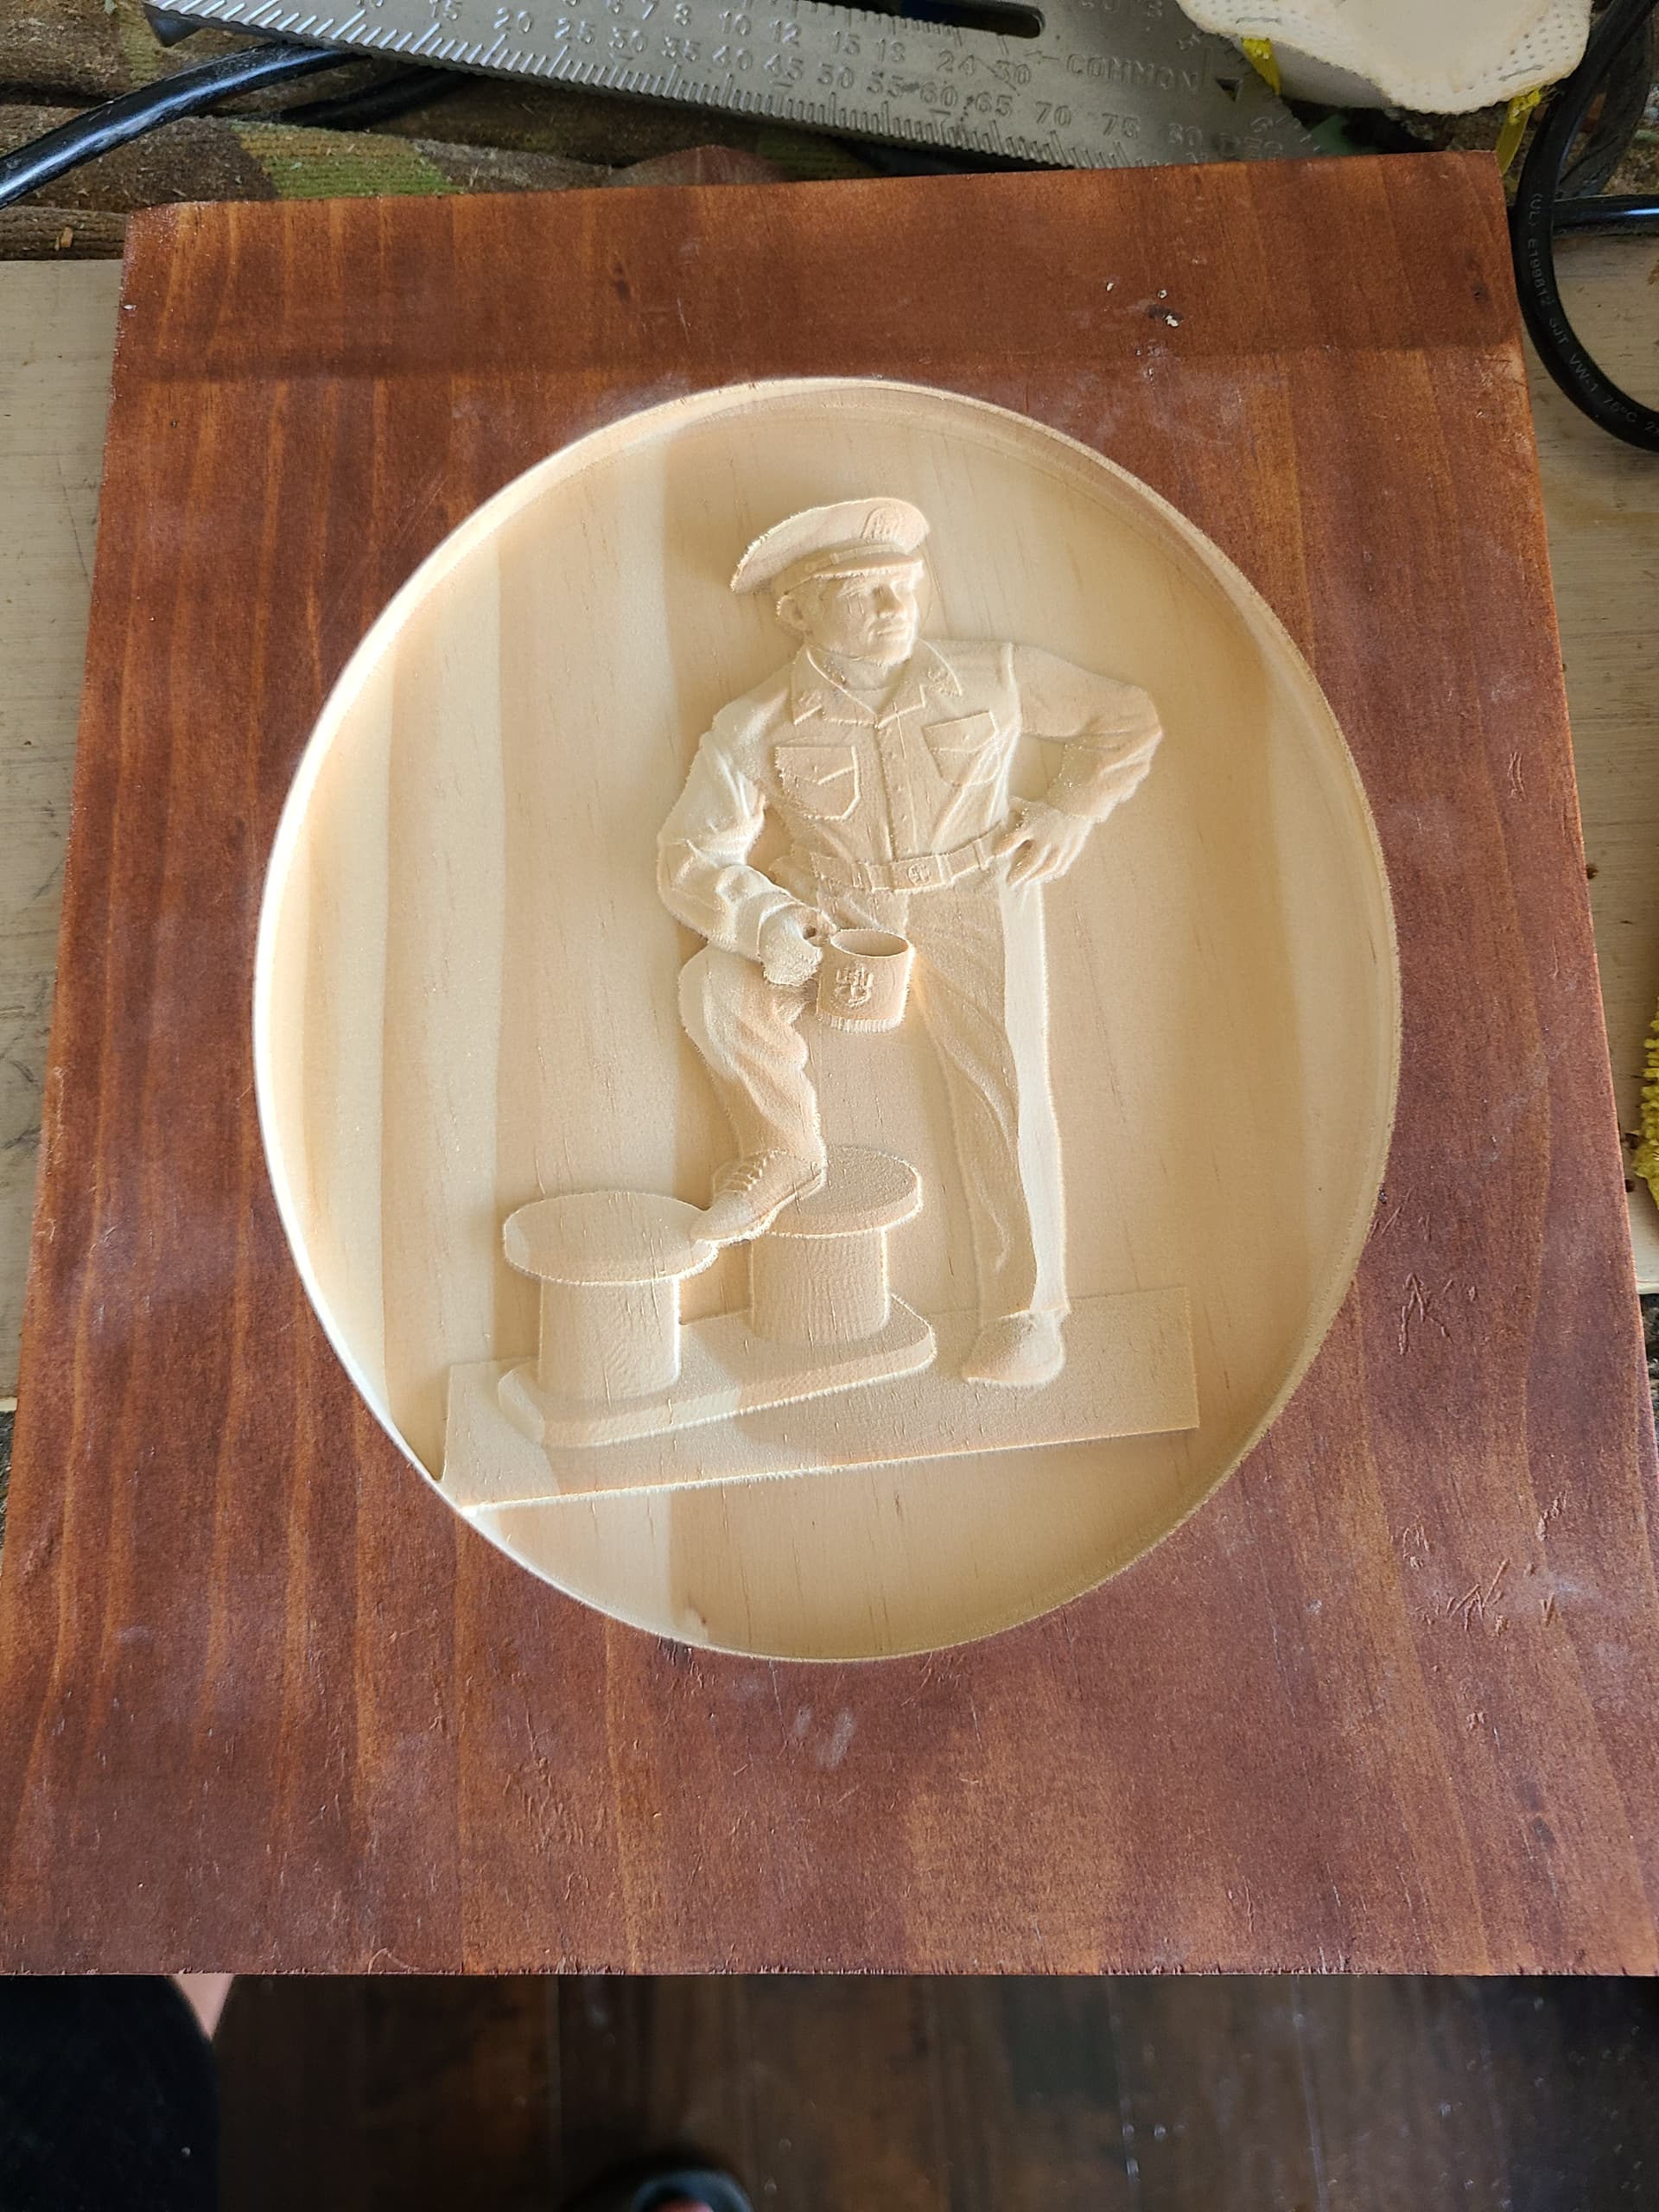
So the roughing pass was 20min for the seabee, then 108 min for the finish path and same for the second one. remember, you can increase the speed quite a bit as it isnt taking much off. I used 1/4" bit for roughing and then did a 1/8" and then a 1/16" ball endmill. I have a 1/32 too but that takes FOREVER. either way, these all took several hours 4-6 seems to be average. I have each bit on its own gcode so I can run it and then if I need to wait until tomorrow I can.
The types of wood I used are Maple ( the top two are stained as the customer wanted “darker” color - which hurt my soul but whatever) and the last is Sapele. any hardwood with tight grain is good, maple works awesome.
@corknut I am just glad you actually used a fouled anchor! Looks great when u have umages with faces i will put a box around the finer areas such as the face and use the 1/32 so i get the details without having to do the entire project.
Thanks. I have a little maple, little cherry, some huge mahogany boards, some zebra wood and a virtually endless supply of walnut.
I use mostly walnut and maple.
I think the zebra wood pattern would be too distracting unless I could find just the right project.
I will definitely try again this weekend.
Great idea. I hadn’t thought of doing just small portions with the finer bit.
Absolutely if your machine is mechanically sound and you have a bit setter it works like a charm, just chuck up the small ballnose 1/32 dont change xy or z and do a finish pass using the selected smaller portion!
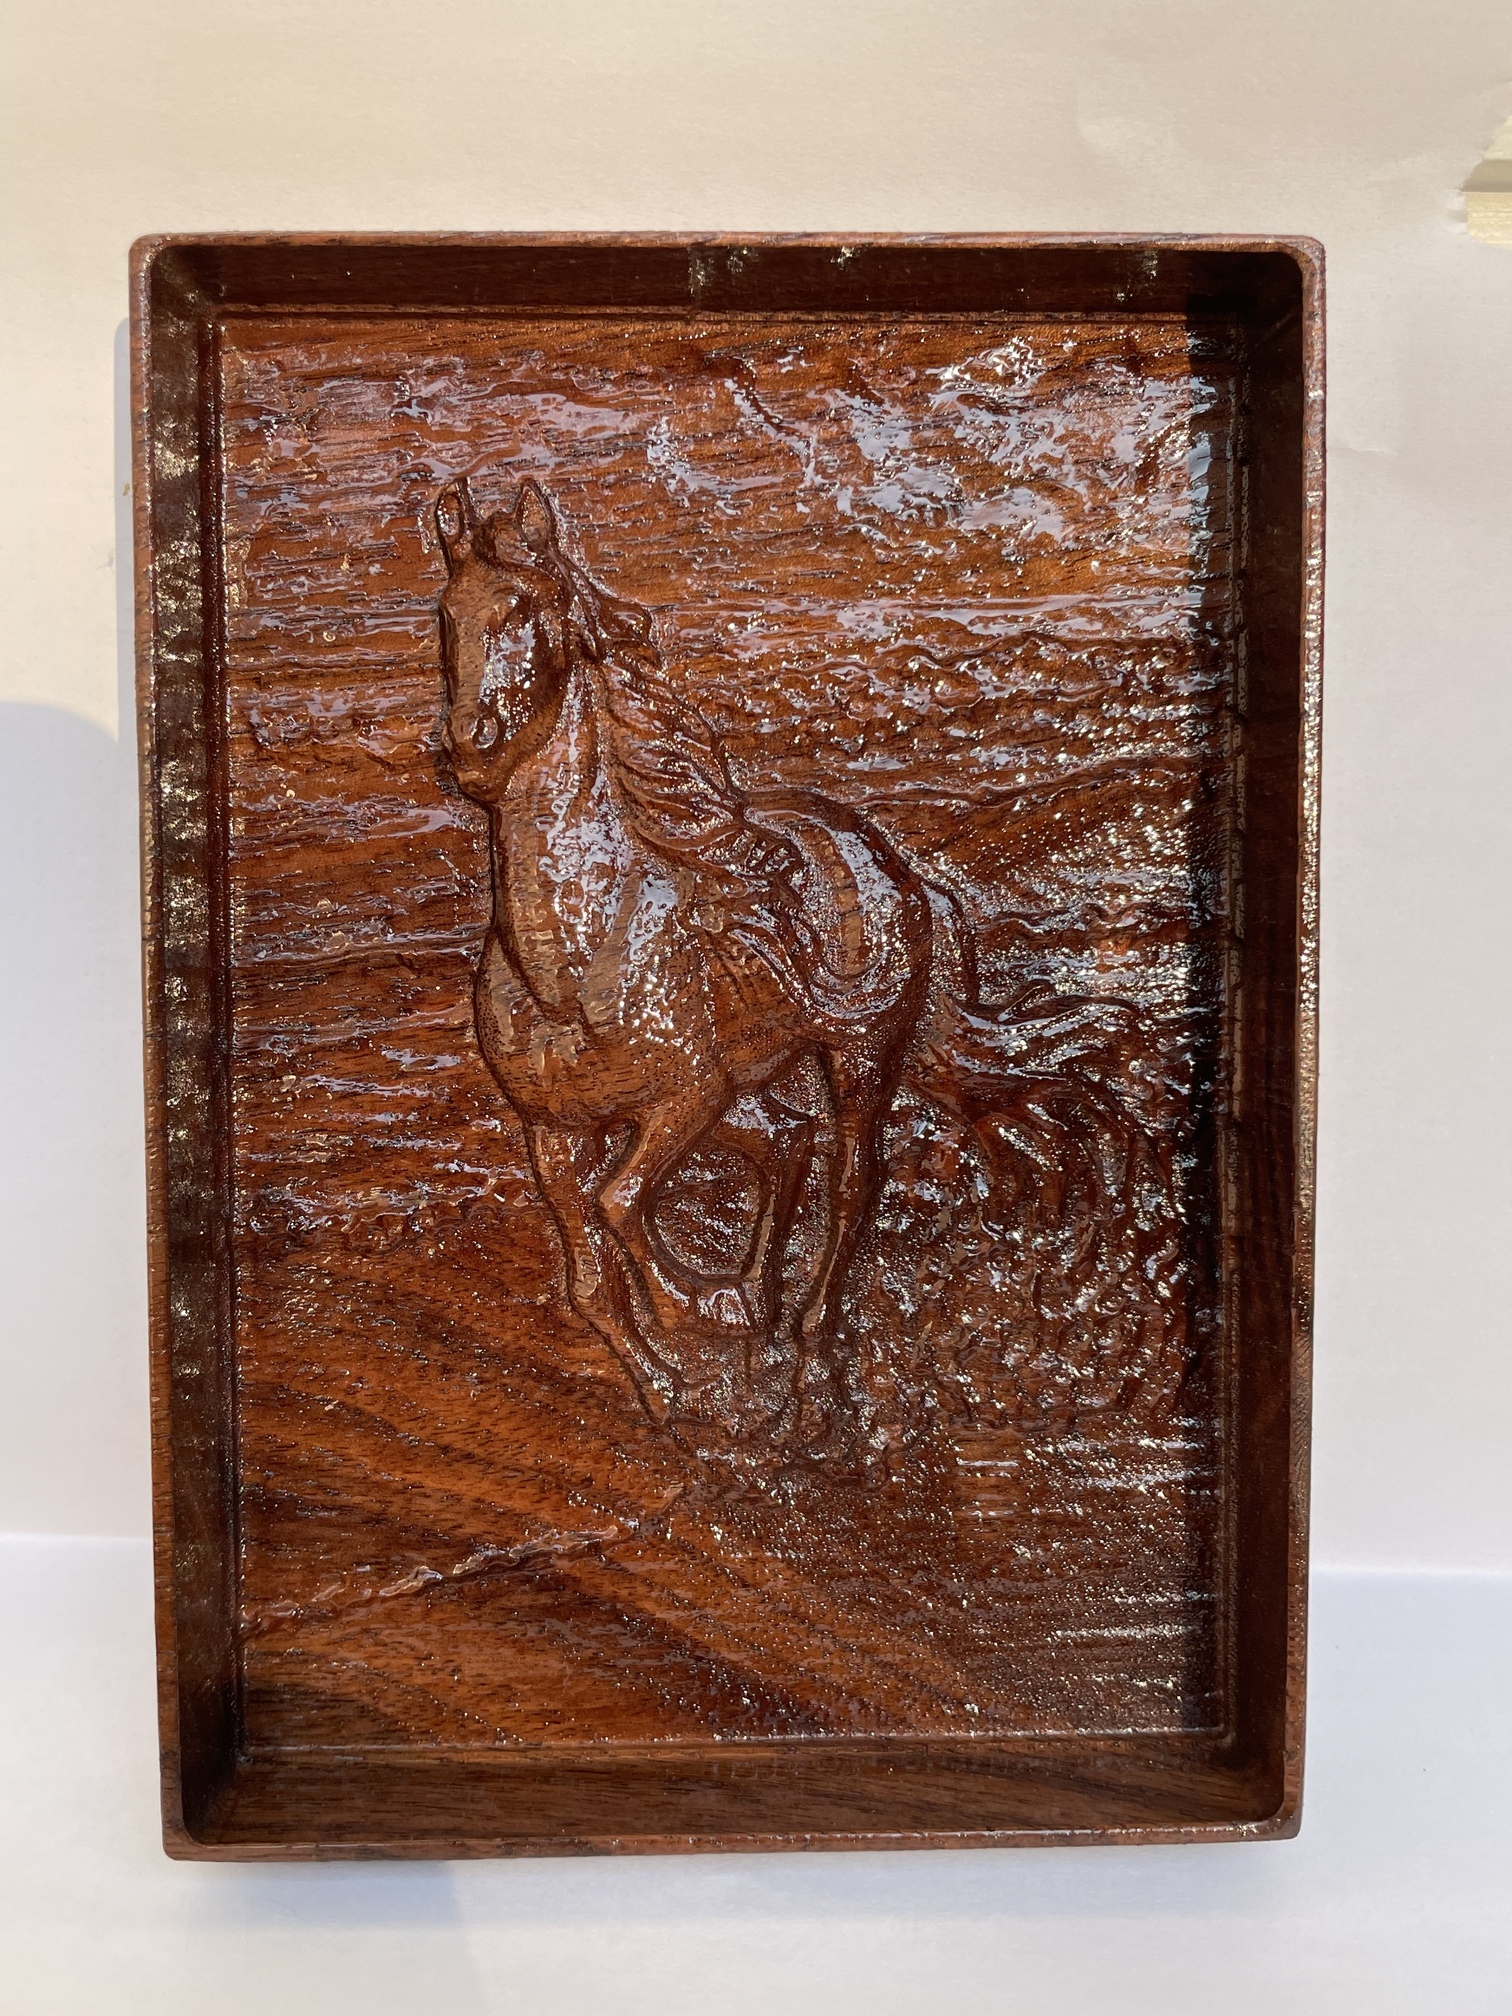
Ok, I made another attempt after my 1/32 TBN came in. This one is just slightly larger.
The previous was only .2 deep I tried to make this one .55, but forgot to adjust the base height so the nose of the horse is below the stock surface a pretty good bit. I was expecting that to be more or less even. It is still a bit deeper than the previous.
I stayed with the original 1/8 roughing and the 1/16 finish psd but then added 2 1/32 passes at right angles to each other. For those I drew a perimeter around the horse. Each of those passes only took about 11 minutes.
It looks like it brought out more detail! Looks great!
Hi Cullen,
This is the info I was missing "…base height setting in CC to be the thickness of my material minus the thickness of the 3D element…"and now I can see the 3D view of my object with the proper thickness!
Thank You!
Have you tried using a water based poly? I bought some from Lowes in a spray can - it was expensive at about $15 per can. However, it eliminates any shine and makes the product appear natural while protecting it.
That cut looks awesome, by the way.
Thanks. In this case I just used multiple coats of shellac. Did you use the satin poly?
The shine is not quite as bad in person, but yeah I will do something different next time.
I used Clear Matte Polcrylic. This brand was Minwax Waterbased.
I love it. Probably using it for just about everything for now on, despite the cost.
This topic was automatically closed after 30 days. New replies are no longer allowed.