jcdawson
October 25, 2024, 12:44am
1
Hi! I’d like to make a 3d carve of a pumpkin design, but I can’t get it quite right in Carbide Create Pro. Can anyone help me out in learning to do this? I’m planning to use roughly 1 in stock, and I’d like the pumpkin to be curved. Thanks!
See photos used for inspiration.
y
4 Likes
WillAdams
October 25, 2024, 1:44am
2
Start by setting up the file:
Import Background:
Adjust as necessary:
Done
Draw an outline for the project as a whole:
Note that it is not necessary to get it perfect during the initial drawing — the geometry can be adjusted using Node Editing after.
Continue drawing until done…
WillAdams
October 25, 2024, 2:00am
3
After the initial drawing, go into Node Edit mode:
Zoom in, and adjust as necessary:
Note that the alt/option key may be held down so as to create asymmetric nodes.
If a node is selected and there are no off-curve handles to drag:
tap s until they appear
continue as necessary.
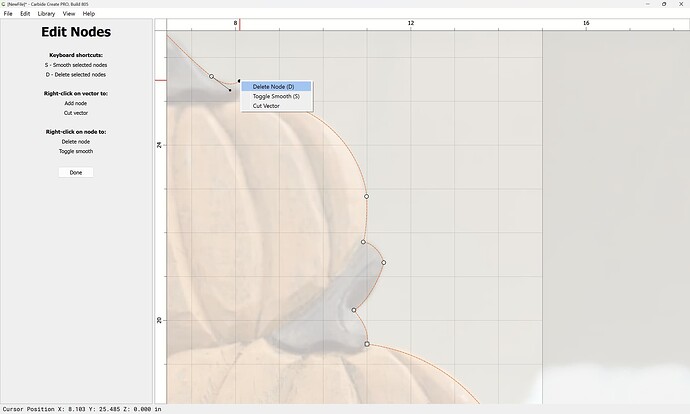
If need be, nodes may be deleted by right-clicking:
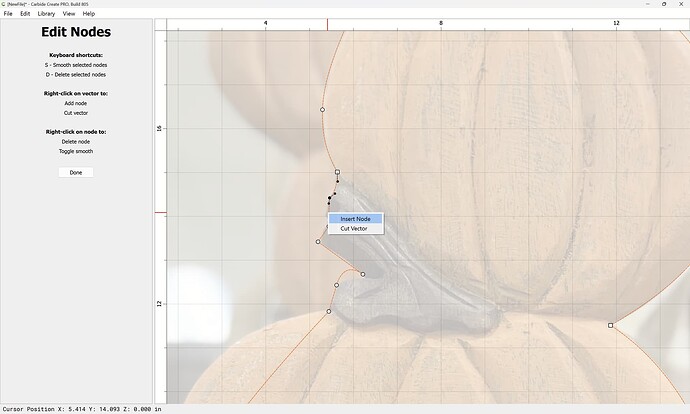
Or, added:
Until one arrives at:
Done
Next, draw in geometry for the areas which will be incised…
WillAdams
October 25, 2024, 2:55am
4
Note that alternately, each area could have been drawn separately, but that makes modeling a bit more difficult.
Eventually, one arrives at:
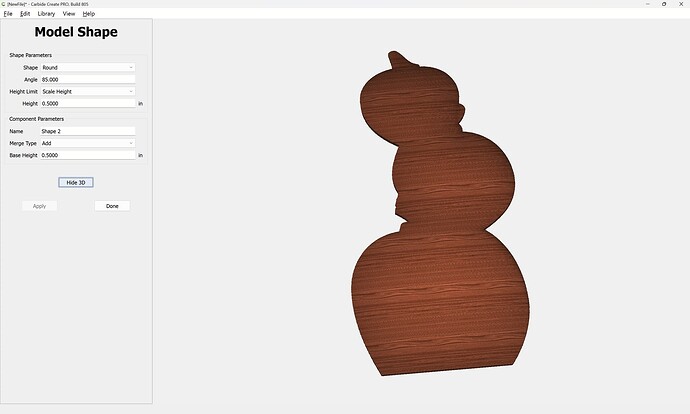
Select the outer geometry:
and model it with suitable settings:
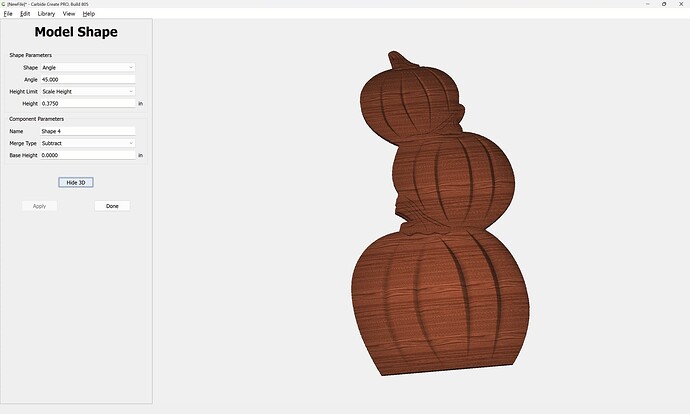
Then select the balance of the geometry and subtract it to incise it:
Then, offset the outer geometry by tool diameter plus 10%:
Apply
and apply toolpaths:
Then select the inner geometry and apply a 3D Finishing toolpath:
Here is the geometry as an SVG (file too large to upload)
jcdawson
October 25, 2024, 6:21pm
5
Thanks so much Will! We are still new to trying our hand at the 3D options, so this is super helpful. Appreciate it!
system
November 24, 2024, 6:21pm
6
This topic was automatically closed 30 days after the last reply. New replies are no longer allowed.


