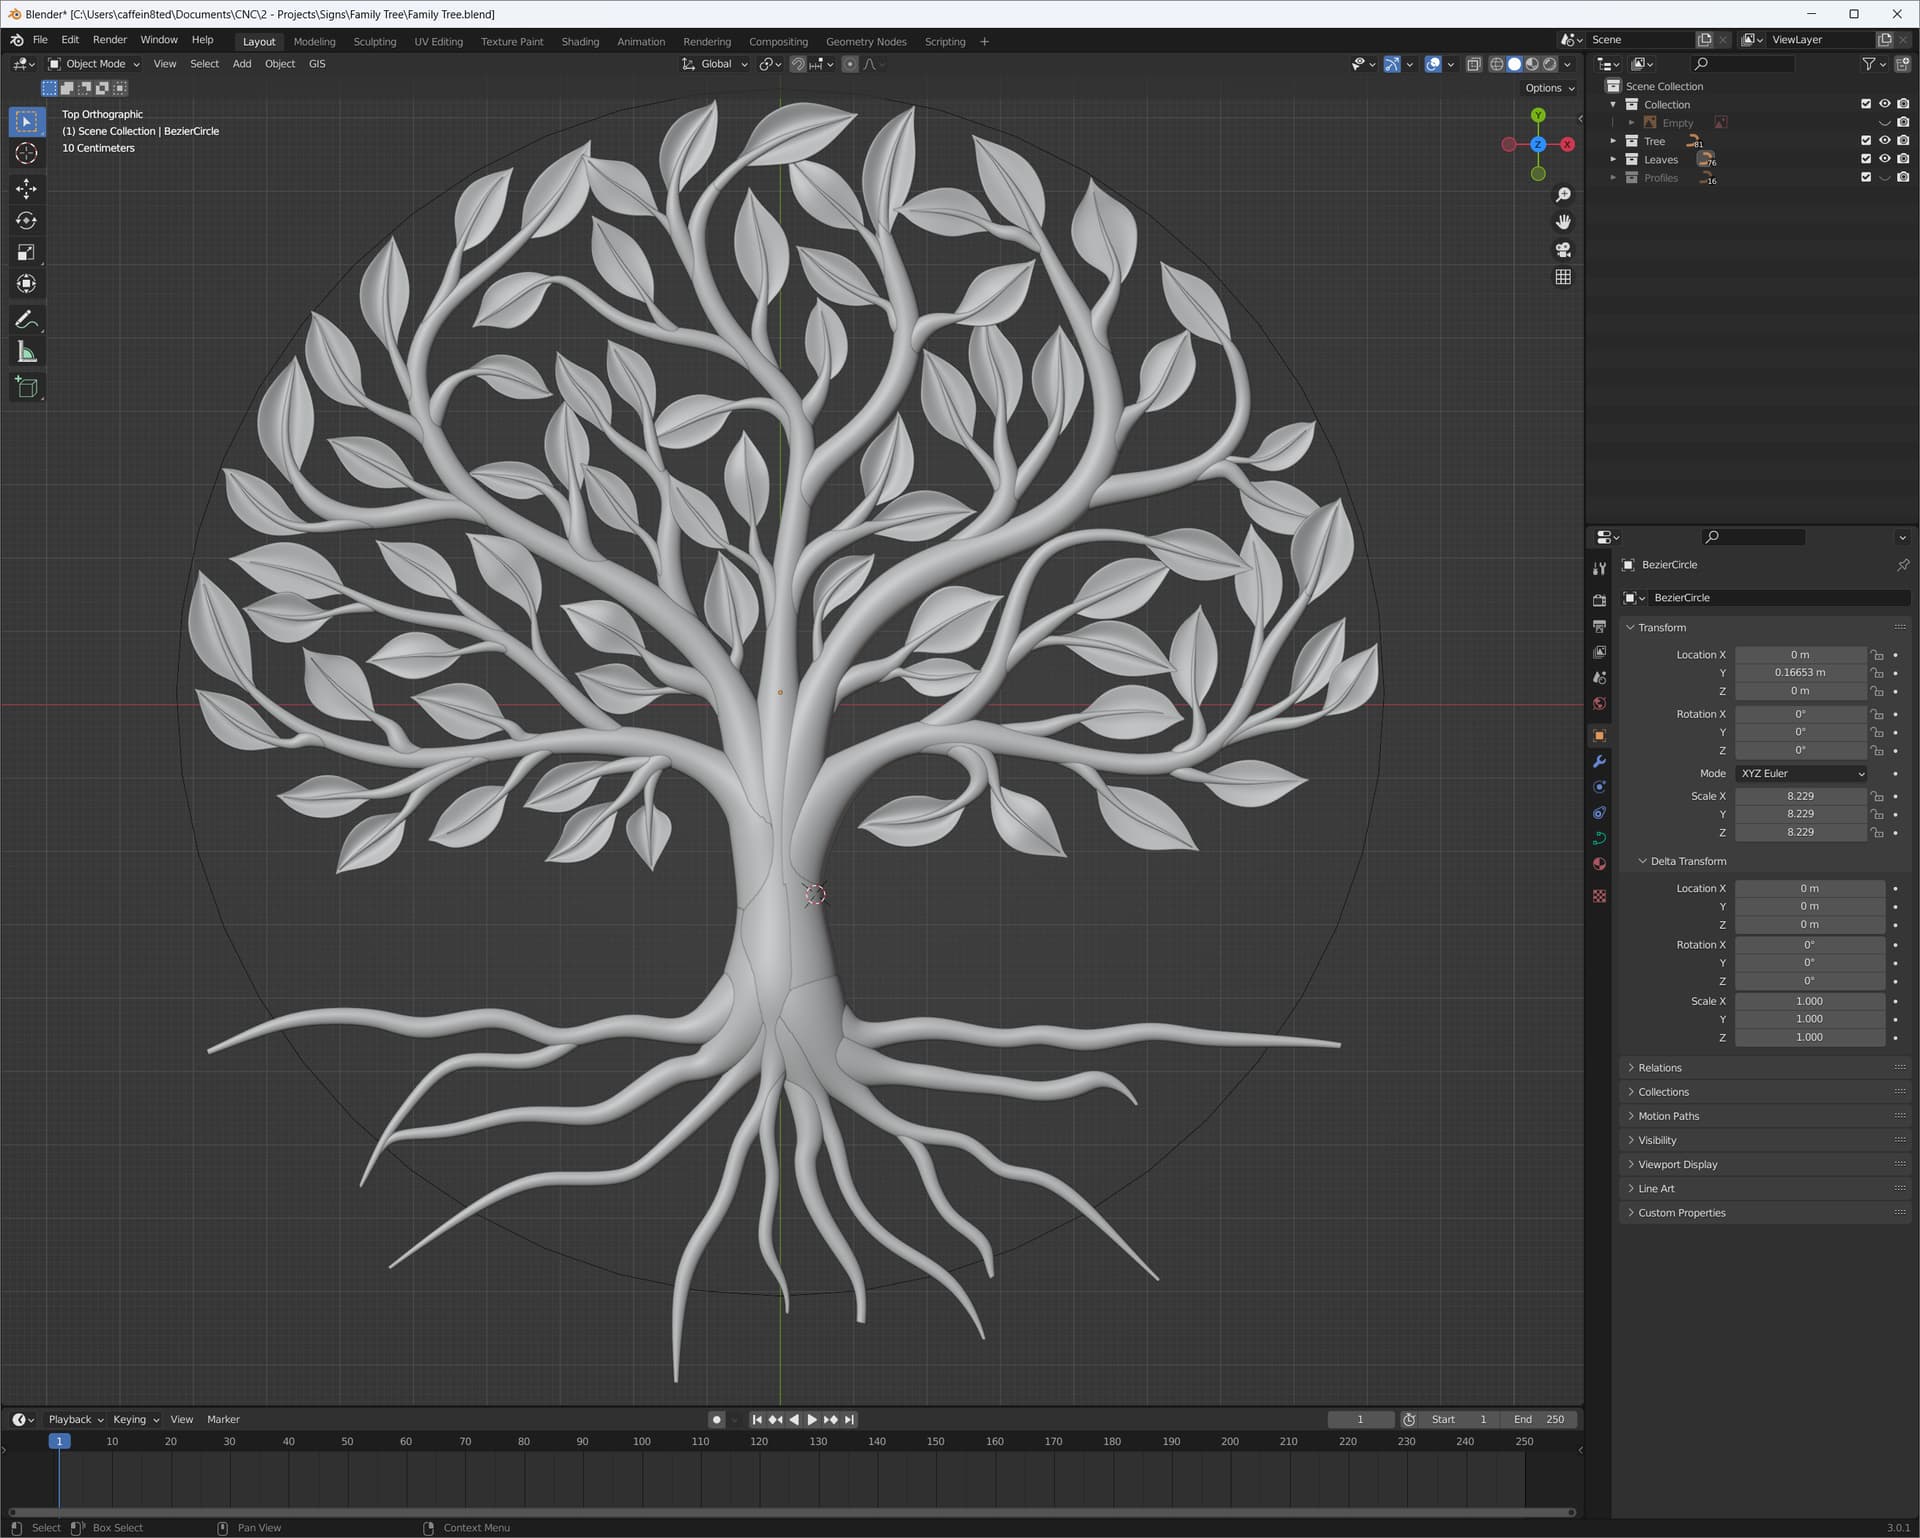
I also imported it into Fusion to see how the performance would be and so far it seems fairly good. I think I learned a new technic which results in less vertices in my mesh which probably helps.
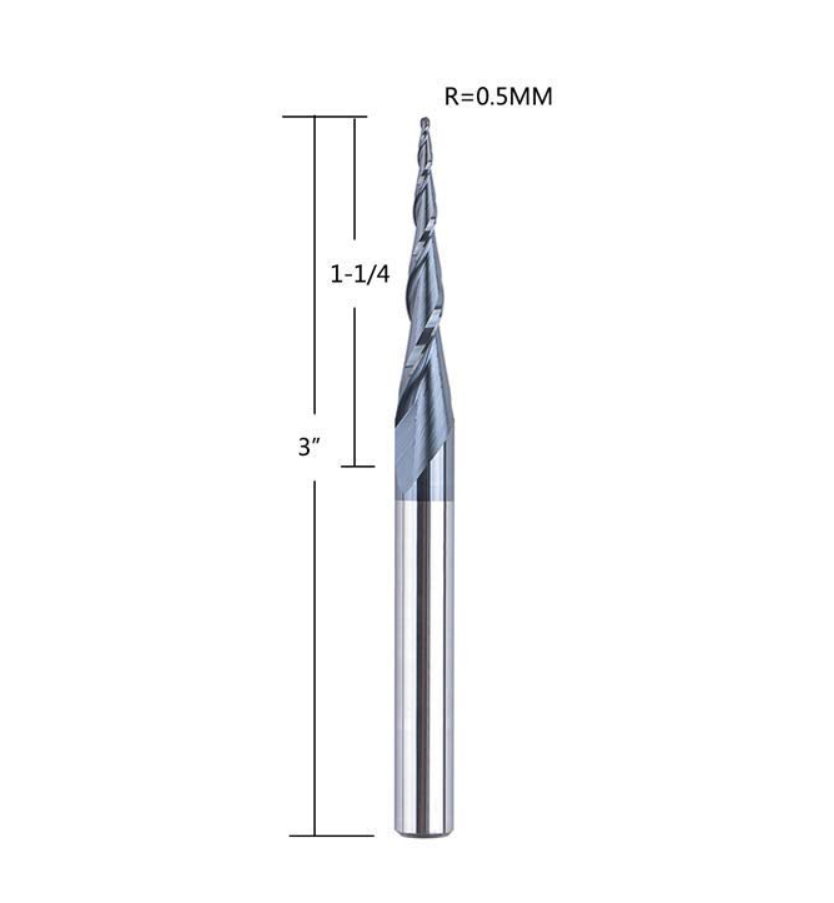
Now my question is about the best approach to mill these 3D carvings. I have a Spetool tapered endmill which has 1-1/4" cutter length and was wondering about my strategy.
I usually use 1/4" or smaller as needed to clear the bulk of the material leaving 0.5mm axial and radial which I then use parallel passes with the tapered endmill. Now with that length of the cutting edge on the bit could I save loads of time by not using the 1/4" up/down cut endmill and let the tapered bit do all the material removal? Anyone have success with this approach or is that a recipe for failure? The max depth is about 3/4" but the stepover I usually use is about 0.3mm.
(Edit: I’d imaging the initial plunge and pass(es) would be the worst for resistance against the endmill but once the initial passes are done would it not be OK up to 3/4" with only 0.3mm stepover. I’m all for trying but thought someone here may have already attempted this and could maybe save me from ruining a bit)
My son got into making lithophanes a couple of months ago and we used a similar cutter in Corian. We used a parallel finish only and turned down the feedrate for the first couple of passes back and forth. Then we cranked it up and walked away. We figured that most of the time, there was such low cutter engagement that we didn’t need to rough anything. I forget what stepover we used, but probably < .3mm since we were making smaller items and we had a smaller tip.
We never broke a cutter in a cut (there were casualties due to operator error though)
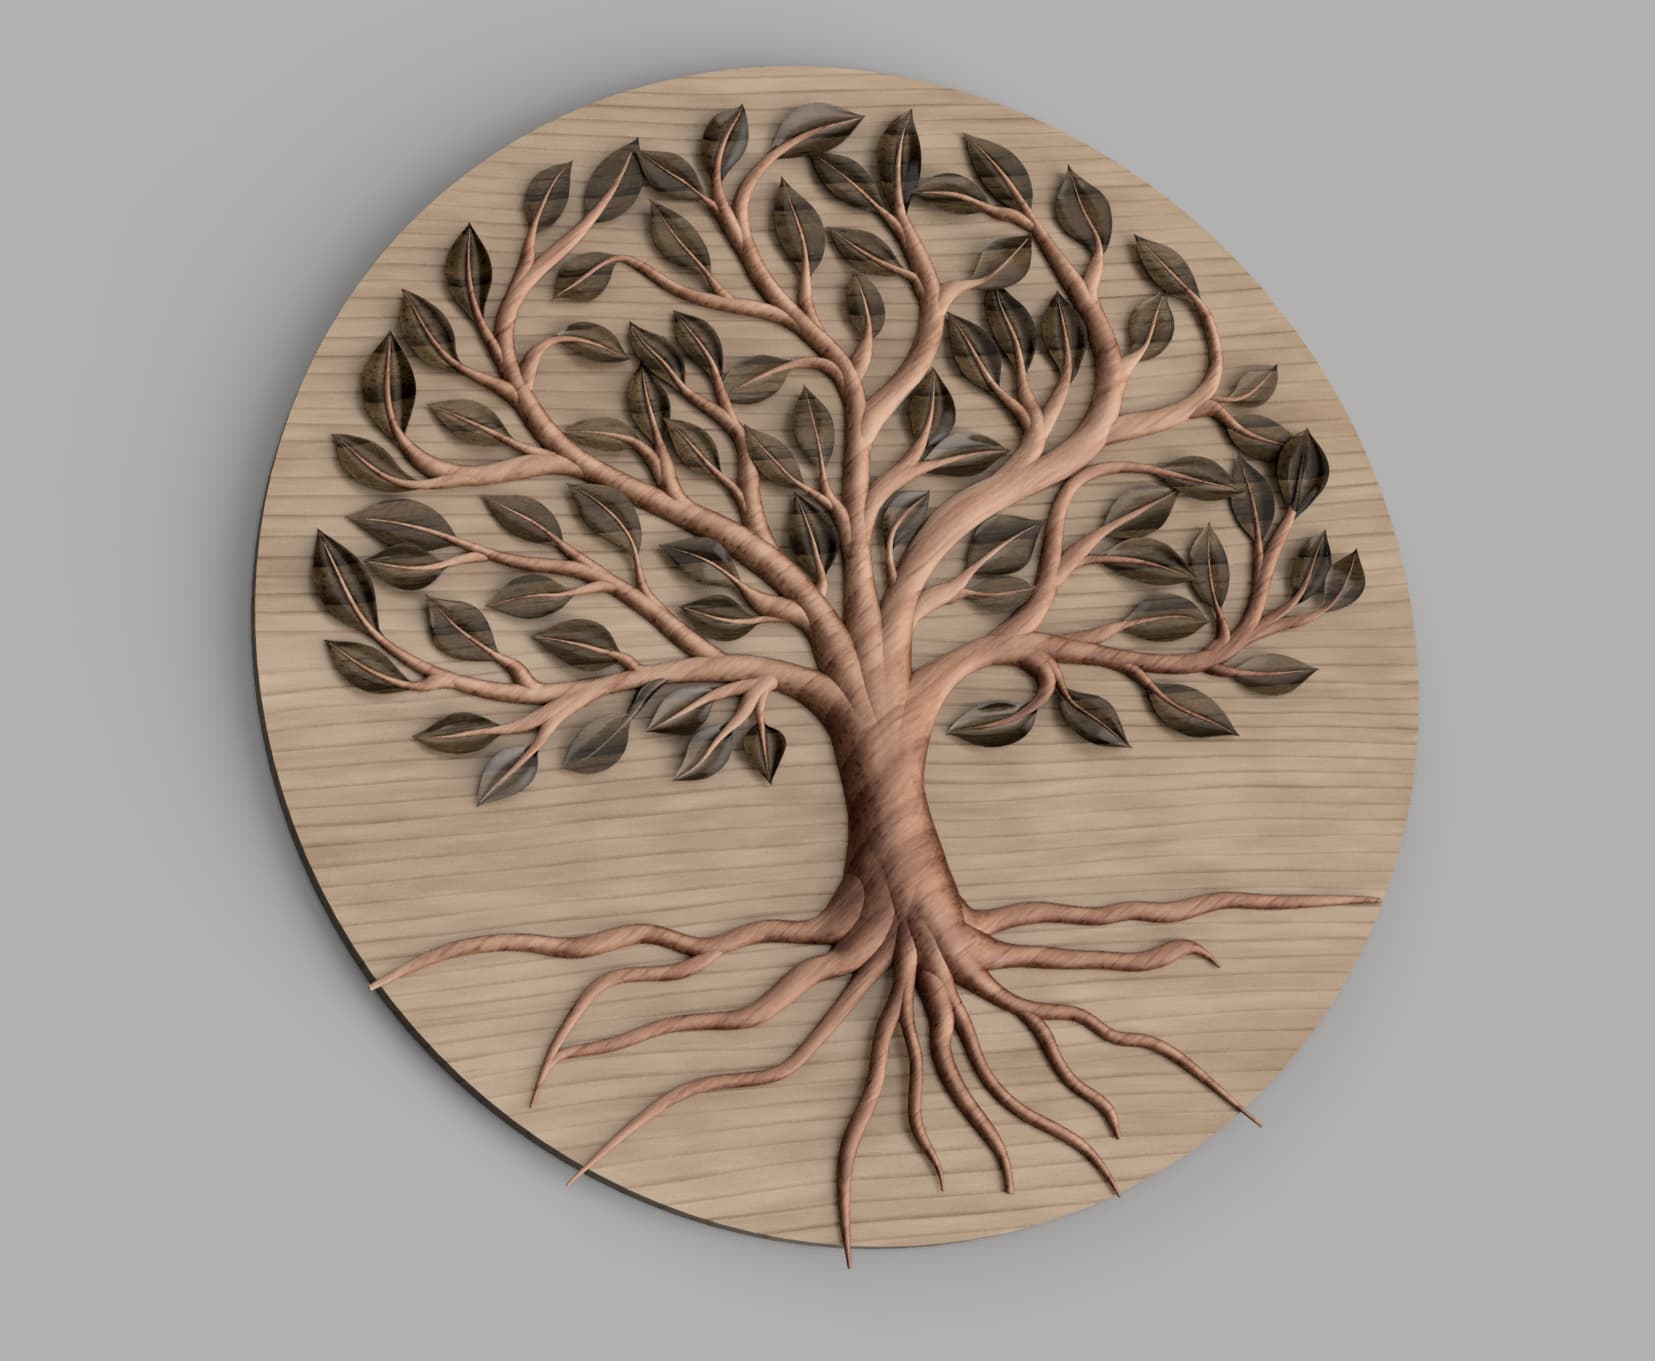
Well your response reassures me I’m not crazy for thinking about this. I’ll likely carve this into an 18"-24" inch circular maple board with a 1" to 2" border/frame so the carving will be recessed into it. I’ll probably run a 1/4" contour on the inner diameter of the frame which will allow relief for the change in direction and stepover of the parallel toolpath with tapered bit for the rest of the material removal.
I have tried that in the past.
Seems it did not work out to be a benefit.
If I remember, the toolpaths kept finding areas to plunge the bit to the full image depth into fresh surface material.
It also “chamfers” the vertical walls. Noticeable to some, but I guess most people would not even see it.
When I first started using my 1/4 shank tapered to 1/16th ballnose, I really liked the bit but after several projects I reverted back to 3 or 4 bits when doing 3D carvings. A 1/4 inch ballnose for bulk, a 1/8th ballnose to clear more material, then a 0.064 ballnose with several different angles to finish. Sometimes I will go back in with a 0.5mm to get more detail but those passes take so looooooong…