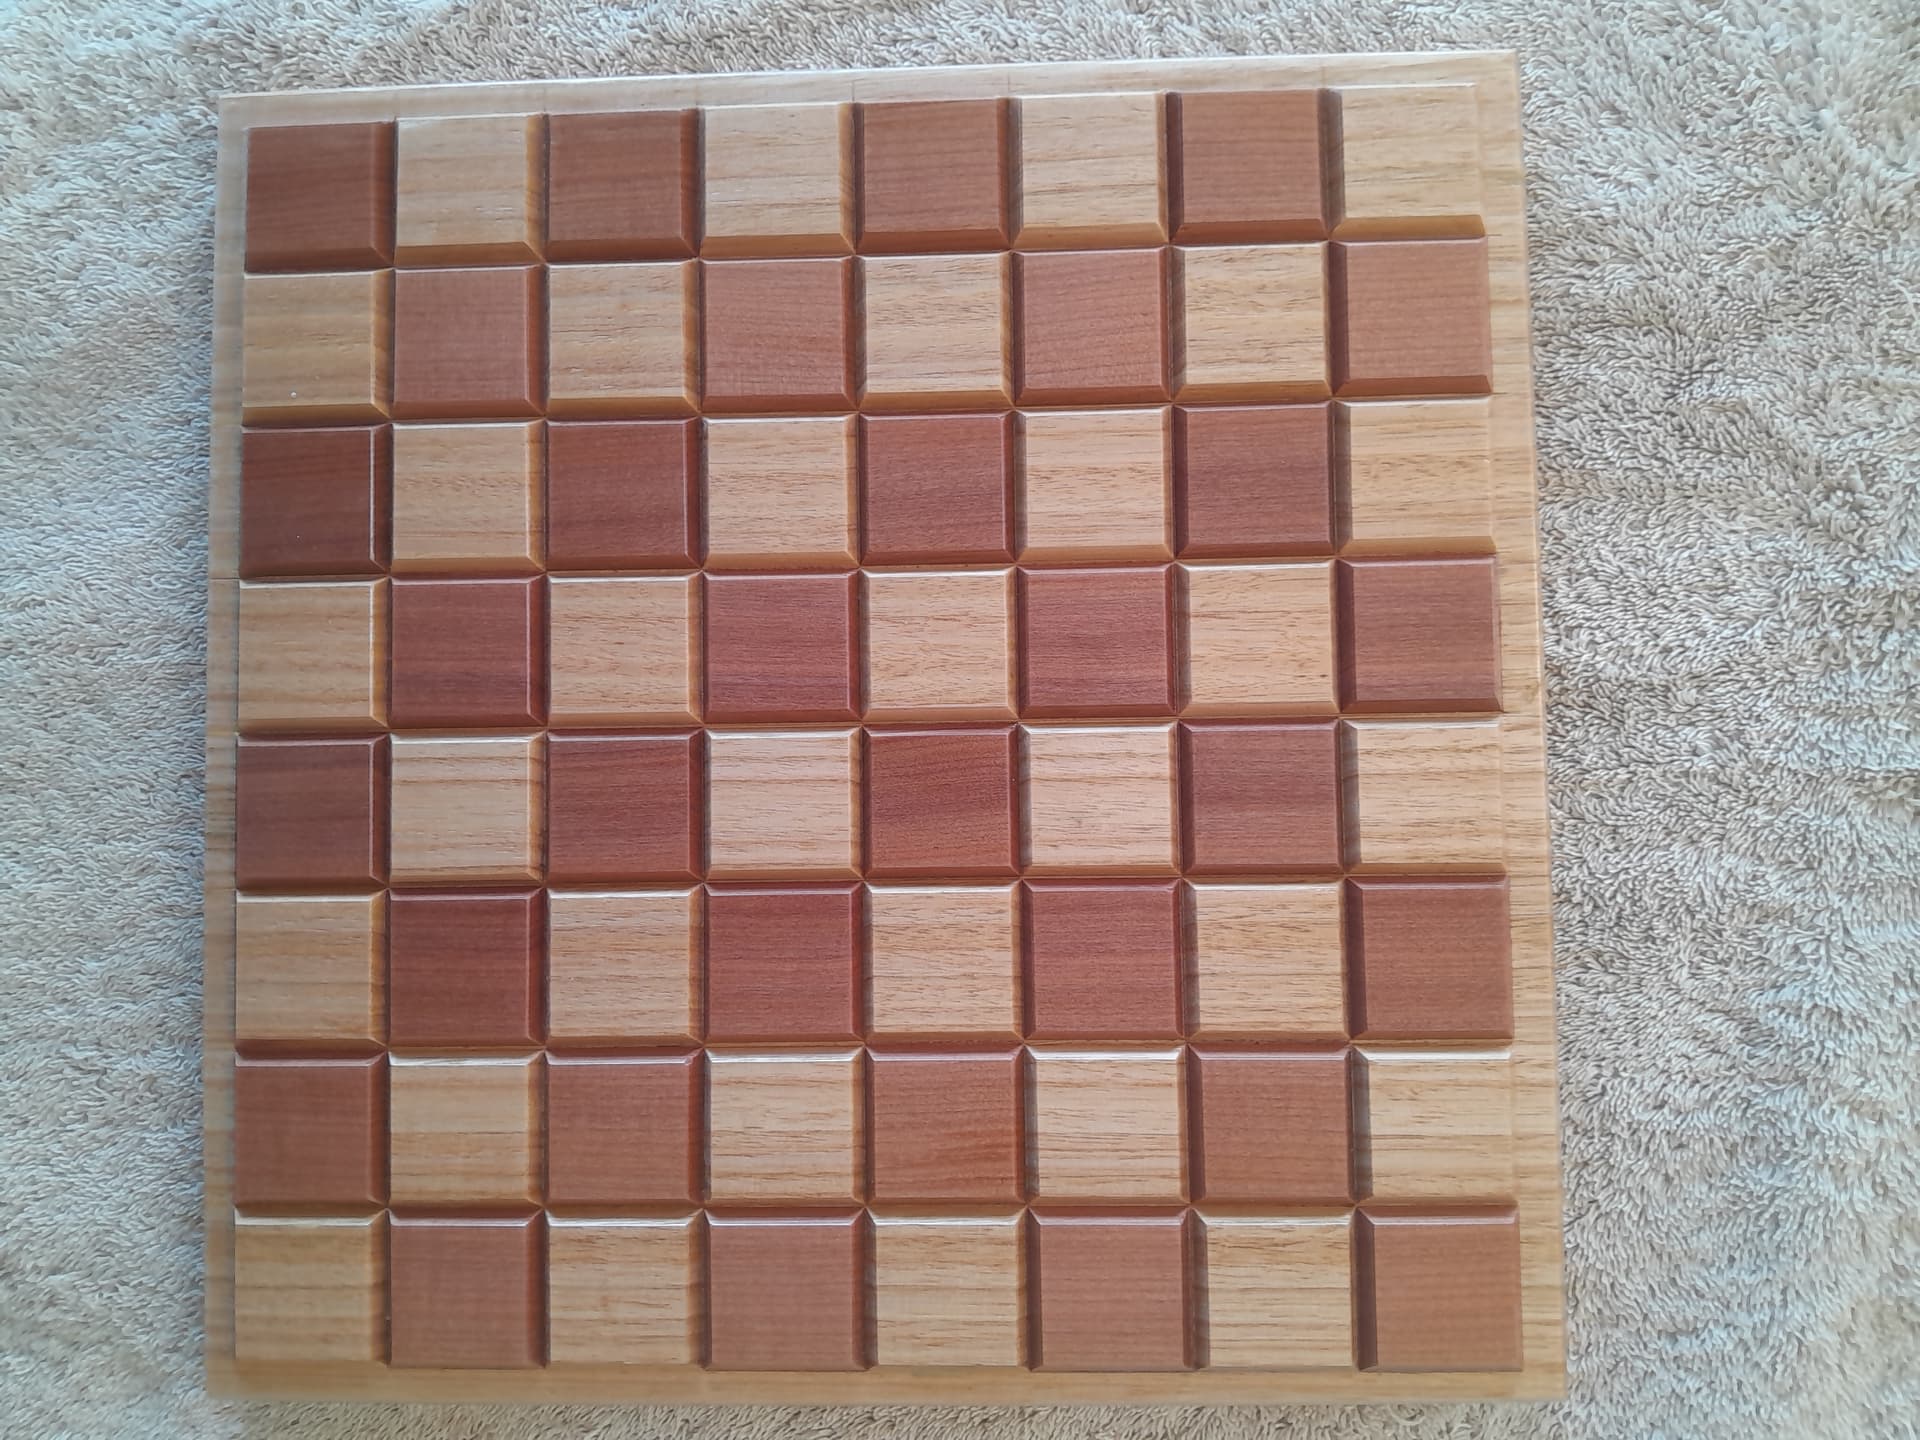
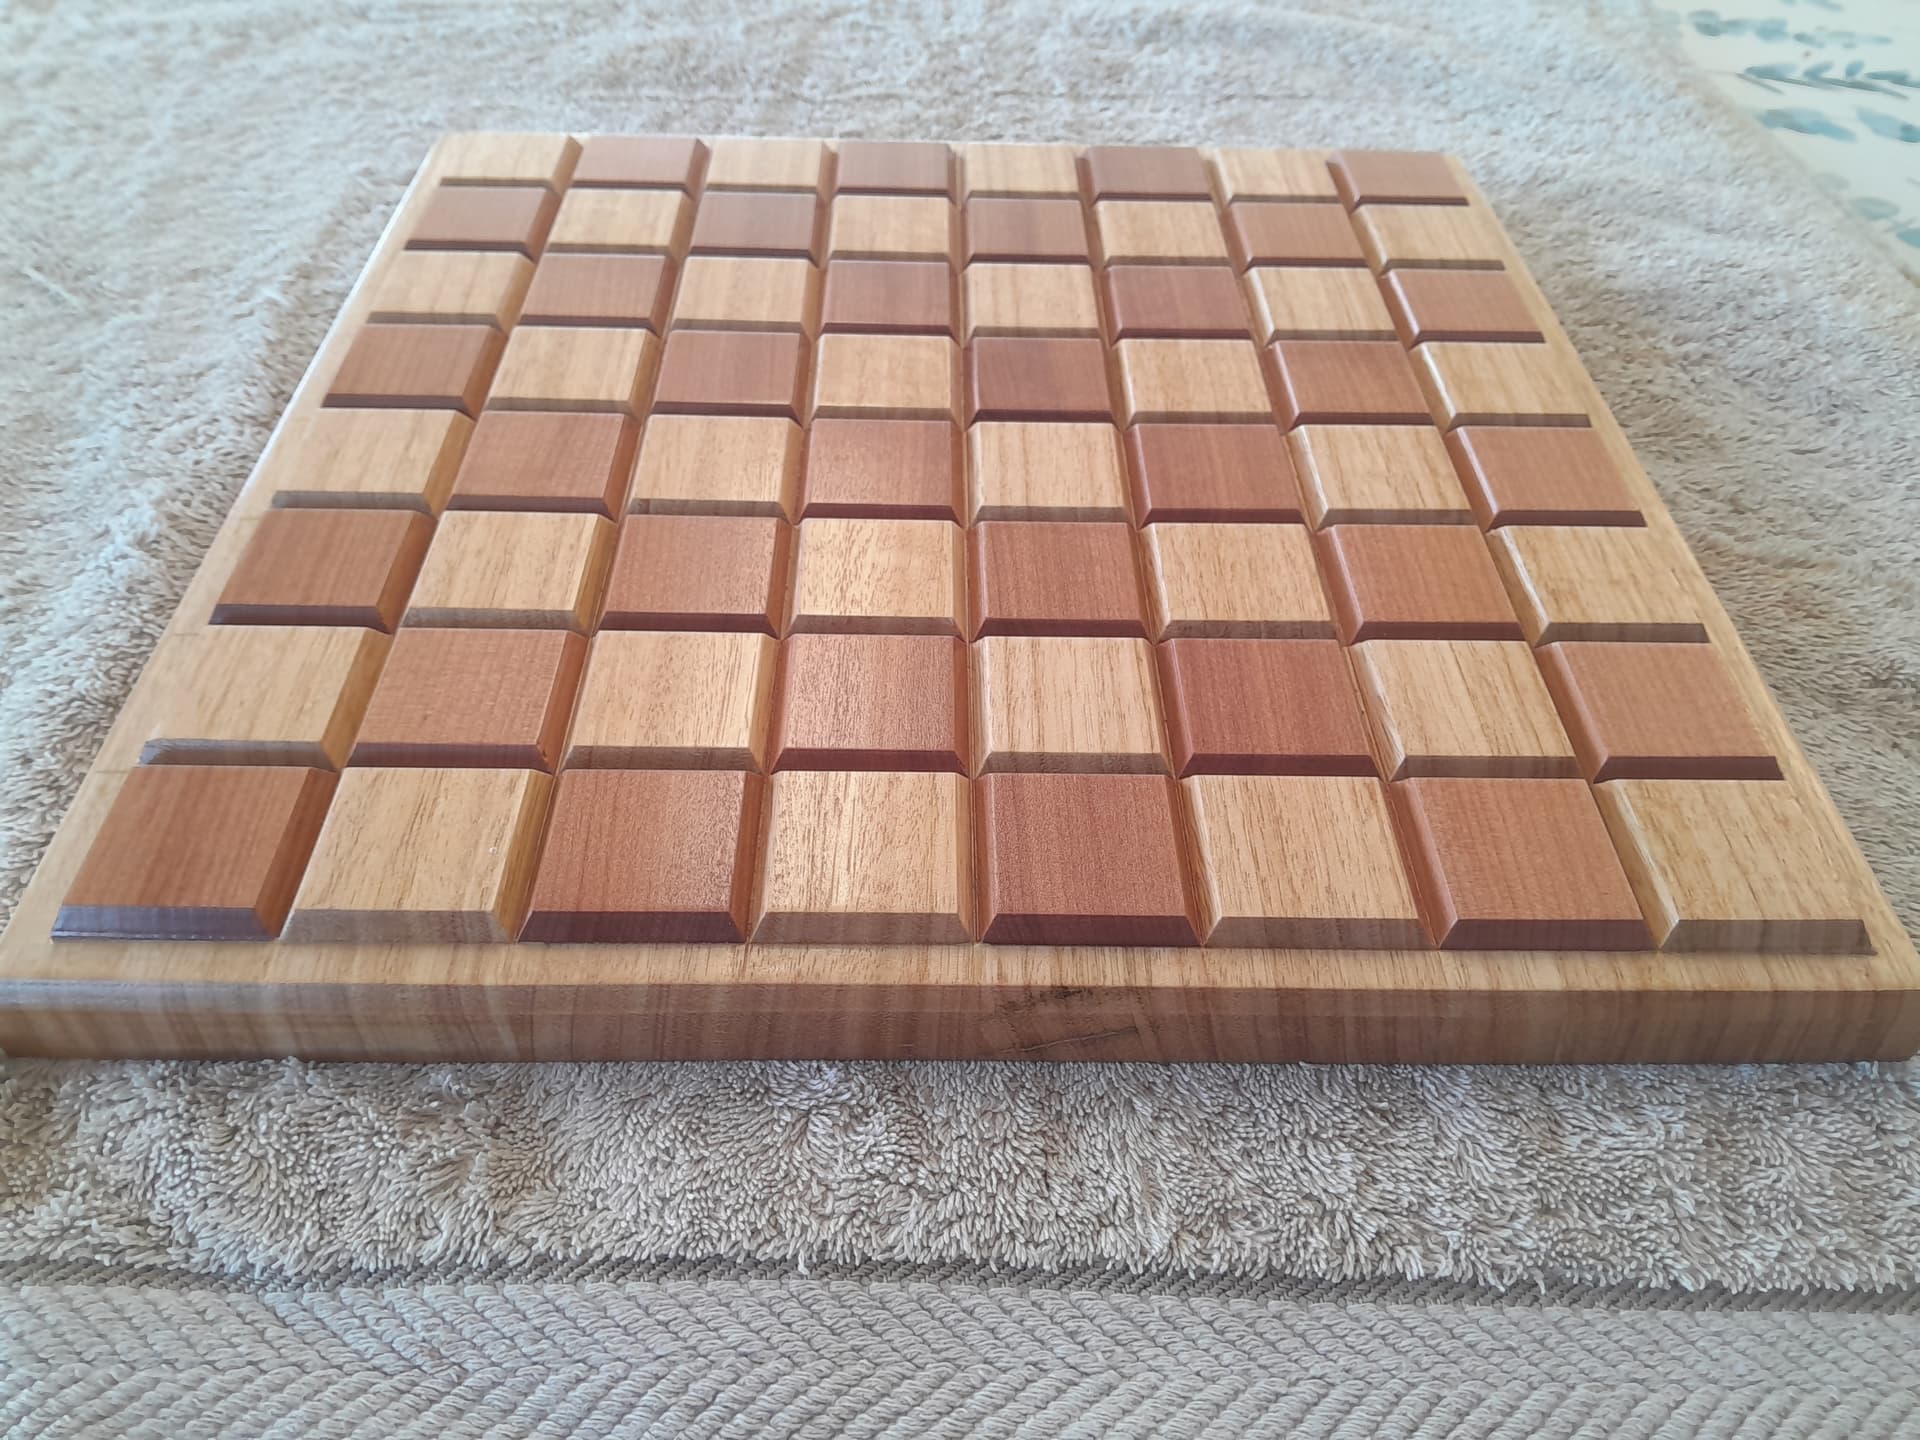
I set myself a challenge to make a chessboard with the squares elevated 5mm above the base of the board using the V carve pug inlay method. This is the final product. It took quite a bit of designing and extreme accuracy to produce. The main issue is the plug material is chamfered at 30 deg, so as you machine below the surface of the inlay, the base is exposed once you go down about 2mm.
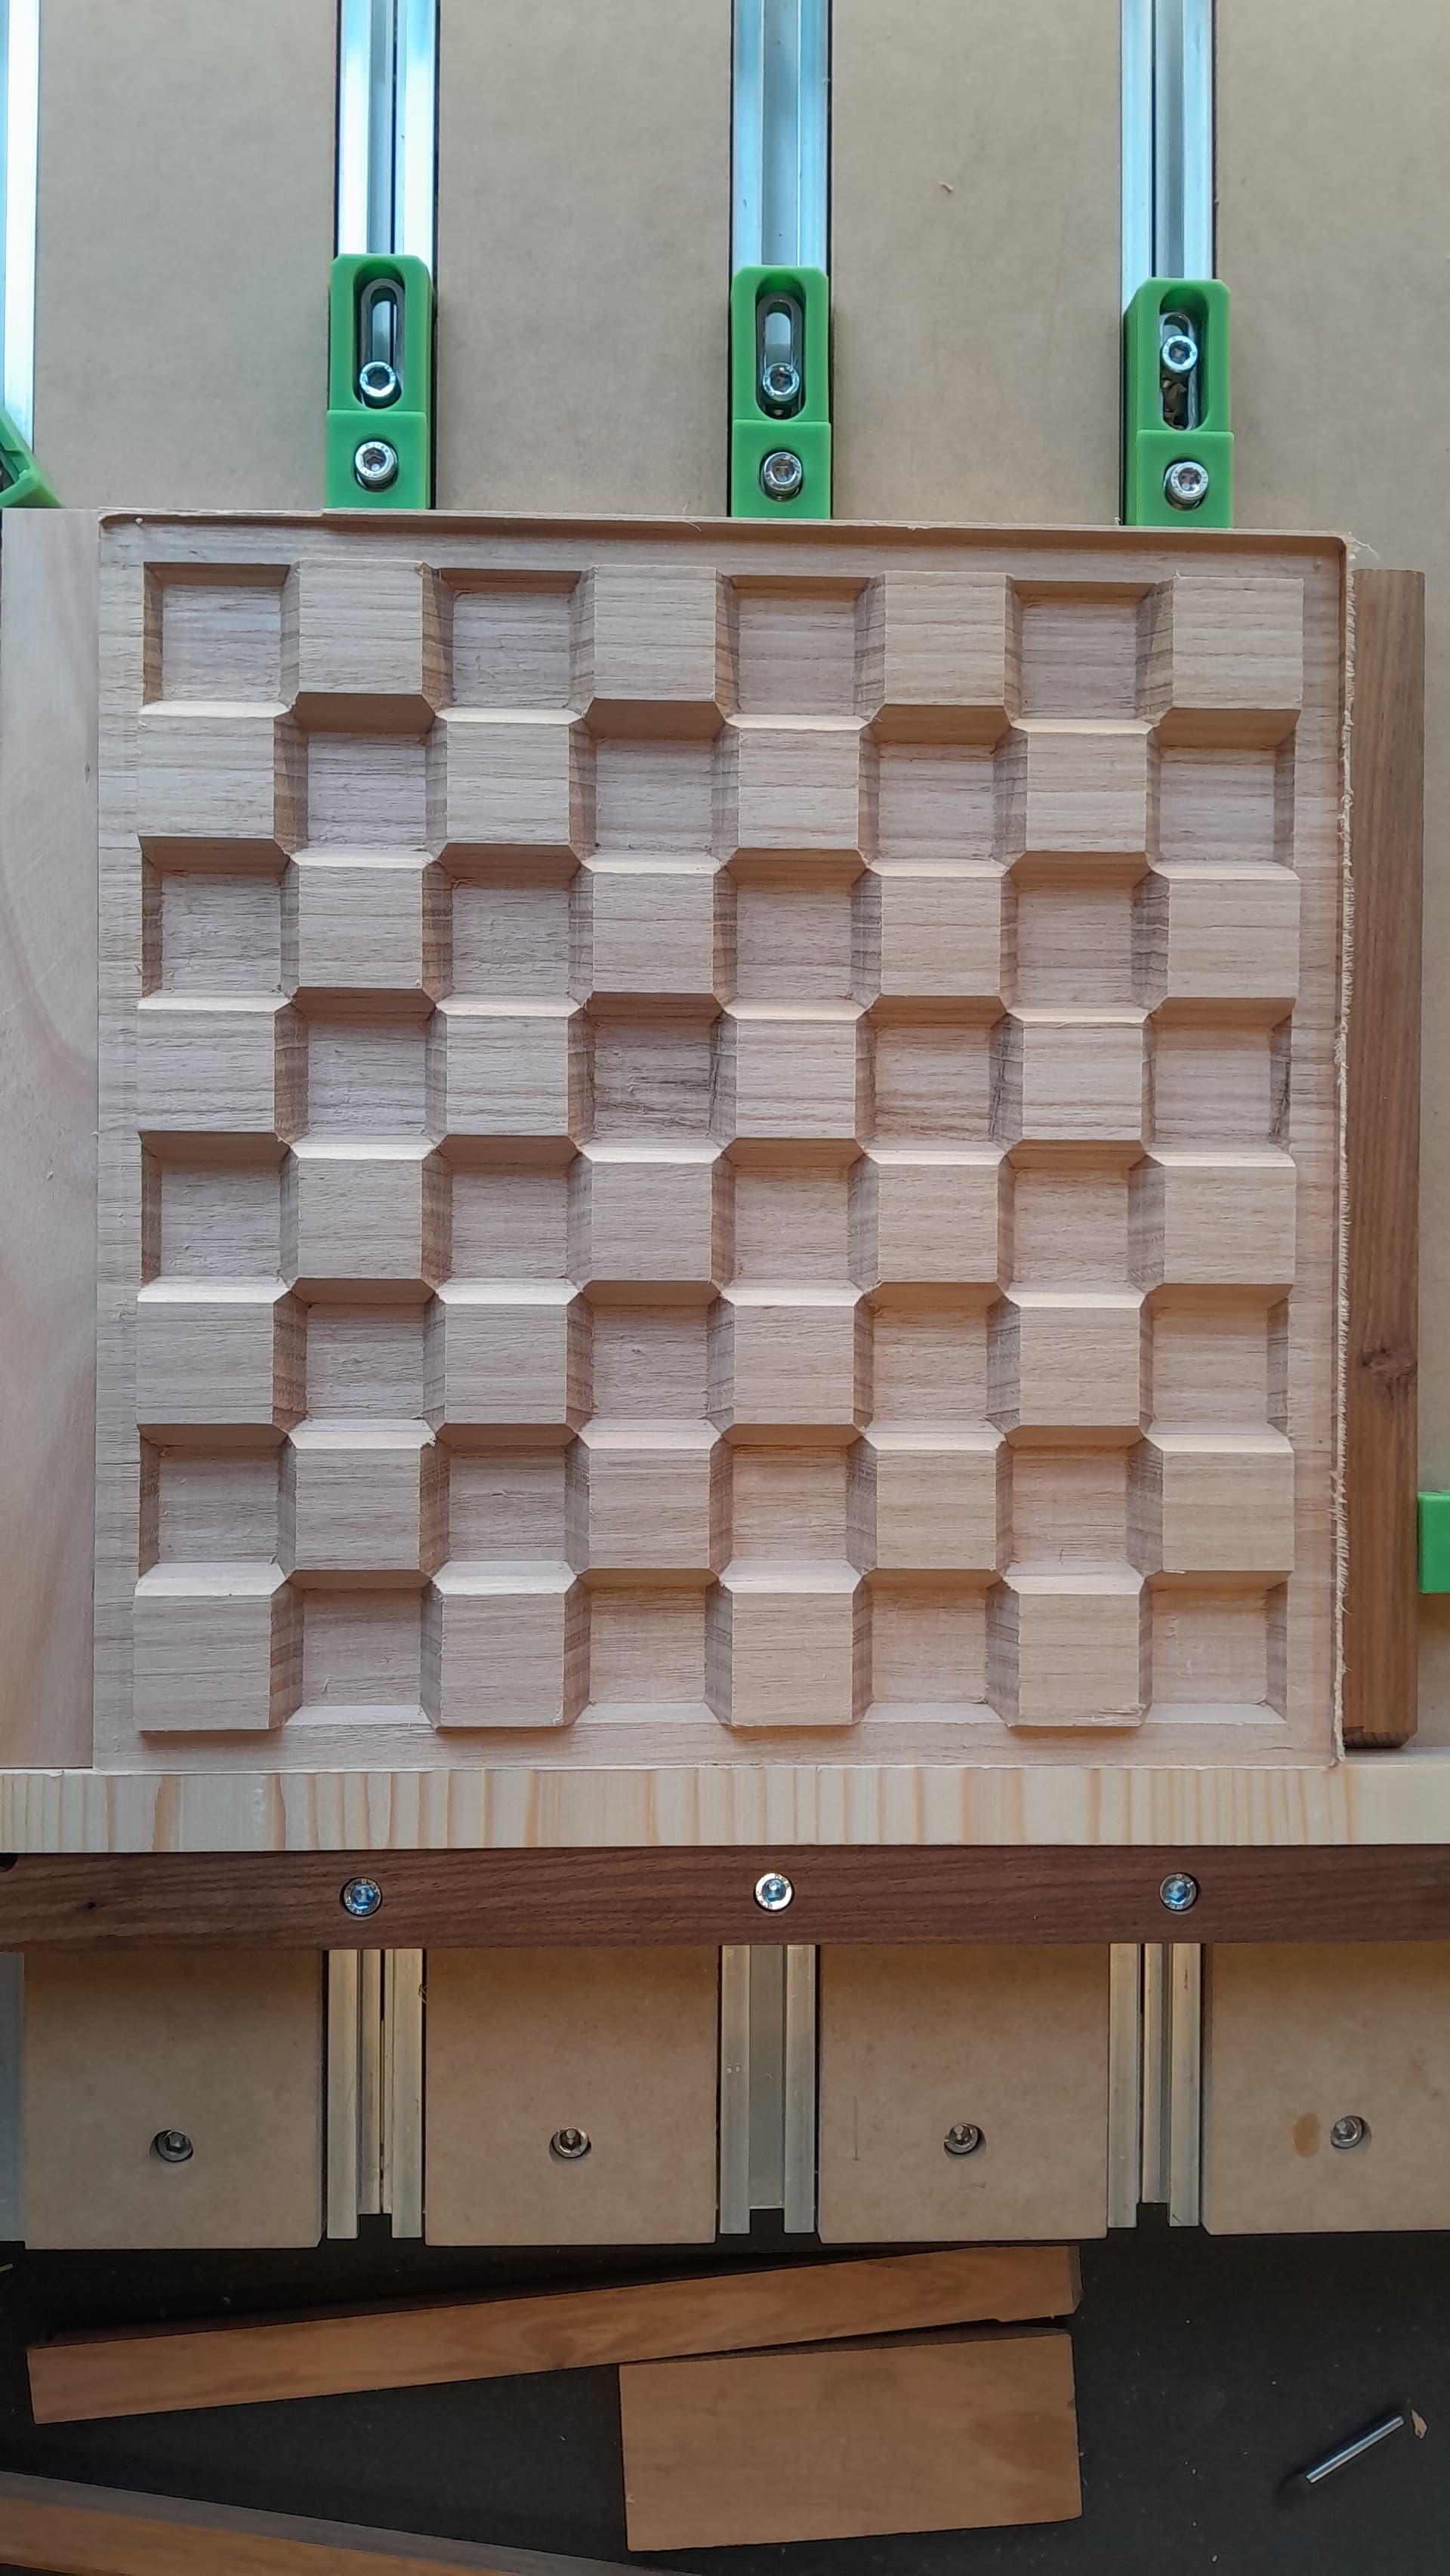
To overcome the problem I designed the pocketed squares to be larger than the square left behind. I also had to create the plug inlay in alternate rows otherwise where the shapes overlapped in the corners, the toolpath could not create square corners for all 32 squares.
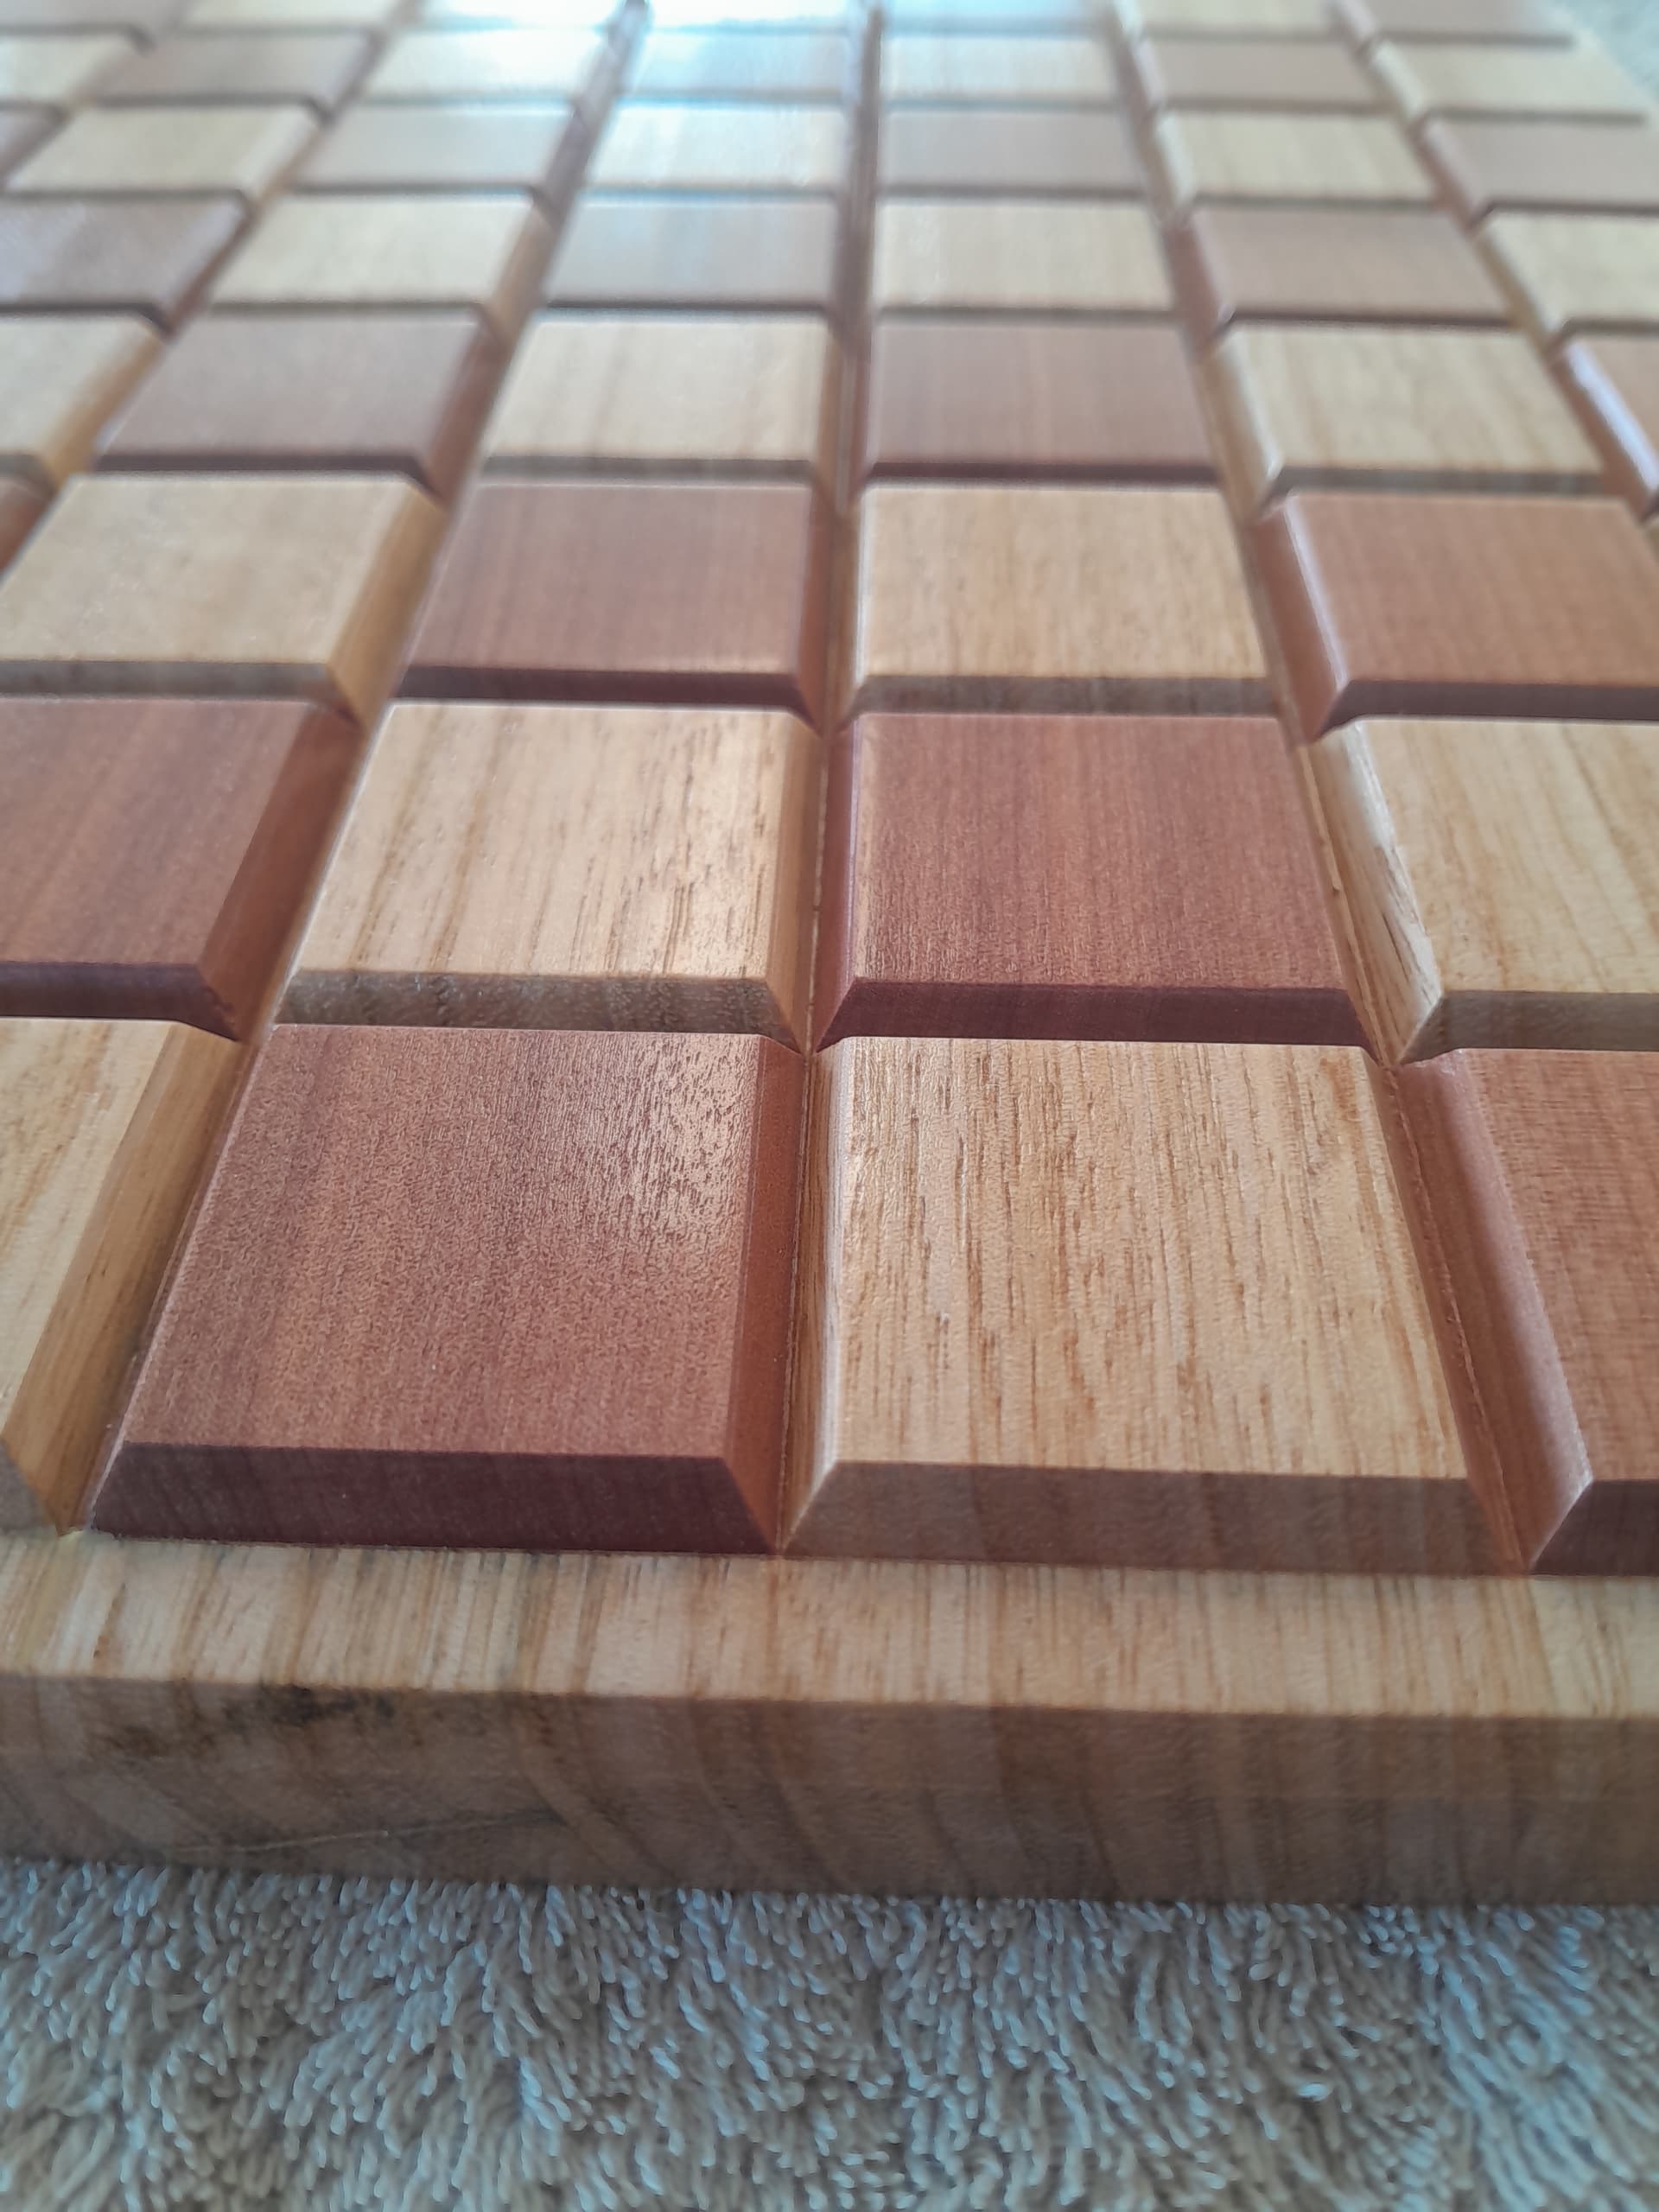
After skimming the second plug, I ran the v tool horizontally and vertically to create the individual squares. This is where extreme accuracy was required because at the final depth of 5mm the v tool has to cut away the plug so the original base sides are just exposed, otherwise the light coloured squares would have a red side. If the v tool wasn’t exactly in the center, one light square may have had the red plug material removed from the side but the next white square in the row would have red material remaining on the side.
Hi Anthony,
It’s a thinners based laquer finish. 70% gloss. I sprayed 2 coats, gave it a light sand with 400 grit sandpaper, then sprayed a final coat.
Paul
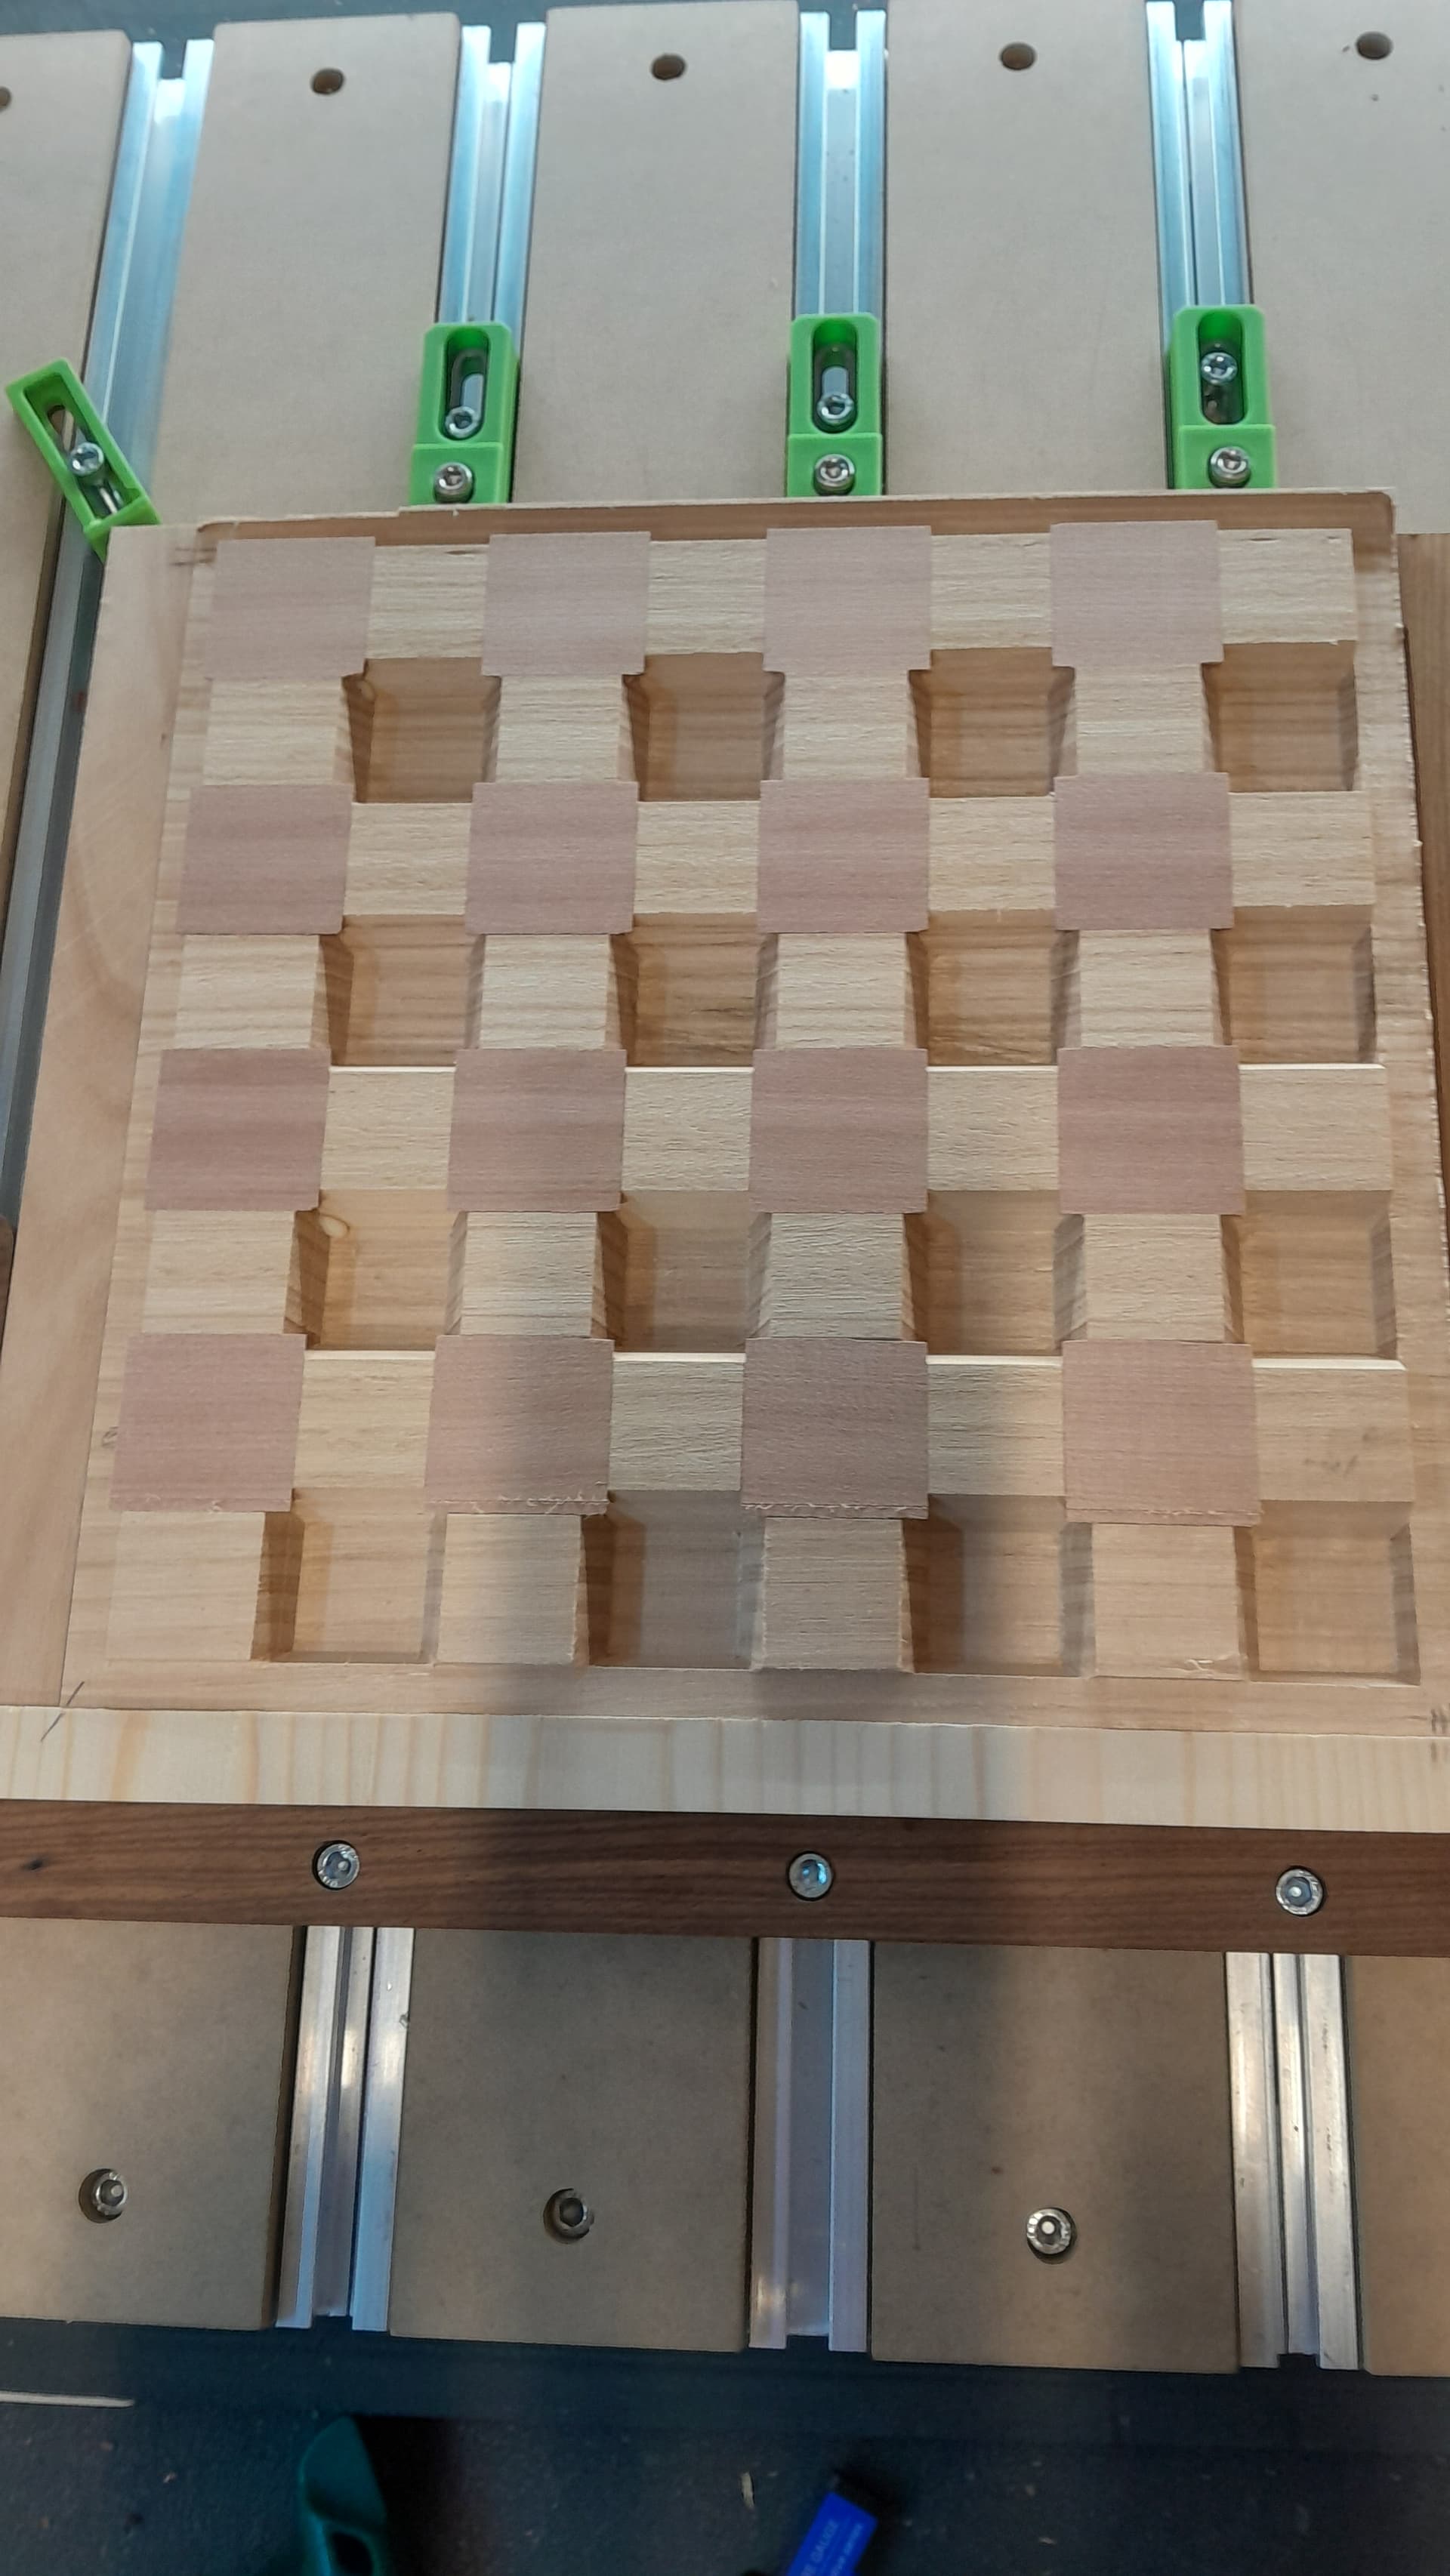
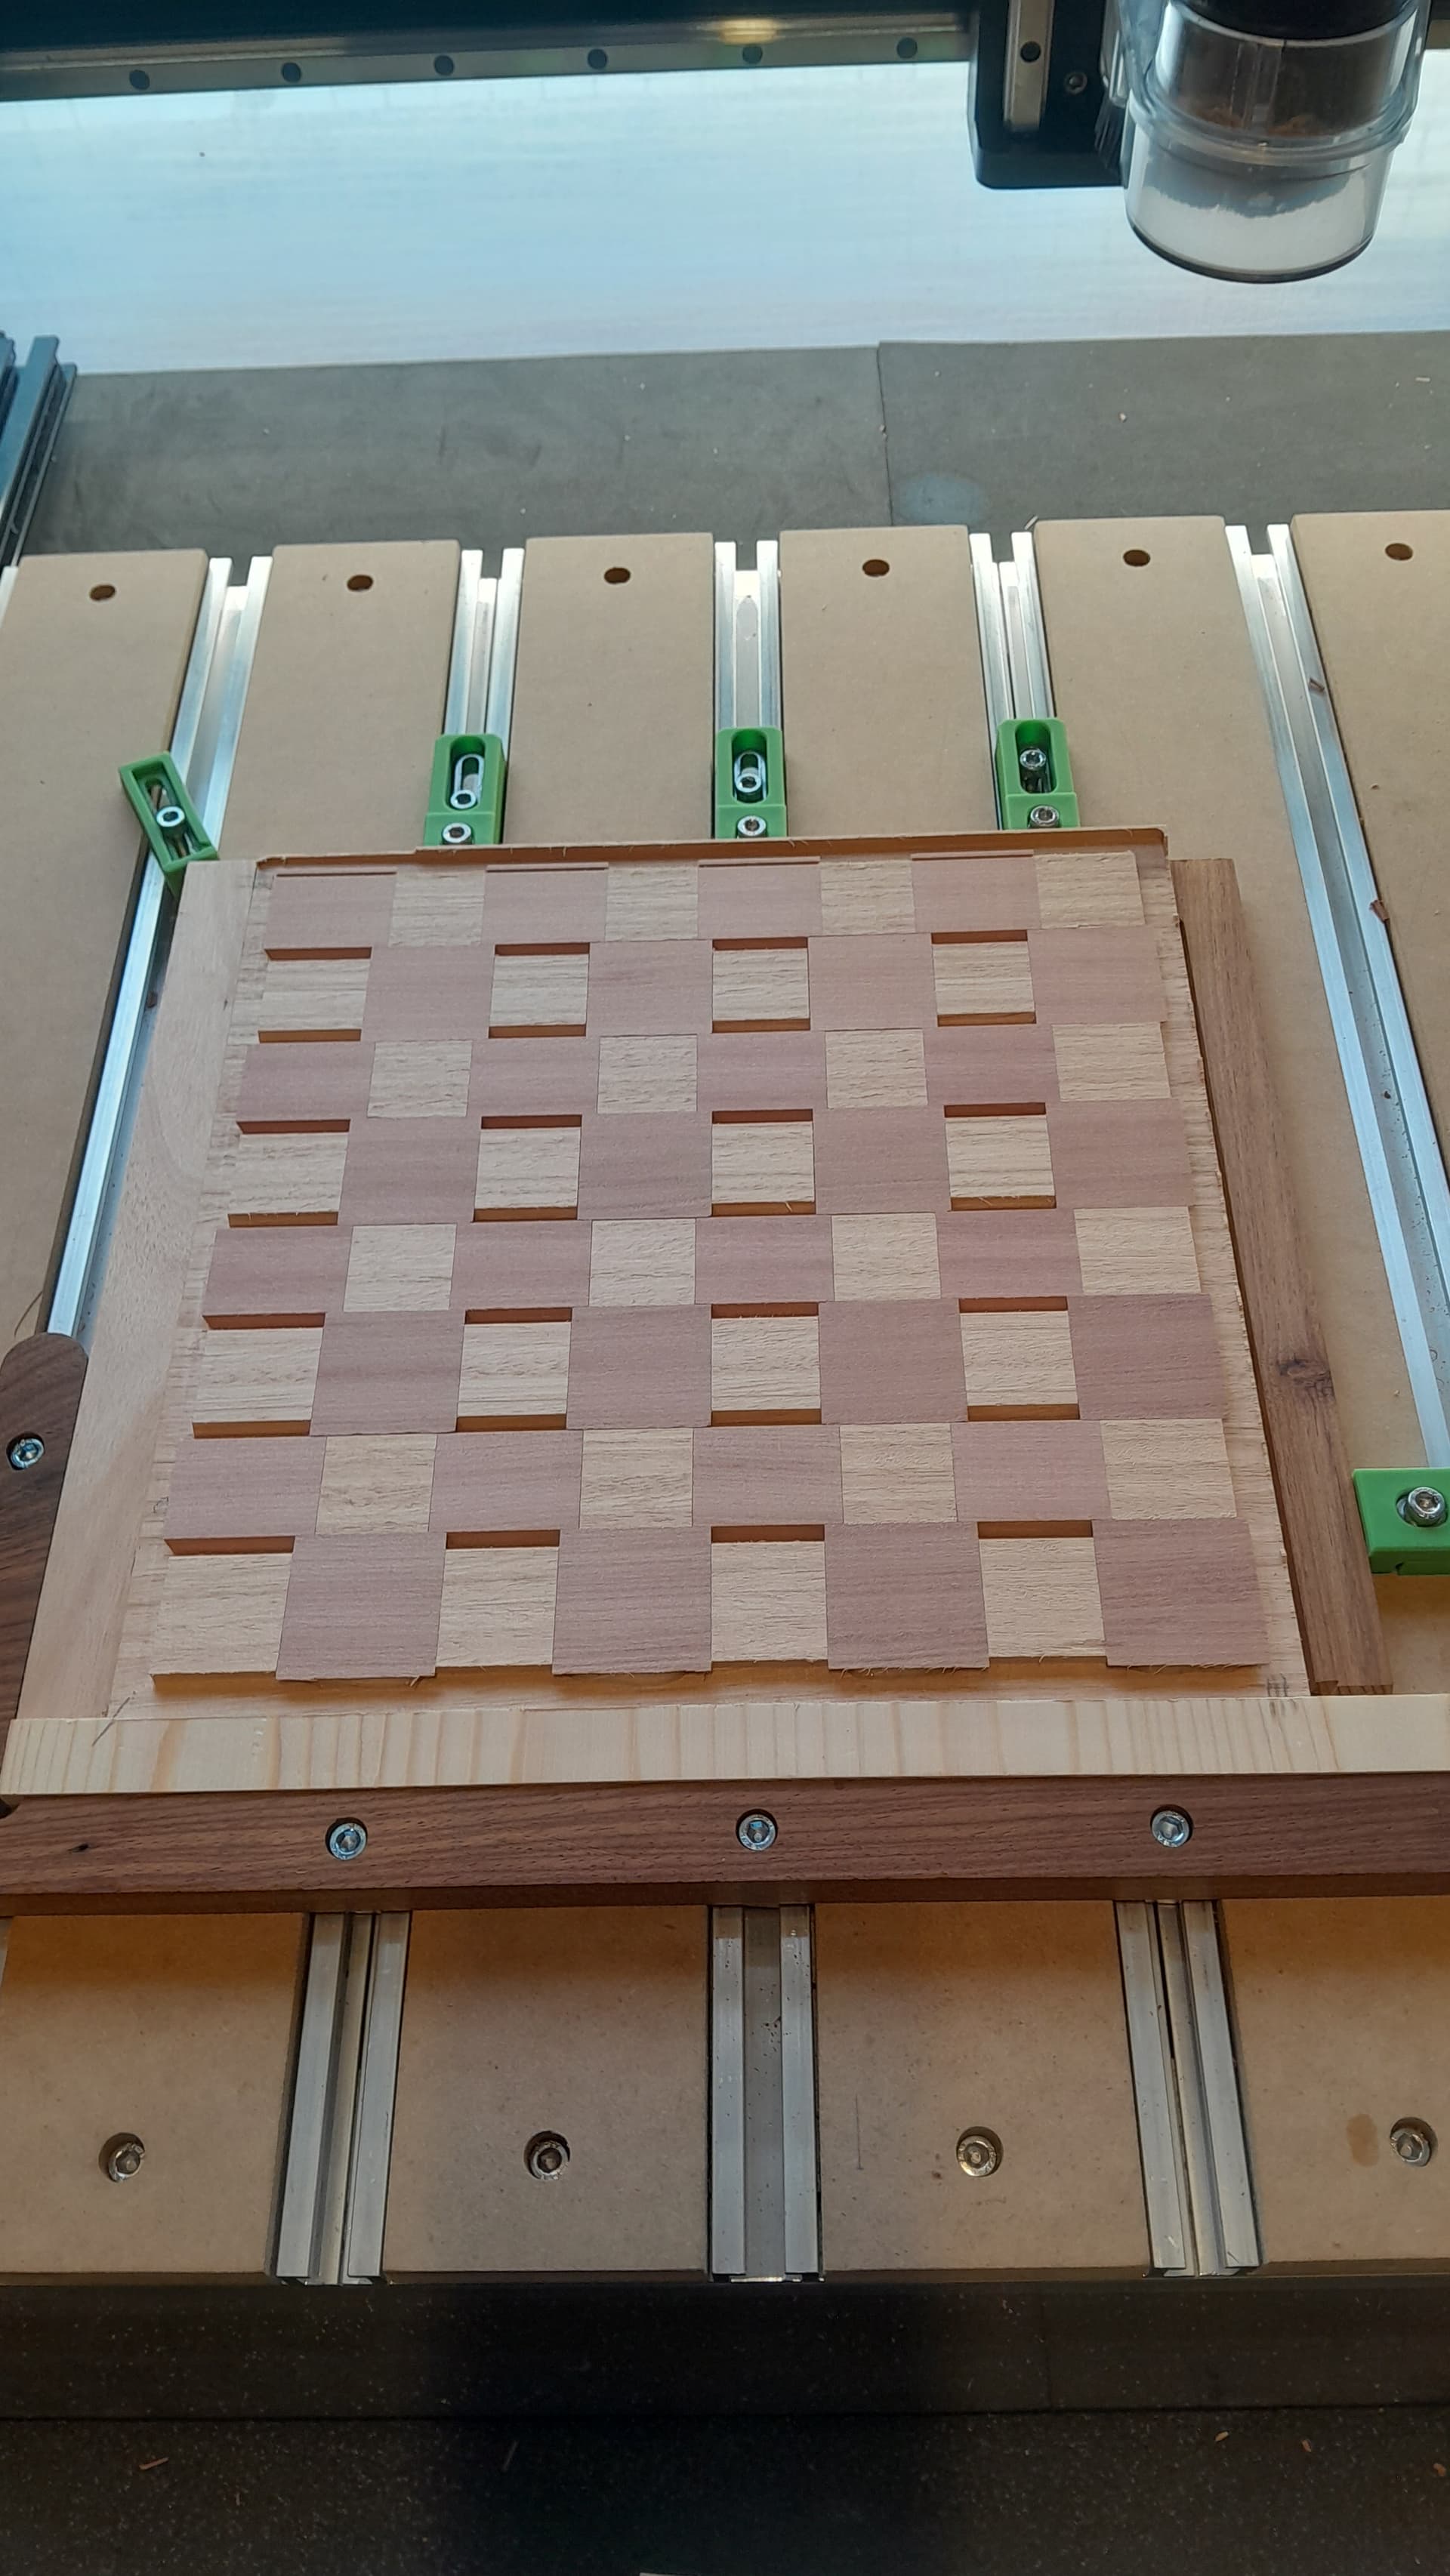
Hi Nick, from carbide create I used 13 toolpaths with a total time of about 224 minutes. ( 6 of the toolpaths were used to create the inlay work). It required 2 glue ups, left each overnight before continuing. Very minimal sanding, only about 10 - 15 minutes. Varnishing 3 coats with 30 minutes between coats. Probably spent about an hour all up setting pieces up for machining, ran the grooving toolpaths between squares at 0.2mm depth and made slight adjustments to make sure I was exactly in the centre of each row before commiting to full 5mm depth.
I made an original design and did a prototype of 4 squares and that’s where I noticed the female part is exposed after 2mm depth because of the 30 degree angle the plug is machined at. Had to do some calculations and redesign the plug to be oversize so that the 5mm v between the squares left just the light color on one side and the dark color on the other. All up I would have spent about 6 hrs in the design phase.