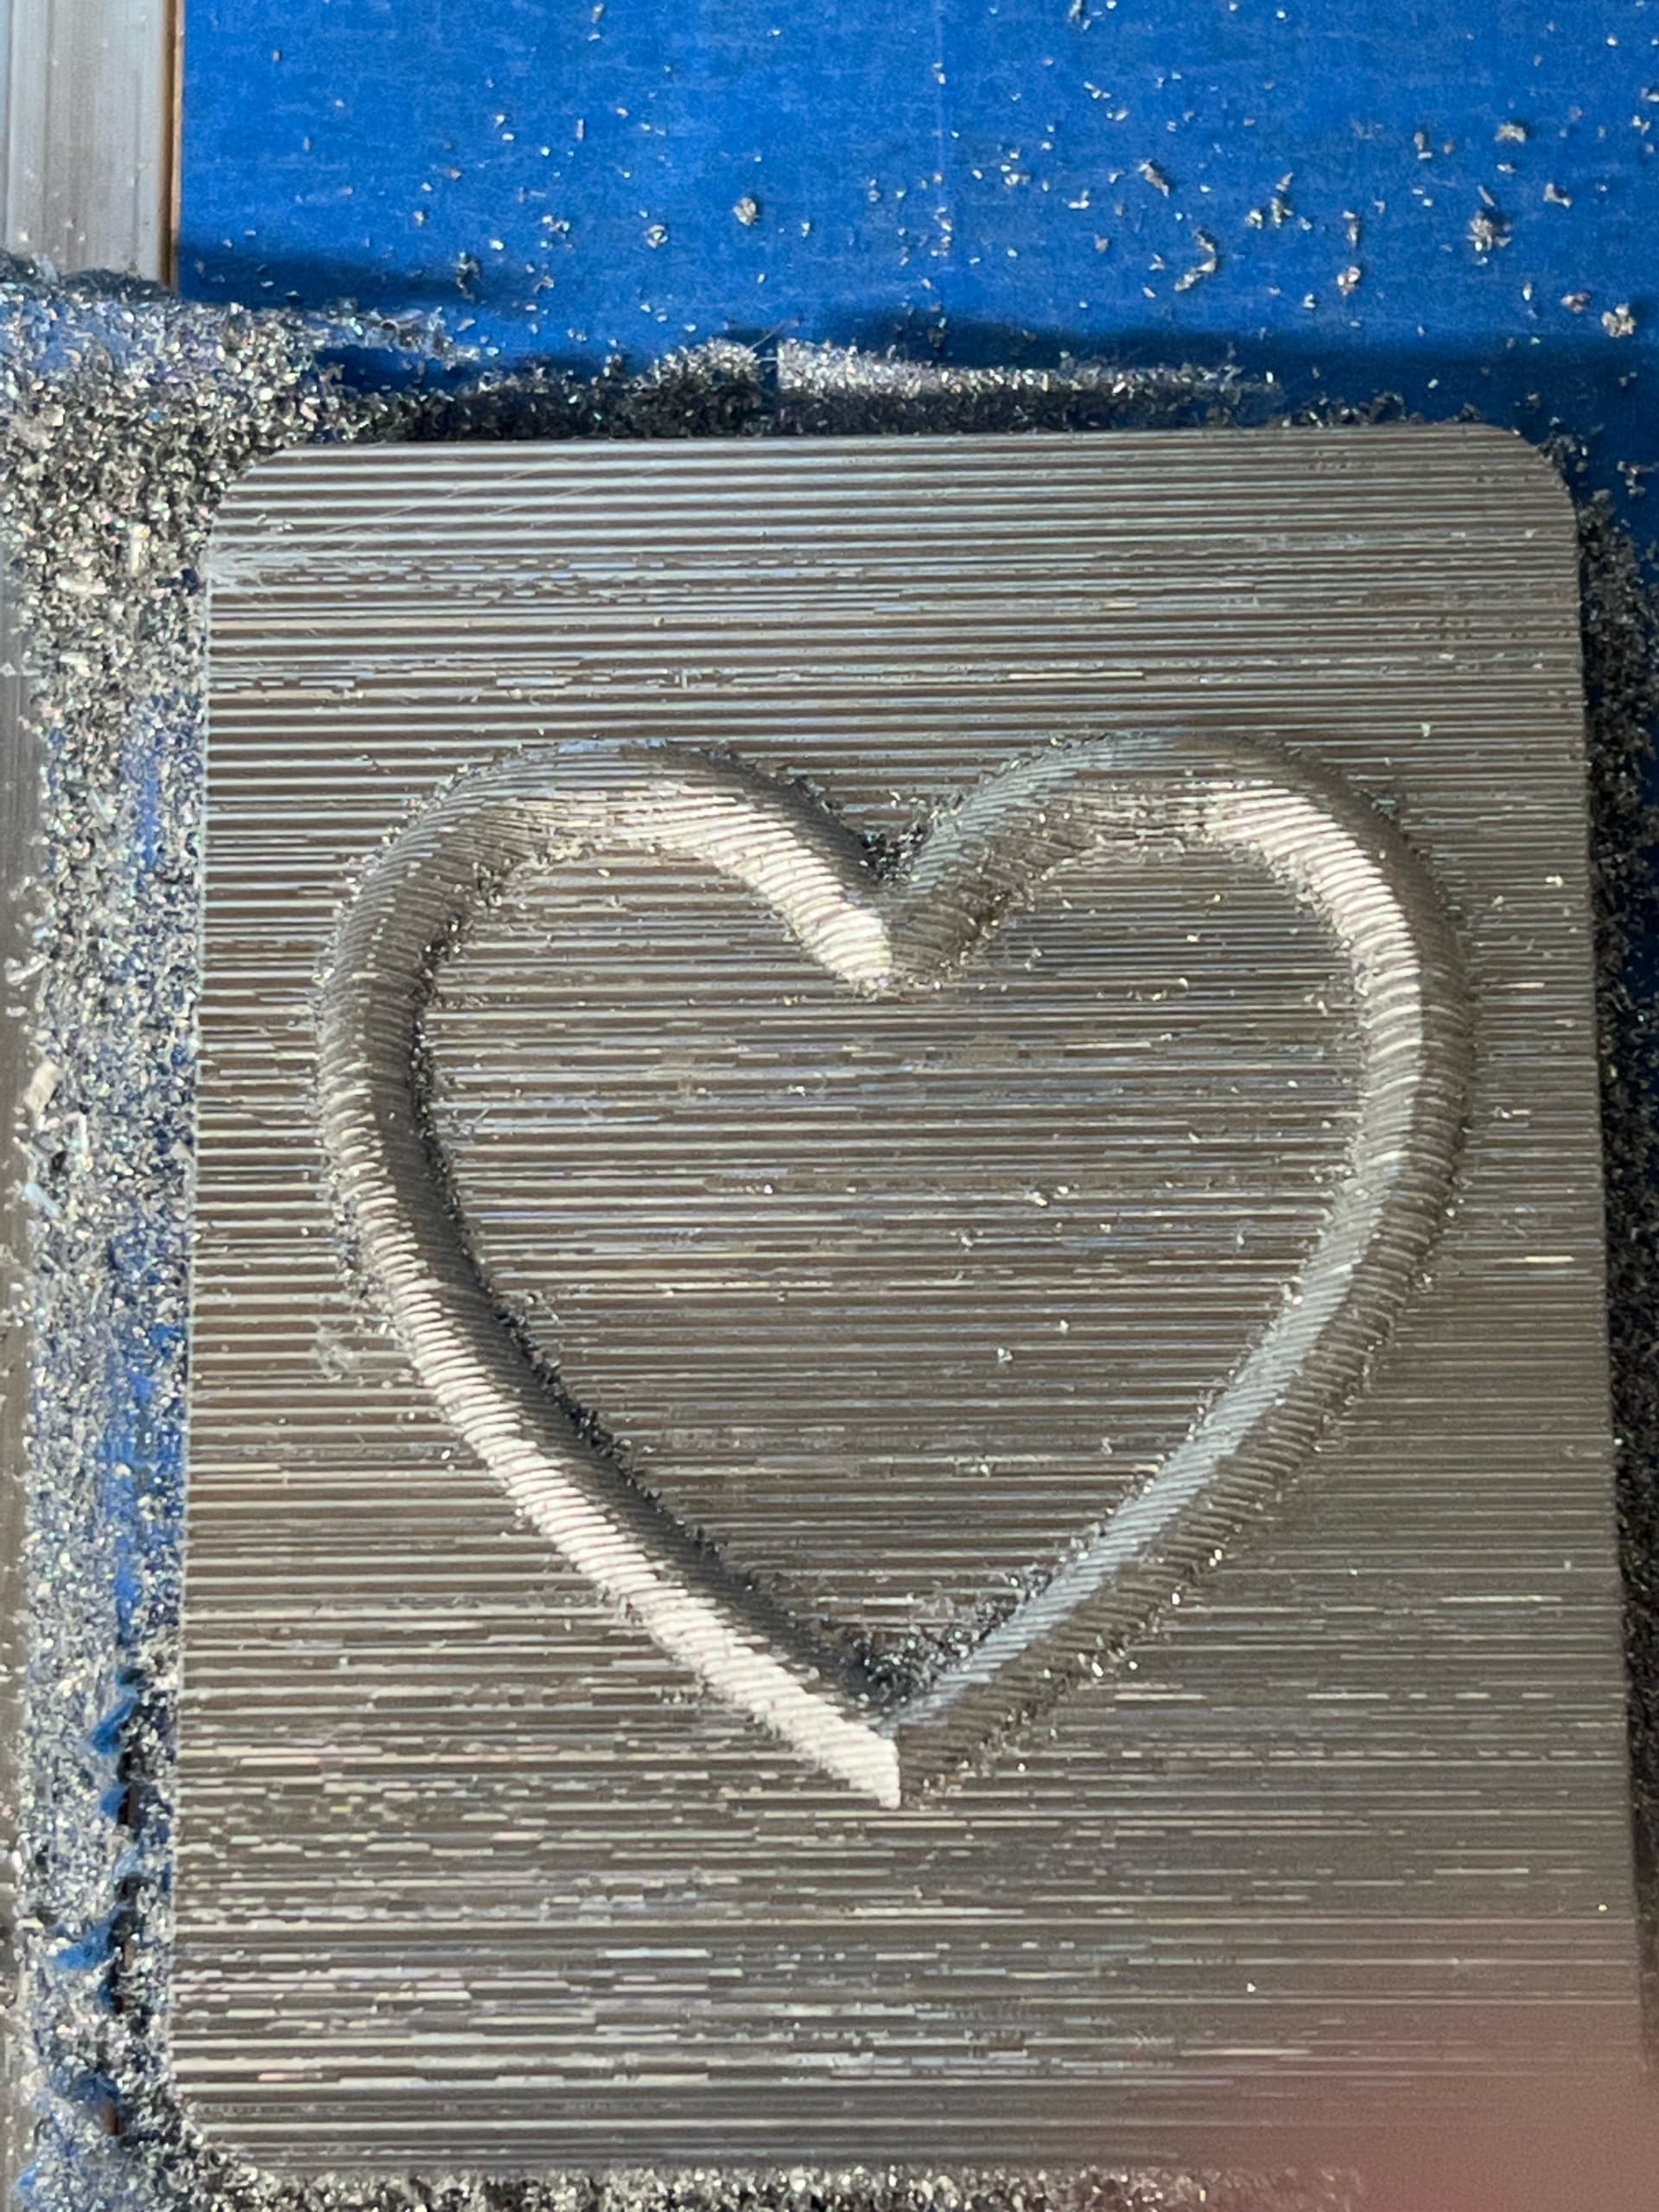
I probably should not have started with aluminum as my first project for 3D, but I did. I got essentially what I expected except the texture was not at all what I expected. In prior cuts in aluminum I have have always gotten a bit of a texture, but the surface has been pretty smooth over all. (Tramming would probably help this). The surface texture from the 3D cut is inconsistent and rough. I used an 1/8" bit and a 1/32" and the 1/32" bit yielded a rougher surface. This is what I get after the finishing pass.
I looked at the gcode and it seemed to be fine. My only guess is that maybe the step over is wrong for the 3D settings.
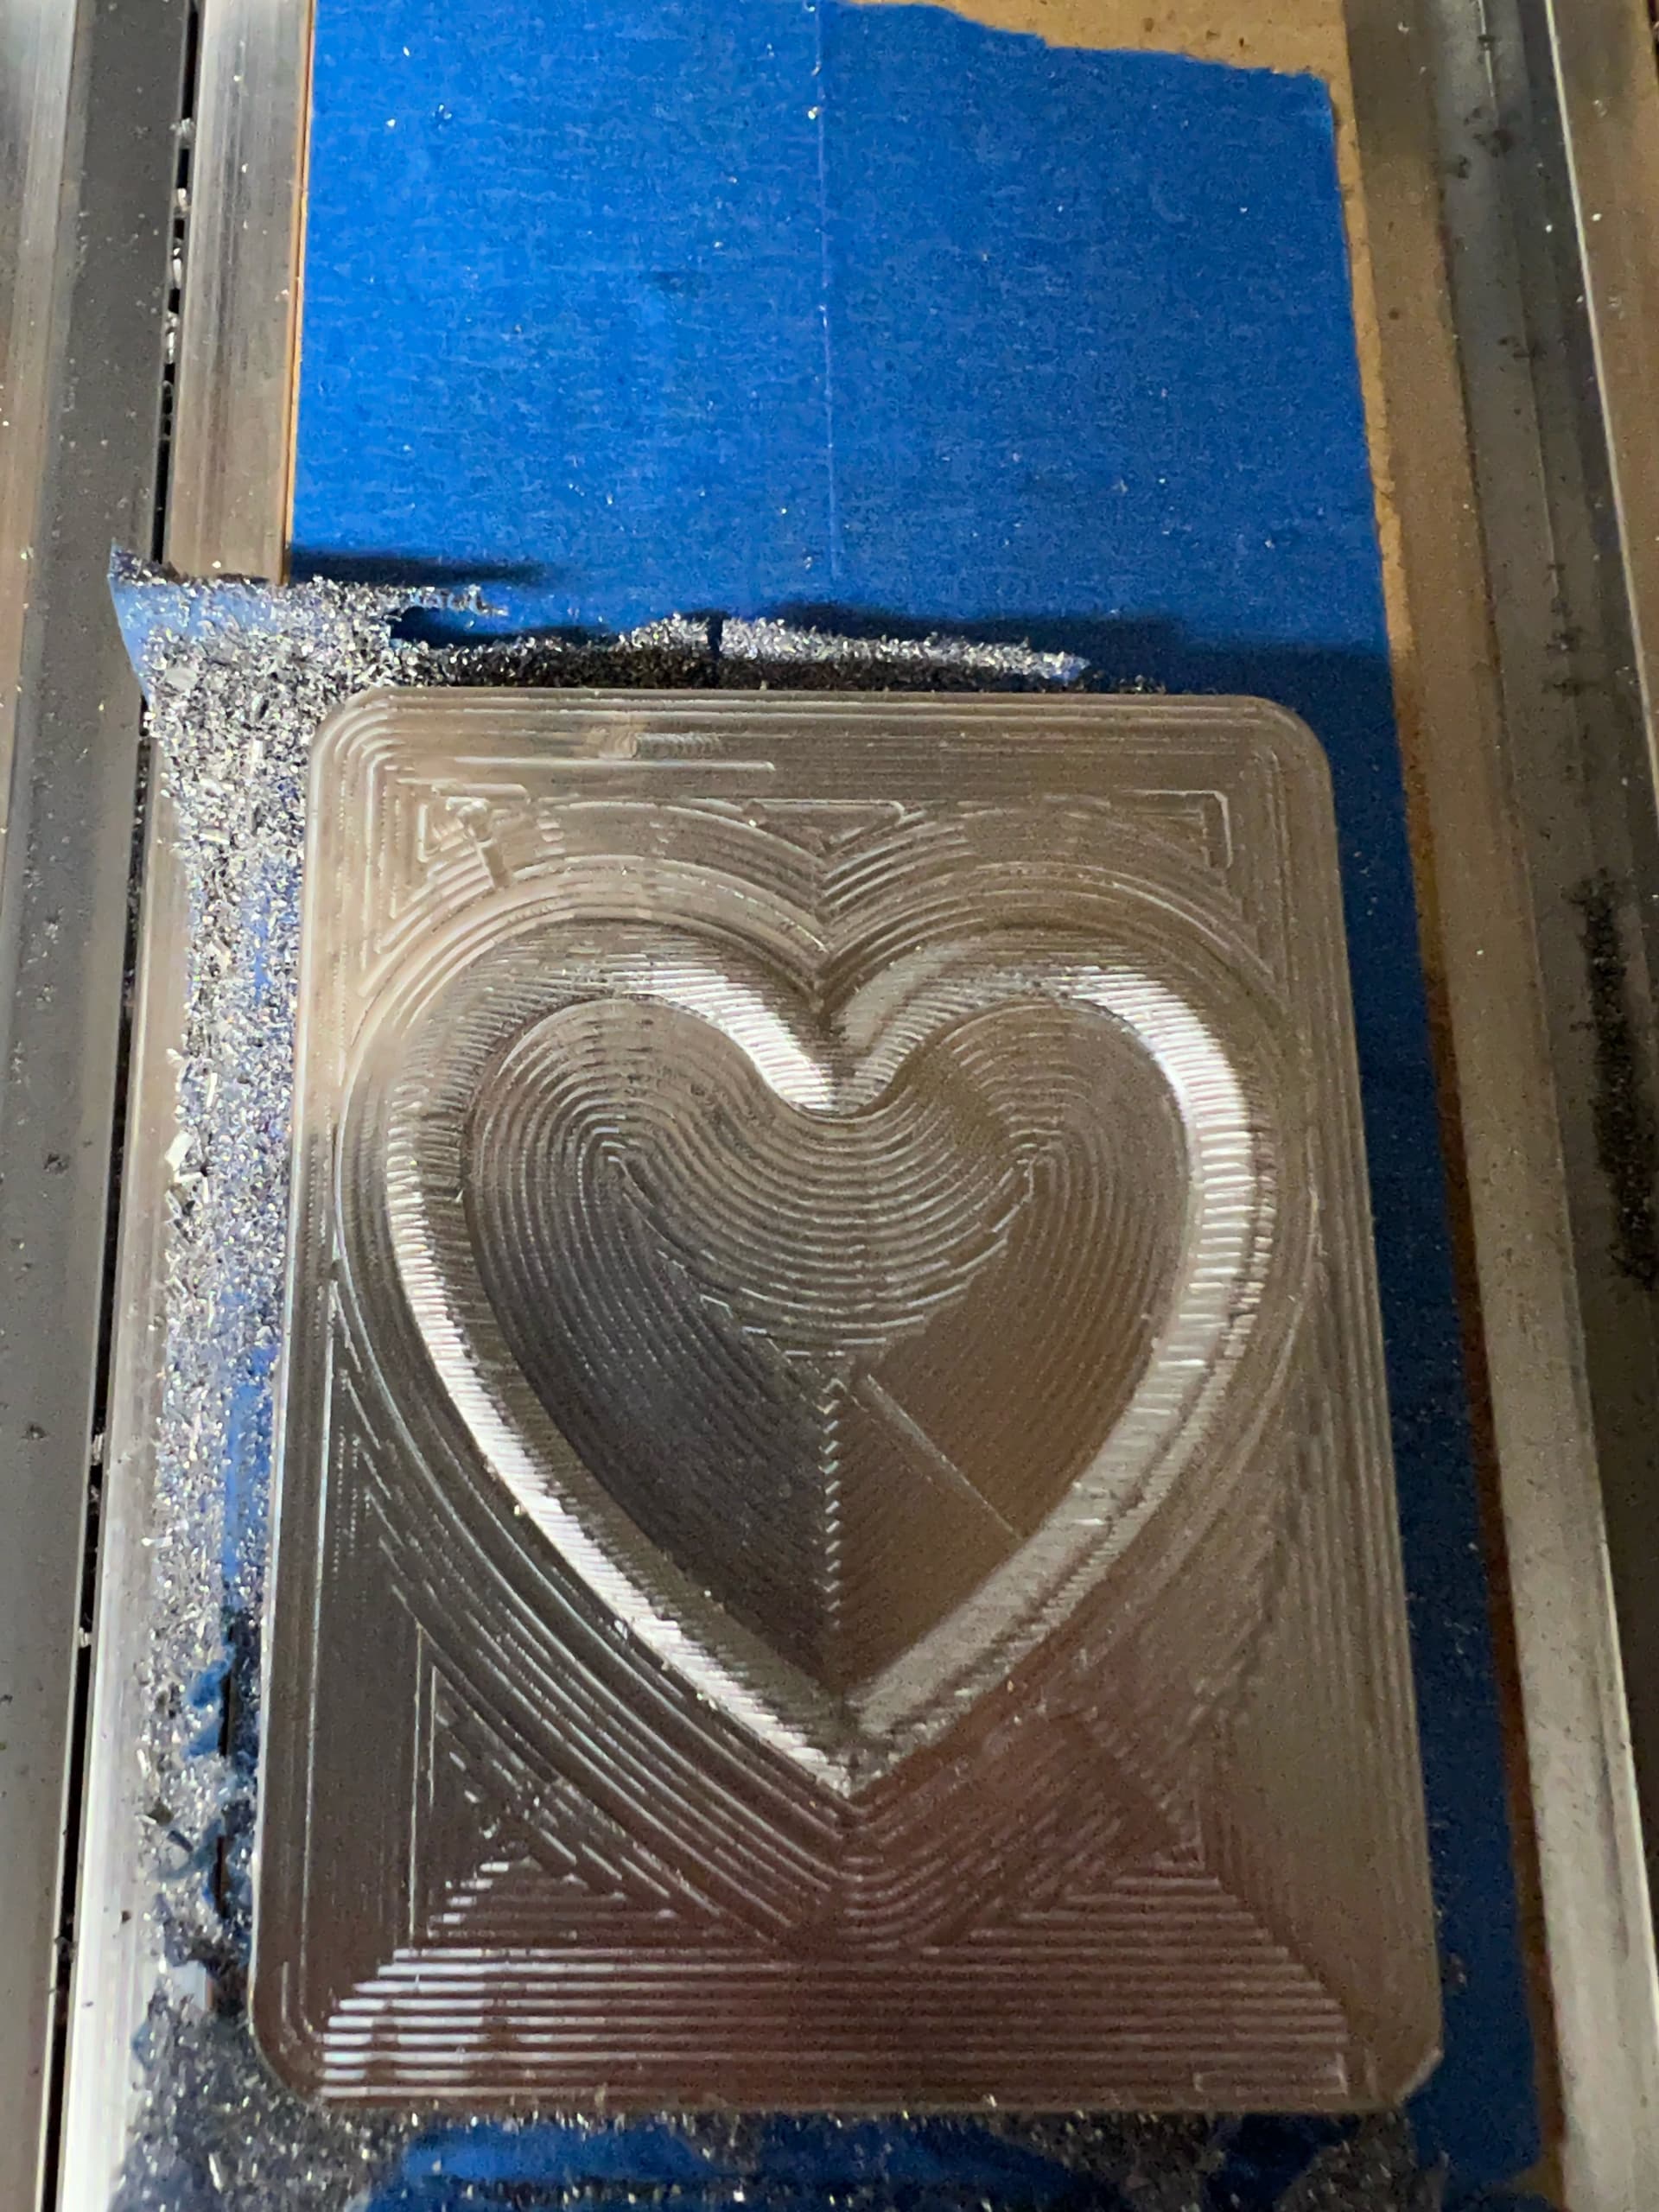
I decided to do a pocket operation with a 1/16" bit to see if could smooth the surface a bit. Here is what it looks like:
You usually need a very small stepover to finish a 3D surface, and aluminium is unforgiving in that sense. Be ready for long finishing passes. Sometimes running a second finishing pass at 90° from the initial one helps (but again only if you use a very small stepover, otherwise you end up with tiny diamond shaped spikes in a grid)
First, how big is the part? You have it sitting between T-slots on what looks like a Shapeoko in the pics so I have to assume its around 2" wide. If that’s the case, you don’t need a 1/32" bit for this part. With such a small bit, chatter/deflection is a real problem so it’ll be hard to get a good finish. Plus you’re asking a Shapeoko to do a 10% stepover on a 1/32" bit. That’s a 0.00312" pass; possible but your machine must be fine tuned for this (belt tension).
Use two passes: a roughing pass with a 1/4" flat end mill, then a finish pass with a 1/8" ball-nose end mill. The tip of the ball-nose combined with a fine step-over (10 - 15%). Larger tools require more force to deflect so will give you a better finish. You get speed of material removal from the large bit on the roughing pass, then fine surface on the finish pass. Also, for both end mills, make the tool exposed below the collet as short as possible. This will reduce the possibility of vibration or deflection by reducing the effect of force on the tip of the end mill.
Looks like you’re using Carbide Create. I’m not sure how Carbide Create handles the transition between roughing and finishing but I’d suggest trying Fusion 360. It has a facility called Rest Machining that speeds up using two passes. Rest Machining has the Finish pass look at the previous roughing pass and only machine whatever is left to remove. This is only necessary for speed since a 10% step-over will be pretty slow otherwise.
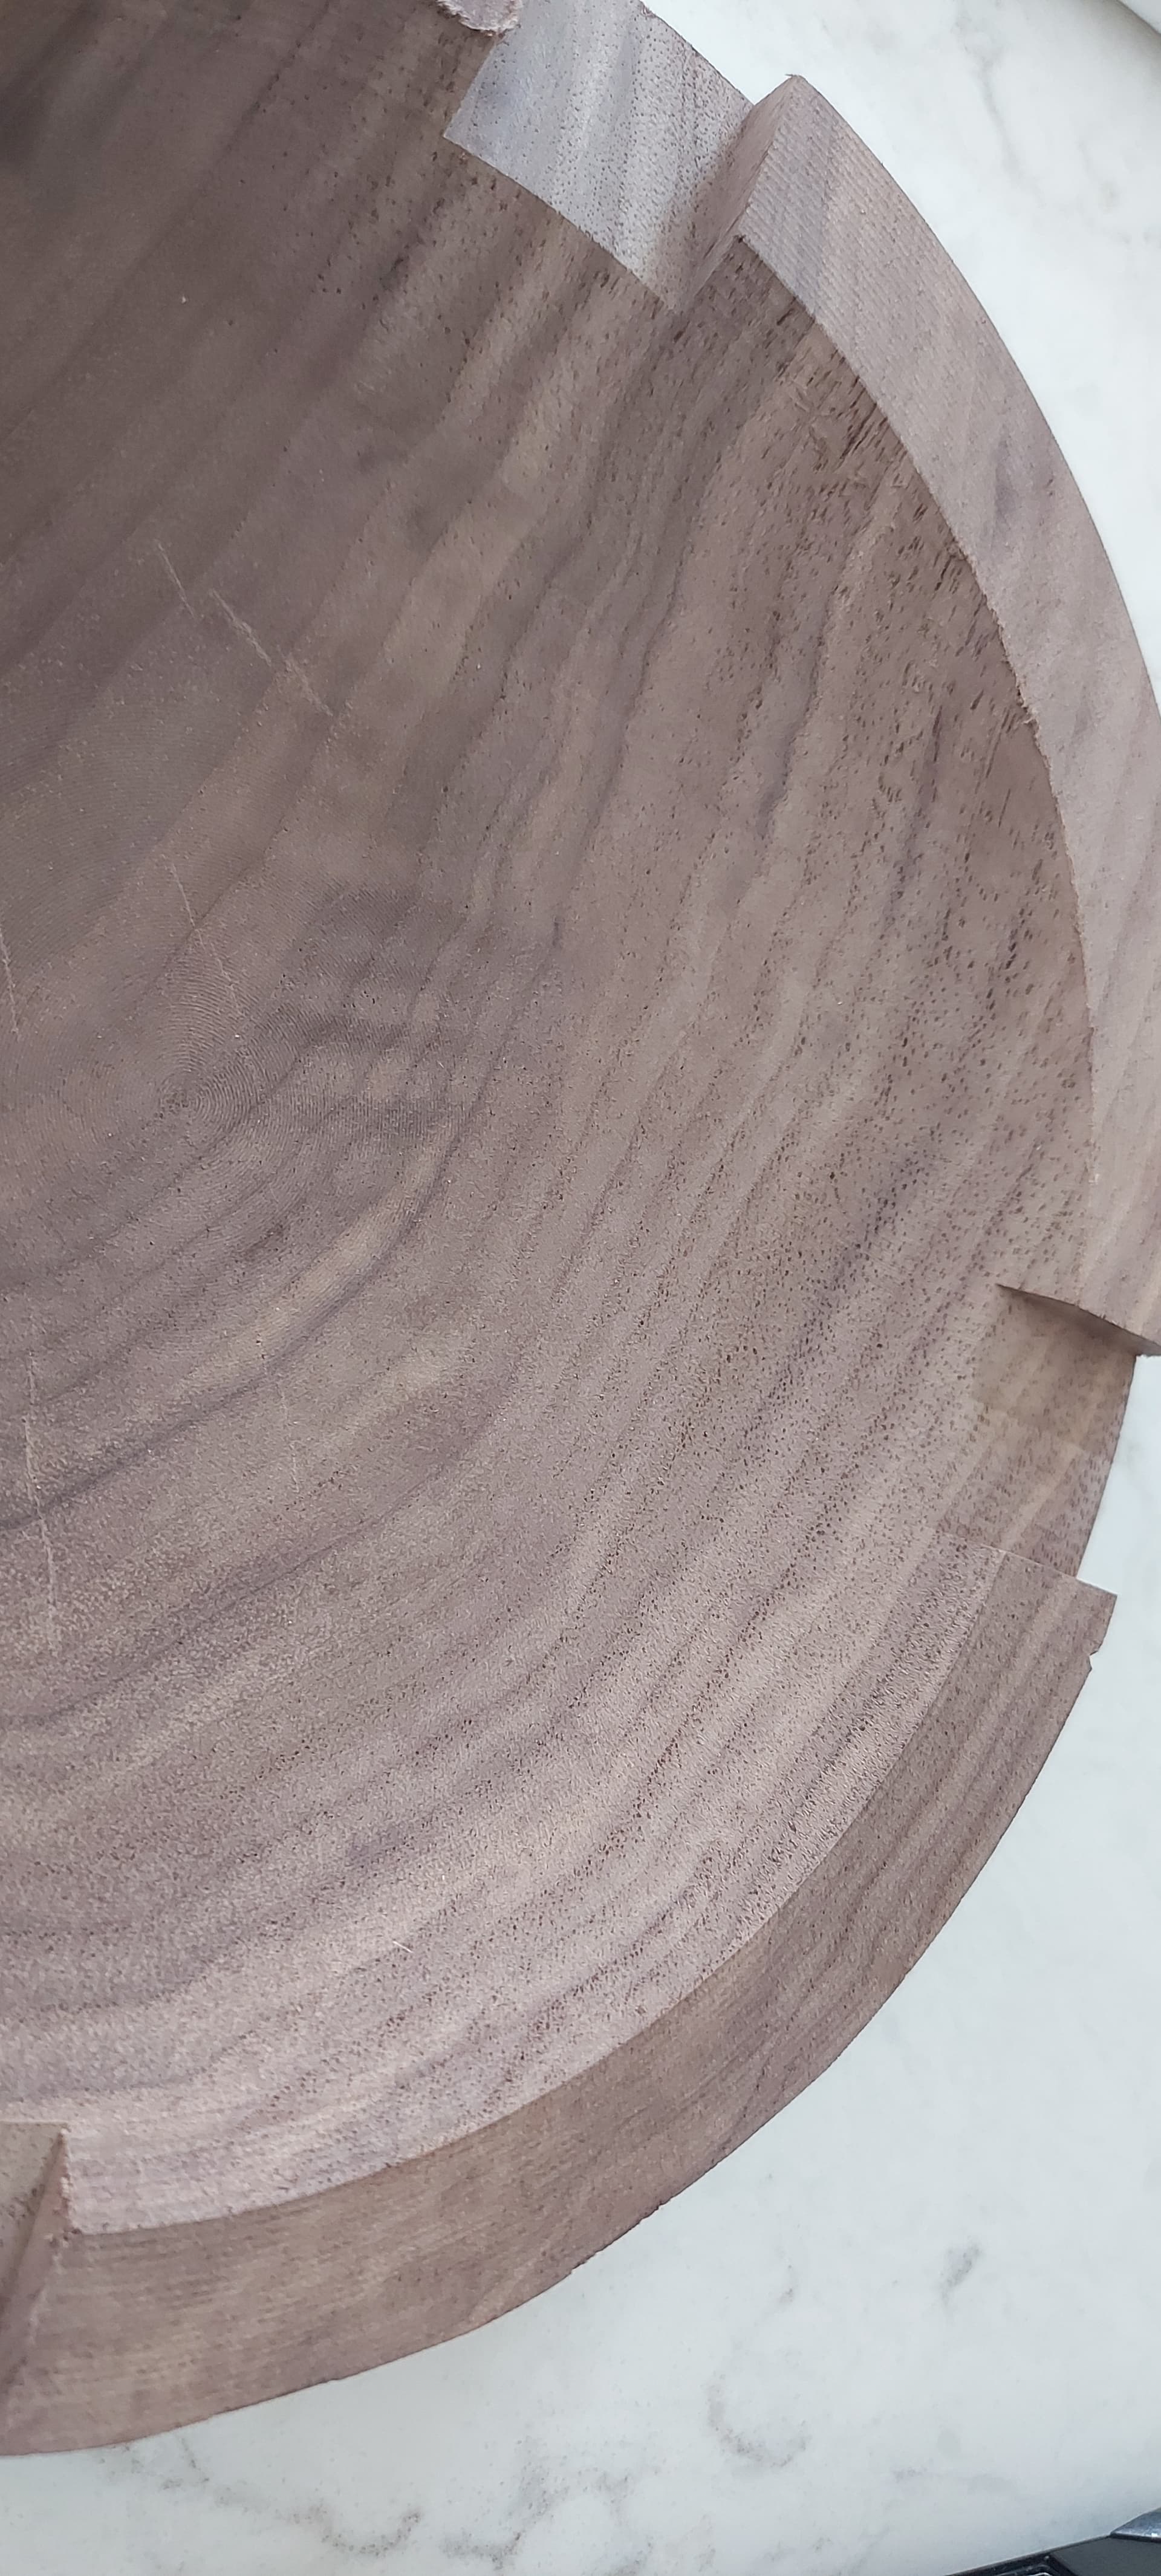
Here’s an example of the finish I get using this strategy. I’m using 1/4" flat and 1/4" ball-nose for this with a 5.6% stepover on the finish pass. This is a part right off the machine with no sanding. Its wood but the same strategy applies to all materials; just different feeds and speeds.
Thanks for your comments and suggestions. I have CC pro and this is my first 3d project. I think the model came out fine, my choice of bits wasn’t a winning combination. I have had good luck with these bits on other 2D projects with aluminum. The 1/32" bit is super fragile but I was able to figure out ways to avoid breaking them. The work piece is ~2X3" (60x70mm). It isn’t an intricate design, so I would have been better off going to larger ones. I’ll give that a try on my next pass to see how that works.
I do have fusion 360 and I am just starting to learn it. I have the home license so it is really limited in some areas. I have had good luck with creating models for 3D printing, but I find using it for the CNC to be a lot less friendly. I’ll have to keep playing with fusion because it is amazingly powerful. I find that CC is great on 2D projects. It is a lot more intuitive for drawing.
CC pro does support REST machining for 2D operations. I think the rough pass / finishing pass capability is doing the same thing for 3D models. I feel like I have a lot fewer places to make adjustments with the 3D capability. In hindsight, I should have started with wood first.
For anyone who remembers a previous thread I started regarding a very large block of aluminum I got from my father in law, I found that it cuts at least as easily as 6061 T6. This is a chunk from that block.
I have a lot to learn about 3D and definitely about working with aluminum.
Oh, @yardecraft that bowl is beautiful. The surface finish is really awesome.
Thanks @Splinters-n-sawdust. I use Fusion for toolpaths only and Alibre Design Pro for modeling.
Fusion is difficult to navigate (lots of options) but once you get started, it’ll be tough using any other program for CAM.