I thought it might be interesting, to some, to show a small progression of a small project in my workshop.
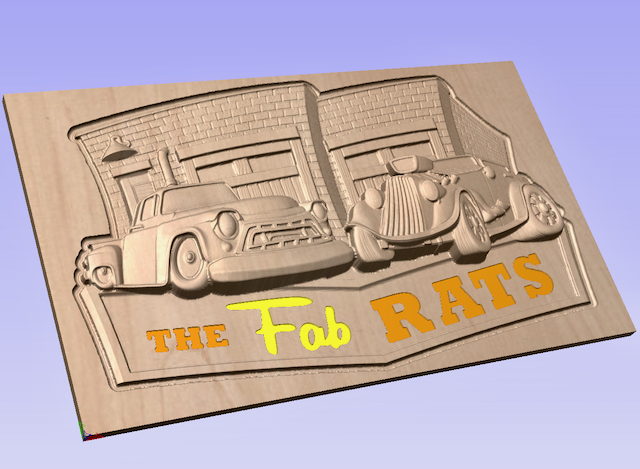
Below is the rendering of my final design in Vectric Vcarve Pro software. This design is created with several models that have to be positioned to make the end design. Many steps go into the design to position the 3D model within the available stock, too. I generally start with stock that is sized to the final product dimensions. The lettering was actually projected onto the 3D model to ensure the depth of the cut.
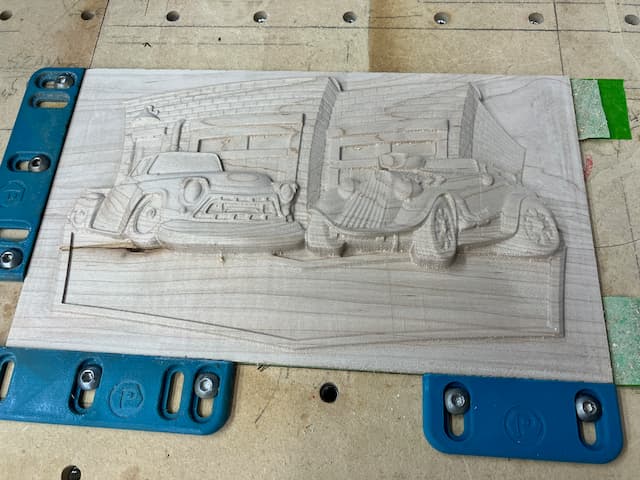
Below photo shows that I almost exclusively use tape and CA glue to hold down small parts. The edge and corner fences get removed and replaced as the cut progresses (so I don’t trim my tools!) I started with stock (cherry) of 0.7" thickness, but I used the roughing cut to get that down to about .25" at the edges. The roughing toolpaths include a rest toolpath that pokes around into small spaces. (The term rest basically means a roughing feature that calculates the uncut areas of material and generates tool paths to clean the rest of them using progressively smaller bits that fit.) It takes about 2 to 2-½ hours to do this with a 0.250" end mill, and two tapered ball nose bits; 1/16" and 1/32". I made many compromises on stepovers, cutting strategies and feed/speed combos to come up with a practical final process.
Below shows the final cut of the lettering which requires the adding of a mask. Since the letters need a colorful paint job, the cut (with both ⅛" and 0.0625" downcut end mills) was made so the remaining mask protected the remaining raw wood.
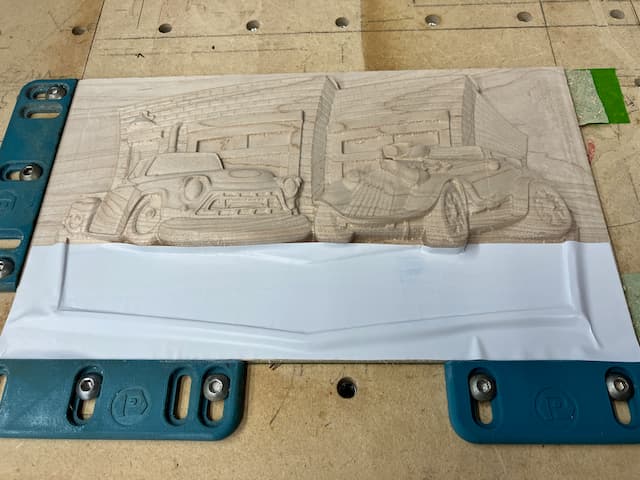
Below shows the cut mask. The rest of the part received tape and paper masking for overspray protection while the letters get painted. This protection was necessary because the final part was not going to be painted. The exposed letters get a coat or two of 50/50 dewaxed shellac and denatured alcohol to seal them.
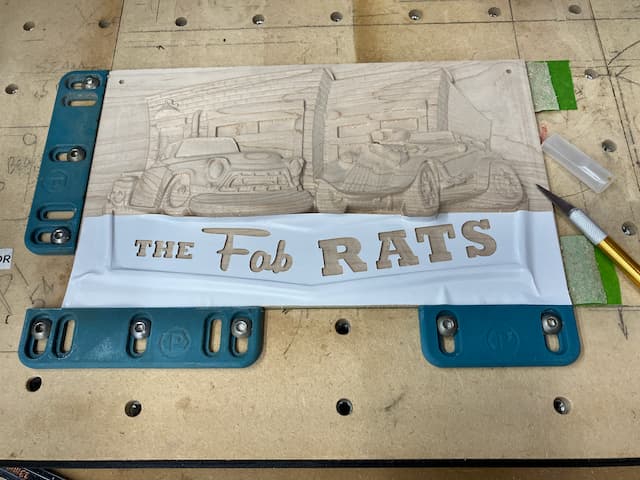
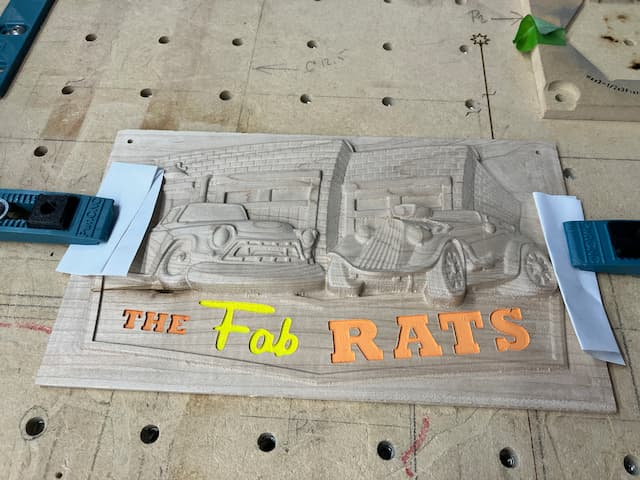
Below shows the mask removed and the painted letters. I use acrylic paint with both a brush and an airbrush. This one is with an airbrush which has the advantage of applying smaller layers of paint. I always use a white base-coat on raw wood, because the main colors will be dulled to the eye by the brownish wood. The clamps are there to hold the raw cut wood flat. I learned (the hard way) that it can take days for wood to relax after taking this much off of one side. Sealing quickly doesn’t really help, because I believe this is a mechanical thing.
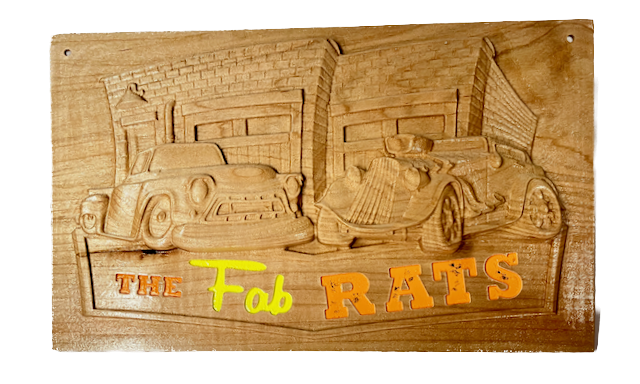
Below is the final product after much detail sanding of the end grain fuzzies that always stick out. It helps to apply shellac to make them stiffer. The last finish is 2 or 3 spray coats of common lacquer (sometimes sanding in between.) (The grey blotches in the orange color are part of the logo provided.)
It is always stressfully fun to do these, because you never really know what the wood is going to do at each step.