So I’m trying to progress into the 3D world some more and I’ve done some board style but now I get to something that is gonna cut all the way through the material how do I go about holding the material in place without tabs of some sort?
Thanks for any input!
The go to for this seems to be CA glue and painters tape. Put tape on your spoil board and on the back of he board you are carving. Put the glue on the tape on the part or the spoil board and then spray the activator on the other. Press the two taped sections together and it will hold quite securely. I just started using this for some doors for the back of cribbage boards and it works perfectly.
2 Likes
I thought I had seen something about that but wasn’t to sure how well it would really hold up. Thank you for the quick response off to get some ordered ![]()
1 Like
I had heard about it many times before but never really used it until recently myself. It worked great though.
1 Like
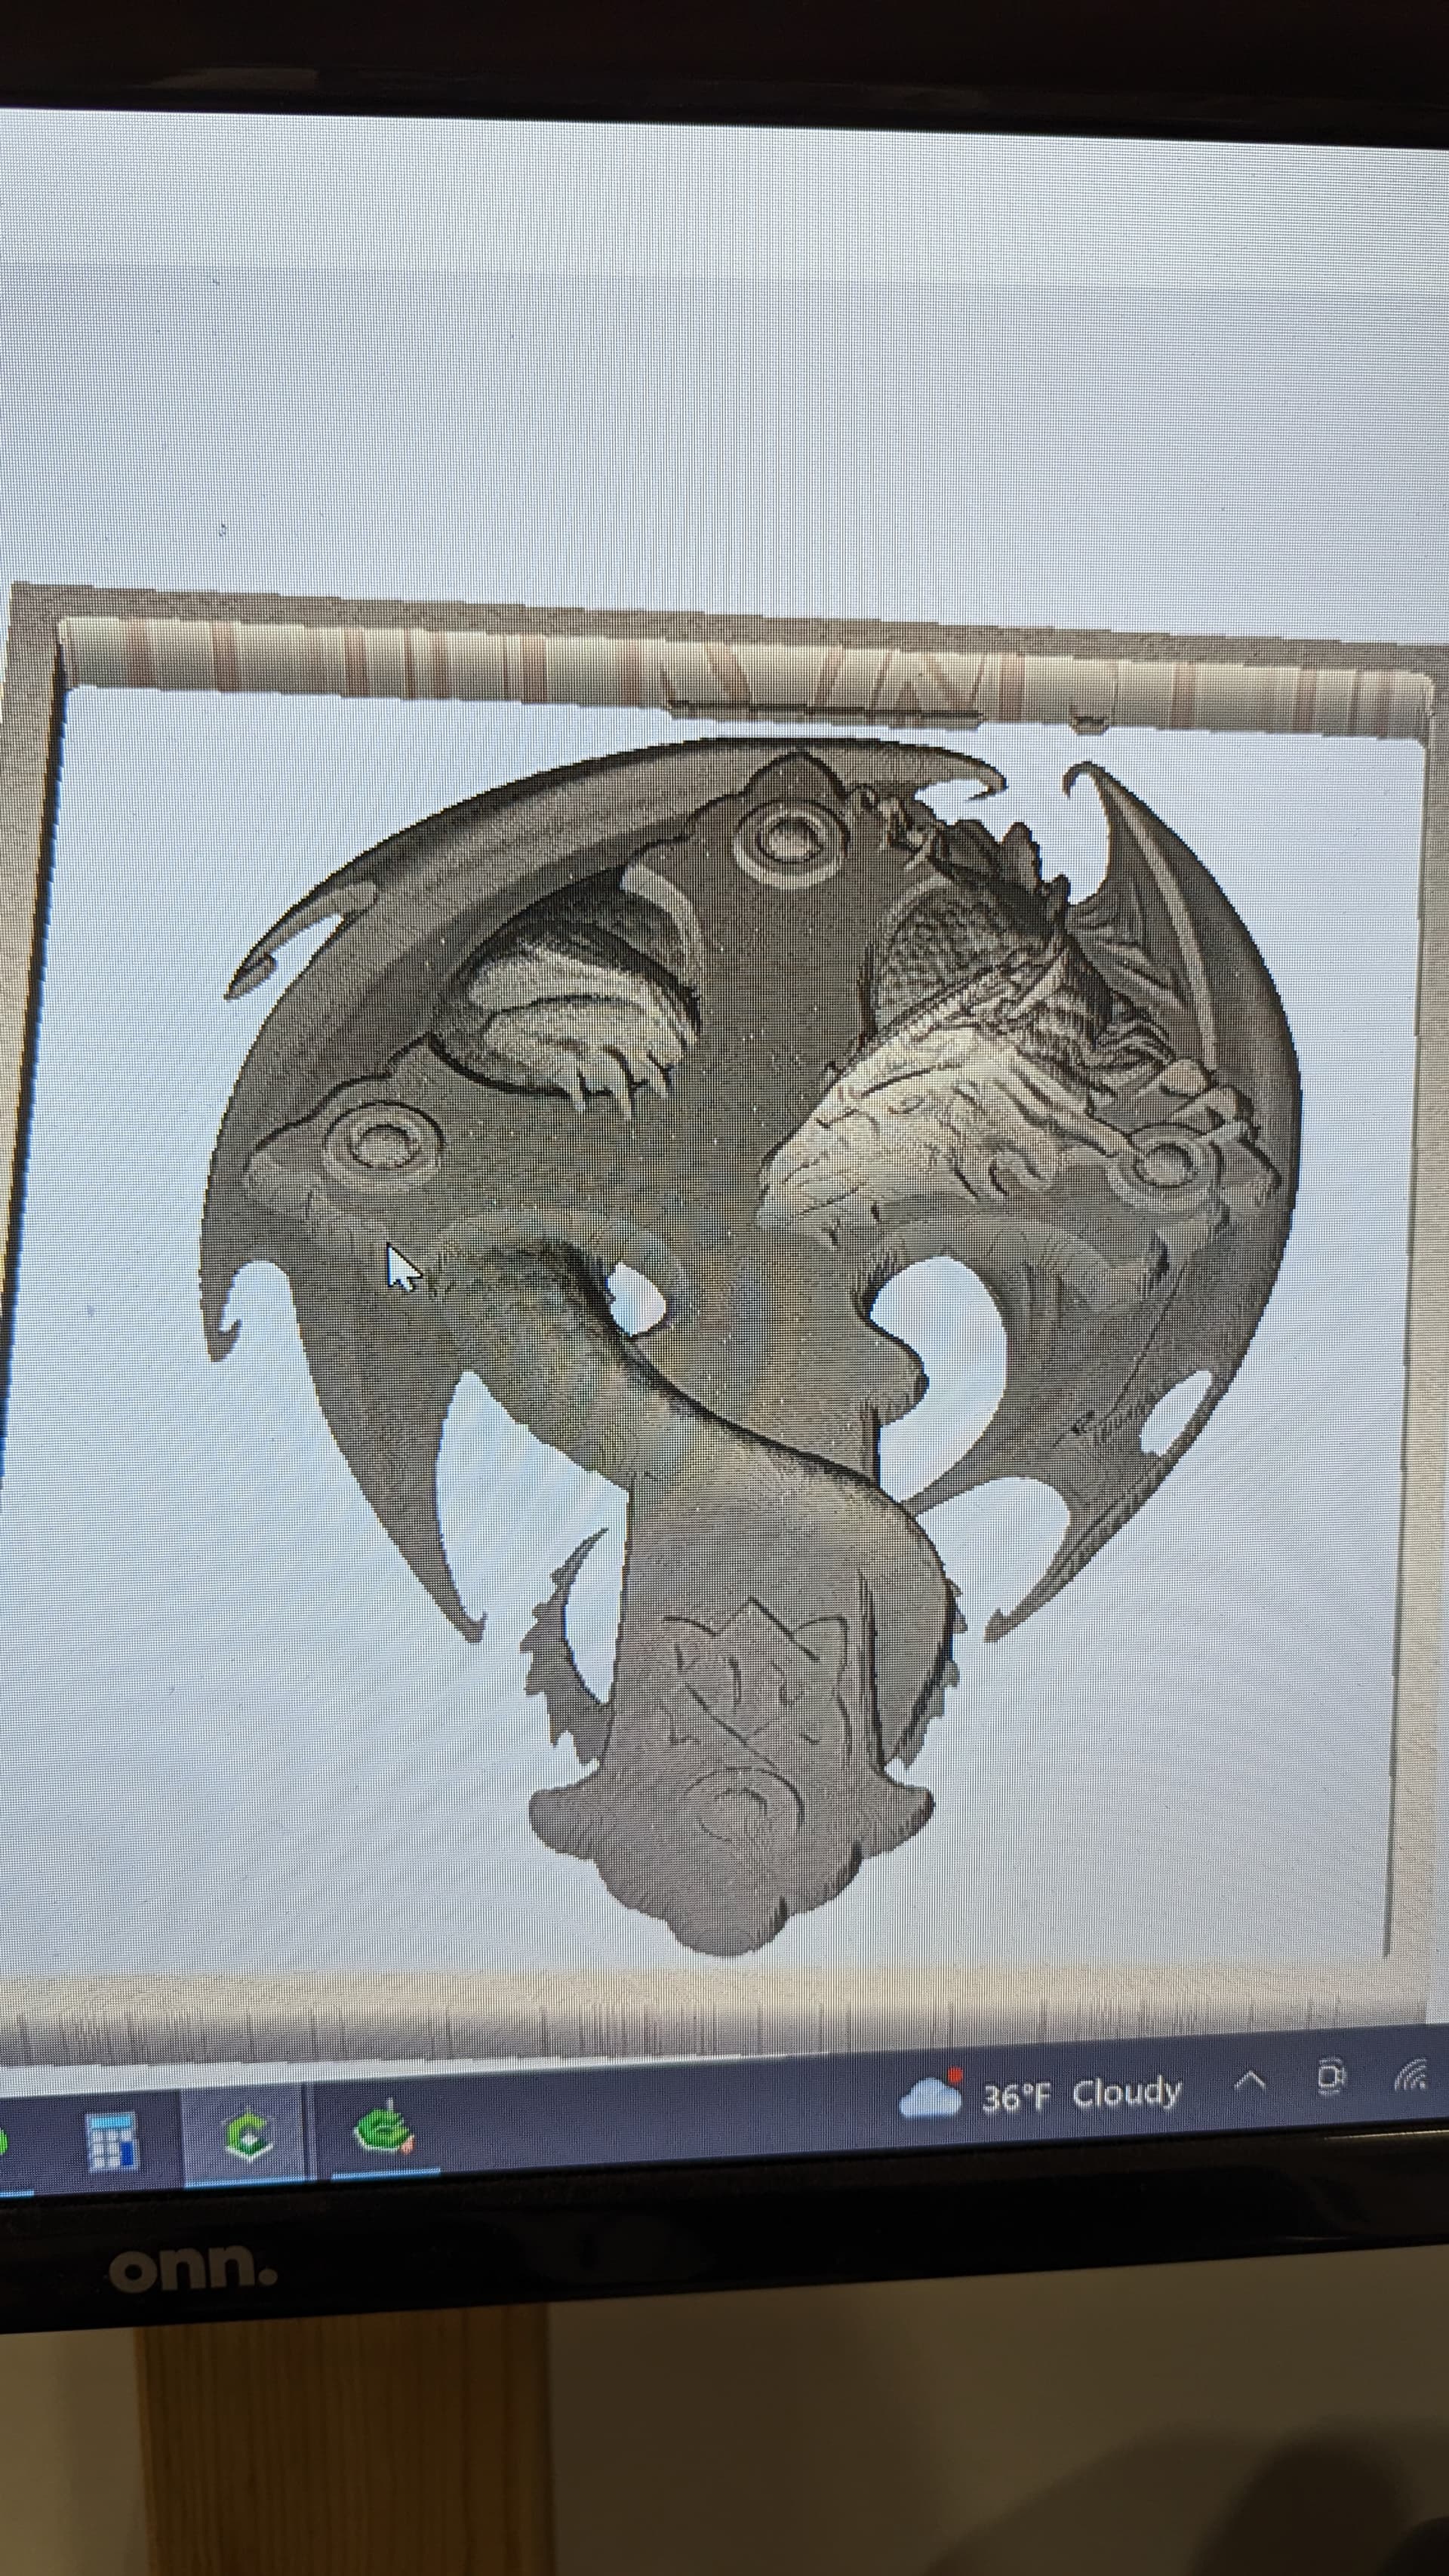
I found some double sided tape in the house so I’m wondering where would be the best place to tape that image above where it doesn’t gum up the the bit surfacing the whole pad of tape without having an uneven work surface? I feel like putting the tape just under the spot I need held may cause a wobble?
I would put it under as much of the work piece itself as possible and also around the edges if they are large enough to hold the tape. If at all possible though I would go with the CA glue and tape since it won’t cause a wobble at all.
That’s ordered just really impatient and wanted to try and run that file lol but I may try something else until that order comes in ![]() my wife tells me I need to slow down alot
my wife tells me I need to slow down alot
2 Likes
You could lay out the outline of the part on the back, then trim the tape close to the edge.
Really curious why the part has to be cut all the way through. Some of those edges, like the tips of the dragon wings look pretty thin around the edge. Is this going to be mounted to something else? Or is it just free standing? Is there another solution?
First thought is to cut the profile from the back partway through the material, the flip it & carve the front.
If it’s mounting to something, can you cut it taller & mount it in a pocket rather than to the face?
Also looks like you’re pocketing nearly the entire workpiece around the finished part. You can save a bunch of time by offsetting the outer boundary by 1.5 - 2 x the diameter of the cutter and using that for your outside pocket boundary.
1 Like
The picture was just an idea I have it so the whole thing will be on a .25 backer with the 3D on top of that. the base is the same shape as the piece so it won’t be visible from the front but it’s thick enough to support everything
I have Starbond on order just lost patience and had to try to do a carve that went all the way through and used some double sided tape. It worked but I don’t like how much of a mess the tape made on the bits

I’ve been using double-sided tape and had issues at the beginning with the bits being gummed up from the adhesive on the tape. I then measured the actual thickness of the tape and told CC that the stock was that much more than the thickness of the stock and zeroed from the bottom (i.e. spoil board). You need to tell CC you are zeroing on the bottom. Since I did this, I haven’t had a single bit of gumming in the bits, but I sometimes get a couple of thousands of an inch of stock not completely cut out in various places. Still, that is much easier to cure than getting the gum out of the bits.
You do need to be careful which kind of double-sided tape you use. There are tapes that are specifically made for woodworking that hold well but do not leave a residue on the wood when you peel it off. I’ve switched to using XFasten double-sided tape for woodworking (it comes in various widths from 1" to 4") and it has been absolutely no problem. I’ve measured the tape to be 0.010" thick and tell CC my stock is 0.015" thicker than it actually is. I’m going to try to reduce the 0.015" a little on some test material to see how close I can get and still not get any of the gum in the bits.
1 Like
Luckily I had the depth set pretty good so it barely scraped the adhesive but it was enough to make some sticky spots on the bit I may try your idea if this Starbond done show up soon lol
This topic was automatically closed 30 days after the last reply. New replies are no longer allowed.