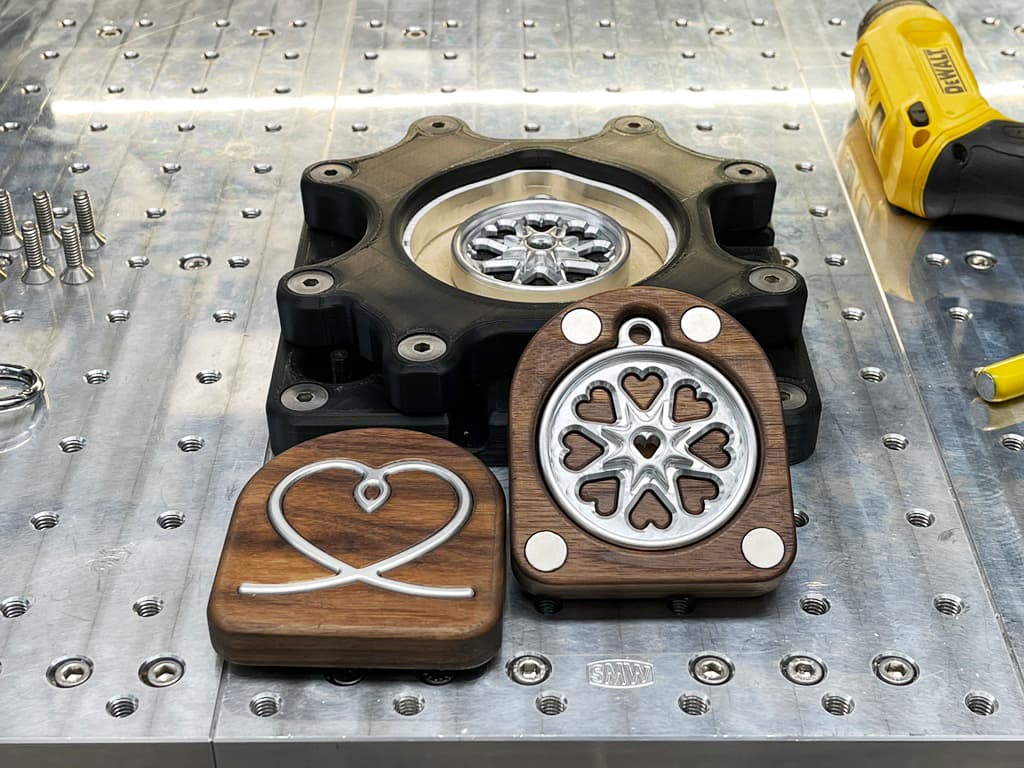
Designed some 3D printed fixtures for carving 2 sided key chains. One for the top side and one for the bottom.
Have been working on a method to remove the need for tabs on 2 sided carves. These pieces are surfaced and below deck on both sides so there is no taping them down. No matter what I tried in post processing, you can always see where a tab was removed on a side wall as it has a vertical grain that I have not been able to replicate during sanding and polishing.

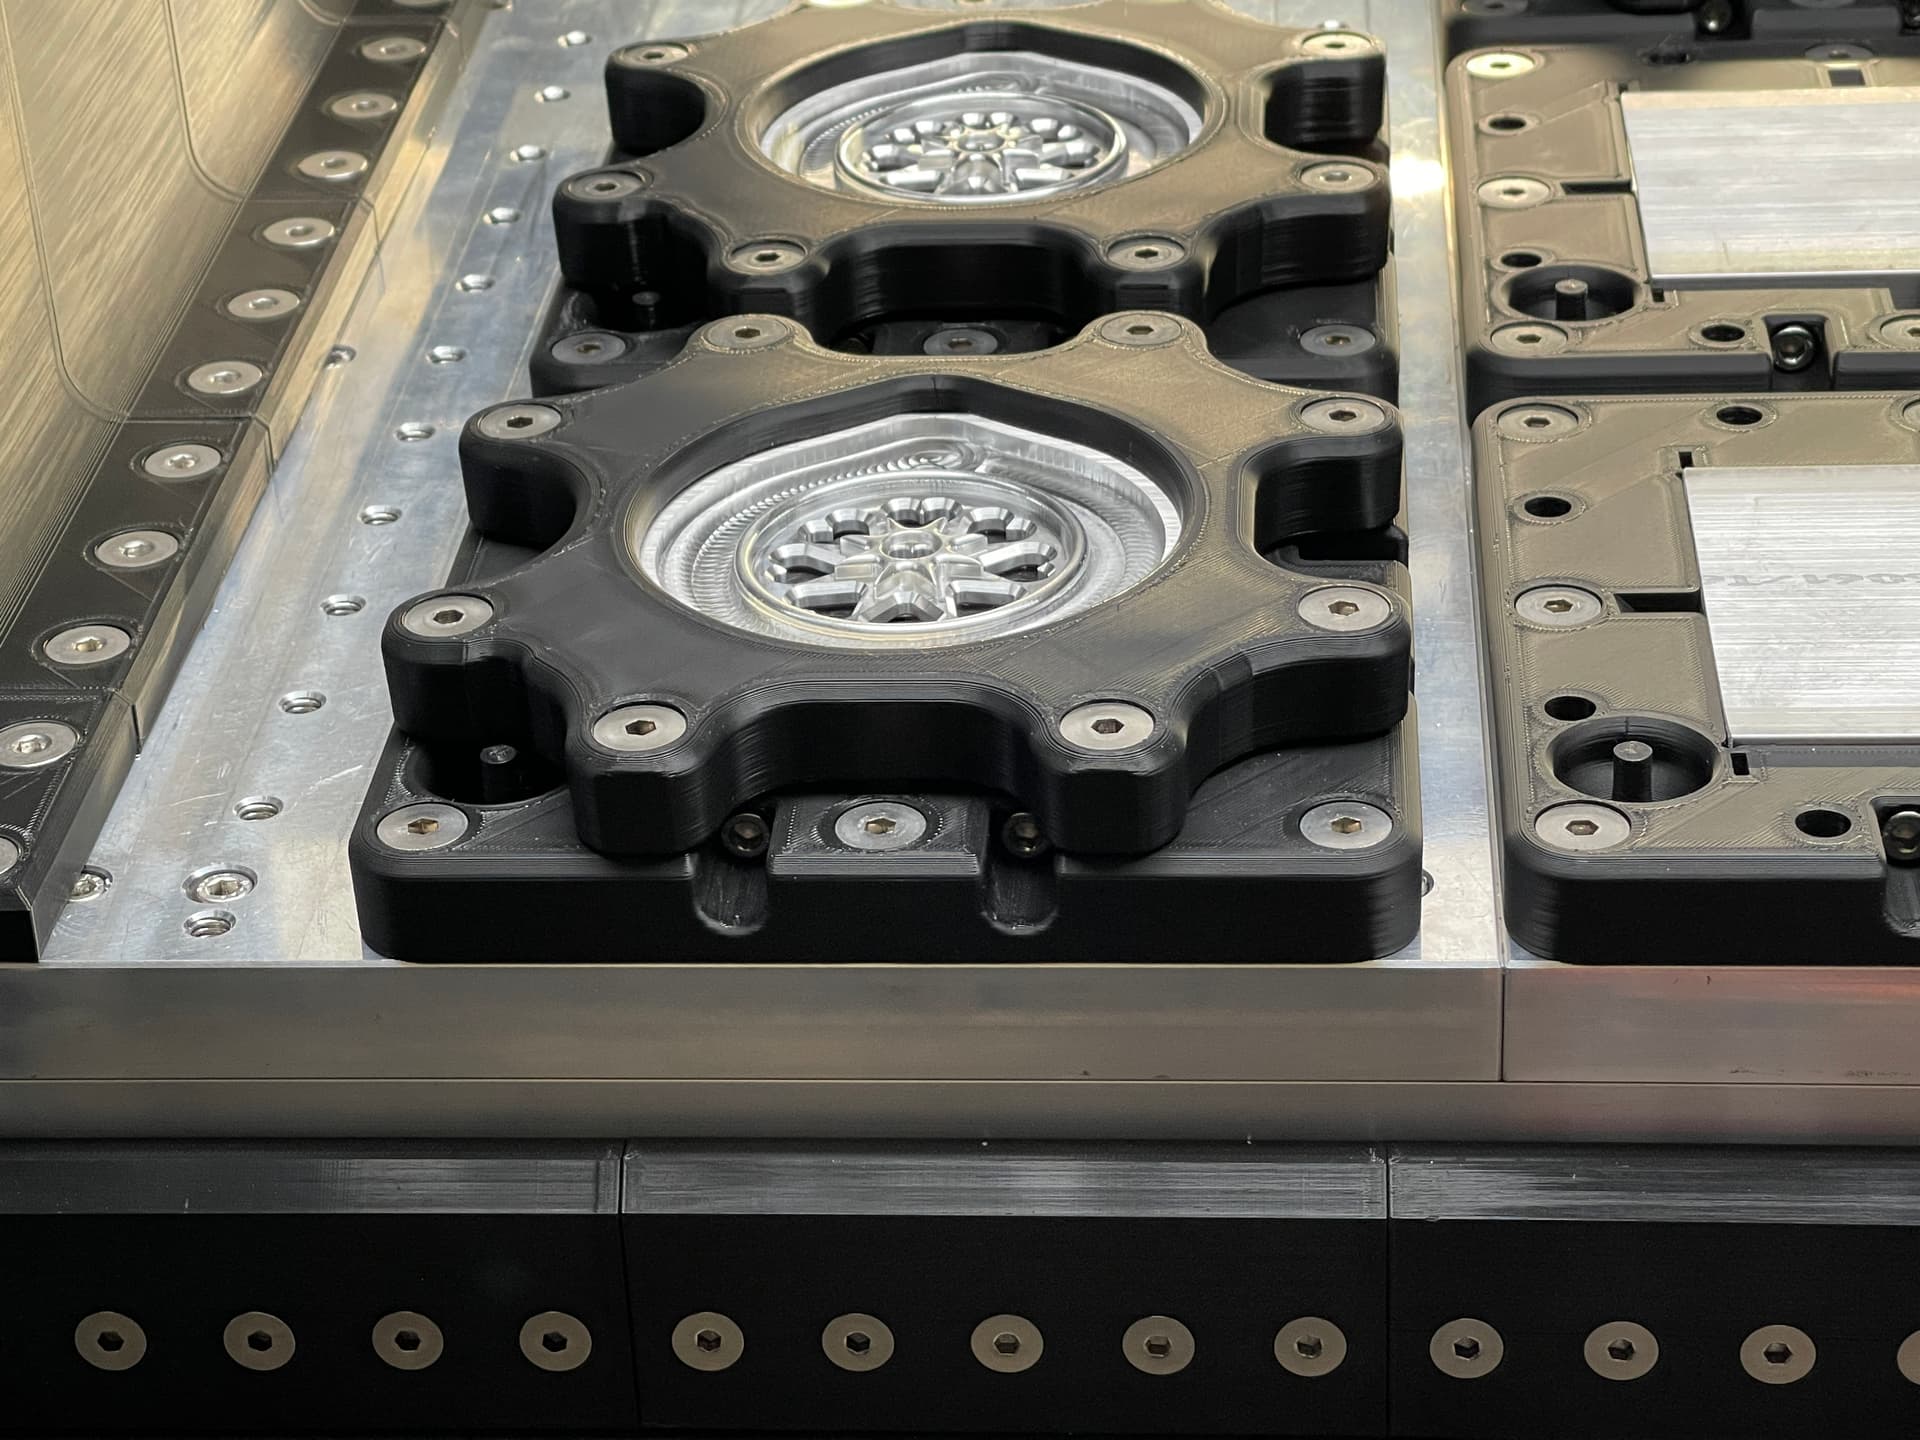
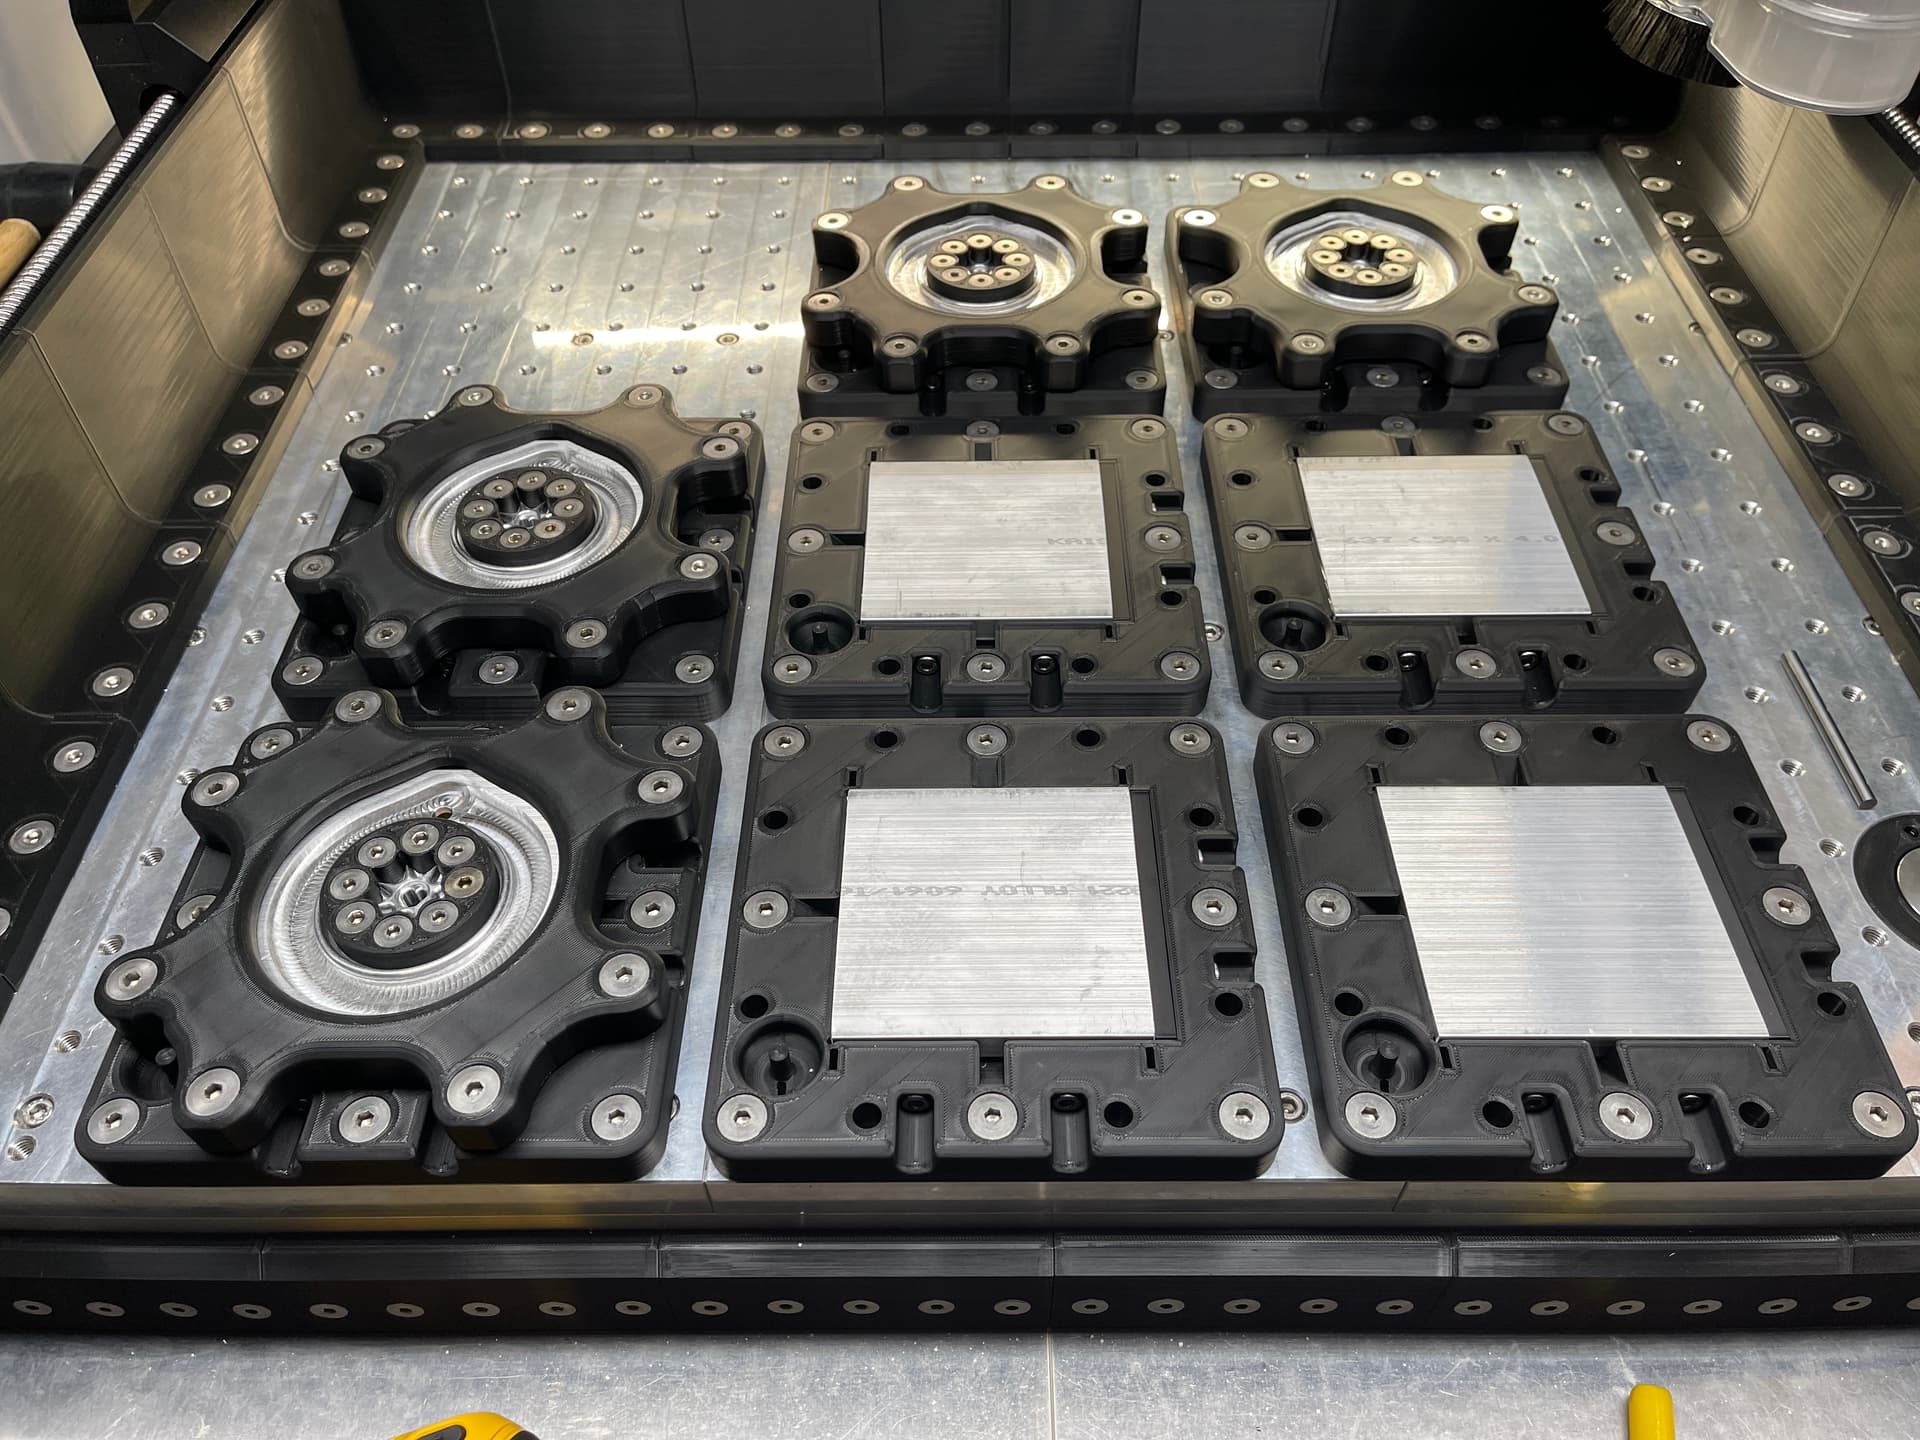
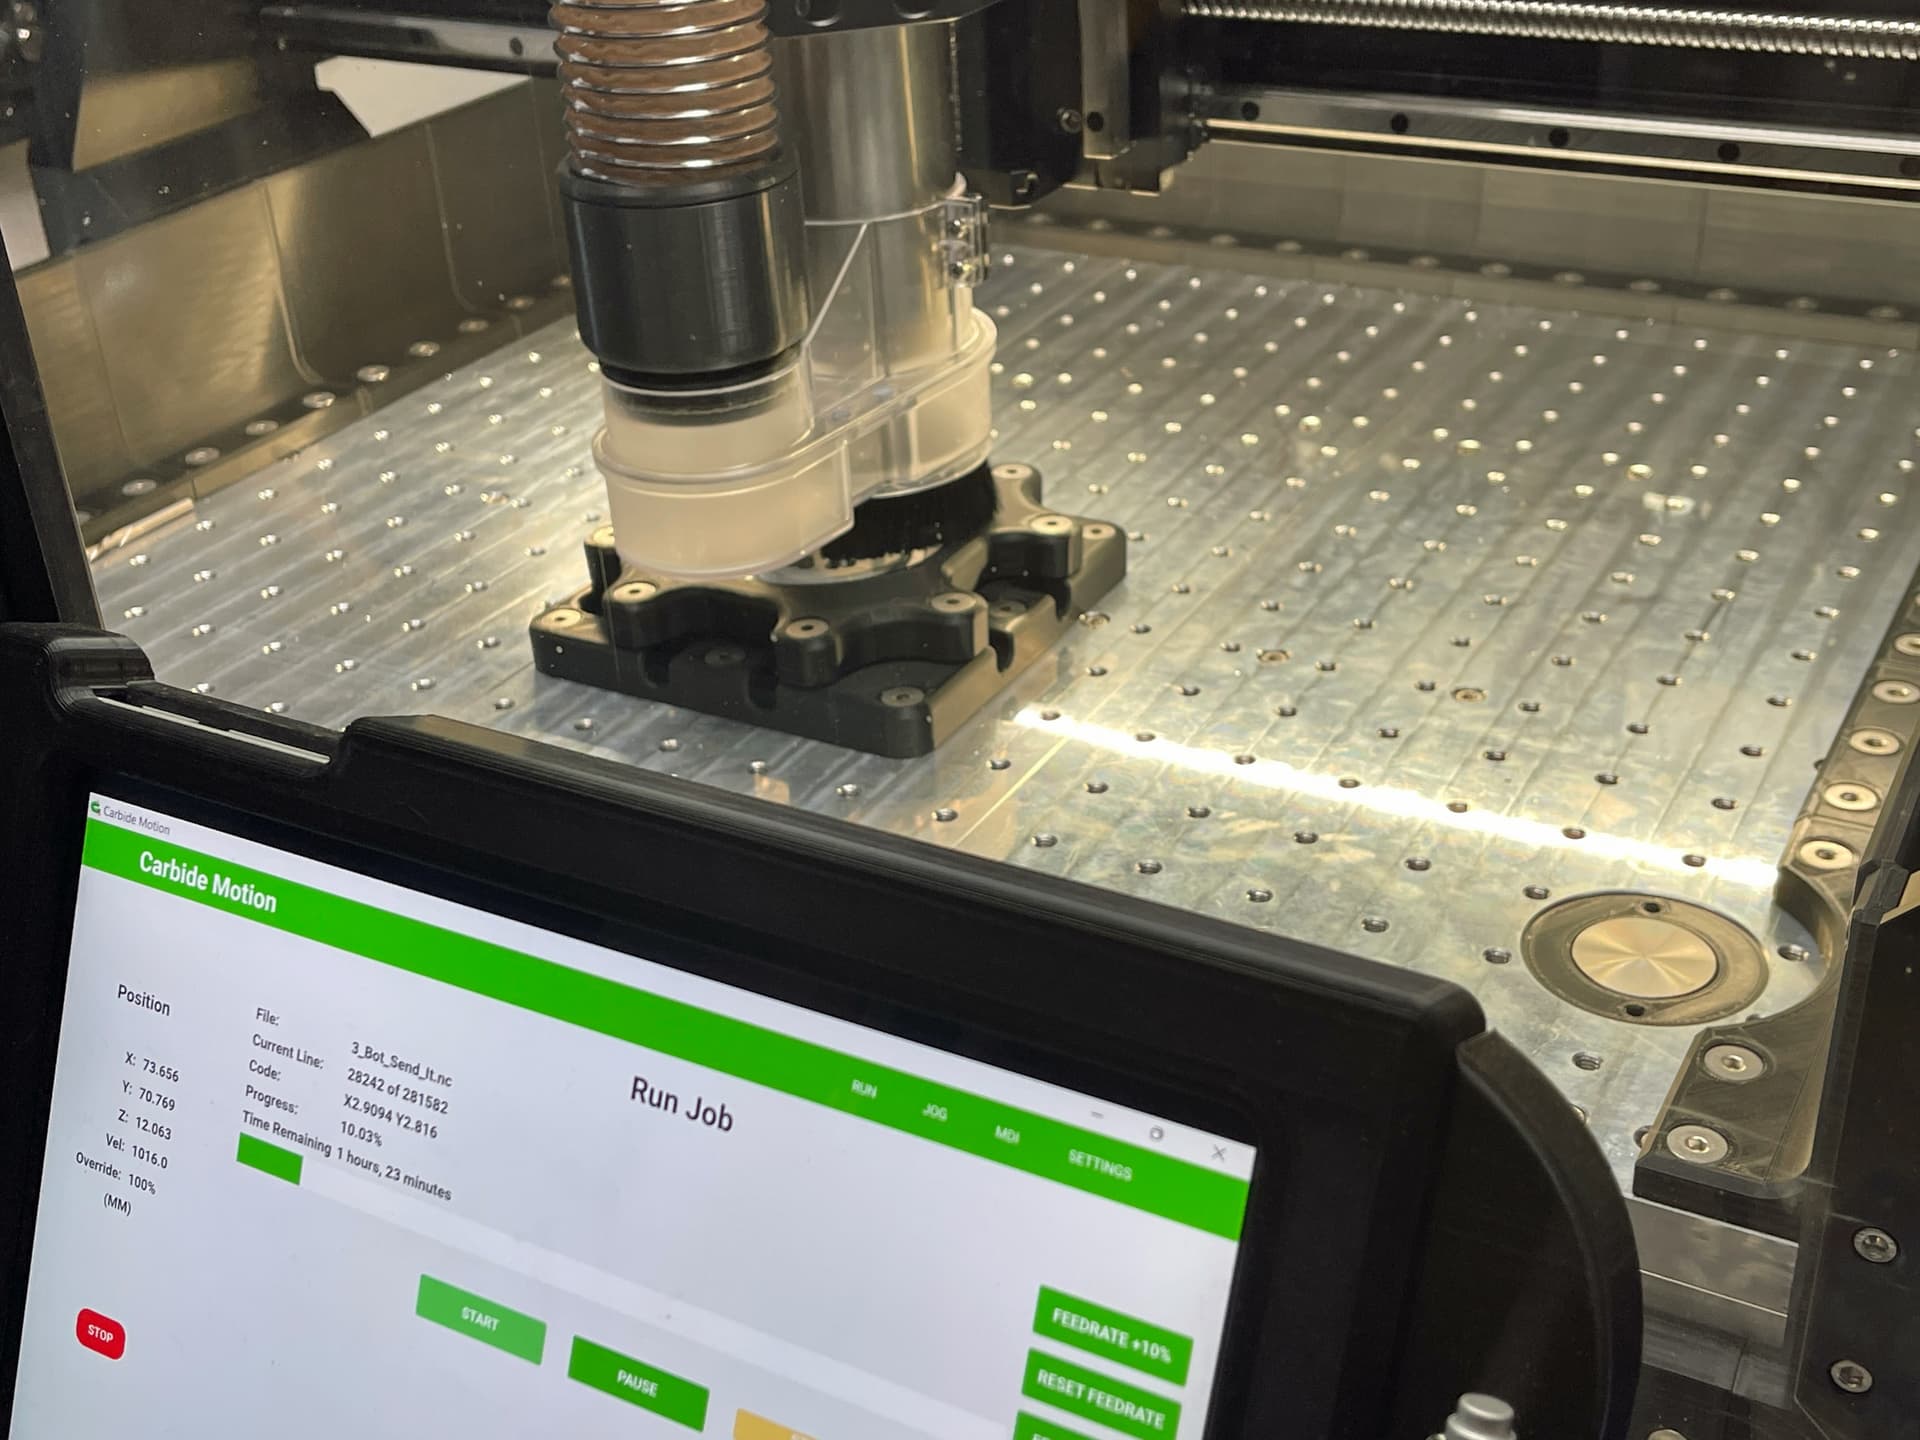
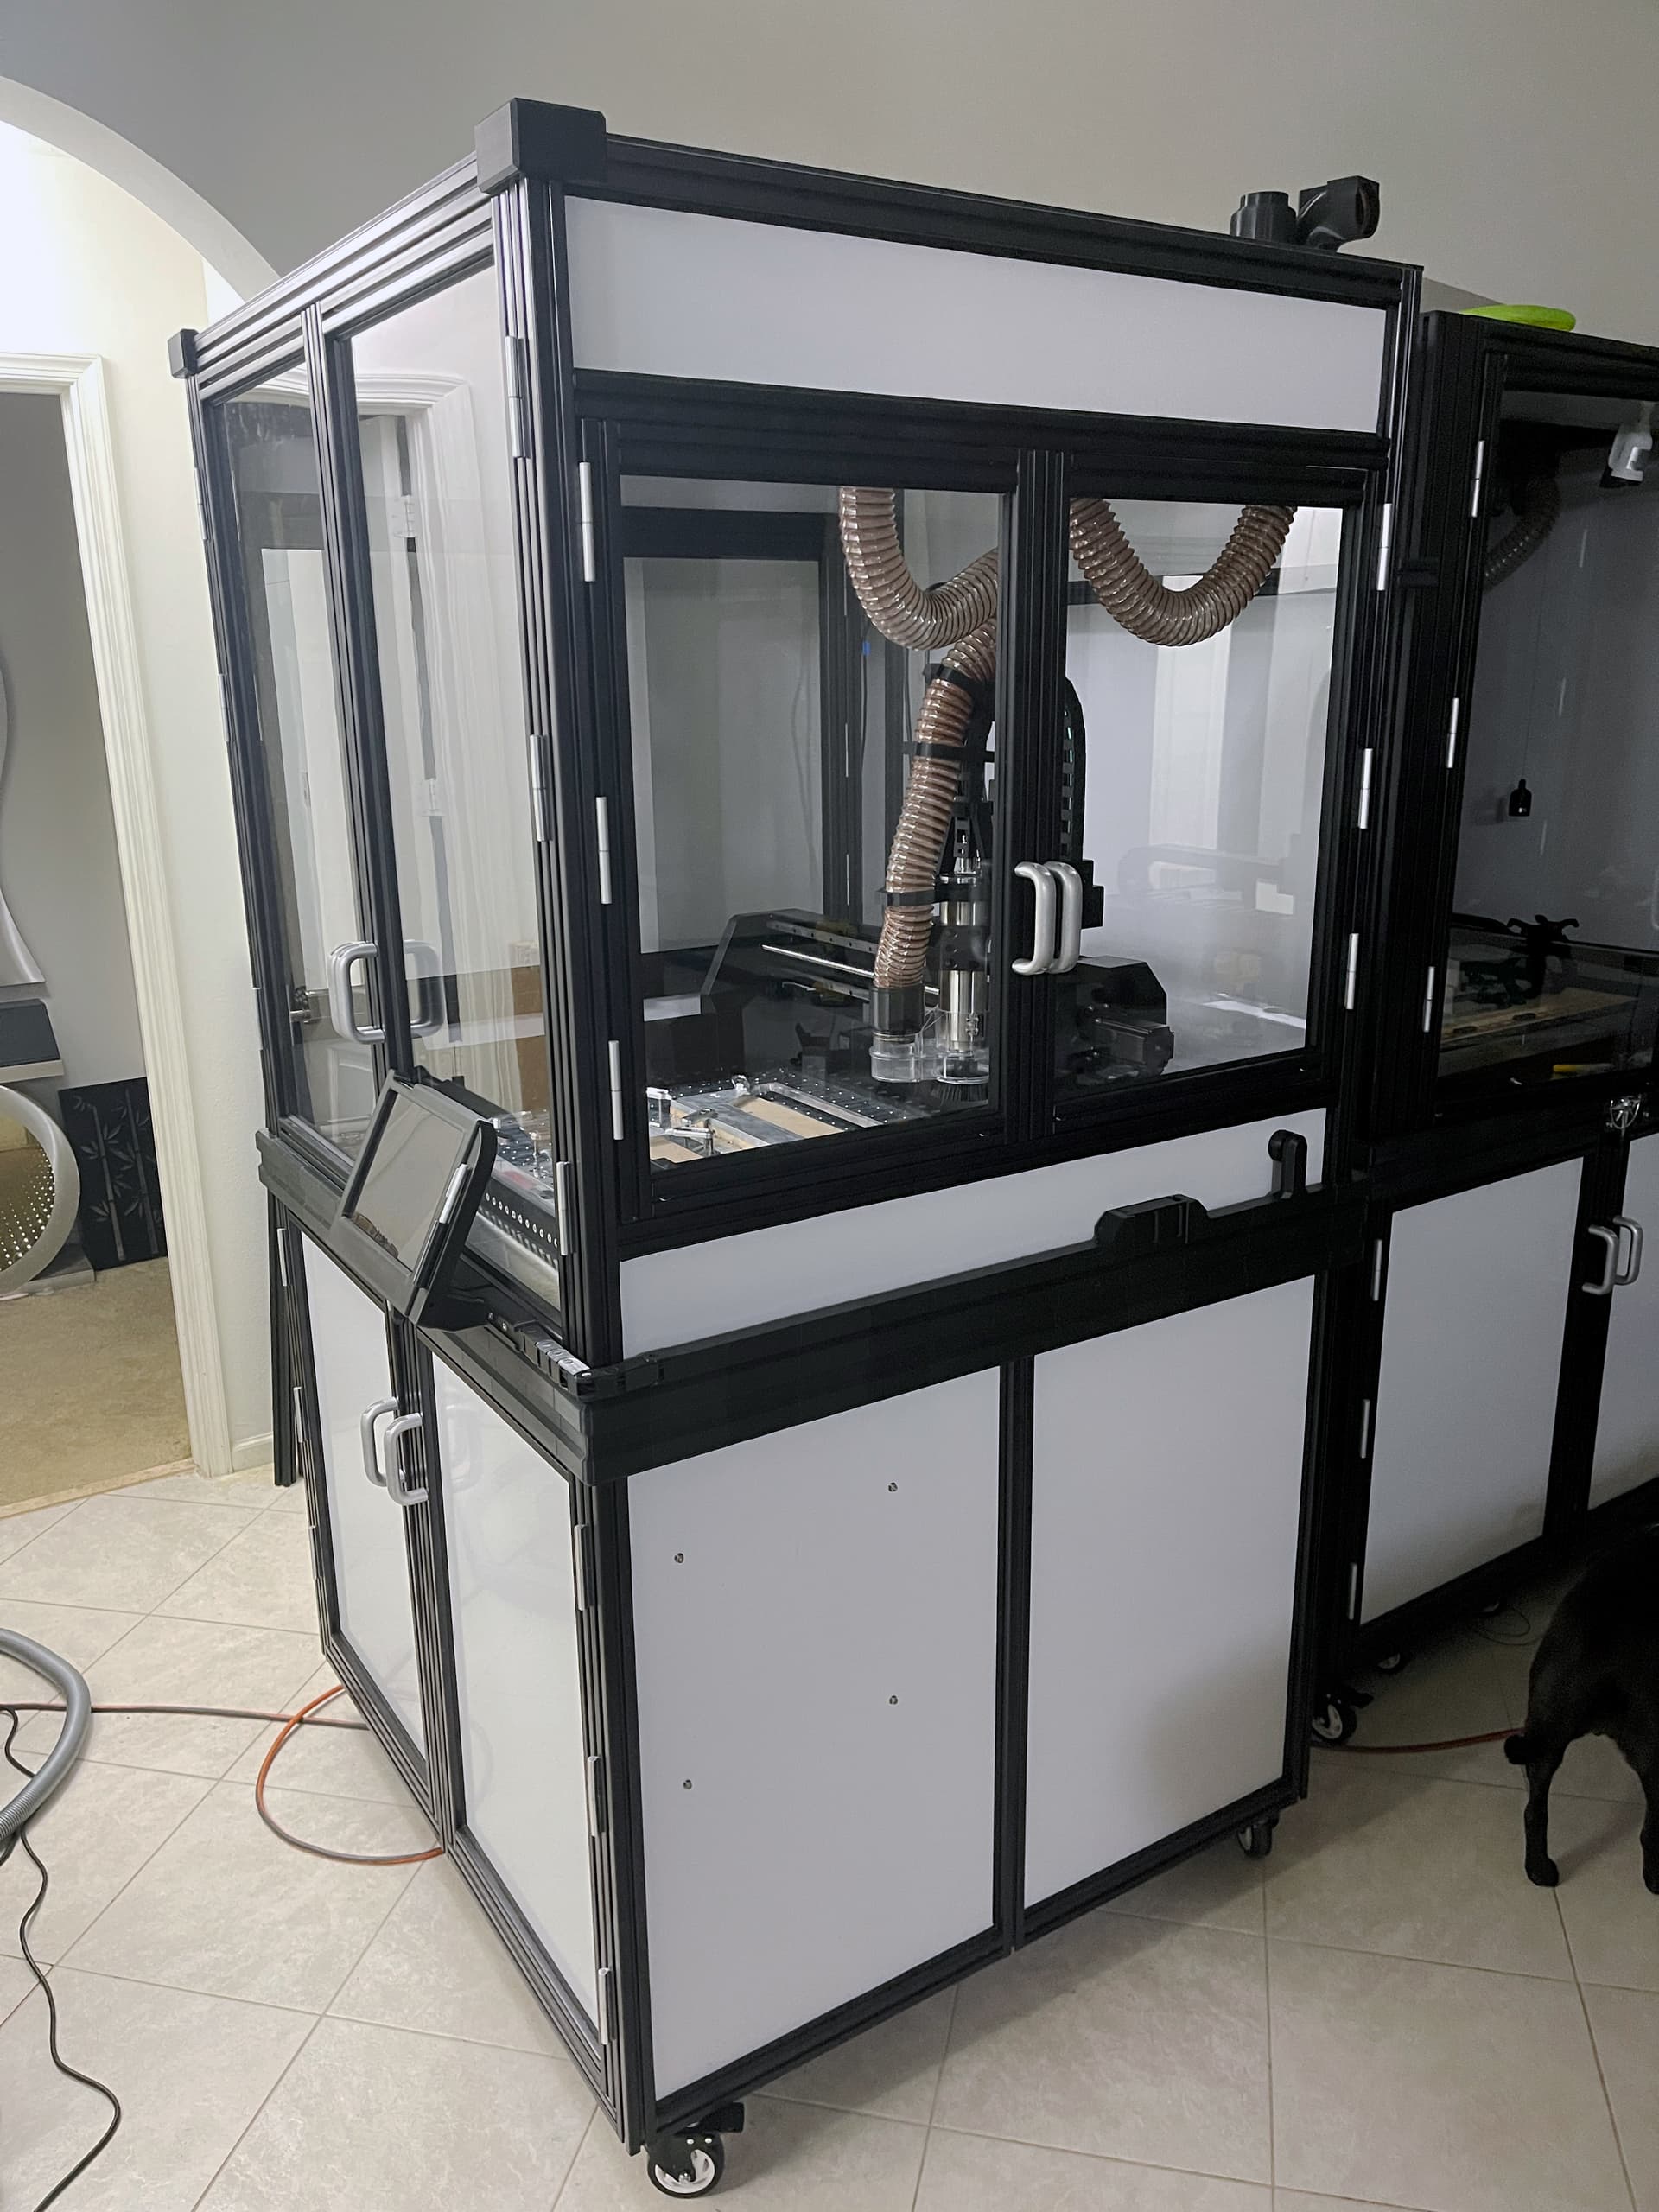
Plan was to design a system to allow for maximum accuracy and minimal mess giving the Sweepy dust boot lots of clearance, fastest machining times, advanced (for me lol) production methods and trying for repeatable results with minimal post processing. After quite a few renditions I came up with these 3D printed modules, I will fit 4 at a time on the HDM for now, they have quite a few features I have come up with I thought I would share.
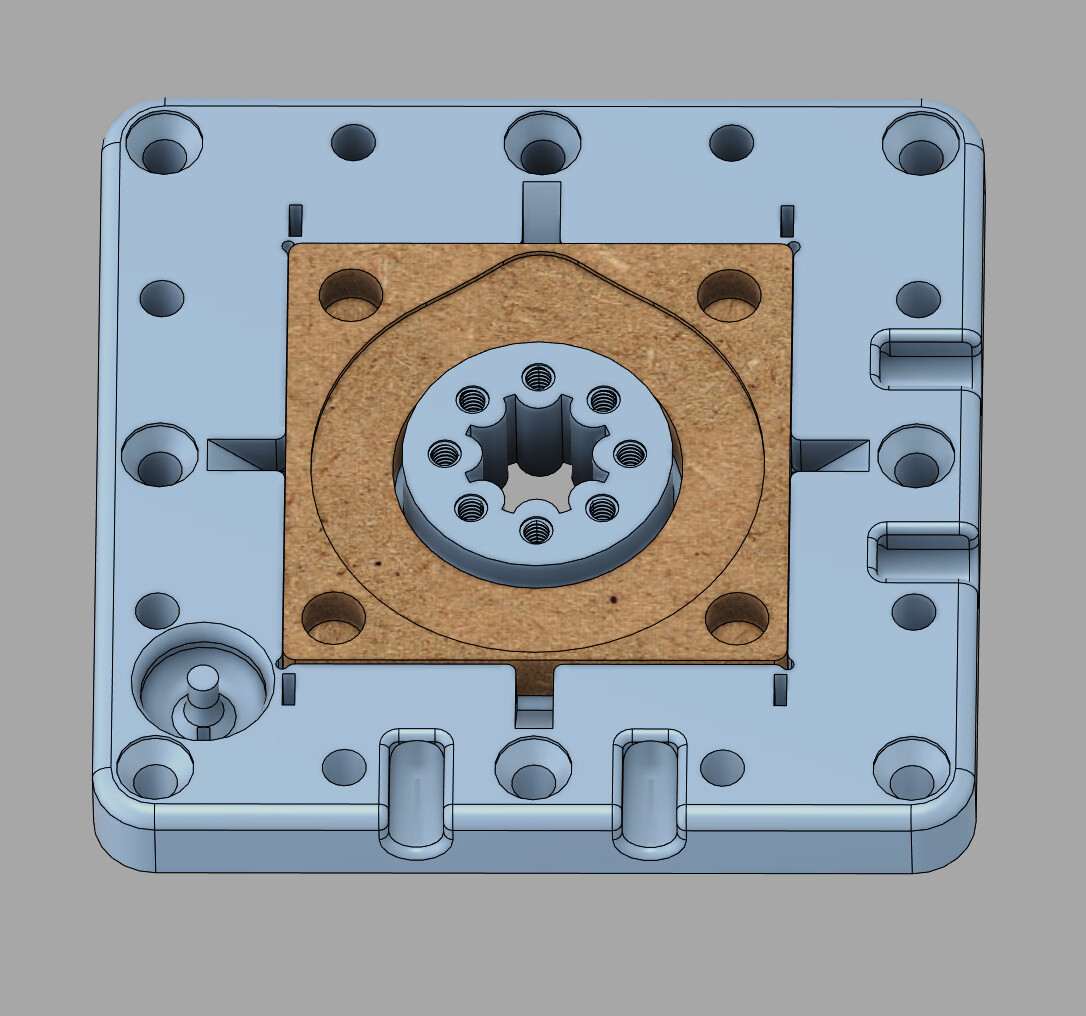
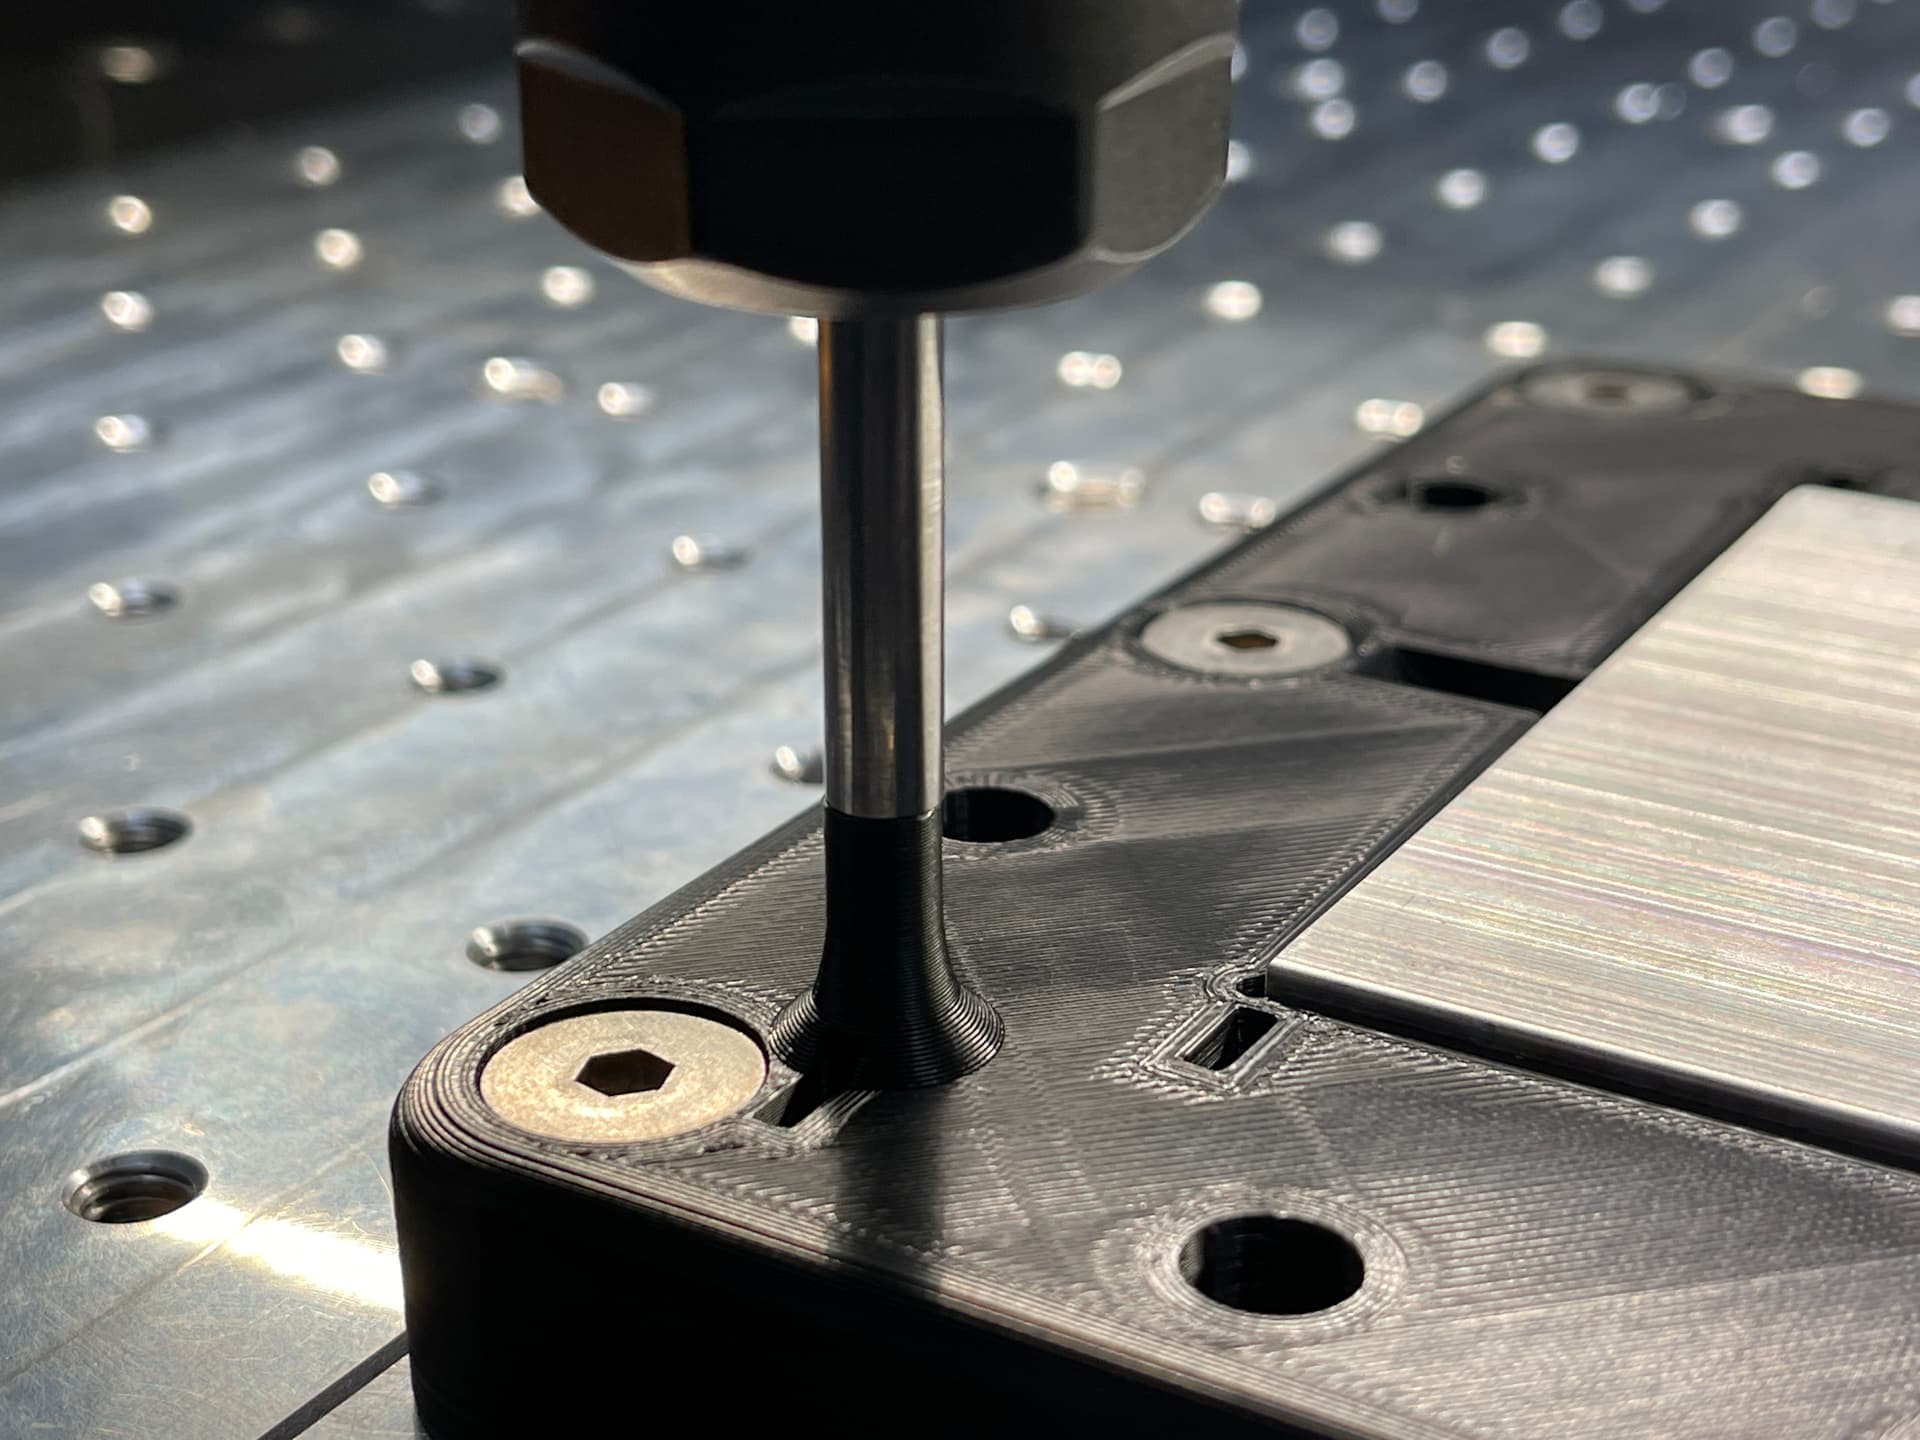
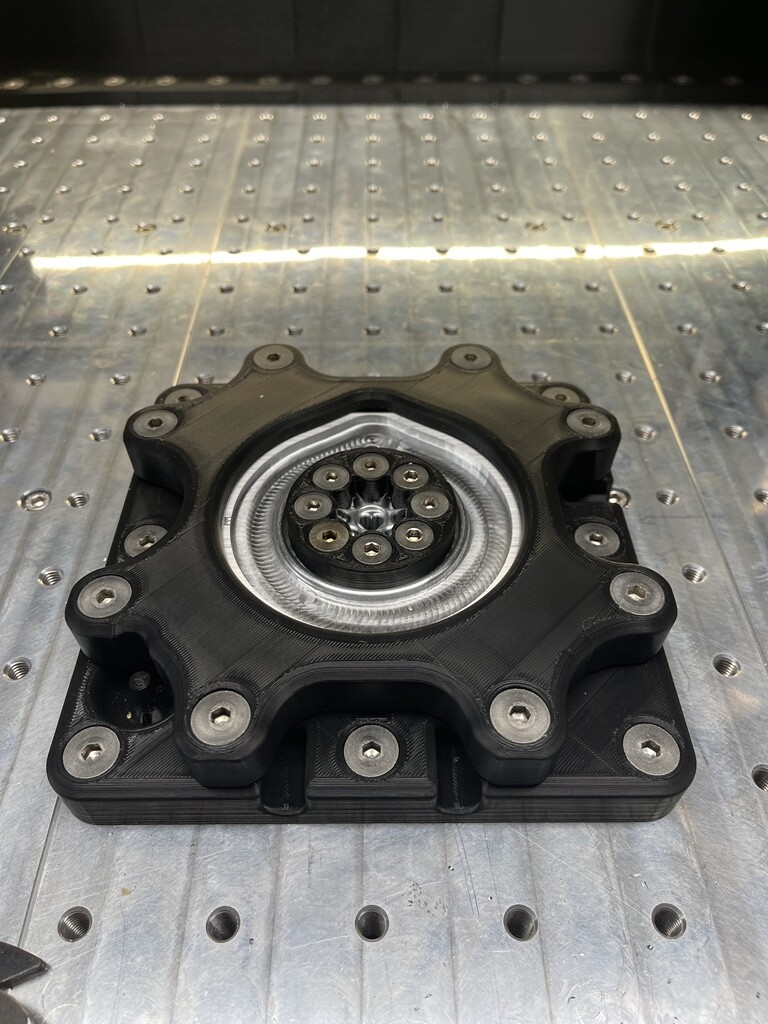
Came up with this 1/4" post for setting my zero. I have 3 inch carbide blanks I use for zeroing with the Bitzero. I lower the blank down to this post and you can pretty much get a dead balls perfect zero with it. It is very easy to feel with your finger tips or a fingernail, if it is perfectly centered and lowering the Z is very easy with a piece of post-it paper, then drop it lower 4 times on .025mm setting after removal. This first test version the post was sticking up, I have since recessed it into the base for clearance.
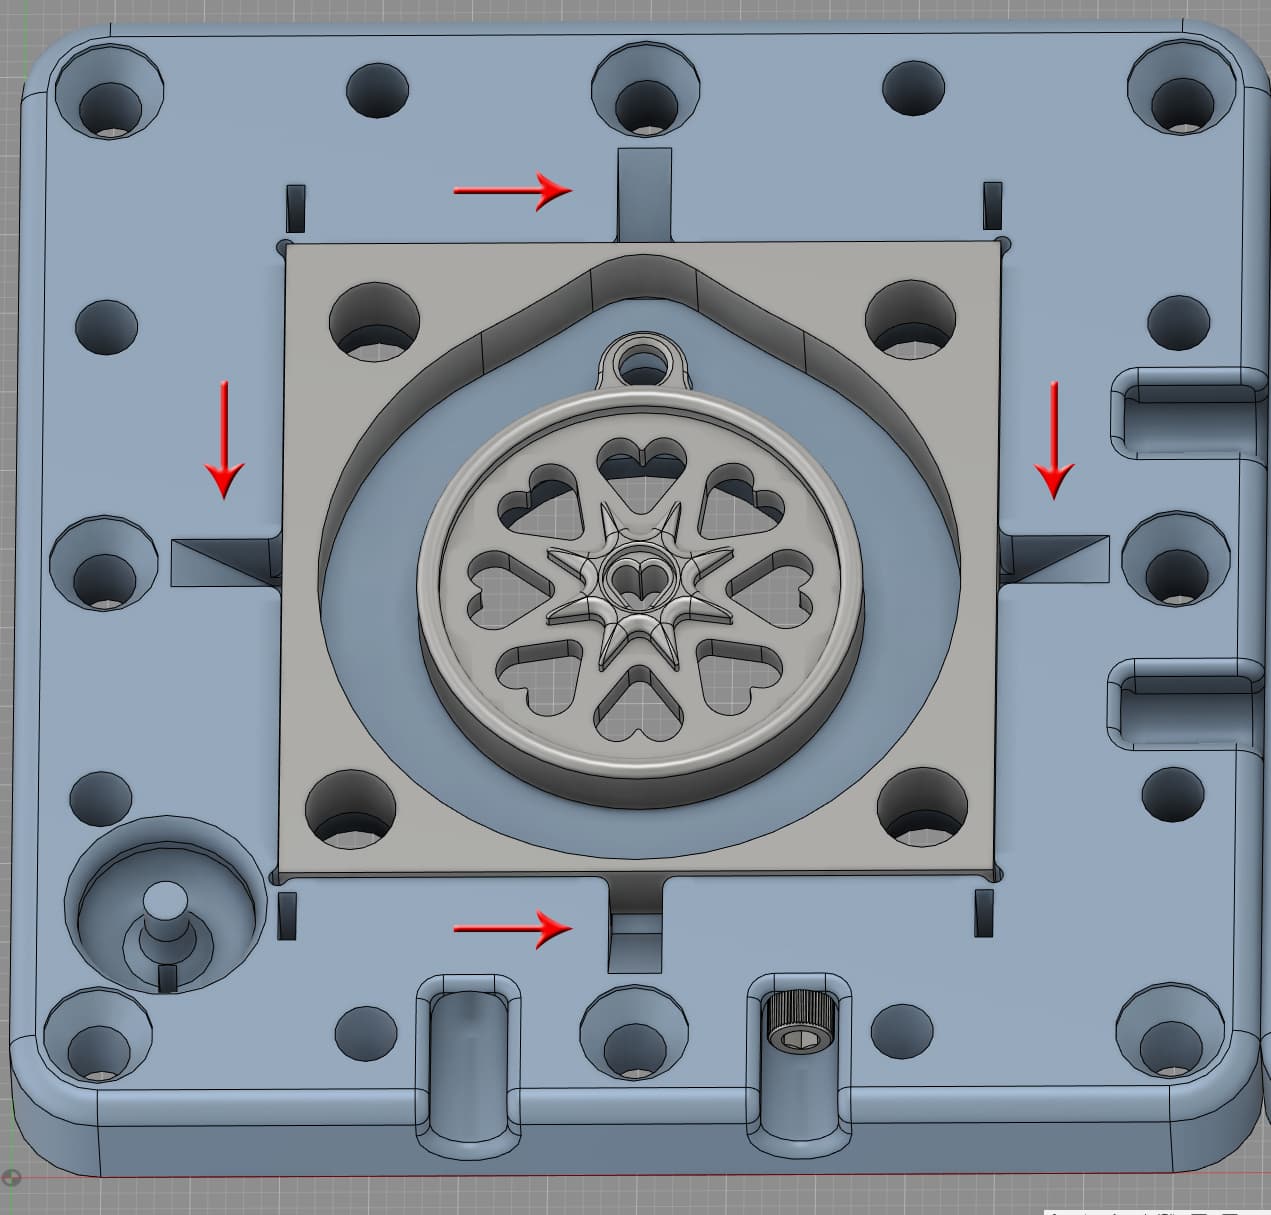
Modeled small slots that go down to the deck floor on each corner of the stock and one for the zero post to insert a caliper to check exact height.
There are 4 slots with threads to clamp the stock in the fixture, using 3d printed threads for now. Planning on embedding nuts for reliability and strength in the next version. These can be accessed easily from the top with a ball end hex wrench.
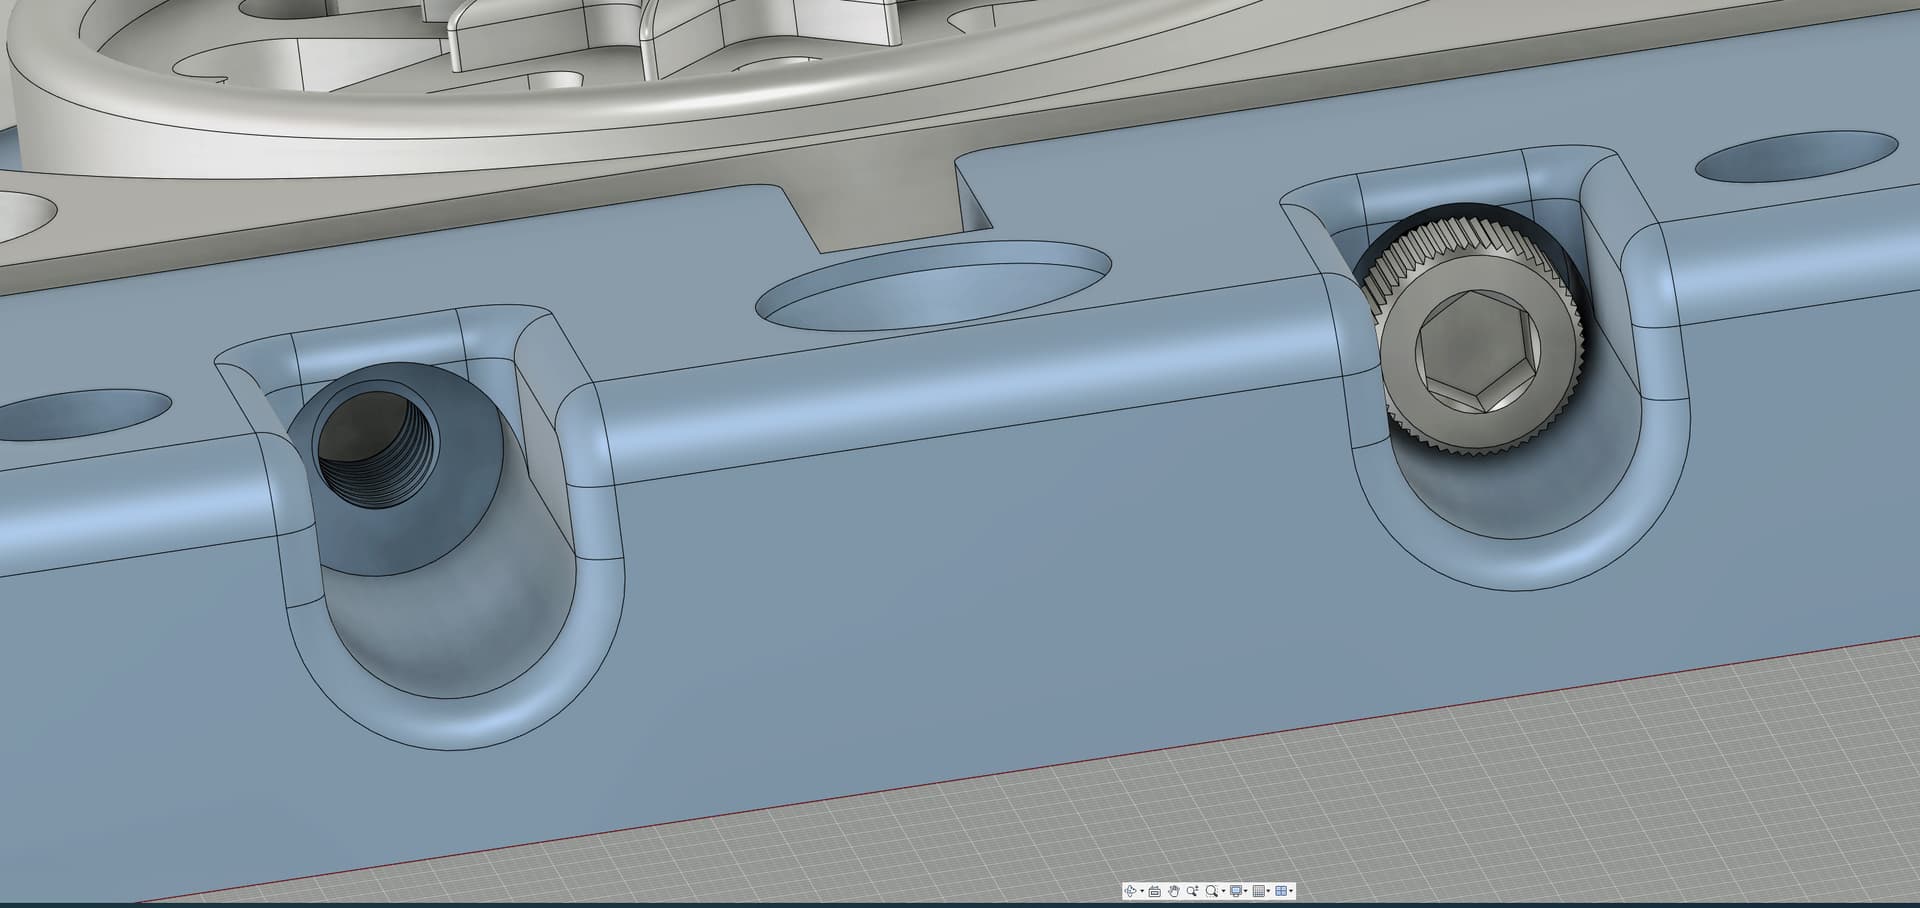
And a set of 4 slots one on each side that allow you to take a screw driver and place it below the aluminum frame to pry it out for removal without removing the module. The 4x4" pieces I have been buying from Stoner Metals on ebay are so accurately cut I have not even needed to clamp them down they are so snug to my models. Just tap them in with a rubber mallet and pry them back out after. They must have a very nice saw, the edges do not look milled.
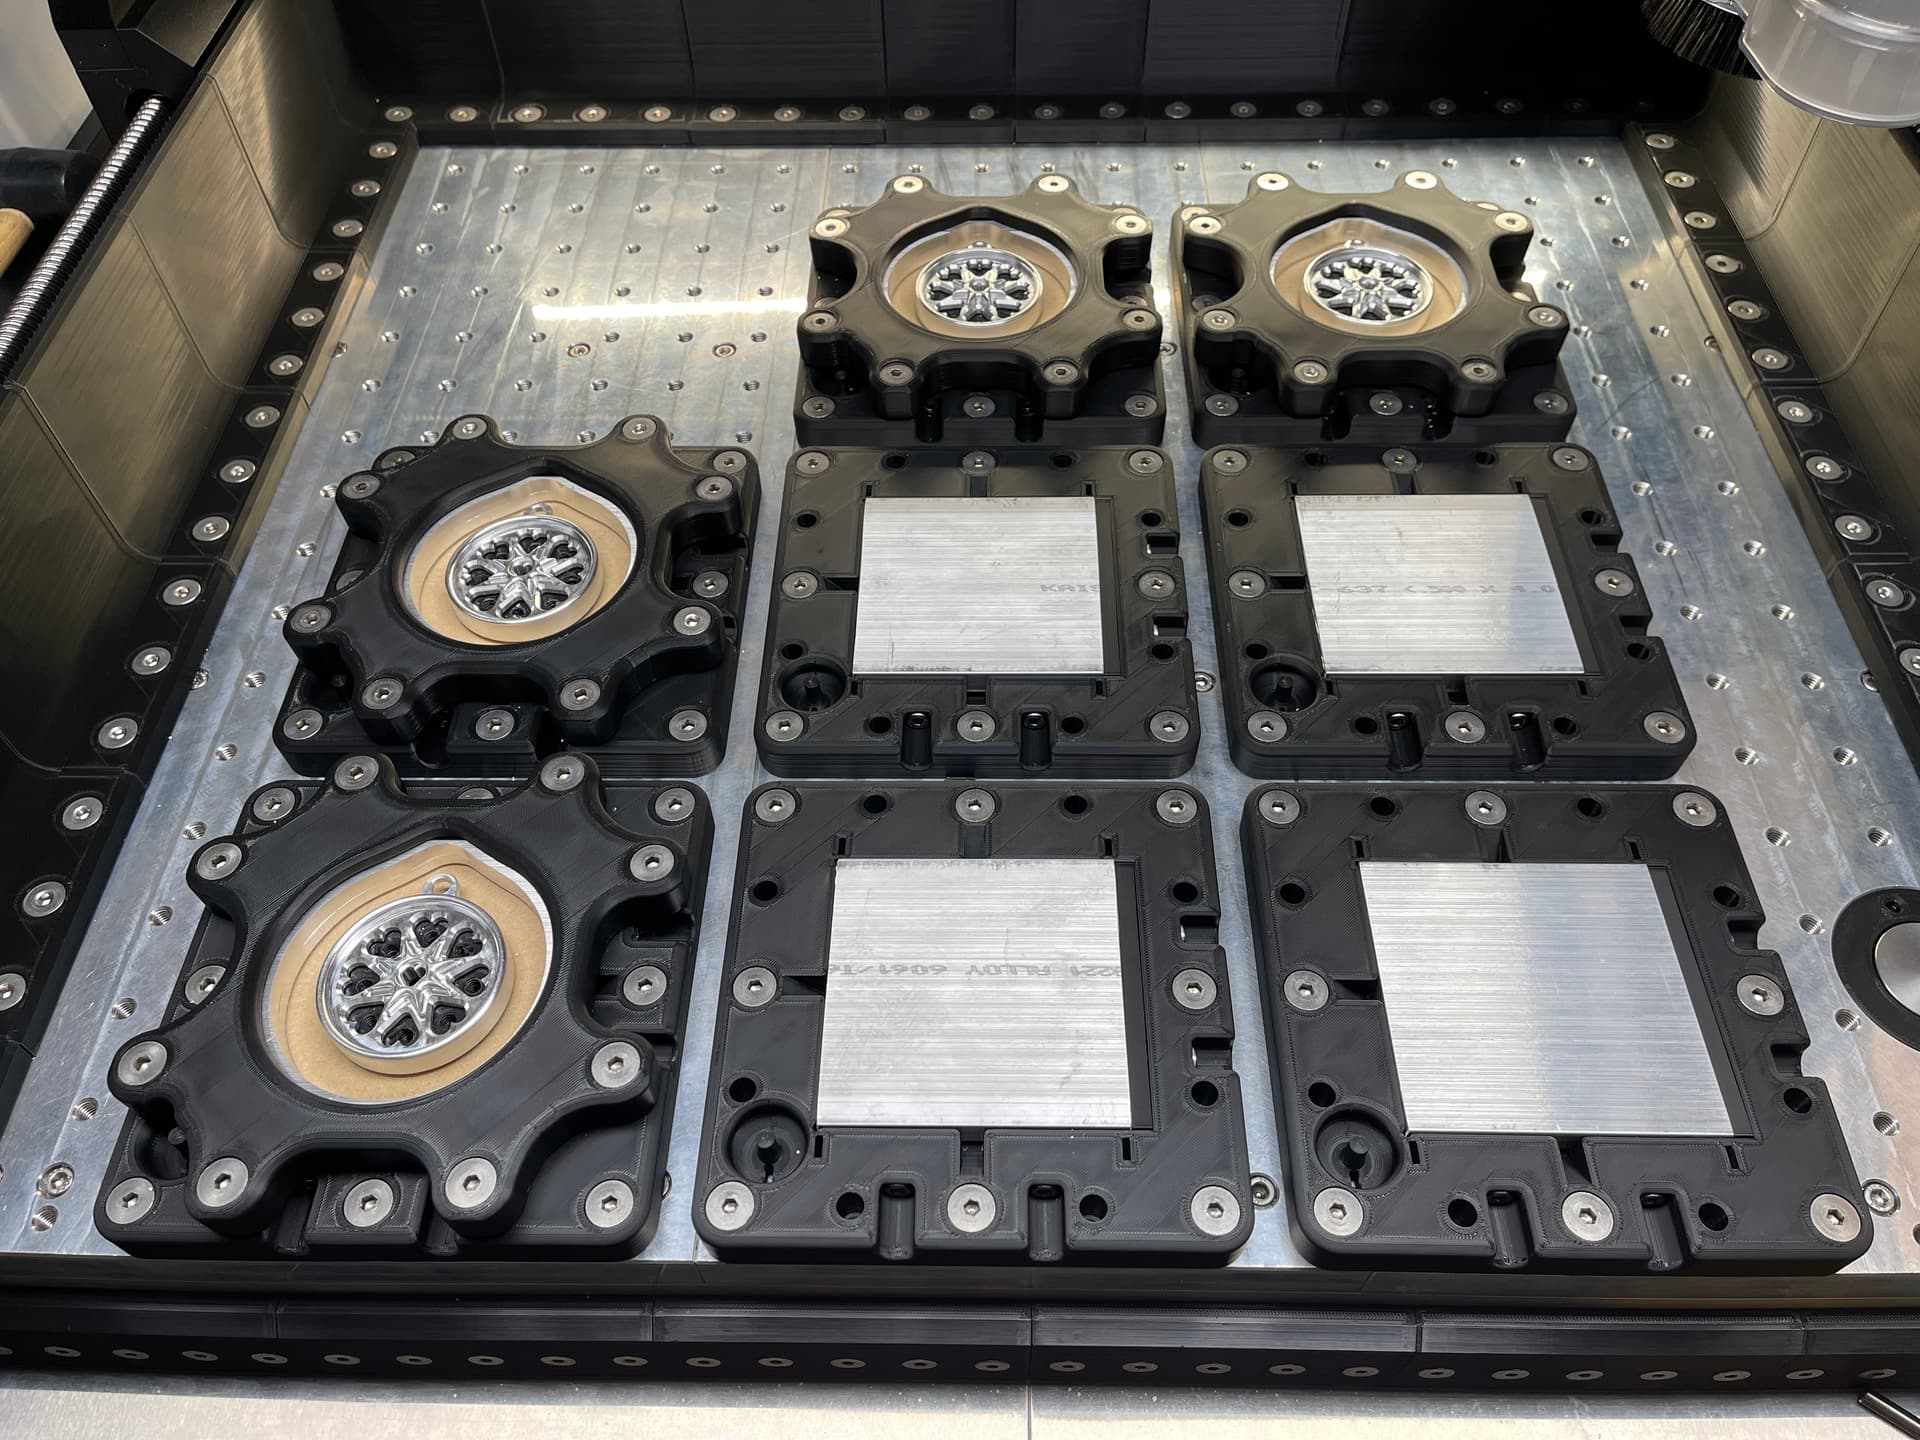
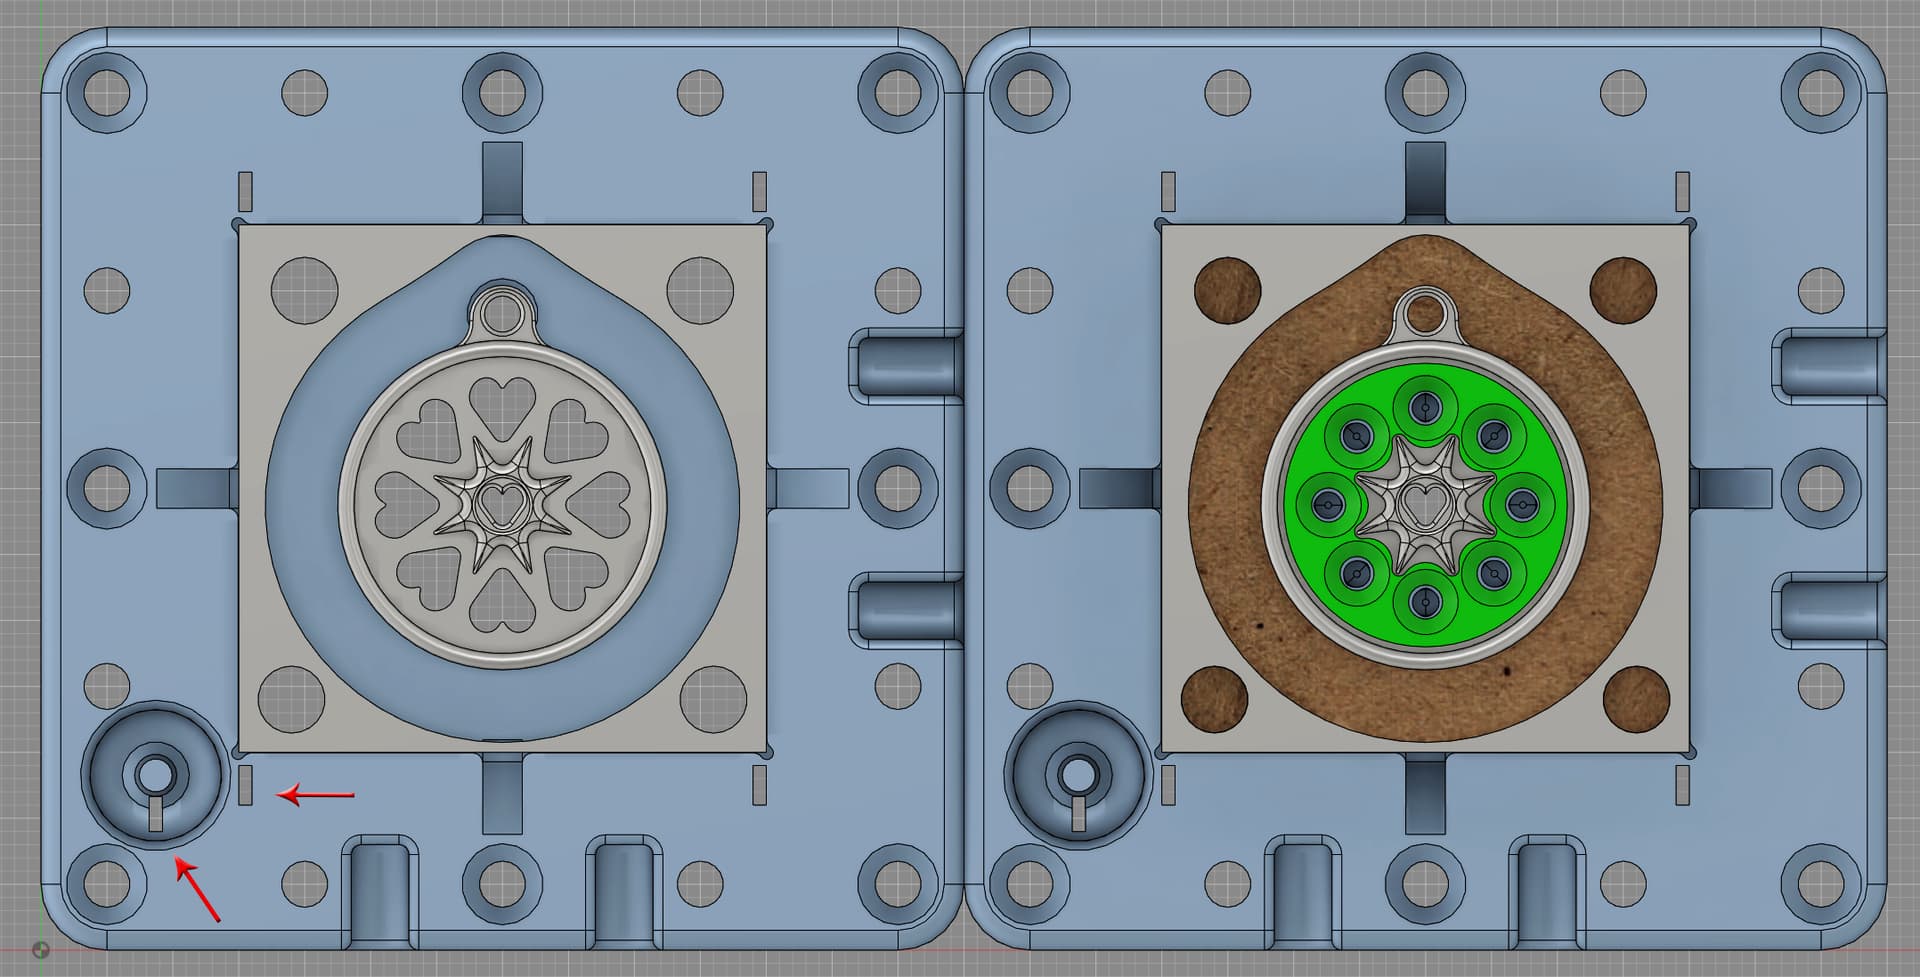
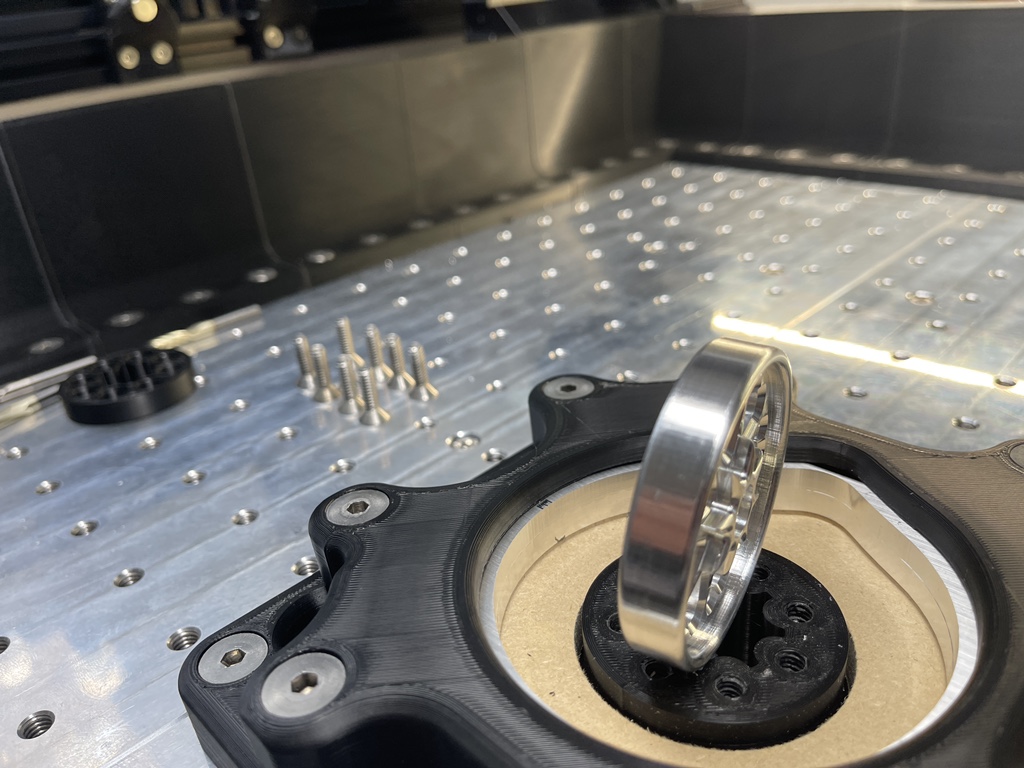
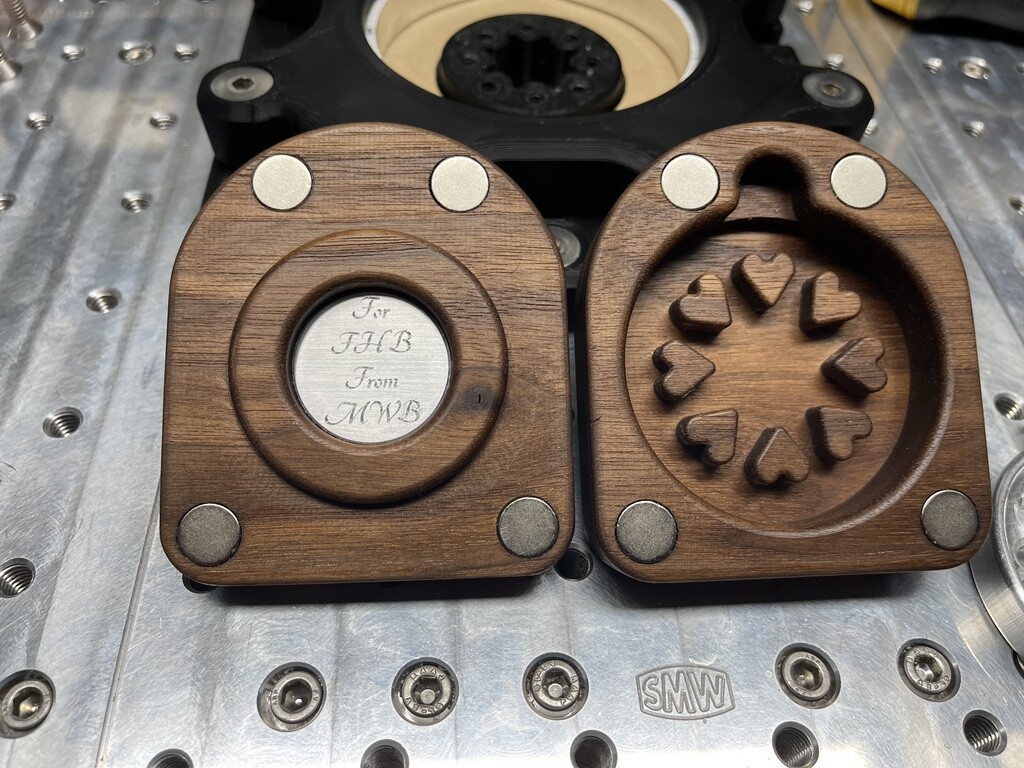
So the key to these coming out perfect is a super tight pin hole on the aluminum and the MDF base for the bottom side. Lots of test cuts to get the perfect hole that has some resistance to insert the pin with no wiggle room at all. If you can achieve perfect pin holes you can pretty much pull off a no seam 2 sided carve. Pin wiggle room = seam. I use 4 pins to minimize any variance.
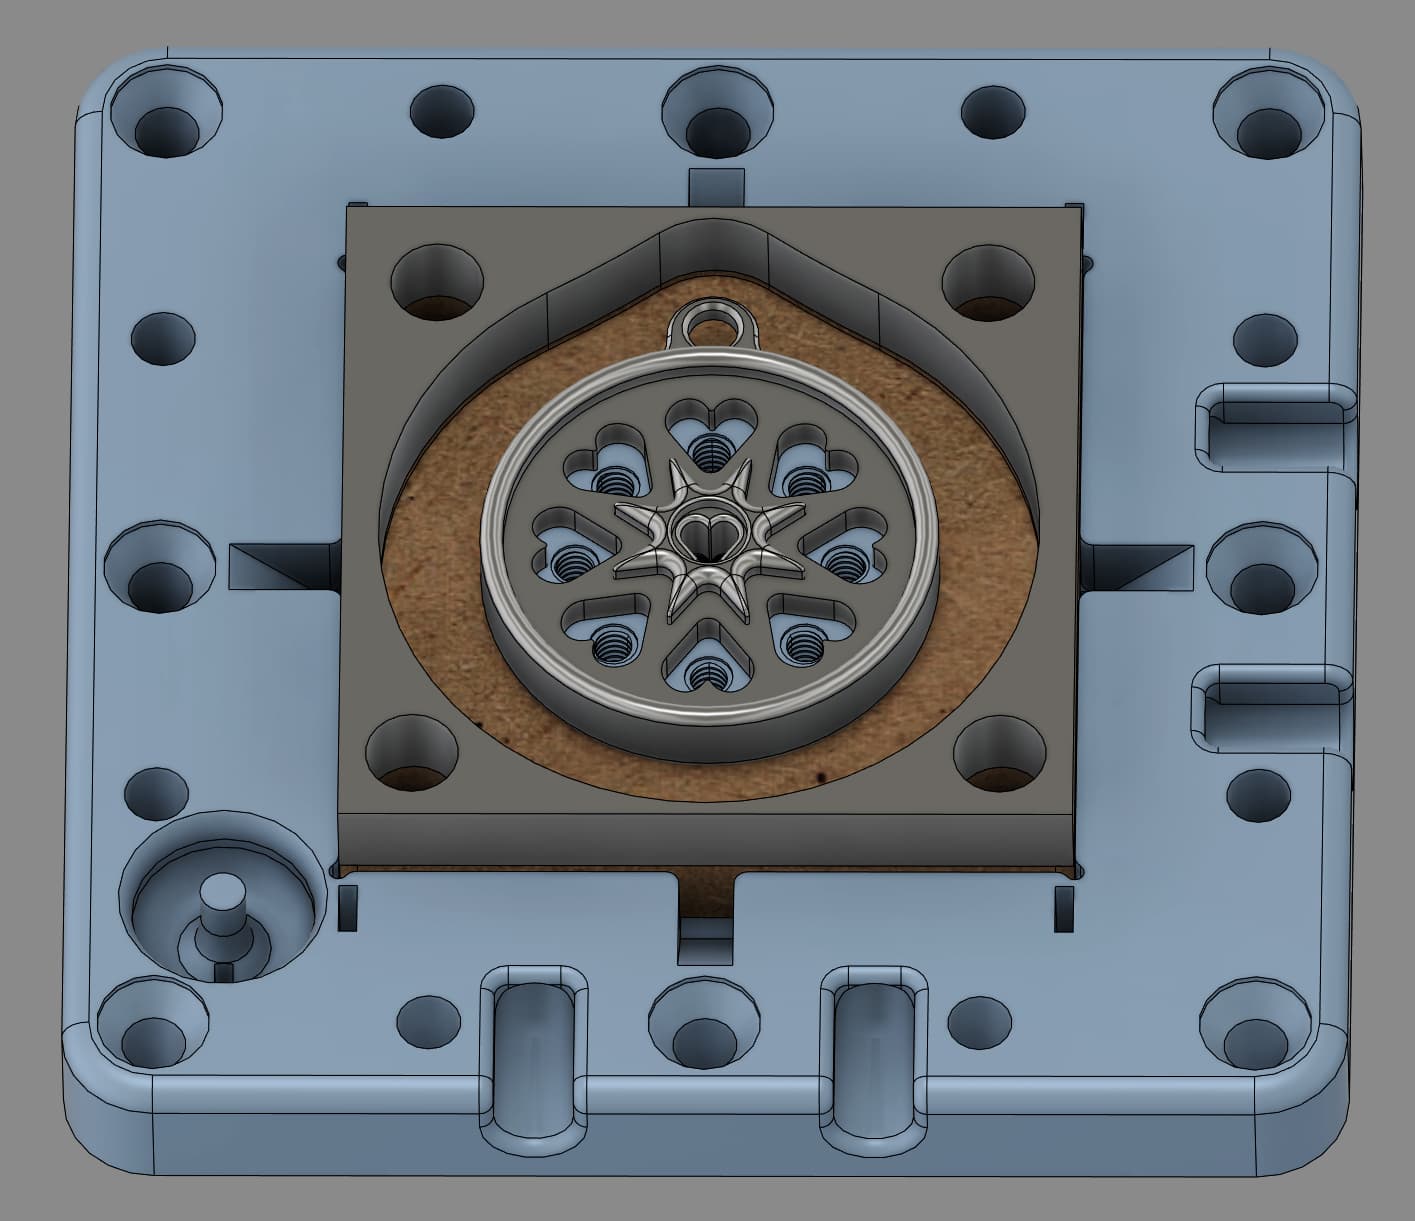
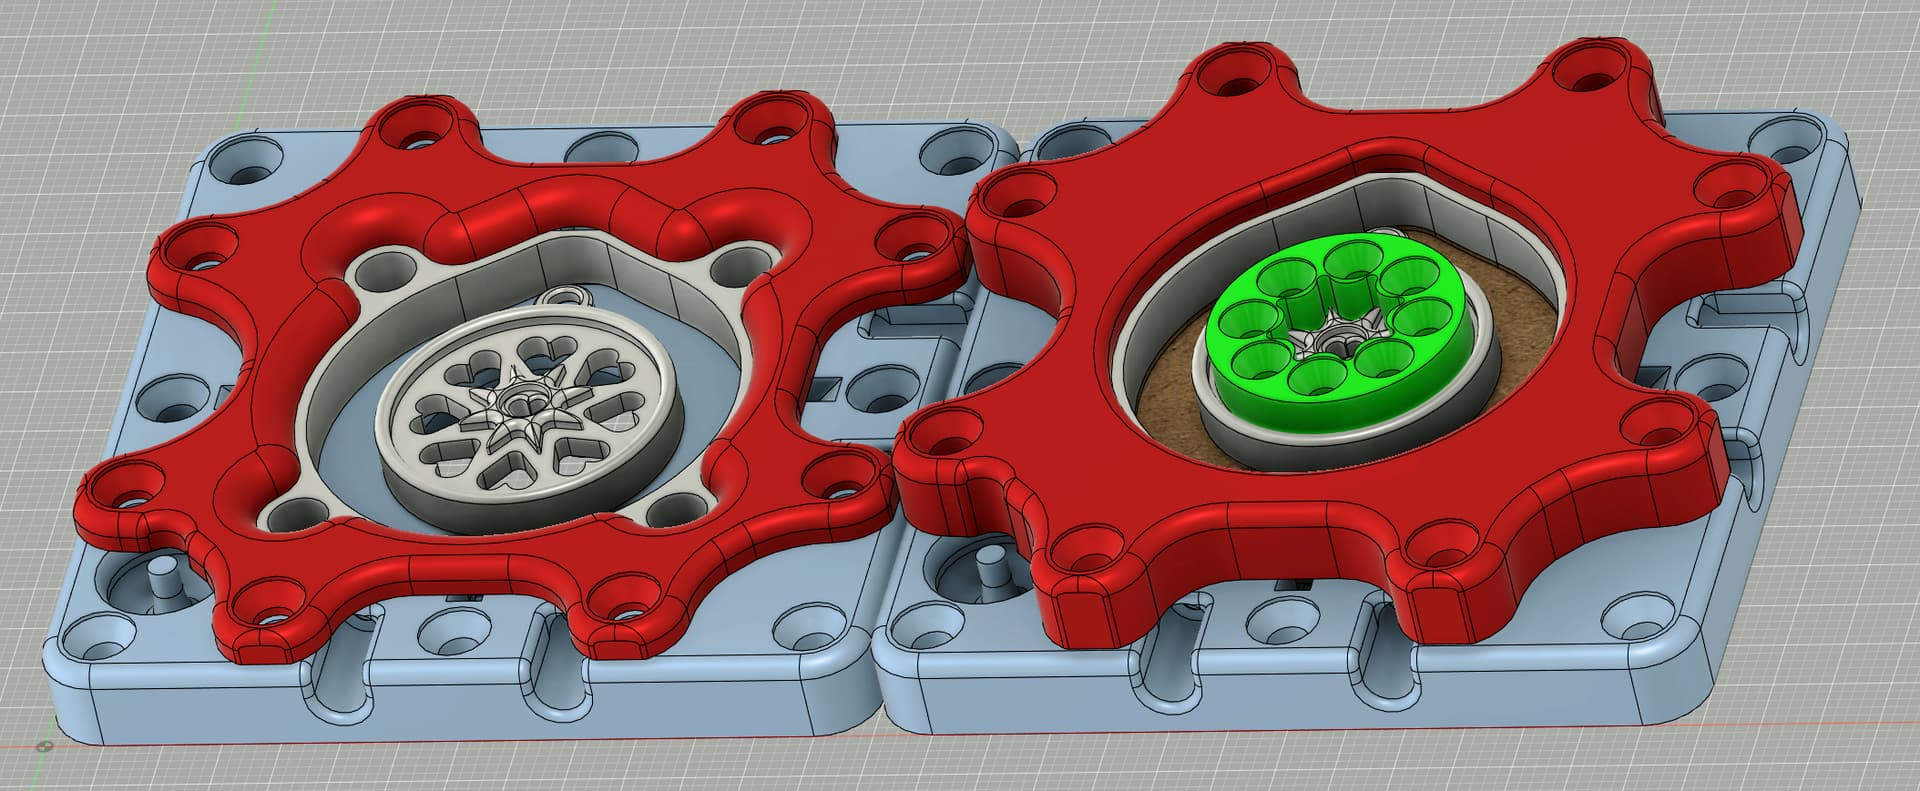
I carve out the center of the top side and about half way down on the outside just enough to run a contour over top of the protruding key chain hole because there will not be access when it is flipped over. Then flip and finish the center first on the bottom side. Afterwards I clamp it to a center post on the bottom side fixture that sticks up and perfectly meets up with the bottom side of the key chain under the aluminum frame.
The photos of the models do not show the chamfered edges, the toolpaths are based off un-chamfered edges in a 2d toolpath.
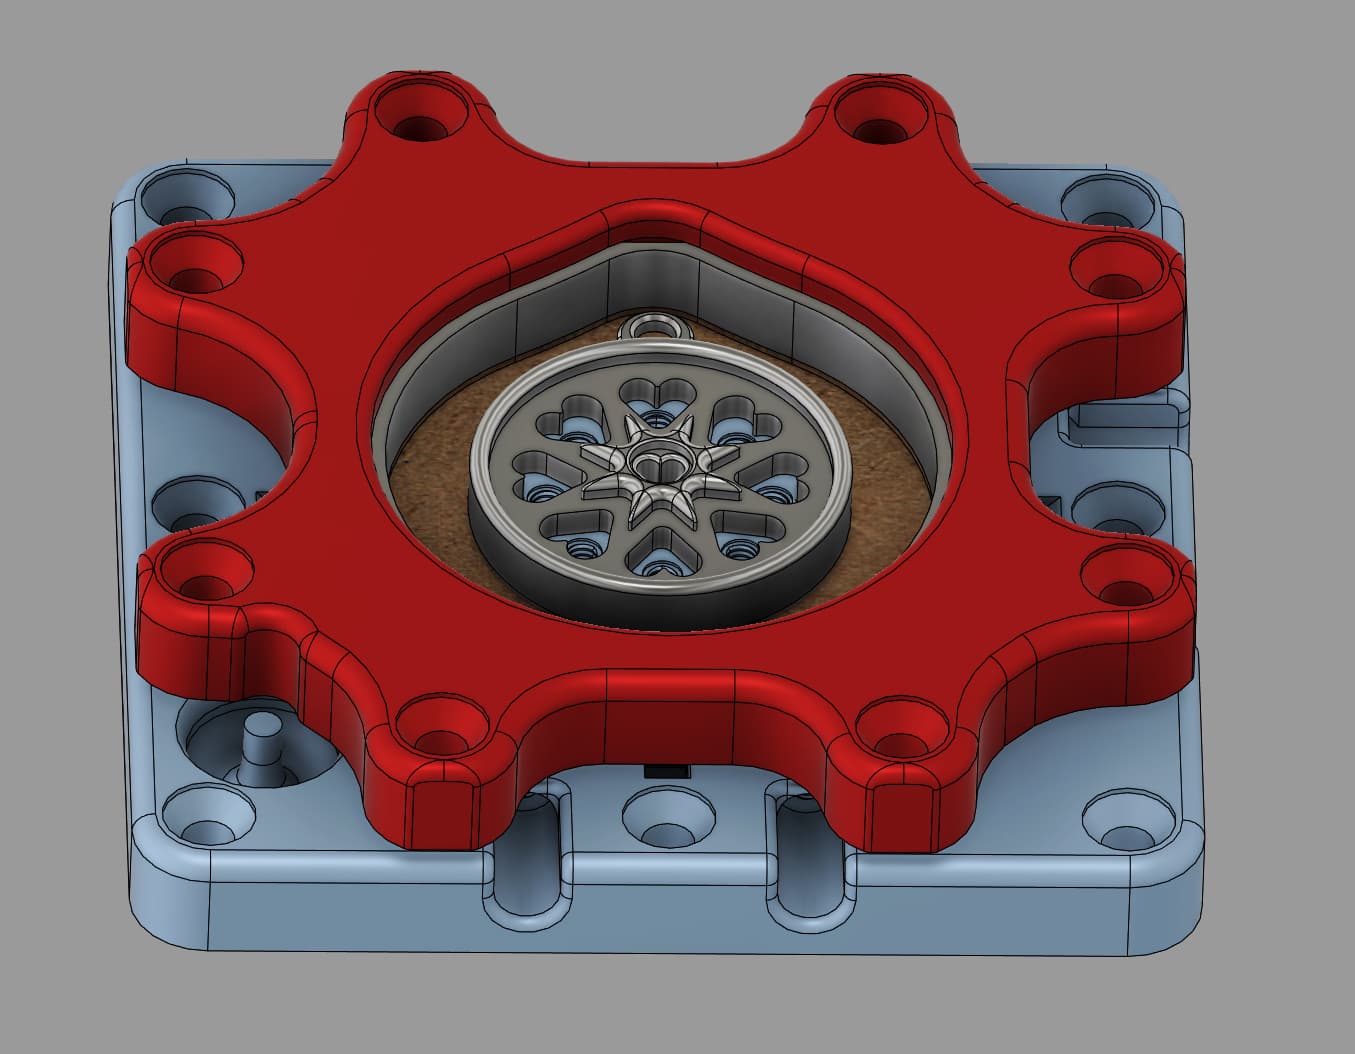
Now I am free to carve out the rest of the frame with no tabs to worry about.
From this:
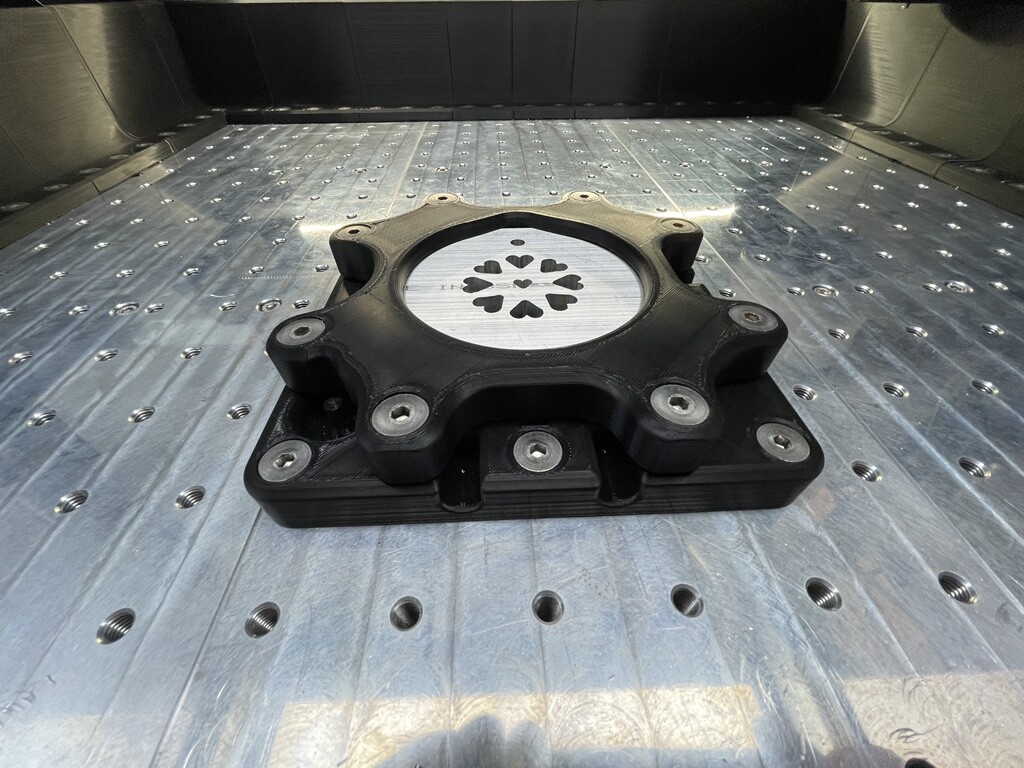
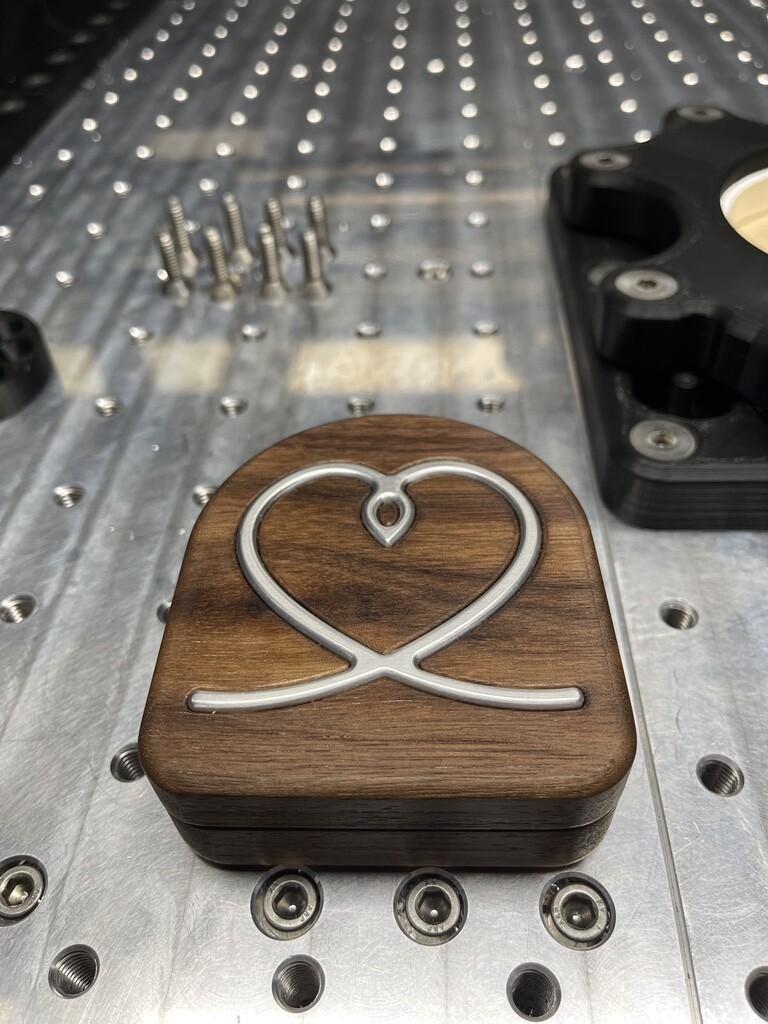
To this:

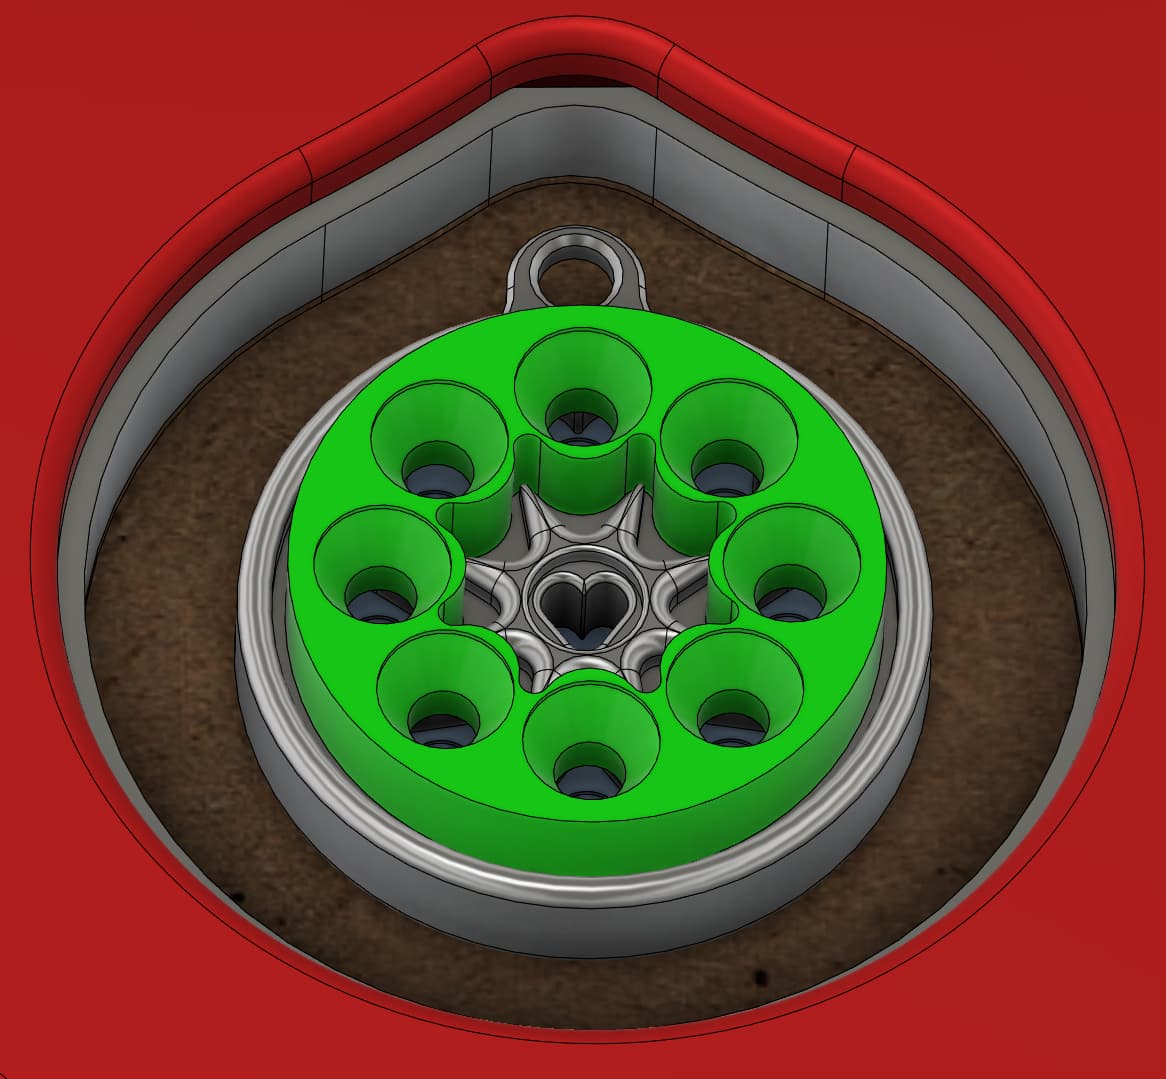
Could not be happier with the end results, they are completely smooth and feel really nice to hold in your hand, no sharp edges, no seam, right off the machine is stunning to look it imo. It can use some polishing, some light tool marks on the flat surface around the large heart chamfers need work and I will do a quick polish on the whole thing with a rotary tool and diamond paste, but I am just extremely impressed with the results from the HDM, it has been a very good purchase for me, my favorite machine ever.
So I got my inspiration for these key chains a while back, a few years ago I made a gift for my elderly mother one with a peacock engraved on a small disk embedded in a piece. I had made a second peacock, slightly rougher then the one I used, it was a test piece, I gave it to her with the gift as a extra to use for a paper weight or whatever. She has been carrying it around everywhere with her ever since.
I was thinking I could do better! A nice smooth rounded key chain made for handling would be a possible upgrade and she might want to retire her “pocket peacock” lol but probably not…
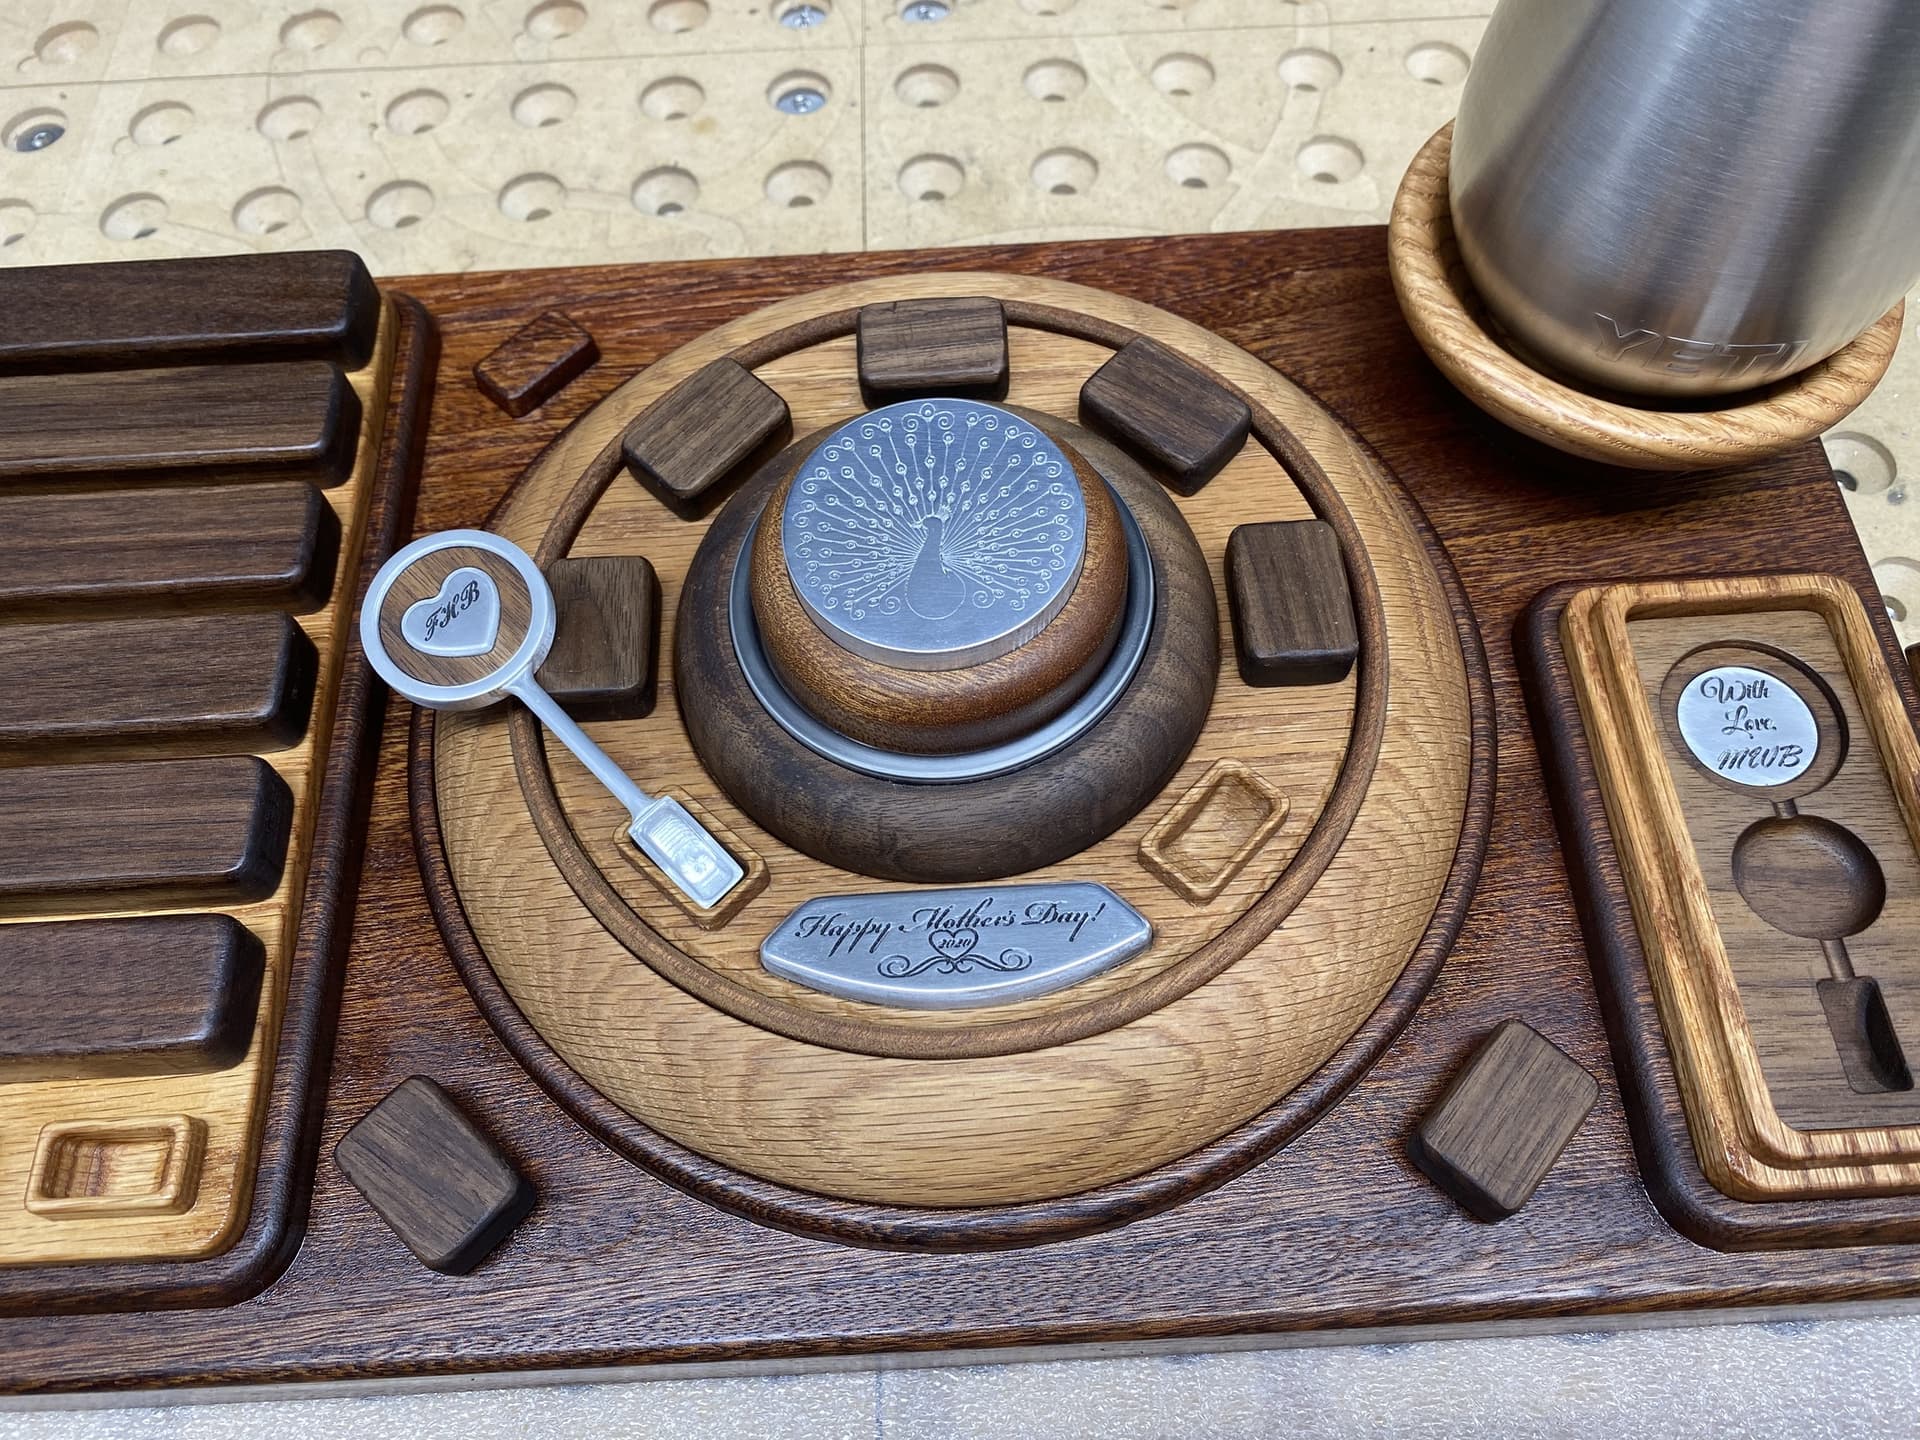
I found some nice key chain straps on Amazon, and designed a wooden gift box with a line art style heart design on the front and a engraved inscription on the inside. Here are some pics…

The plan is to start my CNC business off by manufacturing 100 of these to start for sale. I plan to include the strap and sell them in a 3d printed case with a magnet lid that I have yet to design.
I got the toolpaths down to 6 tool changes and 36+ operations per side, about 7 hours total for both sides in machine time with moderate settings. The 4x4 bars are about 6 dollars each when bought in bulk. I will make 4 at a time with 4 modules mounted in the HDM to reduce tool change time to start. I don’t think I want to try more then 4 at a time due to loss factor if something goes wrong.
Initially I will make these hearts design key chains but plan to make a ton of other designs for this key chain platform the near future.
Excited to get busy on these, will see how it goes!