3D Printed Vacuum Table

So, I am going to try to cut a couple of foam gaskets from 1/4" thick textured silicone foam. Being the naive simpleton I am, I figured I would just do the blue tape and superglue thing and glue down these three different durometer foam pads and be done. I mean, it worked fine for the leather that I cut before, and the neoprene foam sheets as well. . .

Well, funny thing about silicone. It is awesome in that nothing sticks to it - even when you want it to. So, after applying (or trying to apply) the blue tape, it just kind of. . .unstuck itself and curled back up.

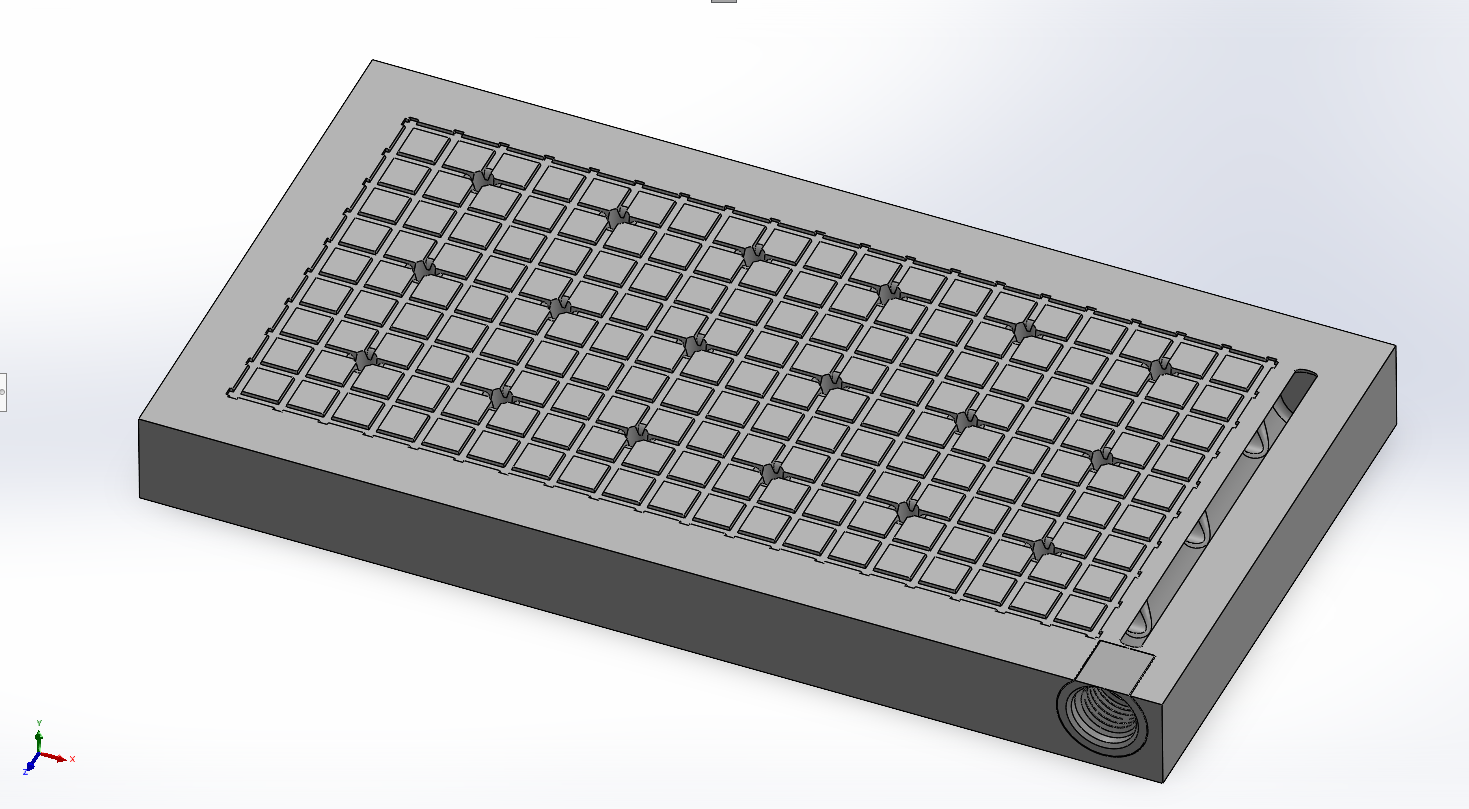
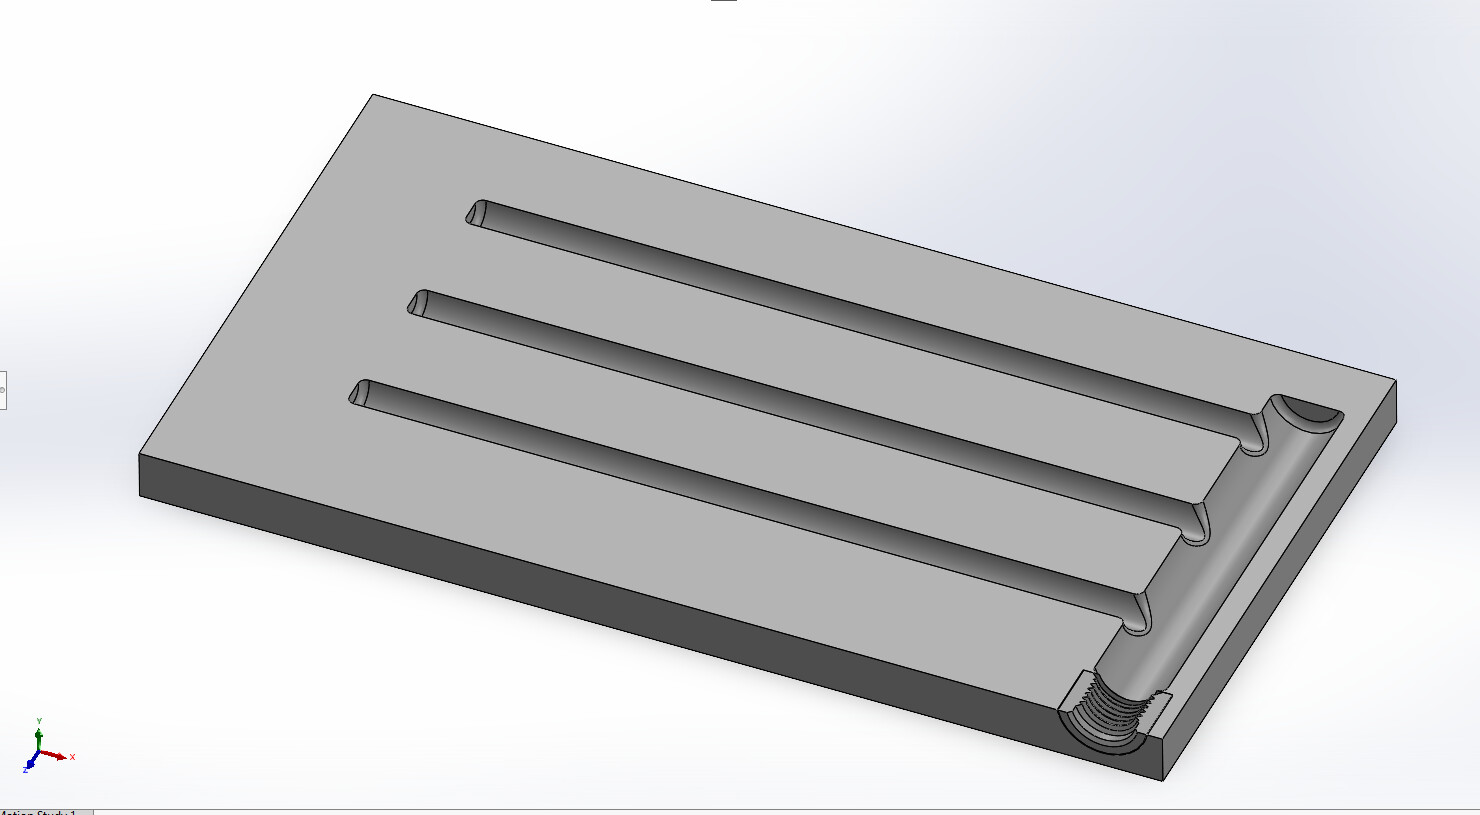
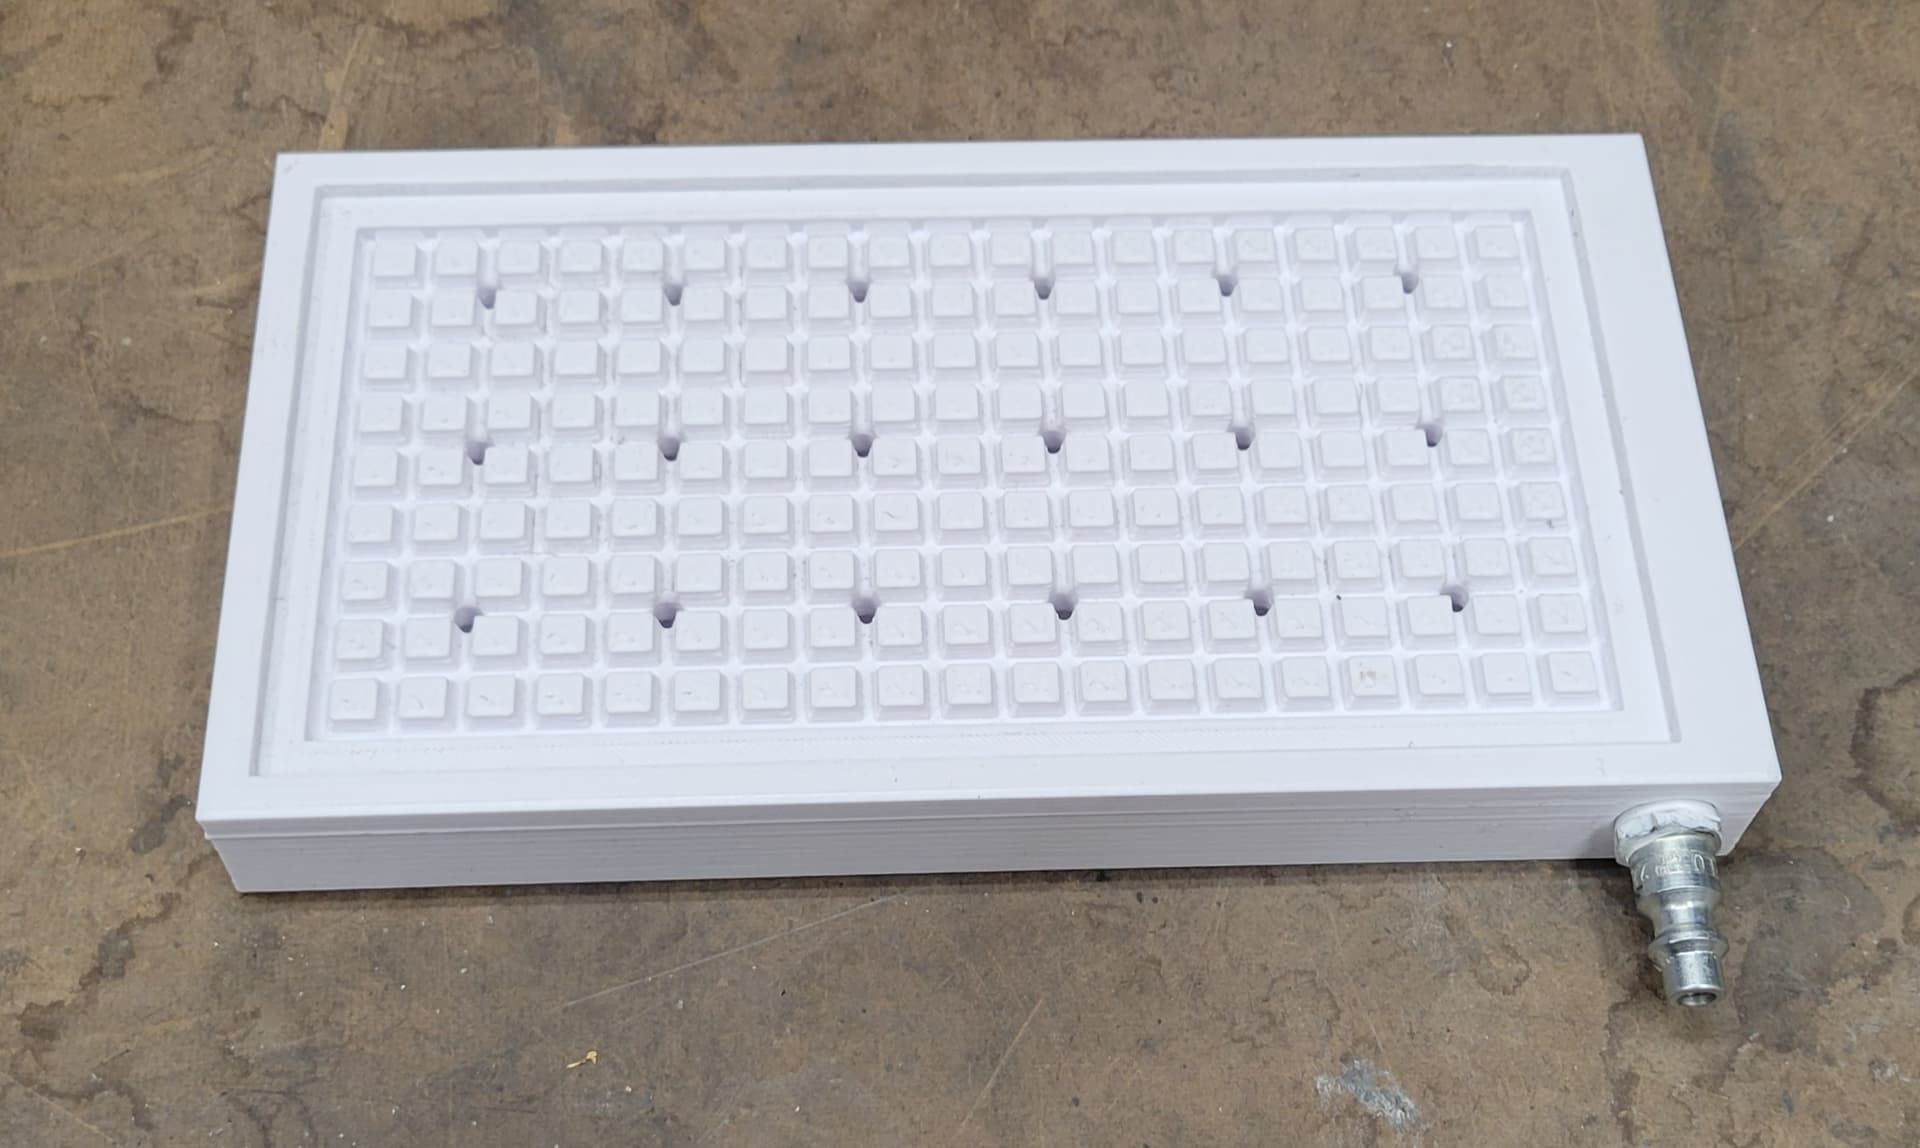
So, after contemplating purchasing adhesive tape that sticks to silicone (3M 9731 will do it) I figured I’d give it a go at designing a small custom vacuum table for this job.

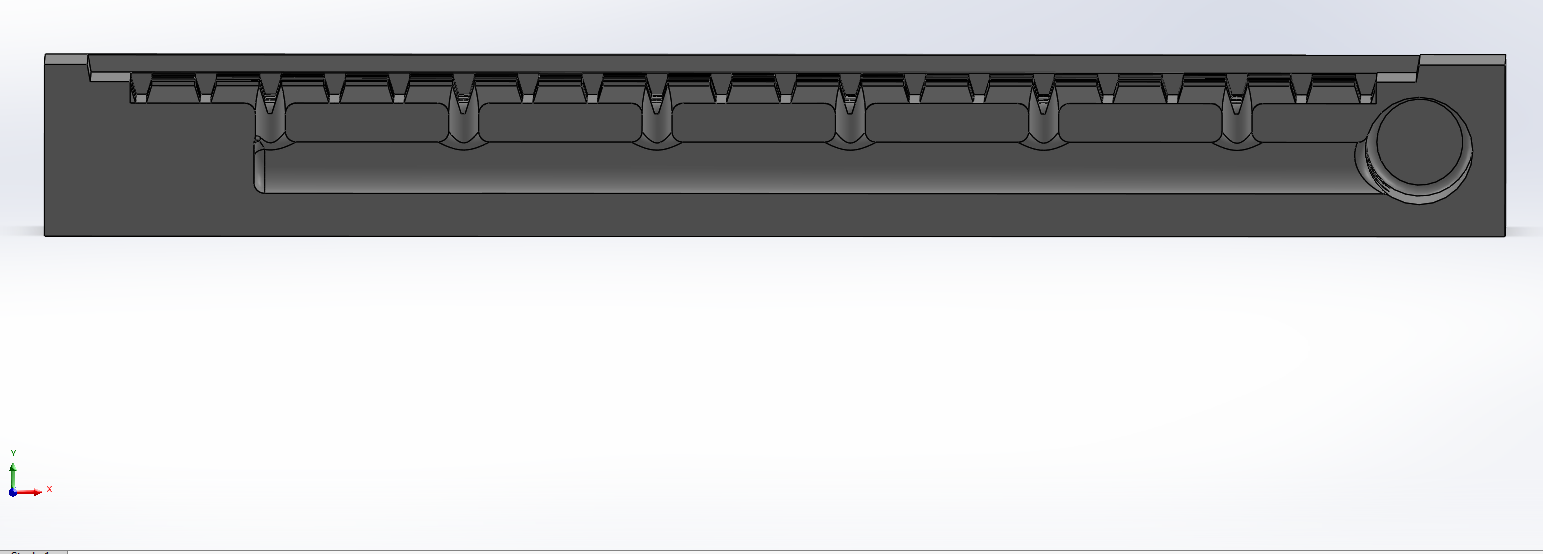
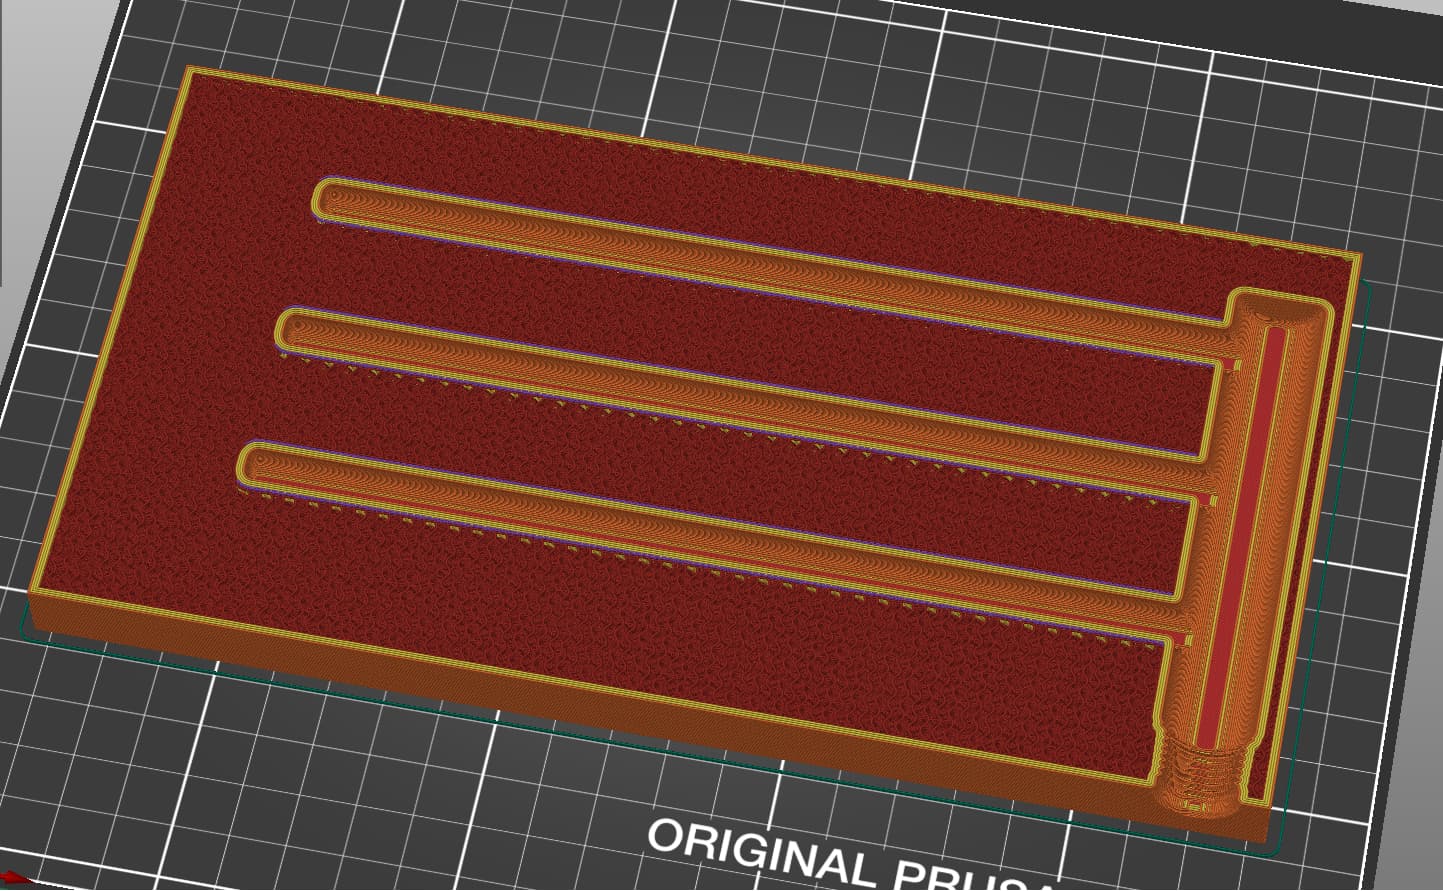
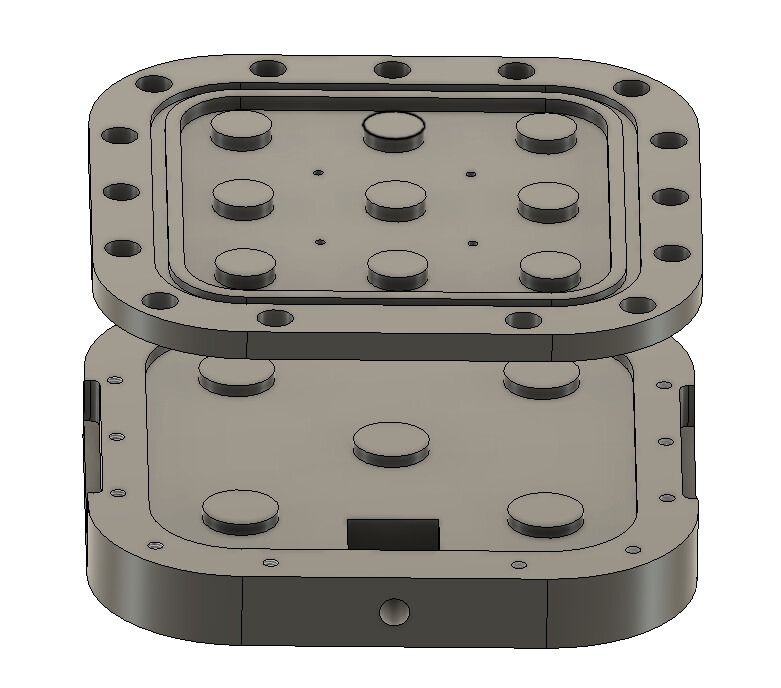
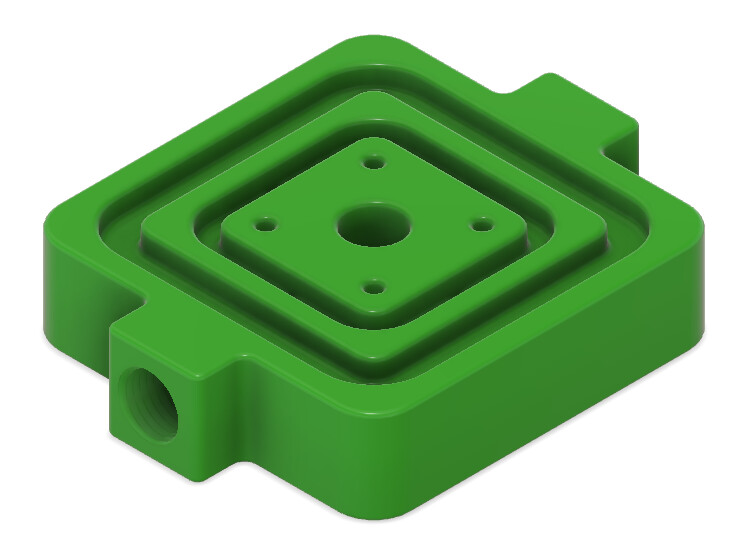
I will probably make a 1/4" plywood plate to go on top of this that I can surface to get a nice flat and parallel surface to hold the foam rubber sheets. Then, cut the through holes and channels specifically for the gasket shape I need to cut. The channels are 0.125" wide, and the islands are 0.50" square. The holes to the surface are 0.177" diameter - as wide as I could go and not cut into the islands. The vacuum channels inside are 0.30" diameter, and the large manifold at the fitting end is 0.625" diameter.

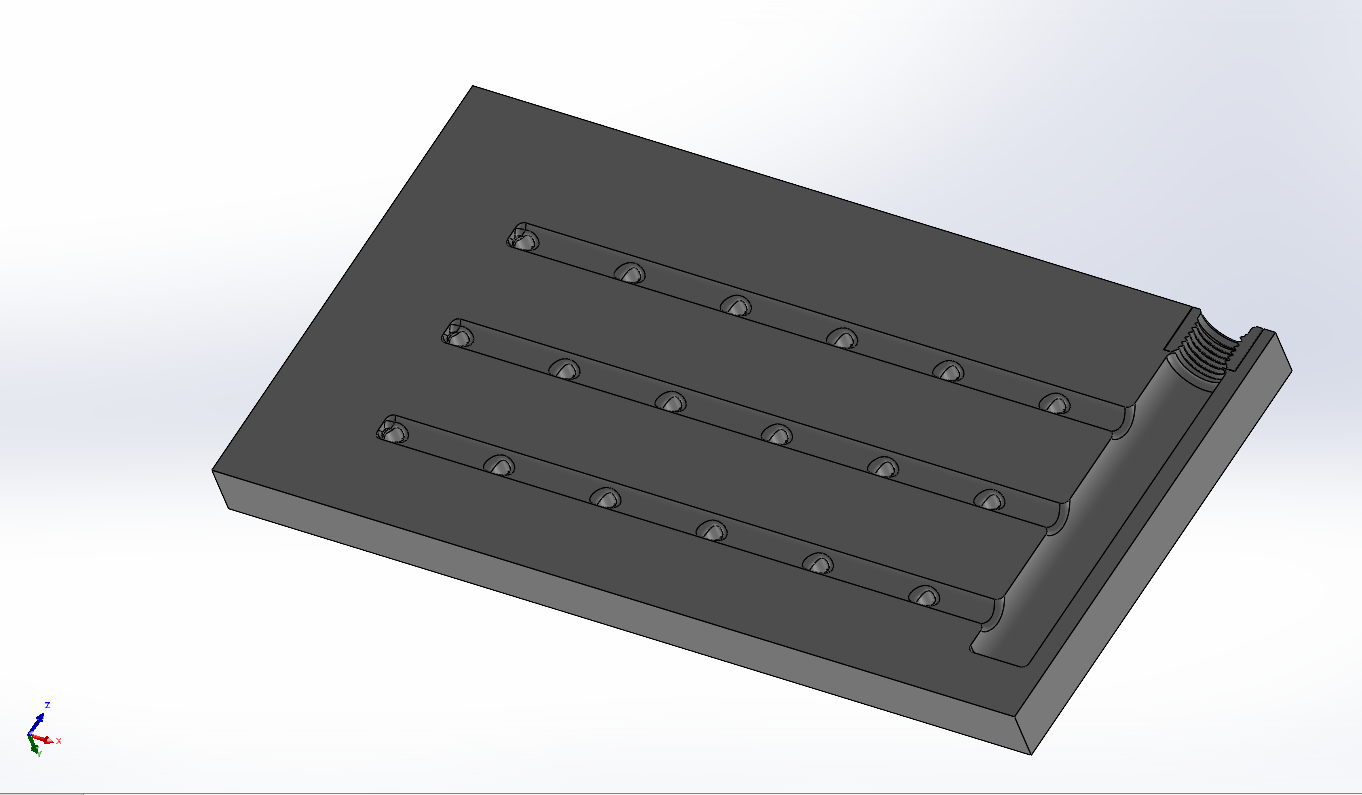
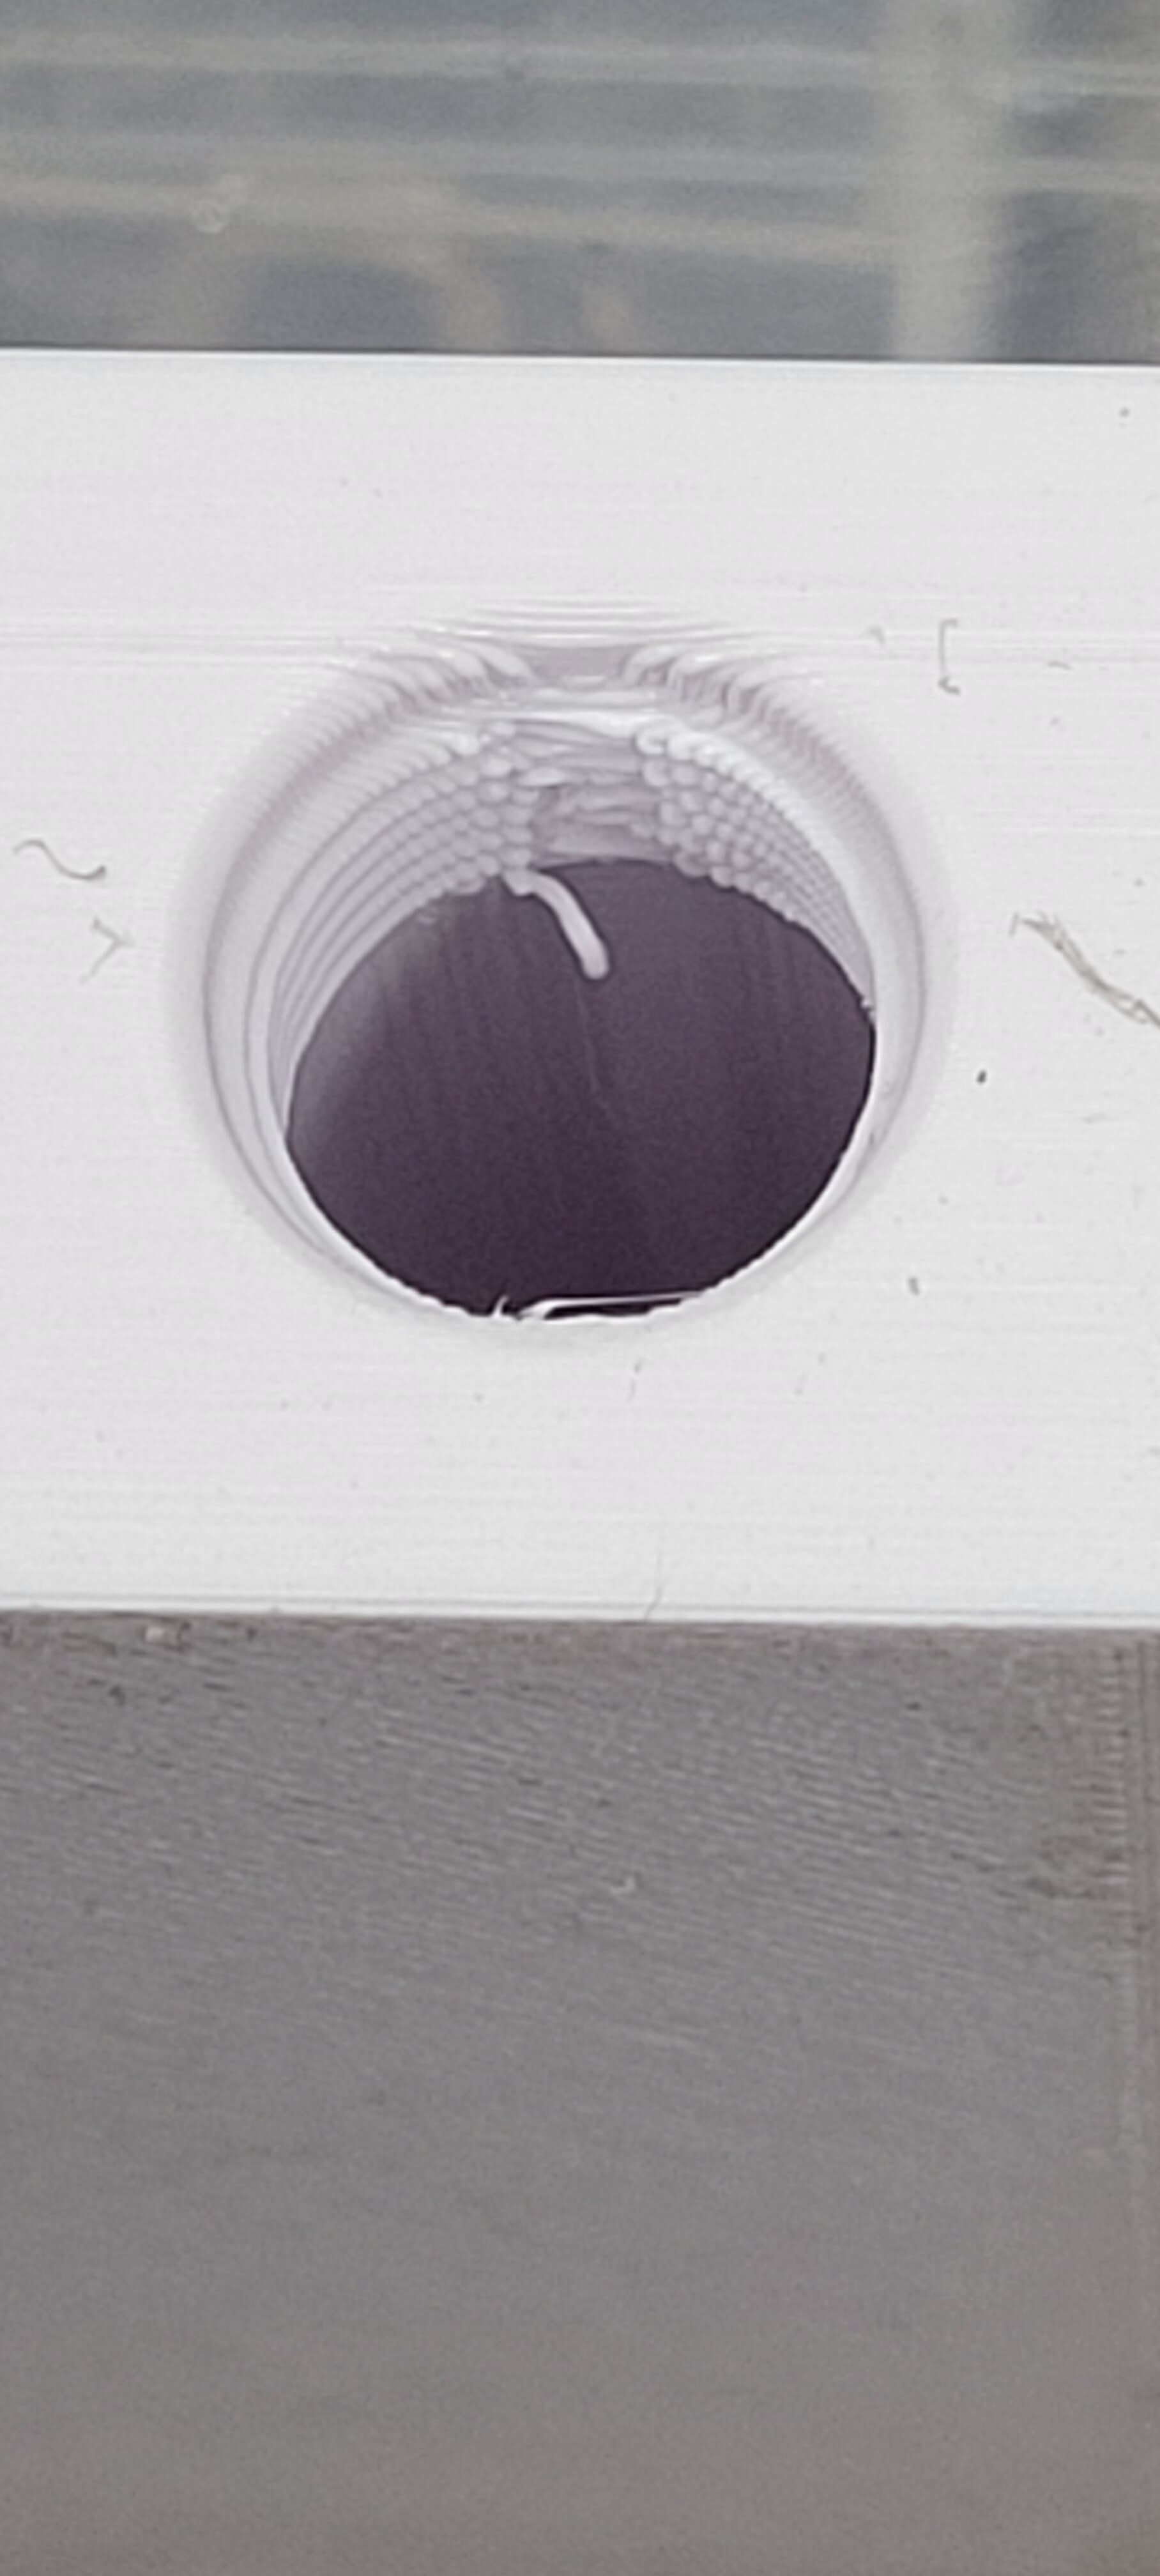
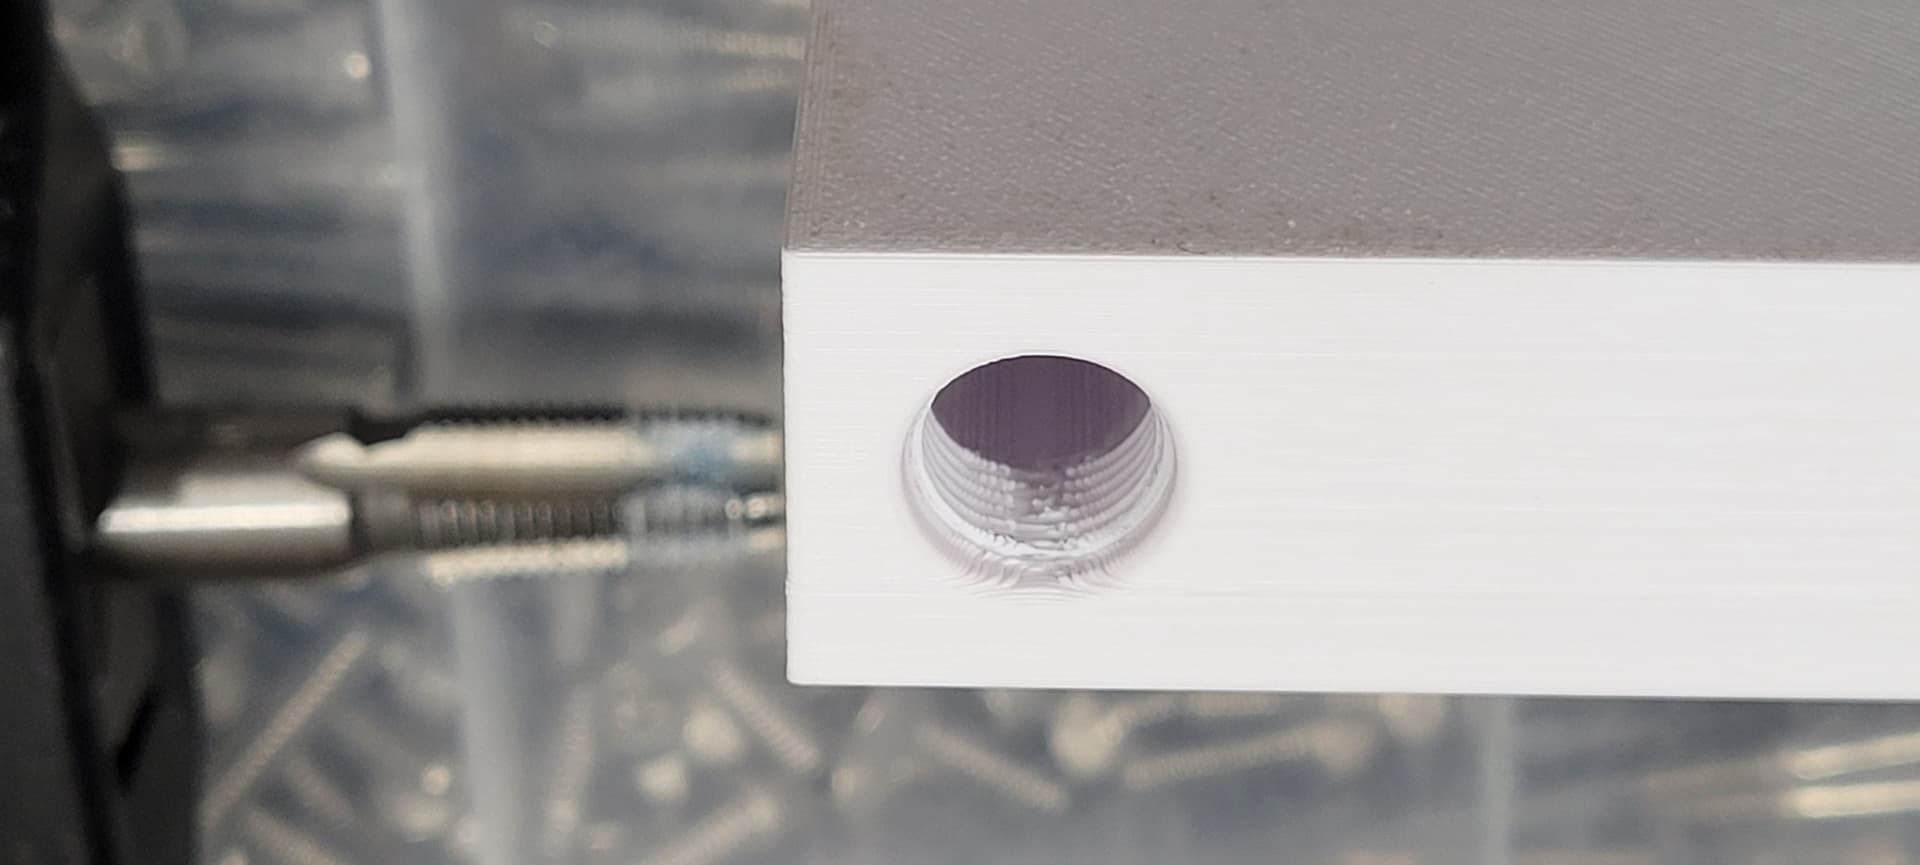
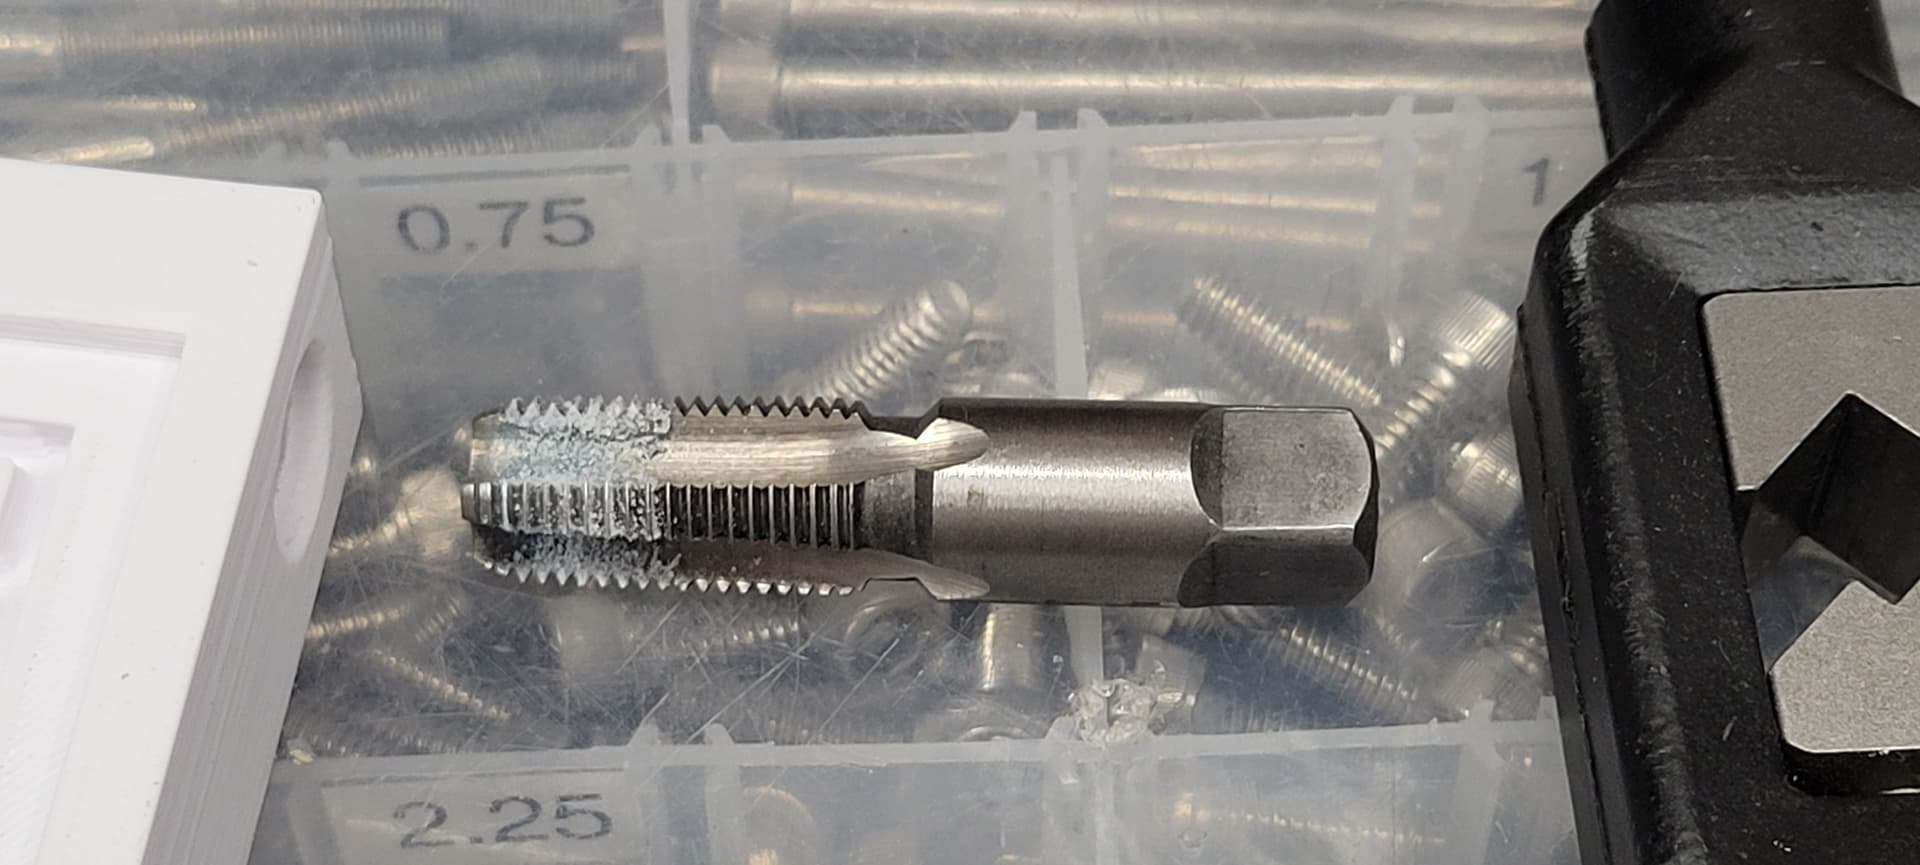
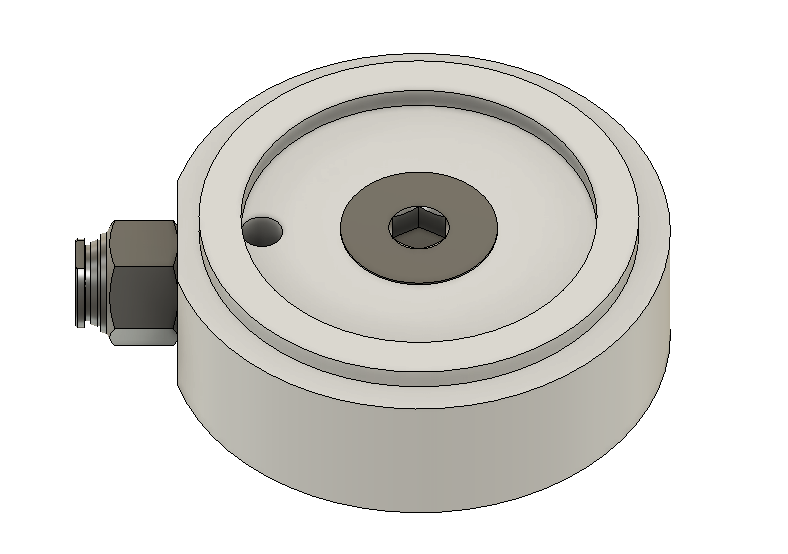
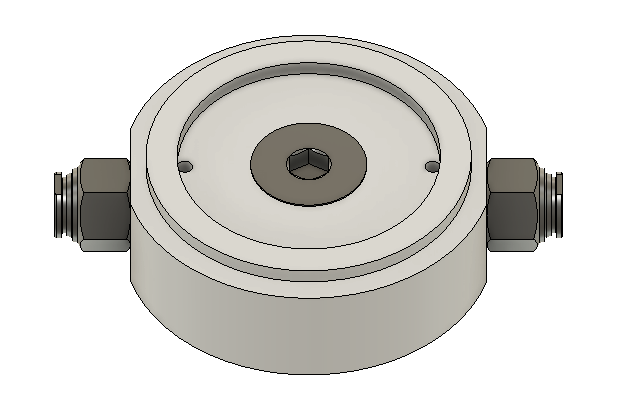
I am lazy and didn’t want to design the 1/4" NPT threads, so I just grabbed a McMaster-Carr butt weld female threaded 1/4" NPT fitting and created an assembly, then located them and exported the assembly as a single body STL, which PrusaSlicer handled just fine.

In about 26.5 hours, I’ll have something to try out.

9 Likes

Just in case it’s useful information, you can get adhesive foam tape for vacuum hold downs from veneersupplies.com.

2 Likes

Whoa. Great idea! Very interested to see if it works.

Just a quick update. It printed just fine. The threads are a bit (a lot) ugly, but I did expect that. But there was no big failures of the internal channels.

Here are the threads after I cleaned up the boogers on them.

I probably could have done more with the tap, but I didn’t want to push my luck and cut through the perimeter layers. Here’s what the tap looked like after cleaning up the threads.

Here is the table with the air fitting installed. I put 6 or 7 wraps of Teflon tape on it. I also just snuggled it on, since it’s easy to overstress plastic with tapered threads.

I did hit the vacuum surface with some 1000 grit sandpaper wrapped around a solid 1-2-3 block to knock down the zits from print head retracting to move to another location.

Tomorrow night I plan on cutting and drilling the 1/4" plywood plate with the hole pattern for the gasket I need to cut.

5 Likes

I recently modeled one based on another version I saw. It’s a smaller, puck-style. I printed in PETG and got a little leakage through the print, but I could not separate a piece of 3/4" MDF from it with the vac pump on. Next will be to make them chainable.

@MadHatter How has yours worked? I may try ASA and then vapor smooth it to see if that eliminates leakage. I tried dipping one in shellac, but that didn’t seem to do much. I didn’t seem to get any leakage from the threaded connection.

5 Likes

That looks good. If this works out, I’ll have to do something similar. Might design the grid channels for 1/8" rubber chord. This one I just kind of made up the channels without thinking about using rubber cord, so I have no idea if it would seal with any.

I got distracted by a few things, and when I finally dug it out to use it for the first time, I discovered that it needed new oil, and it turns out that I can’t just go to the local store and buy it. The oil will be here tomorrow (if I believe the tracking info) so I can finally give it a go.

1 Like

I also had modeled one up that I was going to print as a test prior to machining out of aluminum. Never got around to it though. I did however use machined hockey pucks to good success.


image

3 Likes

Note to self: 3d print vacuum table for holding pcb stock flat.

Thanks for the inspiration :slightly_smiling_face:

2 Likes

I’m using this…printing the chainable one now.
The main square is only 75mmx75mm.

@MadHatter Did you tap the thread after it was modeled or was that two different versions. That is definitely a weak spot in the design. I also don’t want to model the threads if I can avoid it. I might try a version with a smooth tapered hole and just use a tap.

1 Like

I did print the threads, and then went back with a tap and tried to clean them up. I was thinking of going a little farther than just printing a smooth hole and tapping it. I am thinking about ordering some brass Swagelok fittings (I use them at work, so I am quite familiar with them) that have a tube on one side, and their swage (compression) fitting on the other. Then, just use a silicone adhesive, like E6000 or something like it to bond in the fitting. Since it is a vacuum, it’ll just try to pull the fitting in, but if I design a shoulder to hard-stop on, it should be fine. And, if I want to reuse the fitting (they are not exactly cheap) I could extract it without damaging either one of them (theoretically).

And apparently they are kind of cheap on Ebay.

Anyway, I did get a chance to change the oil in my pump, and I think it had a little more life left in it. :nauseated_face:

And then I hooked it up, and put some blue tape over the vacuum table and turned it on. . . and filled my shed with oil vapor in about 45 seconds. Apparently, the seals are not the best, and it smokes like a 1974 Ford Pinto with no air filter. So, I have to get a longer vacuum hose so I can run the pump outside. But for now, here are a couple of pics of some bottle openers I am making for some coworkers. I have done the V-Carving of the letters before, but this is my first time doing an epoxy fill. Well, technically its not epoxy but polyester resin activated with MEKP. Smells great. Did the first one not realizing how different the polyester resin compared to epoxy. Had to go buy 3M OV filters before I could do the second one.

The colors are their college colors. Burgundy / silver for one and purple / gold for the other. I still need to work on the color mixing. The first one I poured right after mixing the MEKP and it was still maple syrup consistency. Did a bit of reading, and the second one I mixed them and waited about 8-10 minutes. I was stirring one of the colors, and in about 5-10 seconds it started to get thick, so I grabbed the other color and started to pour them at the same time. In about 20 seconds - enough to get just part of the B filled in, they both turned into Gak. If you don’t know what that is, check it out.

So I wiped it all up. Fortunately, it did not stick, so it came up (mostly) easy, and then I did it again, but pouring it as soon as I mixed it, like the first one.

7 Likes

This topic was automatically closed after 30 days. New replies are no longer allowed.