Step 5. (or maybe 6, depends on how you’re counting)
Decide where the large V endmill will stop cutting, and draw in the geometry for the joinery. At the ends it should be workable to cut less material, but there is also the consideration of the space needed for the holes for the hinges, but it will also be desirable to draw in geometry to cut the channels for the narrow V endmill. To make things easier to work with, we will not round off the corners, leaving that to the toolpath visualization.
First, draw the channels:

Then draw in where the V endmill toolpaths will begin/end — to simplify this, just use the stock width everywhere:
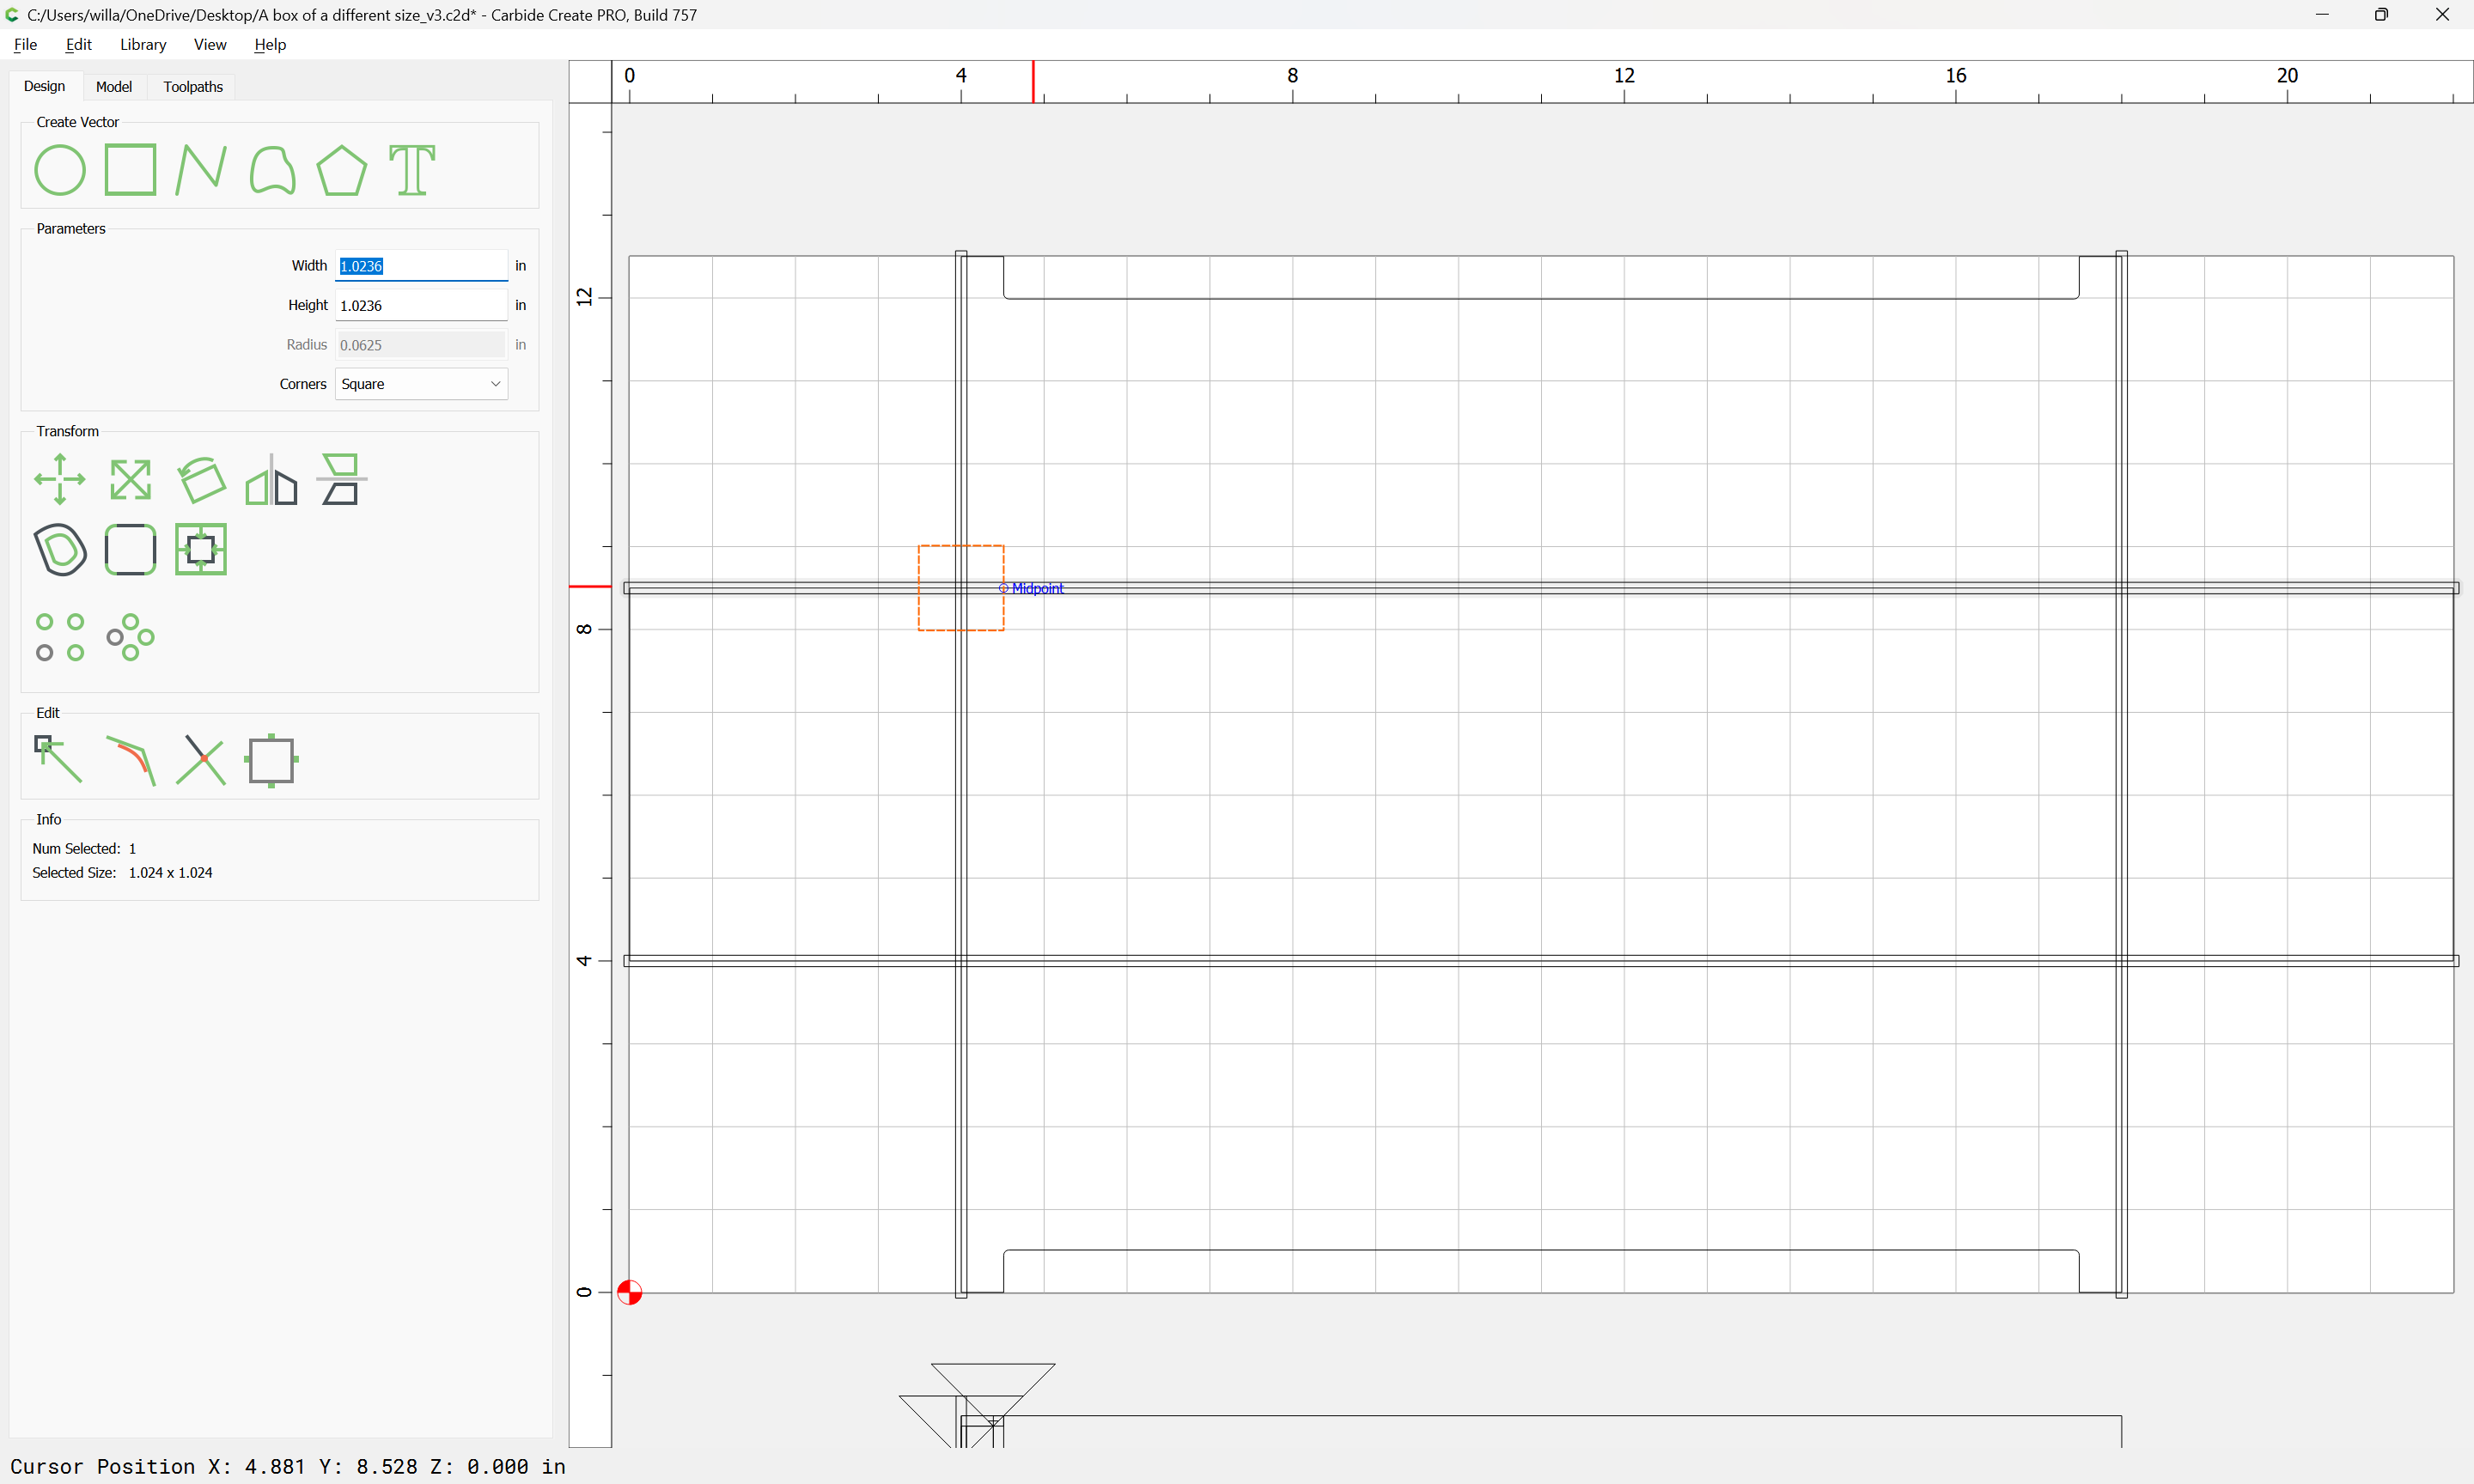
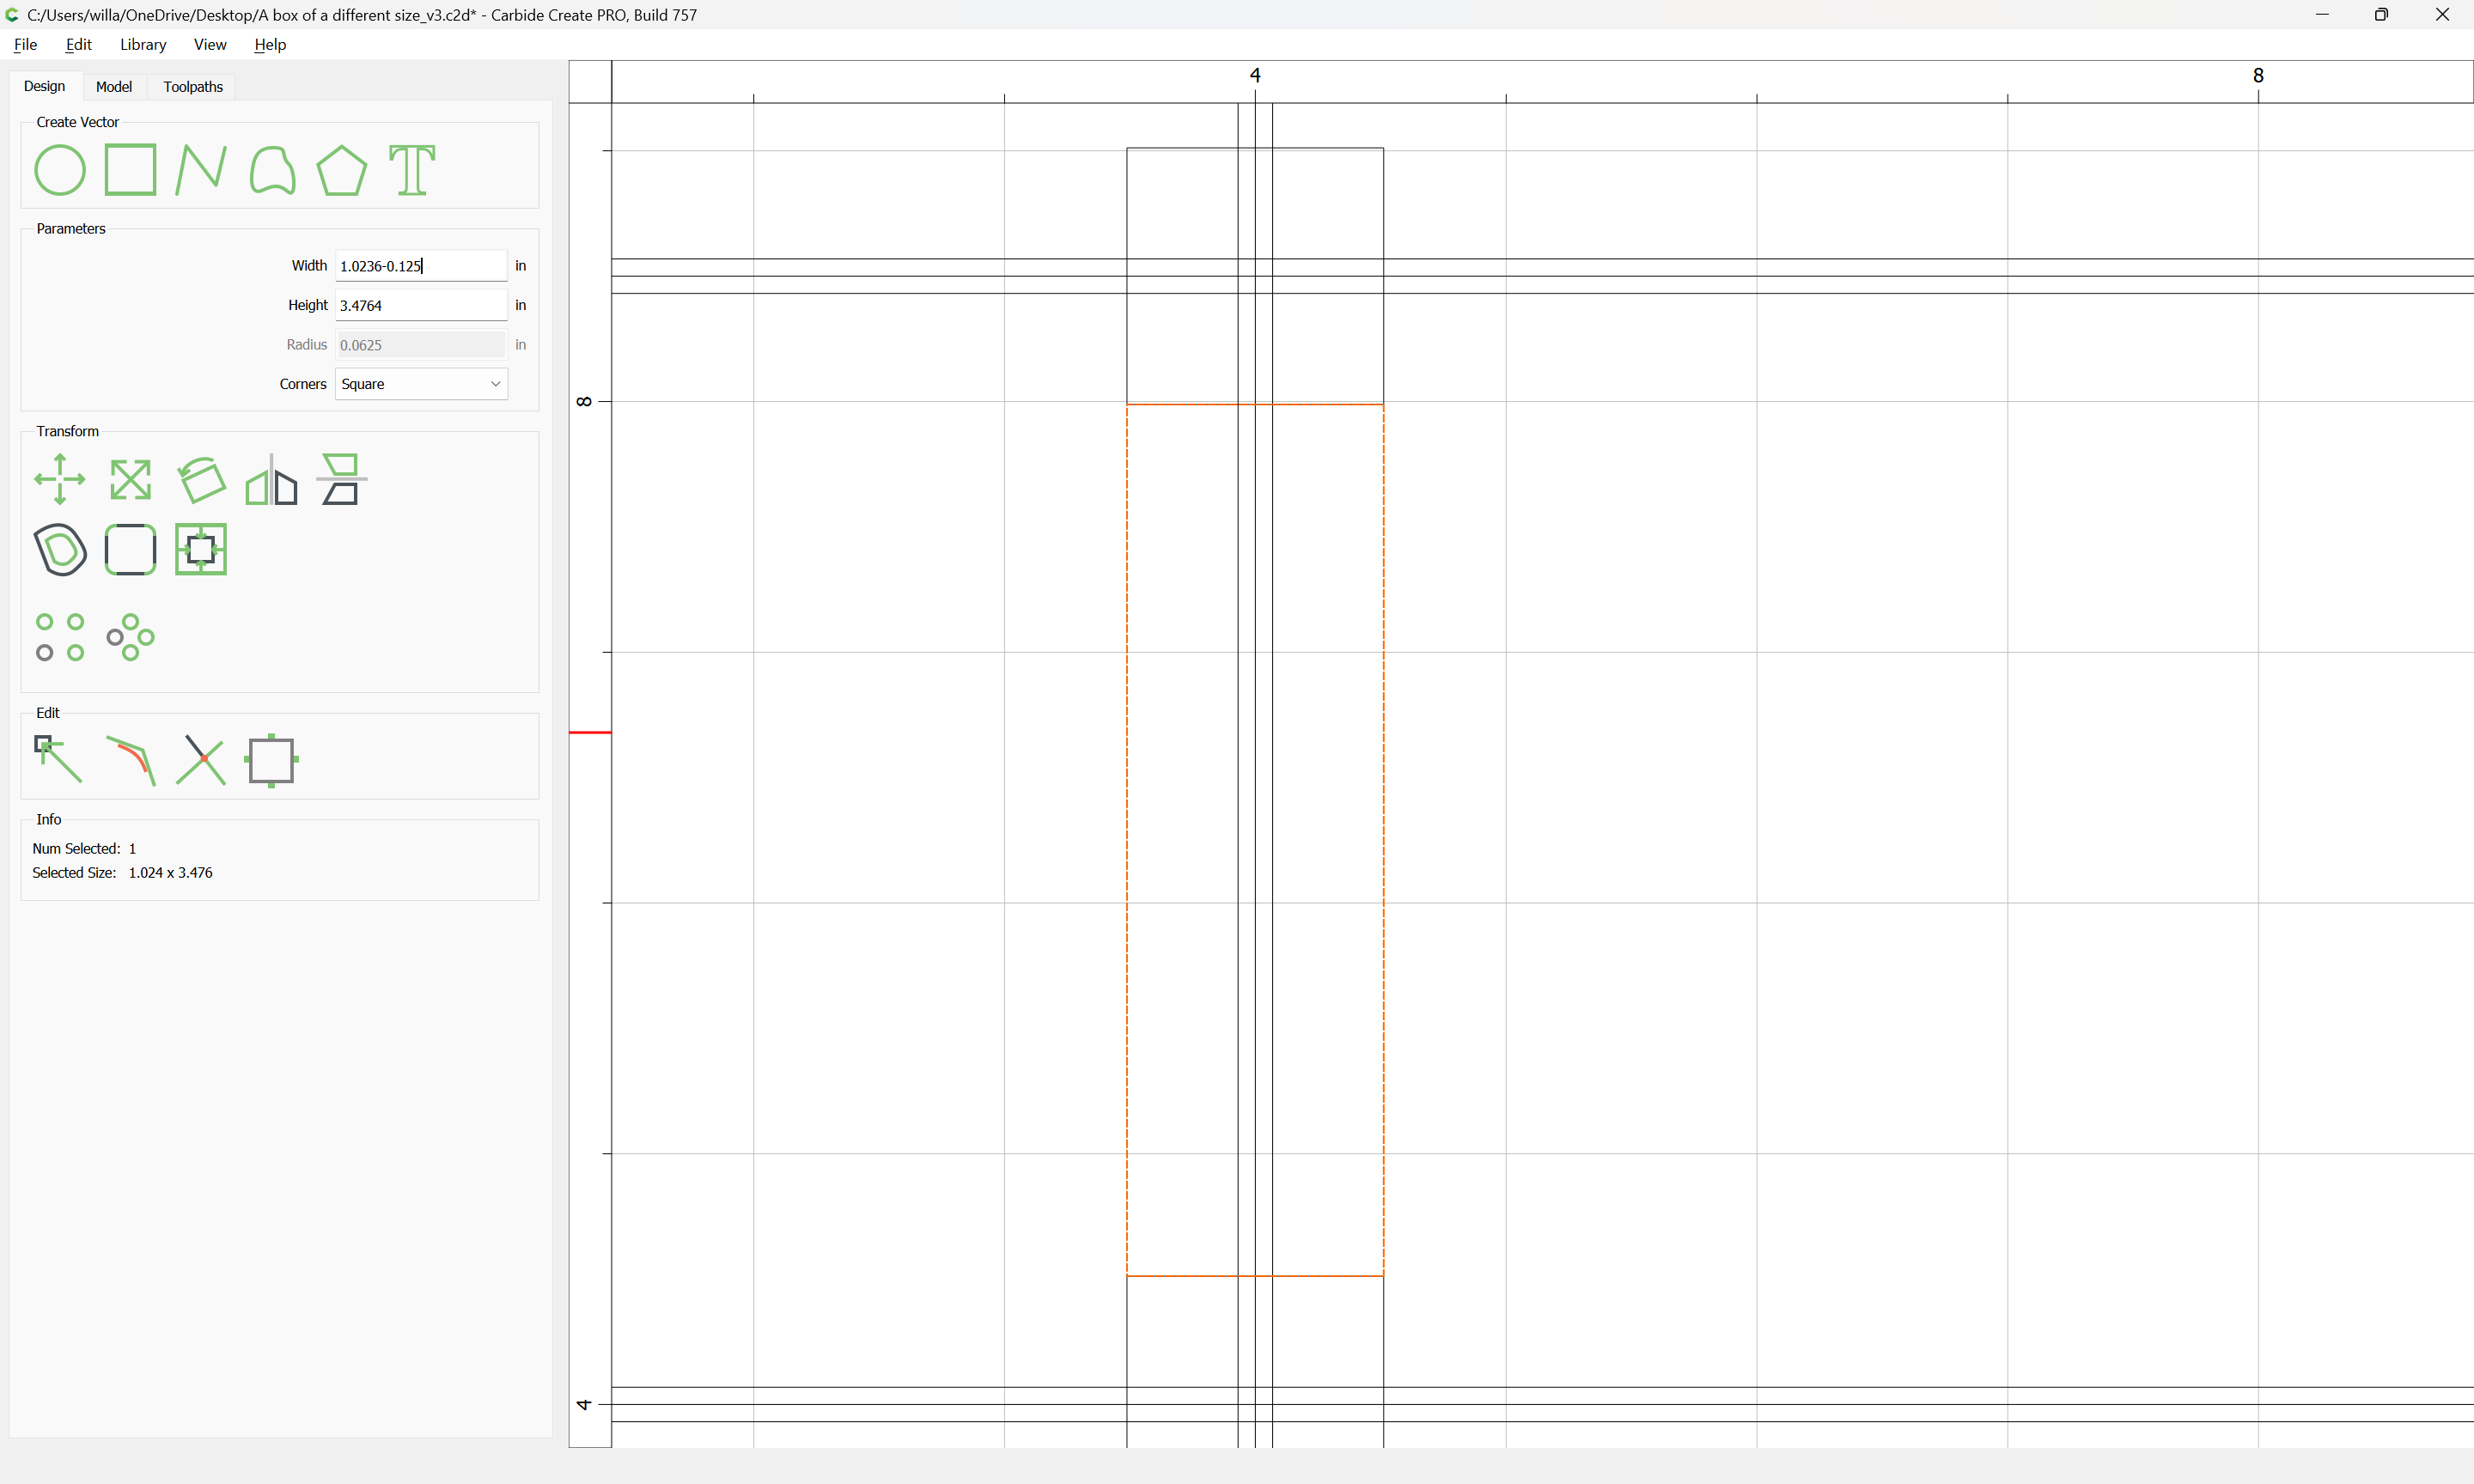
Using this dimension has the advantage of making it obvious where the stock will be when rotated, so a section of the joint can be described w/ one or two rectangles:
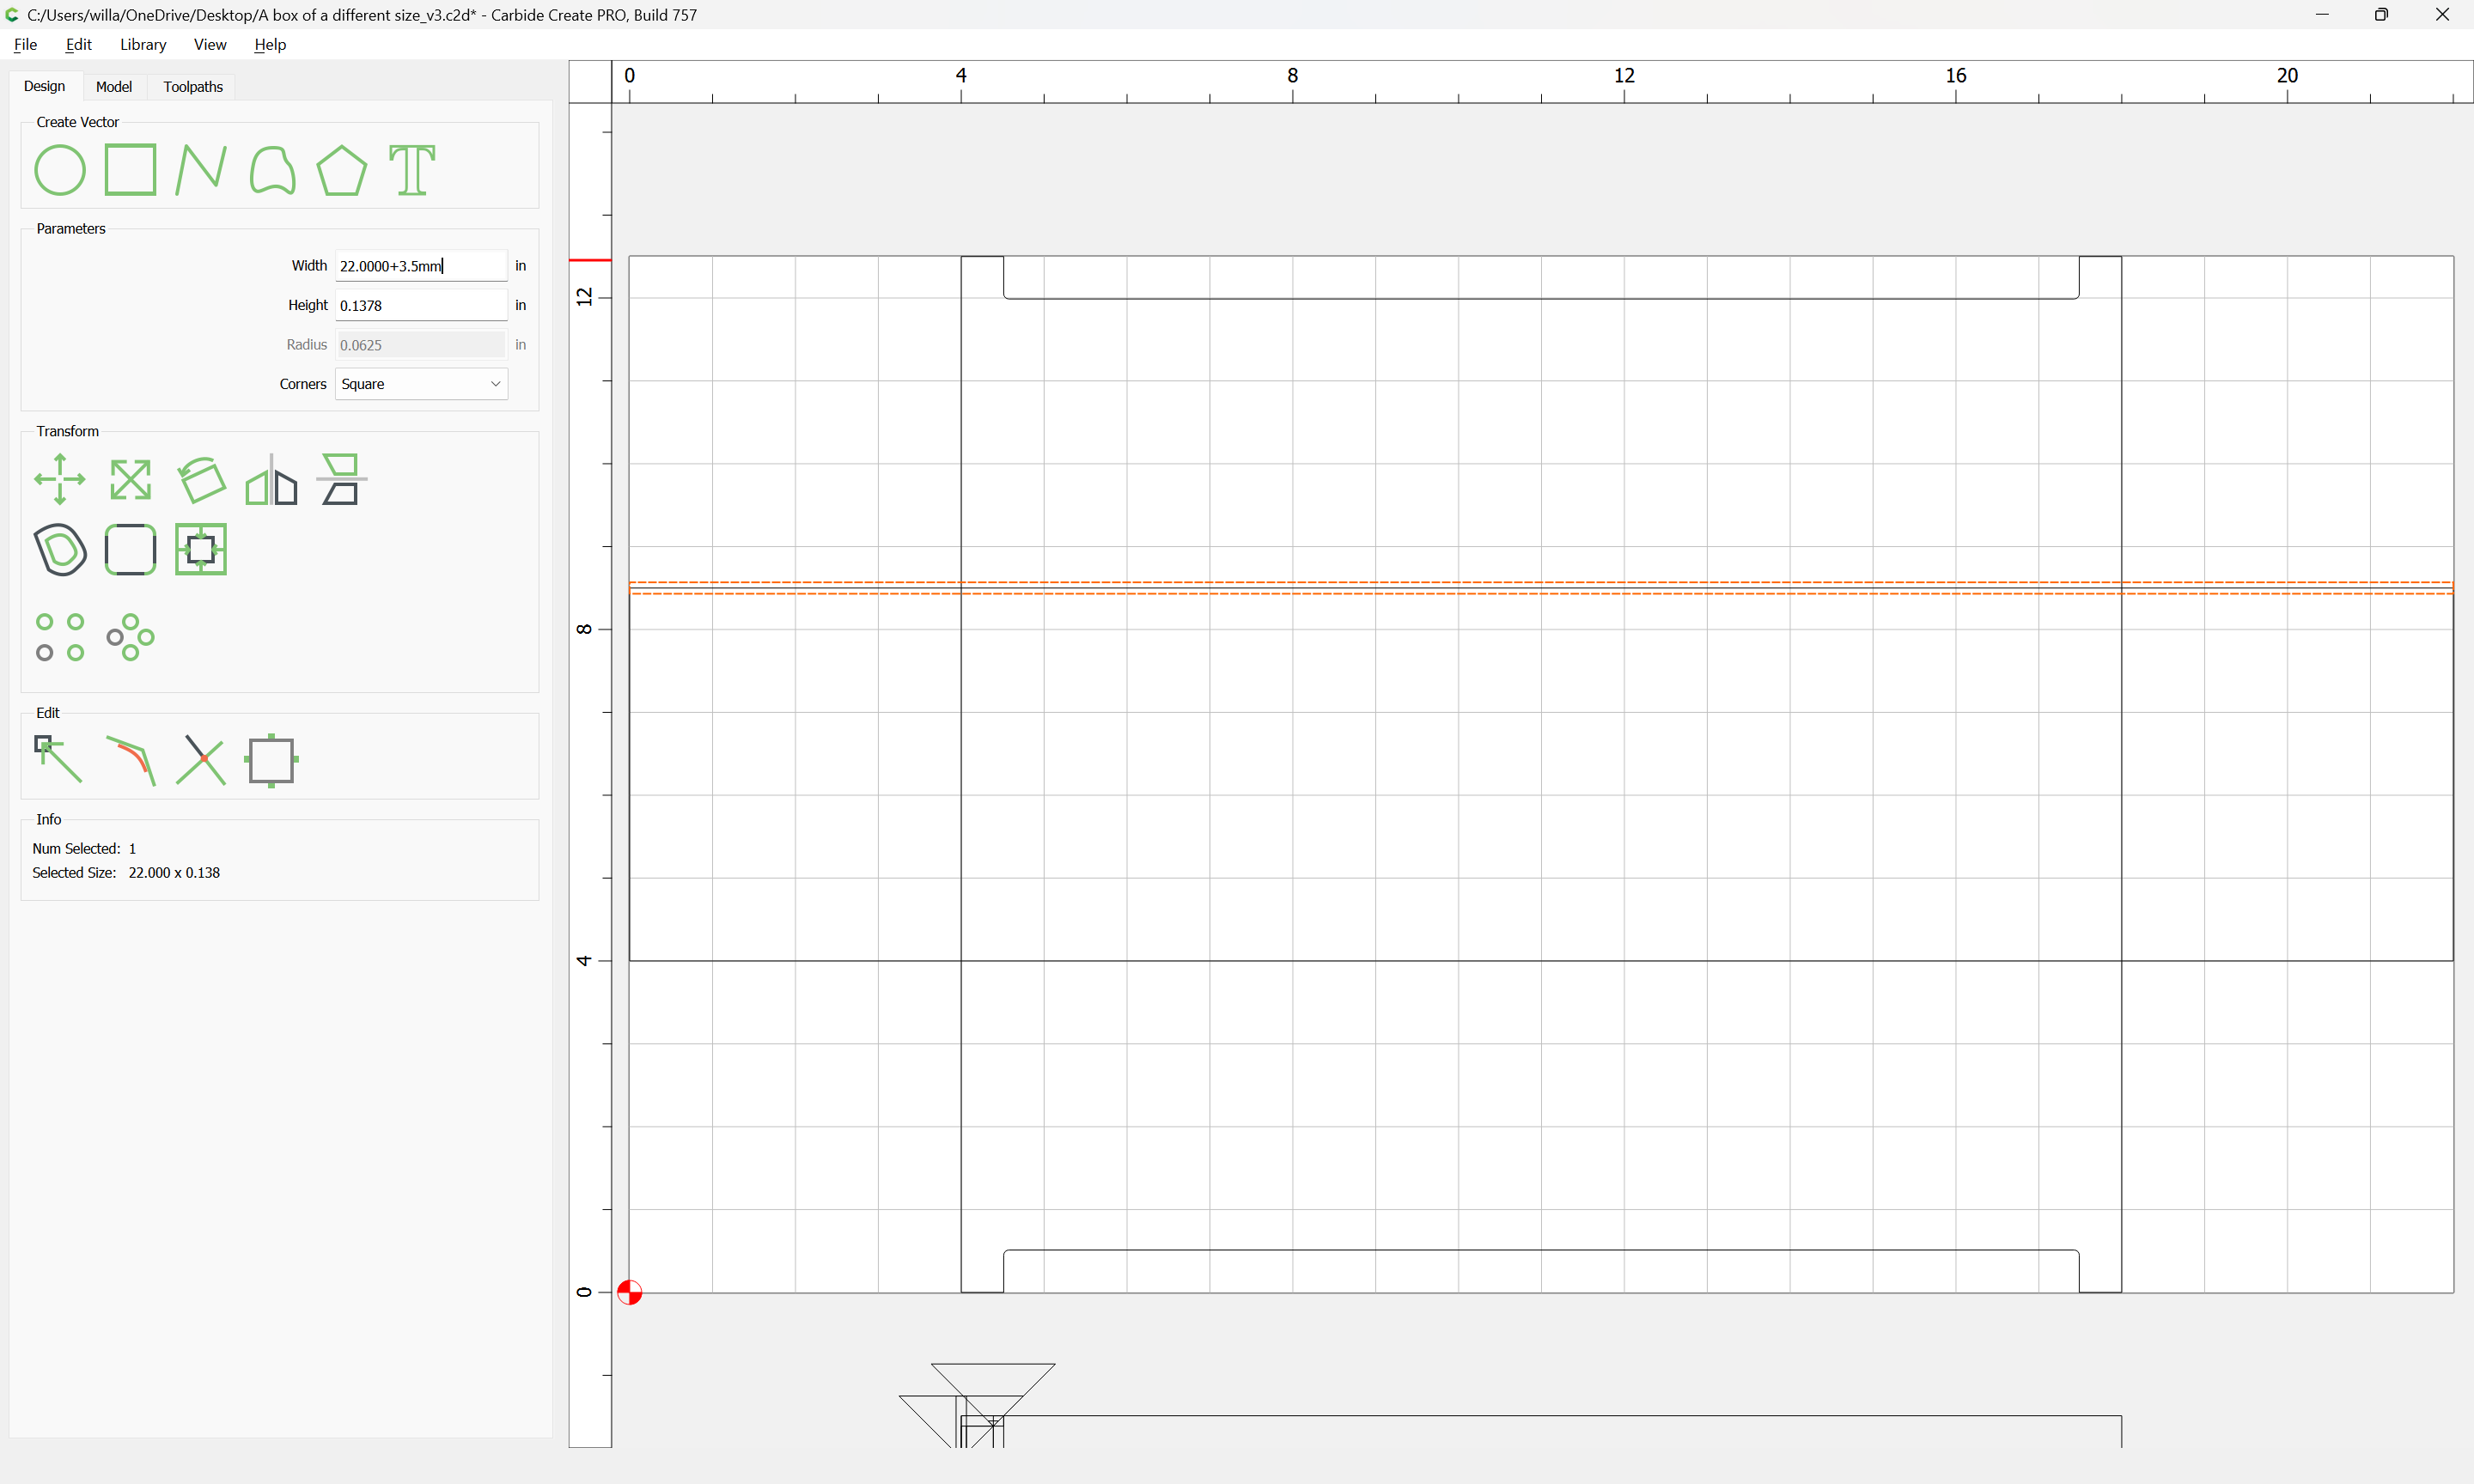
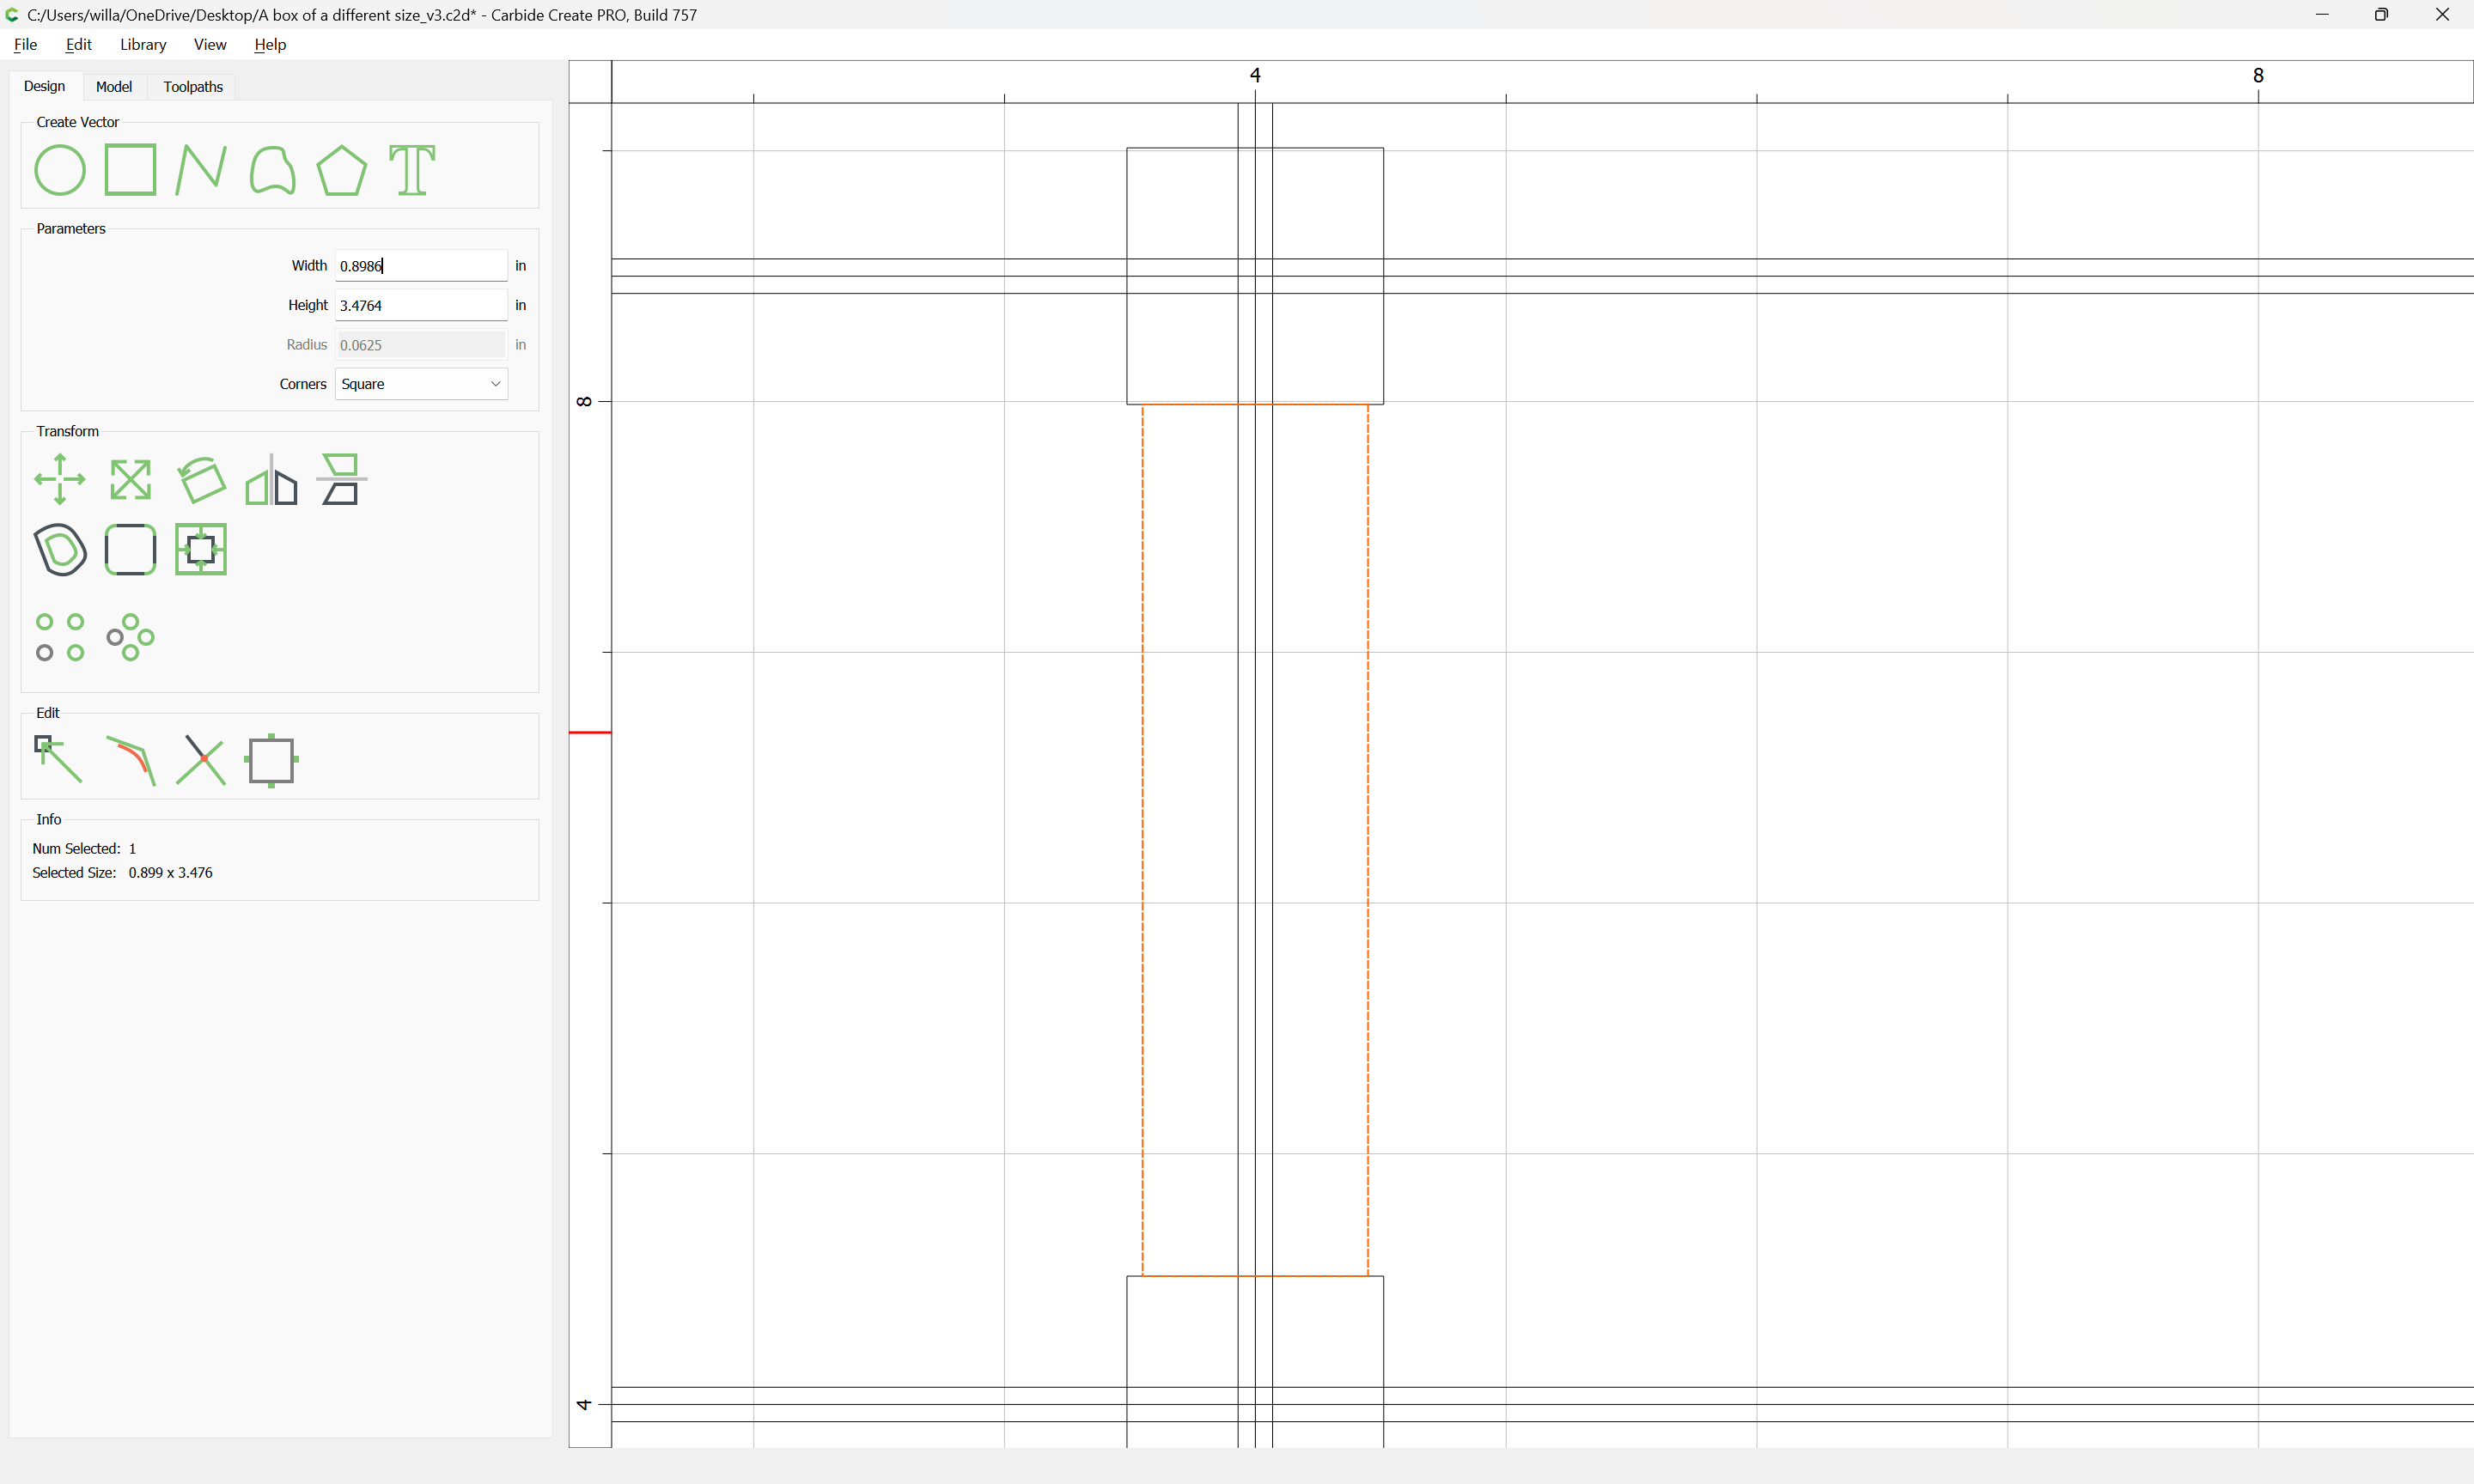
Since the joint needs to be inset by at least the tool radius, we can effect this by just reducing the width of this rectangle by the small tool diameter:
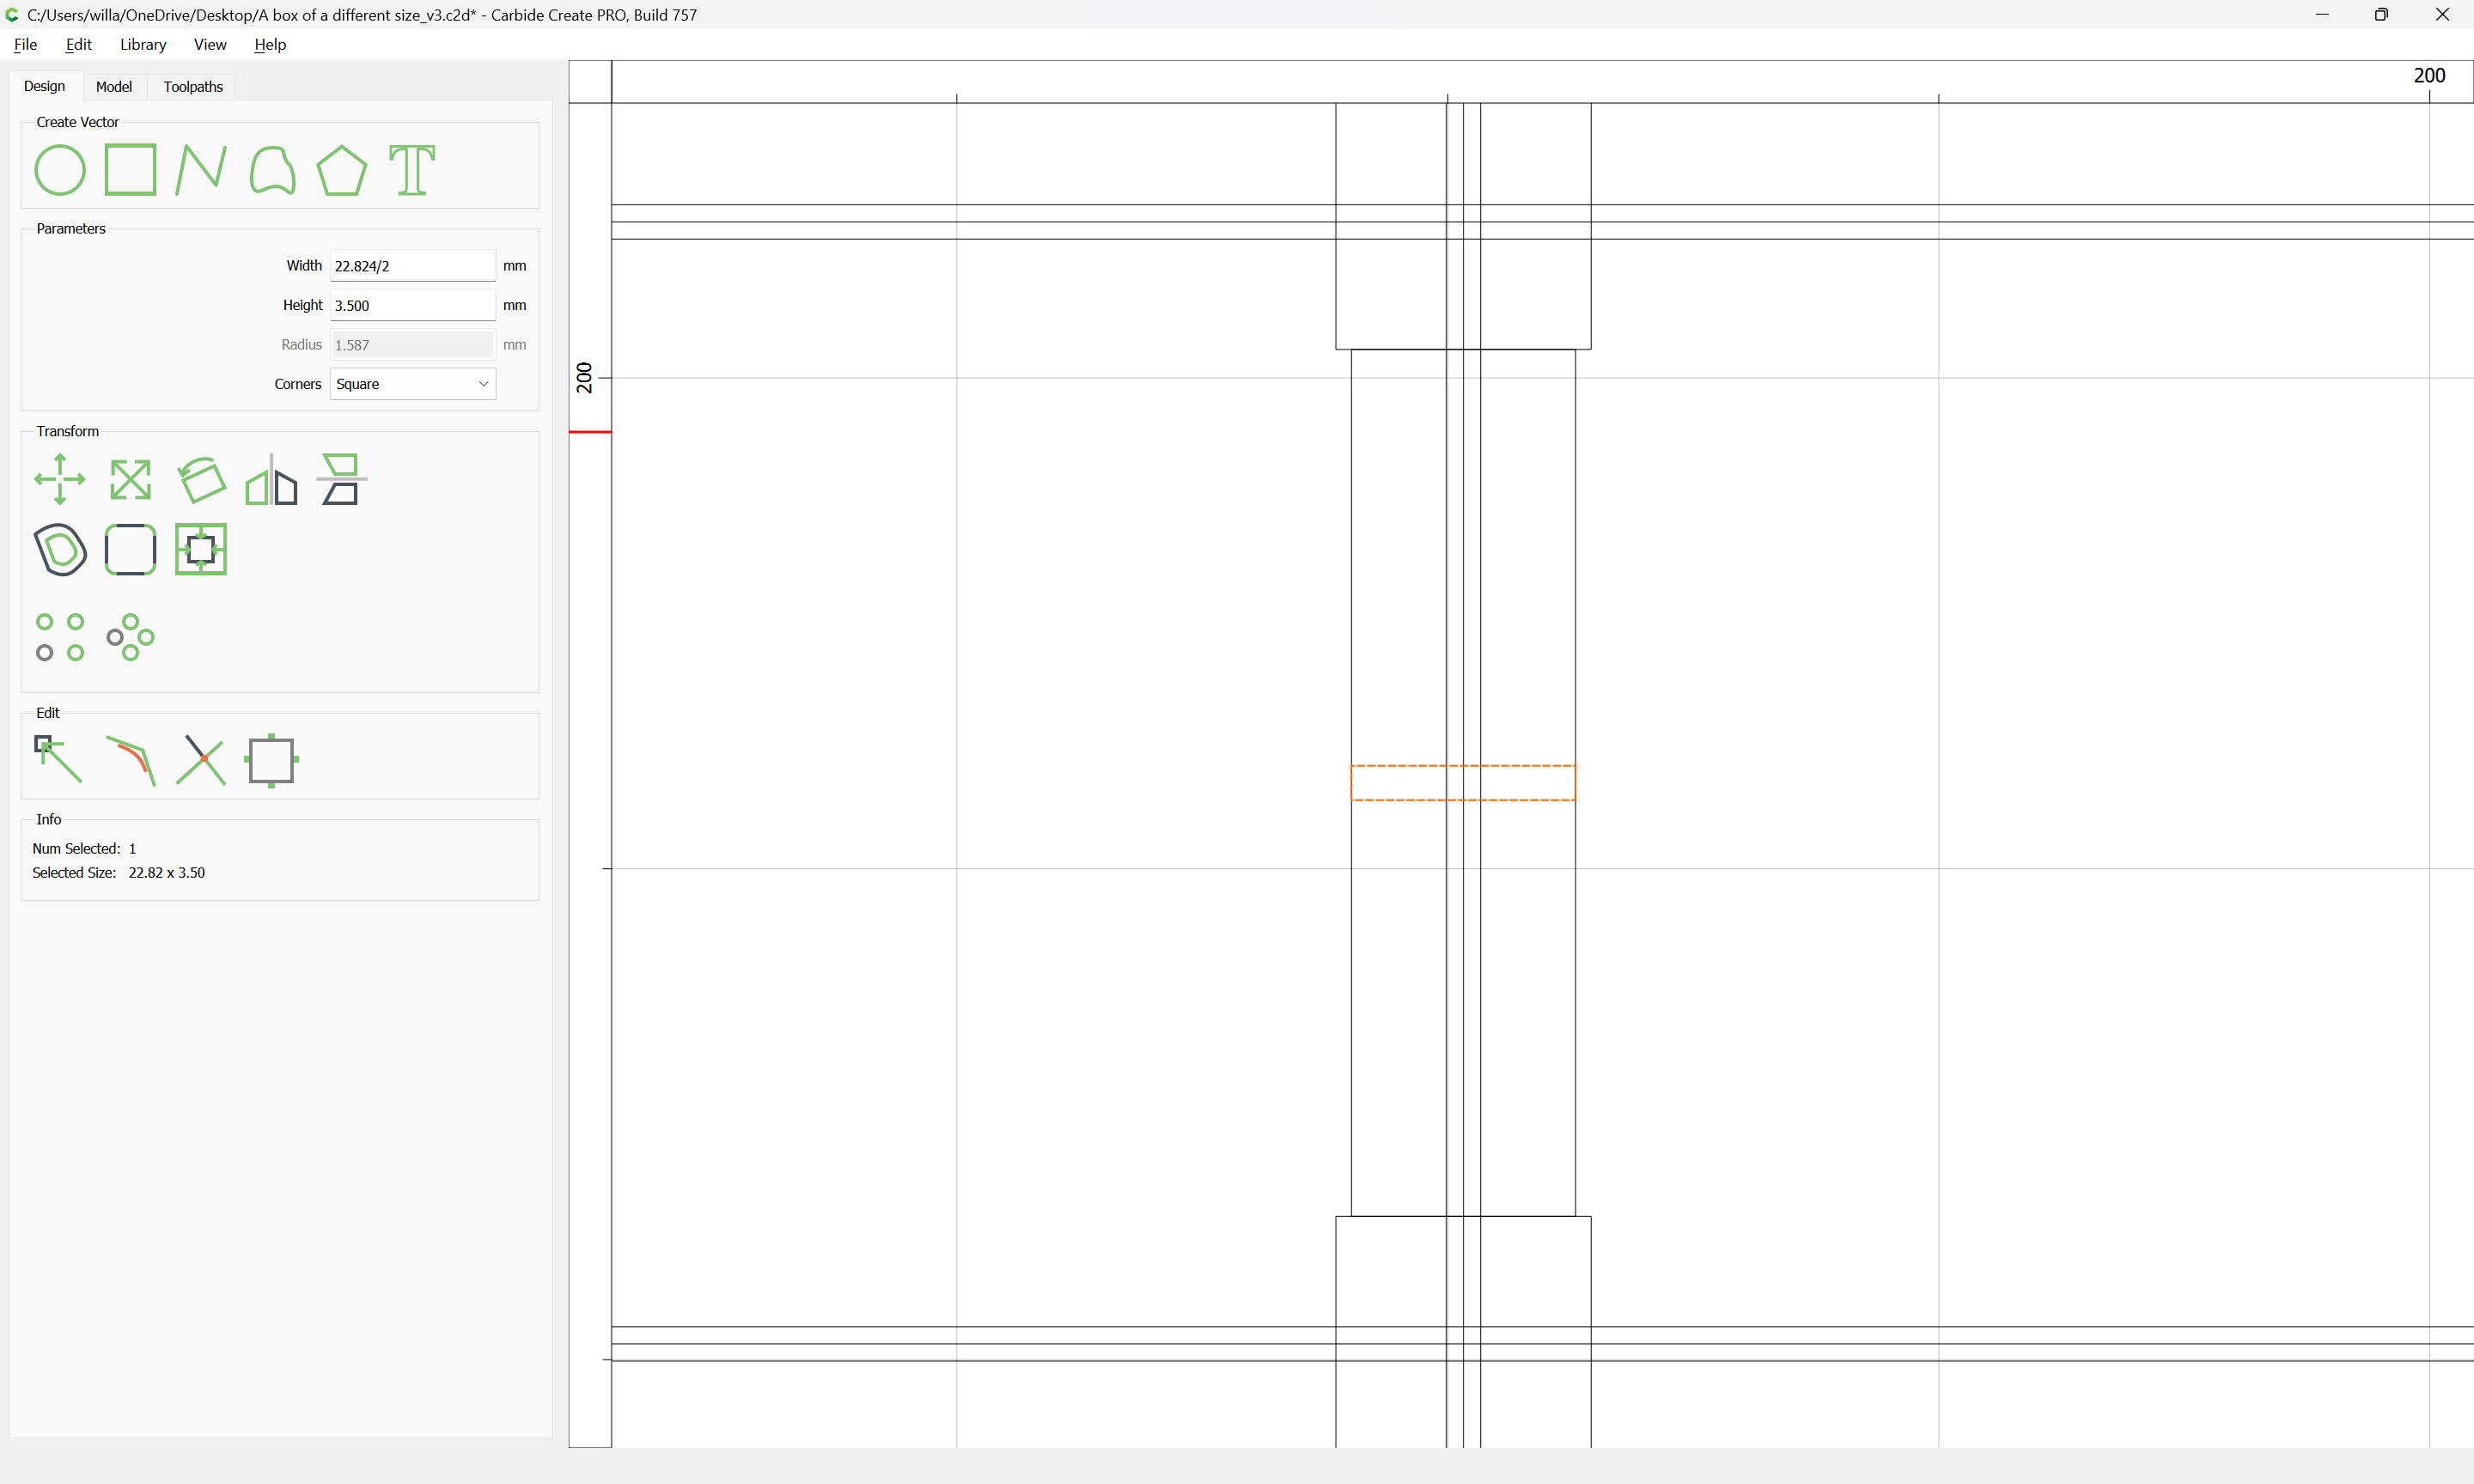
Switching to metric allows doing math w/o mixing units:

Essentially it is necessary to reduce each half to a series of projections and matching recesses — these must:
- be large enough to reliably match the ability of the program to fit a tool into it
- be easily created and shifted about — a consistent/centered placement helps with that
One can either cut these features at a consistent width, or scale them — probably a consistent width is easier to manage, and avoids the possibility of the tool not fitting, and if it covers a region greater than necessary is easily centered:
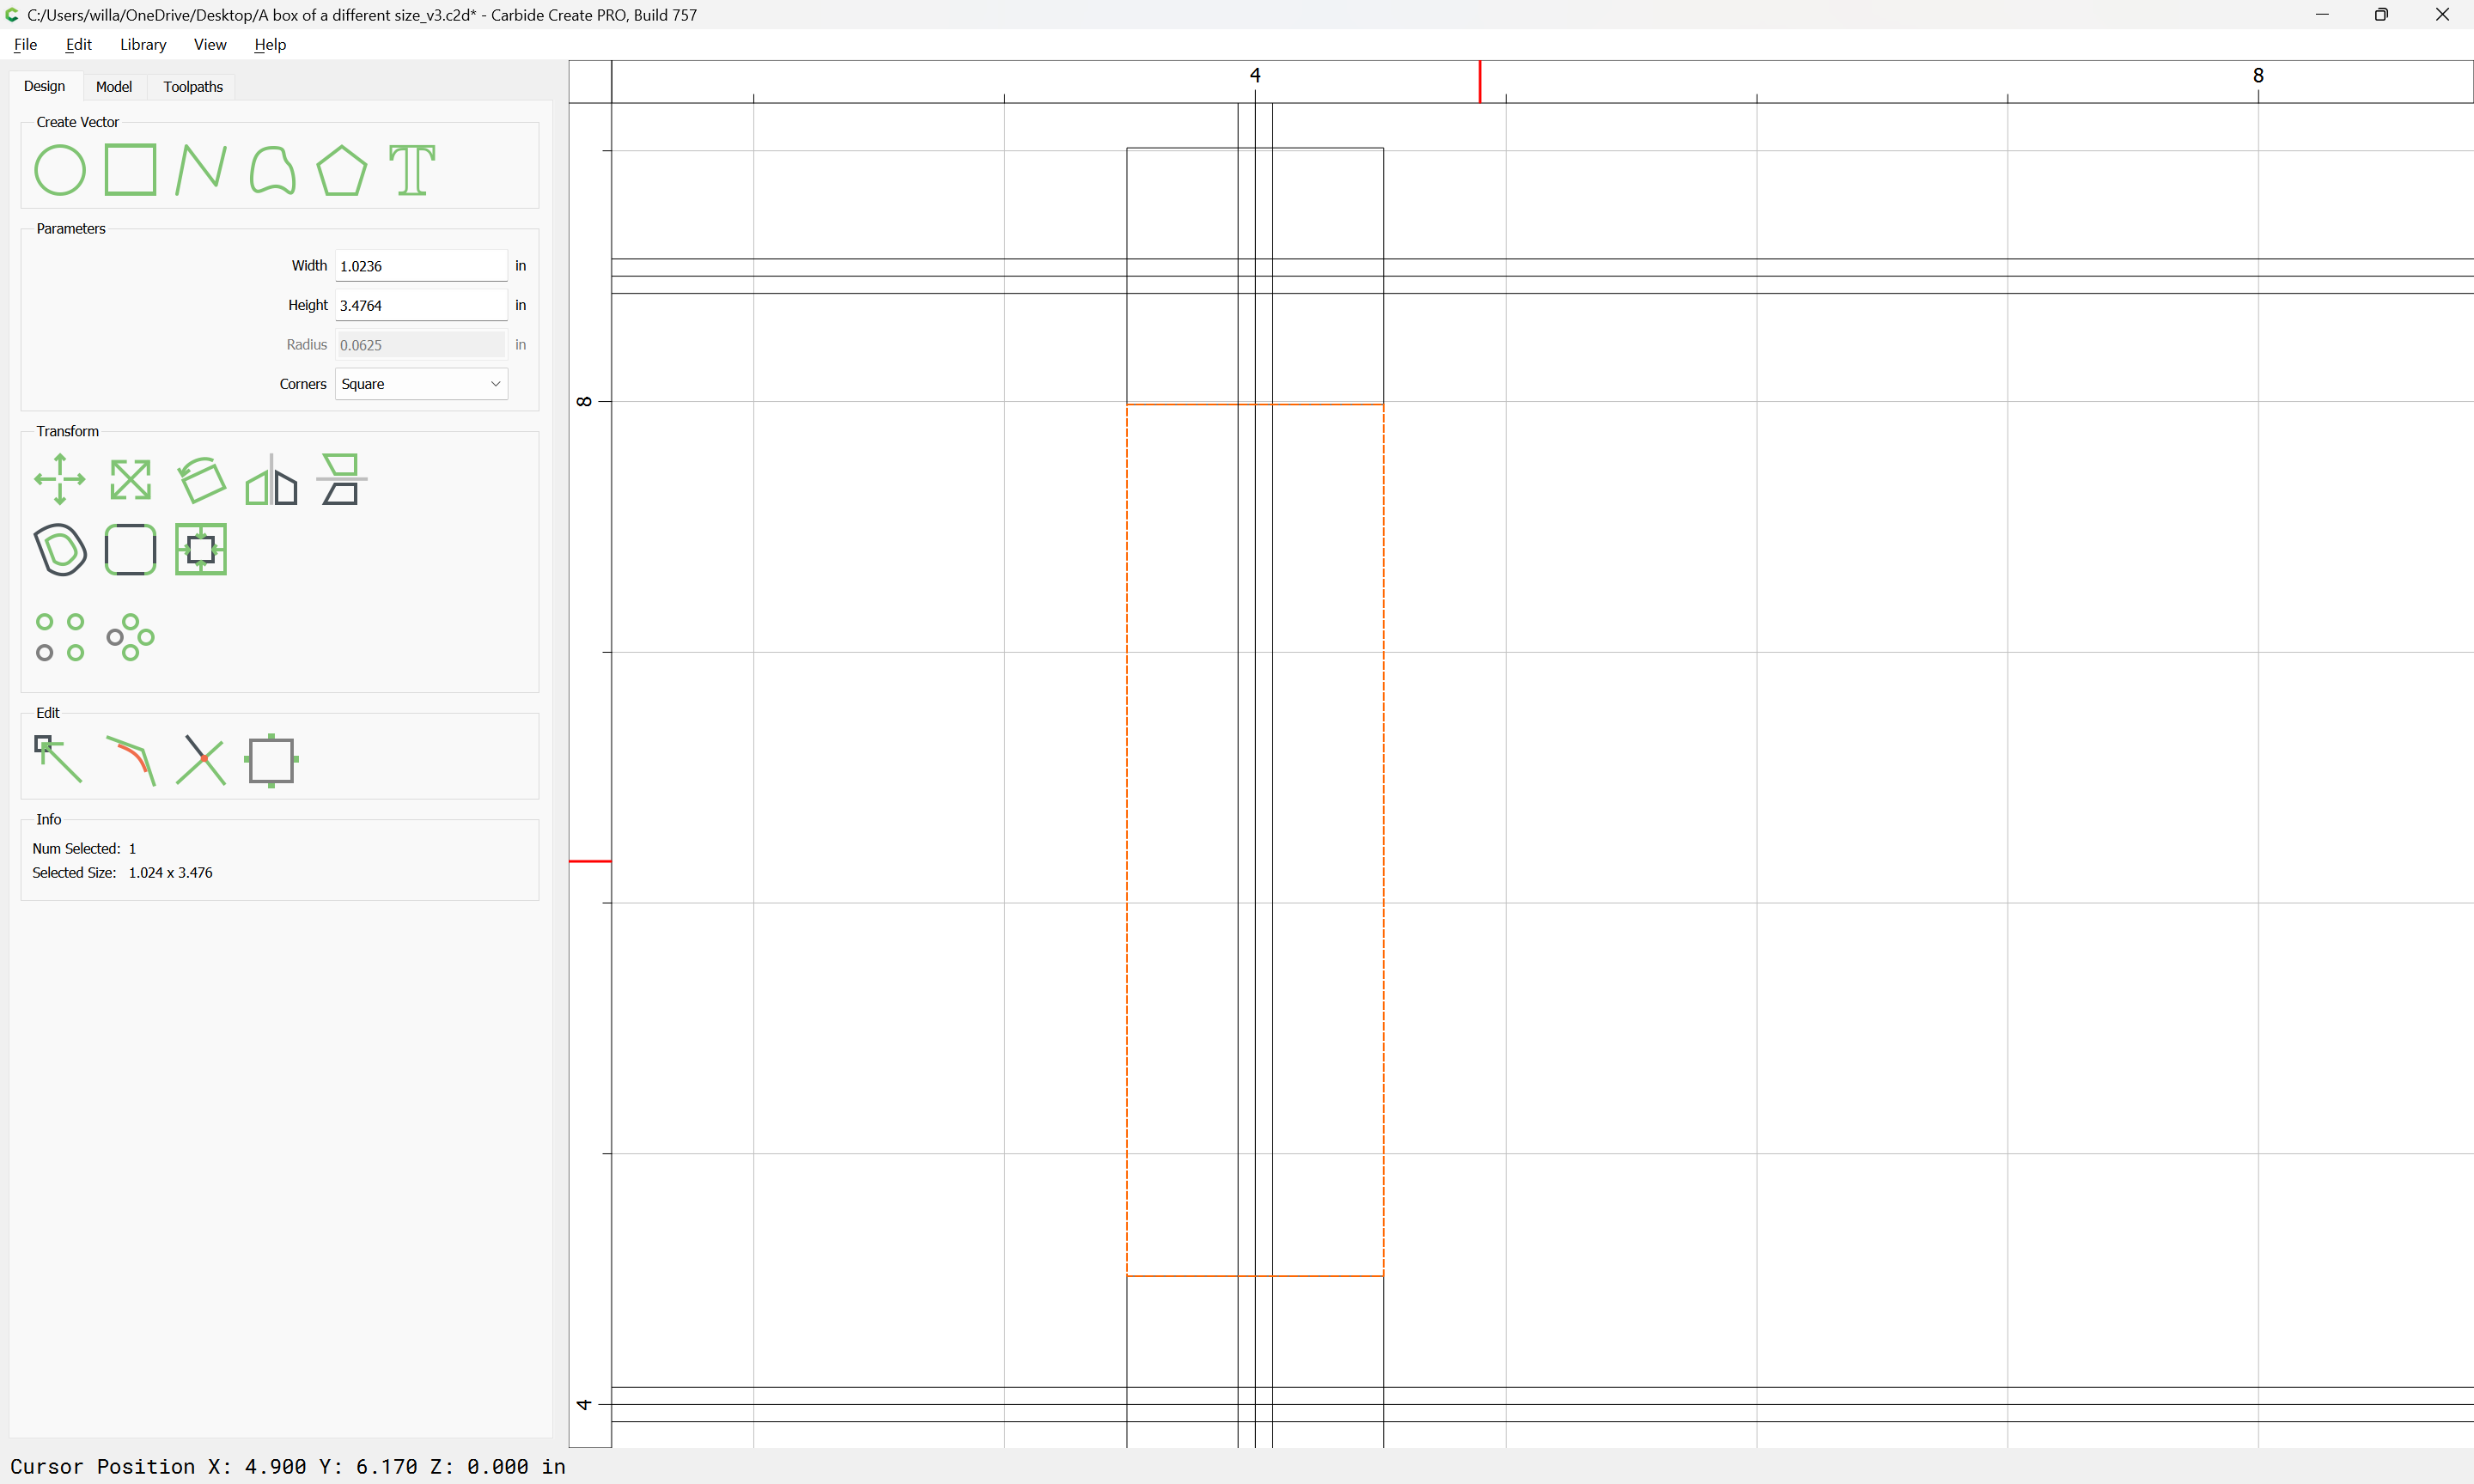
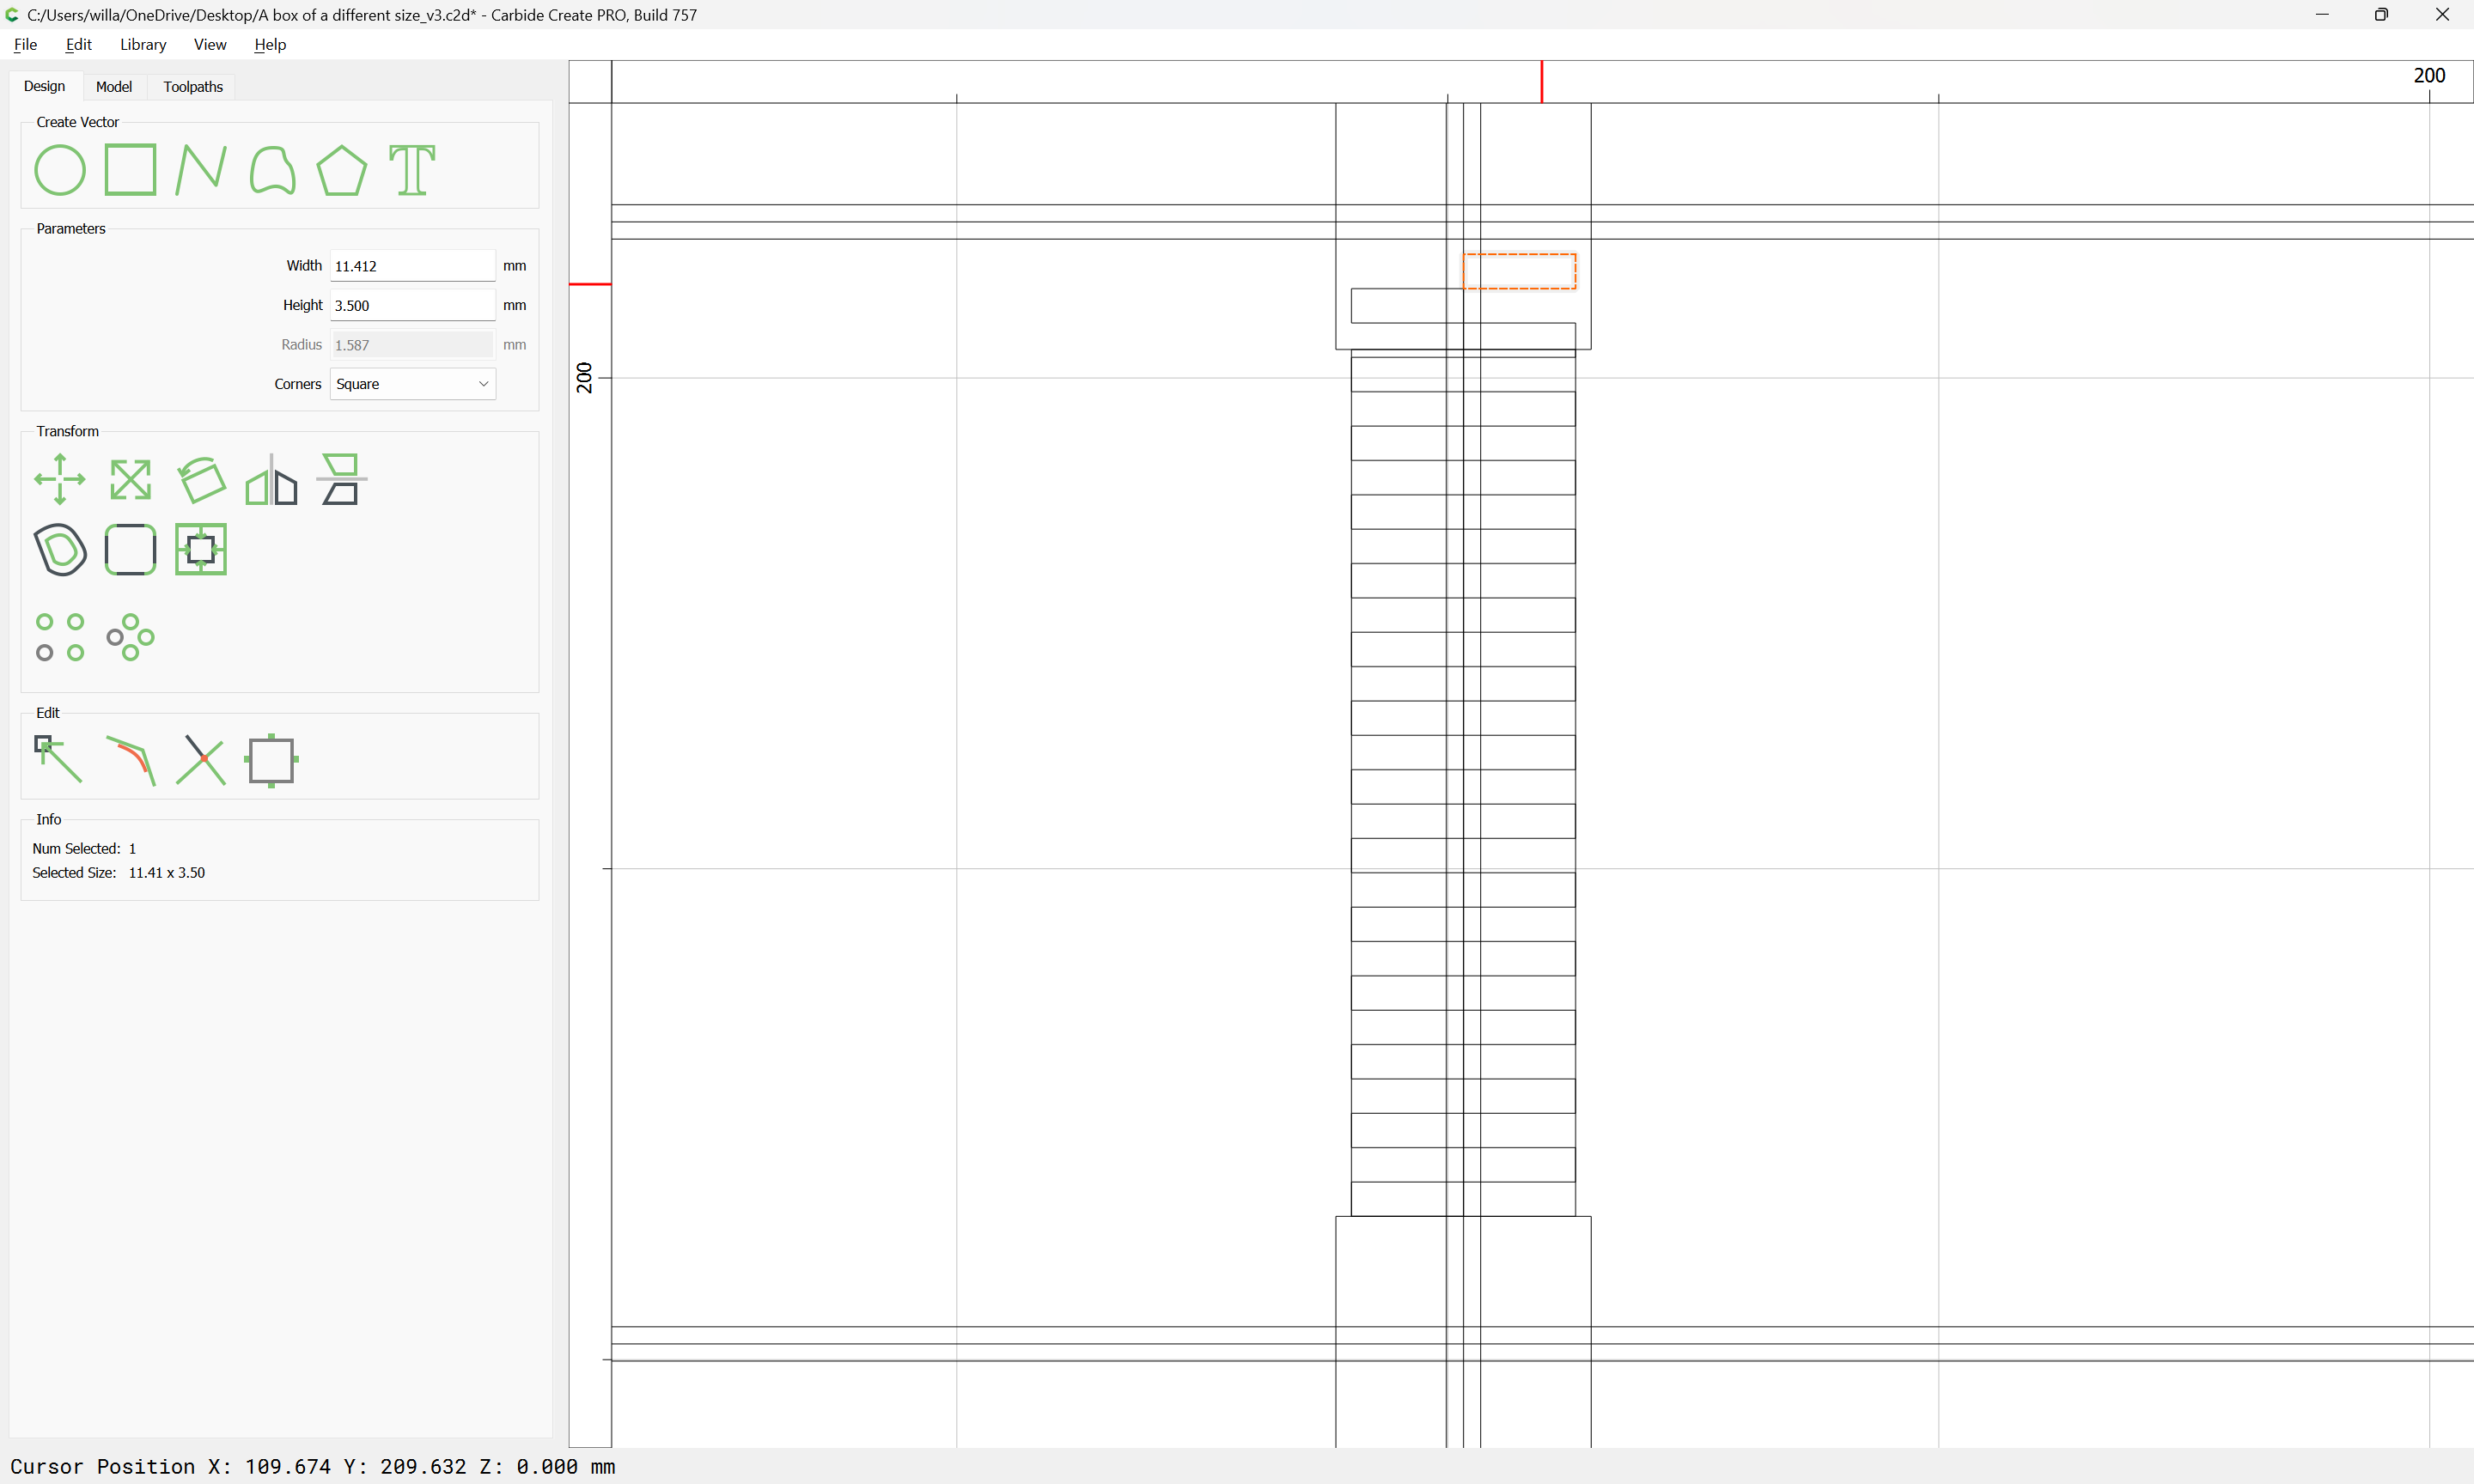
copy-paste the rectangle, then change the dimension along the axis of the joint to be the desired width:

then halve the dimension along the other axis:

and drag it down to the lower left corner:
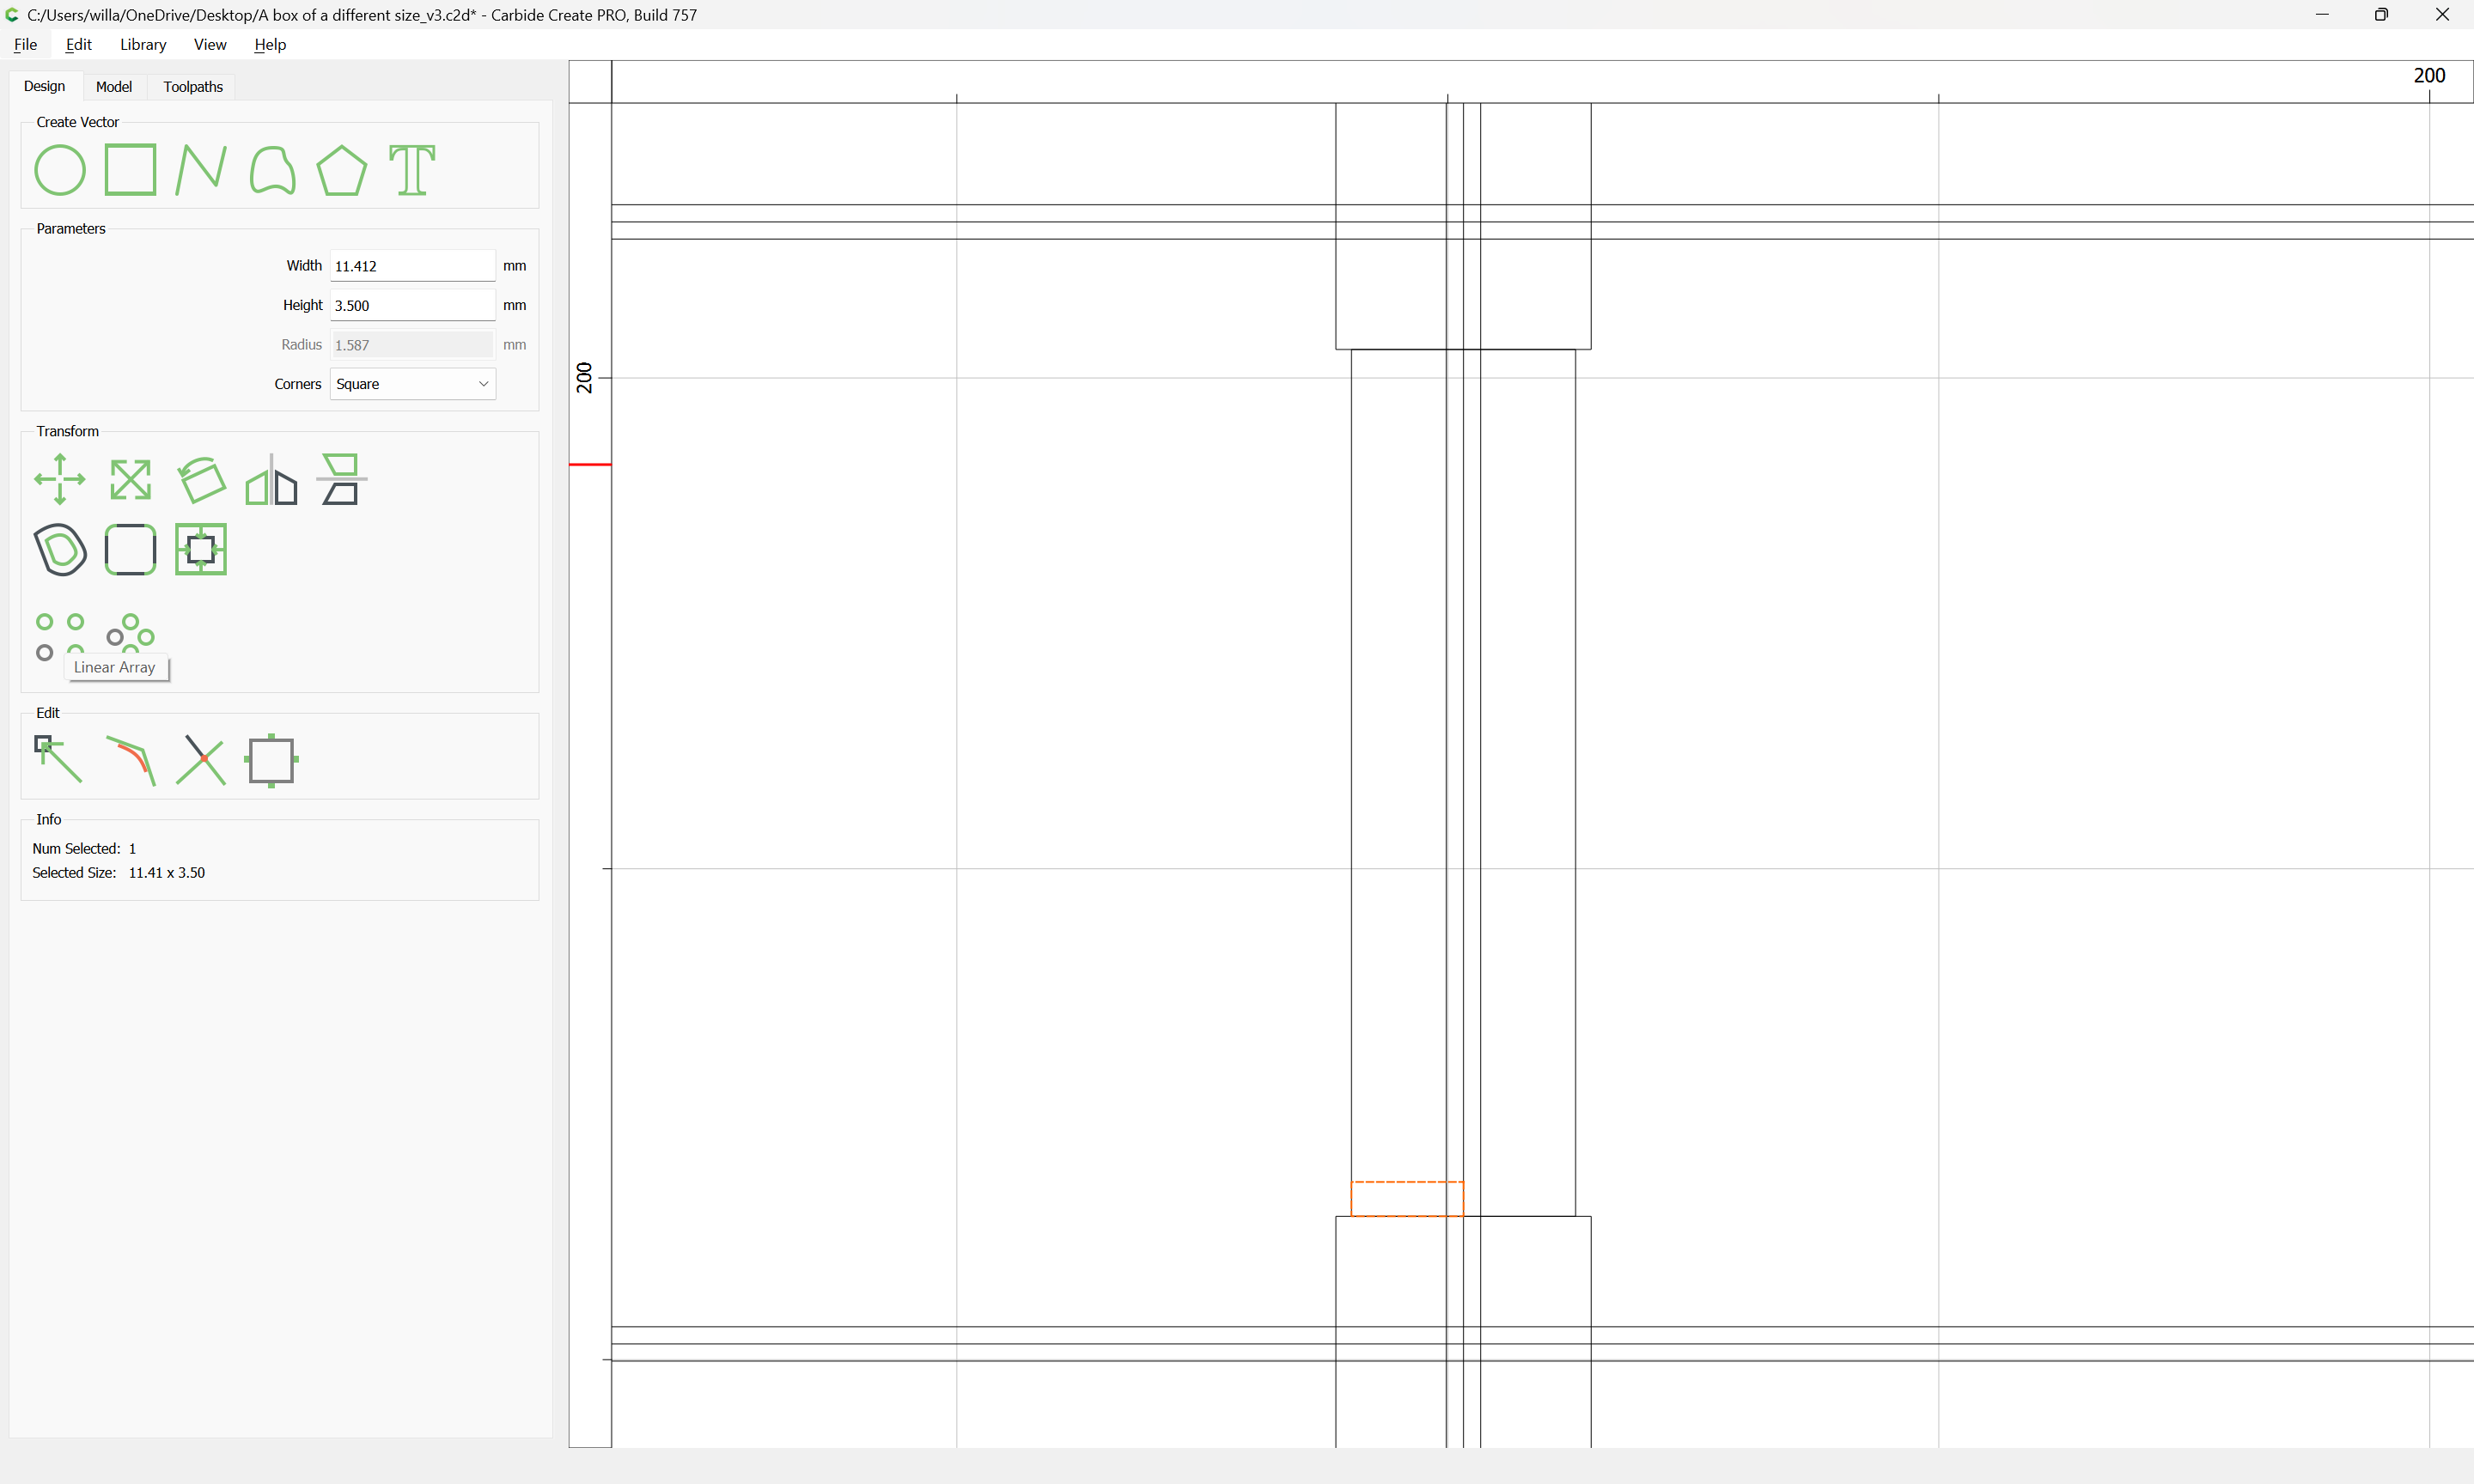
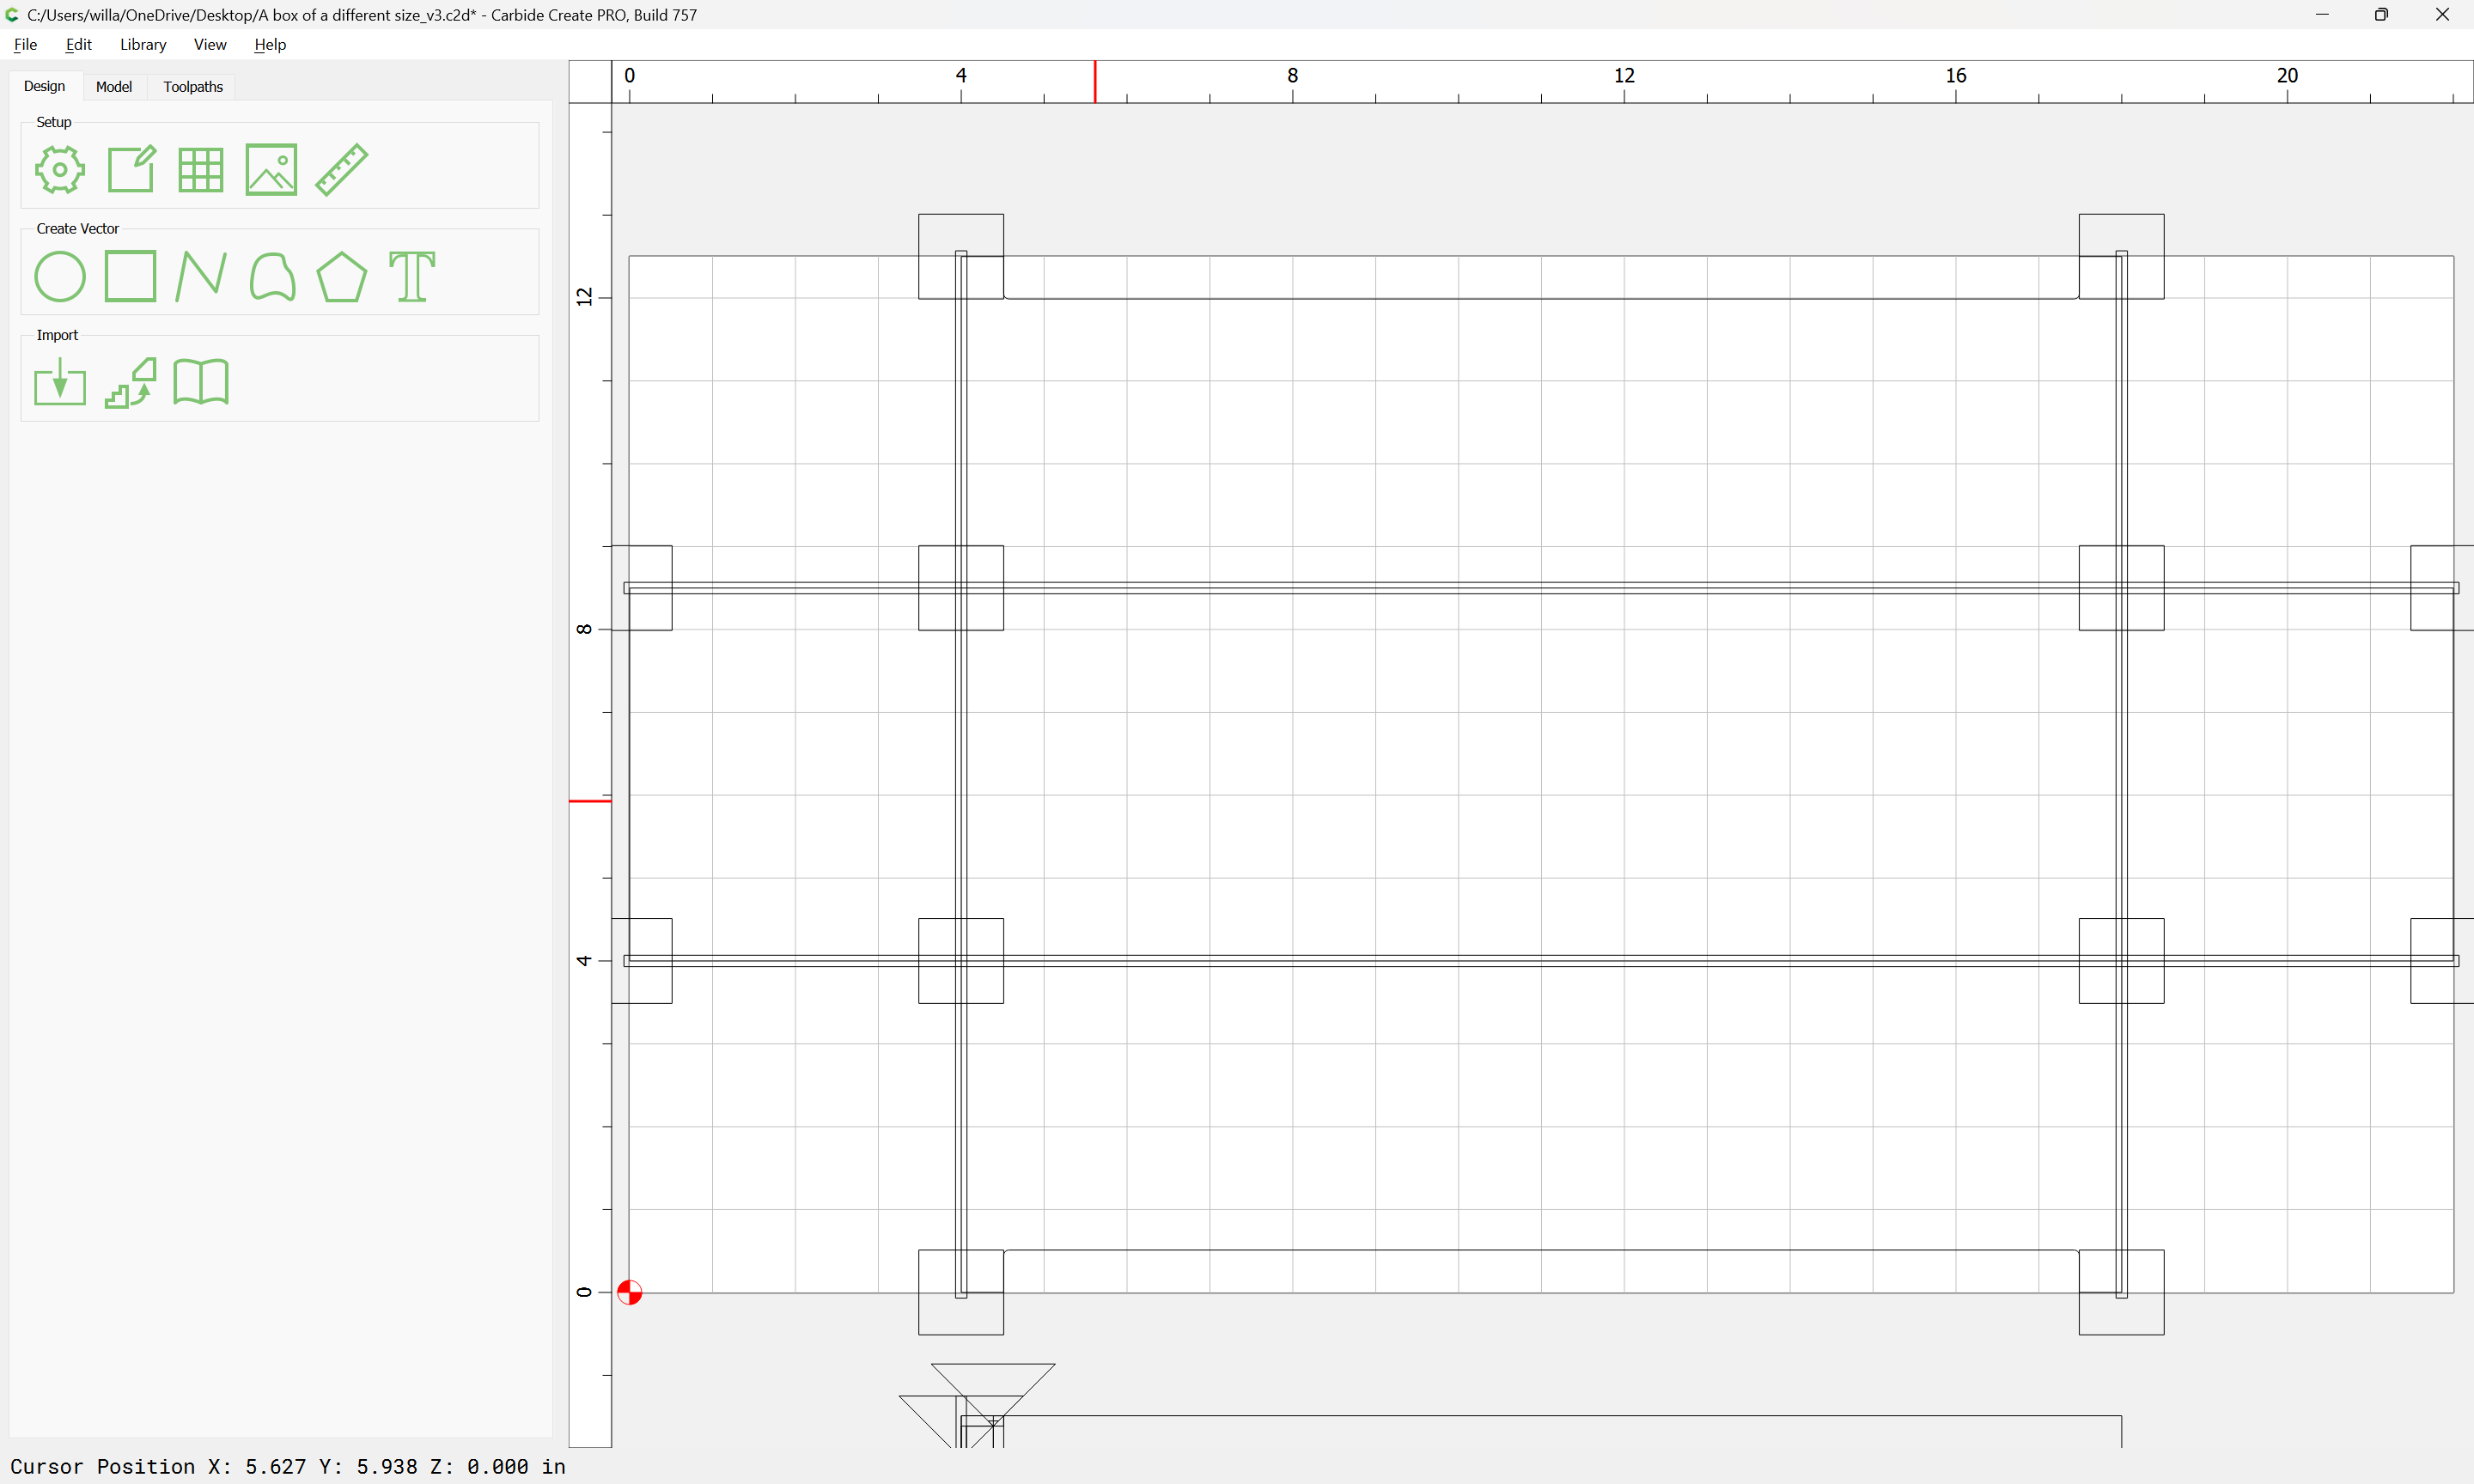
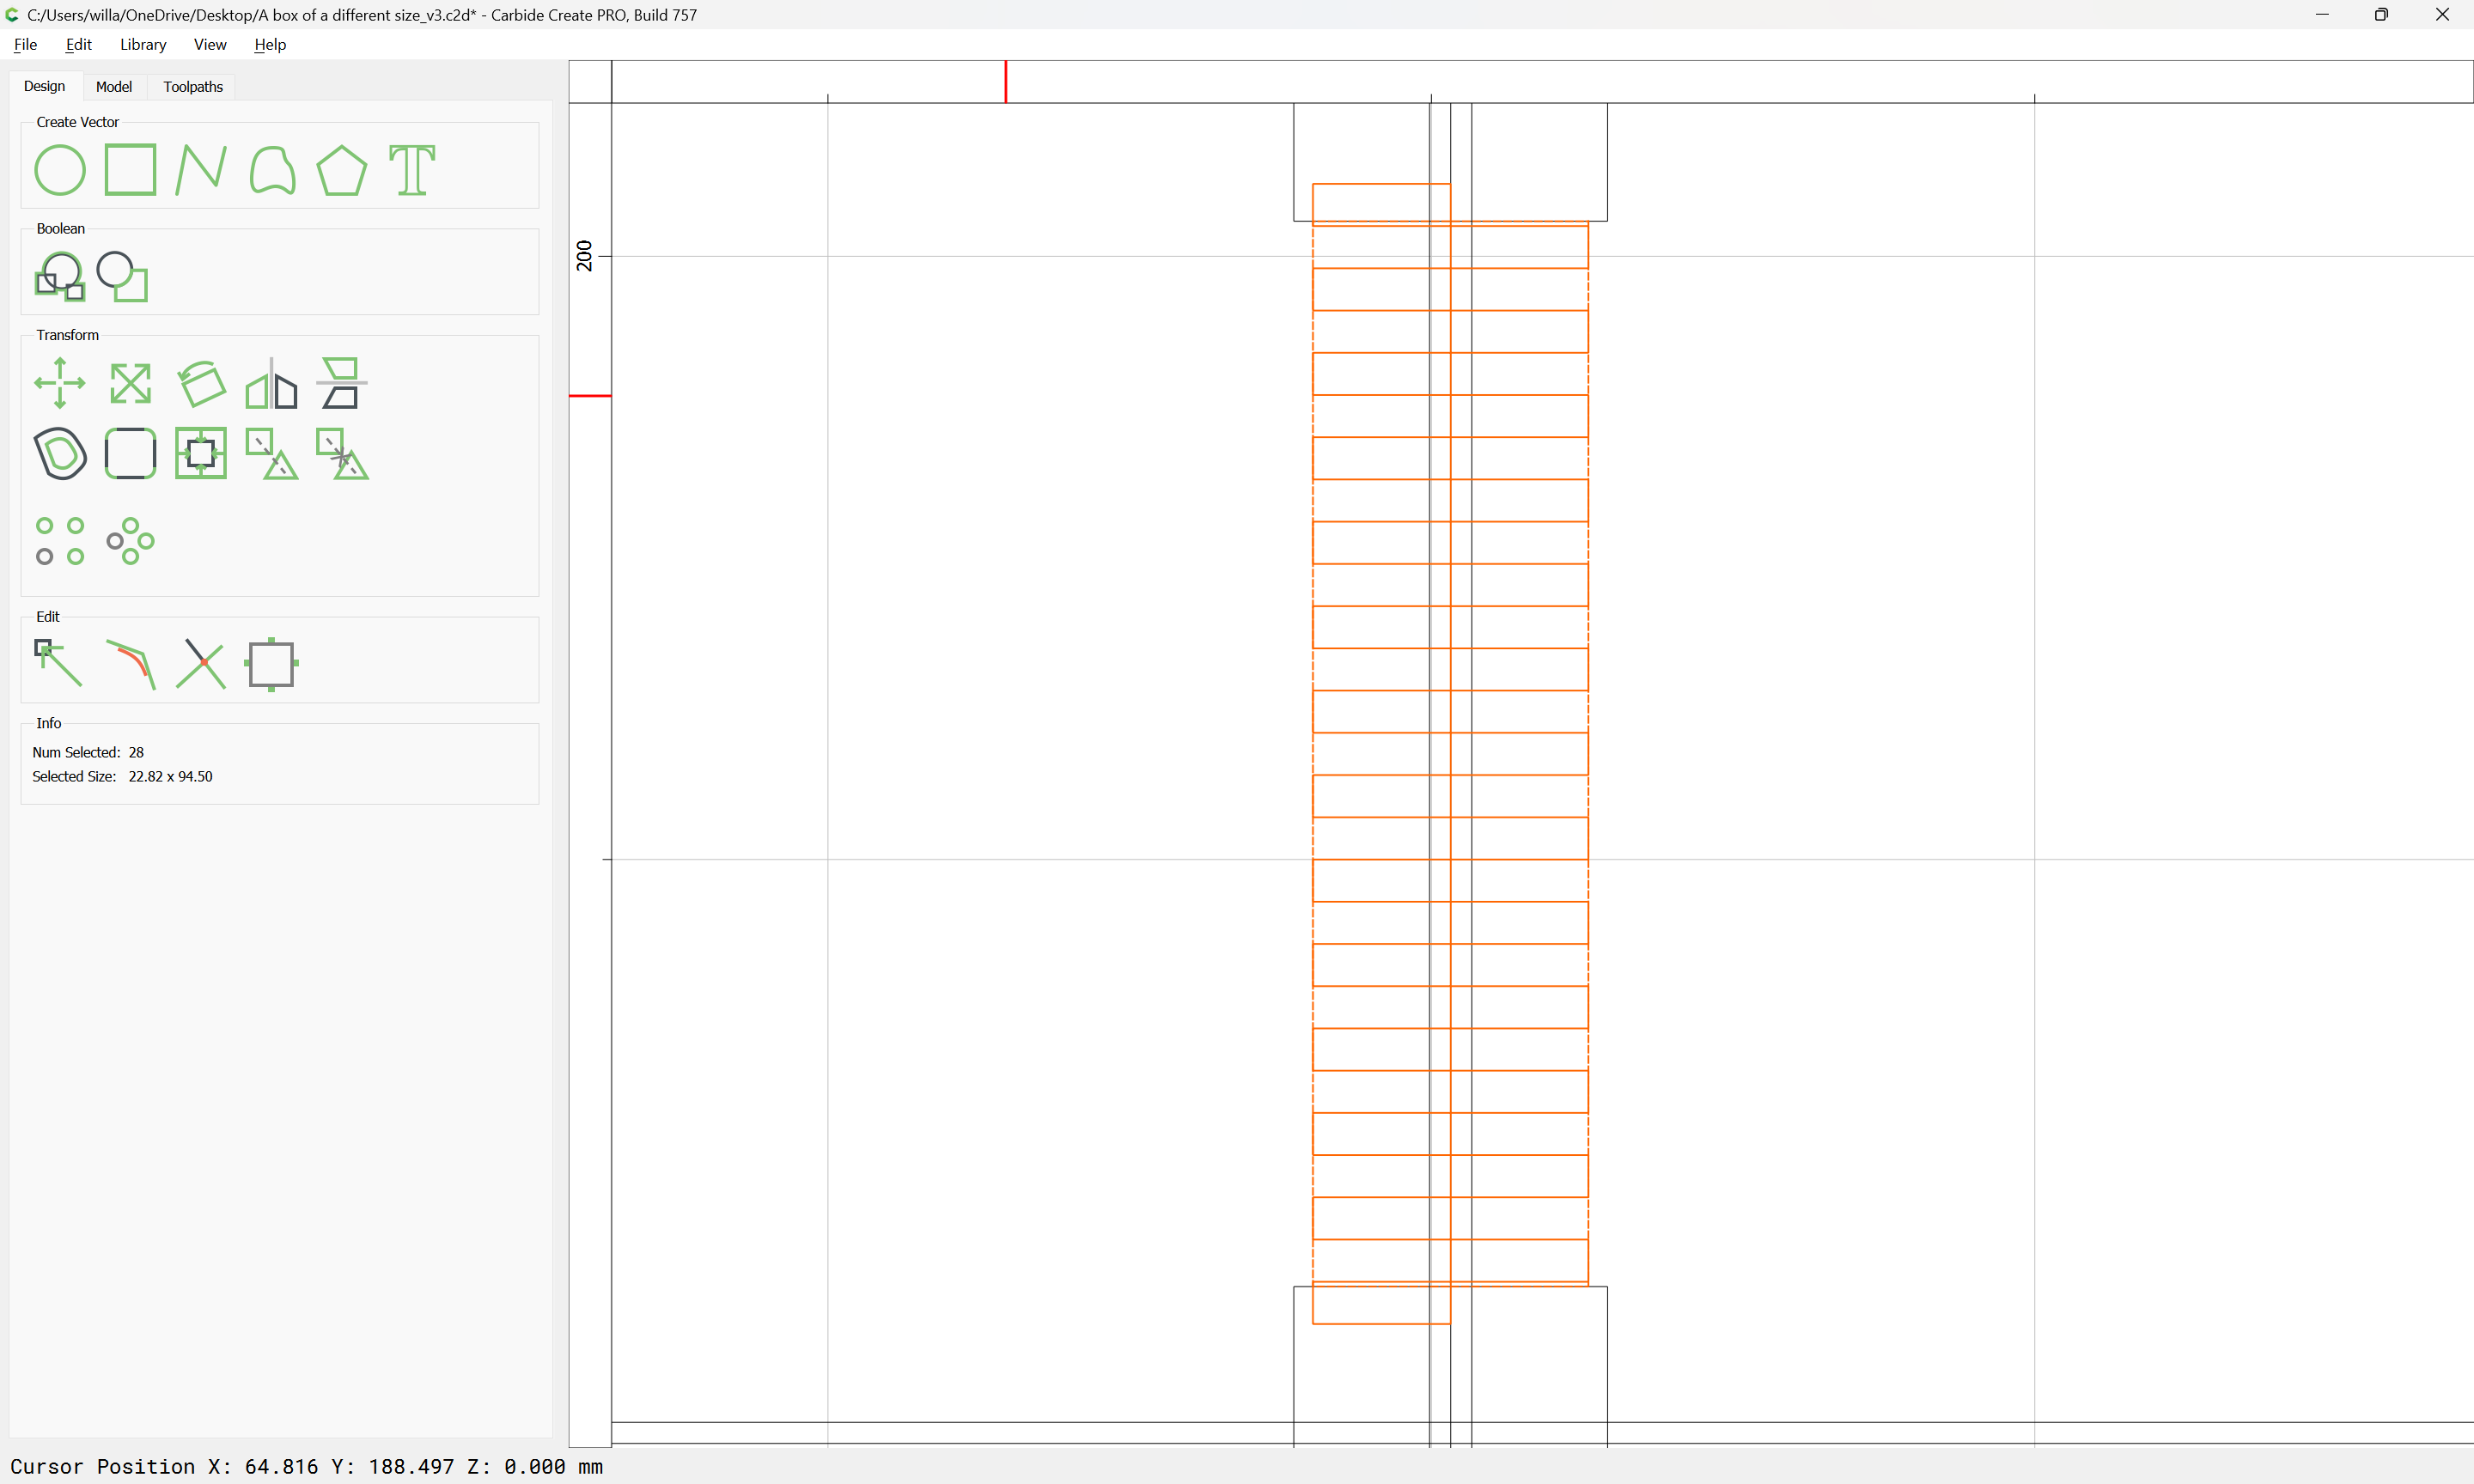
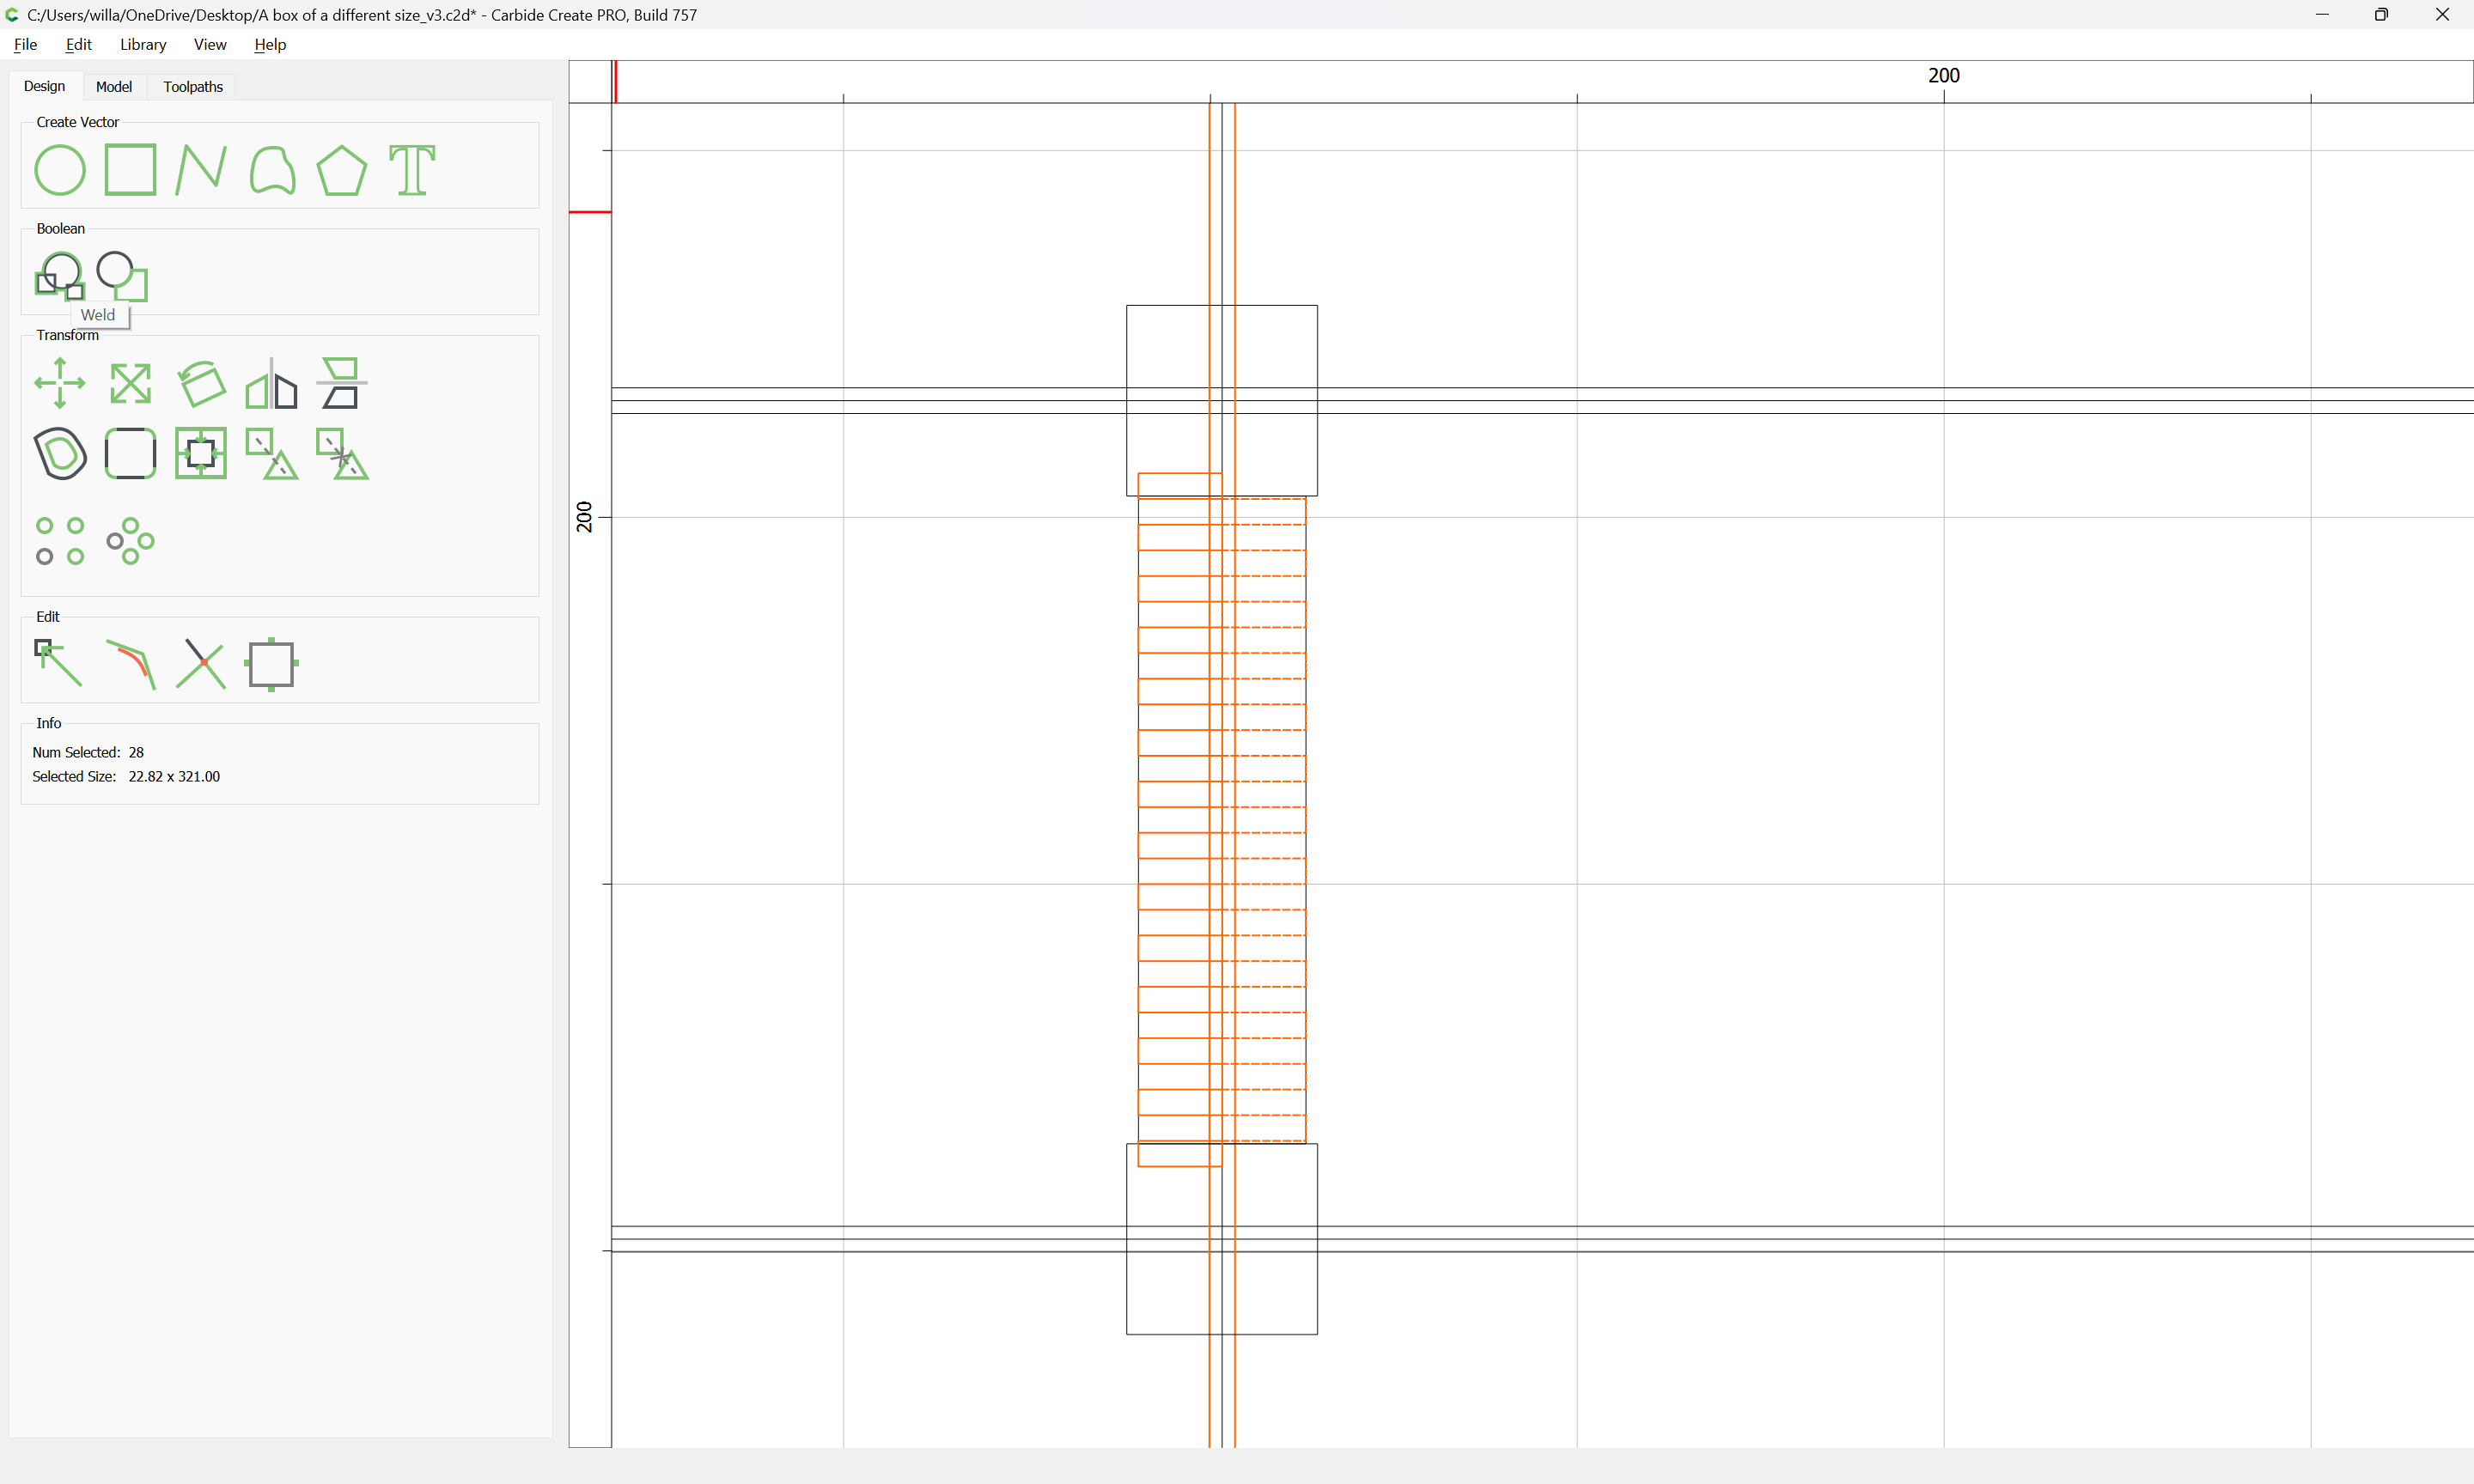
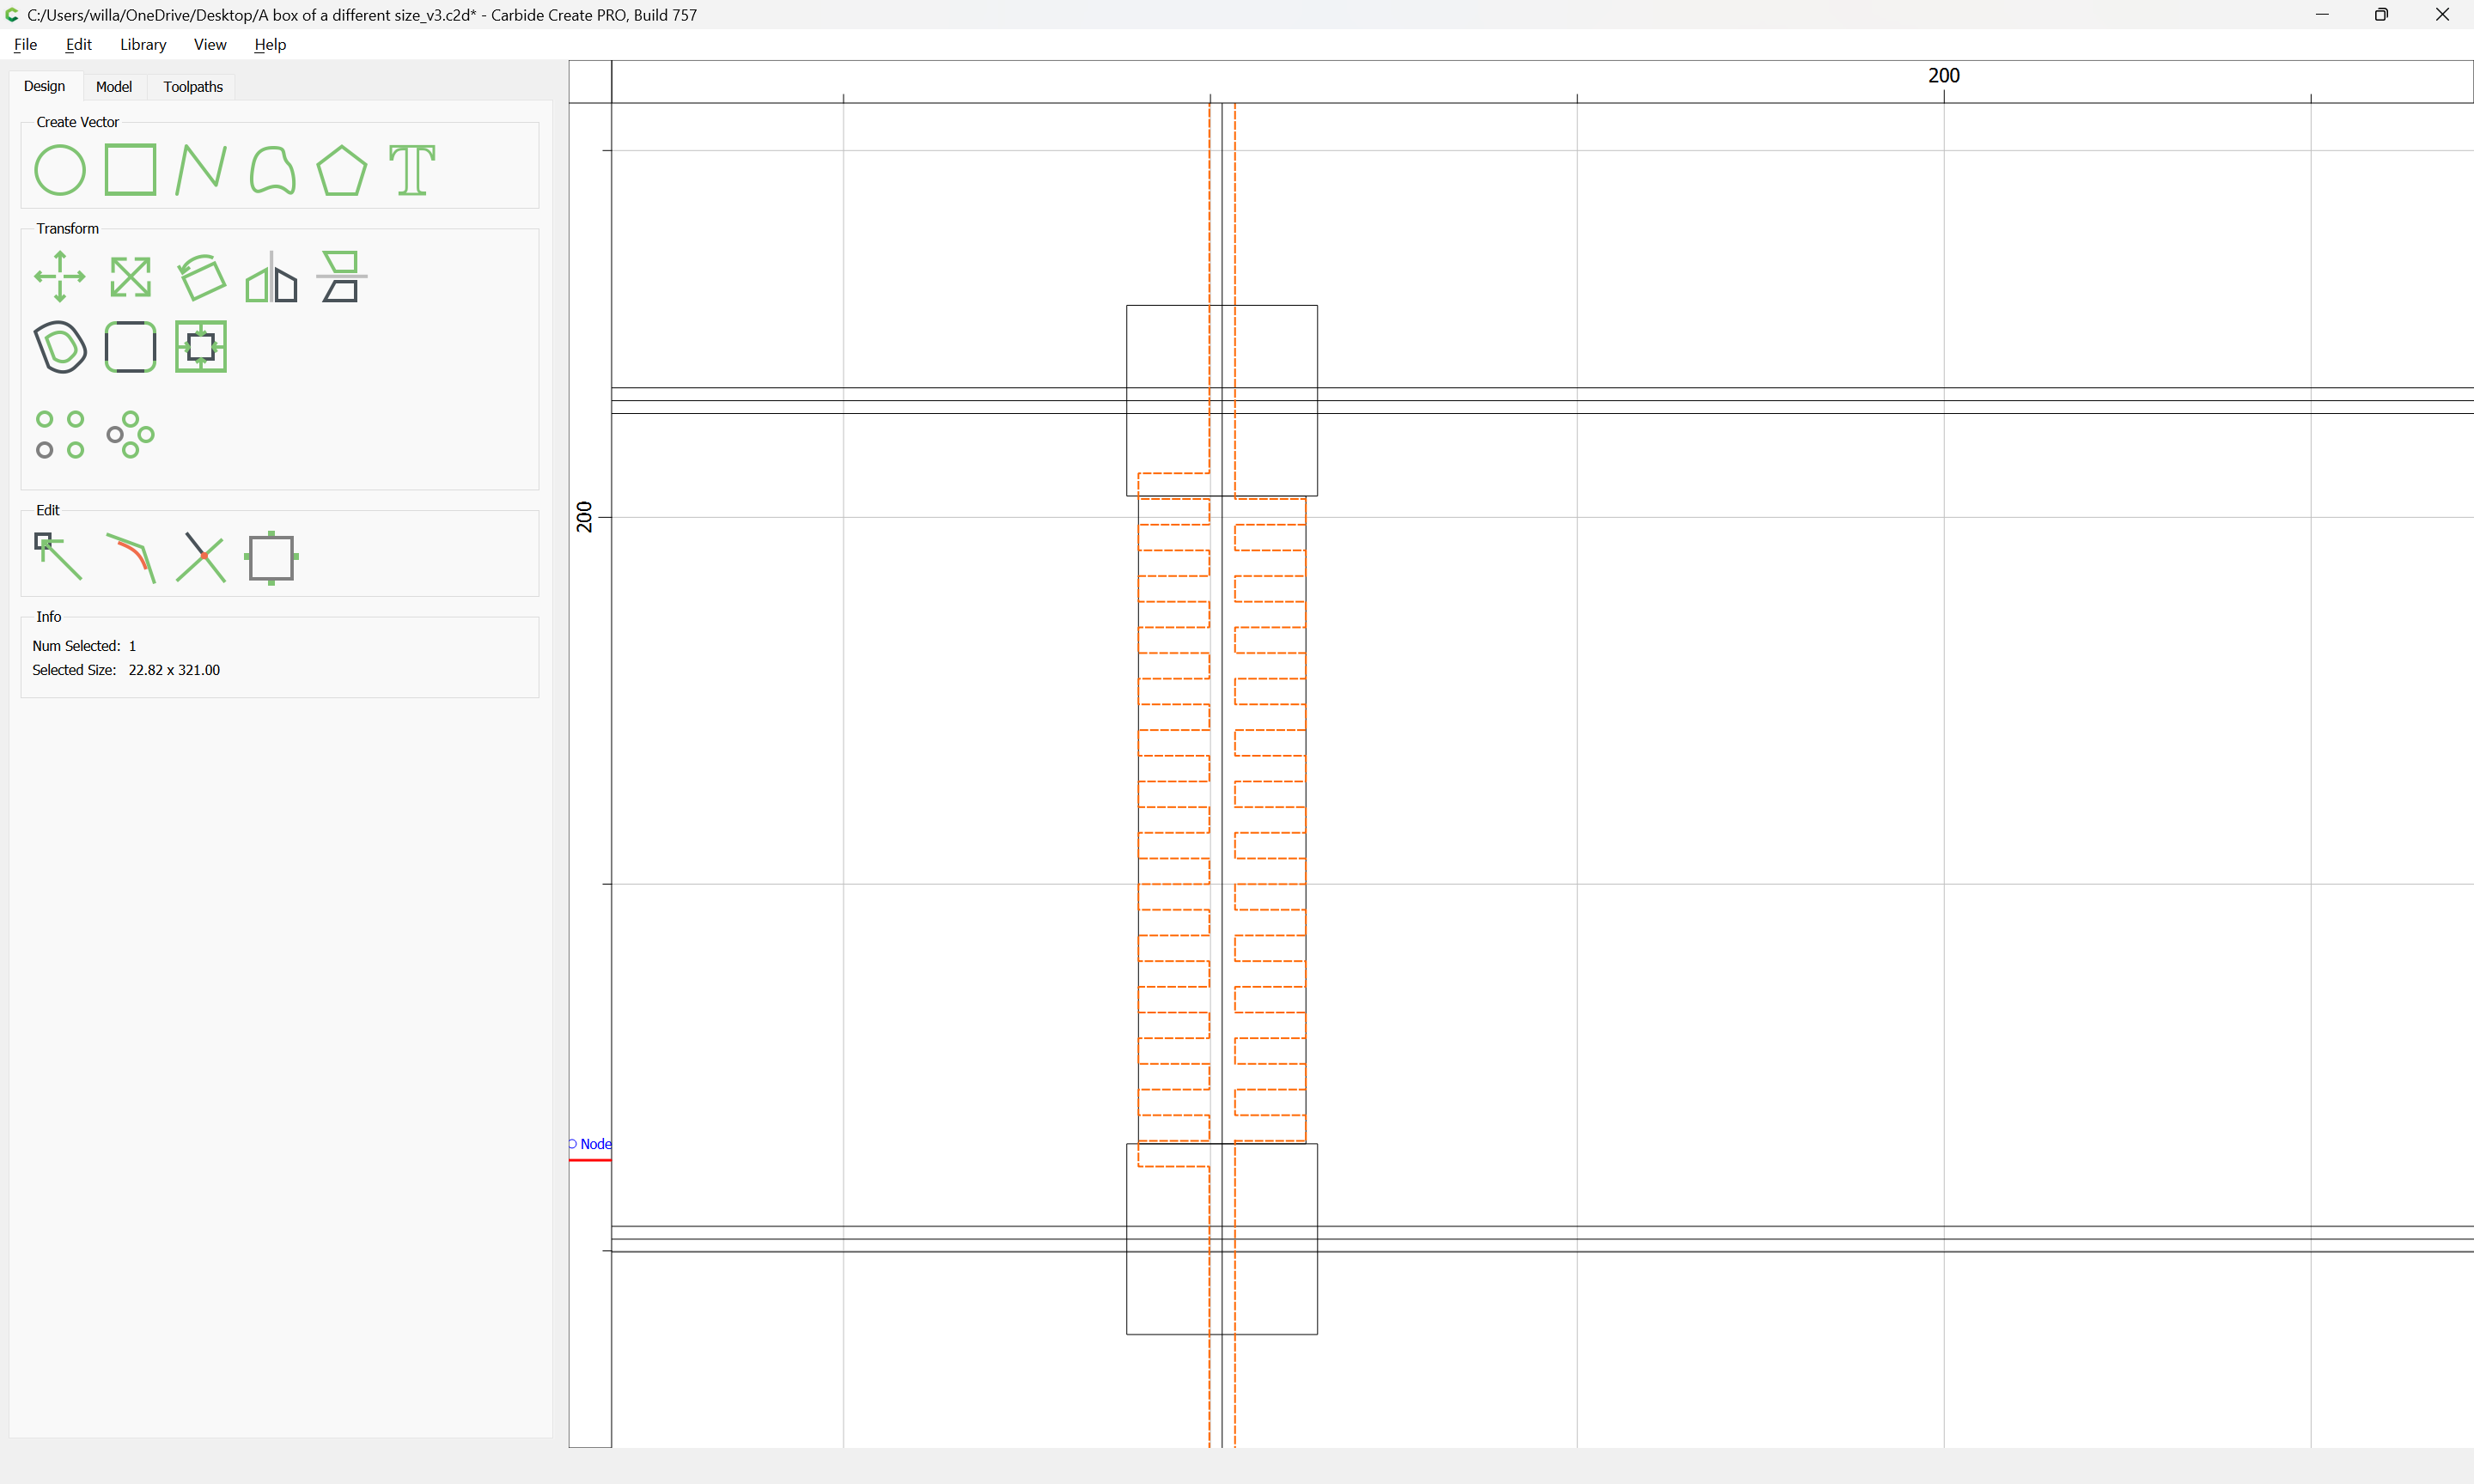
and set up a Linear Array which covers the entire region of the joint:
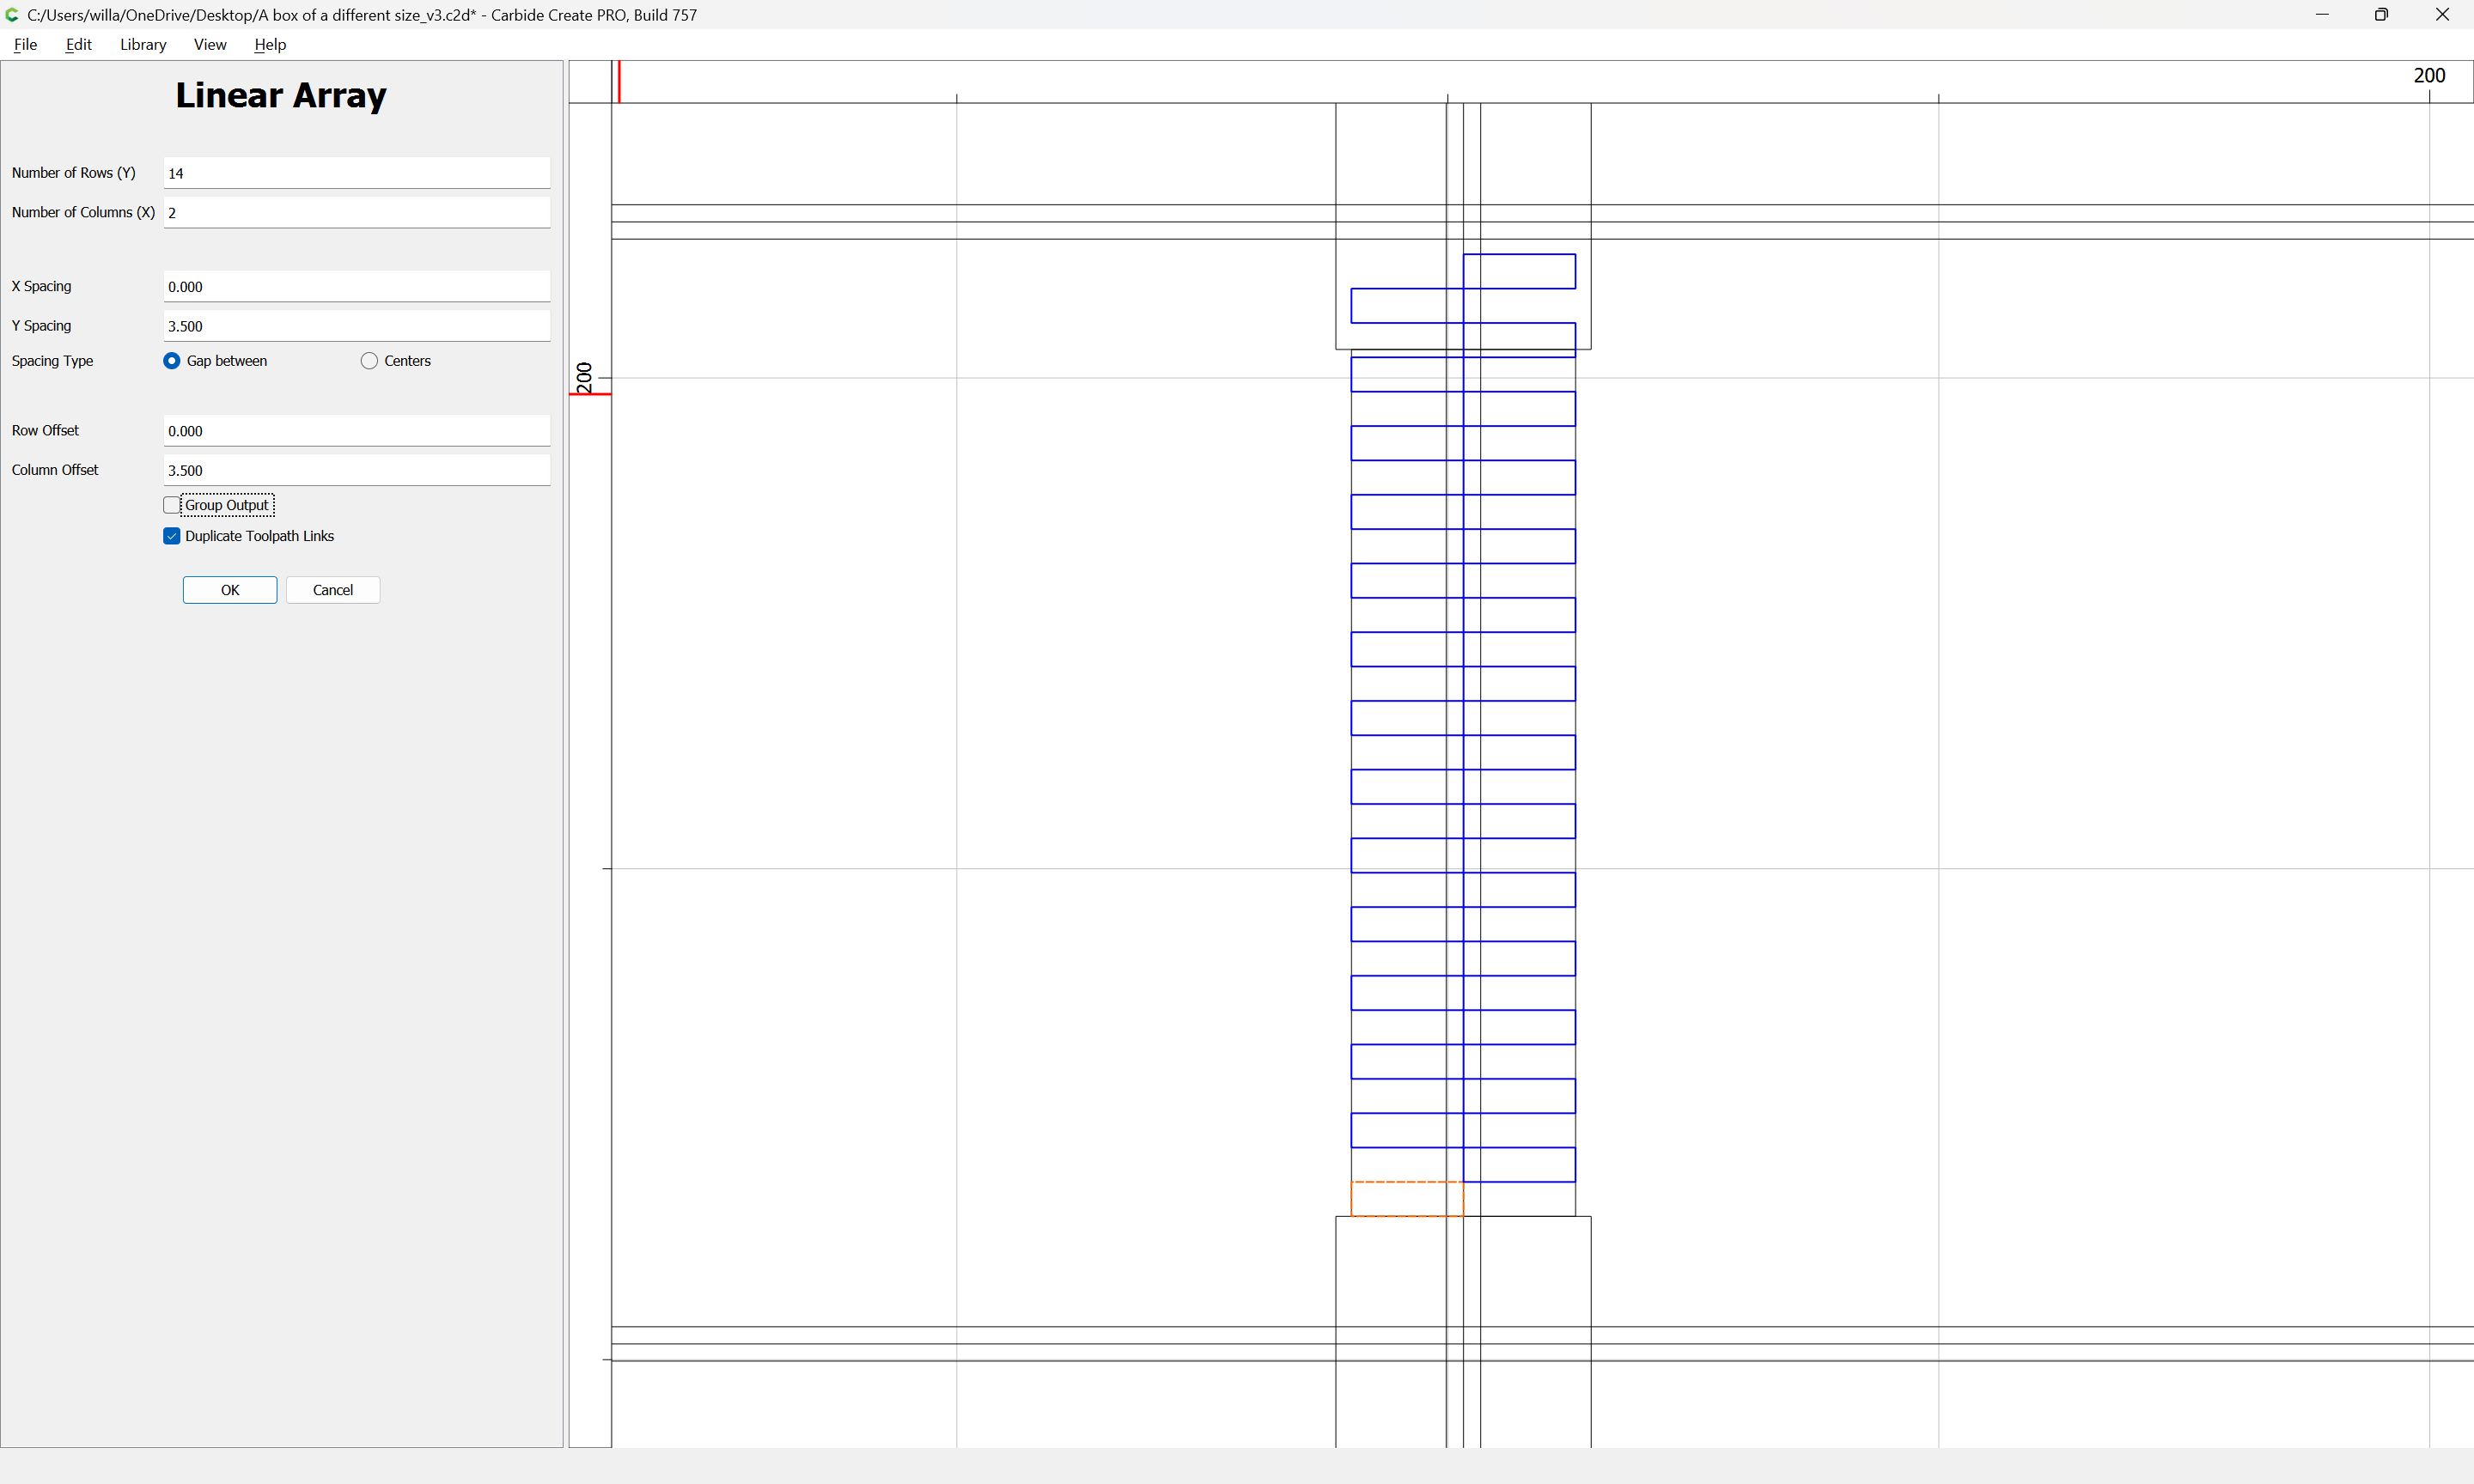
Note that we want one side to have an odd number, and the other to have an even, so it is not helpful to group the output — Delete the extra:
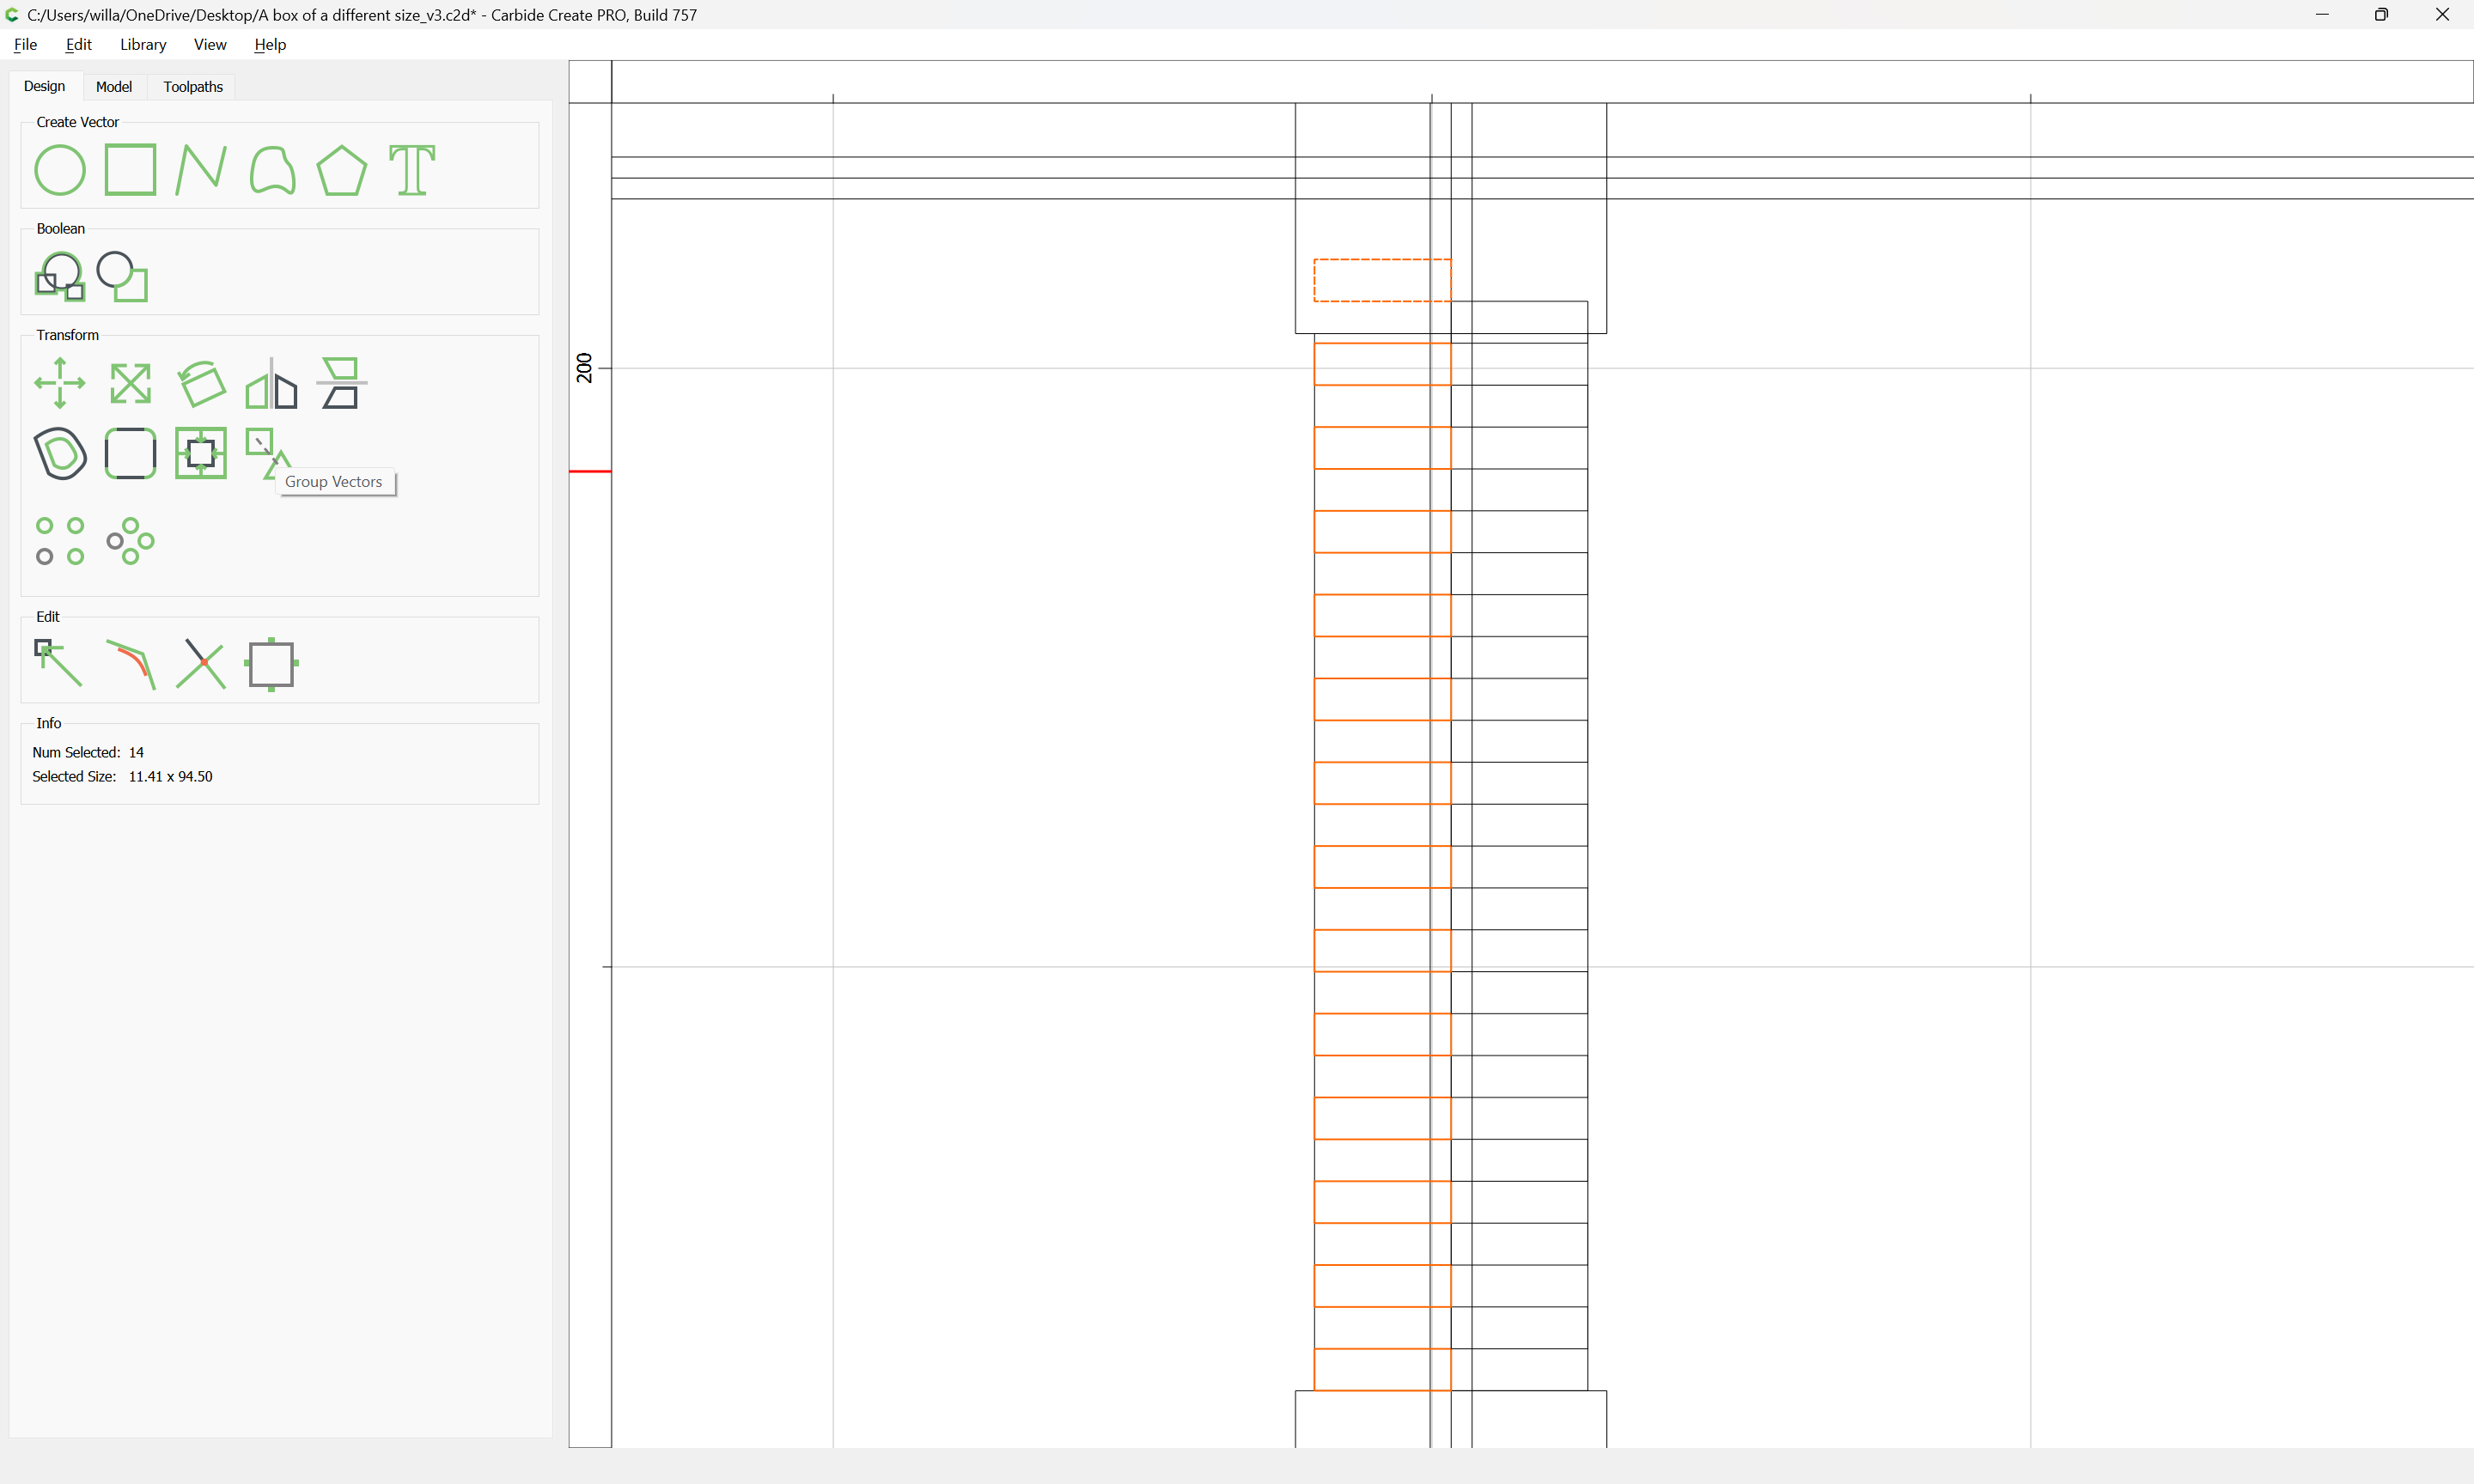
and select each side and group:

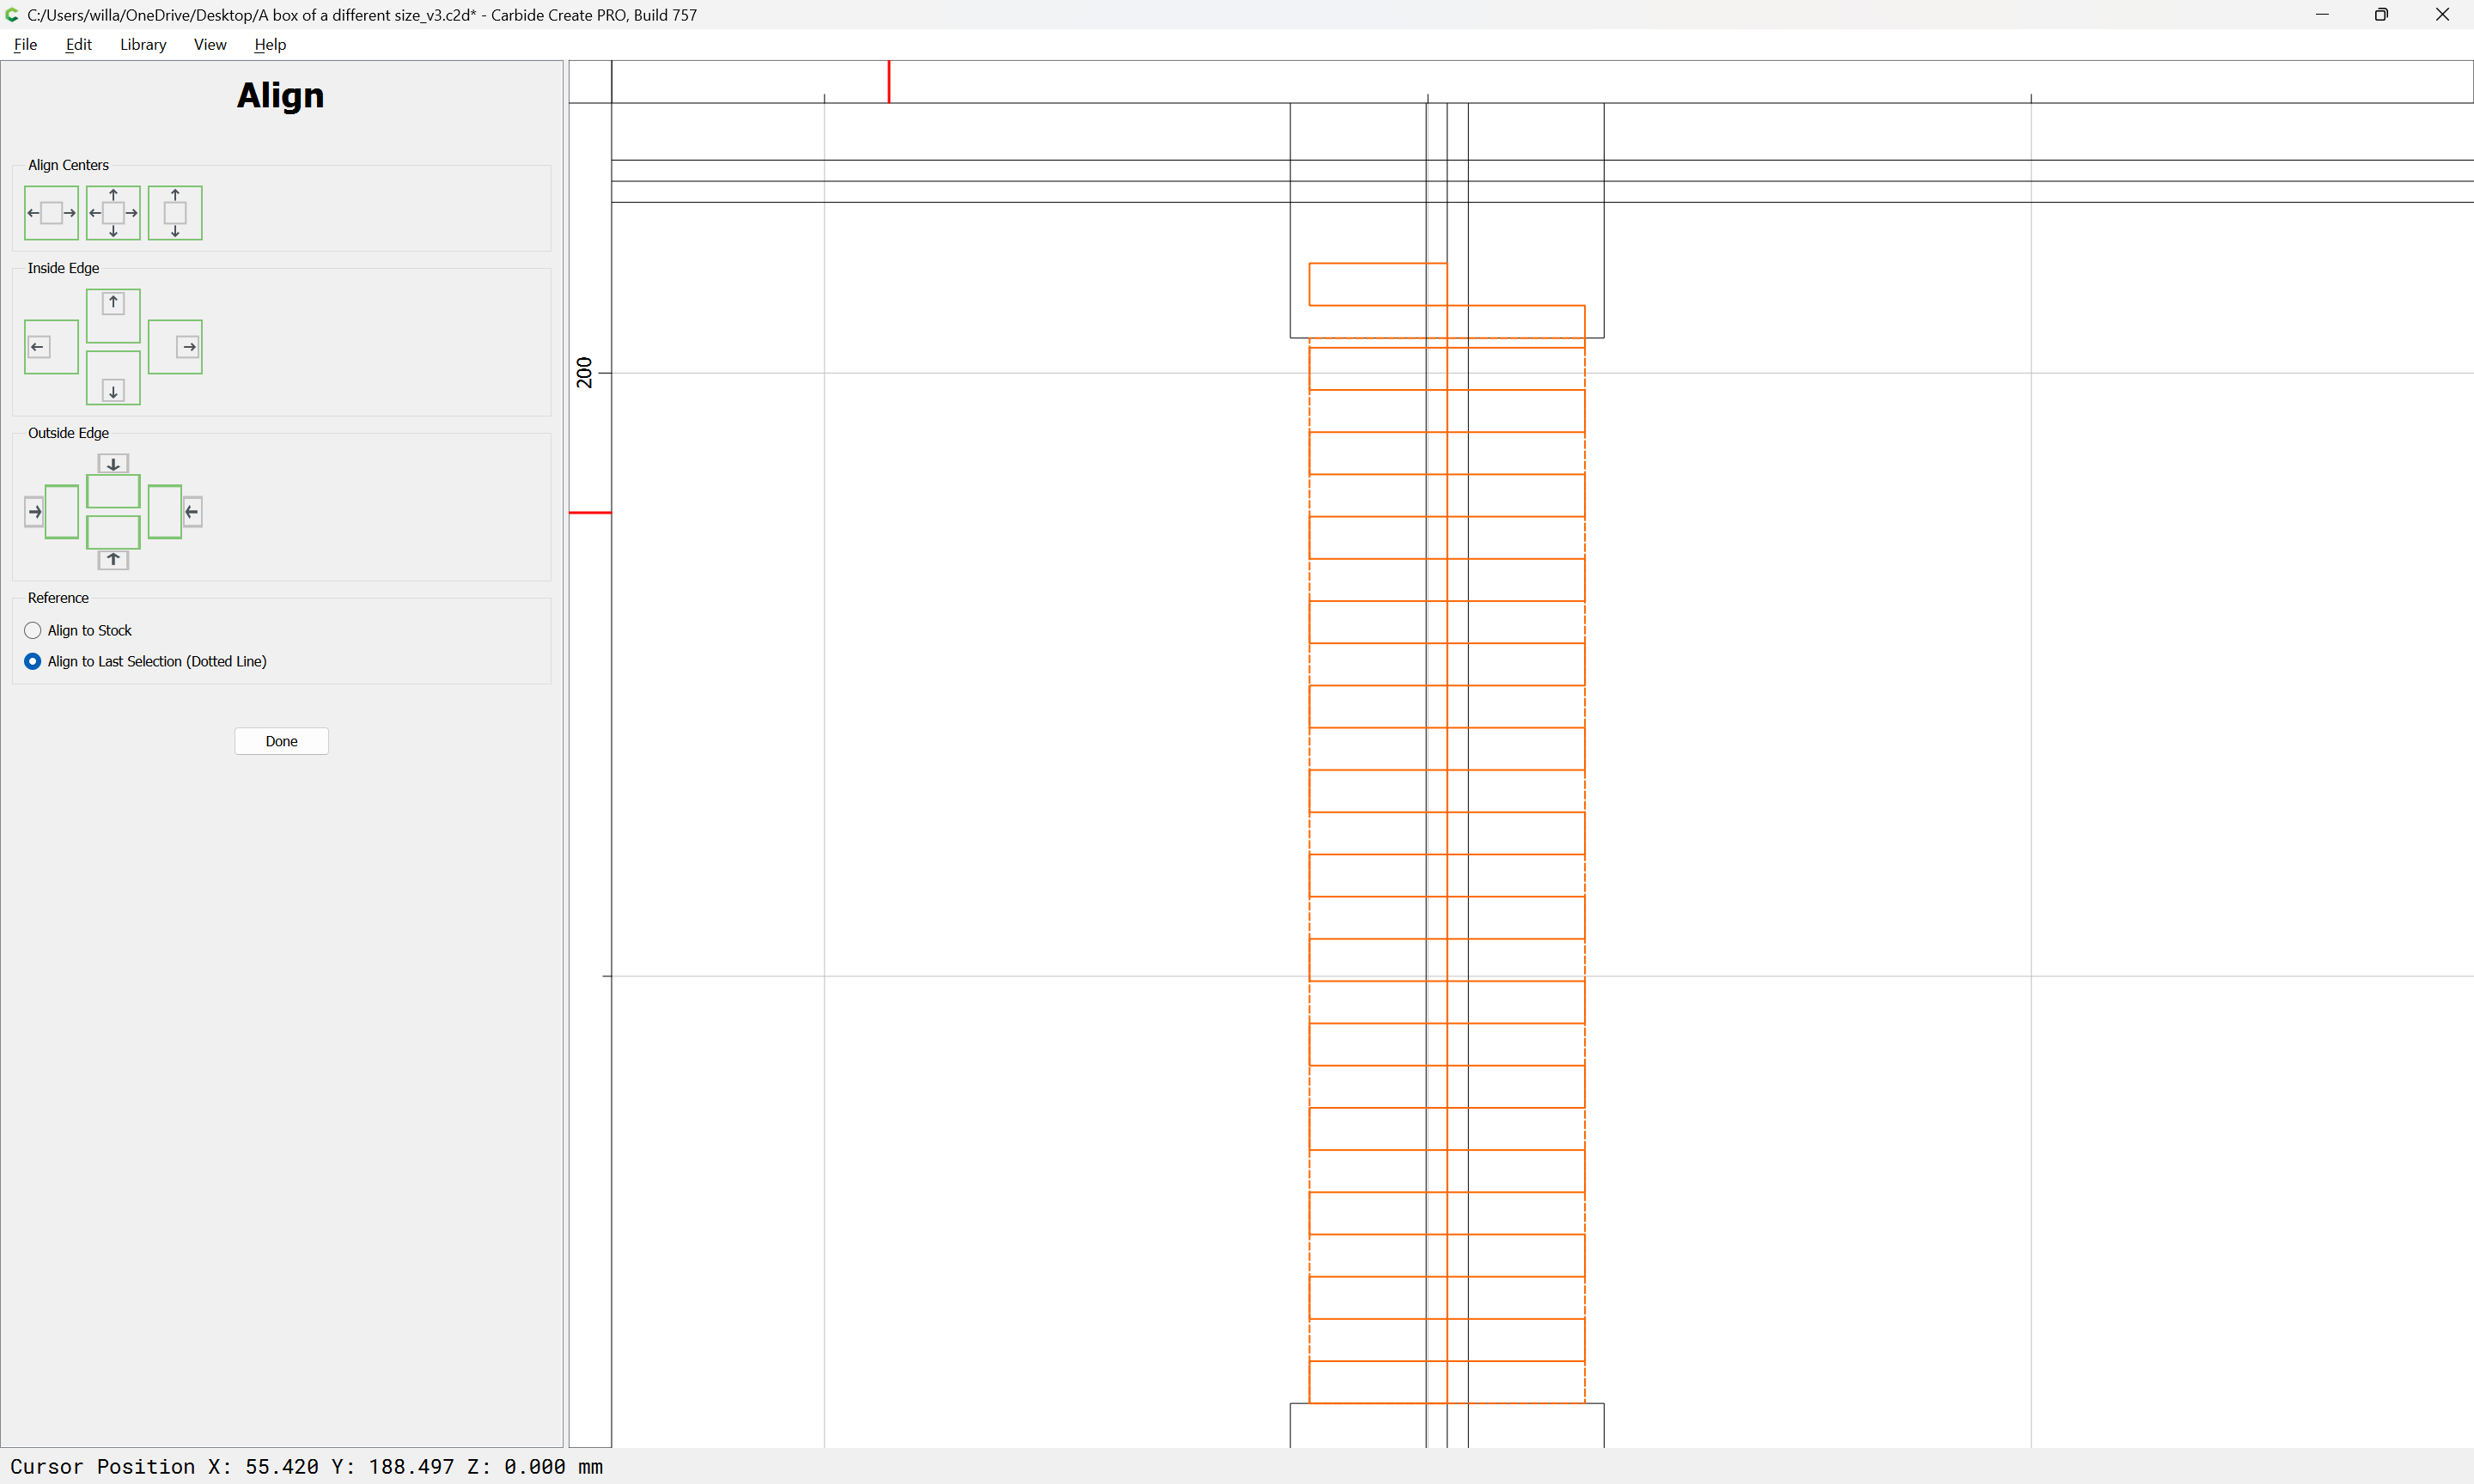
Select the two groups and the rectangle which defines the joinery region and use the align tool:
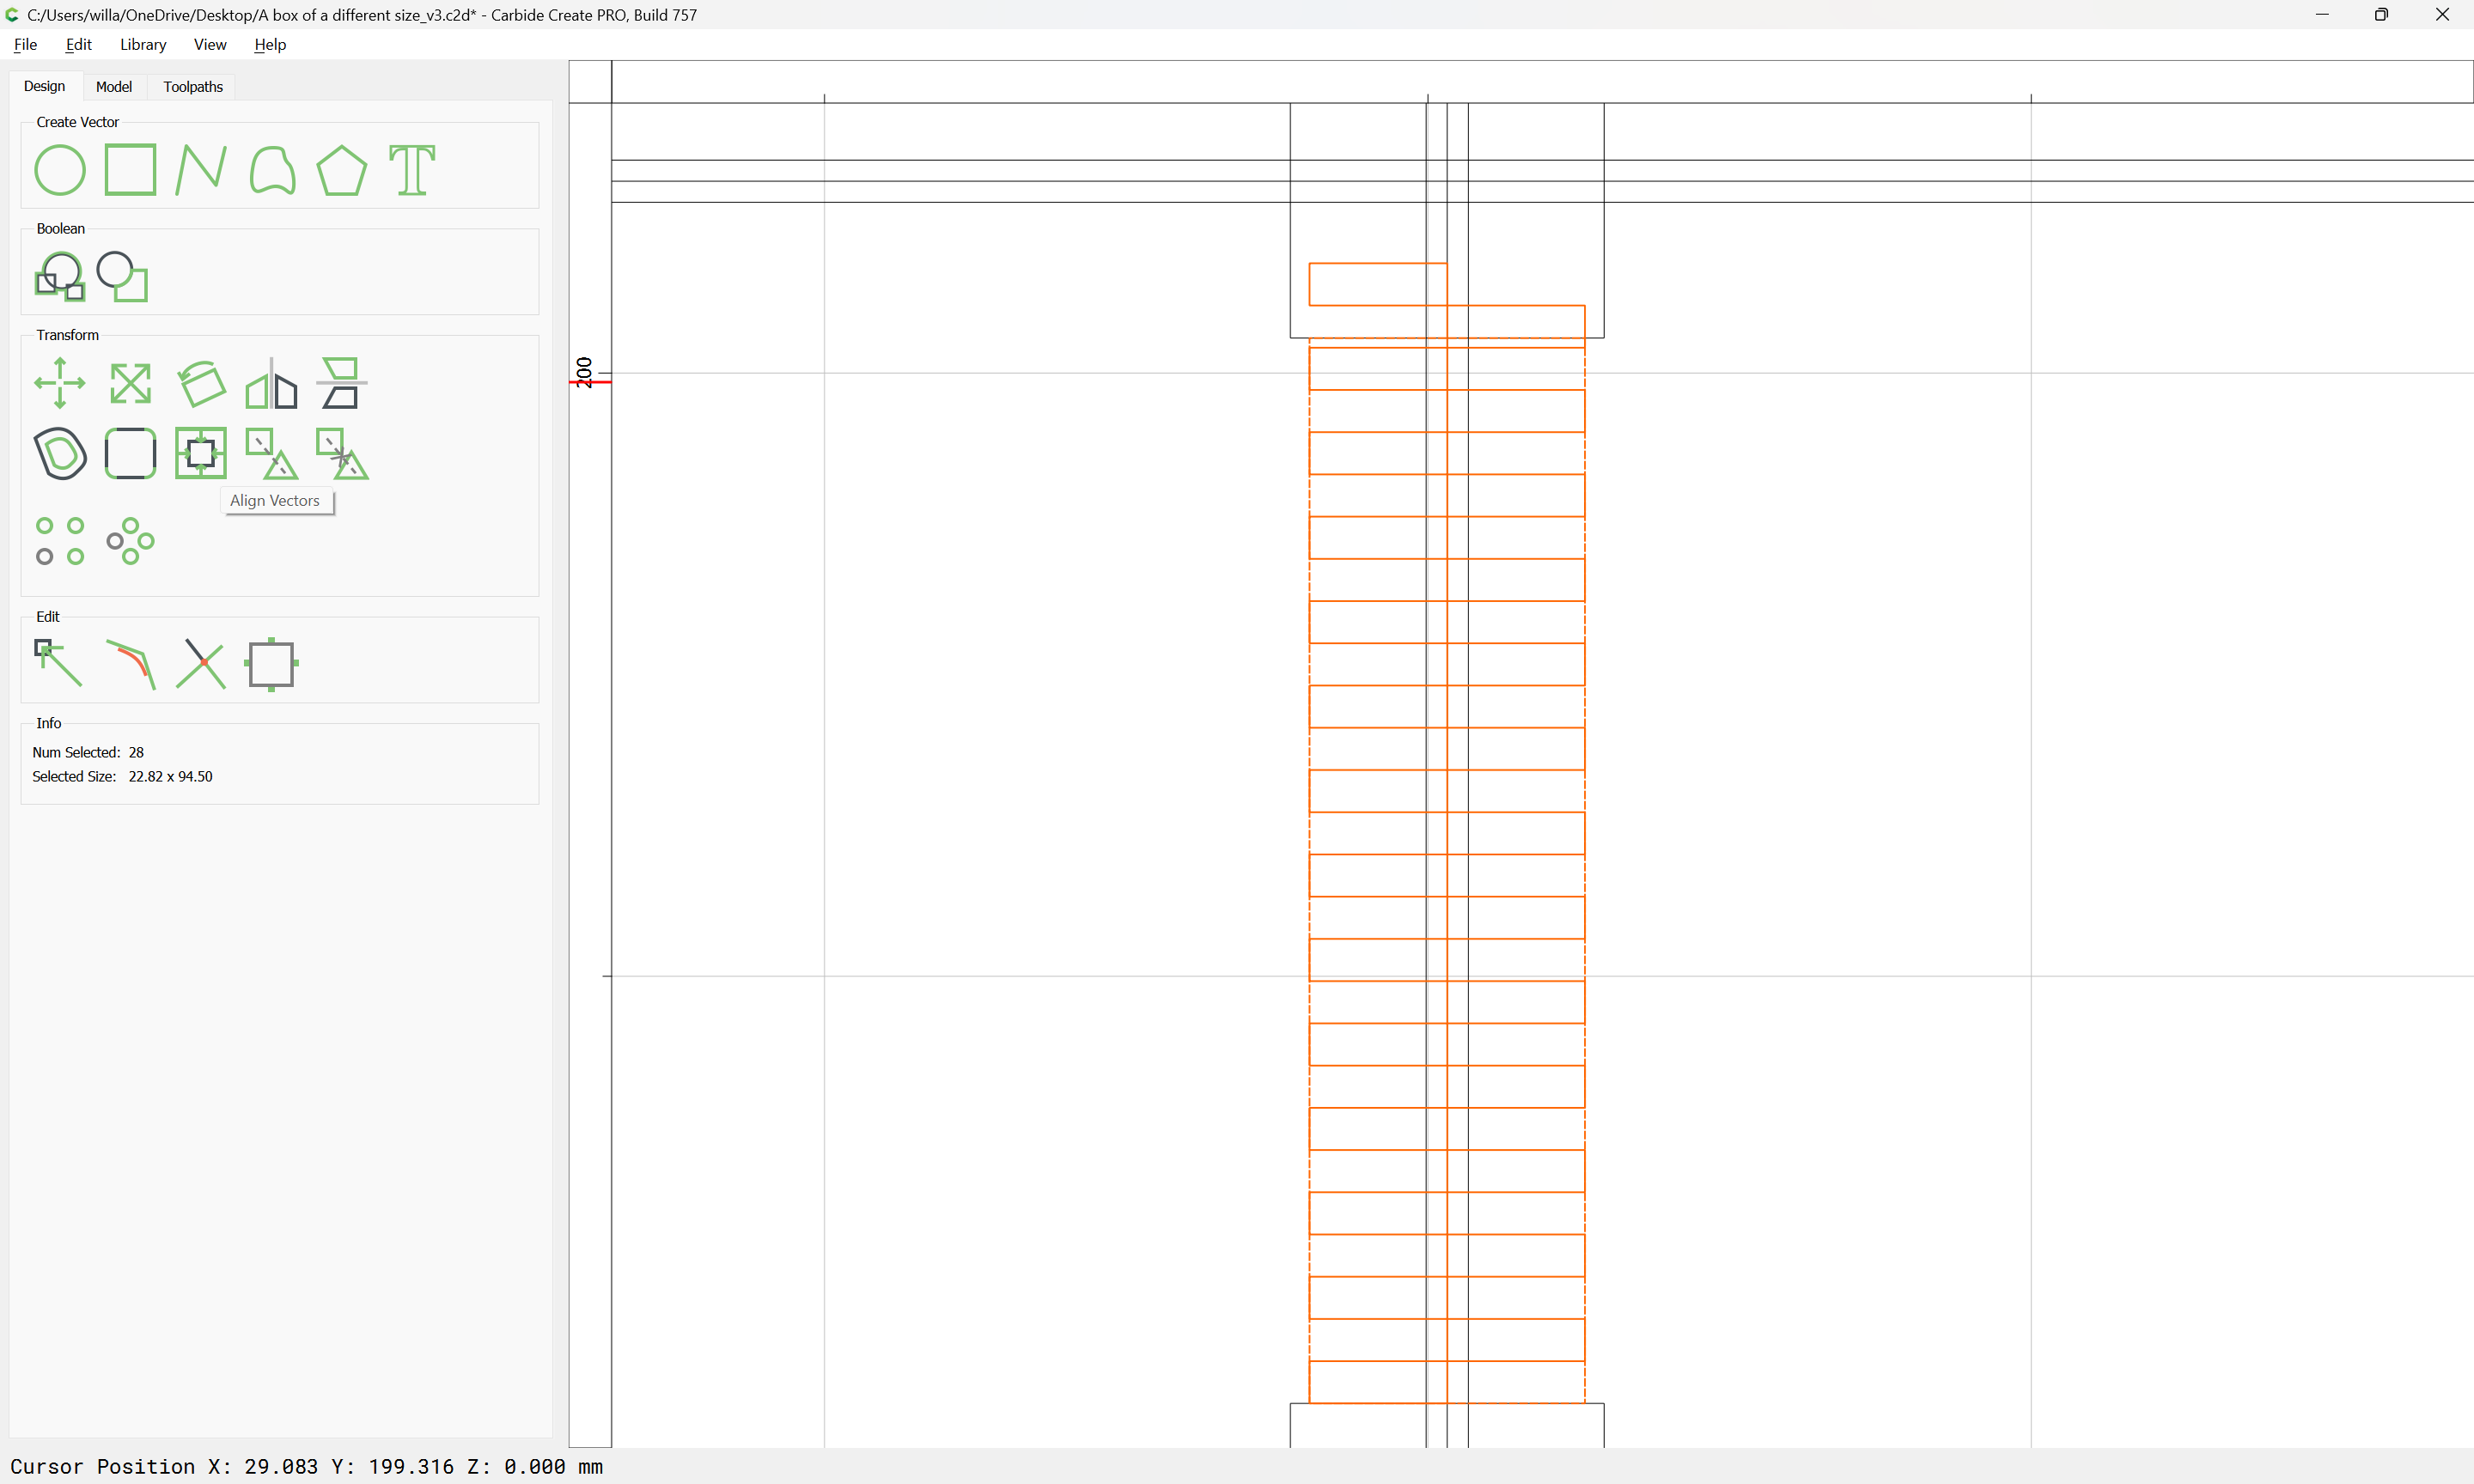
to center things:
(it is better to overcut and create voids, then to leave material uncut which will interfere with fit — re-working the recesses and creating “biscuits” which can be used to fill such is left as an exercise for the reader)
The joinery elements may then be Boolean Unioned with the central channel:
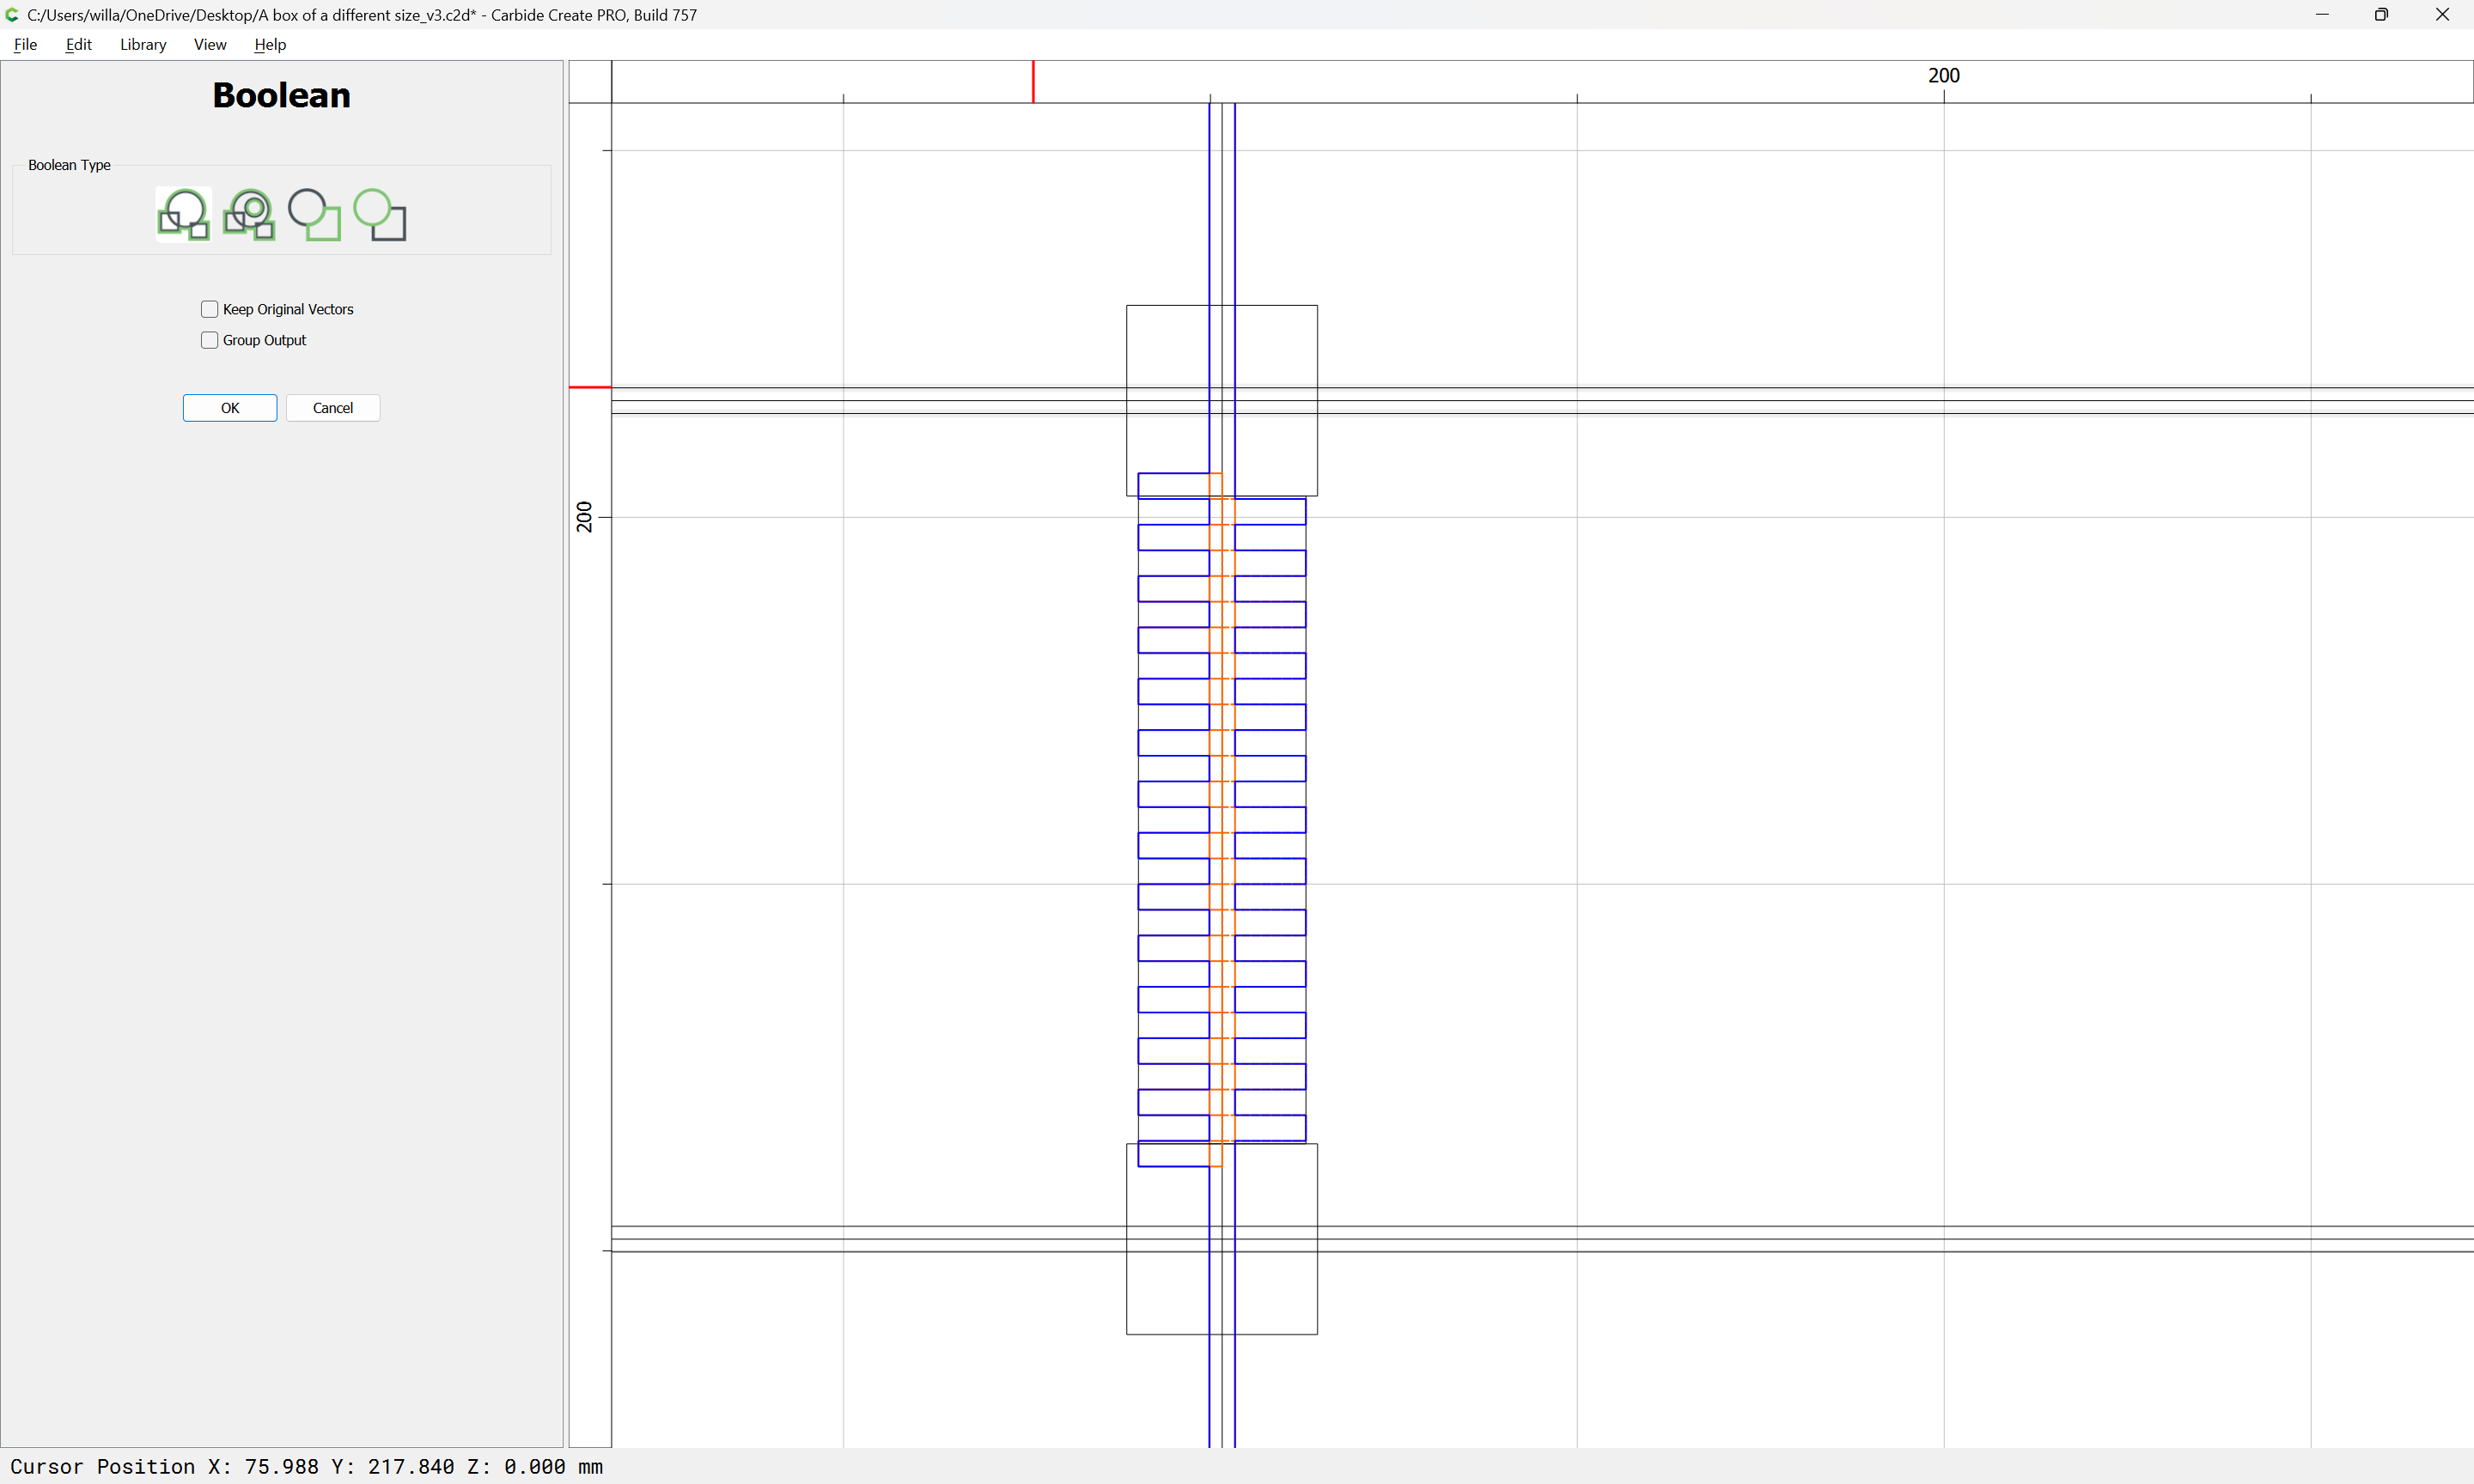
and this process repeated for each element of the joinery (note that for the sides meeting the front/back it will be necessary to rotate one or the other to bring them into alignment) — it is also recommended that one make everything consistent/symmetrical.